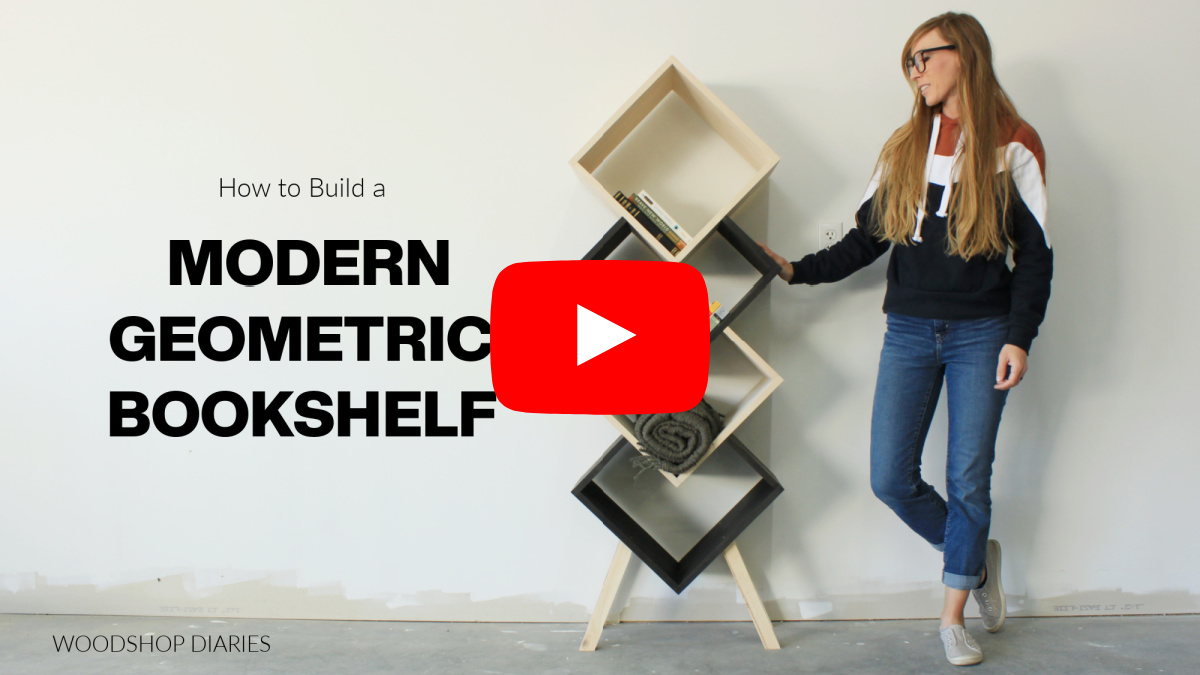
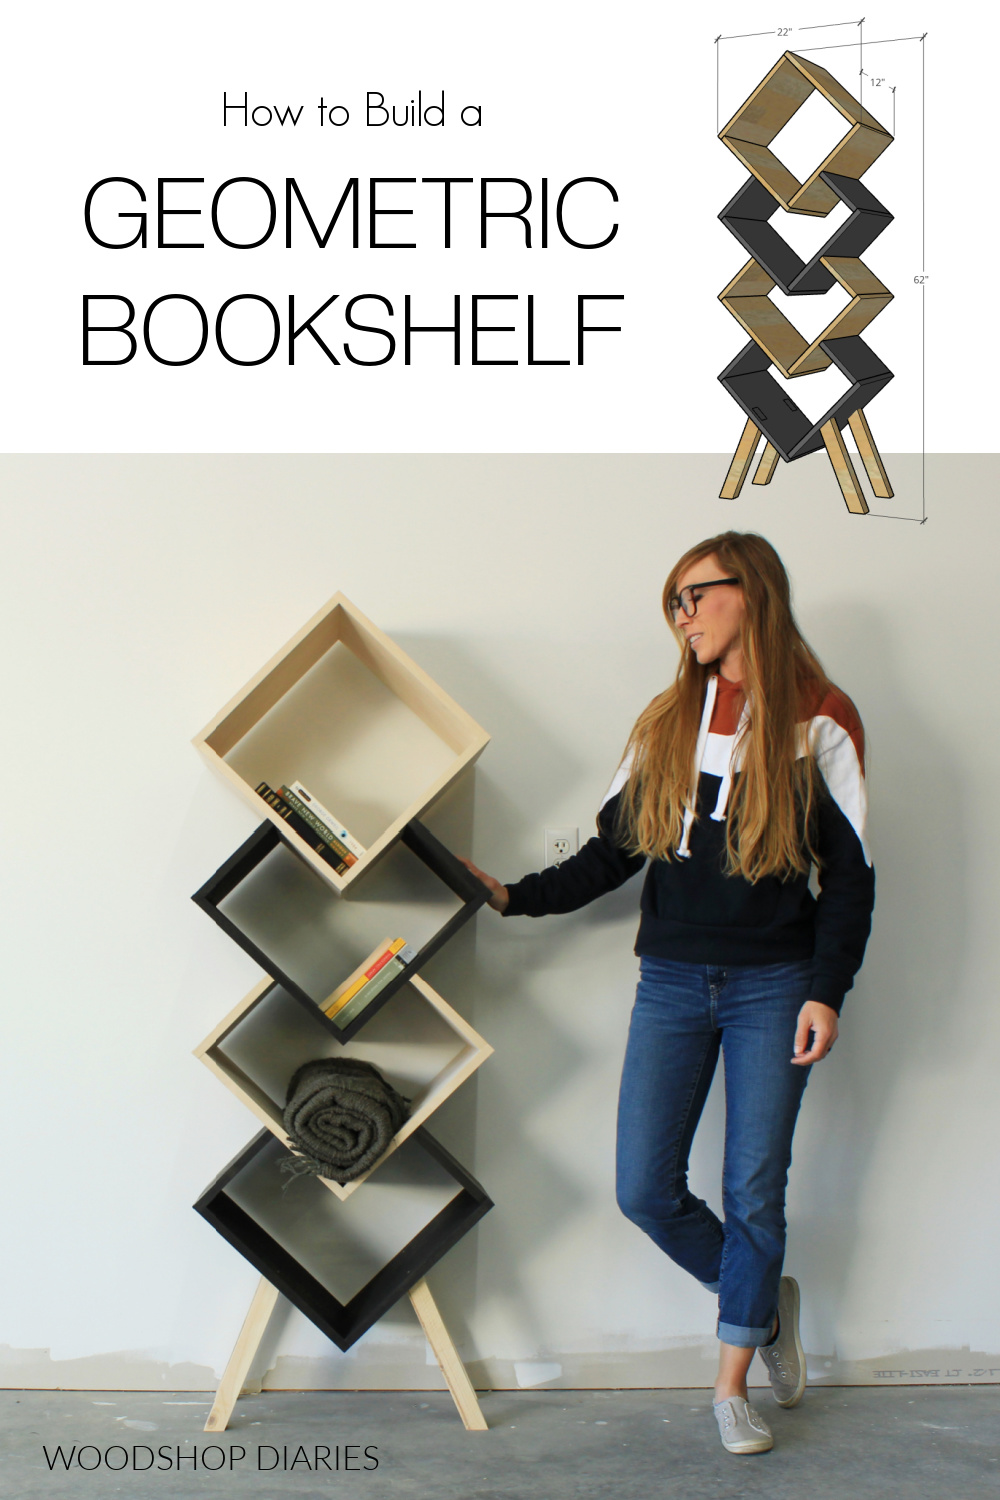
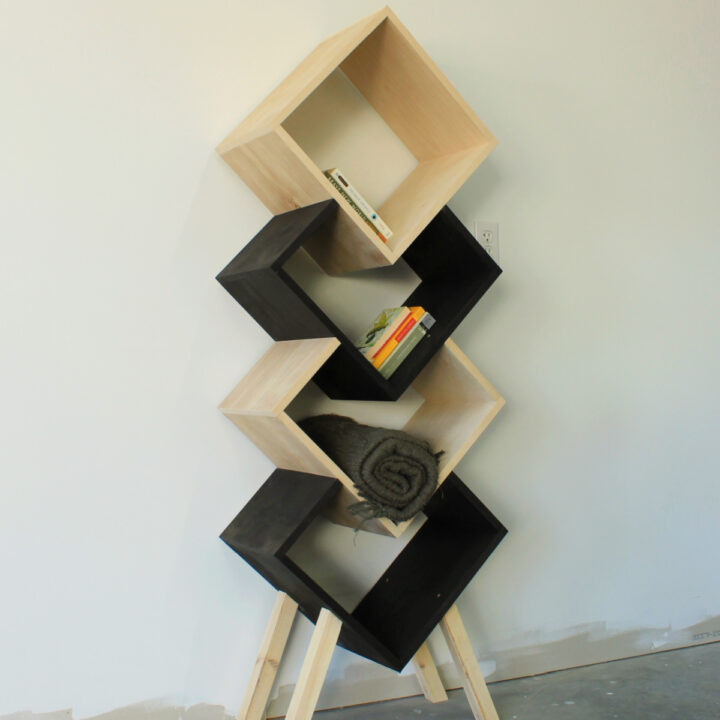
In this post, I’m sharing how to build this fun and simple modern DIY geometric bookshelf!
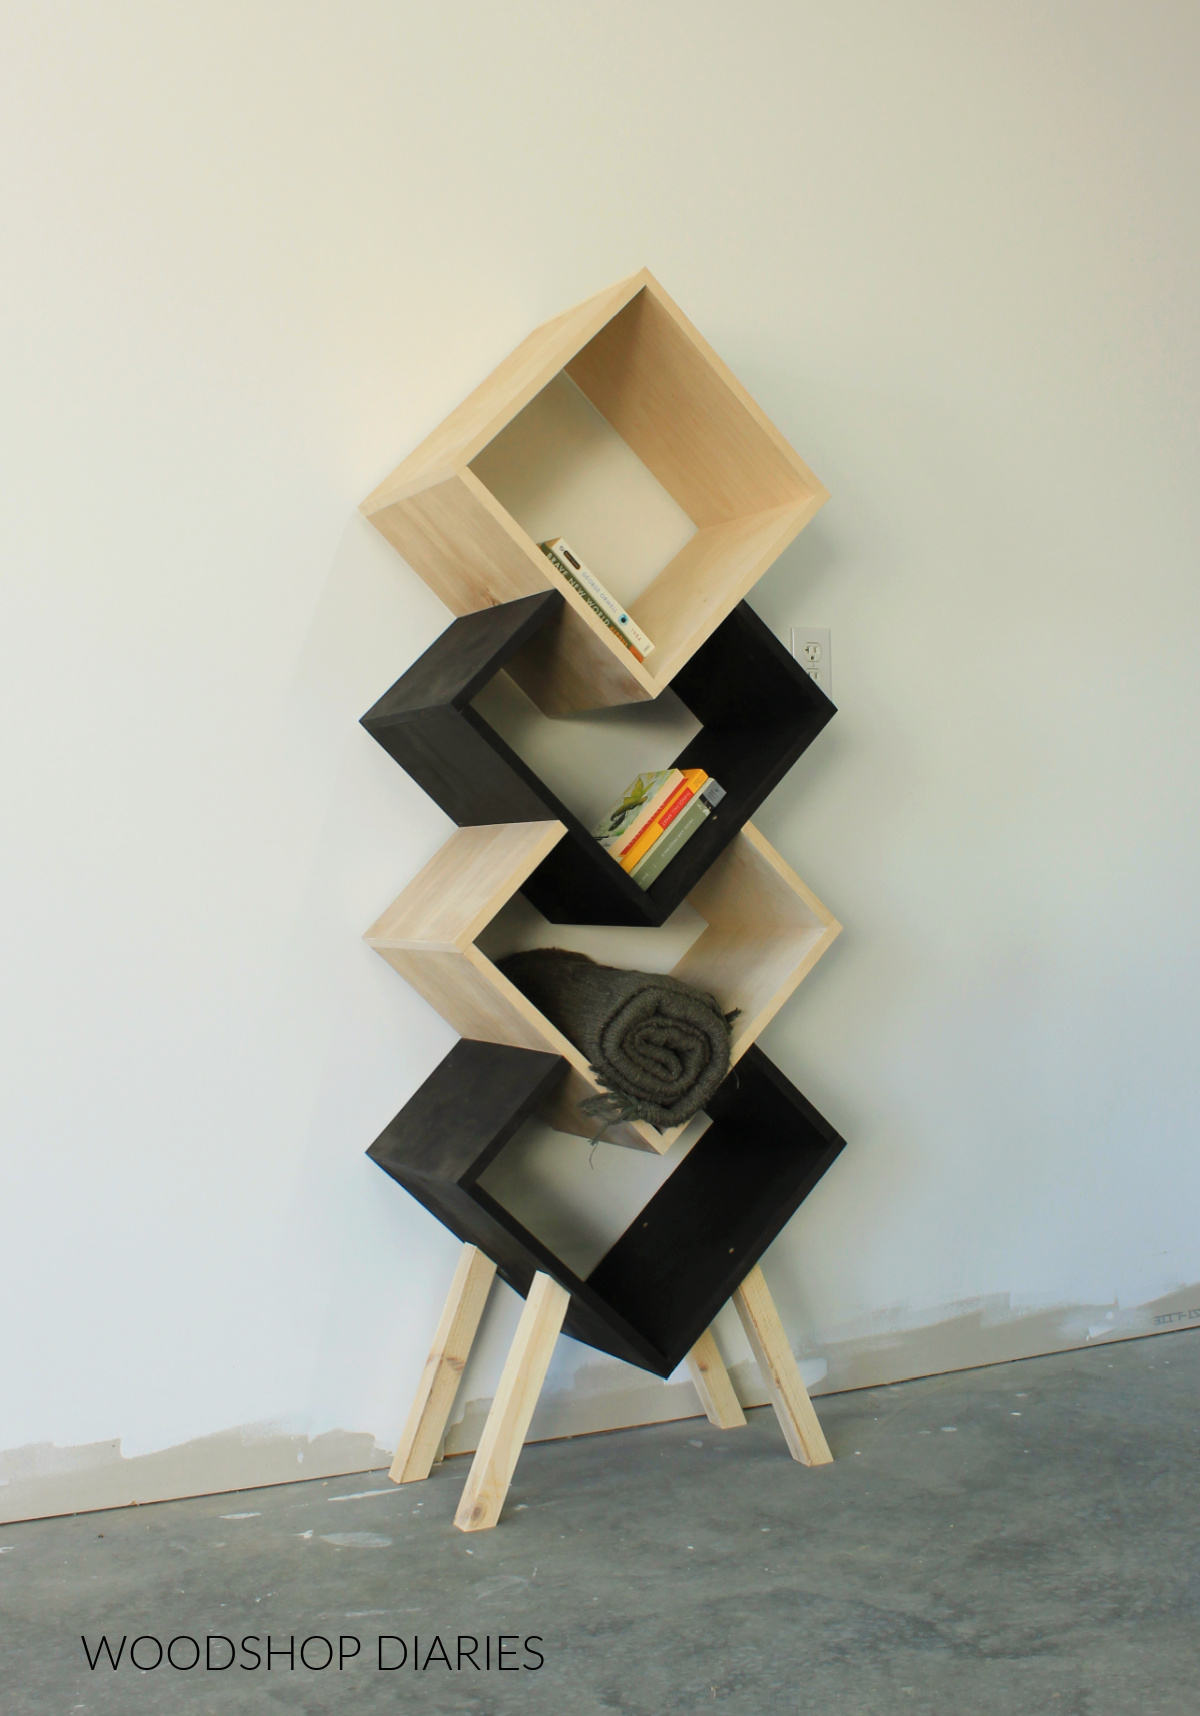
This simple bookshelf would be perfect for books, obviously.
But it would also make a great place to store old vinyl records and extra blankets.
You could even add one in the closet or bedroom to roll up and store away hoodies, t-shirts, or jeans.
The possibilities are endless!
Grab a few tools and the plans below to build your own this weekend!
Tips for Building a Modern DIY Geometric Wooden Shelf
This is an easy weekend woodworking project idea you can make from just barely over half a sheet of plywood and a 2×2 board.
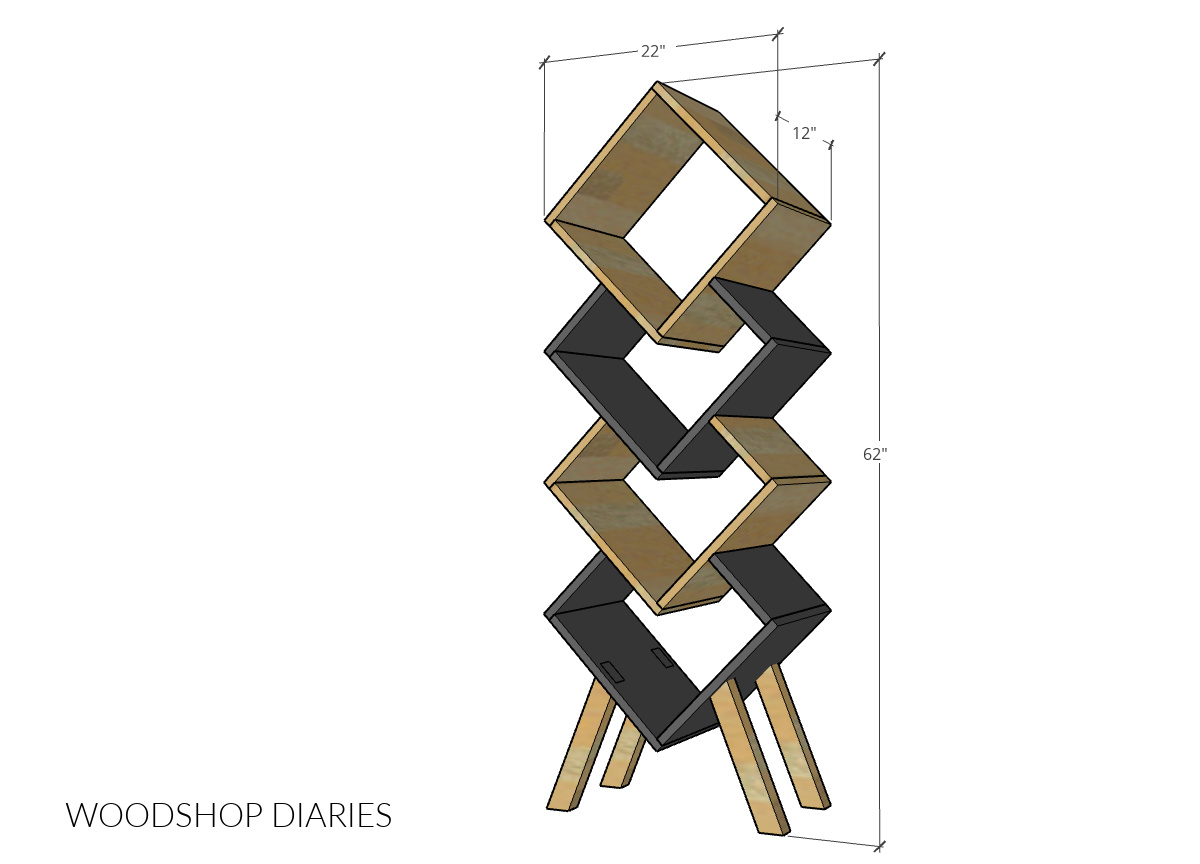
Overall Bookshelf Dimensions:
The overall project dimensions are approximately 62″ tall, 12″ deep and 22″ wide.
Iron On Edge Banding:
Since I made this DIY geometric bookshelf using plywood, I used iron on edge banding to cover the exposed edges.
Edge banding is totally optional, but it does make the plywood edges look a little cleaner.
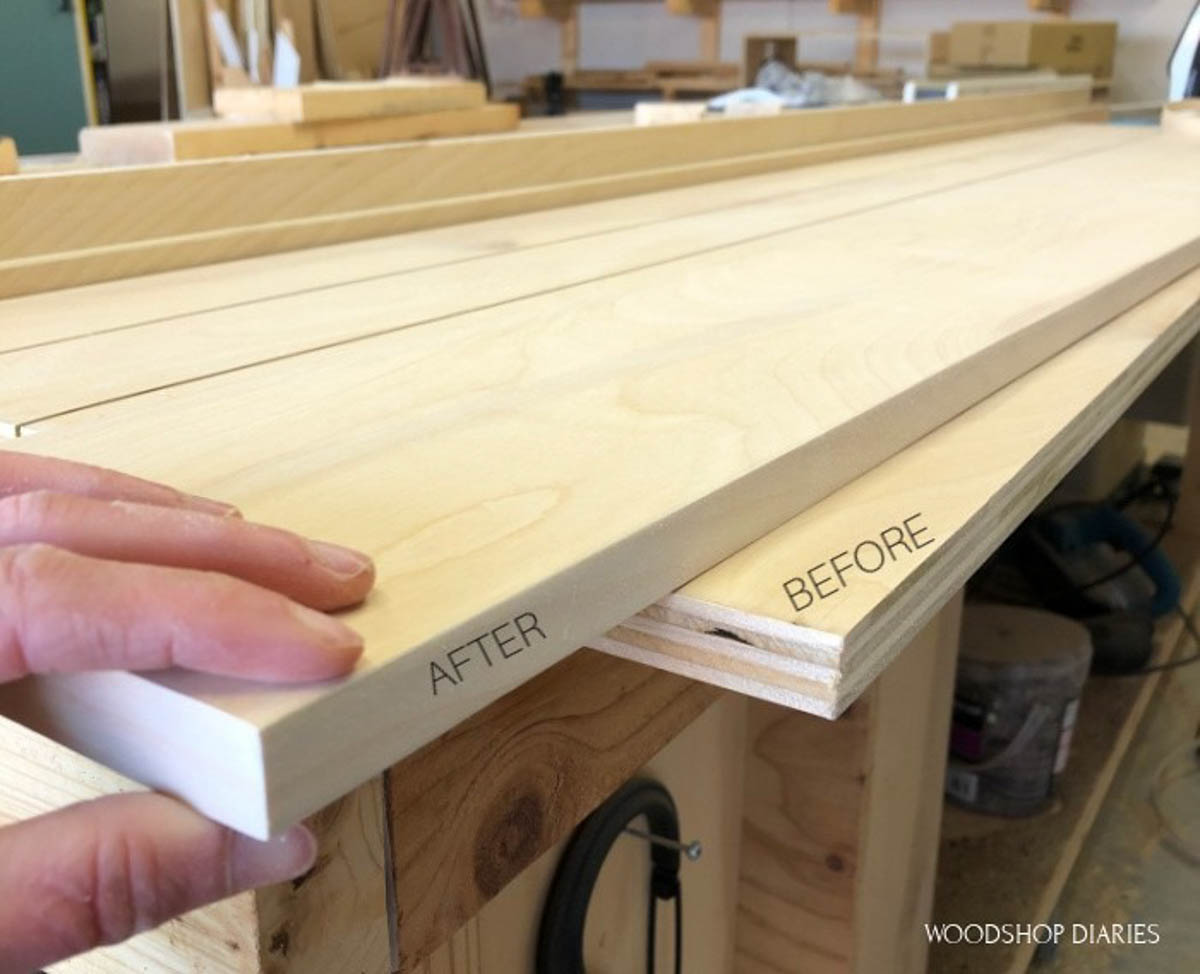
You can apply edge banding after assembly, but I find it easier, personally, to add it before assembling the pieces together.
RELATED: How to apply iron on edge banding
Filling Screw Holes:
I kept things simple and used wood glue and screws to assemble this shelf.
I used a Kreg Quick Flip to predrill and countersink my holes before driving the screws. The quick flip countersinks a ⅜″ diameter hole.
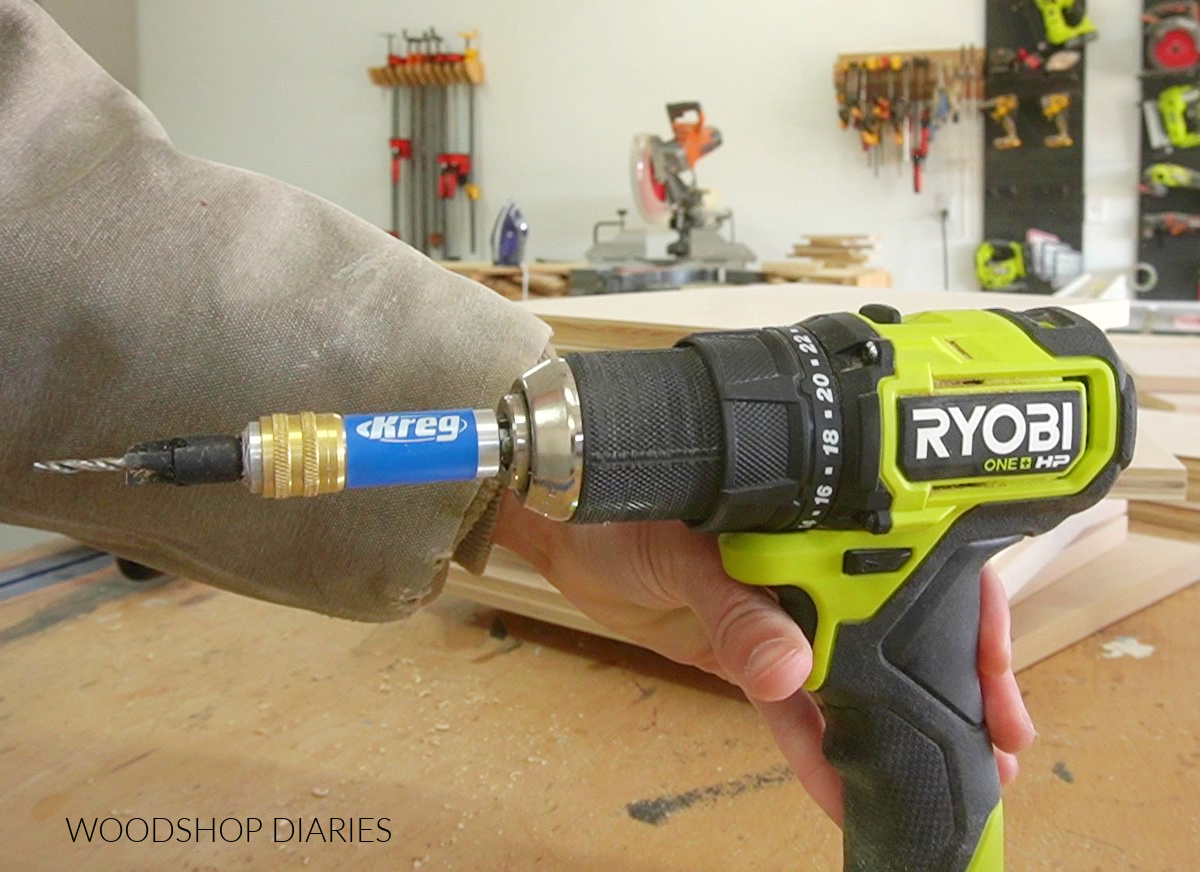
You could also use a regular countersink bit whatever size you’d prefer.
After I drove the screws, I could plug these holes with wood glue and a ⅜″ wood dowel.
Then, once the glue dried, I could trim these dowels using a flush cut blade on my oscillating saw and sand smooth.
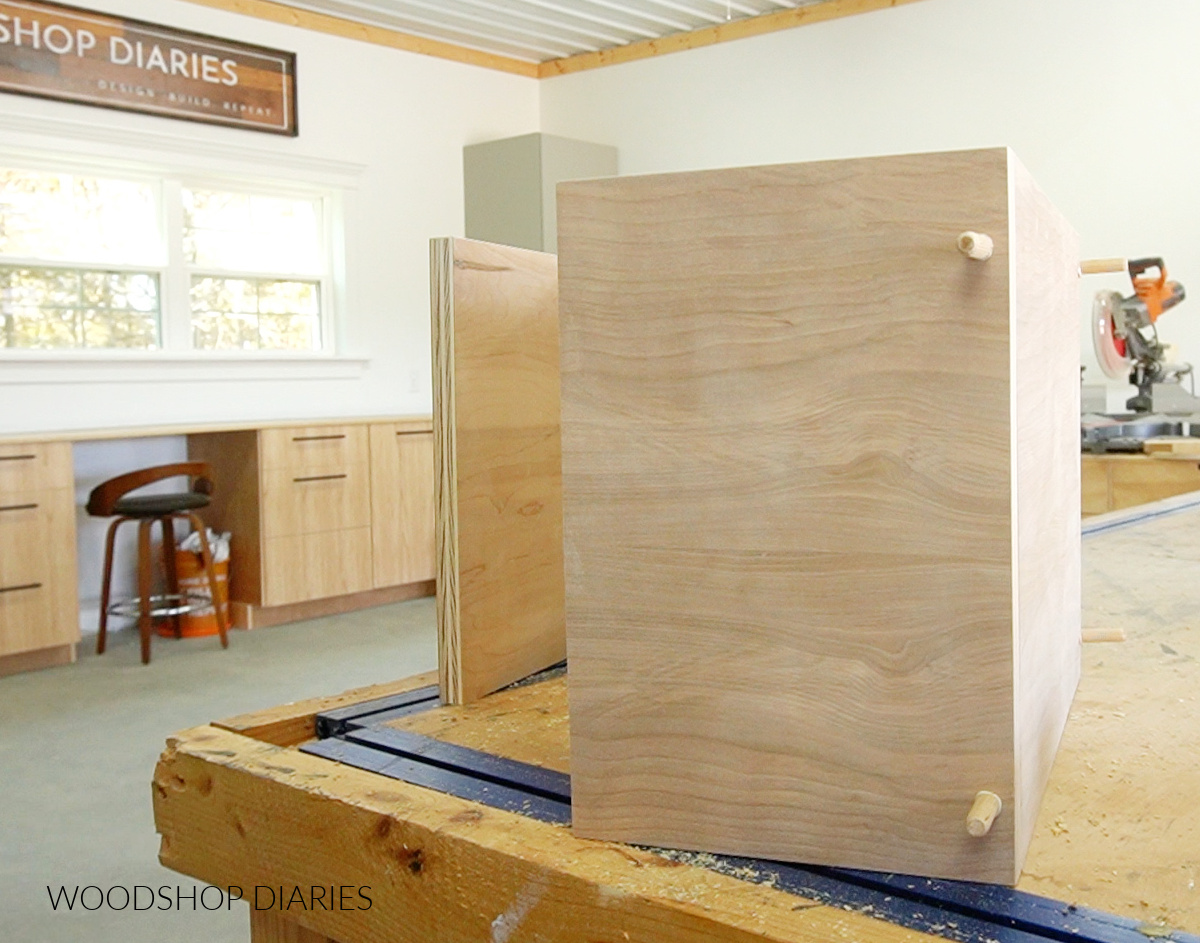
This created a really clean plug that will stain nicely to match the wood.
However, you can also plug or fill these holes using wood filler, if you’d rather.
Some guides you may find helpful for this build:
- How to cut plywood sheets
- How to make 2x2s from 2x4s
- How to apply iron on edge banding
- 5 secrets to professional looking DIY furniture
Tools & Materials:
Here’s what you’ll need to build a DIY geometric bookshelf:
*This post contains affiliate links. See policies page.
Tools:
- Miter Saw
- Circular saw and cutting guides
- Drill/Driver
- Kreg Quick Flip Drill Bit OR countersinking bit
- Measuring tape
- Sander
- Clamps (optional, but helpful)
Materials:
- (1) 4×8 sheet ¾″ plywood
- (1) 2x2x8 board
- 1 ¼″ wood screws
- 2″ wood screws
- Iron On Edge Banding
- Wood Filler or Dowels (to fill screw holes)
- Wood Glue
- Wood Finish as desired
Prefer to print your plans? Grab the printable version of the plans below here:
How to Build a Wooden DIY Geometric Bookshelf
I’m sharing the step by step process to build your own geometric shelf below, but if you prefer to print, you can find printable plans here as well.
Also, if you prefer to watch, I’ve got the build video over on YouTube as well!
Cut List
First, I cut my plywood sheet into 12″ wide strips.
I like to use my circular saw and Kreg Rip Cut to rip down my plywood sheets.
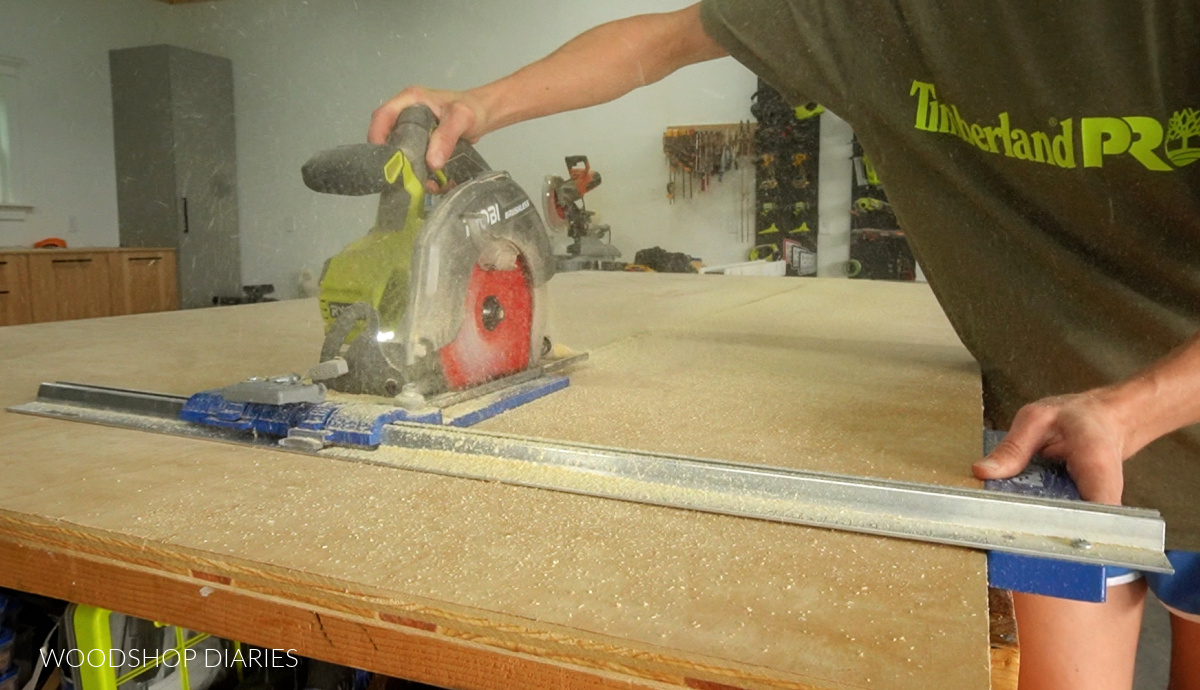
RELATED: You can learn how to cut plywood in this post.
A full cut diagram can be found in the printable plans here.
From these strips, I cut:
- (10) pieces 12″ x 14 ¾″
- (3) pieces 7 ¼″ x 12″
- (3) pieces 8″ x 12″
Step 1: Assemble Top Geometric Shelf Box
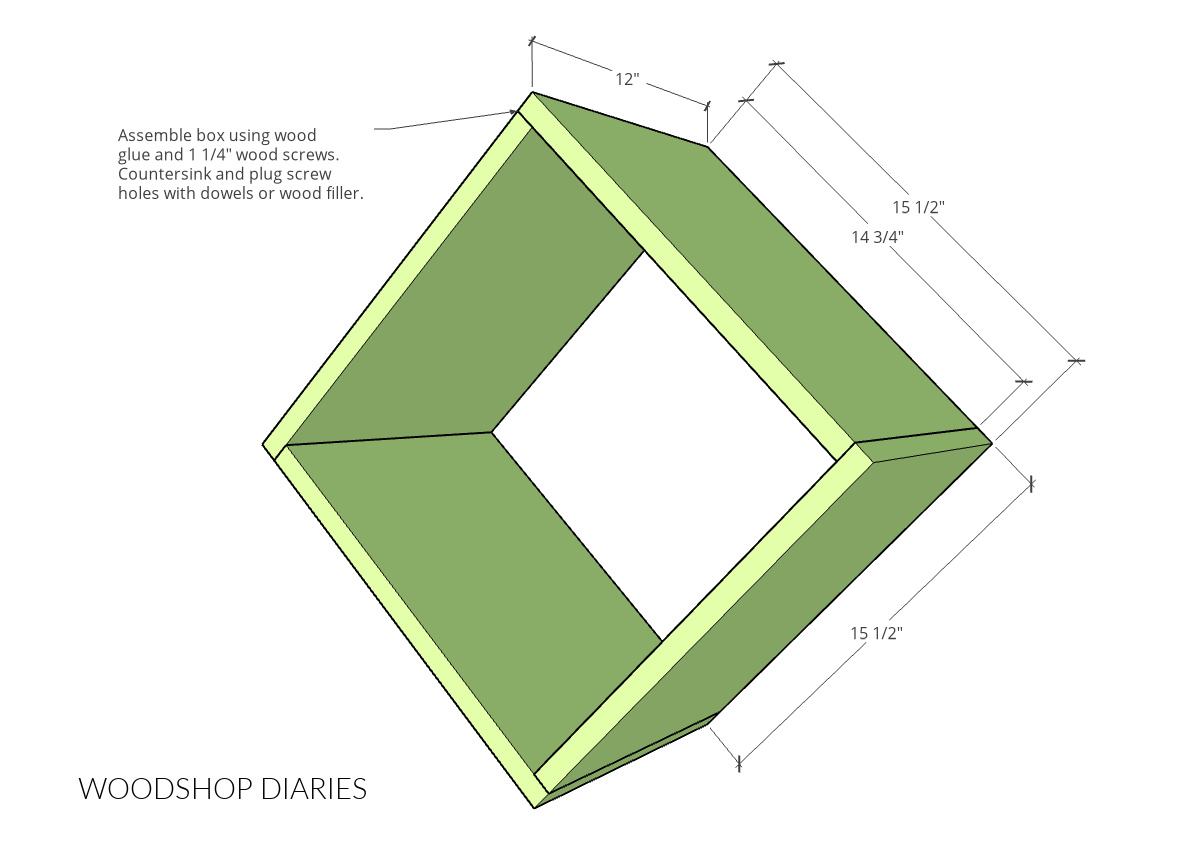
First, I assembled a simple square box using wood glue and 1 ¼″ wood screws.
I overlapped each corner like shown below so that all the pieces fit together with equal sides.
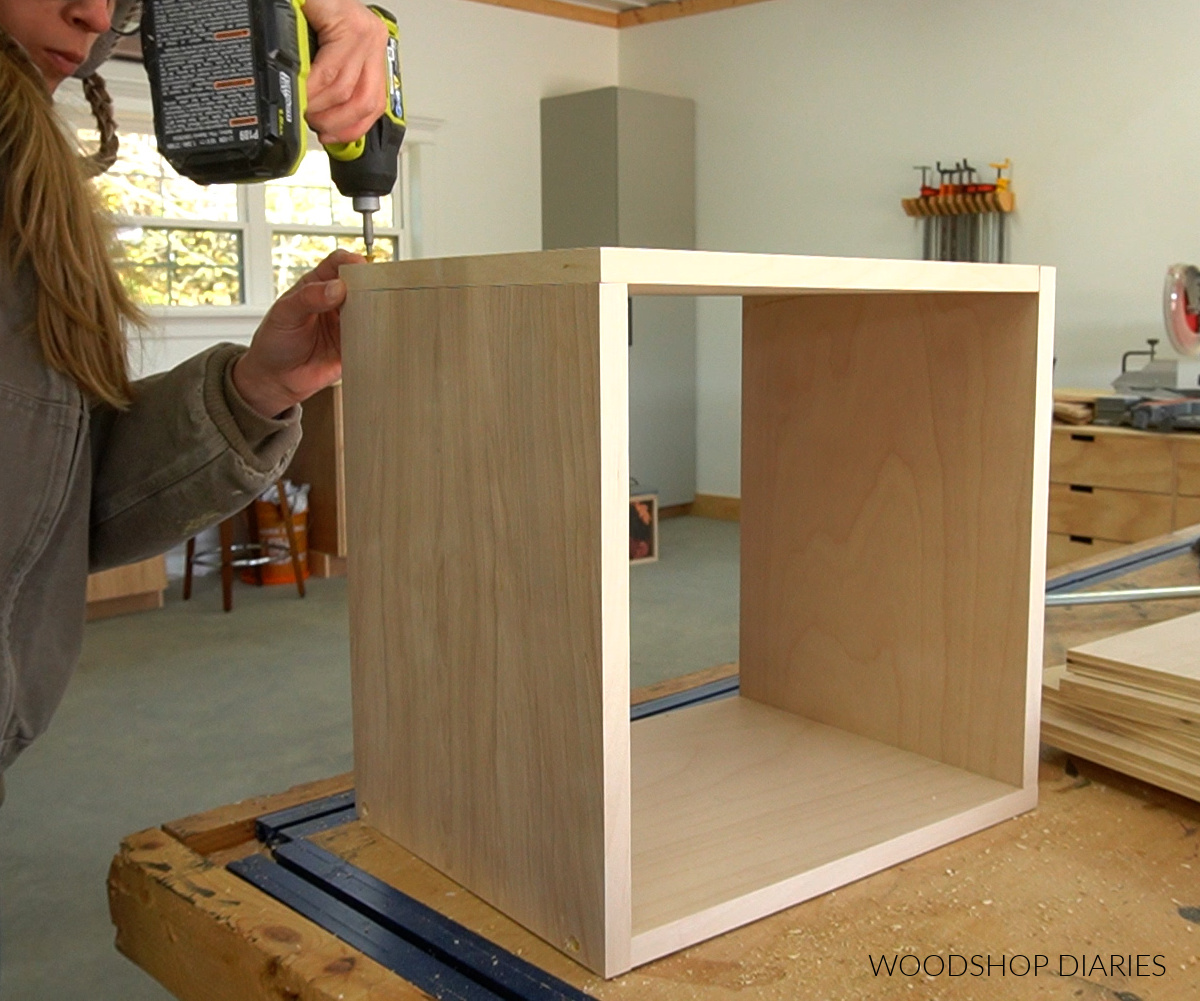
As mentioned in the notes above, I applied iron on edge banding to the sides that will be exposed once assembled.
This just made the edges look a little cleaner.
Step 2: Assemble Partial Shelf Boxes
The box made in step 1 is the very top of the shelf.
The rest of the structure is made of three “partial boxes.”
These partial boxes are made from (2) 14 ¾″ long pieces, a 7 ¼″ piece and an 8″ piece from the cut list.
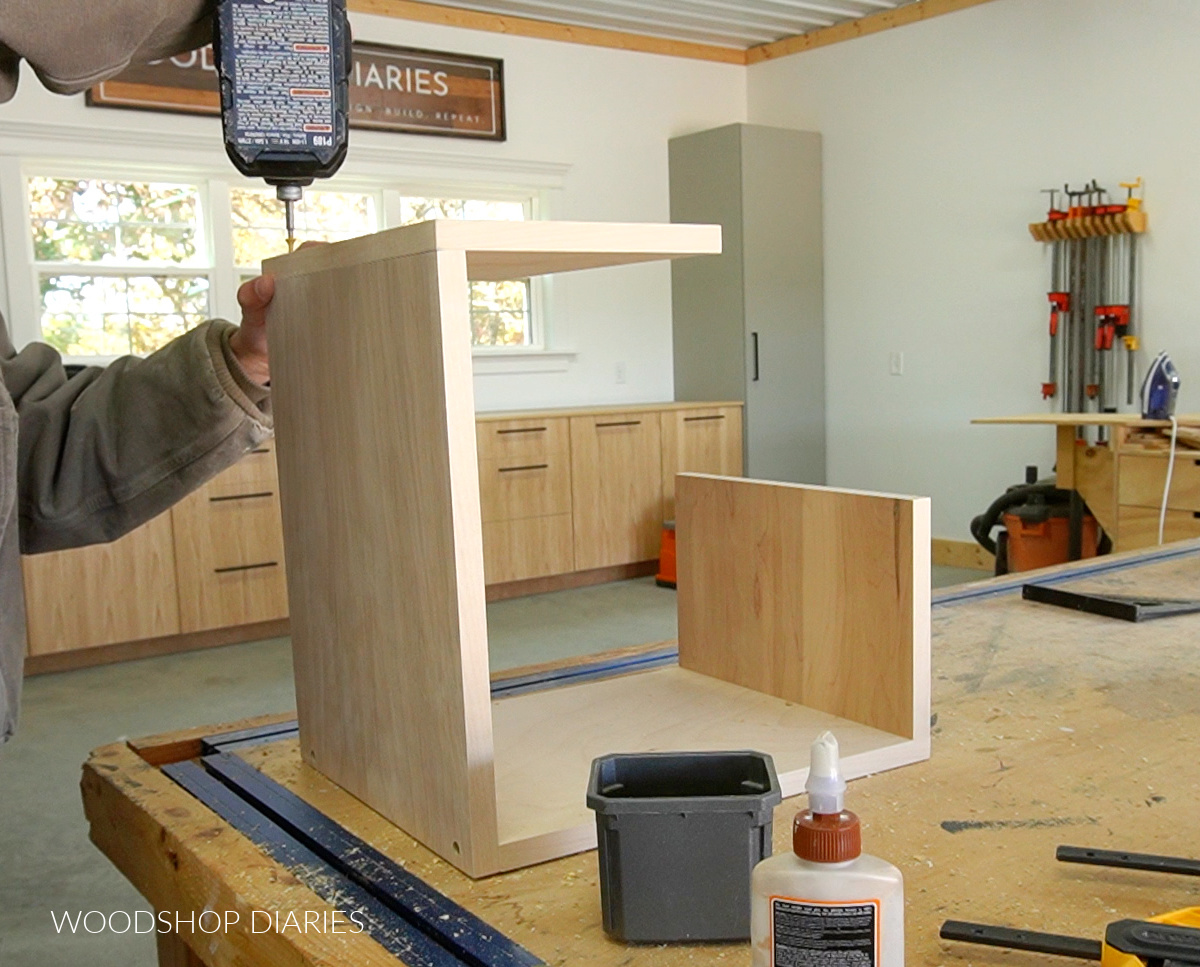
The two larger pieces are screwed together into a “V” shape and the smaller pieces are added on the sides.
Notice the orientation of the shorter pieces in the diagram.
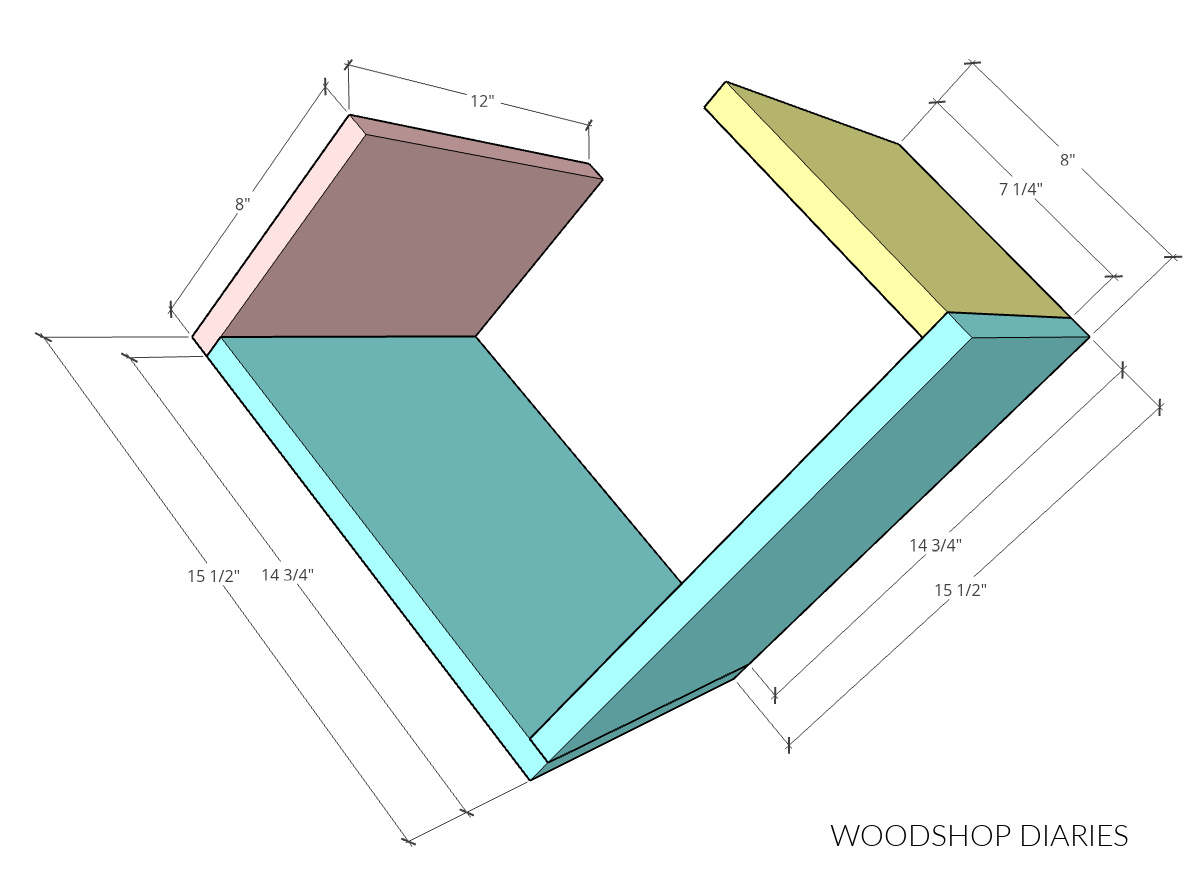
The partial shelf boxes are assembled so that the two long sides are equal length and the two short sides are equal length.
The full box from step 1 and the three partial boxes here will fit together to make the shelf body.
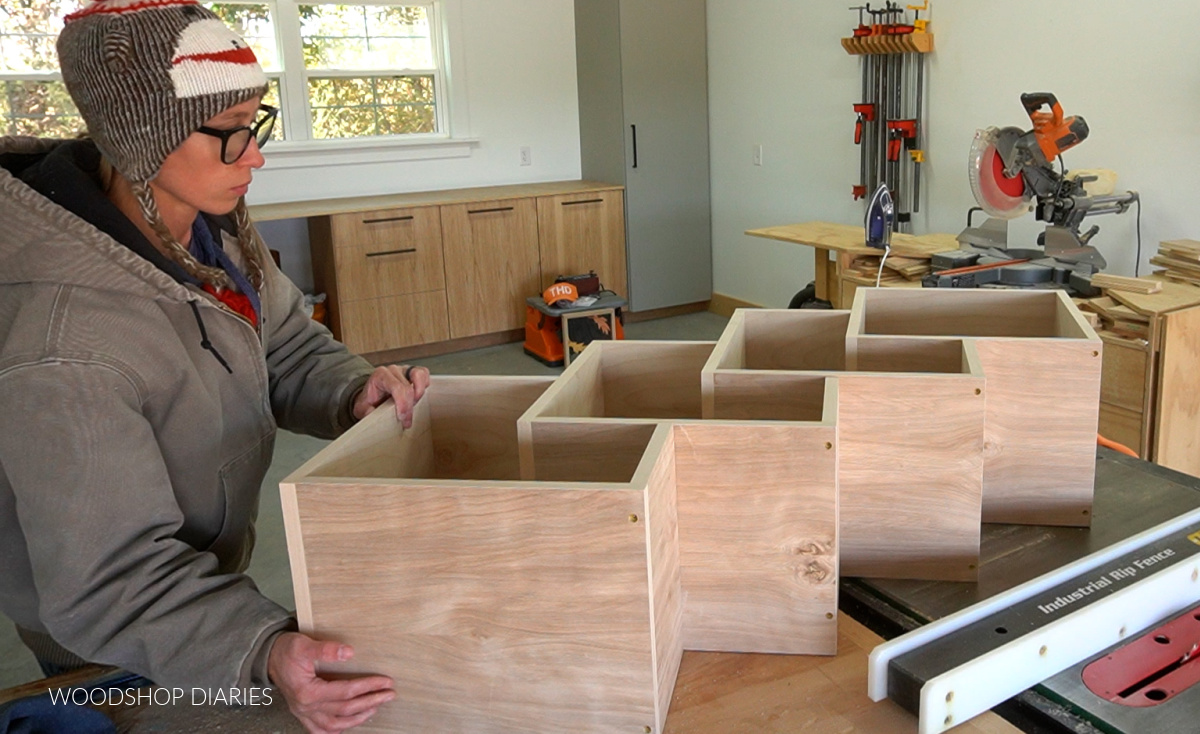
See notes above. I plugged the countersunk screw holes using wood glue and wood dowels.
You can plug/fill the screw holes as desired.
Step 3: Cut and Attach Bookshelf Legs
The legs for this geometric bookshelf are cut from a 2×2.
I adjusted the miter saw to 22.5 degrees.
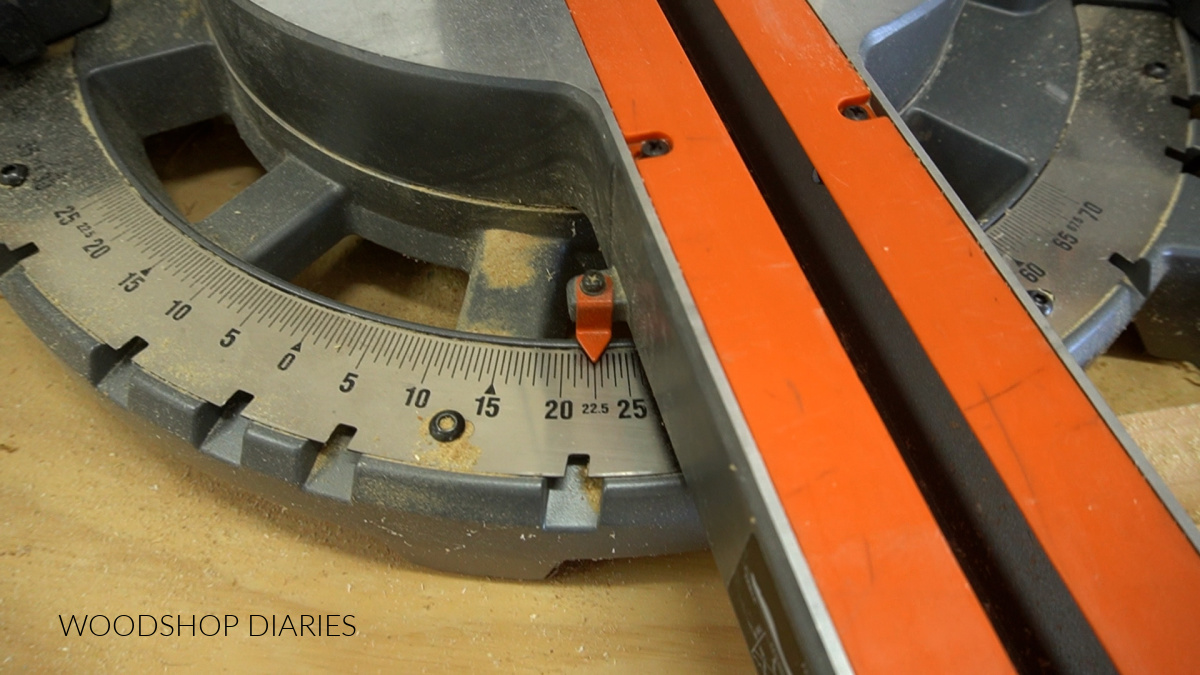
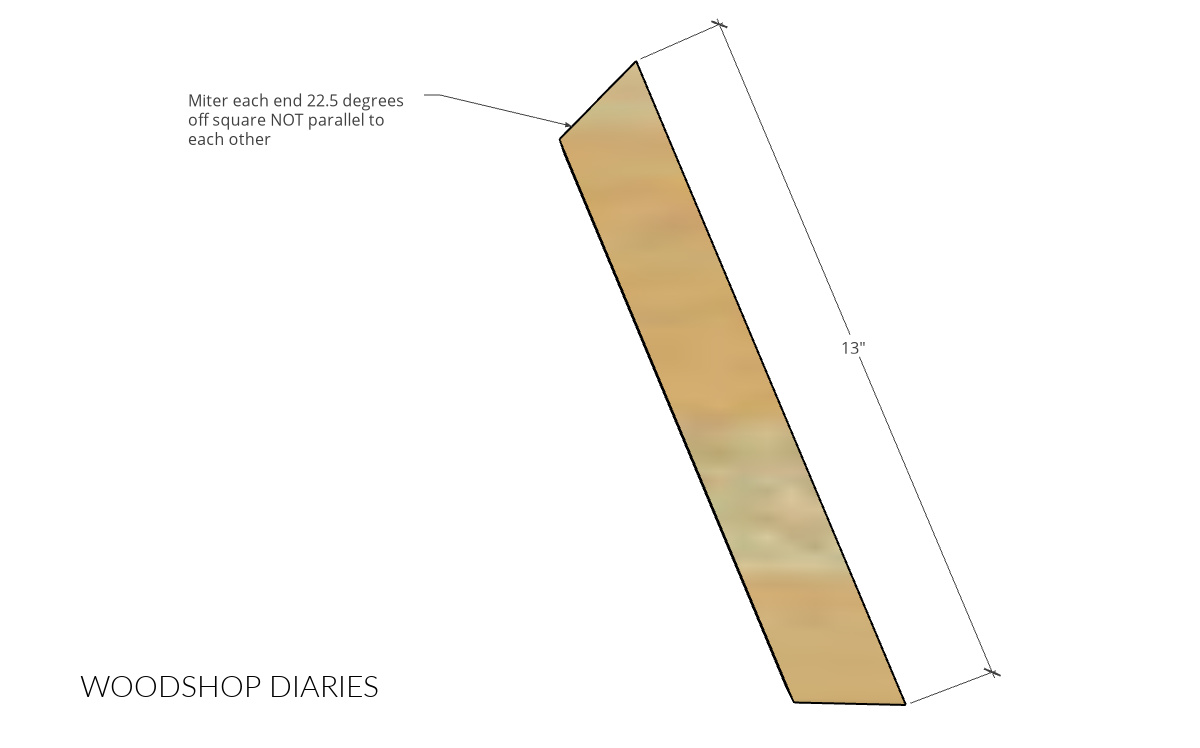
Then I cut four legs with ends mitered NOT parallel to each other 13″ long.
Before installing the legs and attaching any shelf boxes together, I went ahead and stained two of the shelf boxes.
This is totally optional. You can finish however you’d like.
RELATED: How to finish wood furniture
I stained two partial boxes in Minwax True Black. I left the other two pieces their natural wood color.
One of the stained boxes will be the bottom, so I’ll install the legs to it–it was easier to stain before adding them.
These were kind of challenging to install since they’re at an odd angle and difficult to clamp.
So I found it easiest to mark the location to install–8″ from the bottom corner of the shelf box.
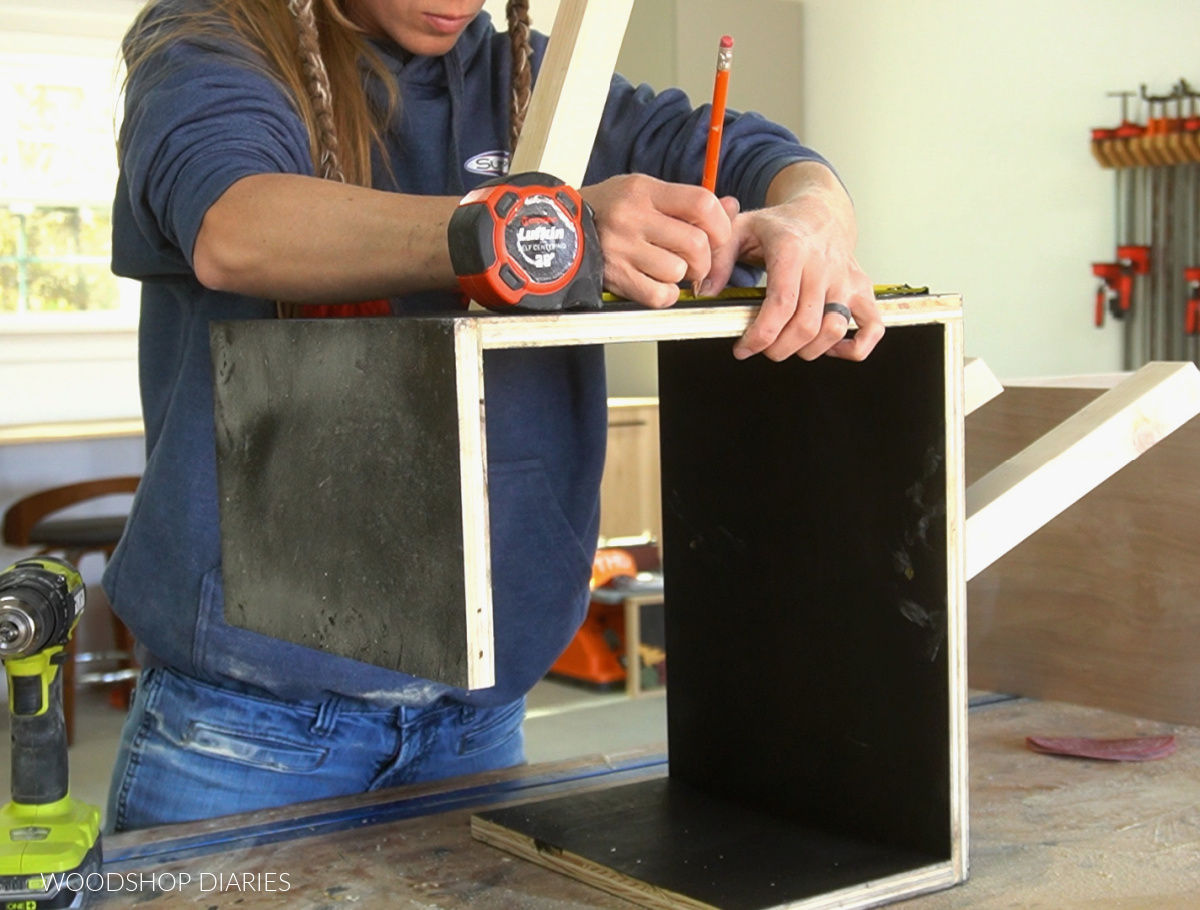
Then, I held the leg in place and predrilled a hole through the shelf bottom and into the leg.
After predrilling, I added wood glue, then screwed a 2″ wood screw through the predrilled hole.
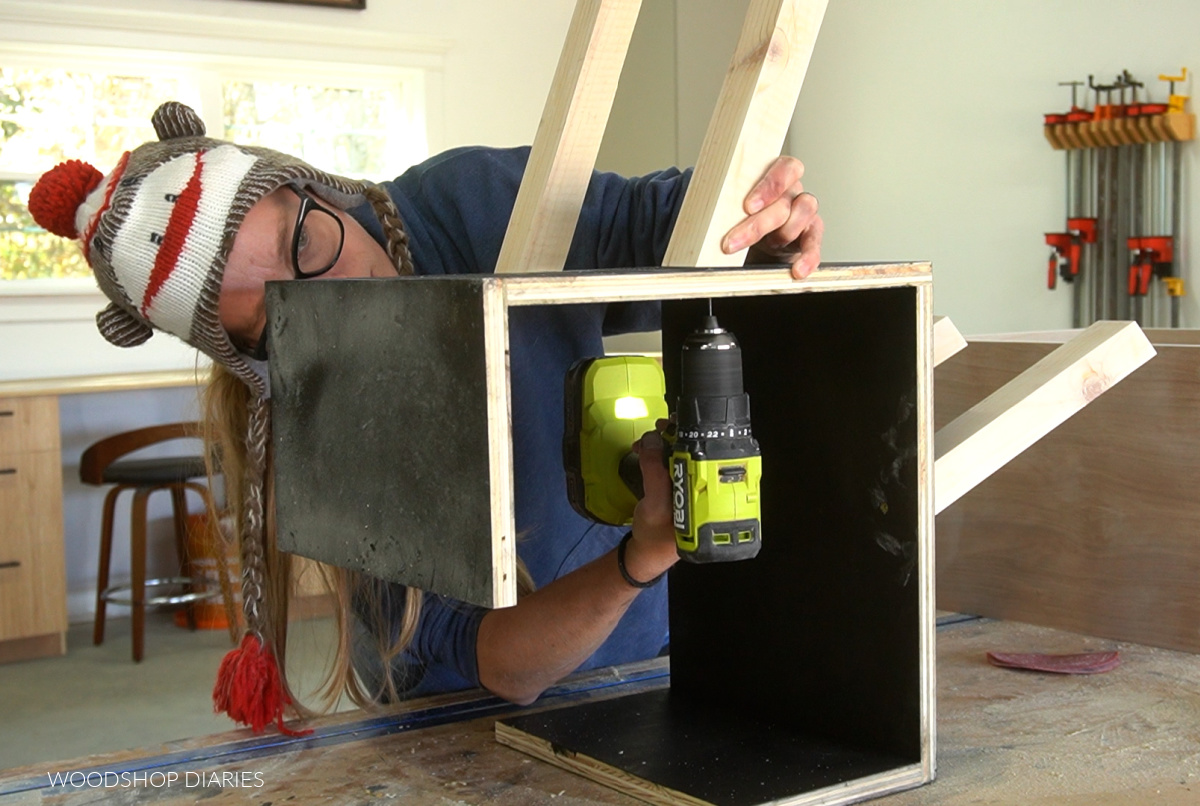
I did this for all four legs and after they were all attached, it was time to assemble all the shelf boxes to this one.
Step 4: Attach Shelf Boxes
Starting from the bottom and working my way up, I attached each shelf box to the one below it.
I secured these using wood glue and 2″ wood screws–two per joint.
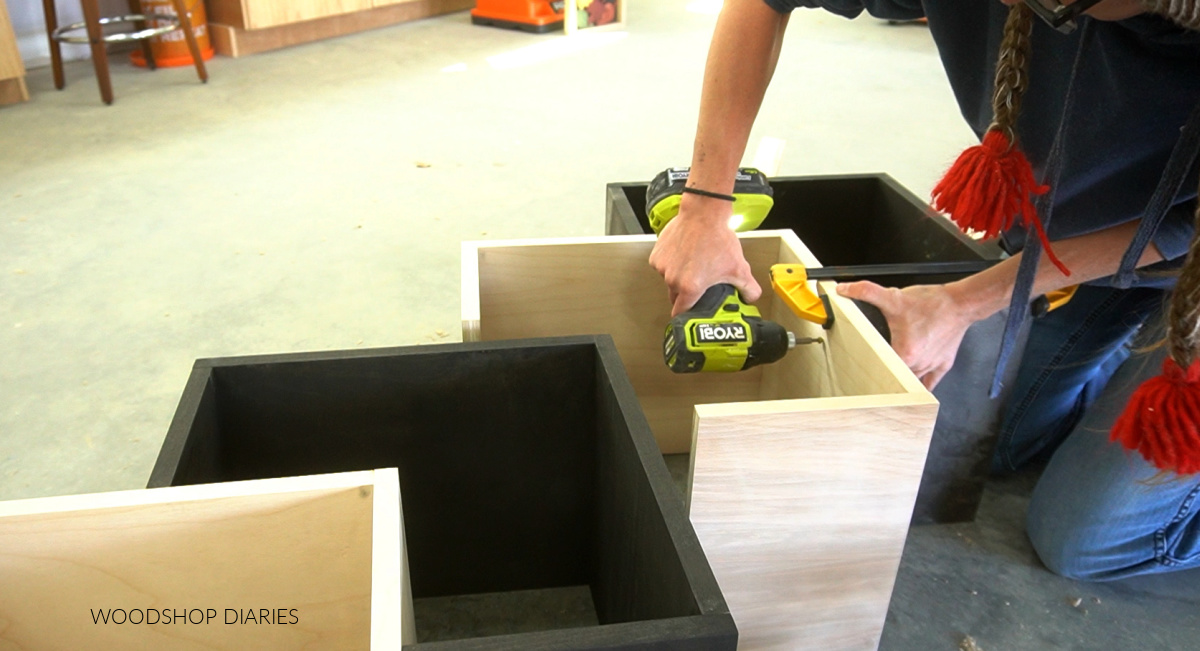
I made sure to predrill all holes before driving the screws to help prevent plywood from splitting.
Each shelf box is secured to the one below it making sure to keep everything square.
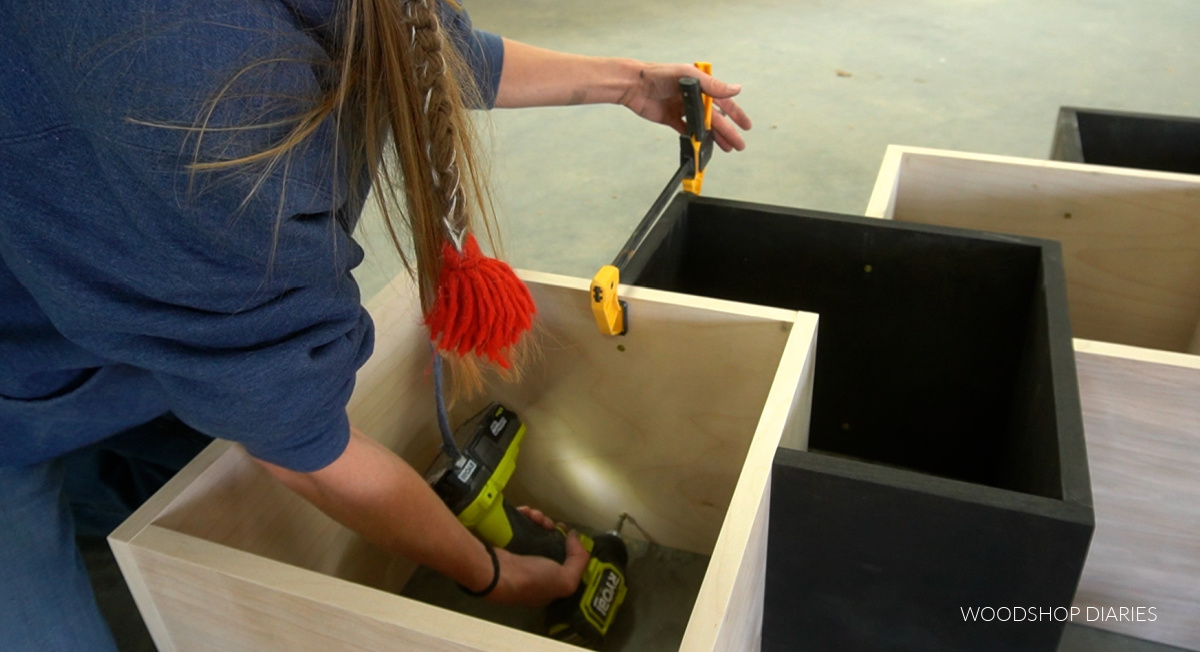
After the top box was secured, the shelf was complete!
Now it’s ready for storing books, records, clothes, blankets, whatever you can think of!

I hope you enjoyed watching this DIY geometric bookshelf project come to life!
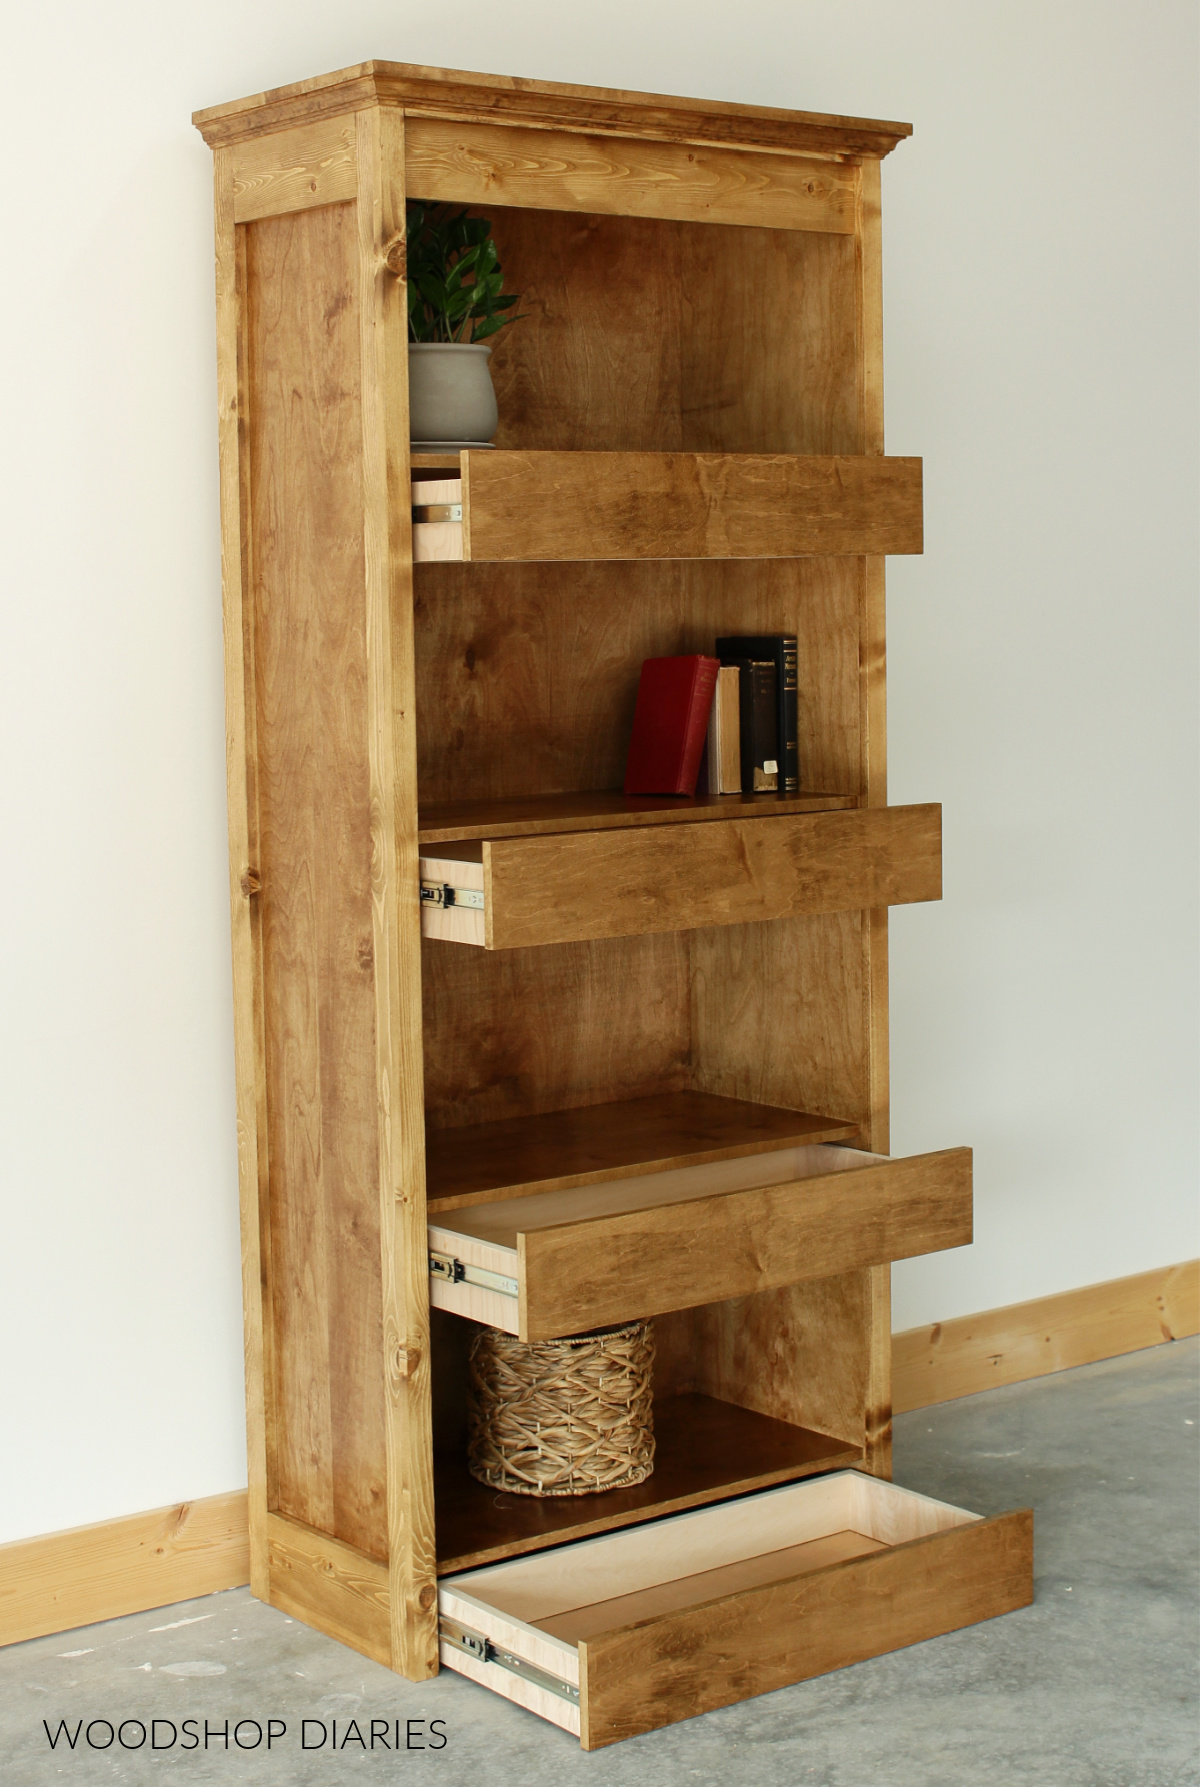
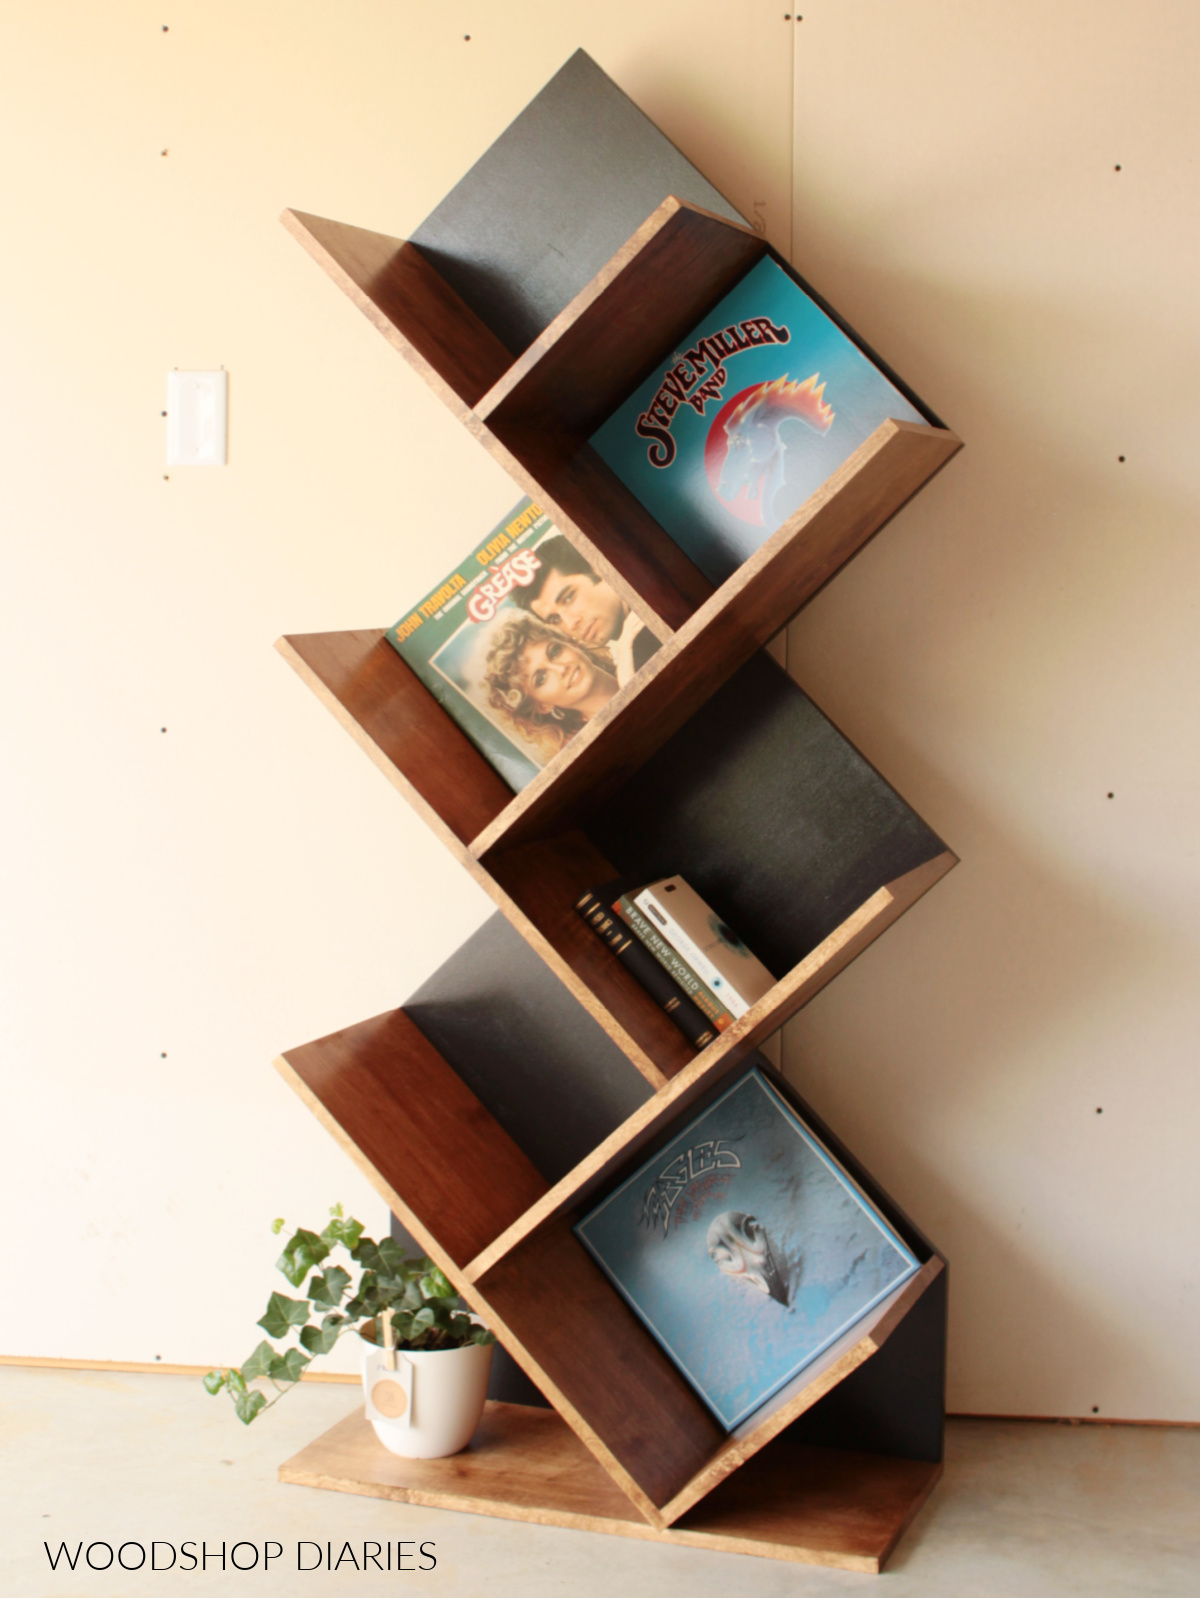
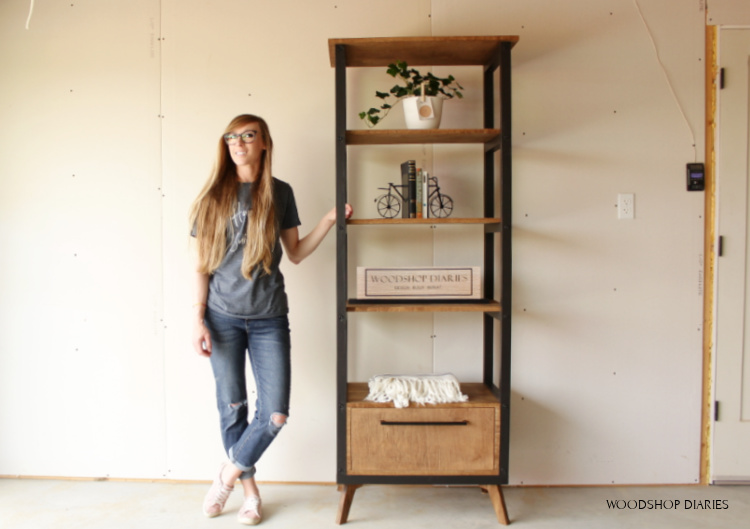
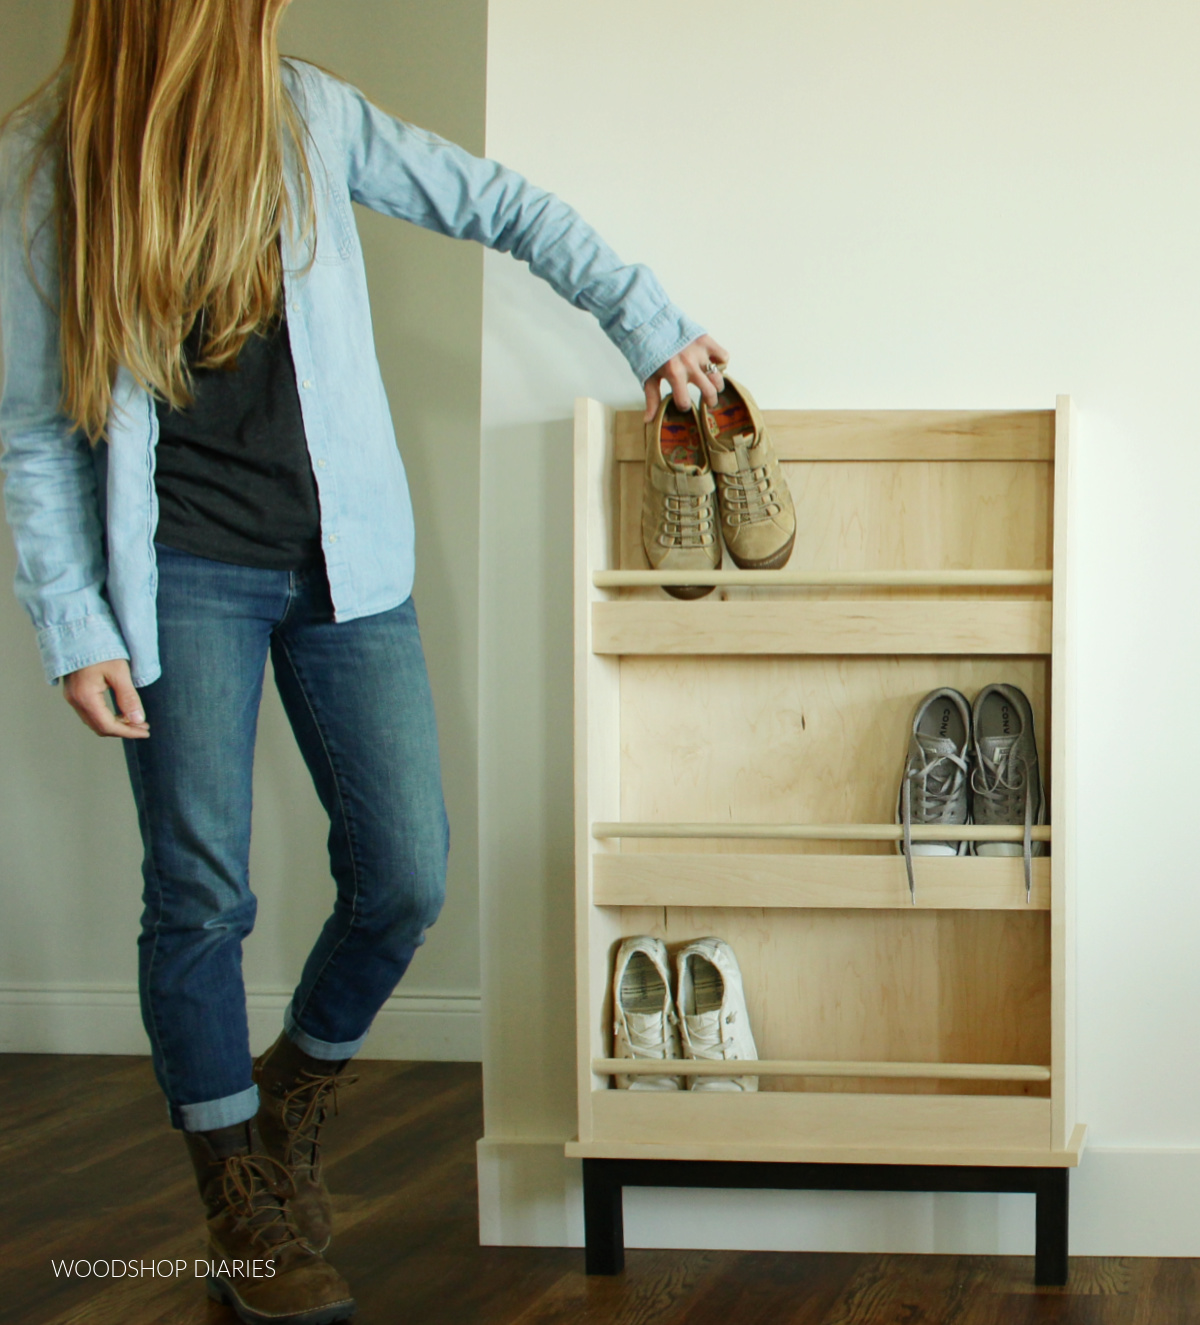
If you’d like to check out more shelf project ideas, here are a few favorites!
If you’d like priority access to the latest projects and plans, be sure to subscribe to the newsletter!
And if you’d like to save this project for later, don’t forget to pin it or share it to your favorite social channel!
Until next time, friends, happy building!
DIY Modern Geometric Shelf
Step by step instructions to build your own modern DIY geometric bookshelf from plywood and 2x2s. Printable building plans and video
Materials
- (1) 4x8 sheet ¾" plywood
- (1) 2x2x8 board
- 1 ¼" wood screws
- 2" wood screws
- Iron On Edge Banding
- Wood Filler or Dowels (to fill screw holes)
- Wood Glue
- Wood Finish as desired
Tools
- Miter Saw
- Circular saw
- Drill/Driver
- Kreg Quick Flip Drill Bit
- Measuring tape
- Sander
- Clamps (optional, but helpful)
Instructions
- Make cuts according to the plans.
- Assemble top shelf box using wood glue and 1 ¼" wood screws.
- Assemble partial shelf boxes.
- Paint or stain boxes in the stain or paint color of your choice.
- Cut and attach bookshelf legs.
- Attach shelf boxes and it's ready to use!


