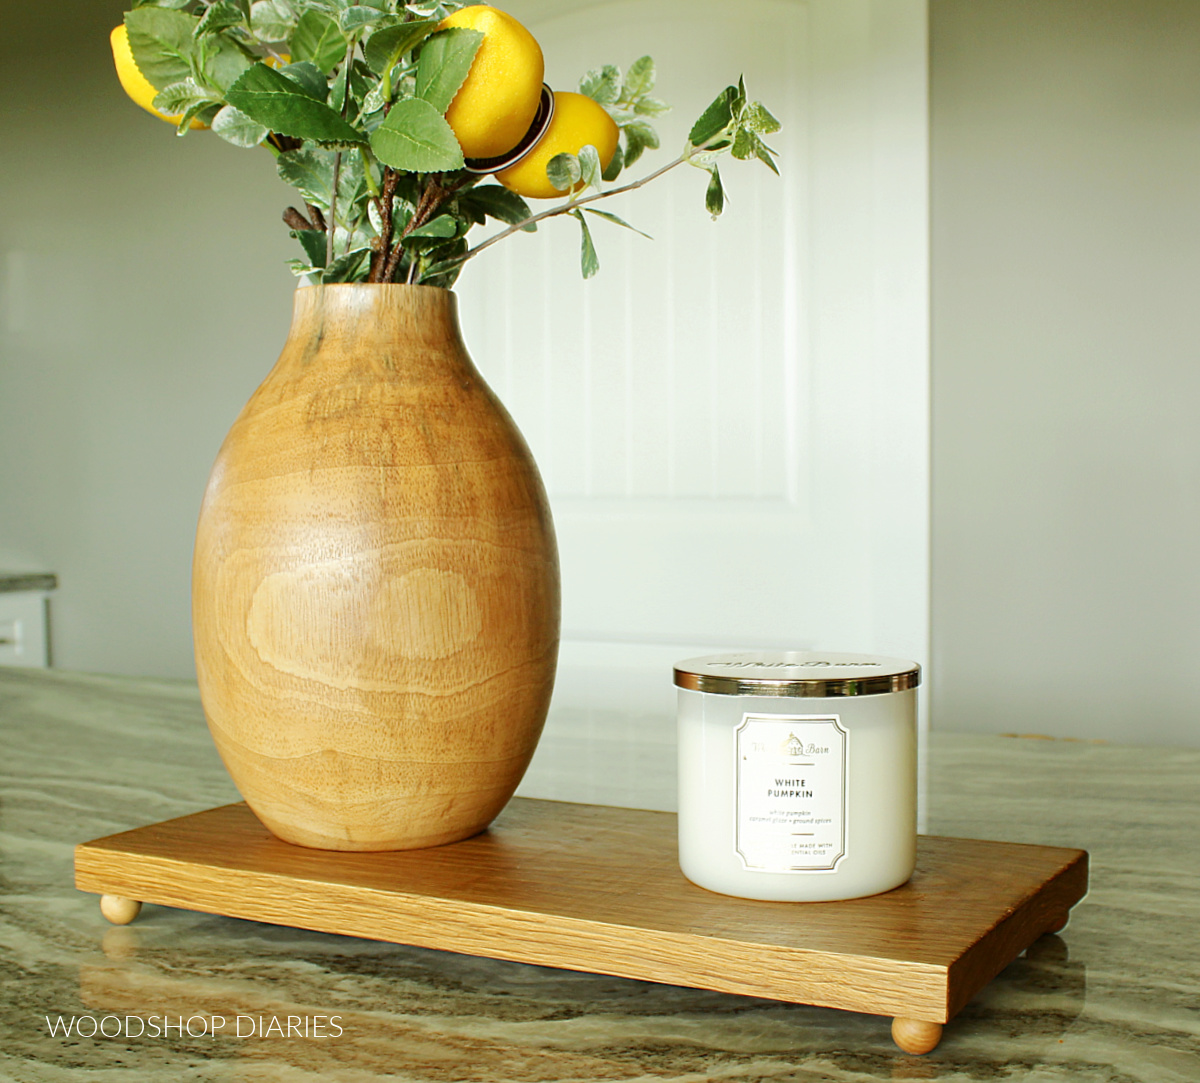
In this post, I’m sharing how to make an easy DIY footed tray in just 5 minutes using scrap wood!
I love a good scrap wood project–especially one you can throw together in just a few minutes with little to no tools!
.
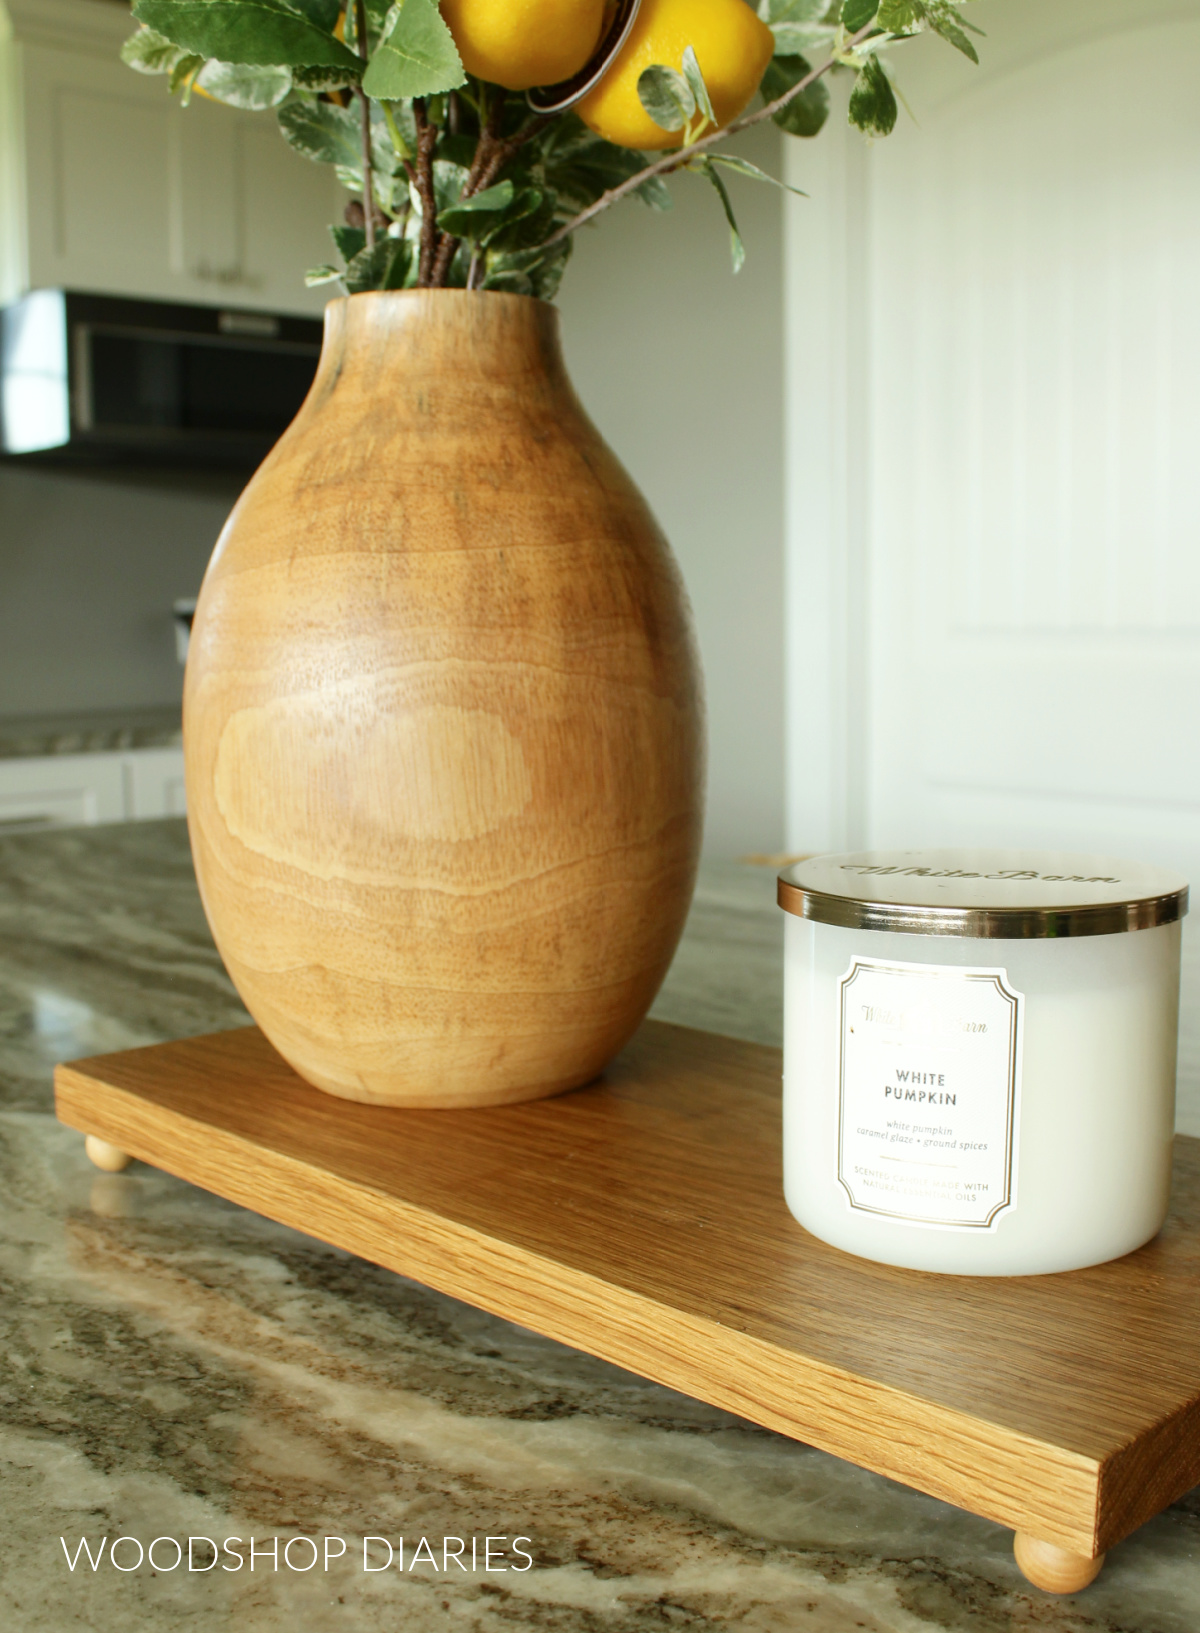
These are perfect to make in all different sizes to use in various places around the house–like for a plant coaster, a cute serving tray, a place to set bathroom items on the vanity countertop, etc.
.
I especially like the idea of a plant coaster to help protect my furniture surfaces!
.
No matter what you use it for, I’m sharing how to make your own DIY wooden tray with feet below.
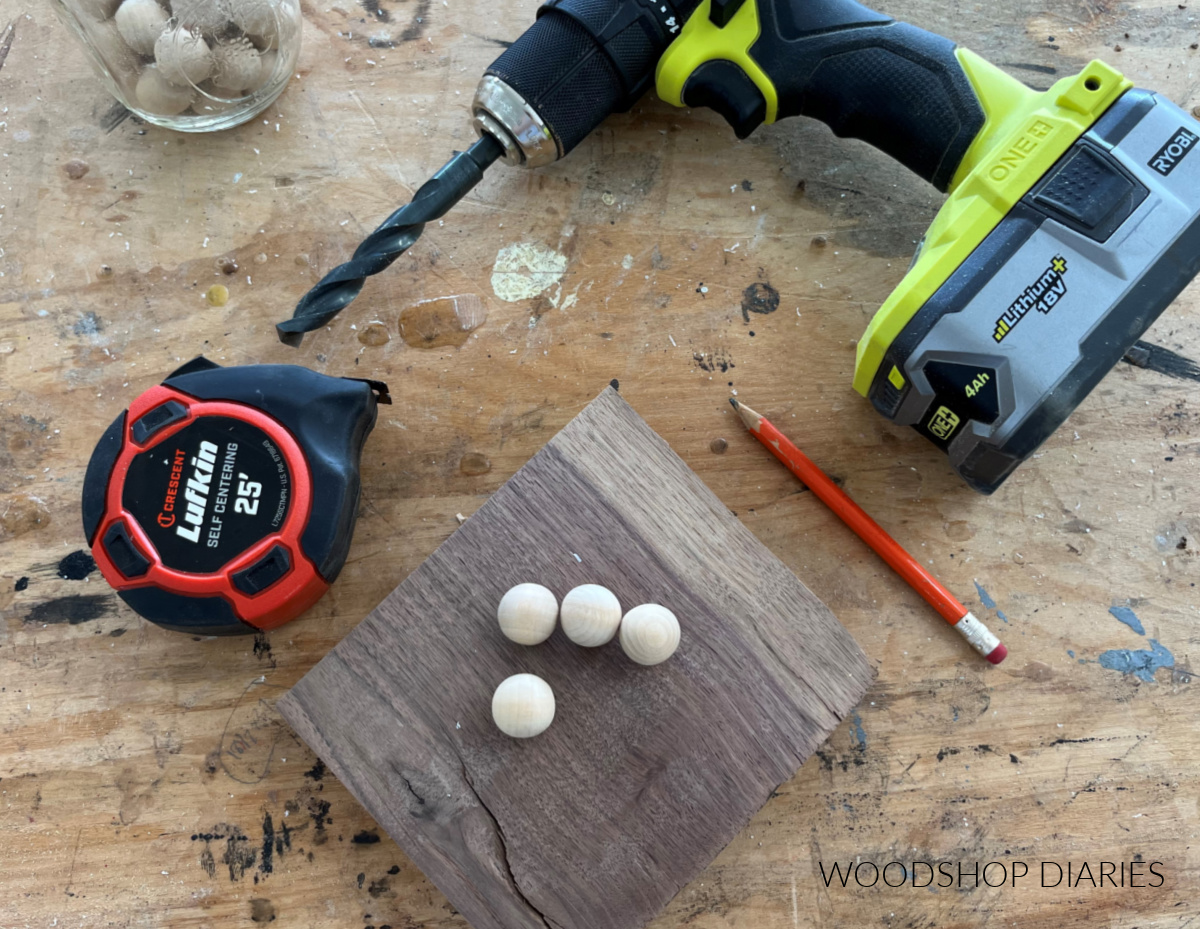
Tools & Materials:
*This post contains affiliate links. See website policies.
Tools:
- Drill
- Drill Bits
- Saw (only need if you need to cut down your scraps to a certain size)
Materials:
- Scrap wood (any size, any type…get creative!)
- Wooden Balls (could also use small furniture feet, little blocks, etc)
- Fast Dry Wood Glue
- Wood Finish
How to Make a DIY Footed Tray
The process to make this simple wooden tray with feet is SUPER easy!
.
But, just in case you’d prefer to watch and not just read, I made a fun video for it as well!
.
Watch the video here, then grab the how to below.
Step 1: Find and Trim Scrap Board for Footed Tray
Browse around your scrap wood pile and take inventory of what you have. Pick one (or several) pieces you’d like to use for this.
.
This is a great time to use up those small hardwood blocks, pieces with rough edges, or pieces with cracks or imperfections that you may not be able to use for other, larger projects.
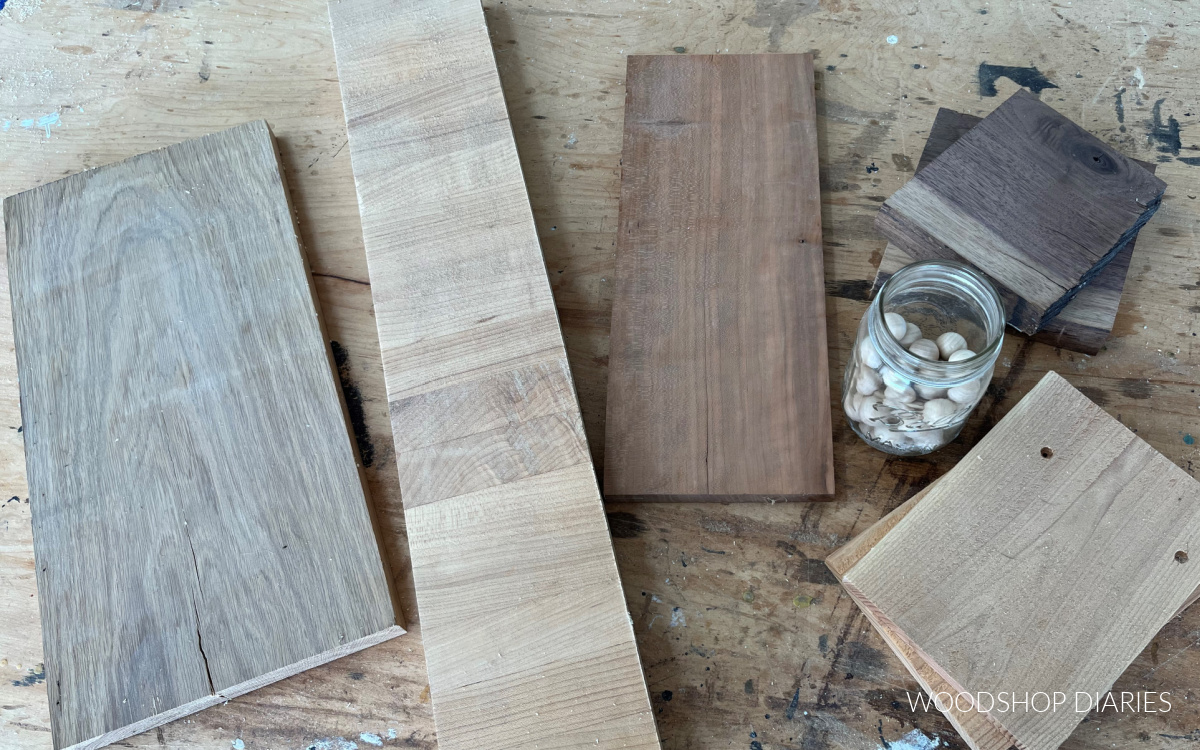
Small pieces work great for coasters, but you could use larger pieces for a tray.
.
Trim down scraps to your desired size (if needed). Feel free to get creative and cut them in circles or other shapes if you don’t want a square or rectangle.
.
Sand pieces as needed.
Step 2: Drill Foot Locations
Since I was placing wooden balls on the bottom of the board, I decided to drill small holes for these to sit down into.
.
If you decided to use something else for “feet” instead of wooden balls–something with a flat surface–you can skip this step.
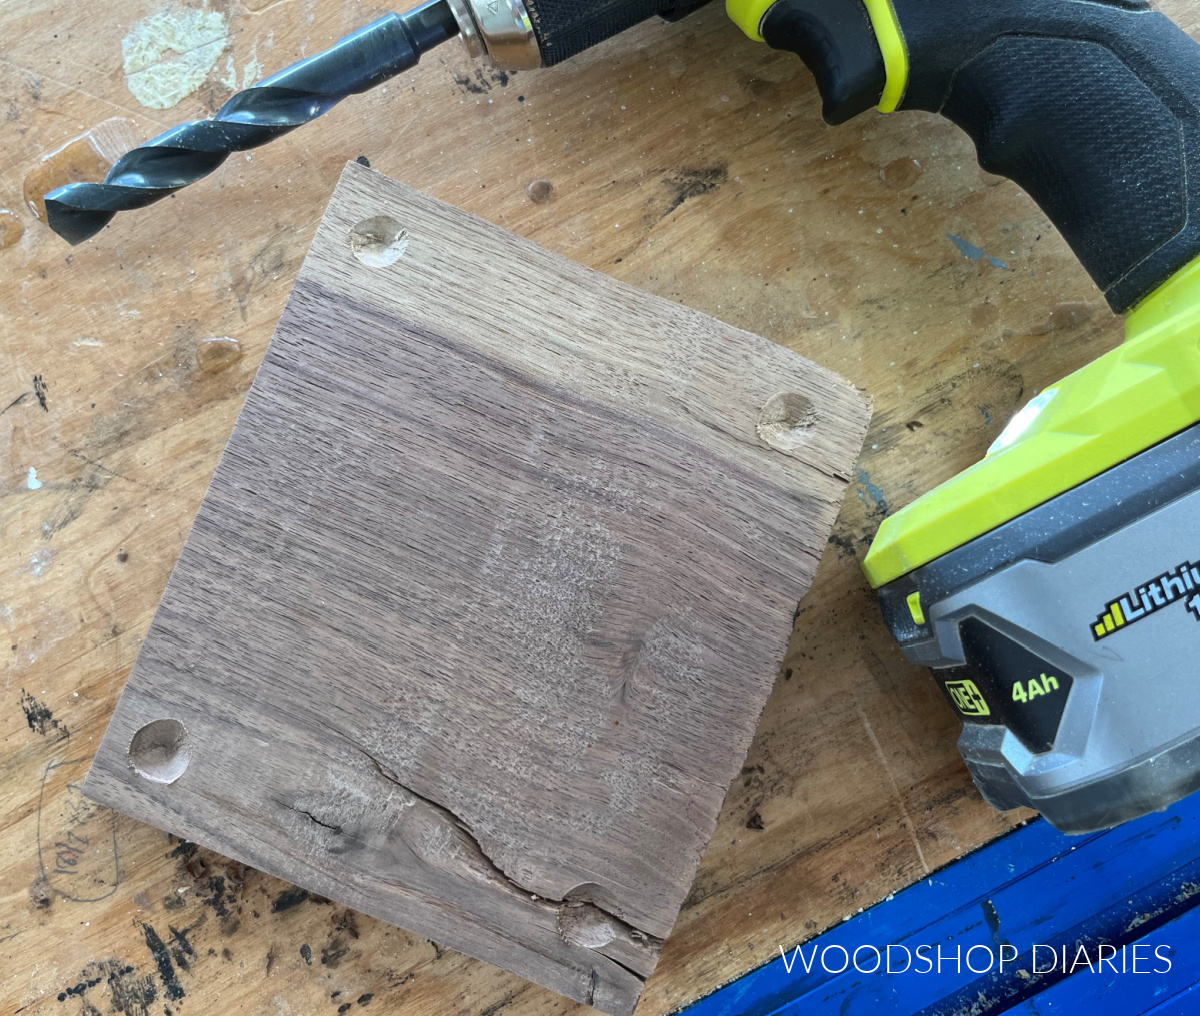
This isn’t NECESSARY, but it allows more surface area for the glue to bond the pieces, so the feet have a stronger hold.
.
I used my largest drill bit and drilled small “dips” at each corner.
Step 3: Glue Feet onto Wooden Tray Bottom
To keep things quick, I used some Krazy Glue Fast Dry Wood Glue to attach the wooden balls/feet to the wood piece.
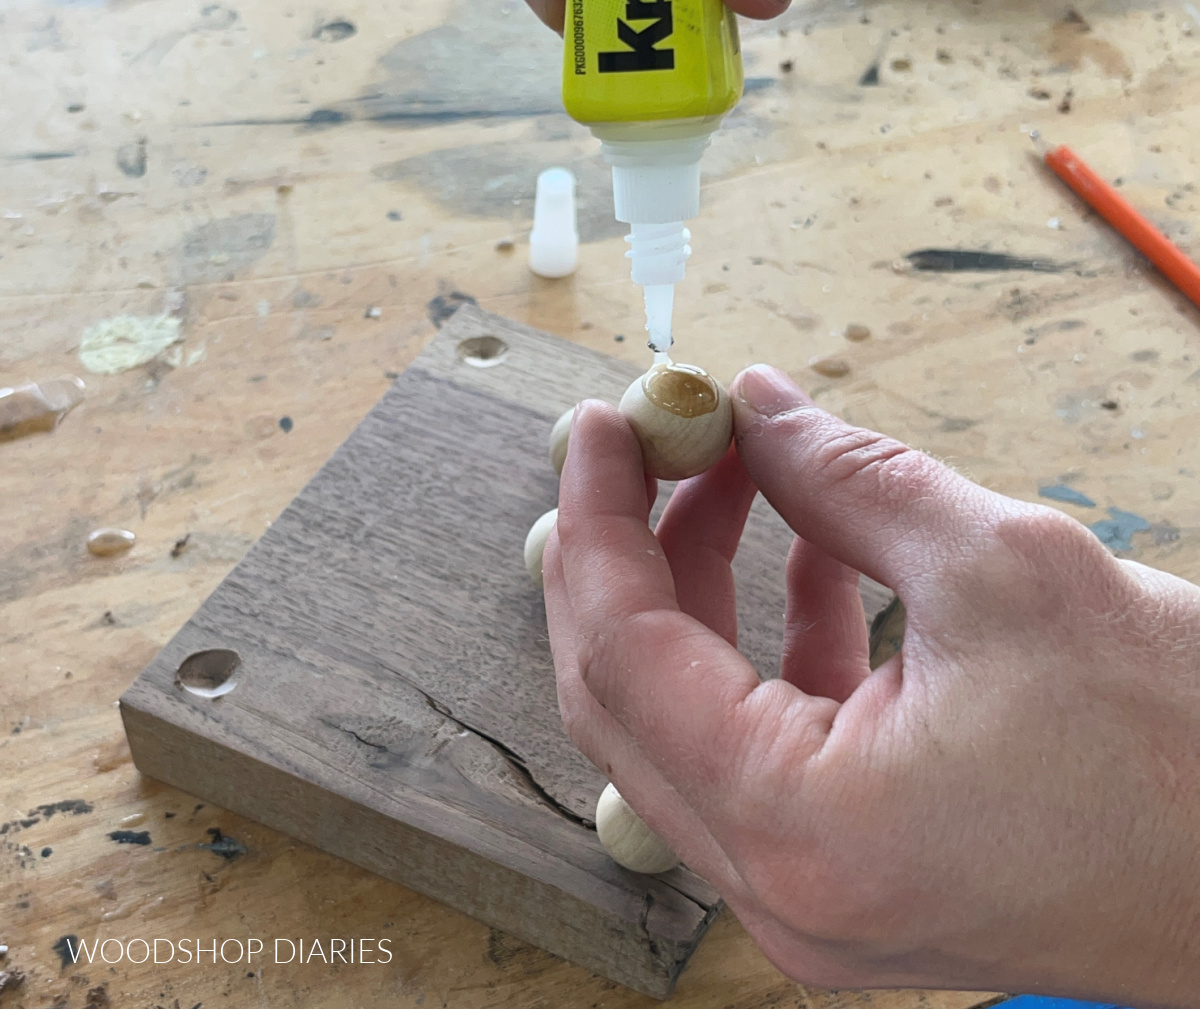
You could certainly use regular wood glue if you’d rather, but it will take a good while to dry.
.
There are many types of “fast drying” super glue for wood that you could use for this, but I’ve used Krazy Glue on several projects recently (like these large custom picture frames!)and have been really impressed with how well it works.
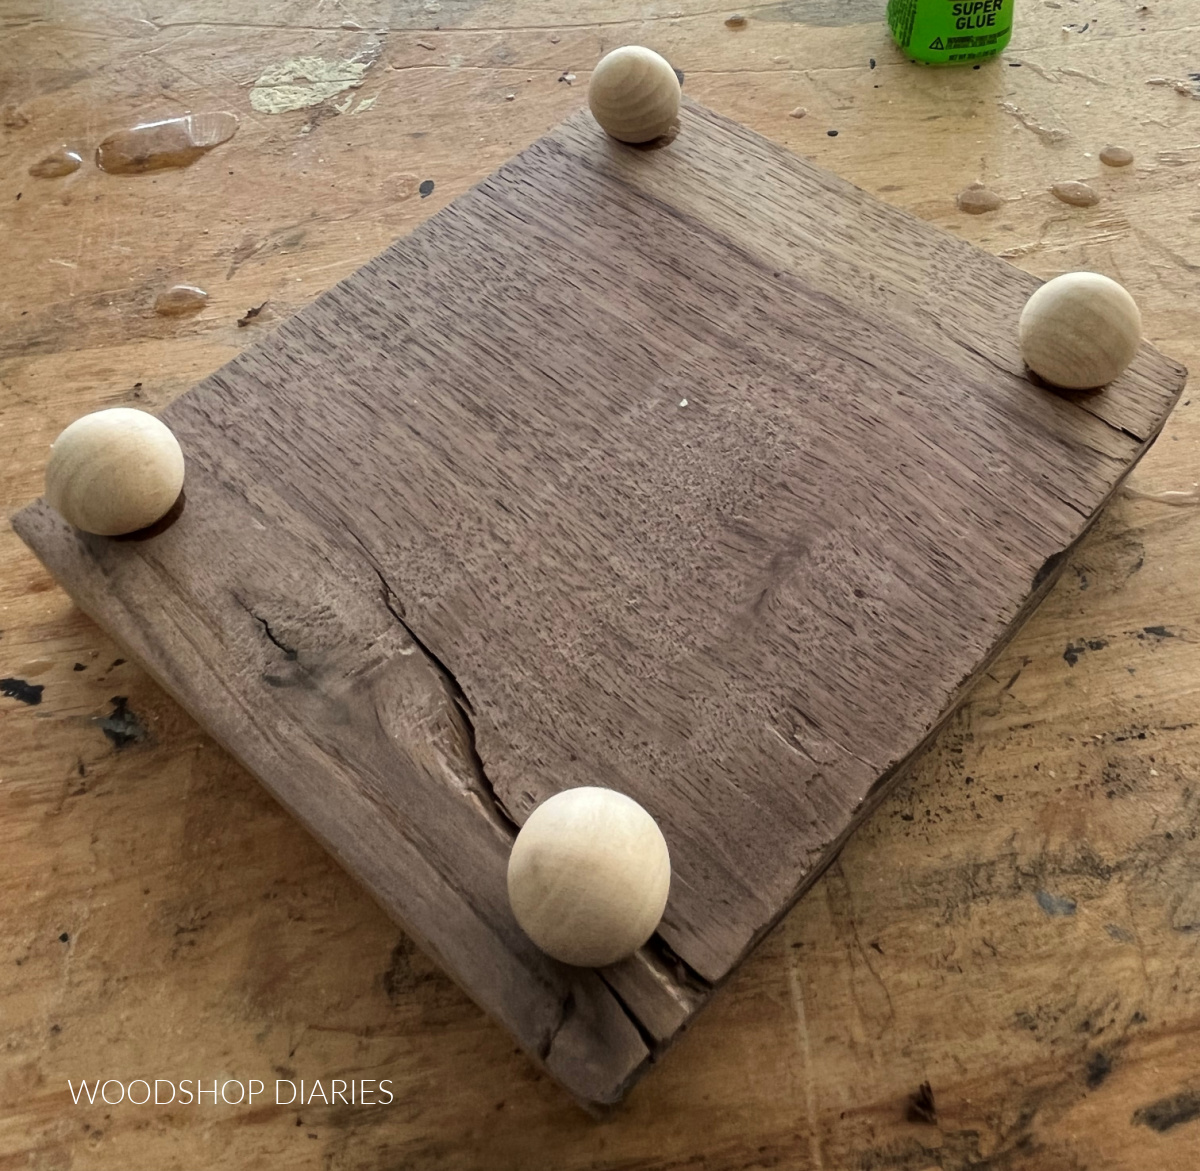
I covered the top of each wooden ball with glue and set them into the holes and allowed to dry.
.
If you wanted to use little furniture feet or blocks instead of wooden balls, go for it! Those would work great as well. Get creative 🙂
Step 4: Apply Finish to DIY Footed Tray
Once the glue is dry, flip over and apply whatever finish you’d like! I always like to use Walrus Oil Furniture Butter on hardwood projects, so that’s what I used here.
.
But you can stain, paint, wax, oil, or poly as you wish.
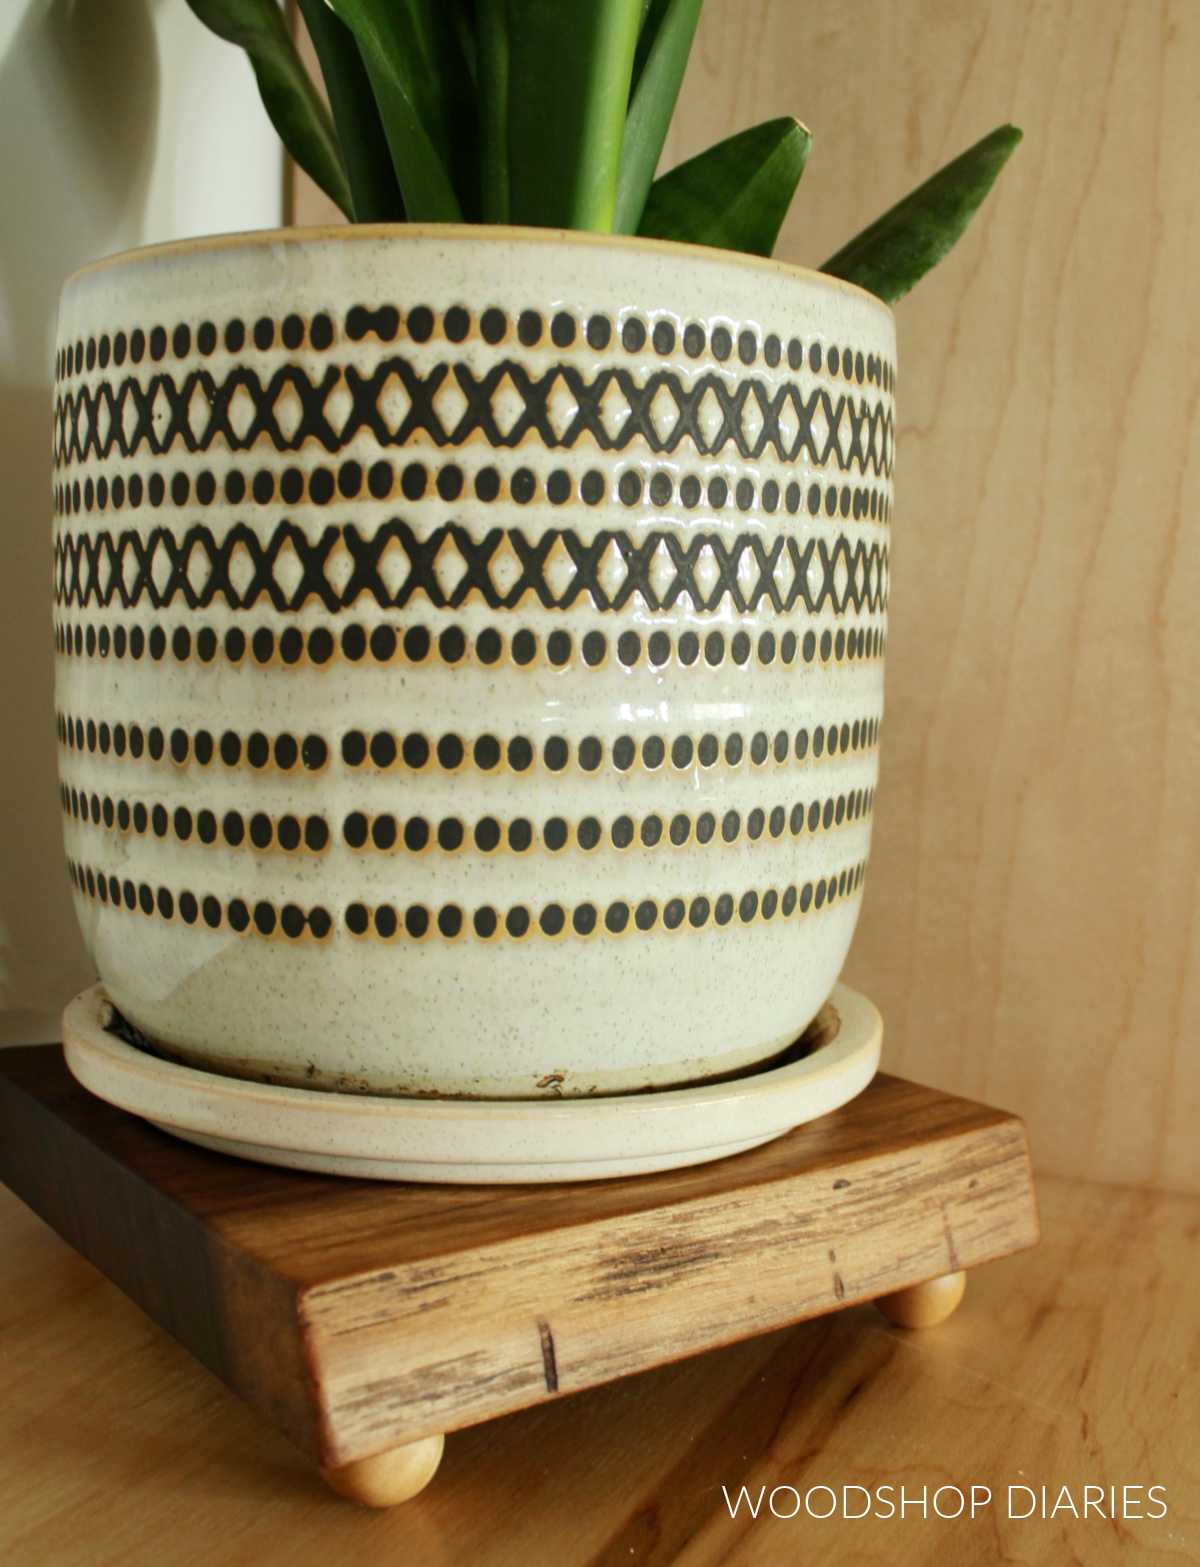
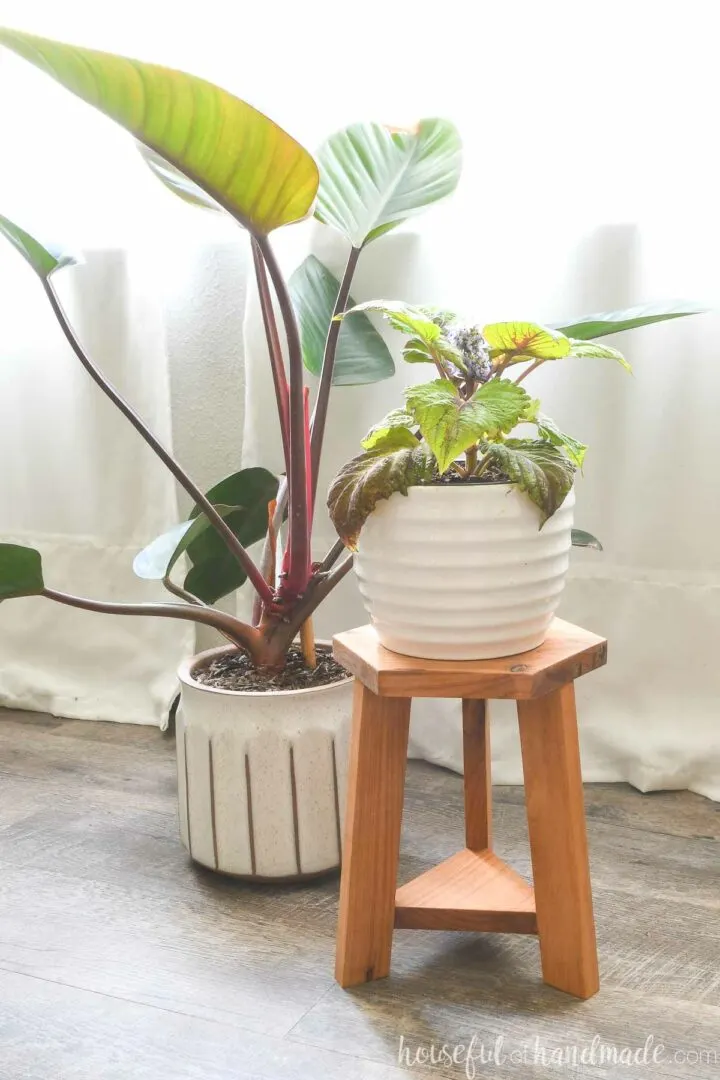
These are SO easy and quick to make. You can repeat this process for any size or shape or wood type you’d like!
.
I made my larger wooden tray here from some leftover white oak and my smaller plant coaster from some leftover walnut wood.
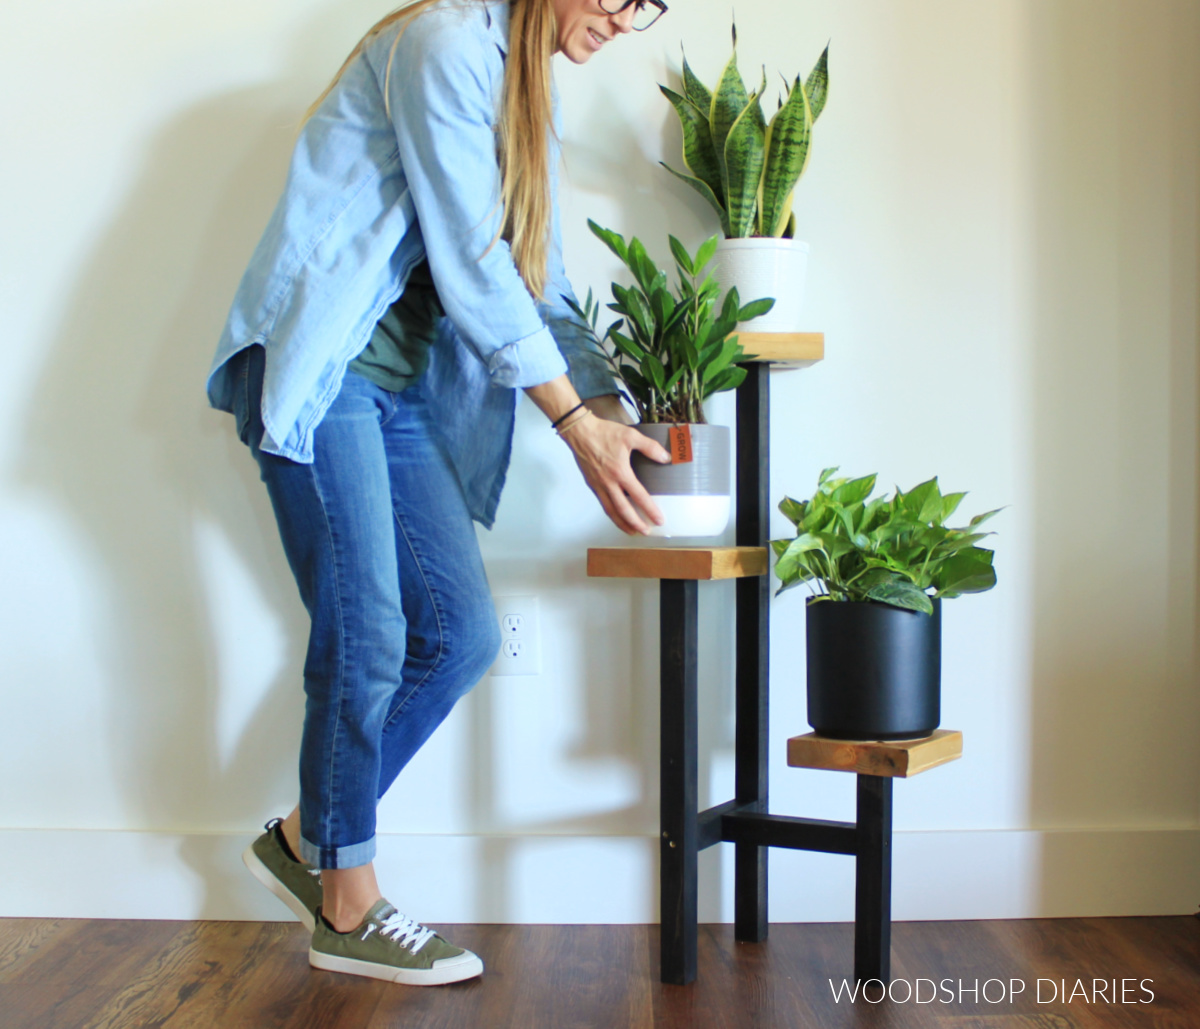
More Fun with Scrap Wood
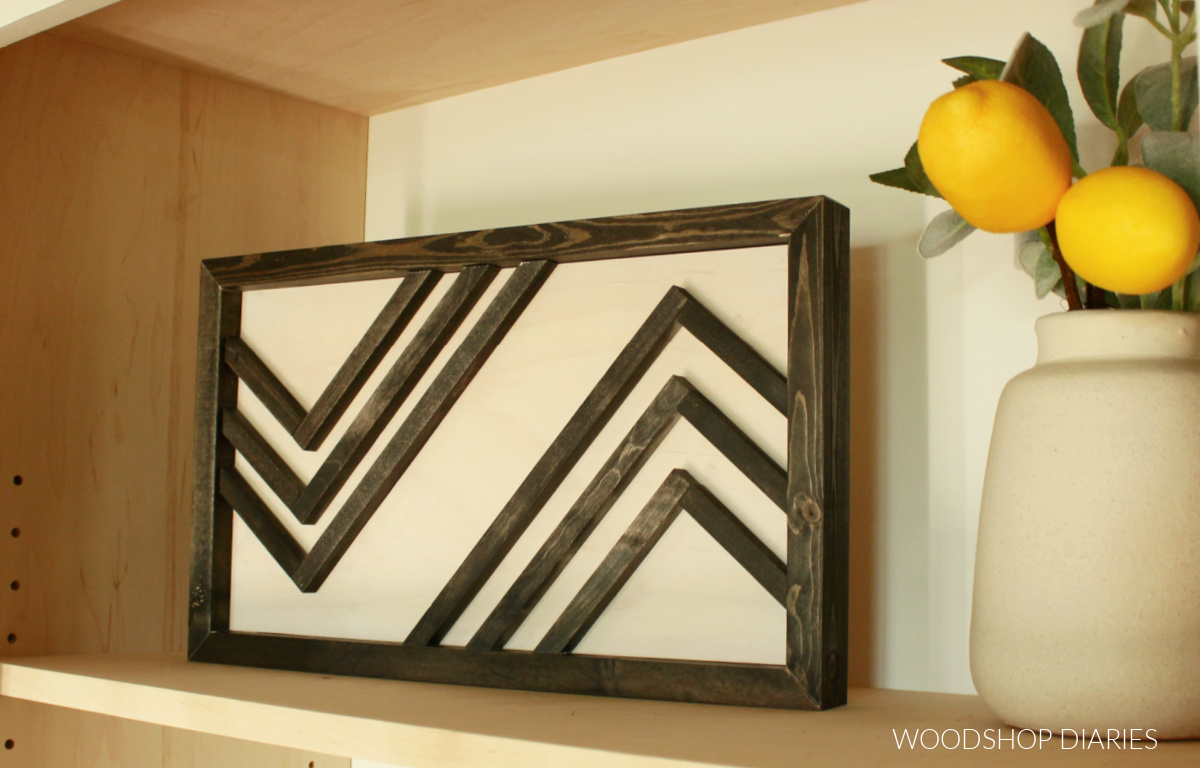
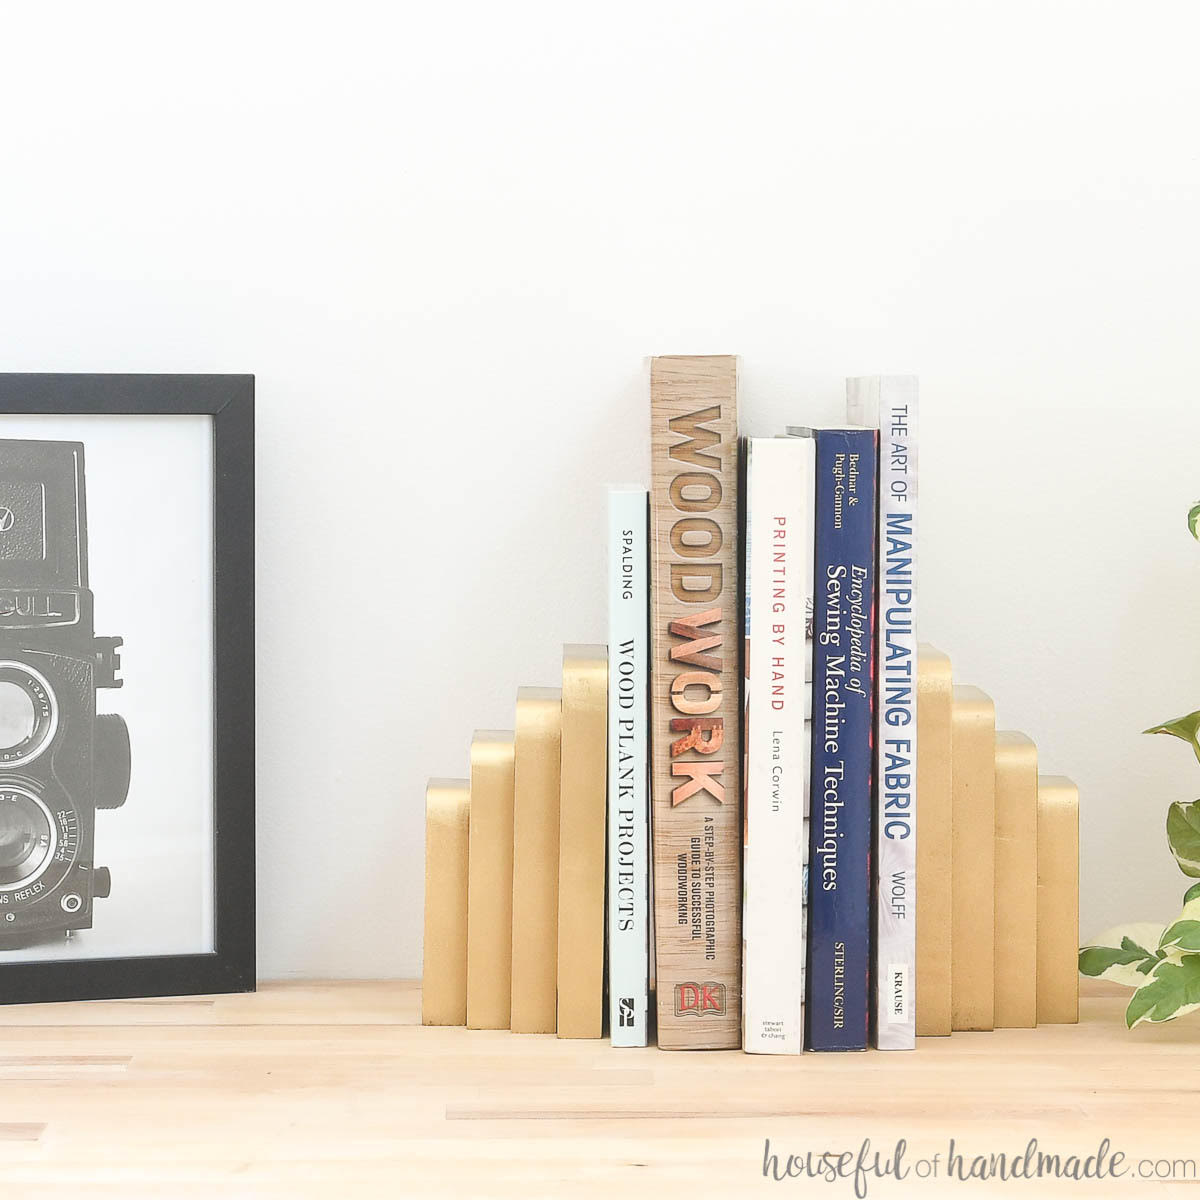
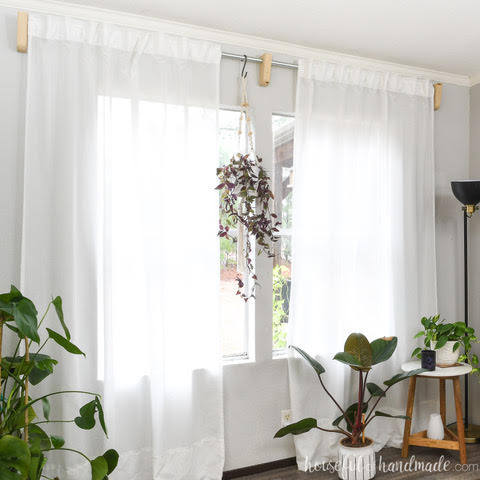
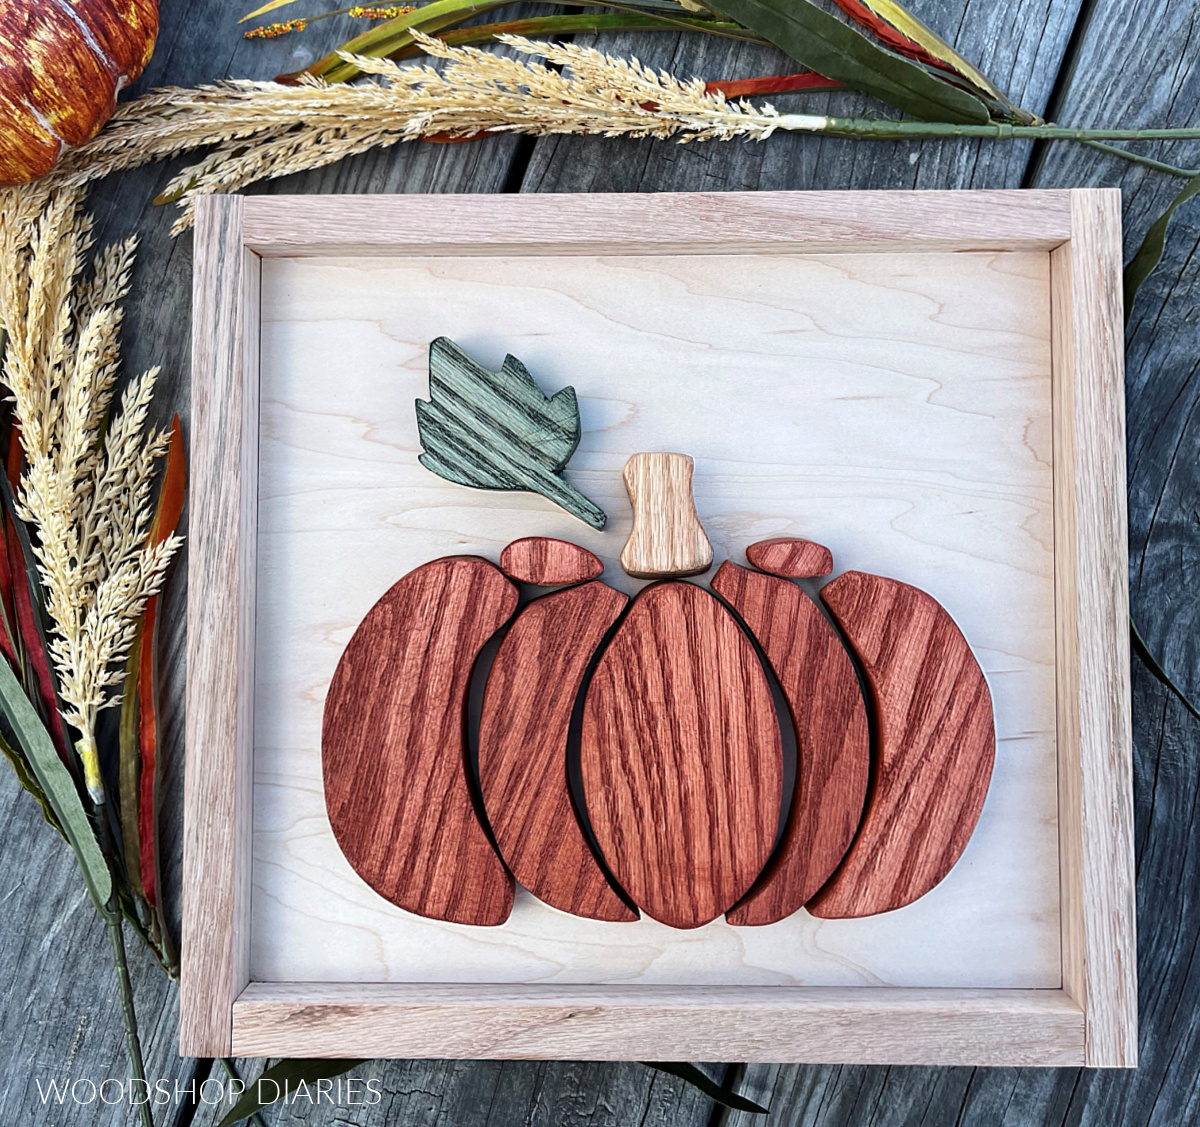
Can’t get enough scrap wood projects?? I’m teaming up with my friend, Kati, from Houseful of Handmade all month long to share some “Scrap Wood Summer” Projects!
.
Check out all the projects in the series so far below. Click on an image to learn how to make each one!

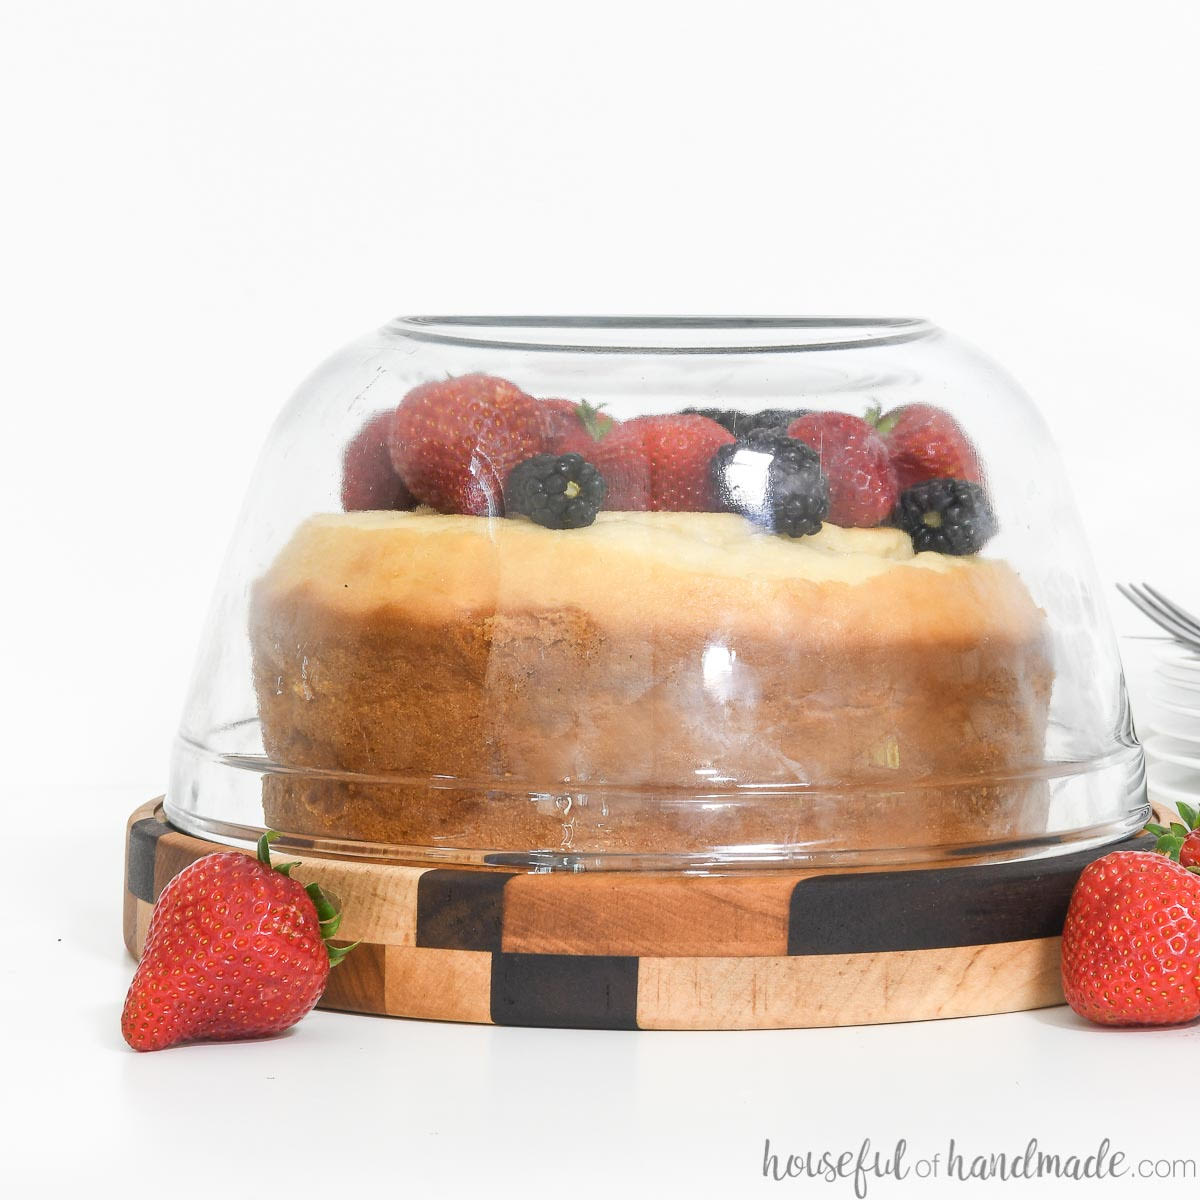

We will be posting new Scrap Wood Summer projects every Tuesday through this entire month.
.
Subscribe to the newsletter to be the first to know when the new scrap wood projects come out!
I hope you enjoyed this simple scrap wood pedestal wooden tray project and if you’d like to save it for later, don’t forget to pin it or share to your favorite social channel!

Until next time, friends, happy building!