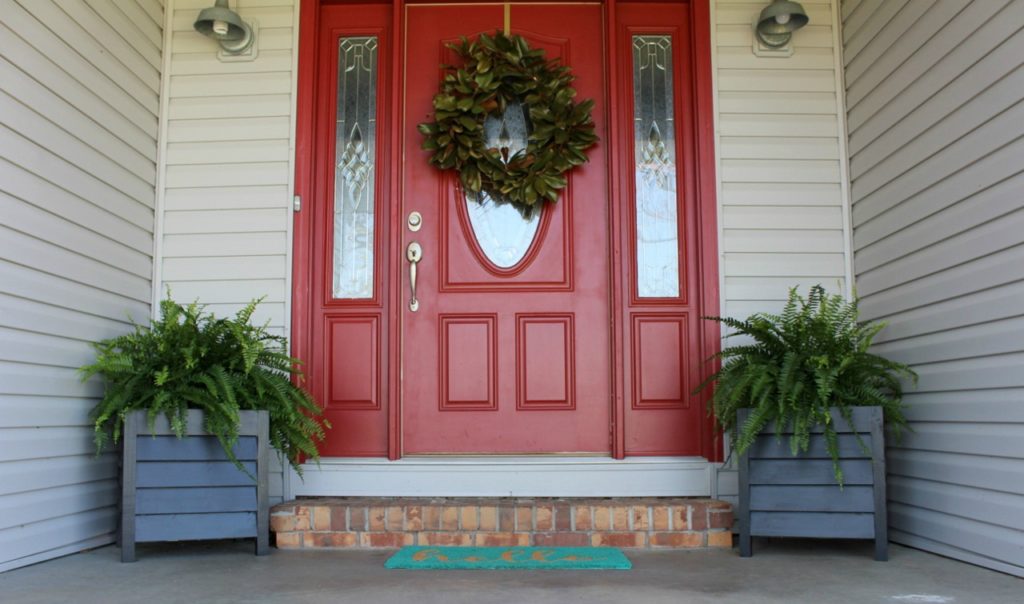
Looking for some help with your porch decorating? This DIY Black and Wood Planter Box is perfect for those fall mums, winter Christmas trees, and even spring flower pots! I’m showing you how to make your own in this post 🙂

It may still be a million degrees outside, but if you caught my last project–that cute little DIY wooden wagon, you’ll know that despite what the weather forecast is telling me, fall is on it’s way and I’m getting ready.

And just like that wagon project, I’m hoping this cute little DIY planter box lasts me through the winter and into the spring because multiseasonal decor is the best (that means I don’t have to remember to switch things out each season haha).
I’m loving really simple designs lately and this particular design isn’t exactly “NEW,” but the black trimmed panels on the side give it a little more unique-ness and give it a bit more of a modern flair. (PS someone help me with my grammar…is it flare or flair? Vocabulary isn’t my strongest suite…is it suite, or suit? See? Oh, the struggle is real, friends…)
.
Anyway, let’s move on to something I’m a little better at and get to the build 🙂 I’m sharing the video tutorial for this simple black and wood planter box here and the written instructions below. This post contains affiliate links. See policies.
What You Need to Build This Planter Box:
- (2) 2x2x8 boards
- (4) 1x4x8 boards
- (2) 1x2x8 boards
- Scraps for slat supports
- Wood Stain
- Black (or whatever color) paint
- Outdoor Sealant
- Miter Saw
- Drill
- 2 ½″ screws
- Nail gun and 1 ¼″ nails OR use drill and 1 ¼″ screws
Cut List:
- (4) 2×2 @ 25 ½″
- (4) 2×2 @ 10 ½″
- (4) 2×2 @ 12″
- (12) 1×4 @ 23″
- Trim cut to fit
Step 1: Cut and Assemble the Planter Box Frame
The first thing I did was to cut down my 2x2s to create the frame of the planter box. You can make this box as tall as you want by adjusting the length of the legs, but it’s important to make the supports between the legs so that two sides are 10 ½” and the other two sides are 12”.

I assembled the frame like shown using 2 ½” wood screws and attaching so that two opposite sides have the 10 ½” supports and the other two have the 12” supports. I also attached the bottom supports so that they were 2 ½” from the bottom of the legs.

Also, just a helpful tip: predrill your holes before driving screws. 2x2s have a tendency to split easily.

Step 2: Add Side Panels to Planter Box
Once the frame was assembled, I cut the pieces for the side panels. I cut these from 1×4 boards to 23″ long and nailed in place on the insides of the frame.

Notice that three boards fit perfectly in the 10 ½” sides and three boards PLUS two edges fit in the 12” sides. It’s like it was planned that way 😉 It should be a tight fit, so it may be helpful to lightly hammer these in place.

You can also screw these in place instead of nailing if you want.

Step 3: Stain Planter Box and Prepare Trim
Once all four sides were attached, I stained the box (PS people always ask what stain color this is when I use it. It’s my new favorite and it’s a mix…first I stain the wood with Varathane Summer Oak, then go back with a second coat of Minwax Early American).

Then, I painted a couple of 1x2s black. This part is totally optional, but I REALLY liked this added trim detail on the sides and if you didn’t want to do black, your paint option is totally up to you…obviously 🙂 Oh, by the way, you can purchase an exterior grade paint for this OR give it an exterior grade clear coat once it’s all finished. Either way should be fine.

Step 4: Add Trim to Sides
Once the paint was dry on these 1x2s, I measured and cut to fit pieces to go along the insides of the planter box sides. I only did three of the four sides, because the back is against the house, so you’ll never see it. That and I ran out of 1x2s haha.

But once I had cut all four pieces, I simply nailed them in place around the panels.

Step 5: Add Support Slats
Lastly, before I could put my mum inside, I needed to add something for it to sit on. So I screwed a couple scrap pieces onto two sides like shown about 8” down from the top using 1 ¼” screws.

Then I set a couple slats across these pieces so that my mum could set on top of these boards inside the planter.

I gave the box a good outdoor clear coat sealer, then brought it to the front porch and set my mum in place.


My goal with this planter was to keep it simple, but add a little something to make it stand out…and I’m really happy with how it turned out with this black trim. I think it pairs perfectly with my little wagon I built a few weeks ago, too.


And if you’re looking for more cute DIY planter box ideas, I’ve got a few other great ones here. Click the image to see the tutorials.

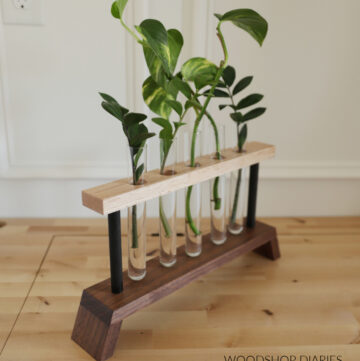
Mid Century Planter Box 
Louvered Planter Box 
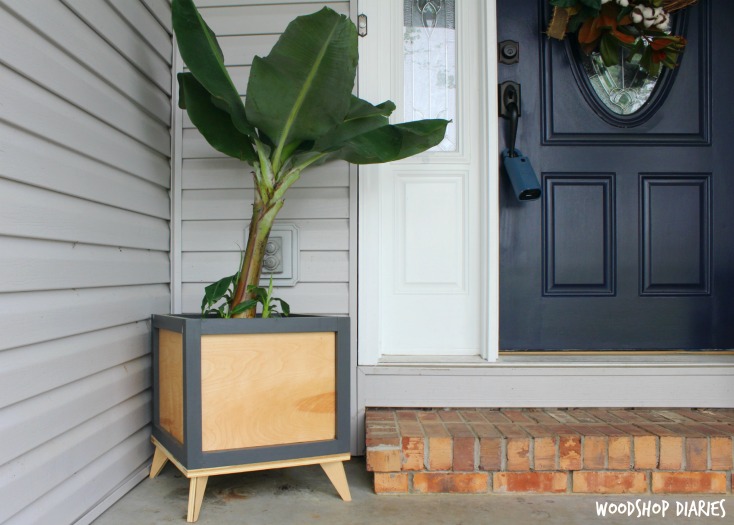
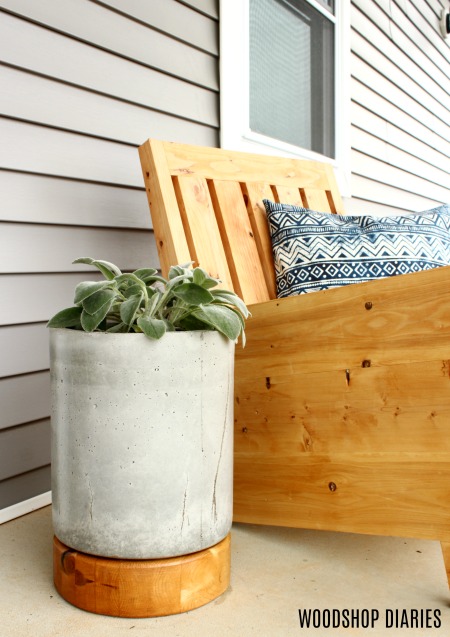
Concrete Planter Pot
But, before you go, be sure to subscribe to my YouTube channel here so you don’t miss out on what’s coming next. AND, be sure to pin this pretty little image for later 🙂

Thanks so much for following along and until next time, happy building 😊