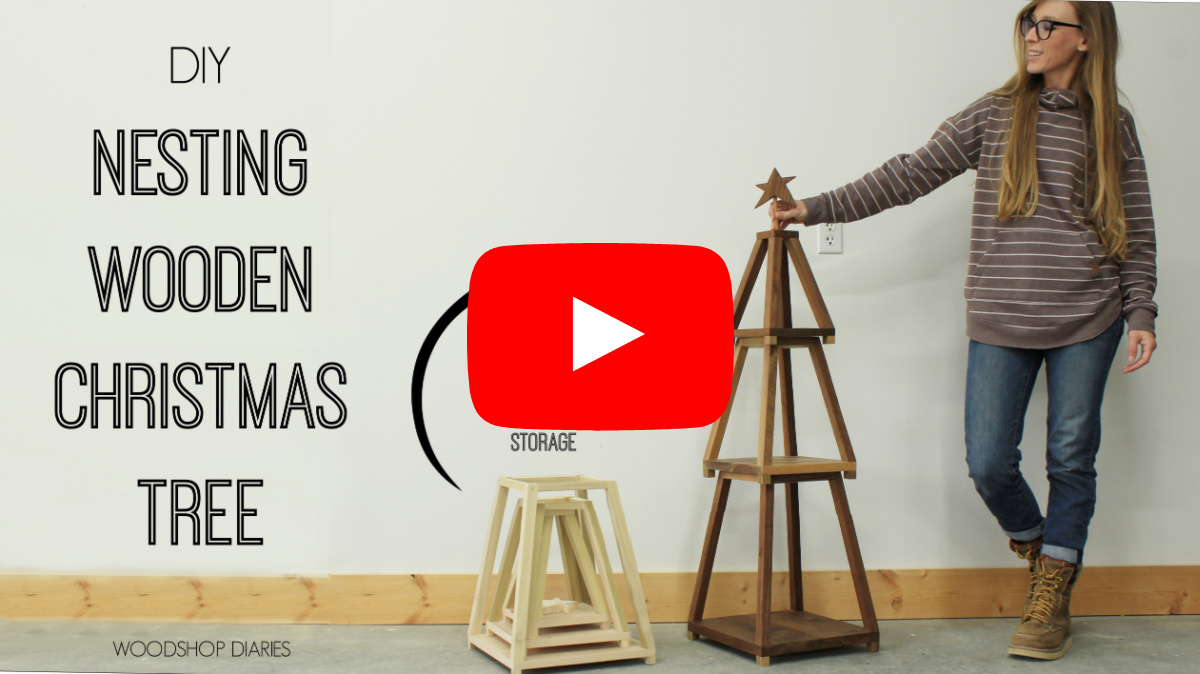
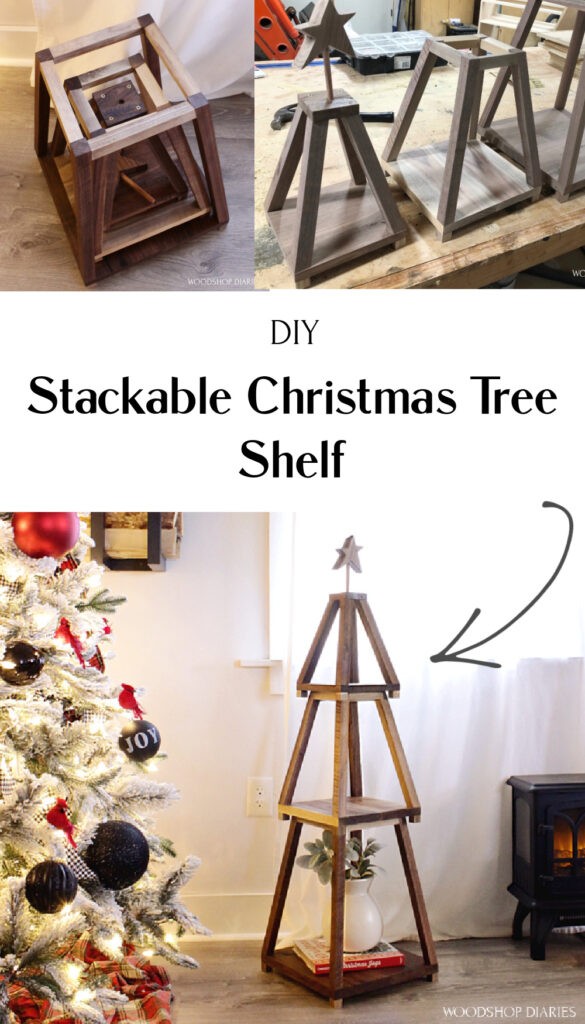
In this post, I will show you how to build this adorable DIY Wooden Christmas Tree Shelf!
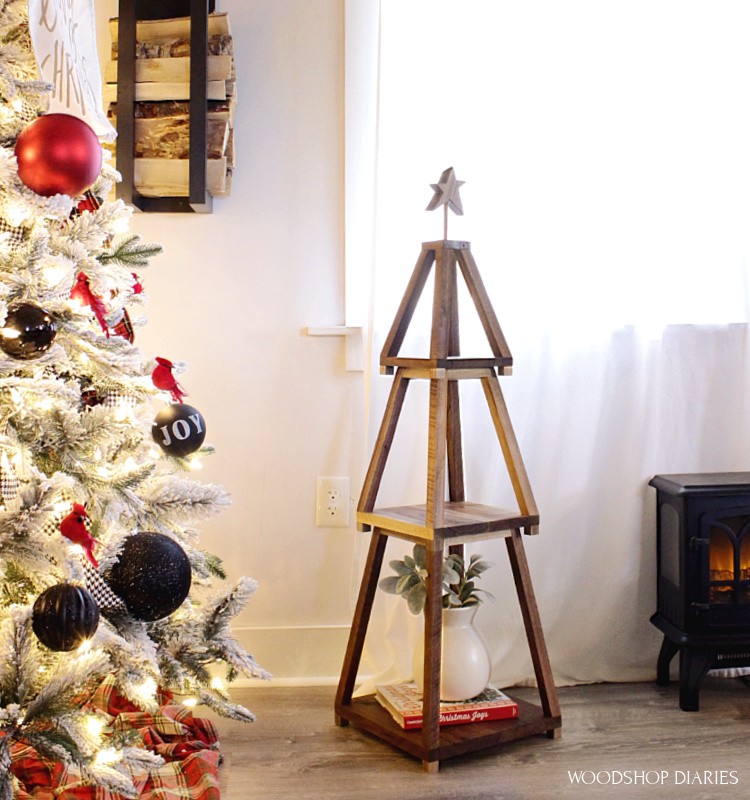
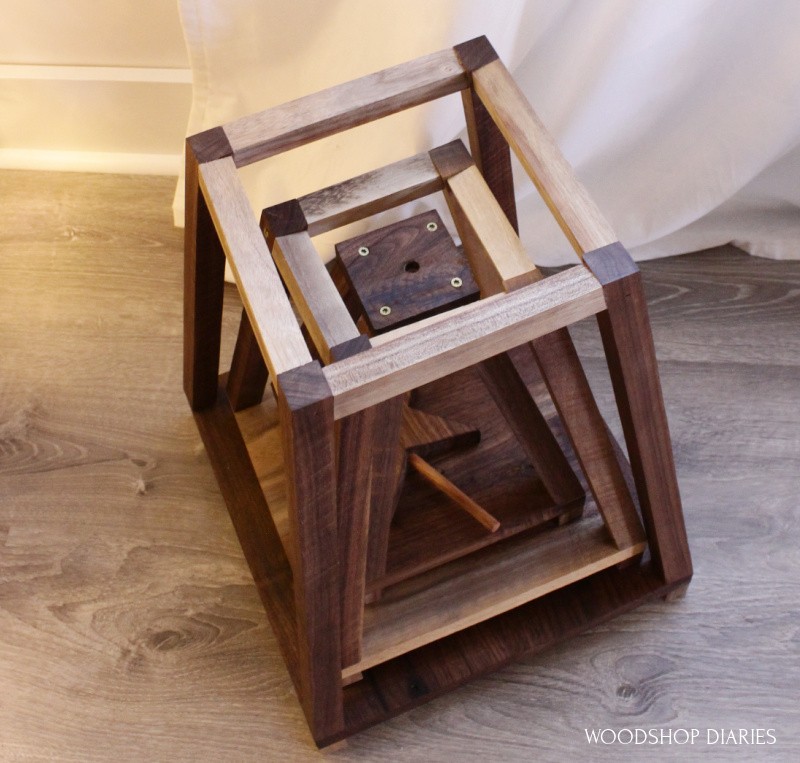
What’s so cool about this design is that, while it’s obviously, super cute to decorate for the holidays, it’s also easy to take apart and store away since the pieces all fit inside each other.
This is such a fun weekend woodworking project to get you in the holiday spirit, but it’s also a great option for small spaces (like apartments or bedrooms) where you may not have space for a large tree.
.
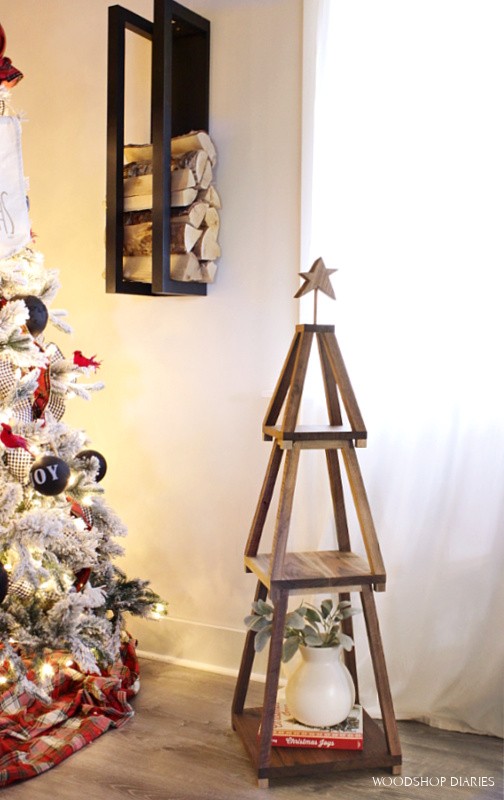
Whether you add this next to your existing tree, or use it as your main Christmas tree, it’s sure to bring a little Christmas joy to your space this season.
.
I had so much fun building these and I’m sharing the plans and video with you here so you can make your own, too!
.
If you’re ready to get building, let’s go 🙂
This posts contains affiliate links. See policies for details.
For this DIY Wooden Christmas Tree Shelf, You Will Need:
Materials:
- (5) 1″ square dowels (36″ long)
- (2) ¾″ square dowels (36″ long)
- ¾″ plywood or 1x boards glued up into panels (see notes below)
- Small round dowel rod (⅜″ or smaller…this is optional)
- Wood Glue
- 1 ¼″ brad nails
- 2″ wood screws
What to Know Before Building
Dowel Sizing
You can make your own square dowels if you have a table saw–or you can purchase them from the big box store (links above).
You can make 1″ square dowels from 2x material and ¾″ square dowels from 1x material.
The 1″ dowels are used for the corner posts and the ¾″ dowels are used for the top frame pieces.
You may wonder why there are two different size square dowels and the short answer is “to keep things simple.”
If you used the same size for both parts, the top frame pieces would hit at the corners and require some complicated trimming.
So making the top pieces smaller keeps the project a little simpler without some weird angle trimming on the corners.
Bottom Panel Options
The bottom panels of each section can be cut from ¾″ plywood OR you can glue and trim down solid 1x boards to create your own panels.
The very top piece is 3″ square and the top section bottom panel is 8″ square, the middle is 11″ square and the bottom is 14″ square.
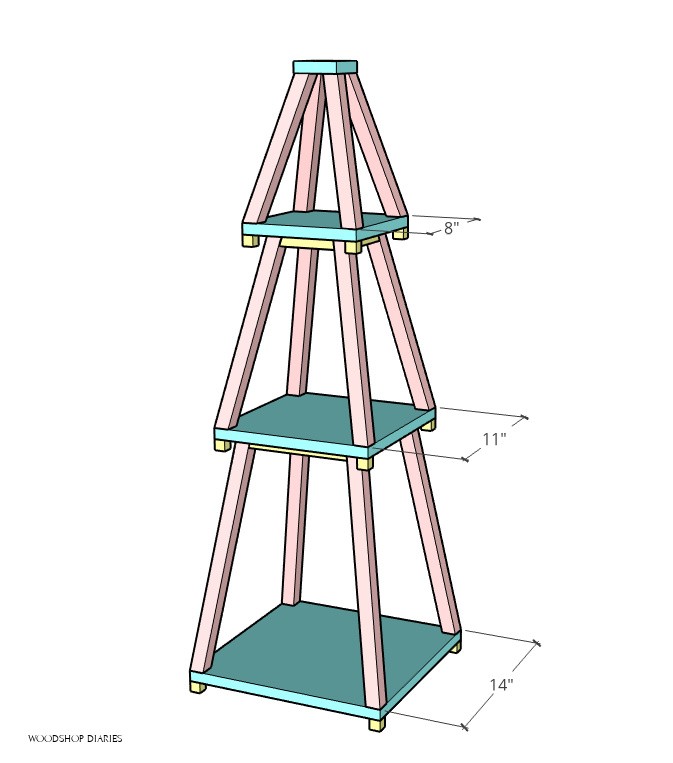
The overall height of this stackable wooden Christmas tree is about 41 ½″ WITHOUT the star.
Angles by Section
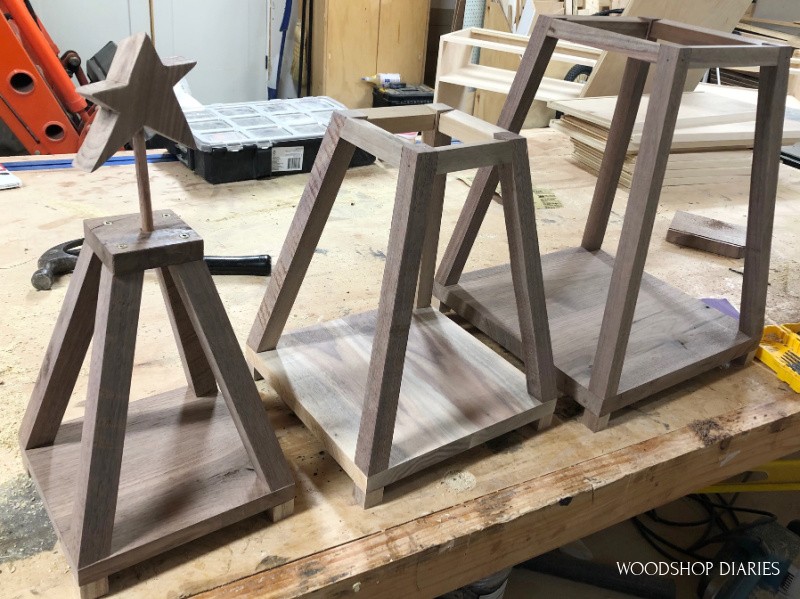
This nesting tree shelf is made of three sections.
Each section has some angle cuts–all the angles on the bottom section are 9 degrees, all the angles on the middle section are 12 degrees, and all the angles on the top section are 15 degrees.
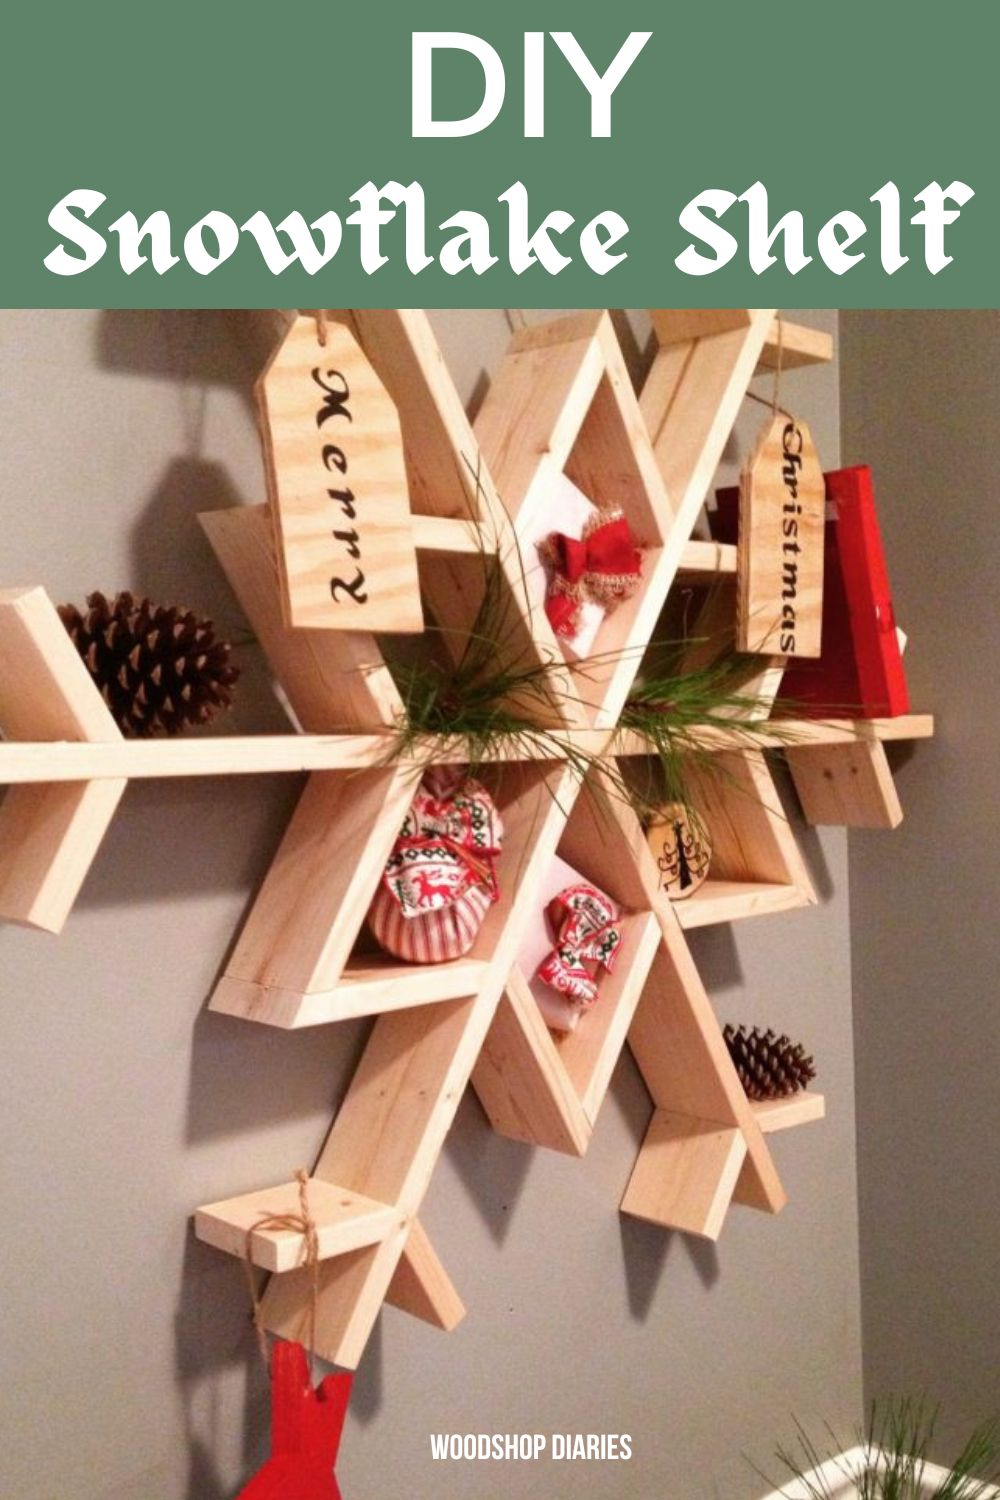
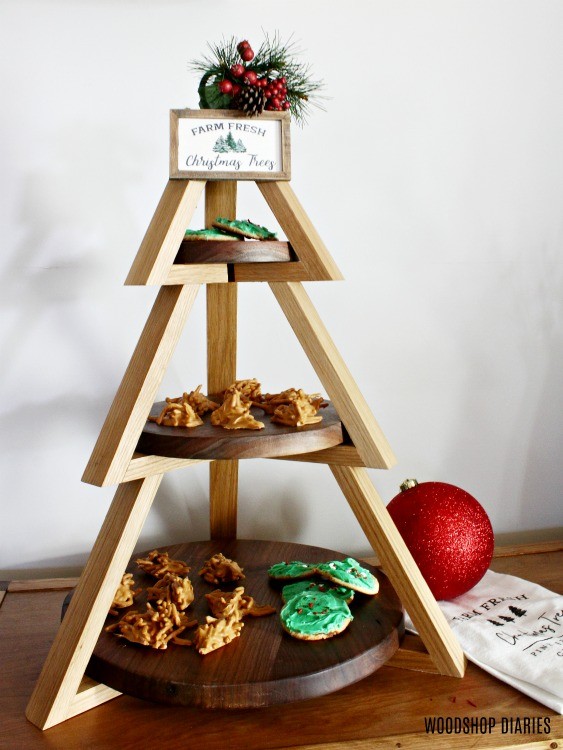
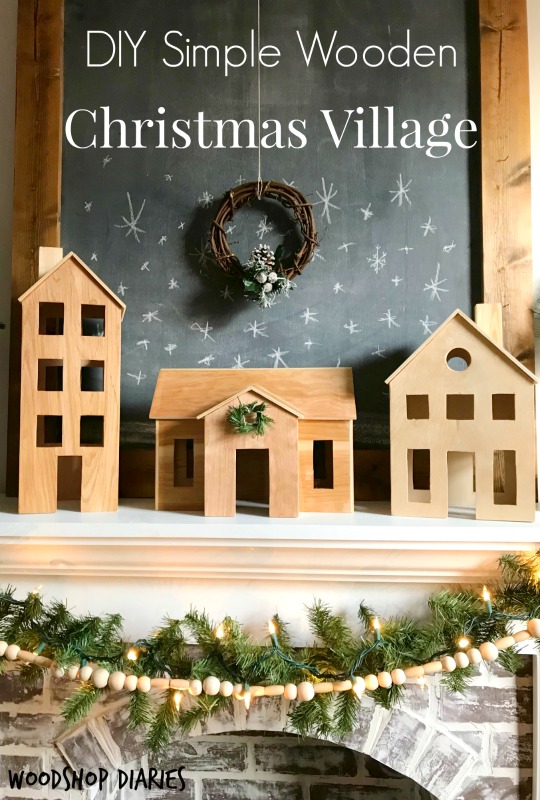
RELATED: Check out these other popular seasonal projects!
How to Build a Stackable Wooden Christmas Tree
Below I’m sharing the step by step tutorial and plans plus a video if you prefer to watch.
If you prefer to print your plans, you can check out the printable wooden Christmas Tree plans here:
Step 1: Cut and Assemble Bottom Section Frame of Tree Shelf
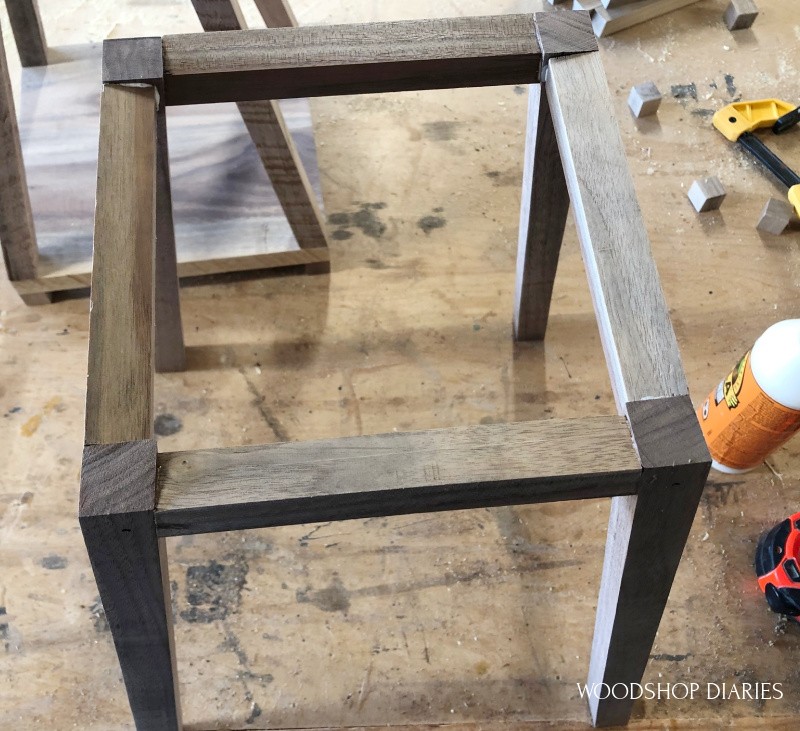
The four corner posts are made from 1″ square dowels (pink in the image below) and the top frame pieces and the “feet” are ¾″ square dowels (yellow in the image below).
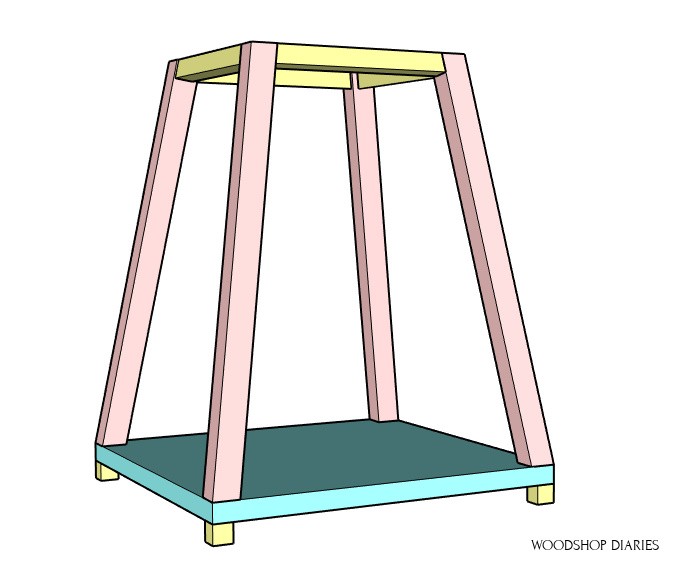
The bottom panel can be cut from ¾″ plywood OR 1x material glued up and trimmed down to the size needed (blue in the image above).
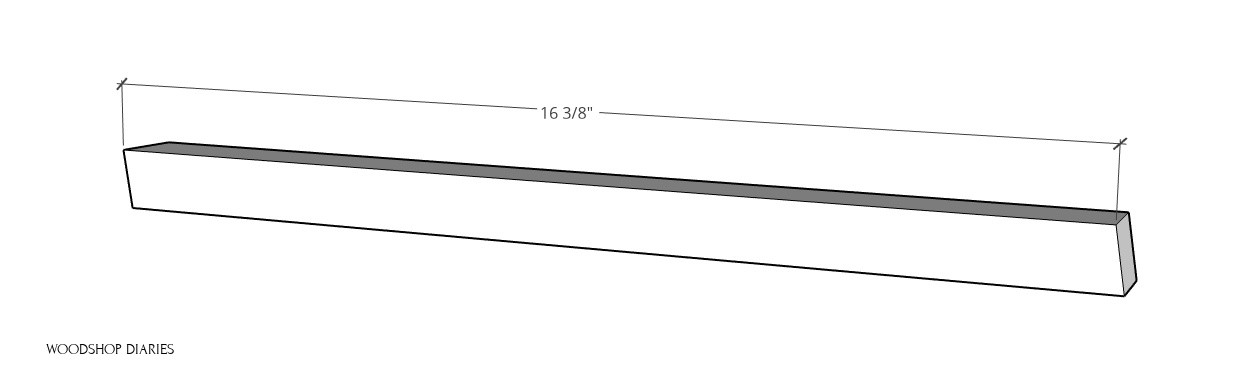
I started with the 1″ square corner posts. I set up my miter saw to cut a 9 degree miter AND a 9 degree bevel (note: this is a compound angle).
I trimmed the end of the square dowel to get my angle, then just slid the piece down (without flipping it in any direction) and cut to length.
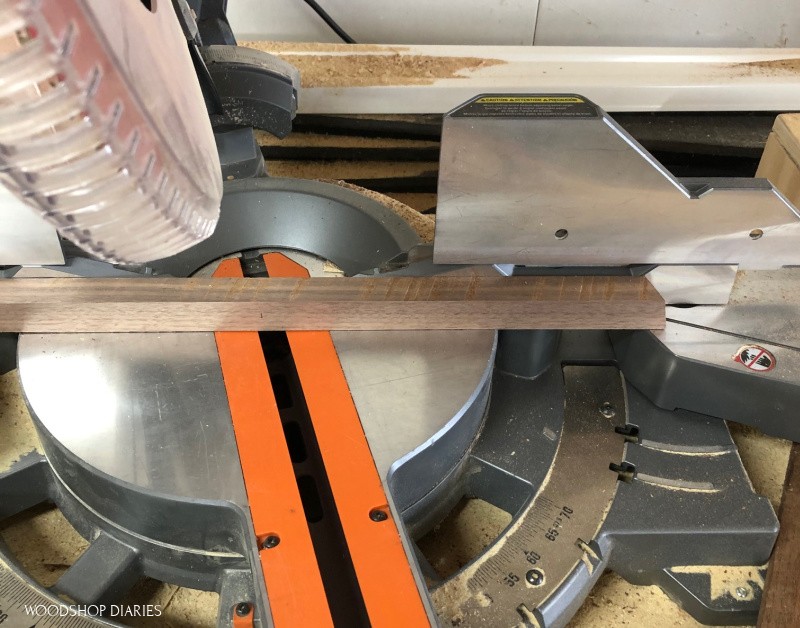
The cuts need to be made in the same direction. These bottom tree shelf corner posts need to be about 16 ⅜″ long.
Prefer to print? Grab the printable plans here.
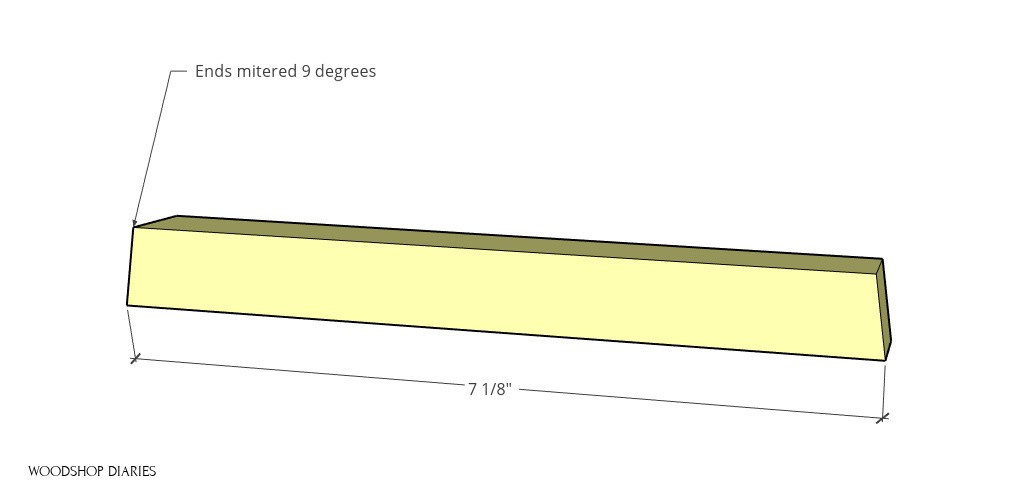
Then, I adjusted my BEVEL (the head tilt) back to 0 degrees, left my miter angle at 9 degrees, and cut four pieces of ¾″ dowel like shown 7 ⅛″ long with mitered ends not parallel.
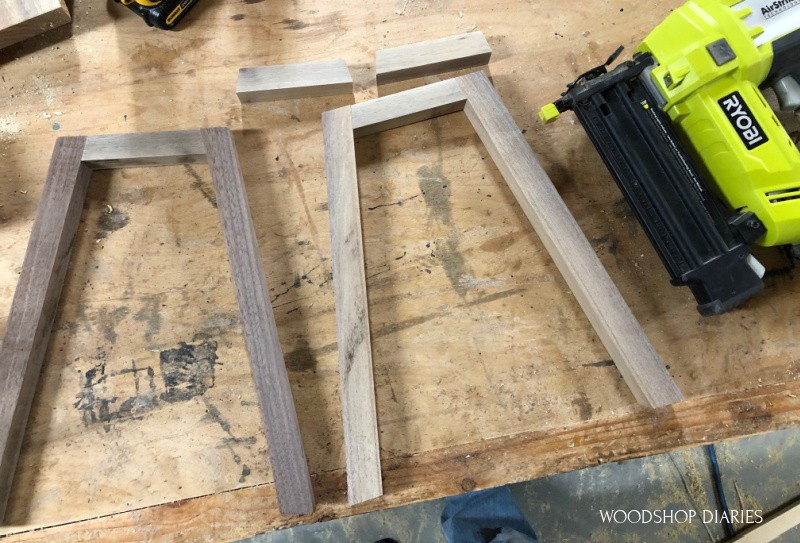
Once the four posts and the four top frame pieces were cut, I glued and brad nailed two top pieces between two posts like shown.
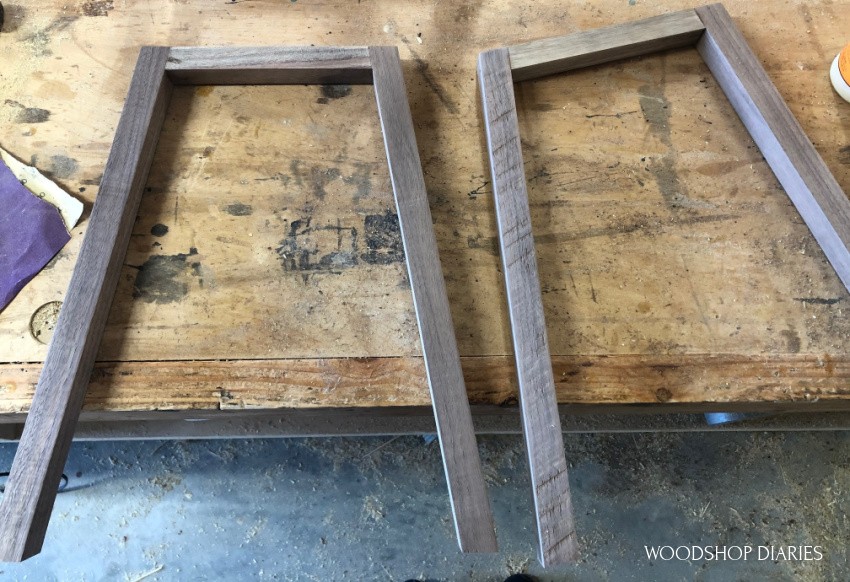
Then, I glued and nailed the other two top pieces between them. Be careful to keep your fingers out of the way of the nailer!
Now, MATHEMATICALLY, these top pieces should have been compound angle cuts on the end. Just mitering them 9 degrees is close enough.
There may be some small gaps, but nothing MAJOR.
I’m just trying to keep this as simple as possible for you by minimizing the amount of compound angles 🙂 Sometimes “close enough” is okay.
Grab the printable cut list with diagrams in the building plans here.
If the frame is a little “wobbly” at this point, clamp along the top until the glue dries. It should sturdy up once the glue is cured.
Step 2: Attach Bottom Tree Shelf Panel
The bottom panels of all three of these sections can be cut from ¾″ plywood, or glued up 1x boards or project panels. I glued up solid boards for mine.
I predrilled and drove a 2″ wood screw on each corner into the four posts.
Screws work great but, wood glue and brad nails would also work as well if you preferred to skip the screws.
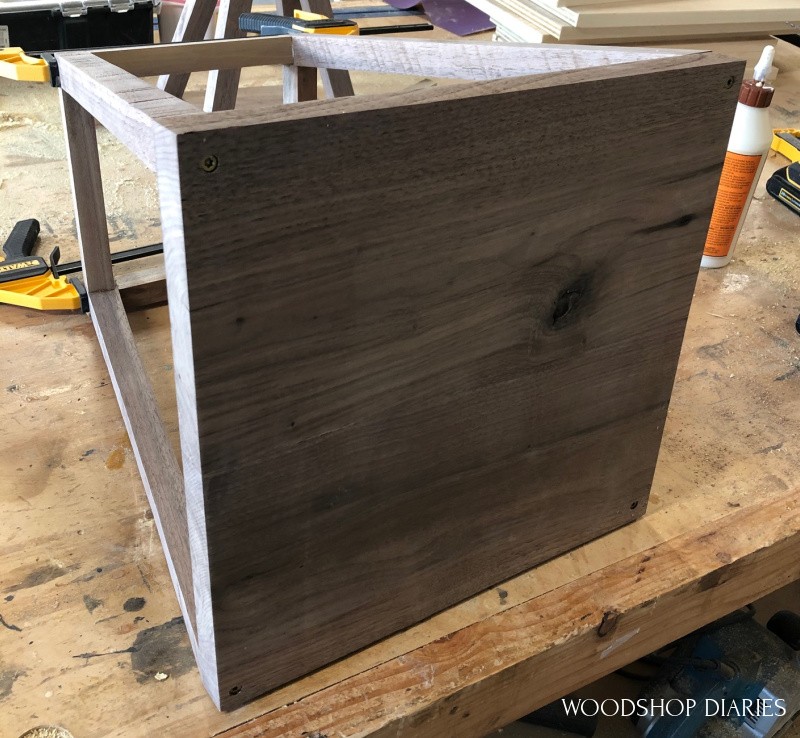
To finish it off, I cut four ¾″ long ¾″ square dowel pieces and just applied a little wood glue, and stuck them onto the bottom of each corner.
You can nail these in place if you don’t want to wait for the glue to dry.
I set it aside to dry then began the middle section.
Step 3: Cut and Assemble Middle Frame of Christmas Tree Shelf
Cut and assemble the middle section the same way as the bottom in step 1 except instead of using 9 degrees, make it 12 degrees for all the miters and bevels.
Miter AND bevel the ends of the 1″ square corner posts 12 degrees and cut 13″ long.
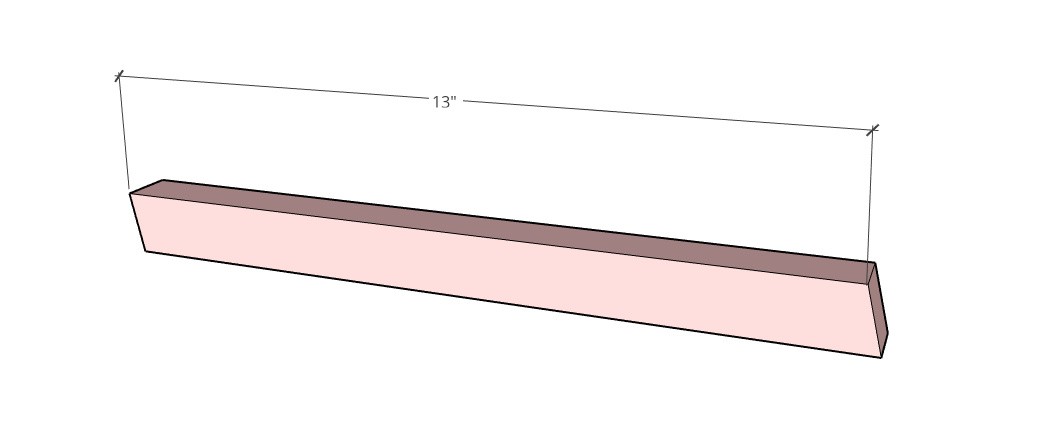
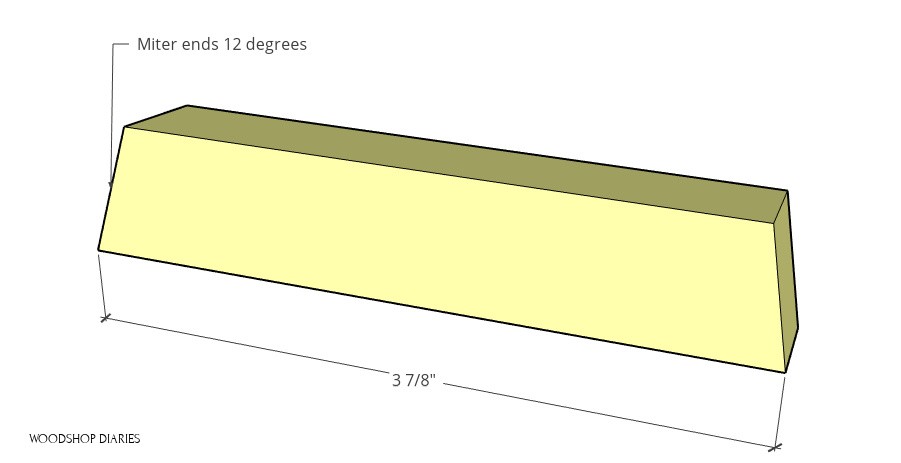
And just miter (no bevel) the ¾″ square dowel top pieces 12 degrees and cut 3 ⅞″ long.
I assembled two pieces like shown using wood glue and brad nails.
Then, I glued and nailed the other two top pieces between them.

Now, again, MATHEMATICALLY, these top pieces should have been compound angles cuts on the end. Just mitering them 12 degrees is close enough.
There may be some small gaps, but nothing MAJOR.
Be sure to use plenty of glue at these joints and clamp once assembled until the glue dries.
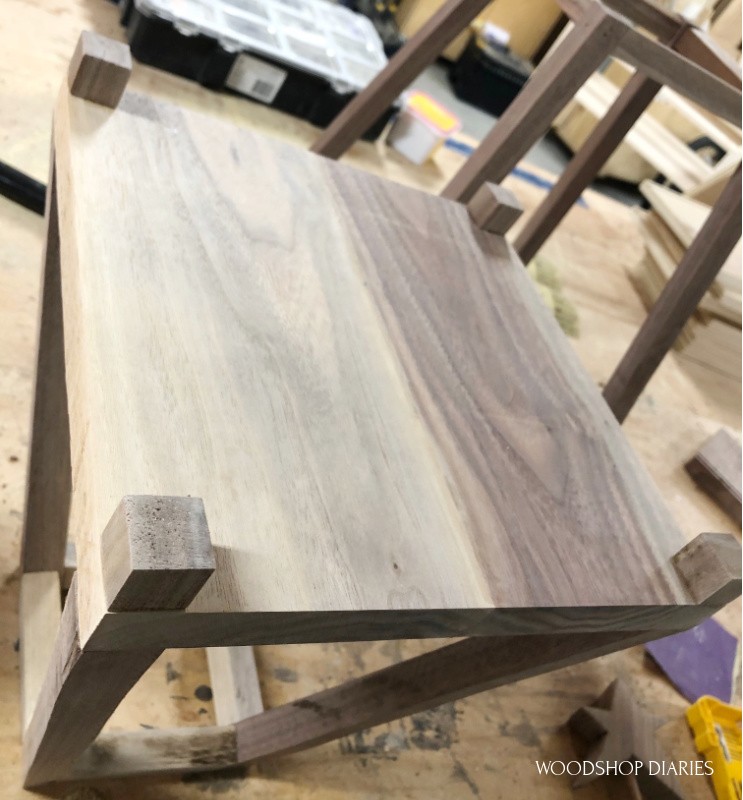
Step 4: Attach Middle Tree Shelf Panel
Cut a ¾″ plywood piece or glue up a ¾″ thick solid panel 11″ square for the middle section bottom panel.
I uses 2″ wood screws to attach onto the bottom of the corner posts just like step 2. But again, wood glue and brad nails would be fine, too.
Then, I glued ¾″ square cubes onto the bottom corners just like the bottom section.
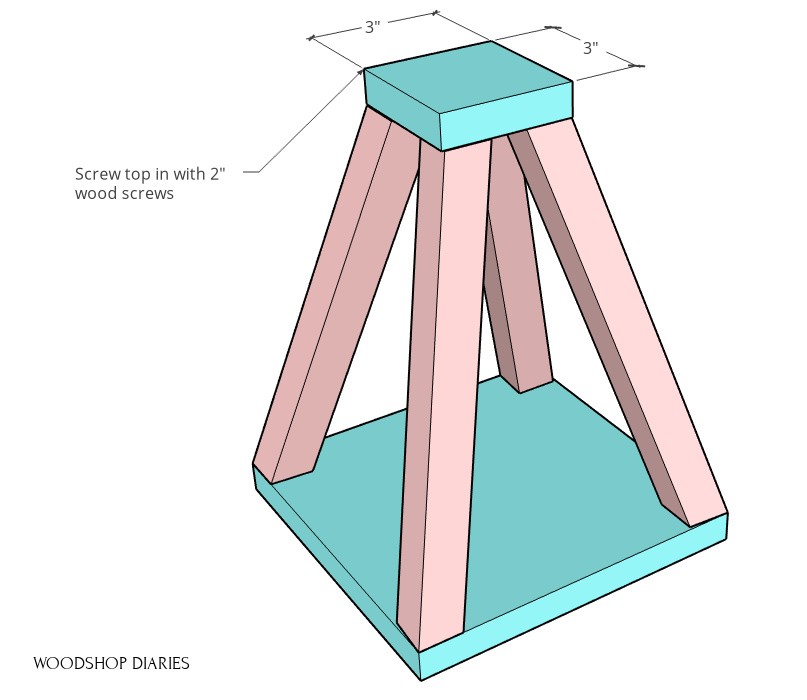
Step 5: Assemble Top Section of Stackable Tree Shelf
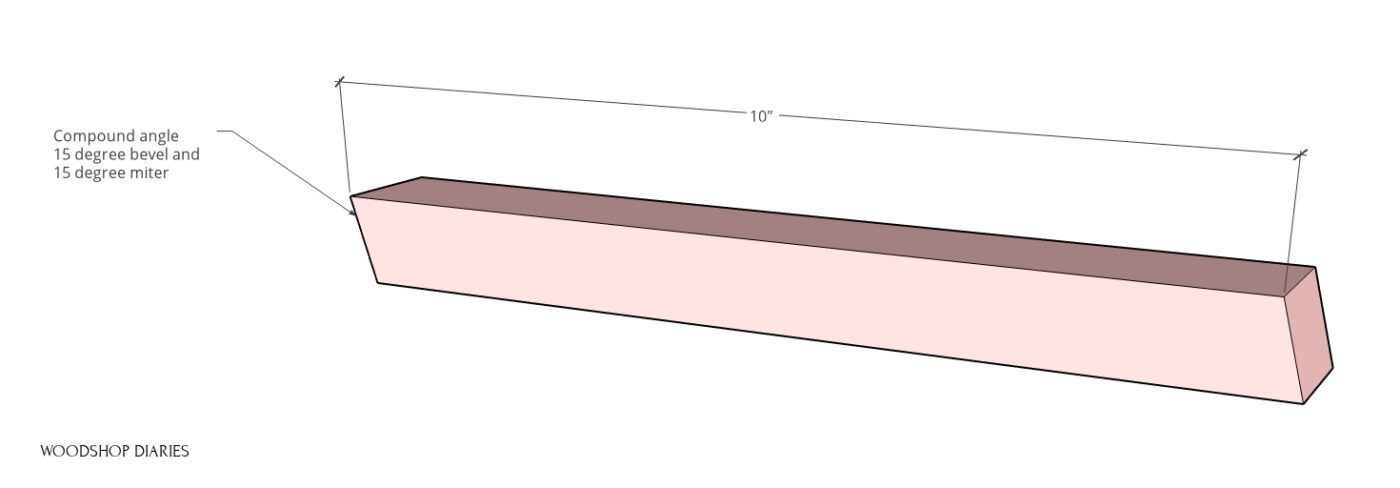
The top section is made a little different. This time, I cut four 1″ square dowel corner posts with a bevel AND miter of 15 degrees and 10″ long.
I used 2″ wood screws to attach these posts into the corner of the bottom 8″ square panel.
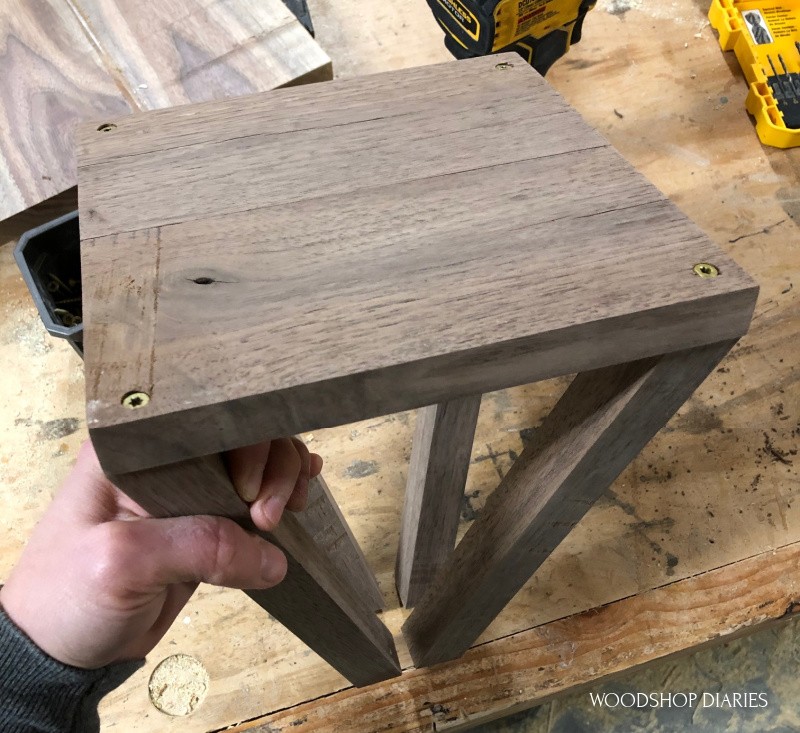
Then, I cut a 3″ square, ¾″ thick piece (you can use plywood or solid wood) and screwed it into the top of the posts.
Glue and brad nails would be fine here as well.
Lastly, I glued ¾″ cubes on the bottom corners.
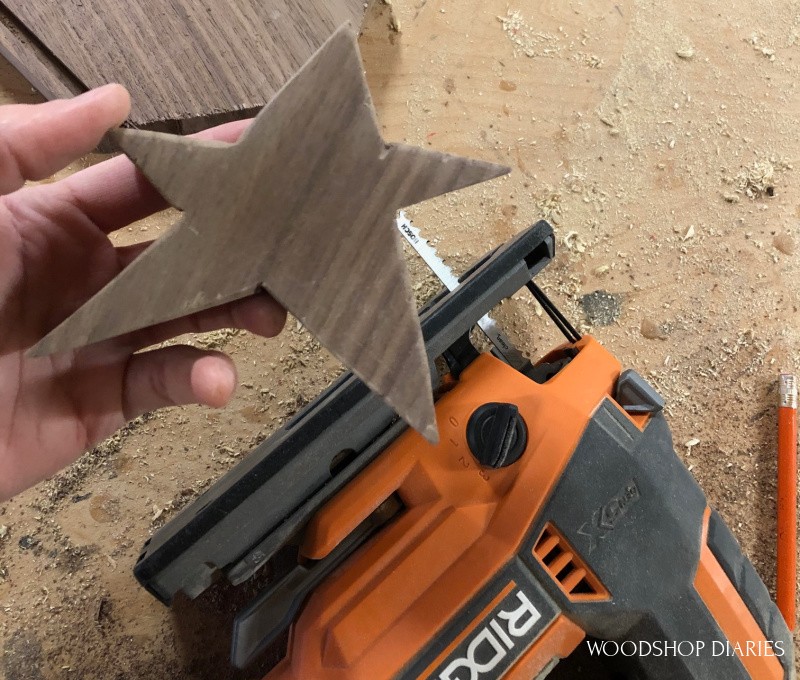
Step 6: Add a Tree Topper (OPTIONAL)
If desired, use a jig saw to cut a star shape.
Then, grab a ⅜″ round dowel and use a ⅜″ drill bit to drill a hole into the top square (don’t drill all the way through) and into the bottom of the star.
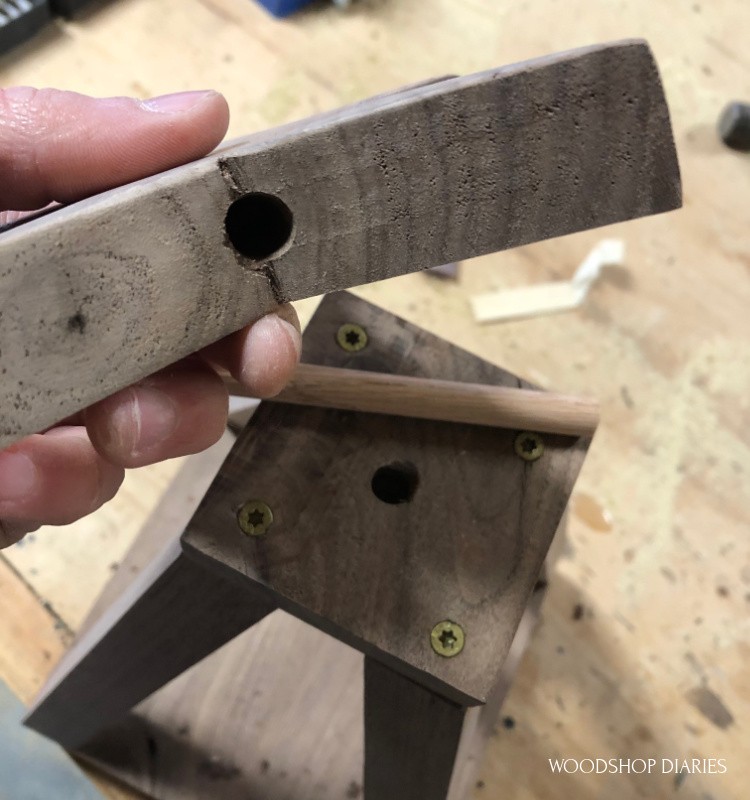
NOTE: You can use whatever size dowel you want, just match the drill bit size to the dowel size to drill the holes.
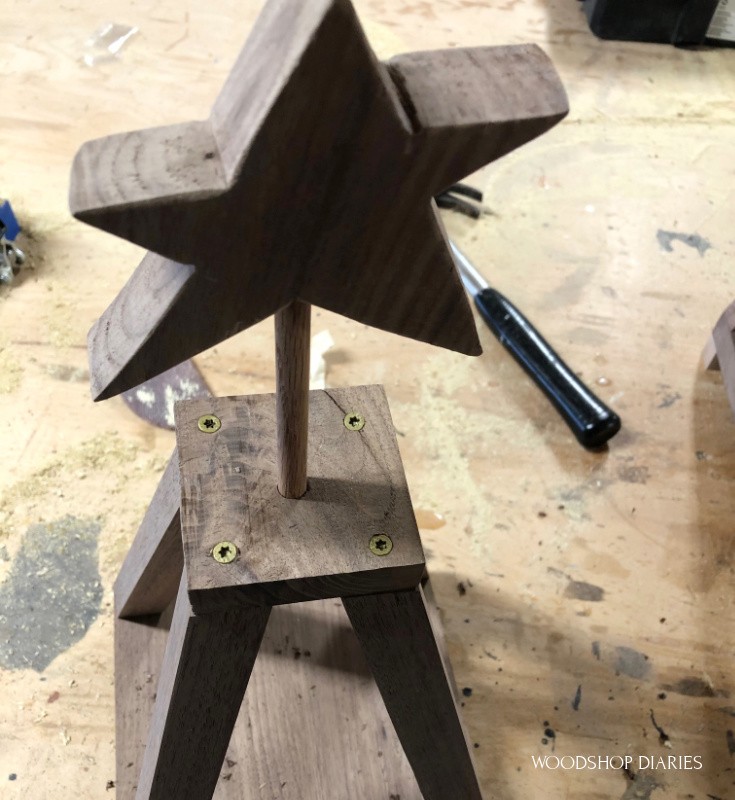
Cut the dowel however long you want and glue it into the hole in the star, but don’t glue it into the top piece of the shelf.
You need this to be removeable for when you take it apart to store it. Just stick into the hole, but don’t add glue.
Step 7: Finish DIY Wooden Christmas Tree Shelf
At this point, it’s ready for finish, so you can paint or stain as desired!
Since I was using walnut for this, I chose to simply apply a clear coat and used Walrus Oil Furniture Finish to protect and deepen the natural wood color.
Watch the DIY Stackable Nesting Christmas Tree Video
If you prefer to watch the build, I’ve got a video tutorial on my YouTube channel here:
How to Use this Wooden Christmas Tree Project
I love that this DIY wooden Christmas tree shelf is easy to break down and it nests within itself so it’s easy to store away after the season is over.
So that means it’s also easy to set up when the season rolls around again.
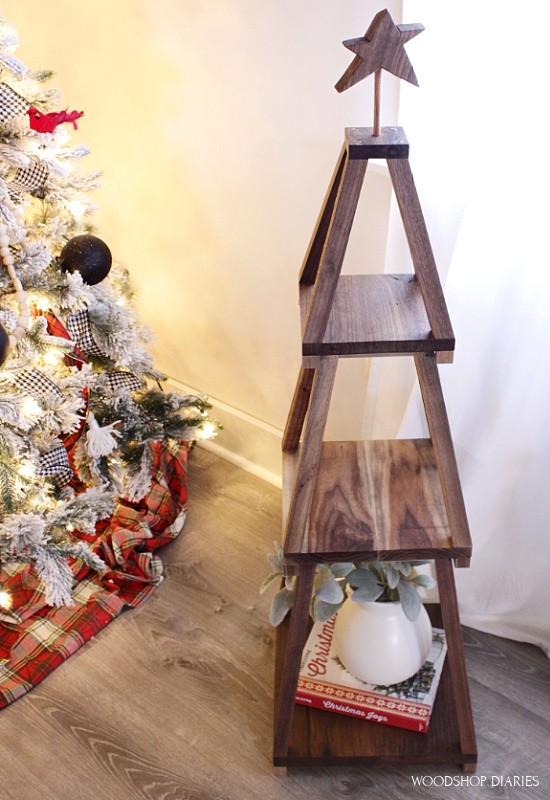
Simply stack on each other and add the star on top for a great way to display some of your favorite holiday décor.
We like to use ours to display Christmas cards as they come in throughout the season.
But this would also be cute wrapped in lights, or you can add some battery powered candles, or display some of your favorite photos.
Once the season is over, you can nest them together for easy, compact storage, or give them a new purpose and continue using them.
I like to use the sections individually as little lanterns during the off season, but if you add a top, they’d make cute plant stands, too!
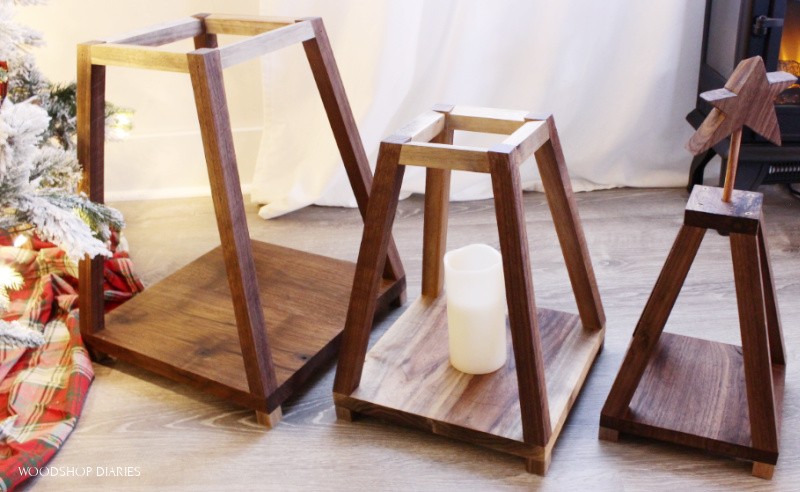
Personally I like it best for its intended purpose as a cute little Christmas tree shelf 🙂
If you’d like to build one for yourself, you can grab the printable building plans here.
Looking for more Holiday Themed DIY Projects?
Check out this list of 25+ easy handmade Christmas gifts you can make this weekend!
If you enjoyed this project and want to save it for later, I’d love it if you’d pin this!
Follow along on all the latest projects and plans, by subscribing to my newsletter below so you don’t miss out 🙂
Until next time, friends, Merry Christmas AND happy building 🙂
DIY Wooden Christmas Tree Shelf
Build your own DIY wooden Christmas Tree Shelf! Stackable shelf pieces can be used to display your favorite seasonal decor!
Materials
Instructions
- Cut and assemble the bottom section frame of the tree shelf.
- Attach the bottom tree shelf panel using 2" wood screws.
- Cut and assemble the middle section frame of the tree shelf.
- Attach the middle tree shelf panel using 2" wood screws just like you did for the bottom section.
- Assemble top section of stackable tree shelf.
- Add a tree topper (optional)
- Finish with paint or stain in the color of your choice.