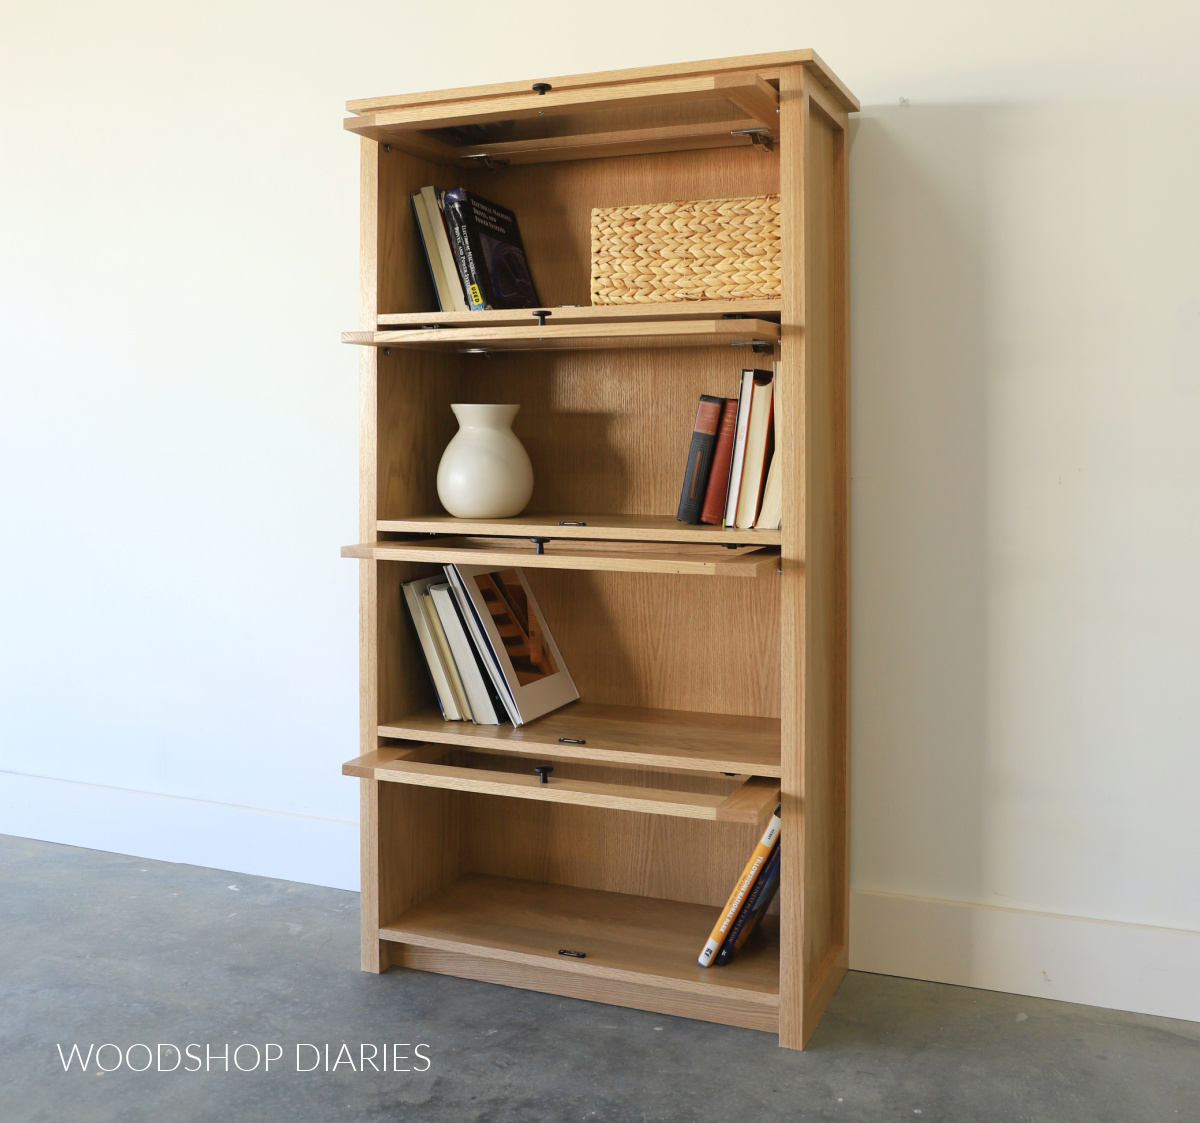
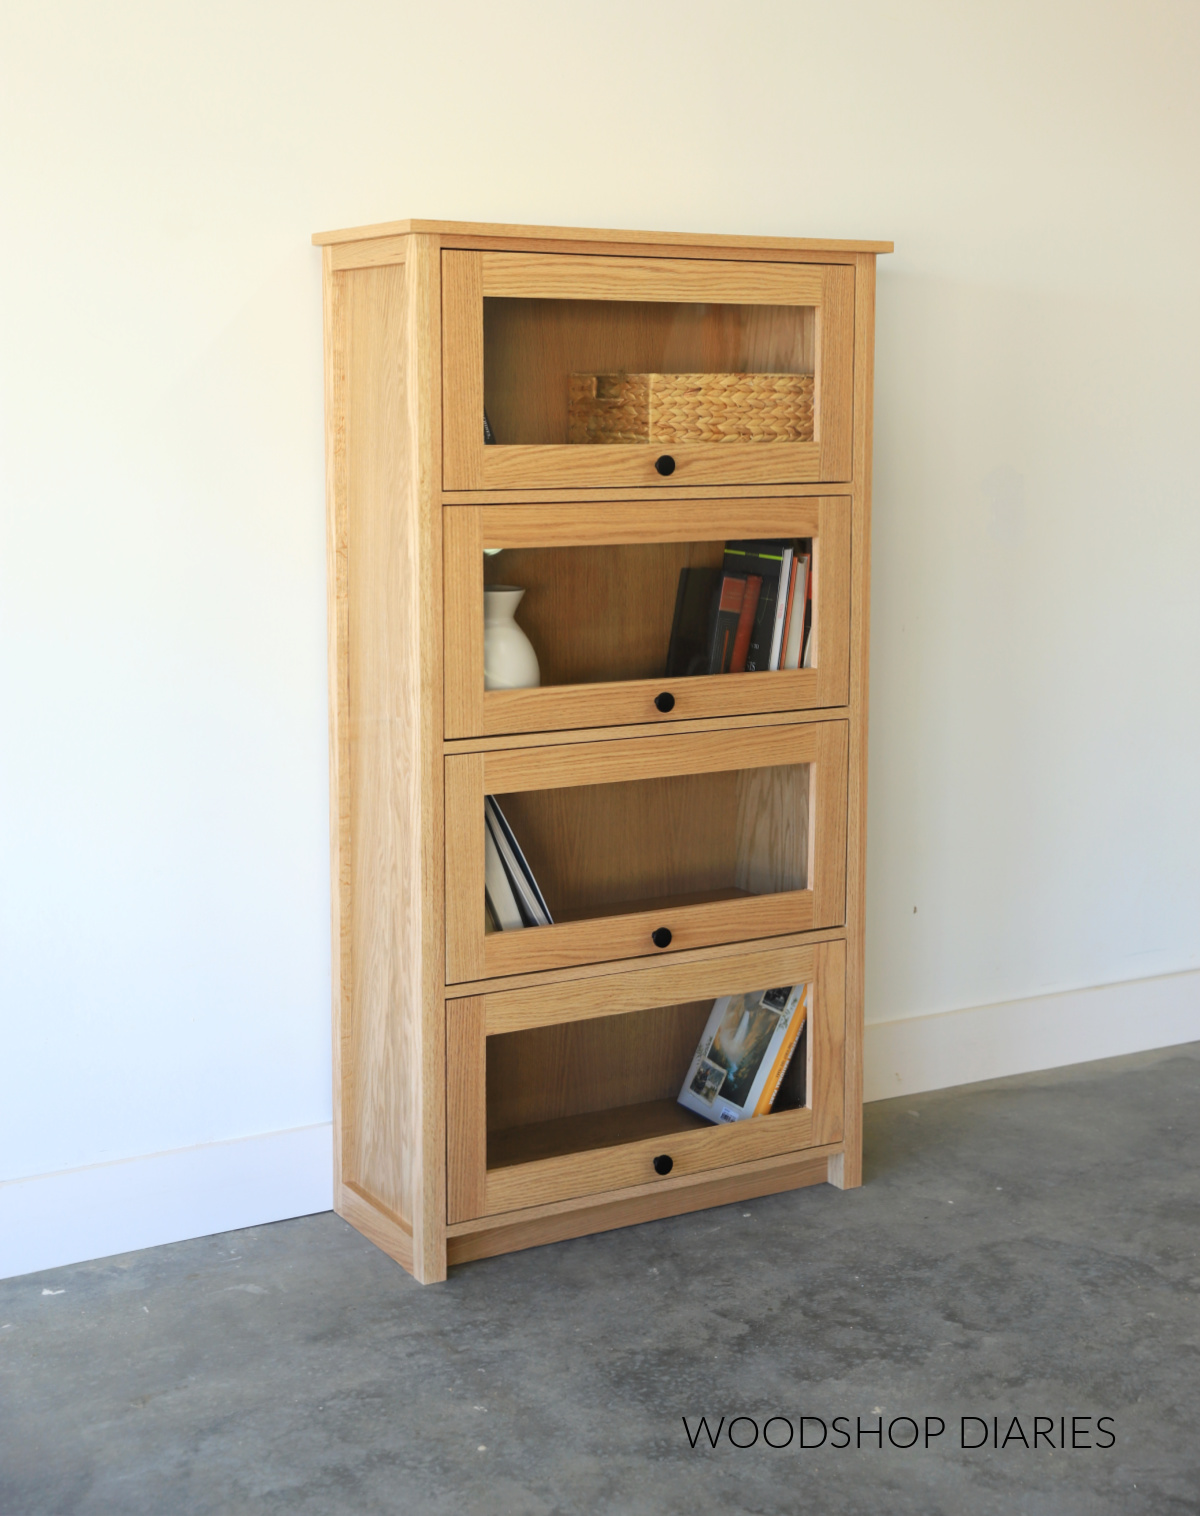
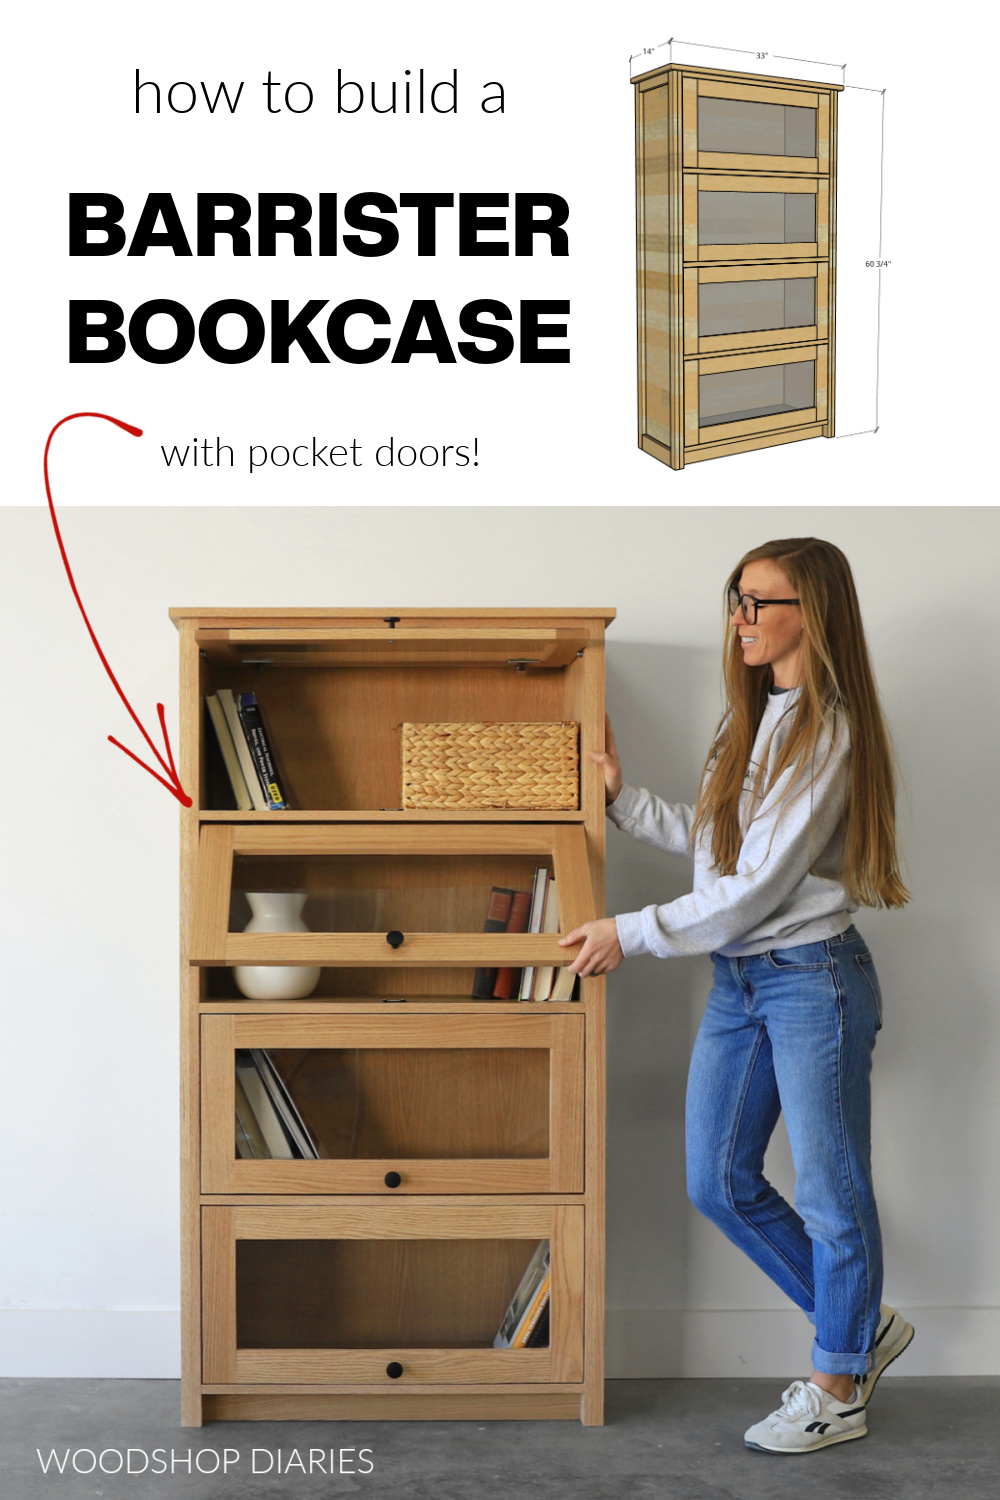
In this post, I’ll show you how to build a unique barrister bookcase with pocket doors.
This style of bookcase features stationary shelving with glass (or in this case, plexiglass) paneled doors that lift up and slide inside. The doors help protect the contents inside from dust.
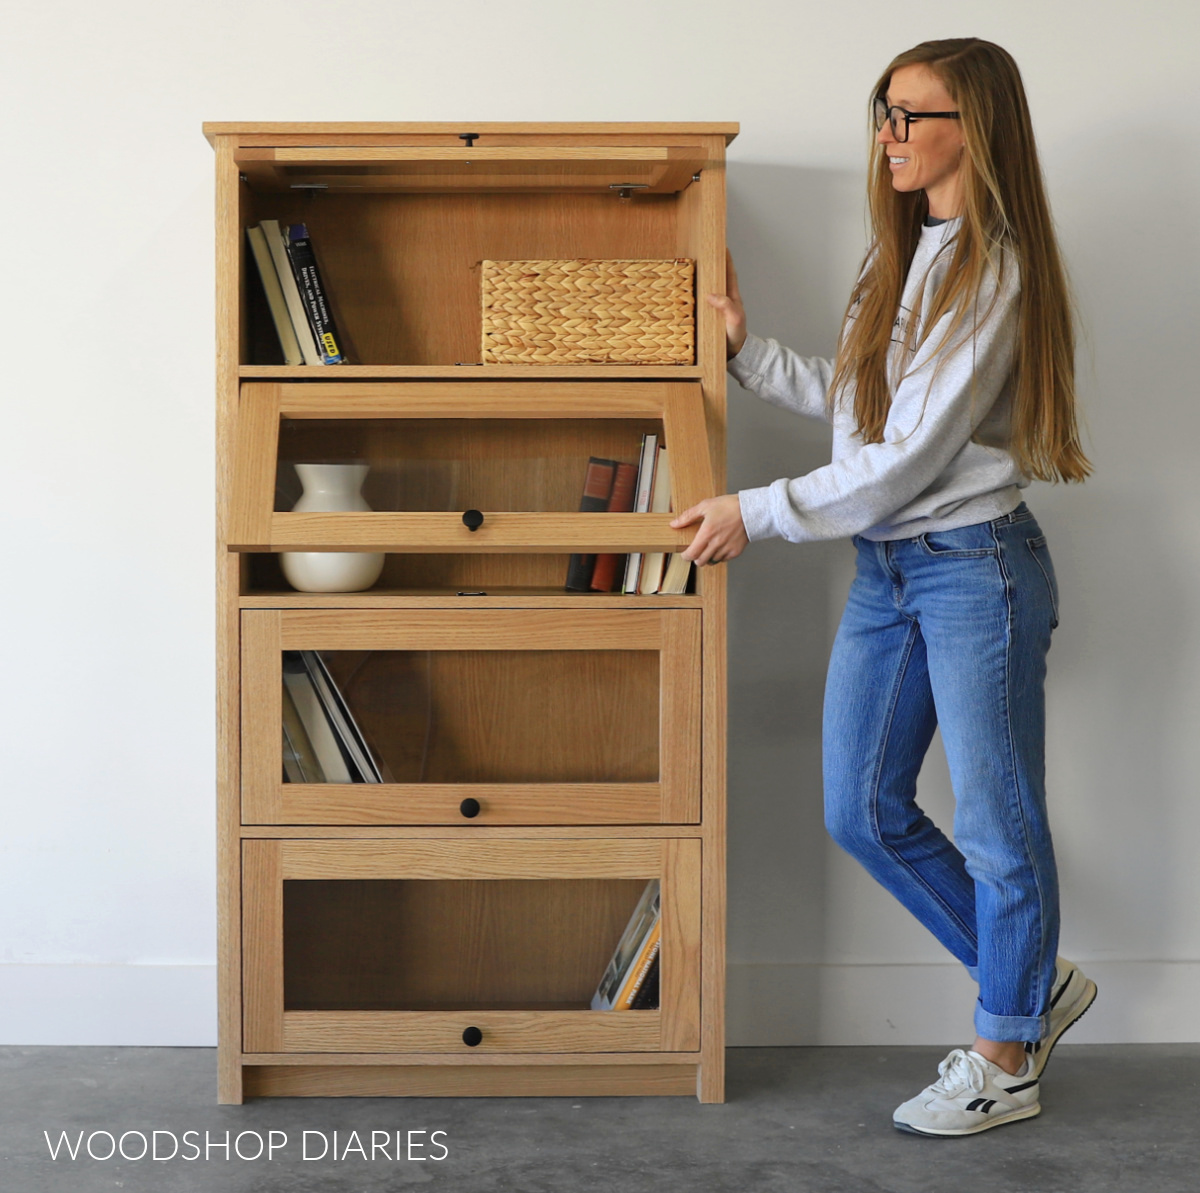
Back in the day, these bookcases were common for lawyers to keep their books in, so they’re also sometimes referred to as lawyer bookcases. So fancy!
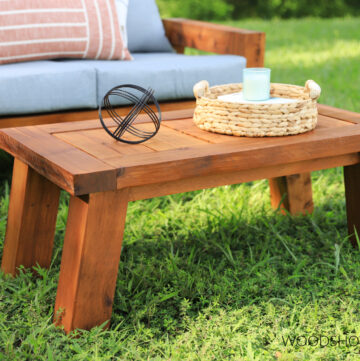
But, it’s not just for books. This shelf would also make an excellent linen cabinet, or I’ve even seen them used as a storage cabinet for shoes, purses or clothes.
The pocket doors make this a stunning and unique conversation piece, but the build itself is actually quite simple. I’m sharing the steps to build your own below.
*This post contains affiliate links. See website policies.
What to consider before building
This easy to build pocket door bookcase comes together quickly and is a great option for a weekend woodworking project.
Despite it’s simplicity, the result is a sturdy heirloom piece that is solid, strong and stylish enough for any room of the house.
And while the doors are obviously a fun feature, this shelf still looks and functions beautifully without them. So for an even quicker build, feel free to skip the doors.
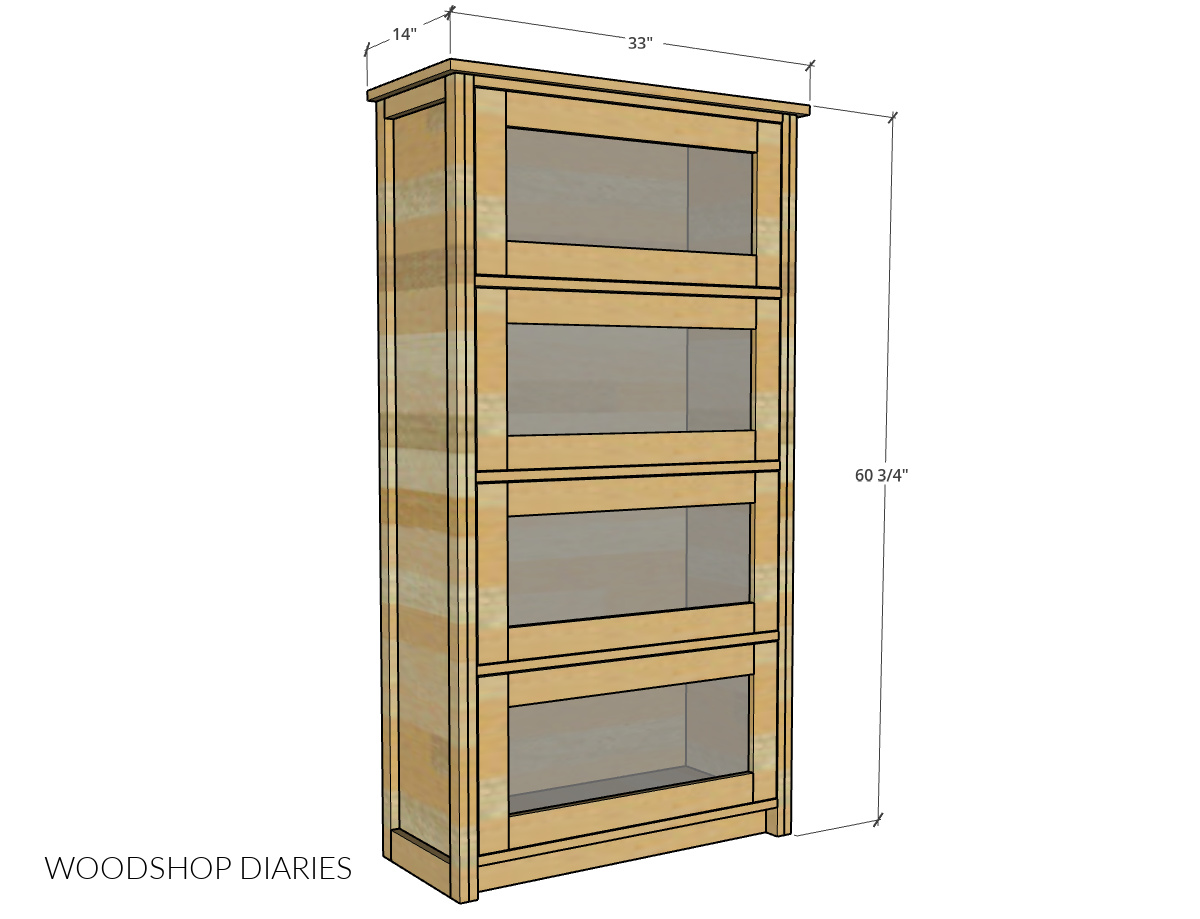
Overall dimensions
The overall dimensions of this pocket door bookcase are approximately 14″ deep x 60 ¾″ tall x 33″ wide.
You may find these resources helpful throughout the build:
Enjoy DIY projects and woodworking plans? Sign up for priority access for the latest posts on Woodshop Diaries!
How to Build a Barrister Bookcase
If you prefer to watch, I’ve shared the full build video with tons of tips, behind the scenes, and additional details on my YouTube Channel here.

Love watching how-to videos? Subscribe to my YouTube channel for plenty more where that came from!
Prefer to print? Grab the printable barrister bookcase building plans available here:
Tools & Materials
Tools:
- Drill/Driver
- Circular Saw and Kreg Rip Cut
- Miter Saw
- Pocket Hole Jig
- Dowel Jig (⅜″ recommended)
- Router & ⅜″ Rabbeting Bit
- Chisel
- Brad or Finish nailer
Materials:
- (1) 4’x8′ sheets ¾″ plywood
- (1) 4’x8′ sheet ¼″ plywood
- (4) 1x2x6′ boards
- (4) 1x3x8′ boards
- (2) 18″ x 24″ Acrylic Sheets (about ⅛″ thick)
- 1 ¼” pocket hole screws (100 count box)
- (6) 1 ¼” wood screws
- 1 ¼” long brad or finish nails
- (32) ⅜″ x 1 ½″ dowel pins
- Wood glue
- Gorilla Clear Grip Glue or other clear adhesive
- Edge banding (optional, but recommended)
- (4) Pocket Door Hardware Kits with 12″ Slides (see notes)
- Knobs/Pulls for Doors
Not sure what type of wood to use for this project?
1x LUMBER & TRIM: If painting, preprimed pine, spruce, or poplar are great budget friendly options. And if staining, usually, you want to use the same wood type as your plywood or something that will stain similarly so that they match. Check out this post to learn how to shop for and purchase lumber for your project.
PLYWOOD: I recommend using cabinet grade hardwood plywood (like birch, maple, oak, etc). Check out this post to learn how to choose the right plywood for your project.
This project was built with red oak 1x lumber and red oak plywood.
Step 1: Assemble Bookcase Body
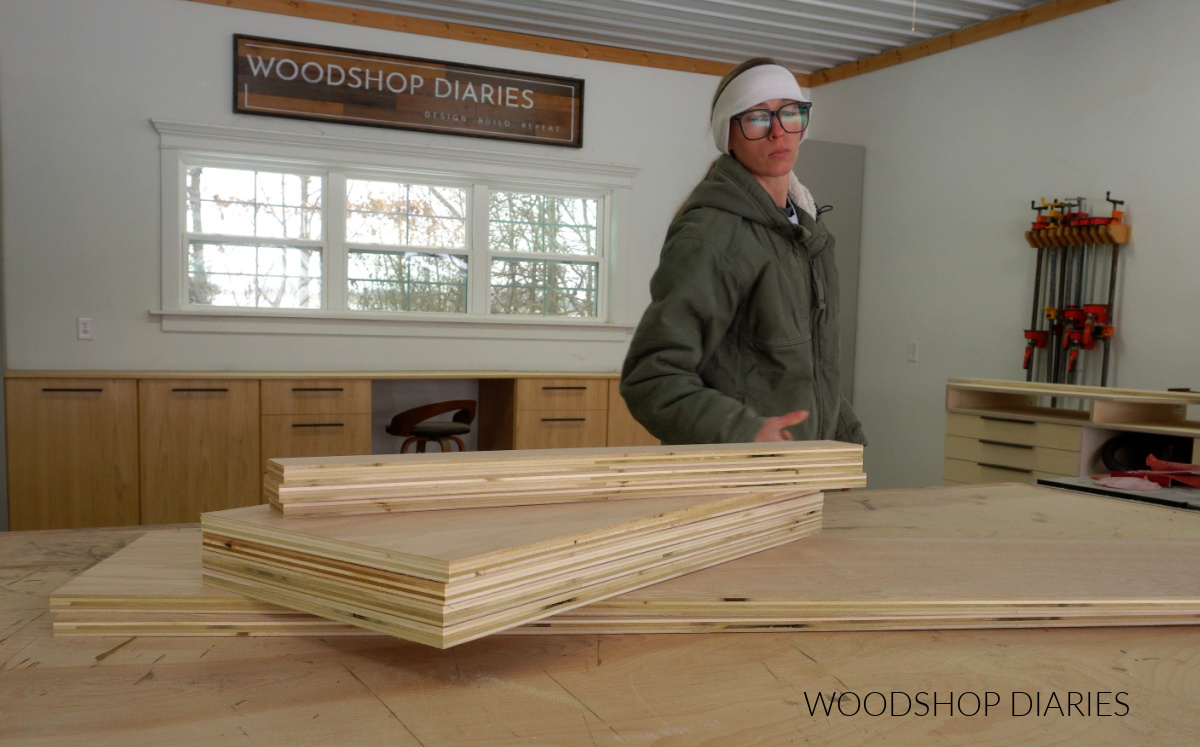
To get started, I began cutting down my plywood. You can find the full cut diagram for the plywood sheets in the printable plans.
For the main body of this bookcase, I cut my ¾″ plywood sheet down into:
- (2) Tall Side Panels
- (4) Shelves
- (2) Thin Top Support Strips
- (1) Thin Toe Kick Piece
The really nice thing about this design is that it’s SUPER easy to modify the size, so if you wanted a taller shelf, you can cut your sides longer and if you wanted it wider, you can cut your shelves longer. Or vice versa.
Once the pieces were cut, I applied edge banding to the front edges of the sides, shelves and top supports, then drilled pocket holes into the ends of each strip and all my shelves.
RELATED: How to cover plywood edges
ALSO RELATED: How to use pocket holes
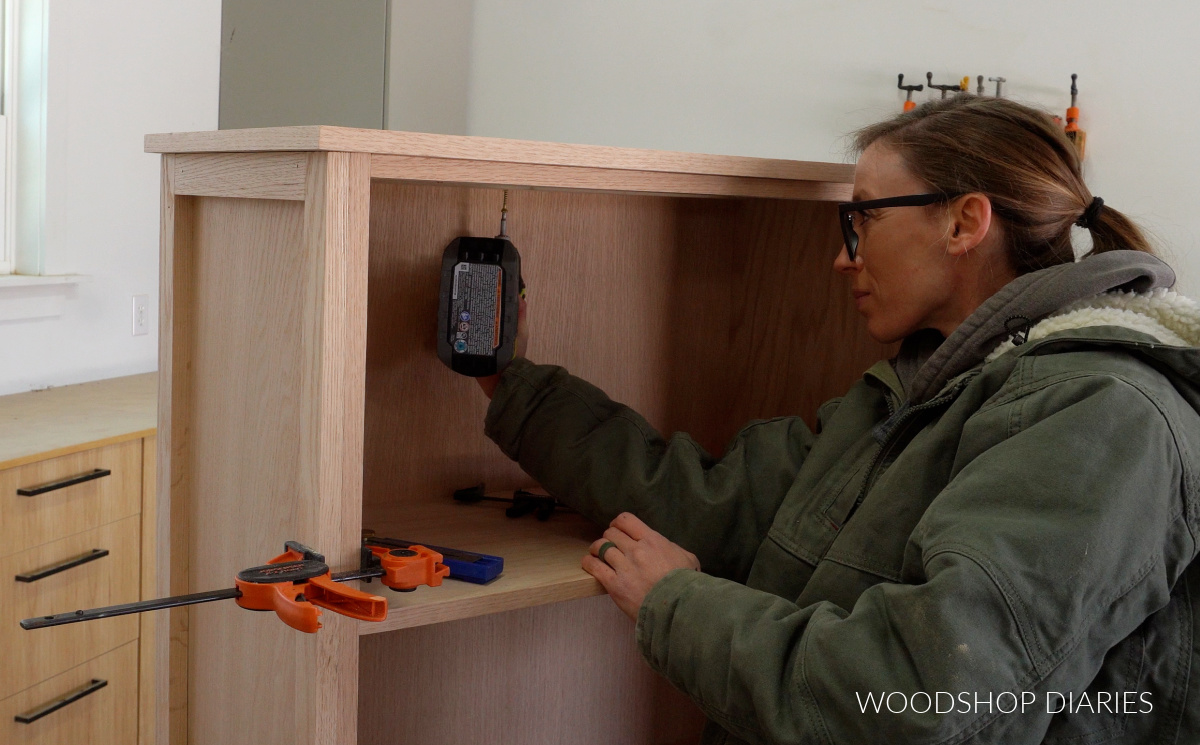
Then, I assembled my main bookcase body using pocket holes and screws.
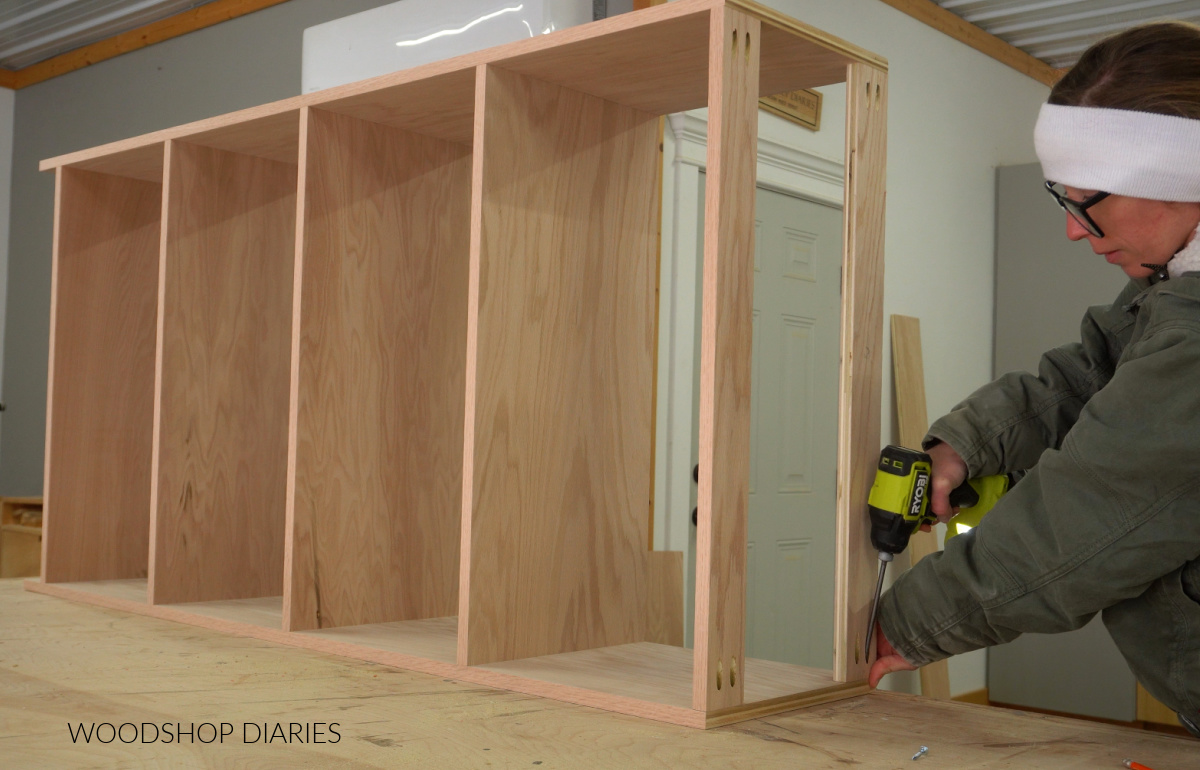
I spaced my shelves out equally so that all my openings were identical. That way, all my doors will also be the same size.
You’ll see I added two of my plywood strips at the top, but I installed my third plywood strip underneath my bottom shelf to act as a toe kick.
Then, I cut and nailed a ¼″ plywood panel to cover the back side.
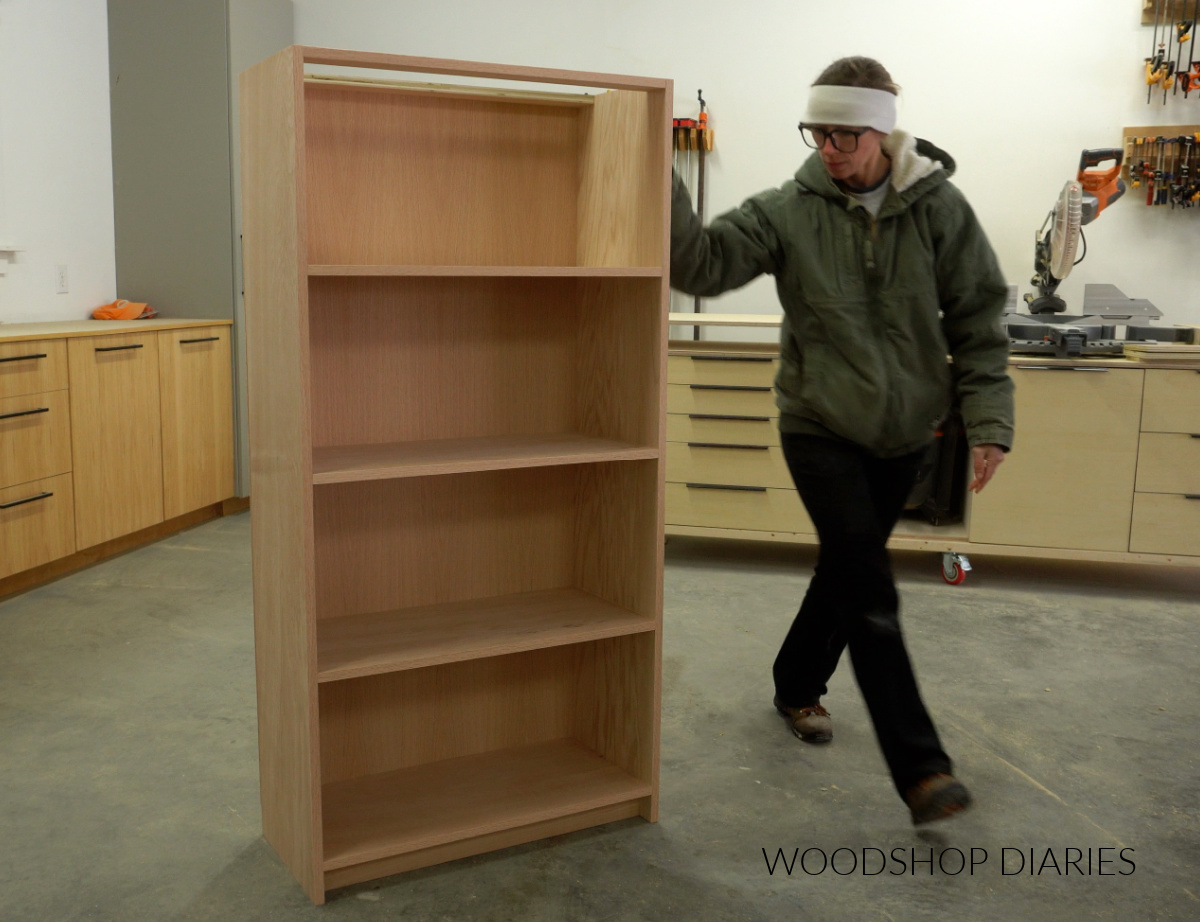
This part all came together really quick!
Step 2: Attach Trim & Top
Next, I wanted to dress up this basic box a little and I thought adding some thickness along the front edge would make it look a bit more…substantial? I’m not sure that’s the best word, but I wanted it to look less skinny.
So I cut some 1x2s to run vertically up the sides flush to the front and back edges. Then I cut a 1×2 to run between them at the top and a 1×3 to run between them at the bottom.
I just glued and nailed these pieces in place. It’s important to make sure the front edge is nice and flush, so I did use some clamps to help.
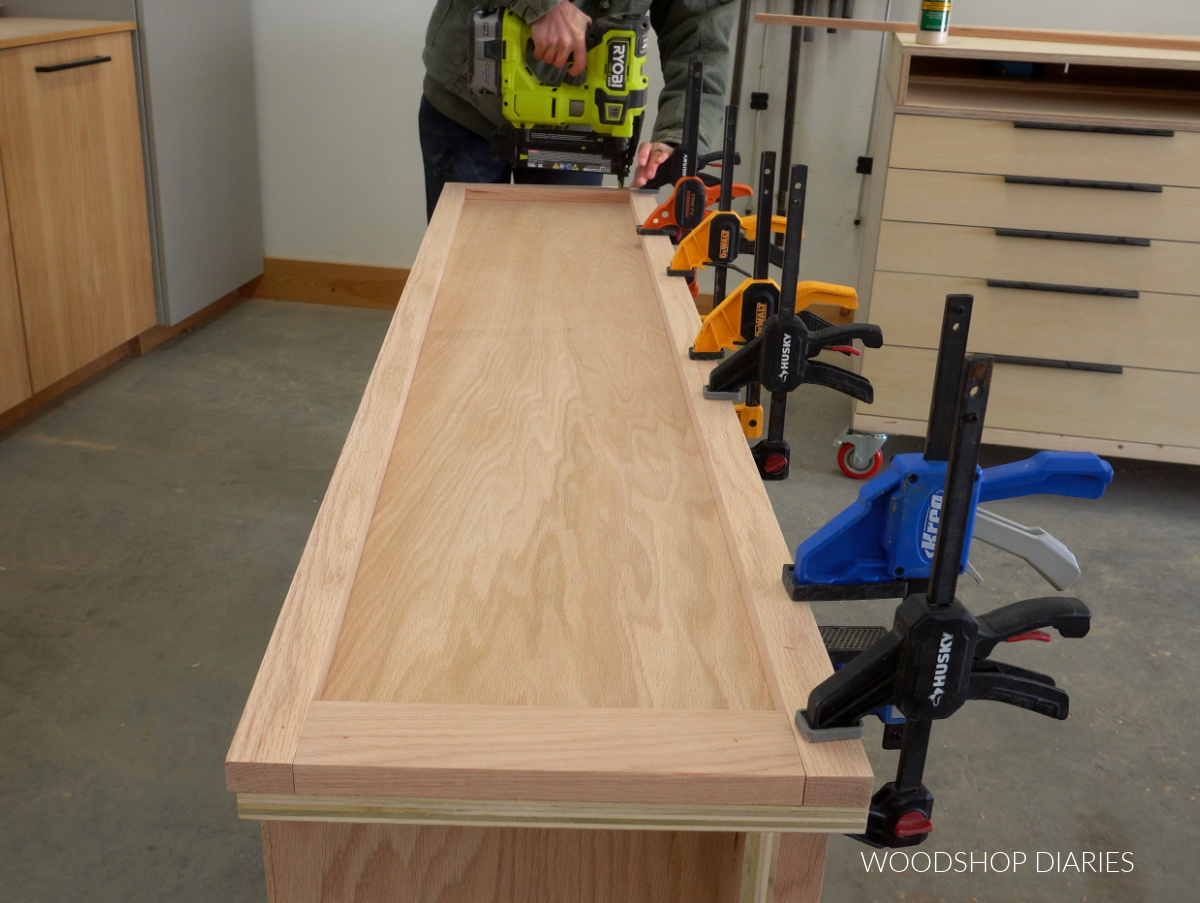
Then, I cut and attached a ¾″ plywood top panel to finish up the bookcase.
Prefer to print? Grab the printable plans for this barrister bookcase here.
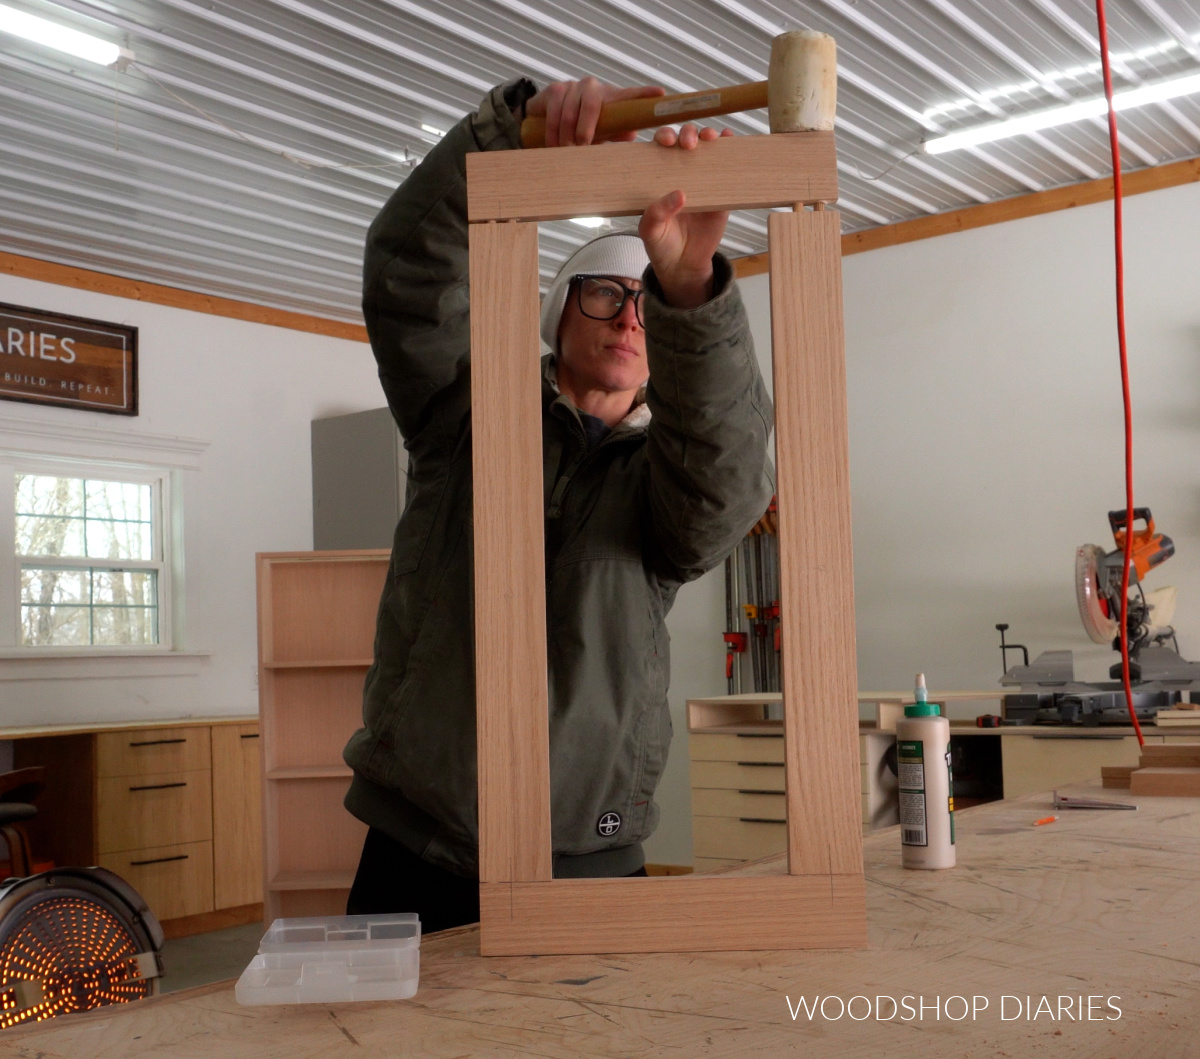
Step 3: Assemble Door Frames
This bookcase needs four doors: one for each opening. When building glass (or acrylic) doors, I like to build the frames first, then route out the back side to install the glass.
You can find 7 ways to build a cabinet door here. I used method number 4 to build these doors.
So I cut 1x3s to build my four frames and assembled them using wood glue and dowels at each corner.
RELATED: How to use a dowel jig
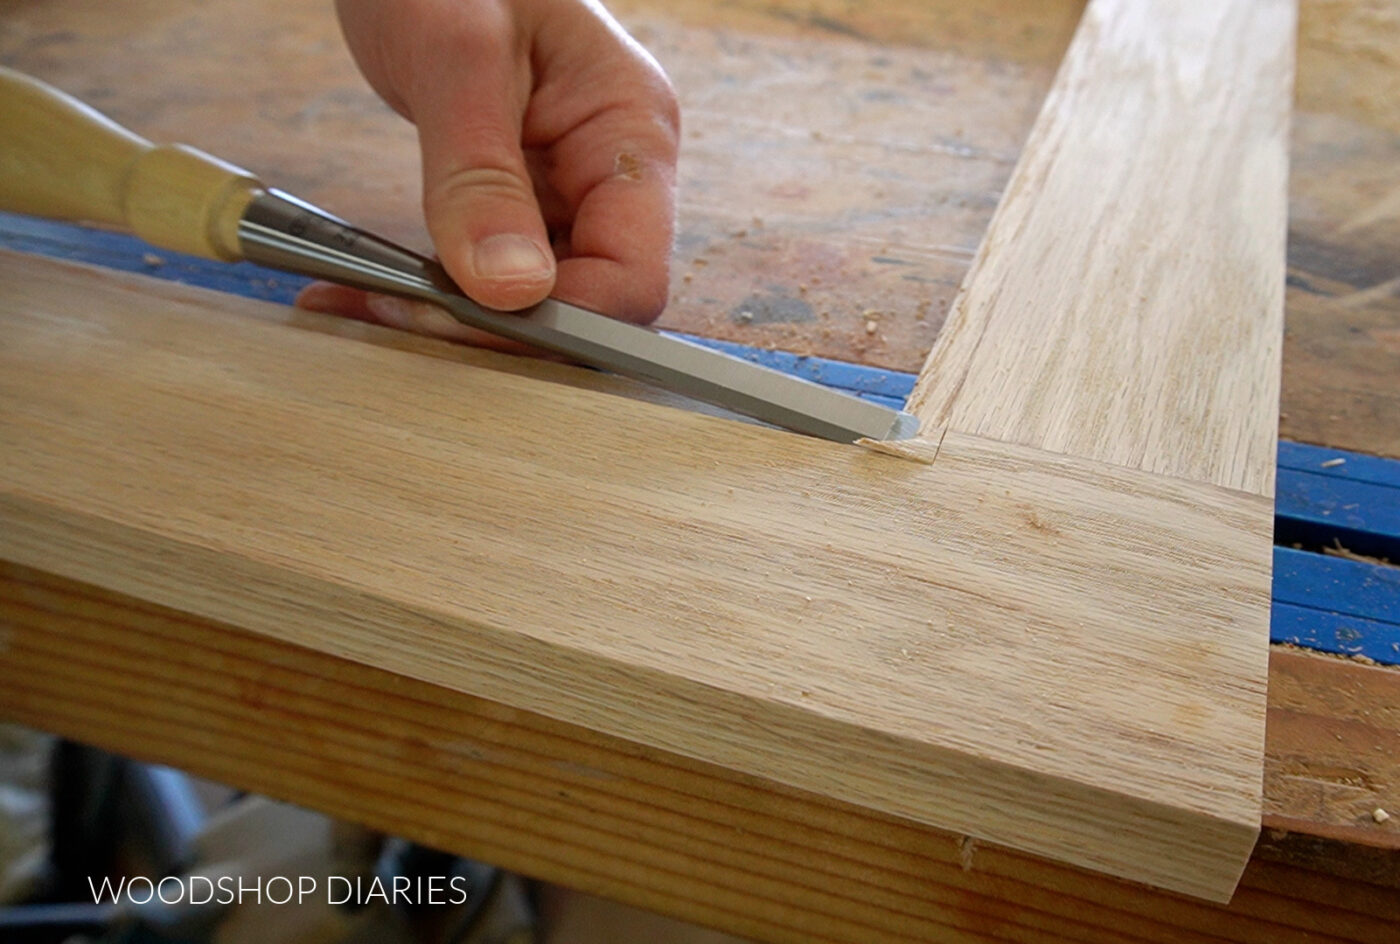
After the glue had dried on my frames, I used a router with a rabbeting bit to route along the inside edge on the backs of each frame. I routed so that the depth matched my acrylic sheet thickness, so it will set down into the groove flush.
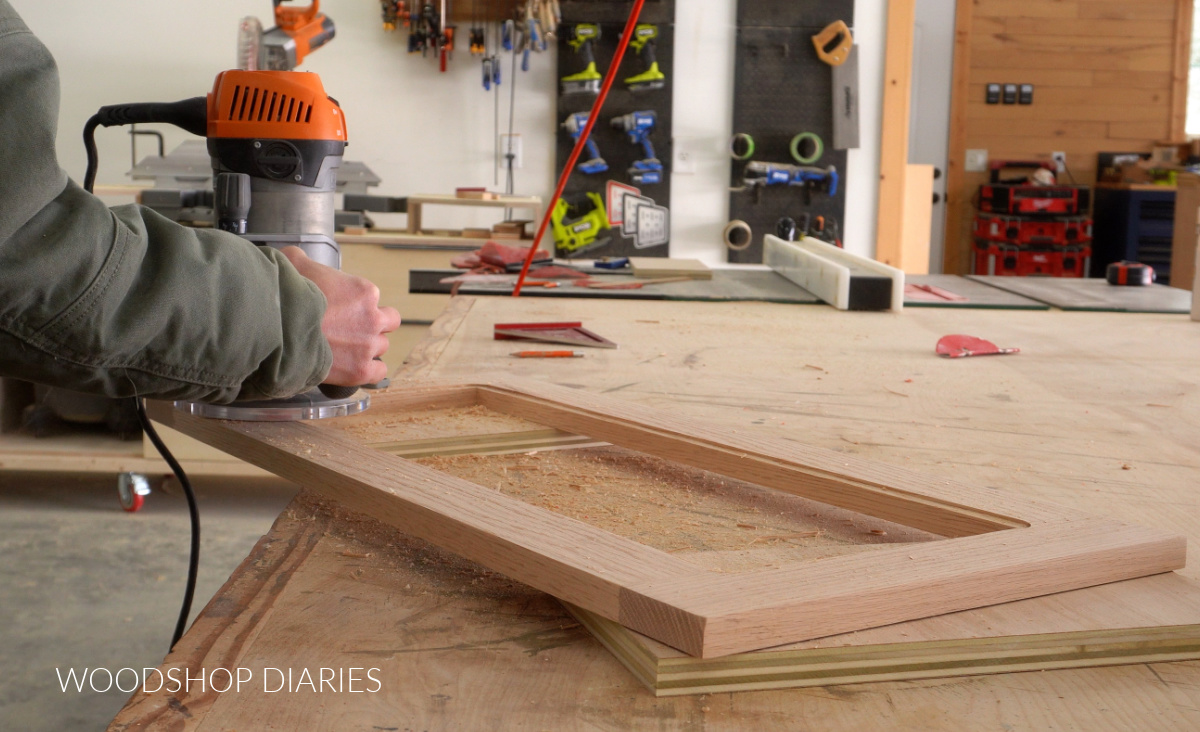
After routing, the corners are round (that’s the downside to using a router for this), so I had to chisel the corners square.
Prefer to print? Grab the printable barrister bookcase building plans here.
Now the bookcase and the door frames are built, so before installing the doors, I went ahead and finished the pieces separately. I stained them using Minwax Weathered Oak Wood Stain and sealed them with a few coats of Minwax Polycrylic.
RELATED: How to stain wood furniture
Step 4: Install Pocket Door Hardware
Pocket door hardware is typically made up of both hinges and slides. While most pocket door hardware is similar, not every brand or style is identical.
So I’ll share how I installed the pocket door hardware I used. But, if you use a different brand or style of hardware, these steps may vary.
REFER TO THE MANUFACTURER’S INSTRUCTIONS FOR INSTALLATION OF POCKET DOORS & POCKET DOOR HARDWARE.
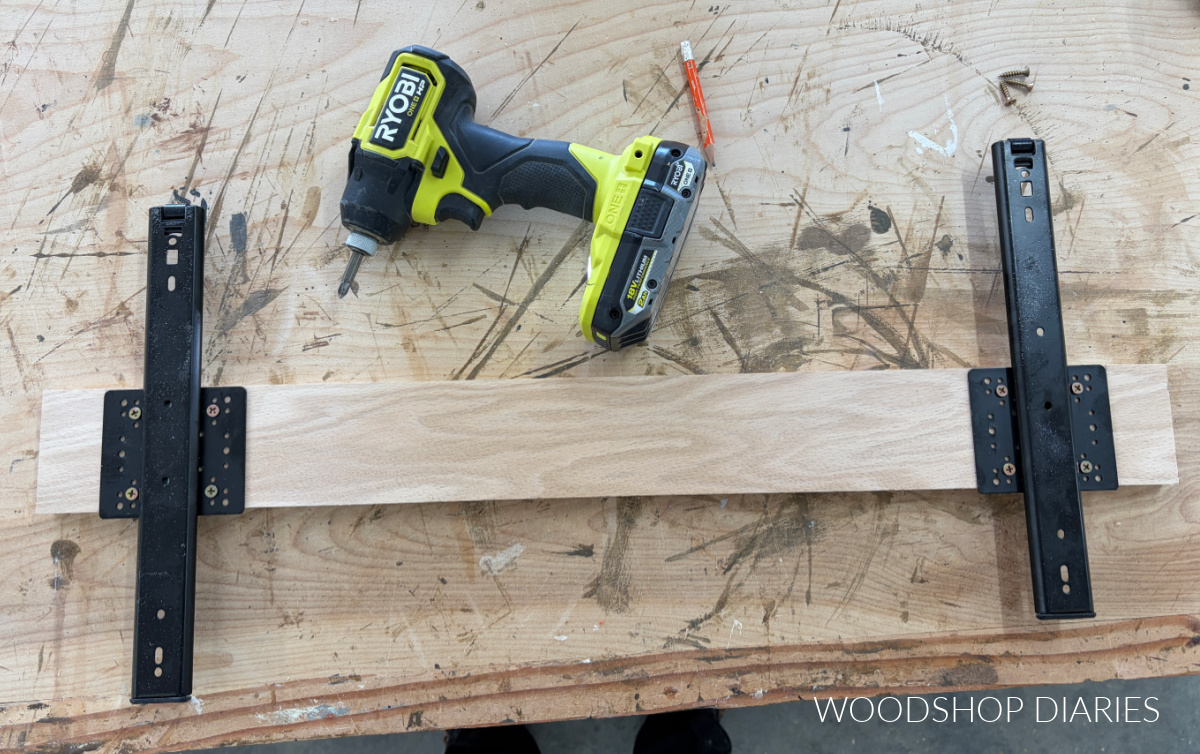
First, I mounted my slides to a ¾″ plywood strip like shown below. I did this for all four doors and I cut these about ½″ shorter than my bookcase shelves.
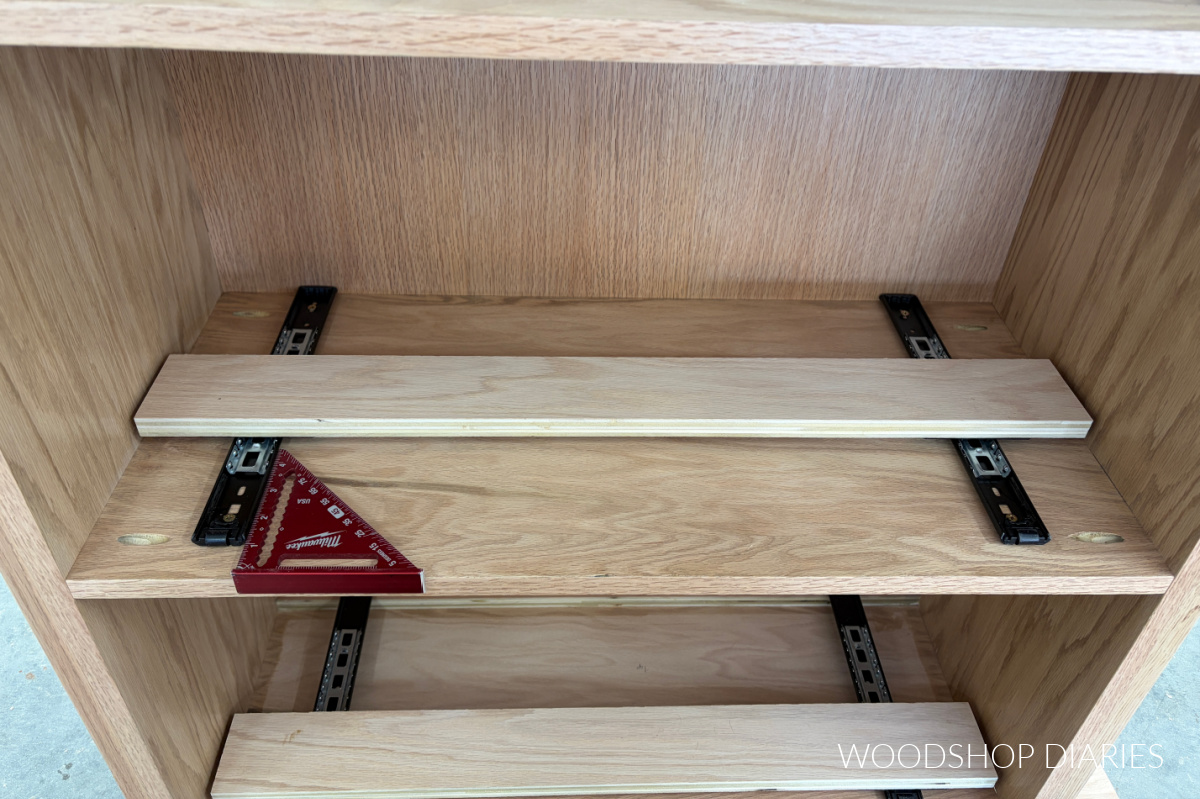
Then, I installed these on the UNDERSIDE of each of my shelves. I found it easiest to flip the bookcase upside down to install these.
A speed square helps ensure the slides are installed square so they’ll slide smoothly.
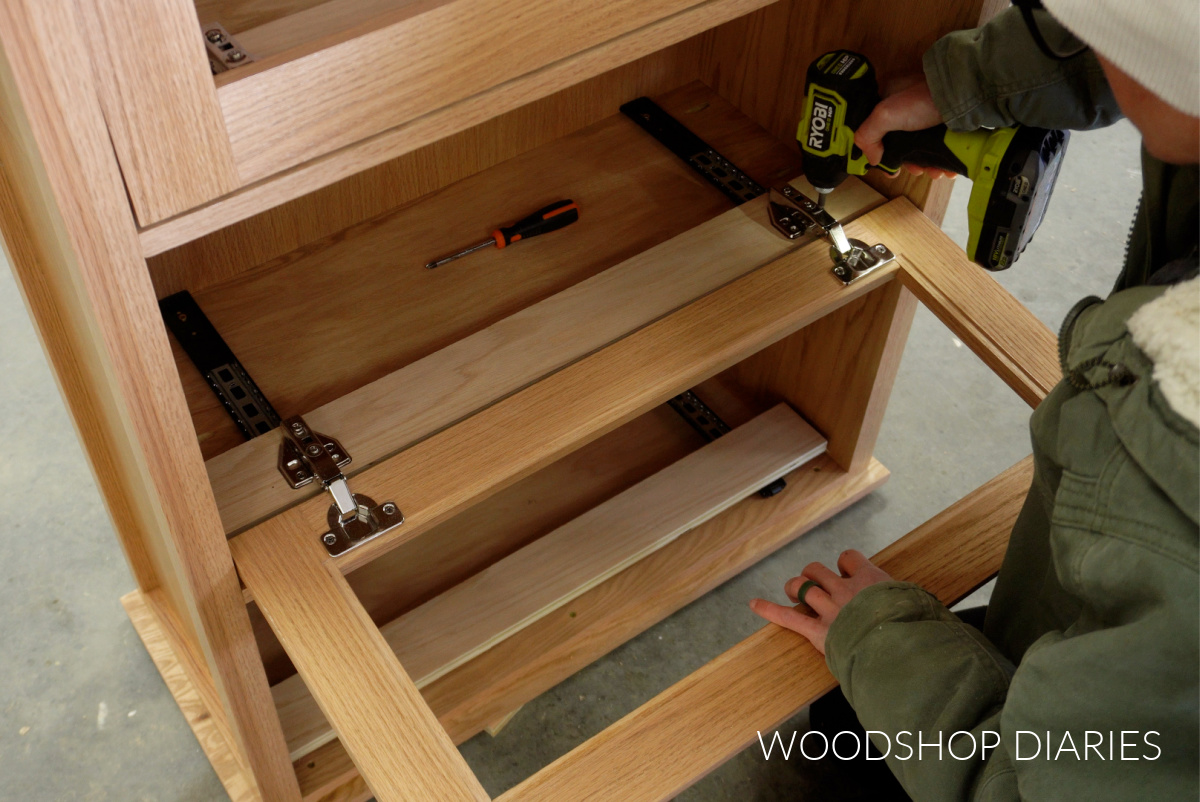
Then, I installed the hinges onto my door frames (see video for more information), so I could install these onto the wood strips on my slides.
This allows the doors to hinge open and slide into the cabinet.
Step 5: Install Acrylic Door Panels
The location of the hinge cup holes was very close to the rabbet in the door frames. So I thought it best to drill and install the hinges and get the doors properly fit before adding the acrylic to avoid any interference.
I know this seems a little backwards, but after installing the door frames, I unscrewed them from the hinges to install the acrylic.
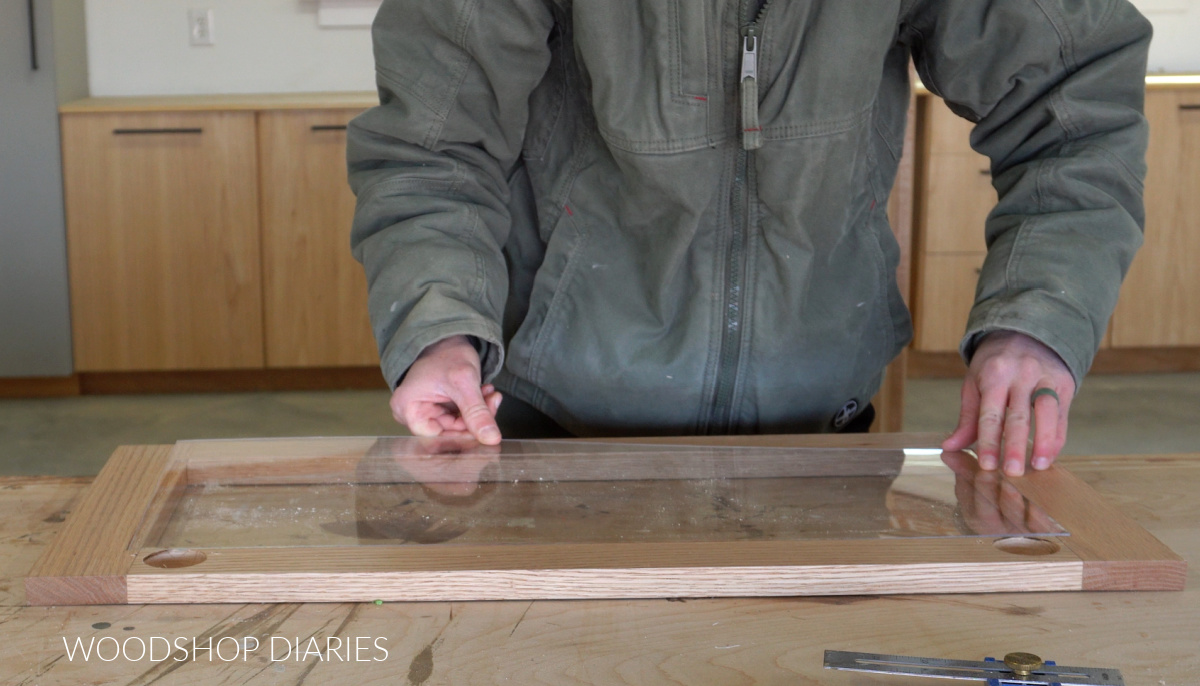
I cut acrylic panels to fit into the rabbet on each door frame. Then, I carefully glued them into the rabbets on each door using Gorilla Clear Grip Glue.
If desired, you can reinforce the panels (in addition to the glue) with brackets or picture frame turn buttons as well.
After the glue dried, I installed the doors back onto the hinges in the bookcase. This was pretty easy since they just kind of pop back into the hinge cup holes.
Step 6: Add Finishing Touches
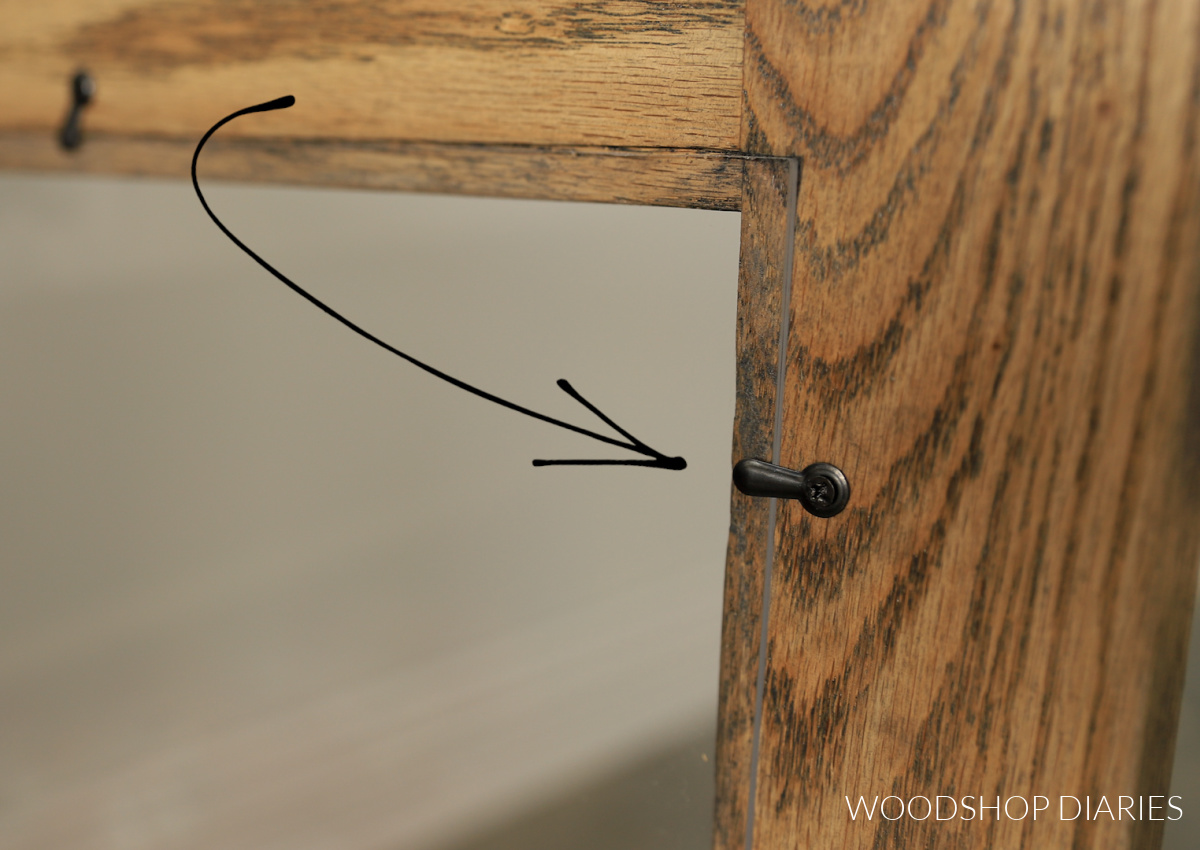
After I installed the doors back to the bookcase, I flipped it right side and added some catches to keep doors flush when closed (these catches came with my pocket door hardware kit, so I didn’t have to buy anything additional).
The hardware kit I purchased also came with some small bearings to install underneath the doors on each side to hold them up when opened. And lastly, I added some simple black knobs to finish this up.
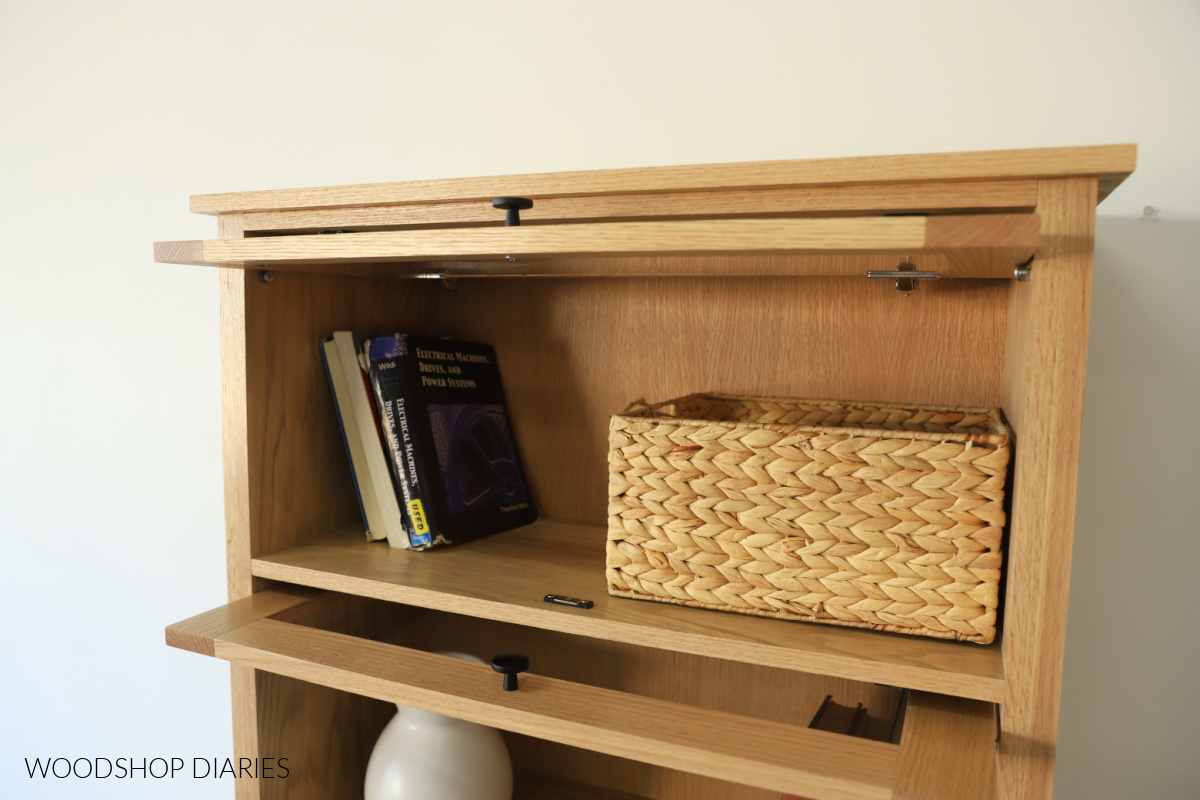
I am so excited with how this turned out and, honestly, it was easier to build than I thought! The pocket door hardware worked great and was straightforward to install.
This is really a neat storage piece that looks great with the doors open or shut!
Because this piece is tall, I recommend securing it to the wall to prevent tip over.
If you’d like to build your own, you can find the printable plans available here.
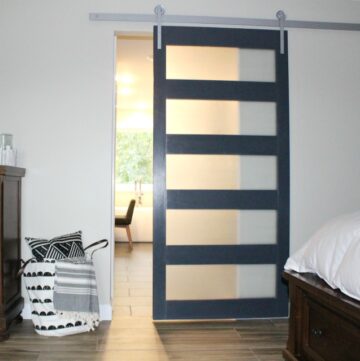
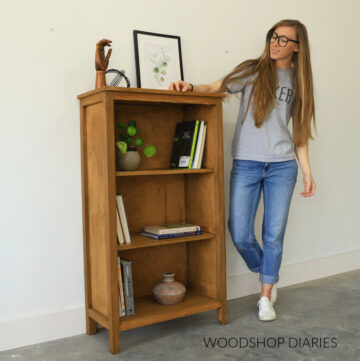
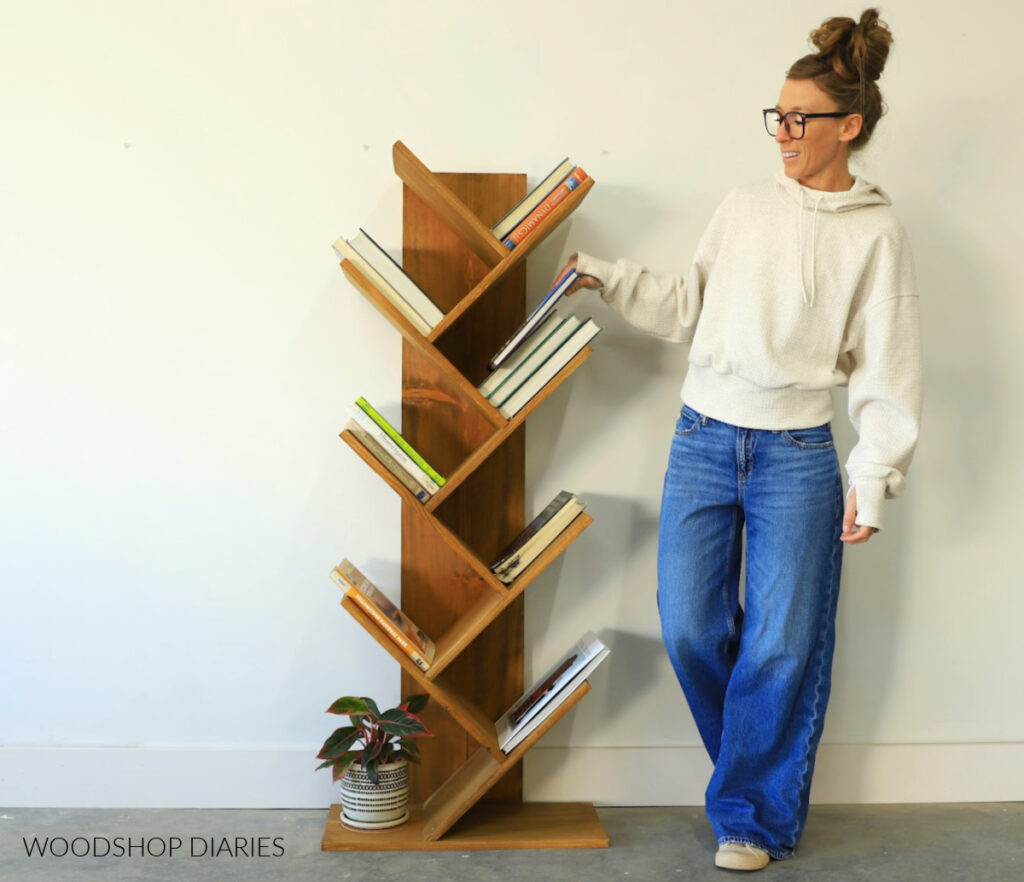
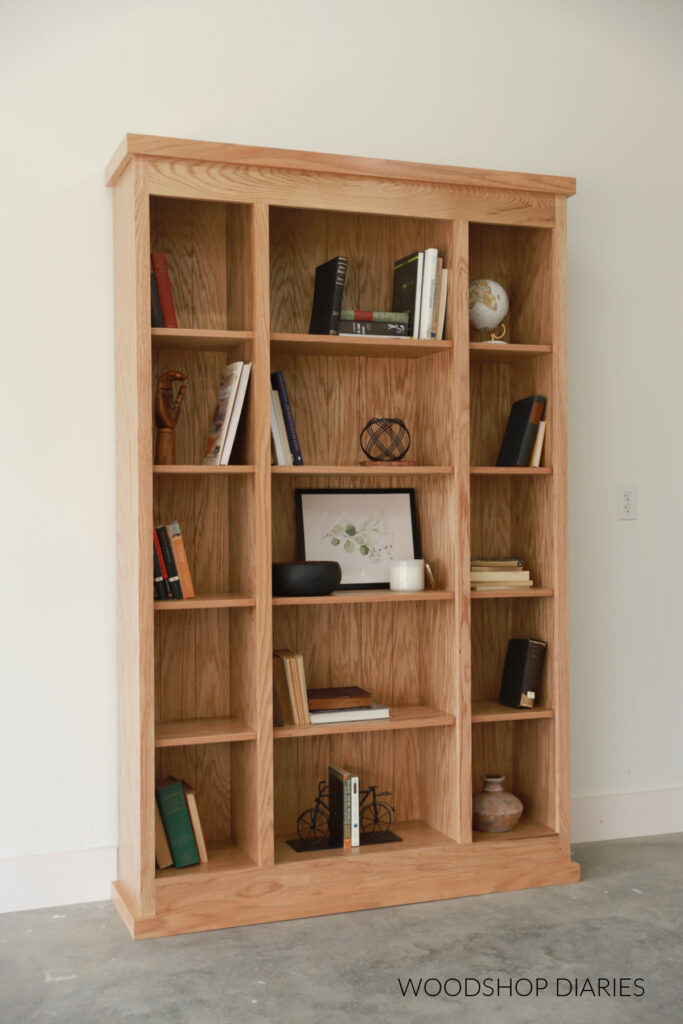
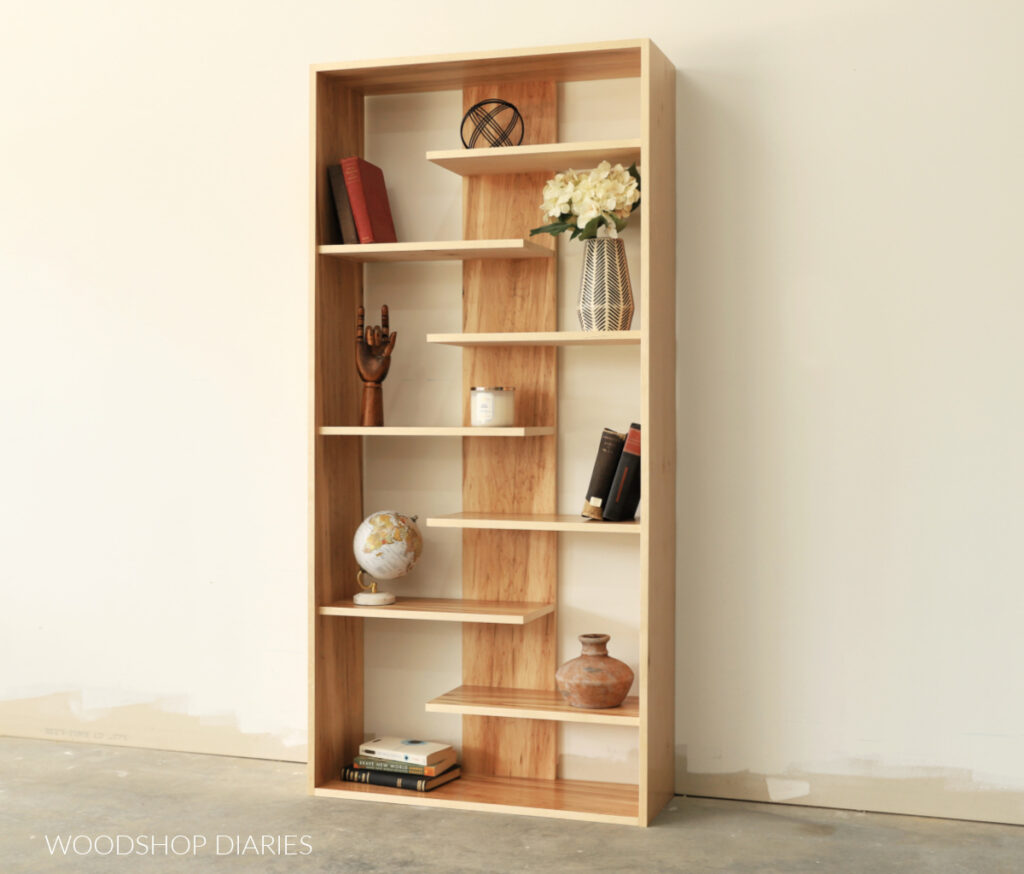
Looking for more DIY Bookshelf Project ideas?
Enjoyed this build, but looking for more ideas? I’ve got you covered! Click on the image(s) below to learn how to build each bookshelf:

If you enjoyed this post, be sure to save it for later by pinning or sharing to your favorite social channel!
Until next time, friend, happy building!