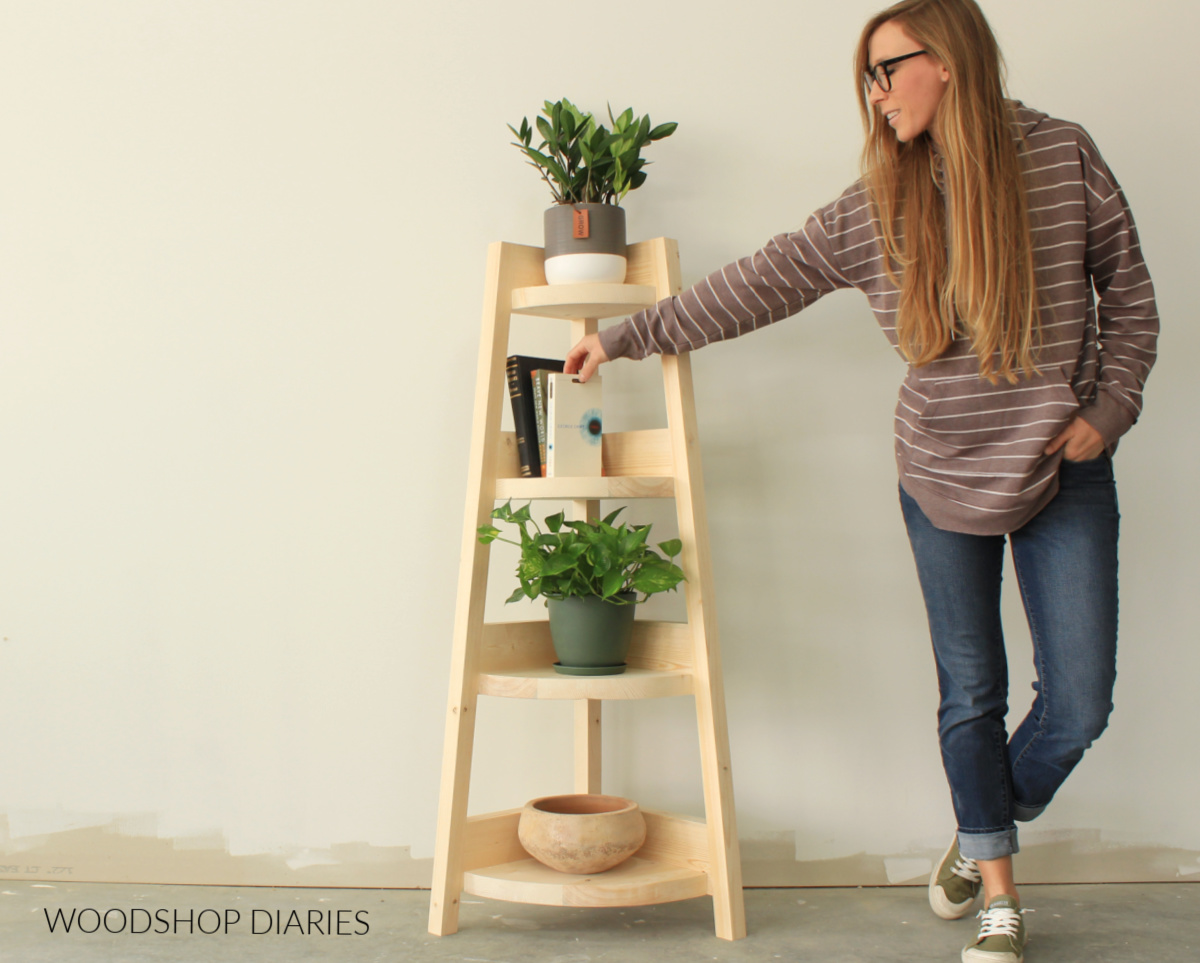
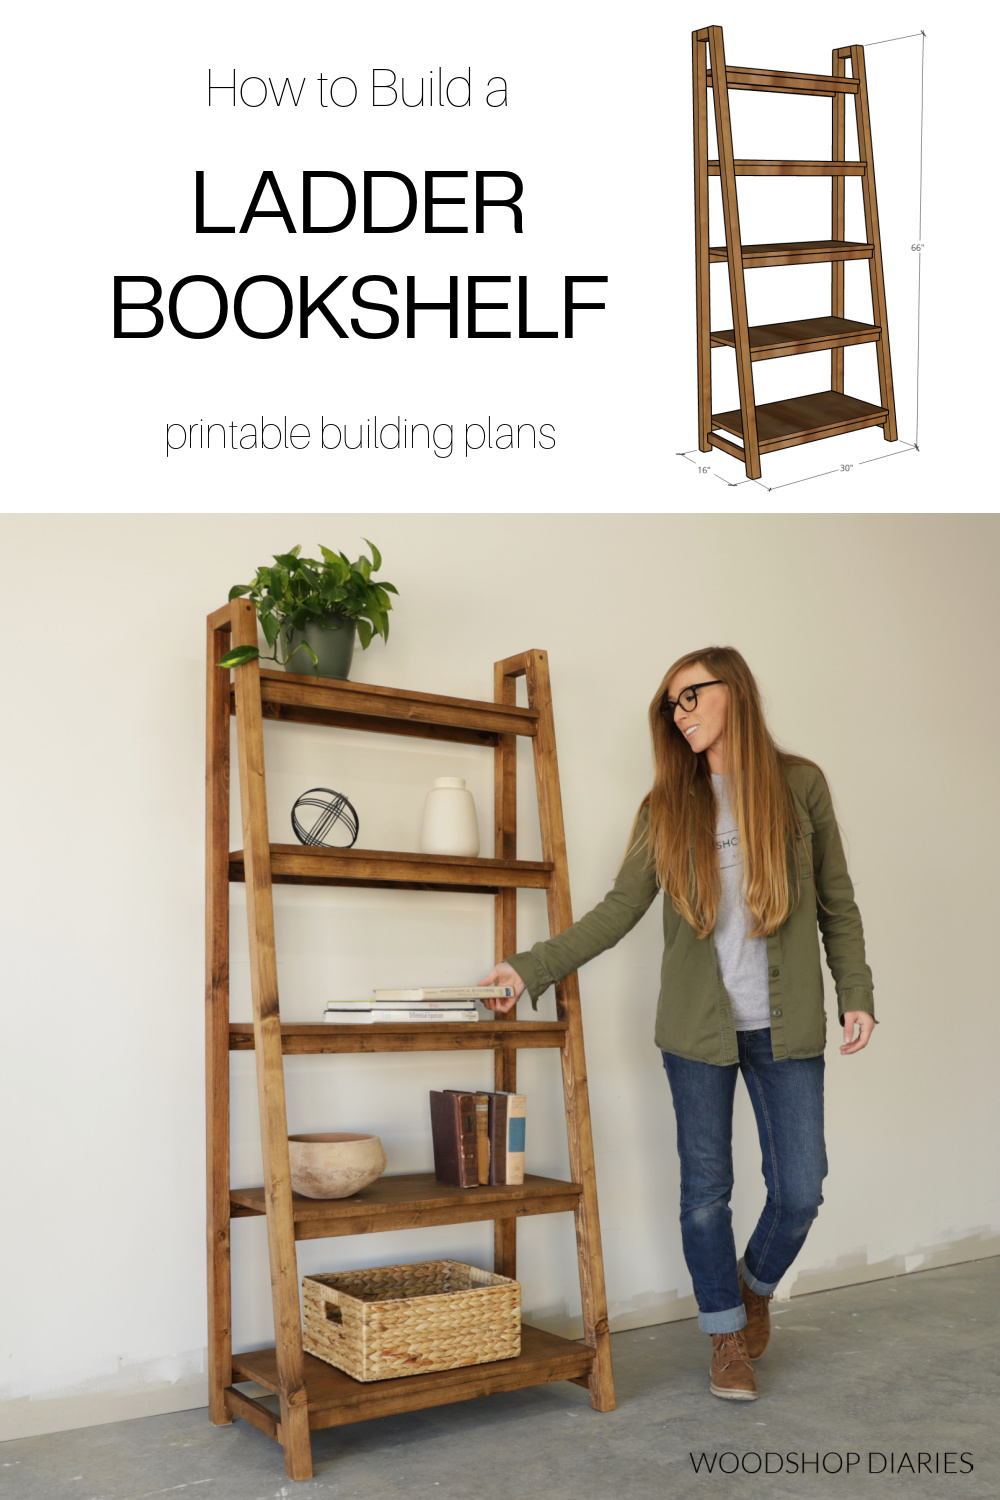
In this post, I’m sharing building plans for this DIY freestanding ladder bookshelf!
*This post is sponsored by The Home Depot as part of the ProSpective Program and contains affiliate links. See website policies for more information.
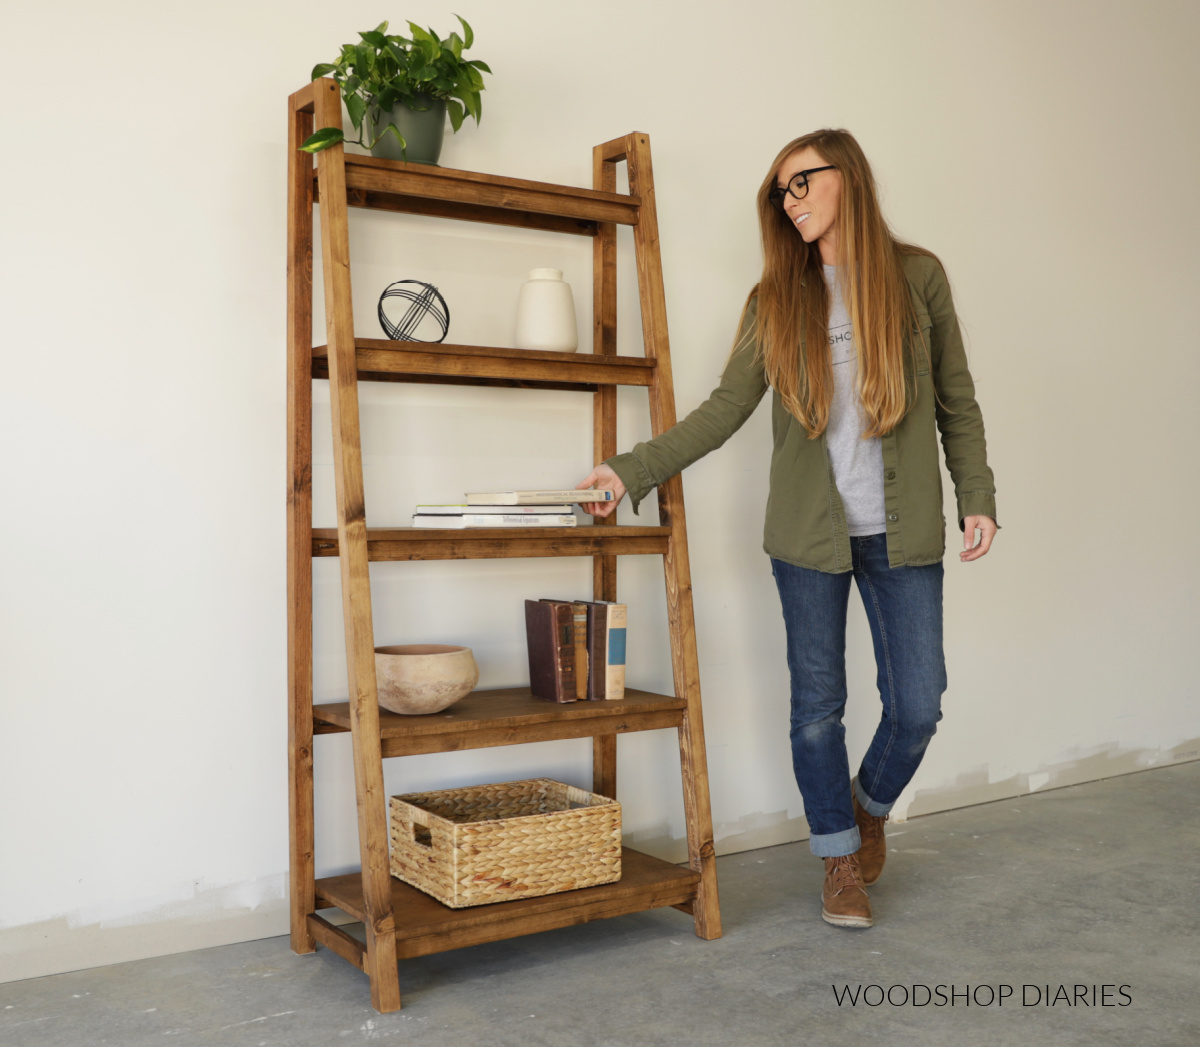
A bookshelf is such a fun and versatile project. You can build them a million ways and use them for a million things.
It doesn’t have to be just for books! You can use it for towels in the bathroom, dishes in the kitchen, décor in the living room, etc.
I’ve noticed that ladder bookshelves are trending lately and I’ve seen some neat designs that lean against the wall.
But this is a freestanding option that is great for renters or those people who just can’t make up their mind (like me!) and like to rearrange furniture often.
This design (unlike some of the leaning options) stands on it’s own and doesn’t have to mount to the wall.
And best of all, it’s an easy build! I’m sharing how to make your own in the post below.
Tools & Materials:
Tools:
- Ryobi ONE+ 18V HP 10” Cordless Compound Sliding Miter Saw
- Ryobi ONE+ 18V HP Drill/Driver
- Ryobi ONE+ 18V HP Circular Saw and cutting guides (only needed if you use plywood for shelves)
- Pocket Hole Jig
- Countersink drill bit (Kreg Quick Flip used here)
- Clamps
- Speed Square
Materials:
- (4) 2x2x8 boards
- (4) 1x2x8 boards
- ½ sheet ¾” plywood OR scrap solid wood boards (see notes below)
- 1 ¼” pocket hole screws
- 2 ½” wood screws
- Wood Glue
What to Know Before Building a DIY Ladder Bookshelf
This is a great beginner building project. Although it’s fairly large in size, it’s made with simple construction and limited tools.
It can be completed in just a few hours, making it an excellent weekend woodworking project!
Shelving Material Options
Since this bookshelf is angled, each shelf gets deeper as it goes from top to bottom, so they’re not all the same width boards.
The shelves can be cut from ¾” plywood OR you can glue up solid wood boards to make your own panel(s).
If you use ¾” plywood, you only need a little under ½ of a sheet to cut all your shelves from OR you can use plywood scraps if you have them.
If you use solid wood, you can use a 1×8 for the top shelf, a 1×10 for the second shelf, a 1×12 for the middle shelf. For the bottom two wider shelves, you will have to join a few pieces (glue them up) as these aren’t standard lumber sizes.
The shelves are roughly 27” long, so if you happen to have some wide board scraps lying around, this would be a great use for them.
You can find the exact dimensions in the plans and the tutorial below for each shelf piece.
Just keep in mind that you can use either plywood or solid wood for these.
Must Have Tools
One of the must have tools for building this project is a miter saw. It’s the most accurate and efficient way to cut these pieces, especially the angled ones.
For this project, I used this Ryobi ONE+ 18V HP 10” Cordless Compound Sliding Miter Saw.
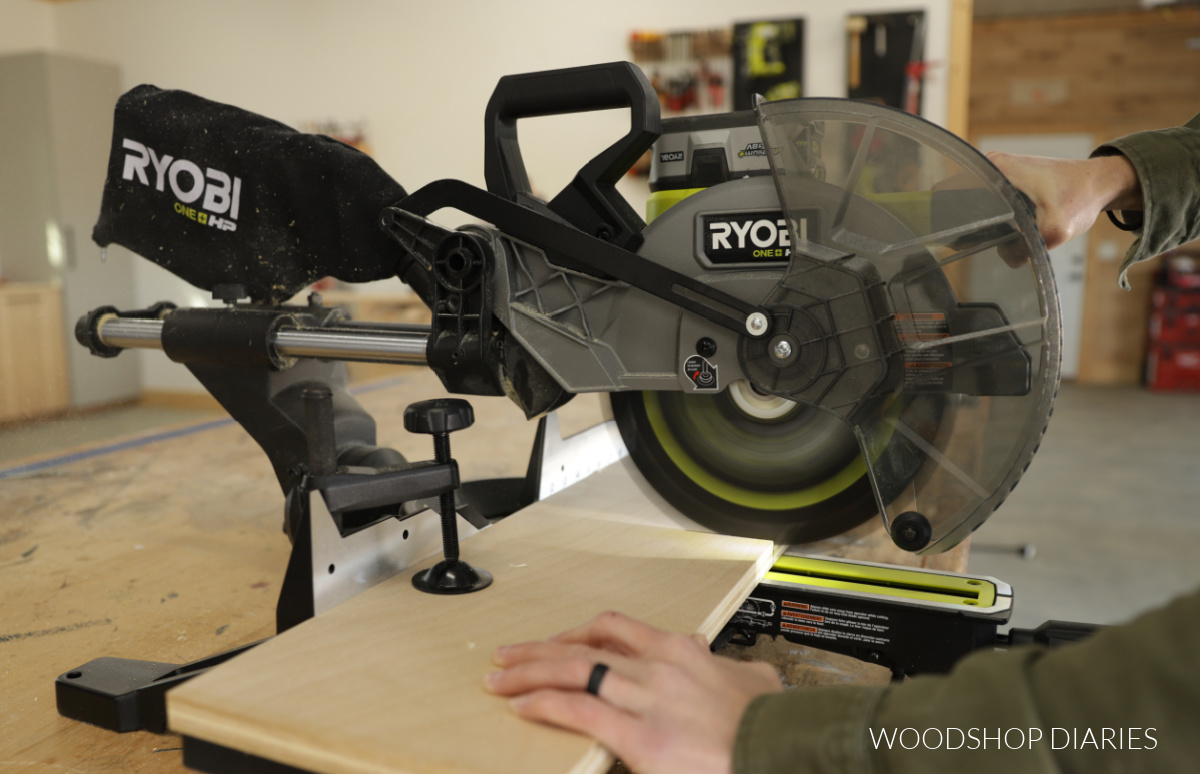
What’s great about it? It runs on the same ONE+ 18V batteries I’ve already been using with my other Ryobi tools.
Since it’s cordless, it’s perfect for on the go, working on projects in the house, and working on projects around the yard (think…garden beds, etc.).
It boasts a 12” cross cut capacity, 47 degrees of miter both left and right, and a 45 degree bevel. Plus, it can make up to 550 cuts on a single 4.0 Ah ONE+ 18V HP Battery.
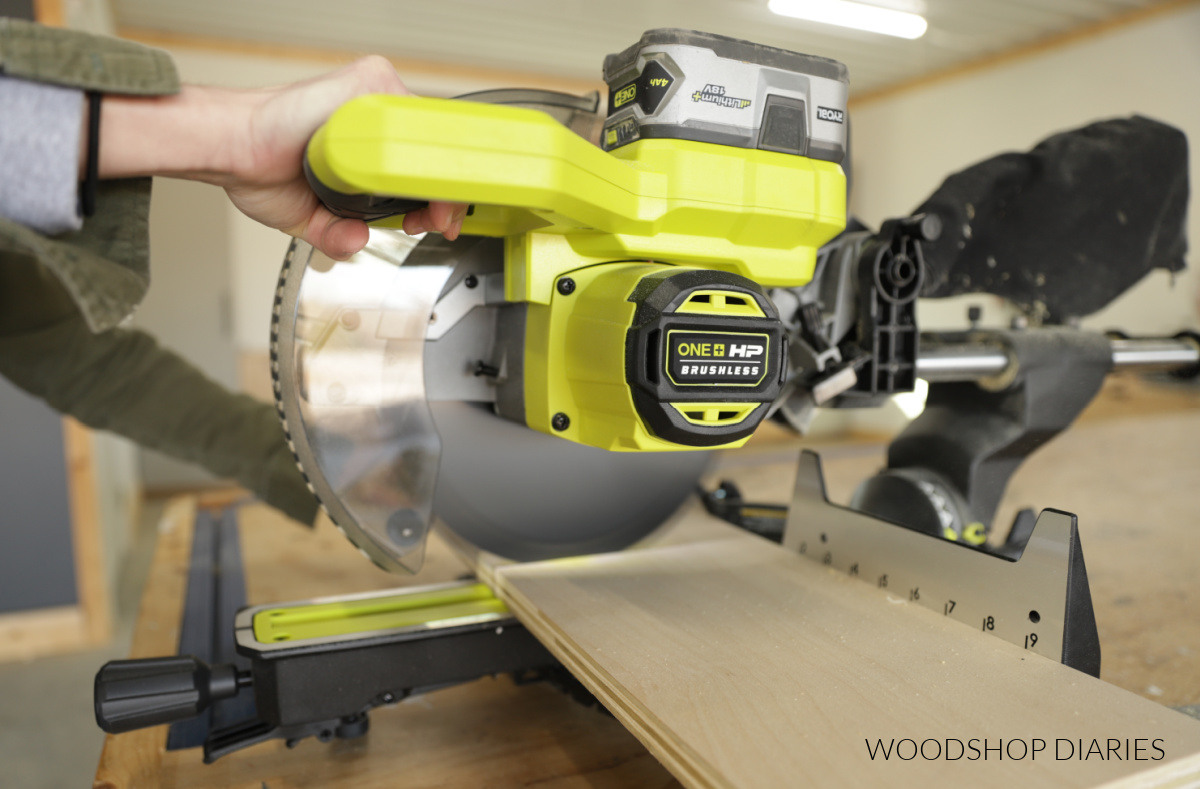
It’s available exclusively at The Home Depot and you can check it out here. You can also see me using it in action to build this project in the video below.
Bookshelf Overall Dimensions
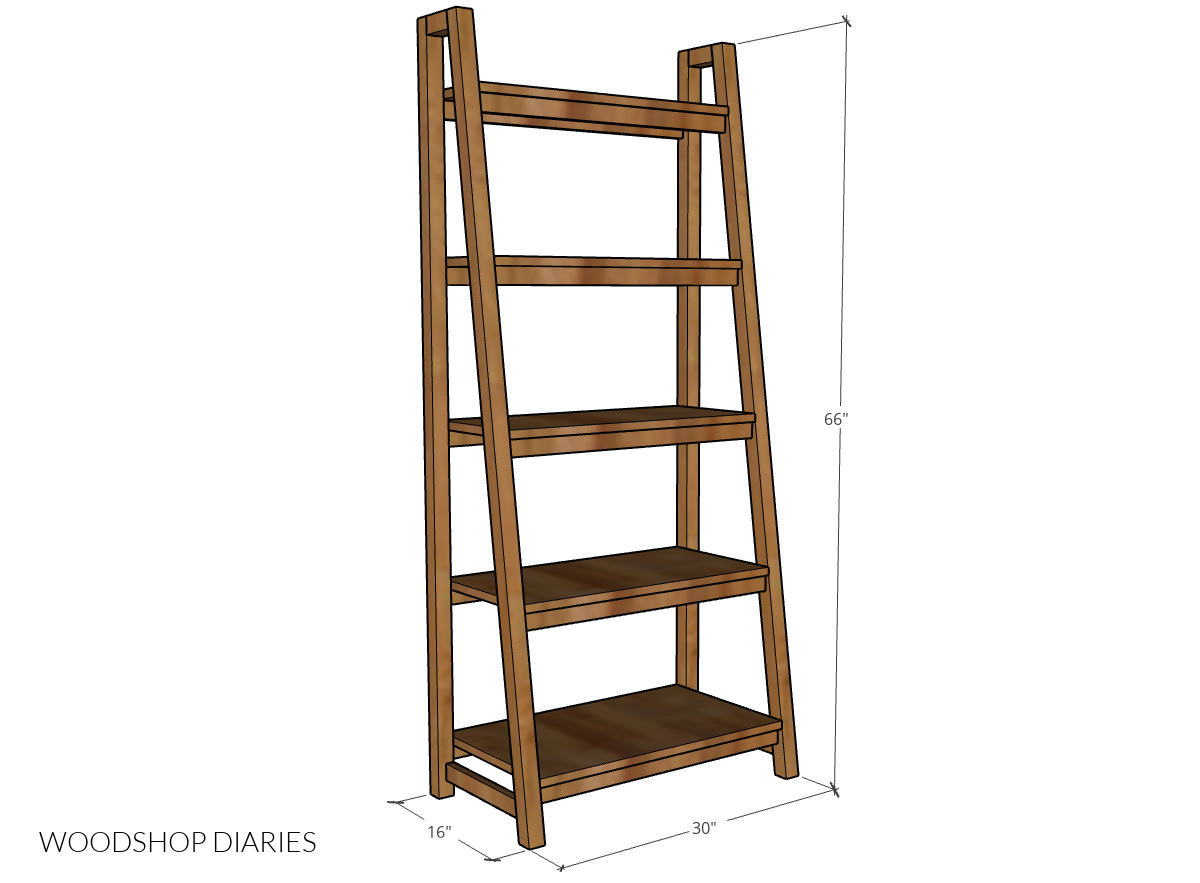
The overall dimensions of this project are 30” wide, 66” tall, and 16” deep.
Helpful Resources to Use During the Build
- How to Cut Plywood Sheets
- How to Use a Pocket Hole Jig
- How to Cut Your Own 2x2s
- How to Apply Iron On Edge Banding
How to Build a DIY Freestanding Ladder Bookshelf
I’m sharing tips, details and the step by step written tutorial to build your own angled DIY ladder bookshelf below.
However, if you prefer to watch, I’ve also provided a detailed project video over on my YouTube channel as well. You can watch it here.
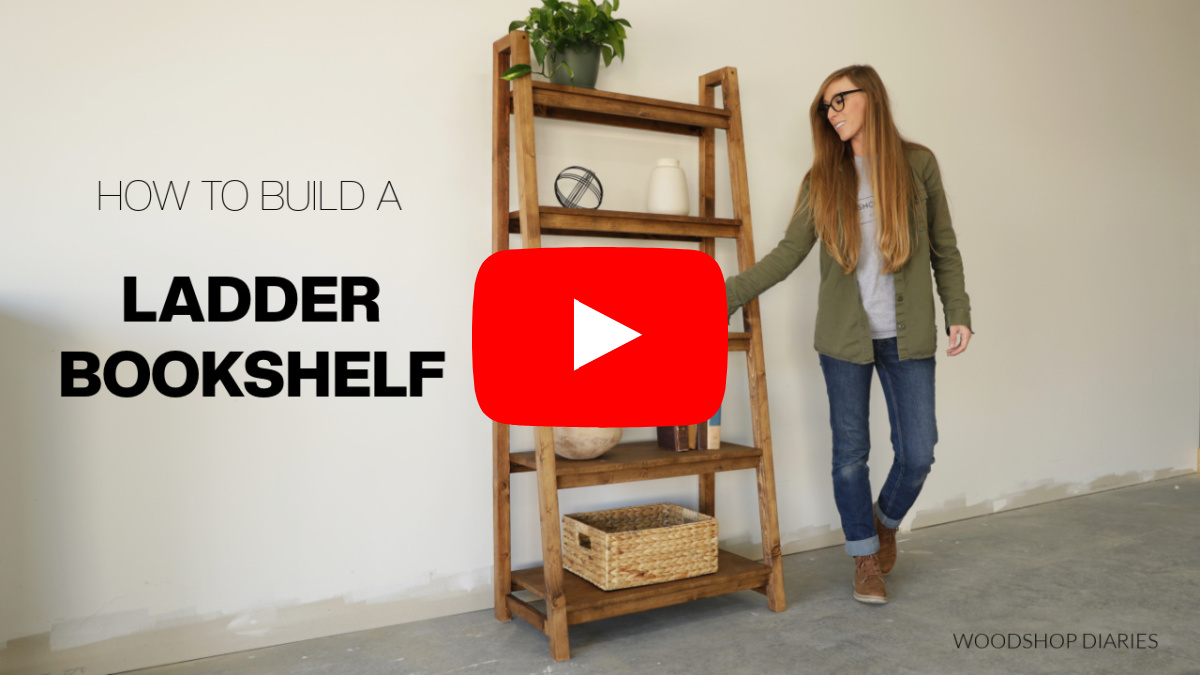
And if you prefer to print your plans, I’ve also got the printable building plans available here.
Step 1: Assemble the Side Frames
The framing of the project is build with 1x2s and 2x2s. The side frames are all 2x2s except for the bottom piece.
The bottom piece is a 1×2. You could use a 2×2 for this, but I liked the look of the inset 1×2 here.
For the side frames, I cut (2) 2x2s with square ends to 66” long for the back pieces.
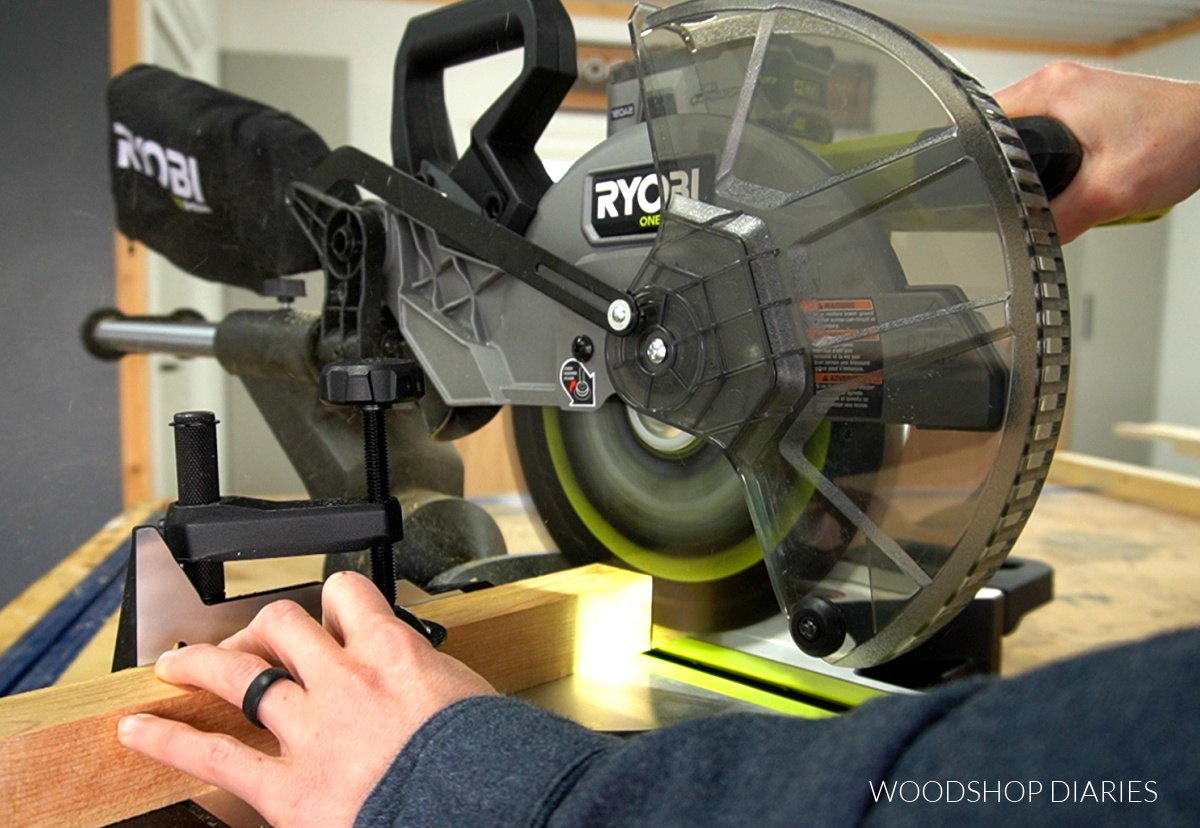
But since the bookshelf angles in from the bottom to the top, the front pieces have to be mitered 8.3 degrees on each end.
I know that 8.3 degrees isn’t marked on the miter gauge so you have to “guesstimate” it. Set it between 8 and 9 degrees, but a little closer to 8. Don’t panic if this isn’t exact.
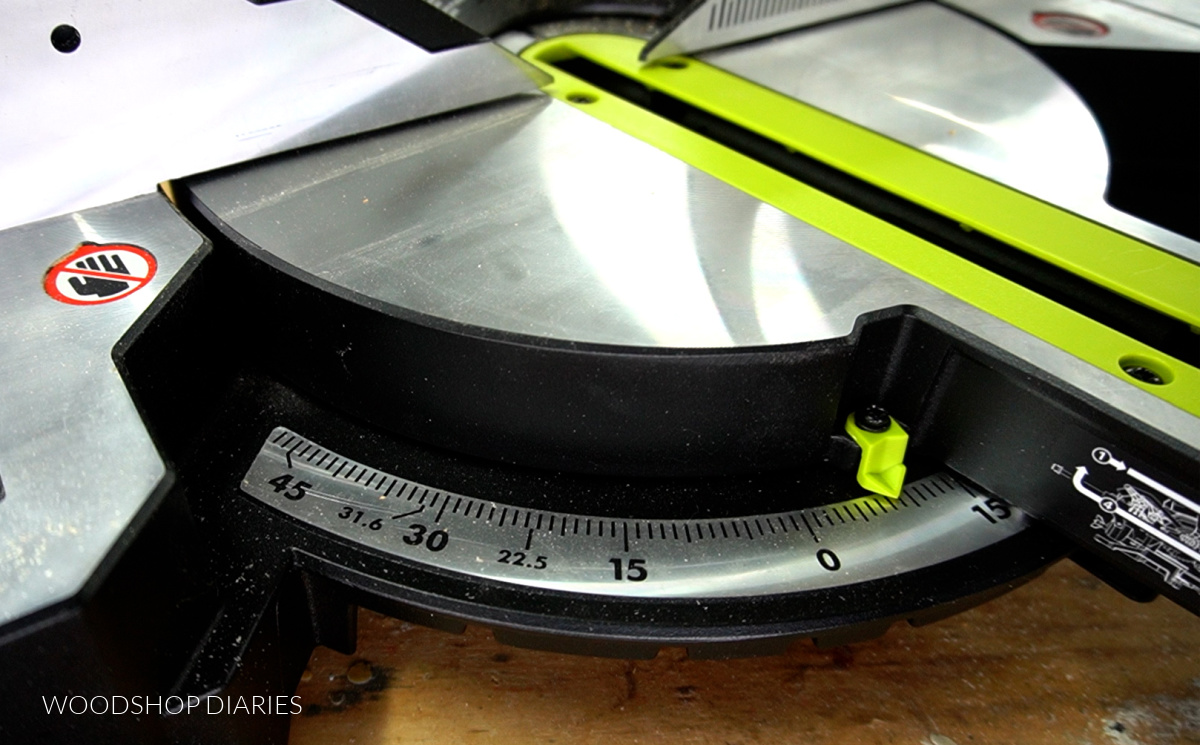
I cut (2) 2x2s with mitered ends to 66 ¾” long for the front pieces.
Then, I cut (2) 2×2 pieces to 3 ½” long with one square and one mitered end (8.3 degrees again) for the tops.
And I cut (2) 1×2 pieces to 12 ¾” long with one square and one mitered end for the bottoms.
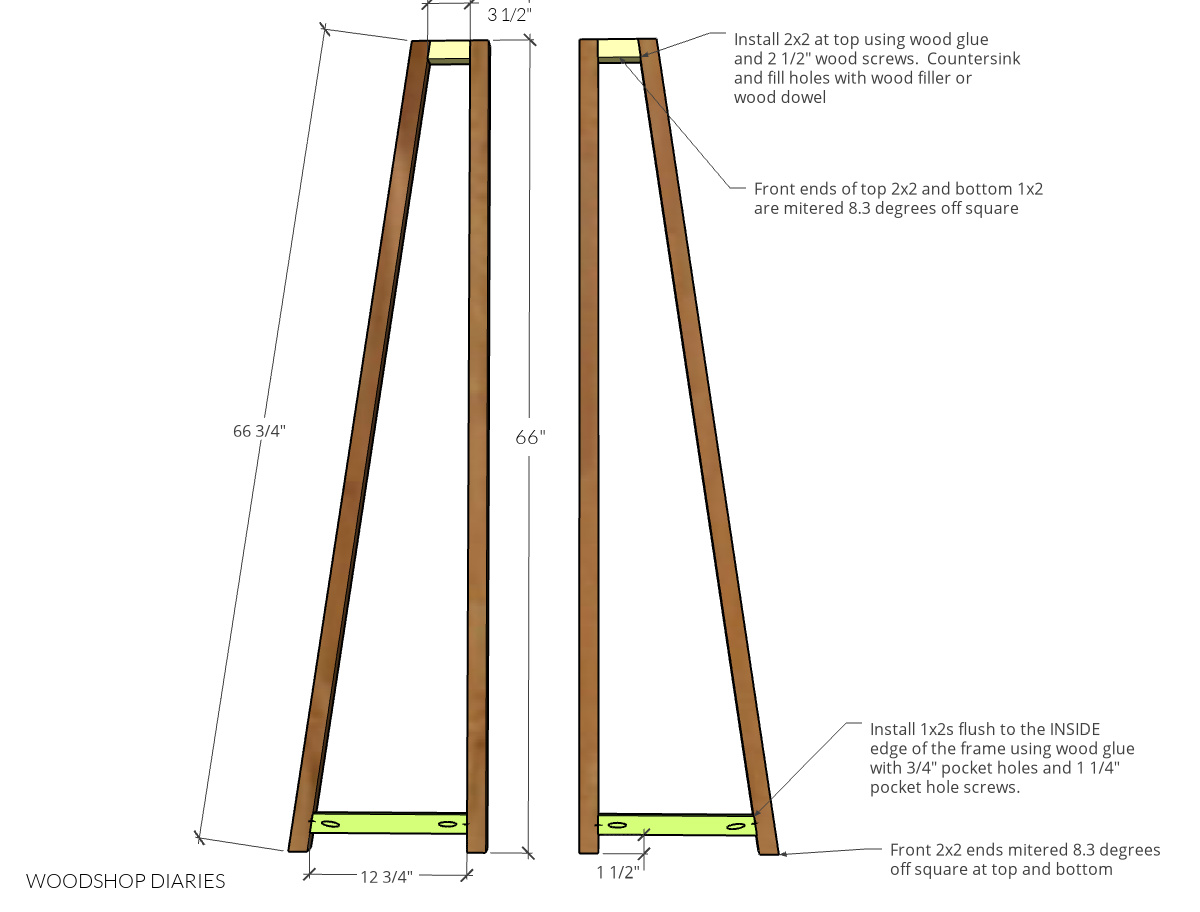
You can grab the complete cut list and detailed diagrams in the printable plans here.
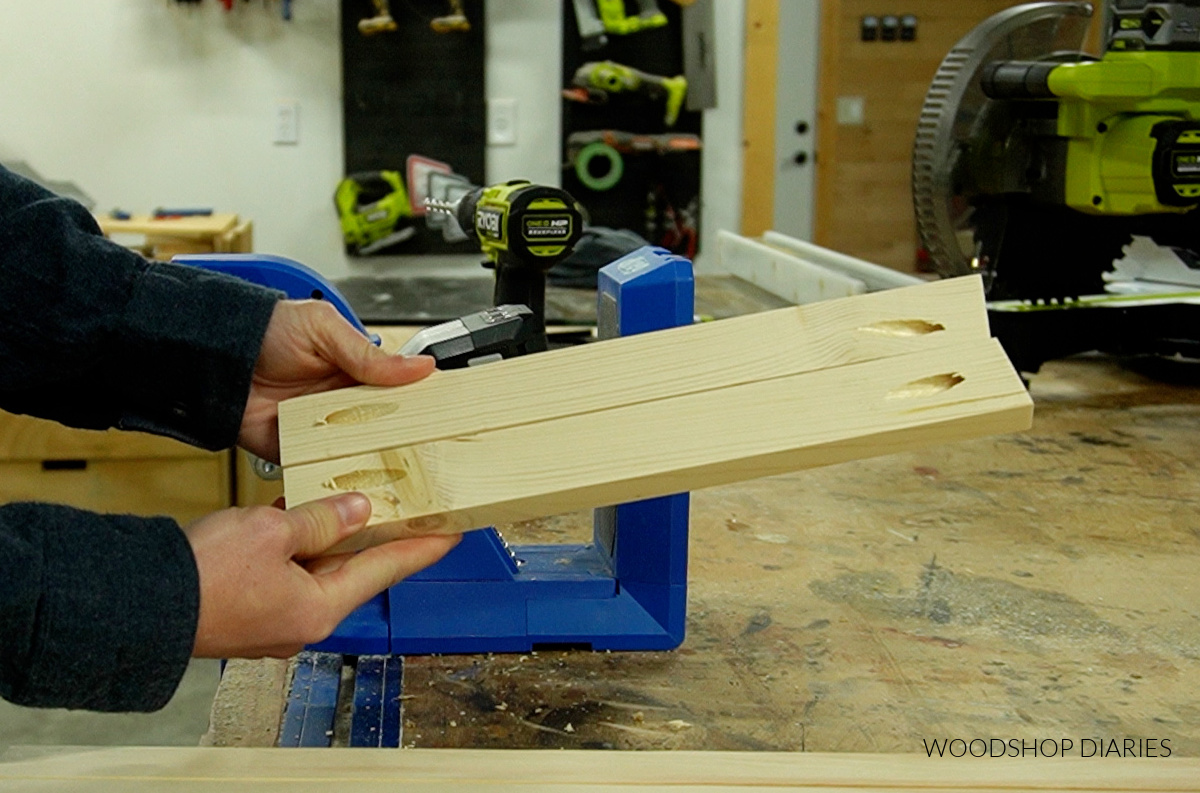
You can certainly assemble this project using another joinery method if you’d like, but pocket holes work great for this.
I used a pocket hole jig to drill ¾” pocket holes into the ends of the 1×2 pieces. I only drilled one pocket hole to avoid issues with wood splitting, but I made sure to use wood glue at each joint to prevent twisting.
RELATED: How to use a pocket hole jig
I installed the 1×2 piece between a front and back 2×2 using wood glue and 1 ¼” pocket hole screws so that it was 1 ½” up from the bottom.
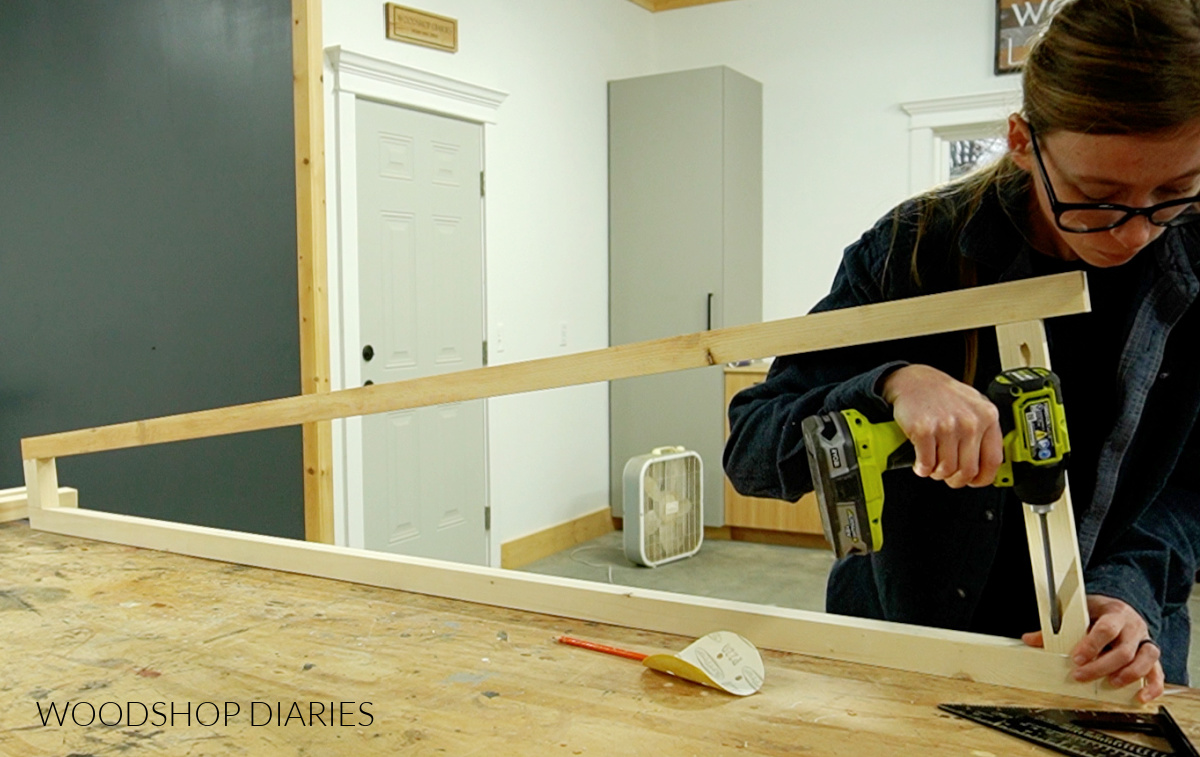
I installed the top 2×2 piece using wood glue and 2 ½” wood screws. I countersunk the hole before driving the screw so that I could use wood glue and a wooden dowel to plug it.
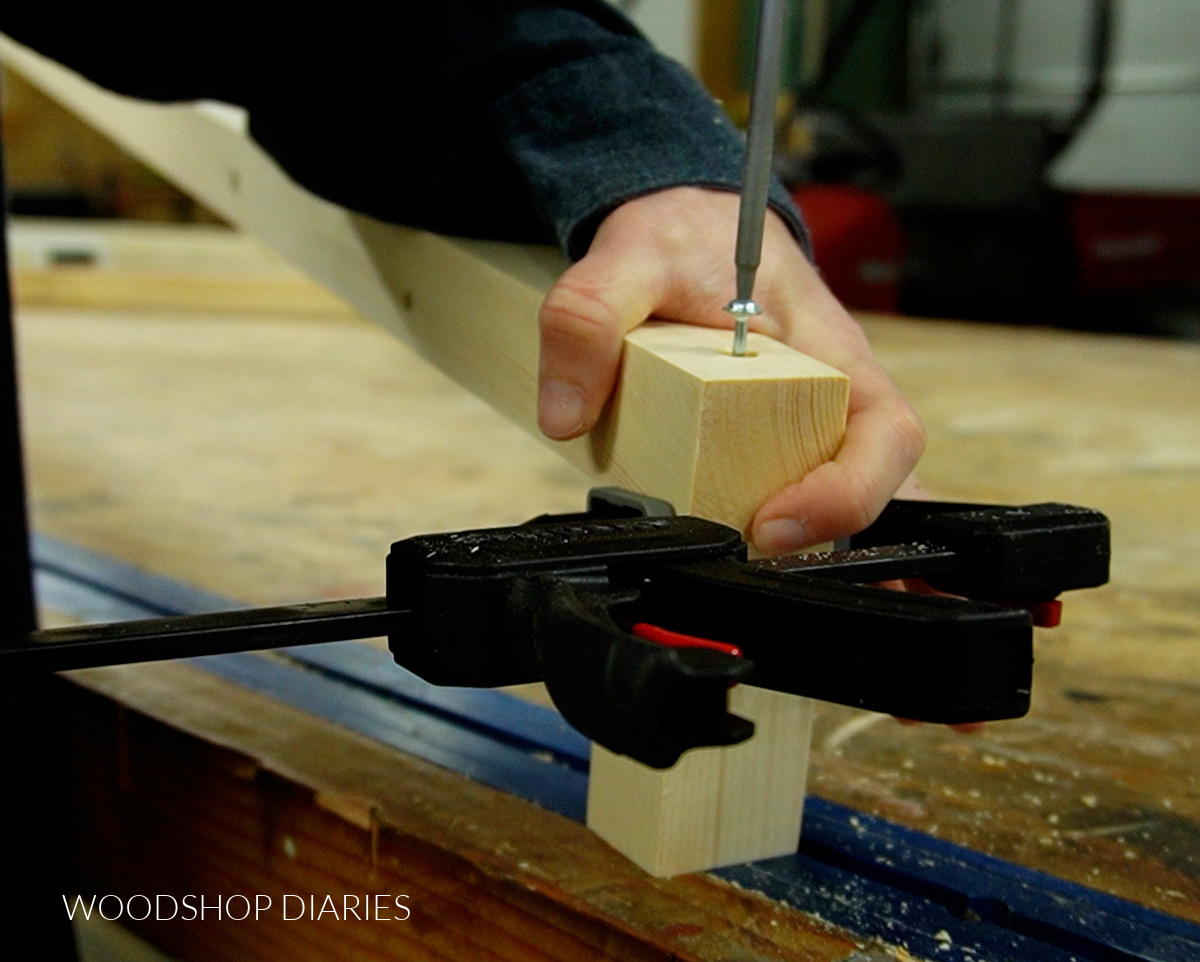
I repeated this to make two identical side frames.
TIP: Make sure the 1x2s at the bottom are “mirrored” so that once assembled, the pocket holes on both frames face the inside so they’re hidden.
Step 2: Install Back Shelf Supports
I cut ten 1x2s to 27” long and drilled ¾” pocket holes into the ends of each one.
These pieces will go between the side frames from step 1 and support the shelves.
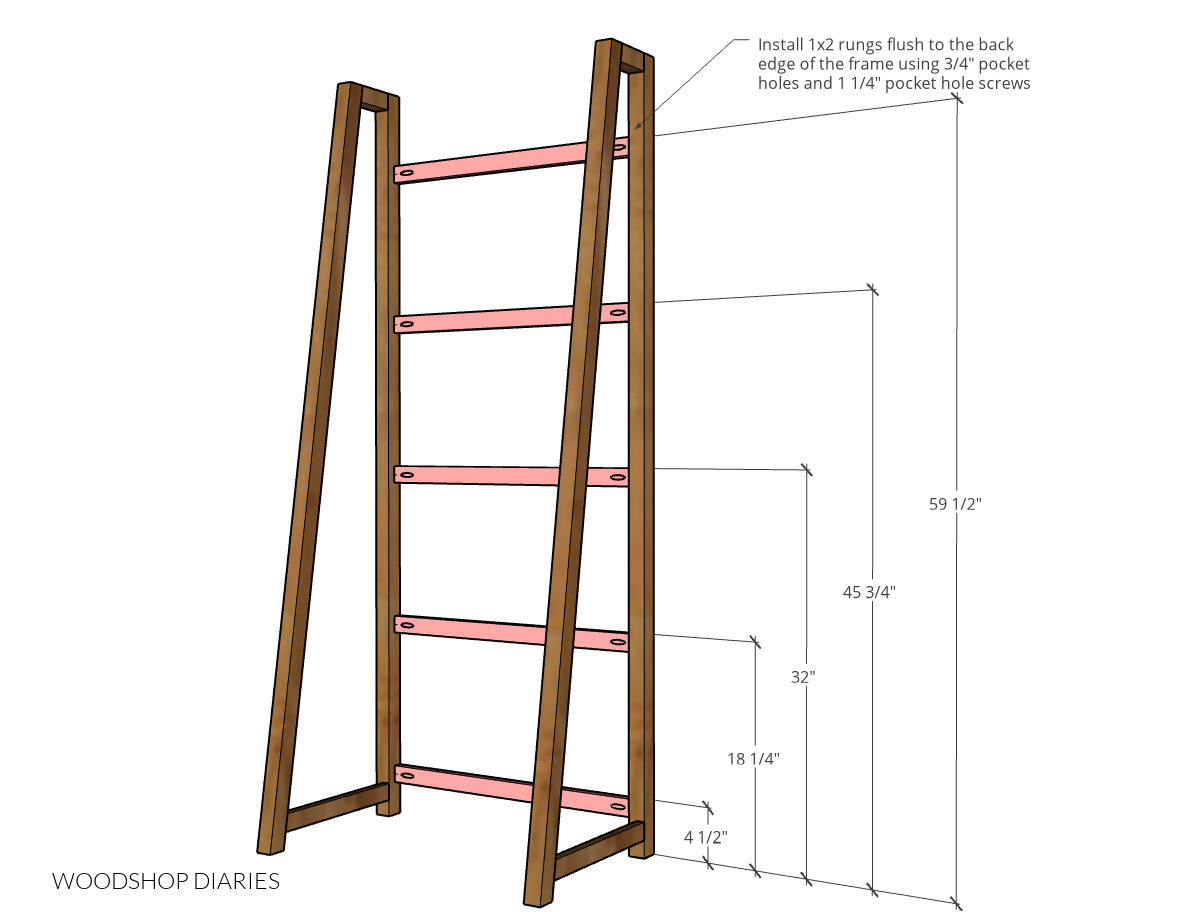
Five of these go at the back and five go at the front. I installed the 5 back shelf supports first.
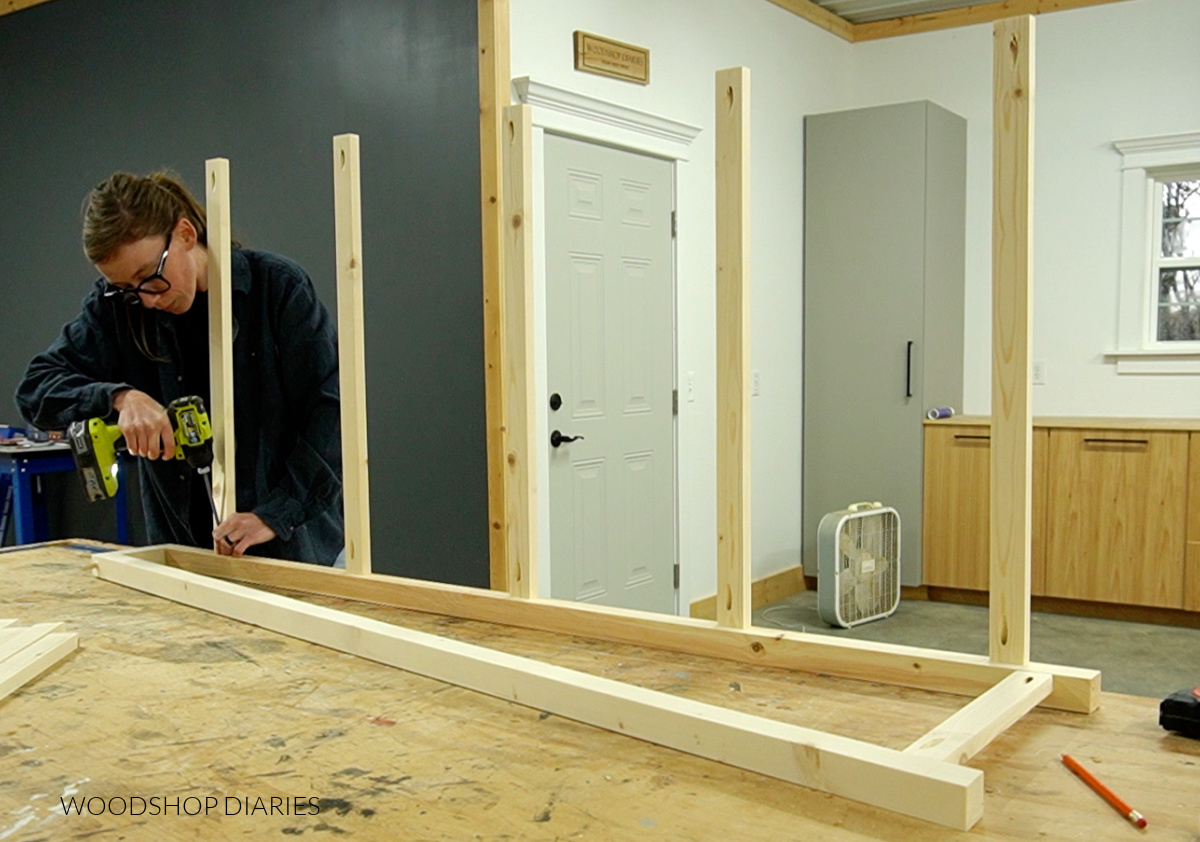
I used wood glue and 1 ¼” pocket hole screws to secure the 1x2s to the back 2×2 on one of the side frames, then flipped it over and installed them at the same locations to the second side frame.
Step 3: Install Front Shelf Supports
Next, I installed the other five shelf supports between the frames along the front 2x2s.
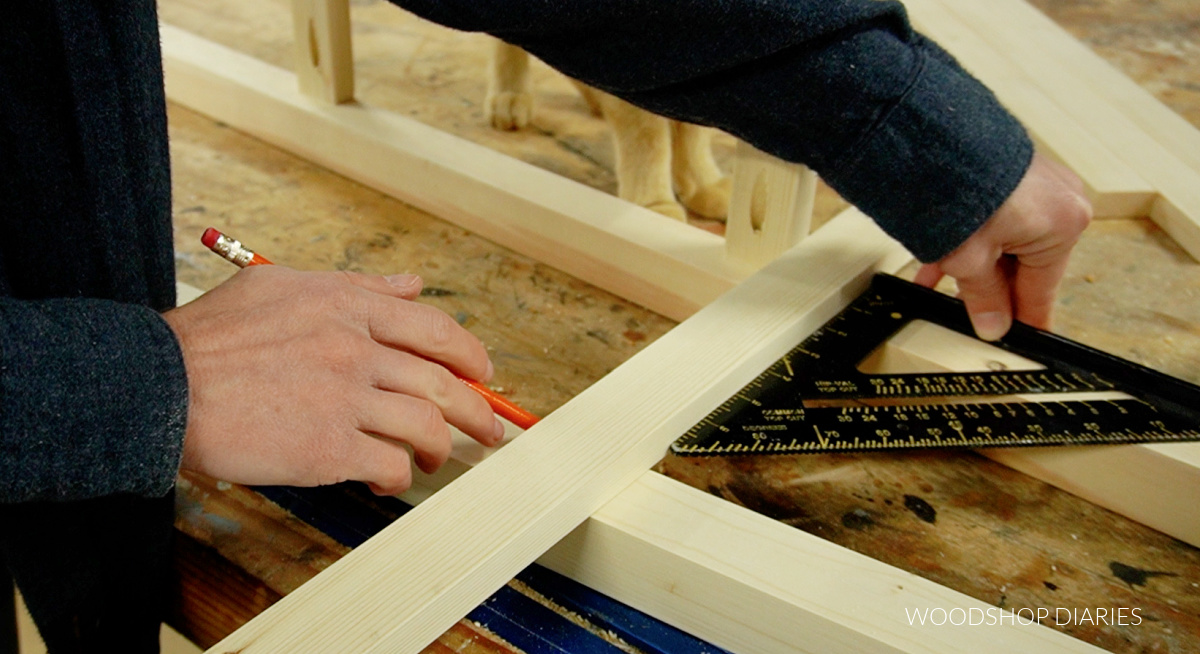
To make sure these were at the same height as the supports at the back, I flipped it on its side on the workbench and used a scrap board and a speed square to mark a line on the front 2x2s. See video for more details.
Then, I worked my way down installing these 2x2s using wood glue and pocket hole screws on each side.
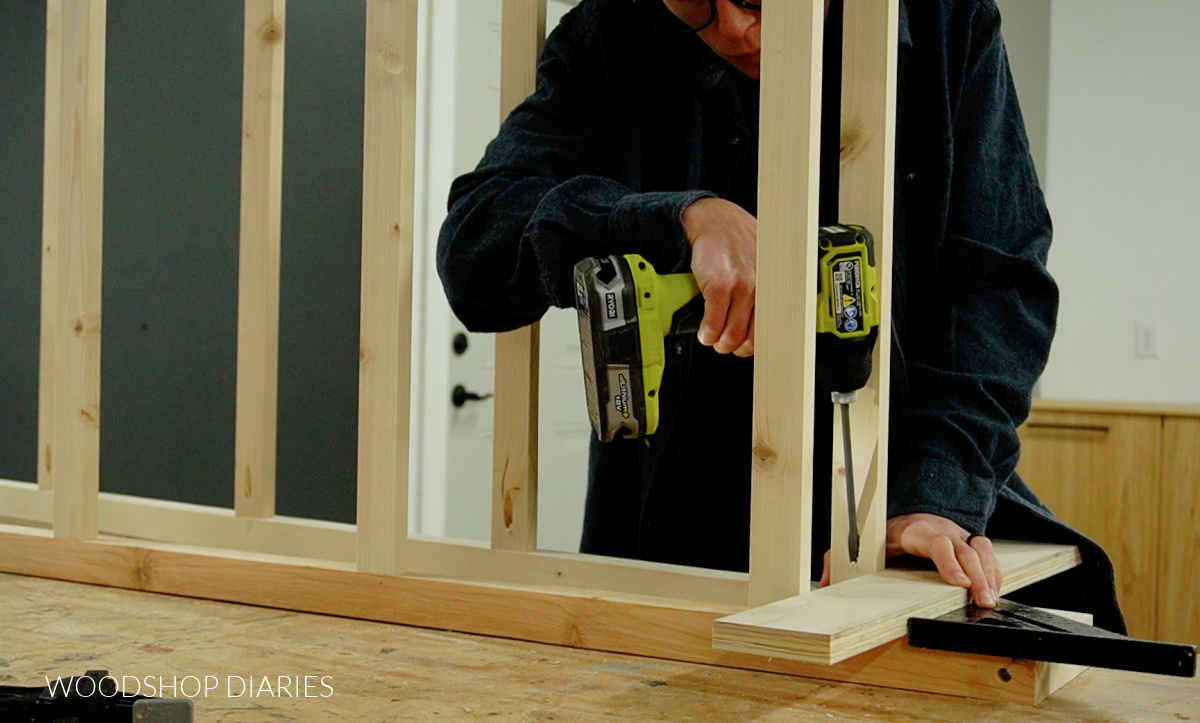
NOTE: I tried to install these so that they were square to the floor and straight up and down—not angled with the 2×2. I didn’t measure this exactly, just eyeballed it to make sure it looked straight.
Step 4: Cut and Prepare Shelves
I mentioned in the notes above that the shelves for this are all different widths. Each shelf gets 2” deeper from top to bottom.
The top shelf is 7 ¼” deep (which is the equivalent of a 1×8), the next is 9 ¼” deep (which is the equivalent of a 1×10), the next is 11 ¼” deep (which is the equivalent of a 1×12.
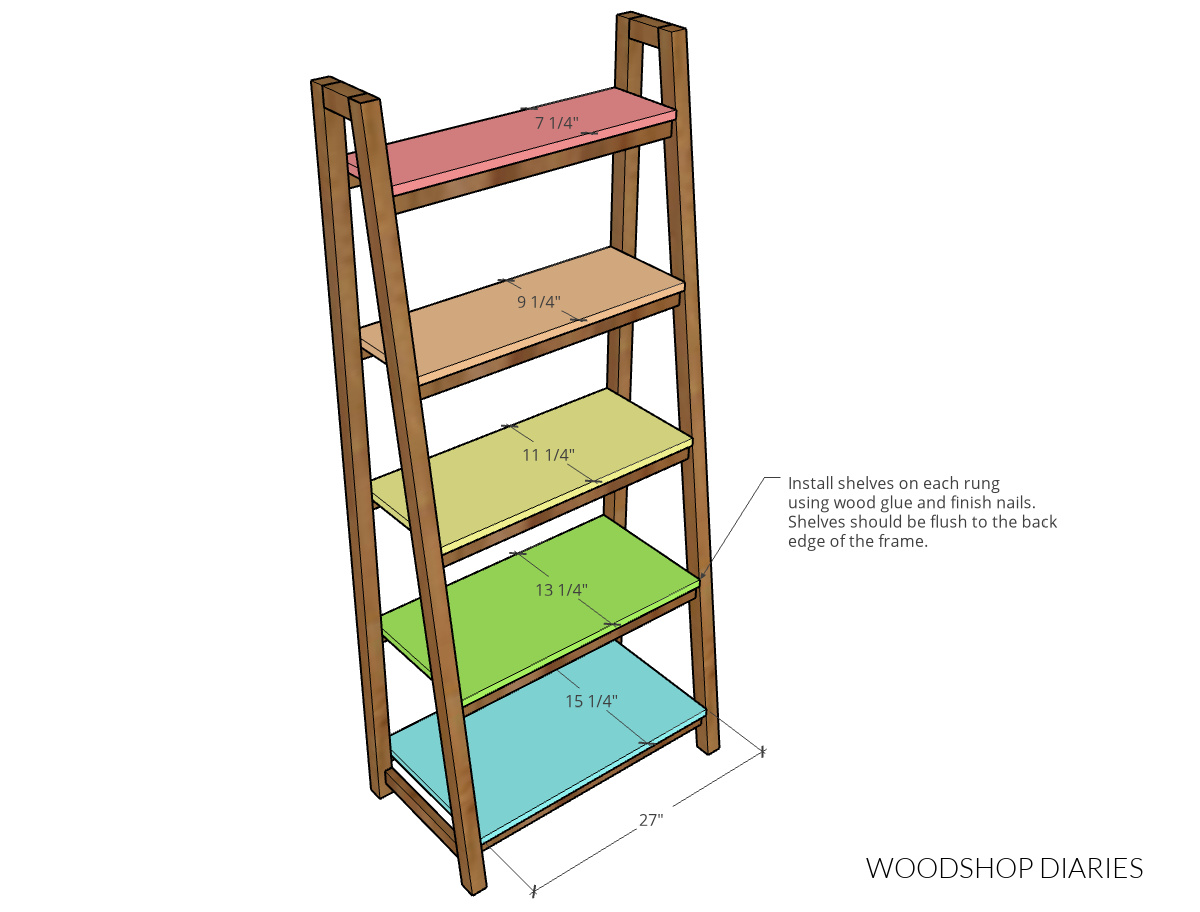
So if you have some wide board scraps in your shop, maybe you can use these here! Each shelf only needs to be 27” long.
For the bottom two shelves, you can glue up a 1×10, a 1×3, and a 1×2 to make a 13 ¼” total width piece. And you can glue up a 1×8, a 1×6, and a 1×3 to make a 15 ¼” total width piece. Again, these only need to be 27” long.
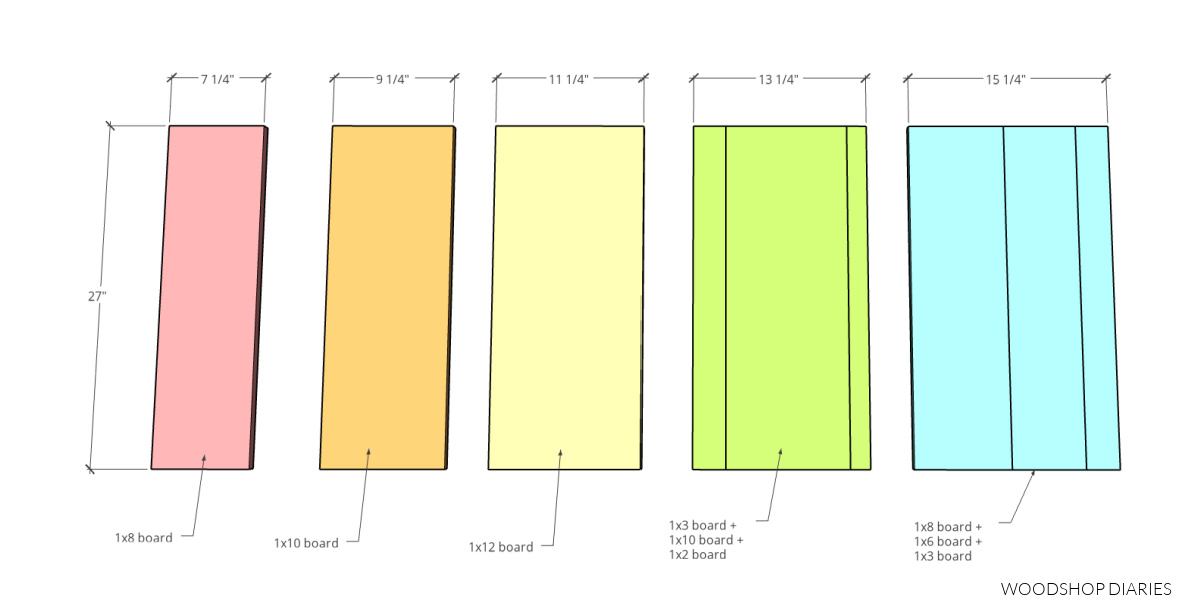
However, if you’re like me and prefer to use plywood, you can cut all these pieces down from a little less than ½ of a ¾” plywood sheet.
RELATED: How to cut plywood sheets
If you cut from plywood, you can apply iron on edge banding to cover the plys and make it look a little cleaner.
RELATED: How to apply iron on edge banding
To make things easier, I went ahead and applied a finish to the frame and shelves separately.
I stained this piece all one color, but you can certainly paint or finish however you’d like. I think a black frame with wood toned shelves would have looked nice, too.
Step 5: Install Shelves
There are a million ways you could install these shelves. You can use corner brackets or figure 8 brackets on the underside, you can use screws from the top side, you can use dowels or pocket holes.
However, I kept it really simple and just applied wood glue to the tops of the shelf supports and clamped the shelves on until dry.
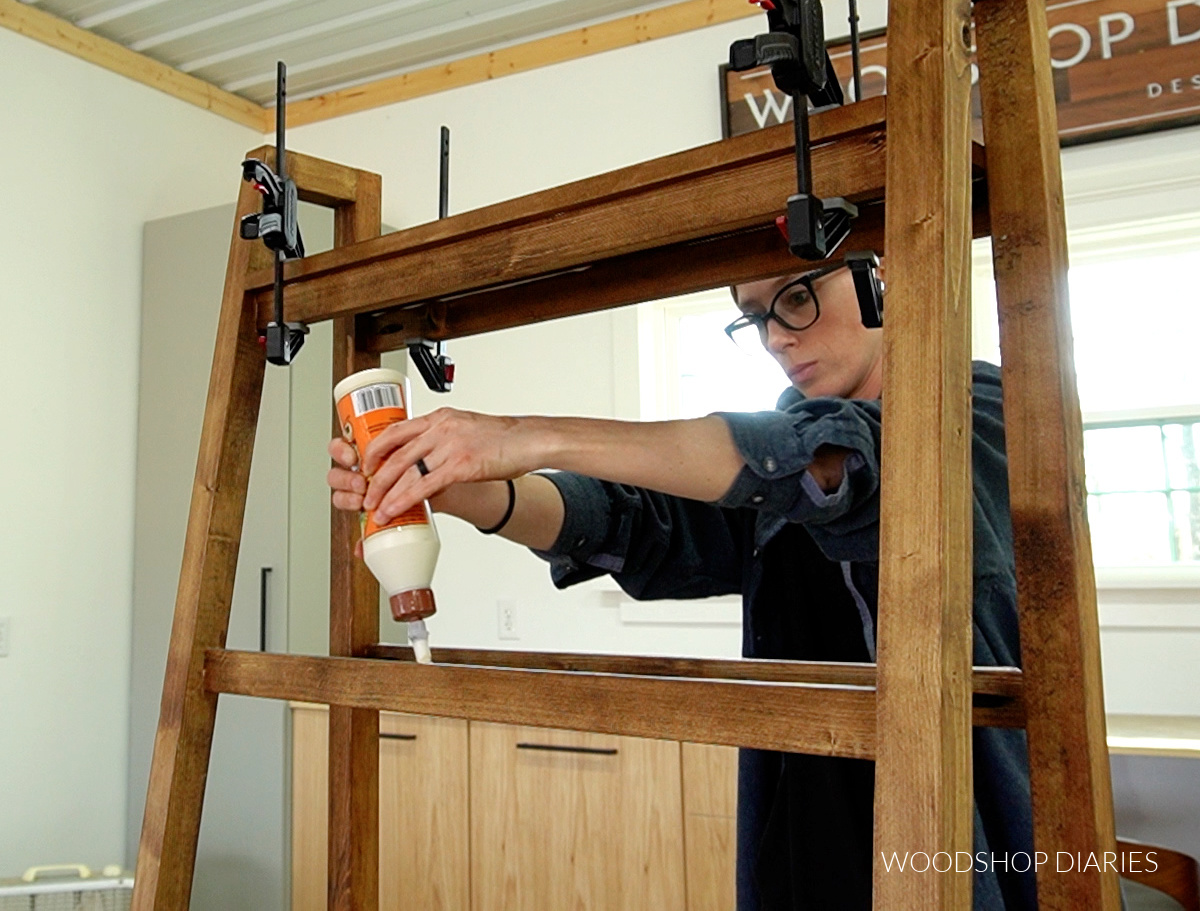
You could certainly use some nails as well, but I just used glue to avoid seeing any nail holes. Glue alone should hold just fine.
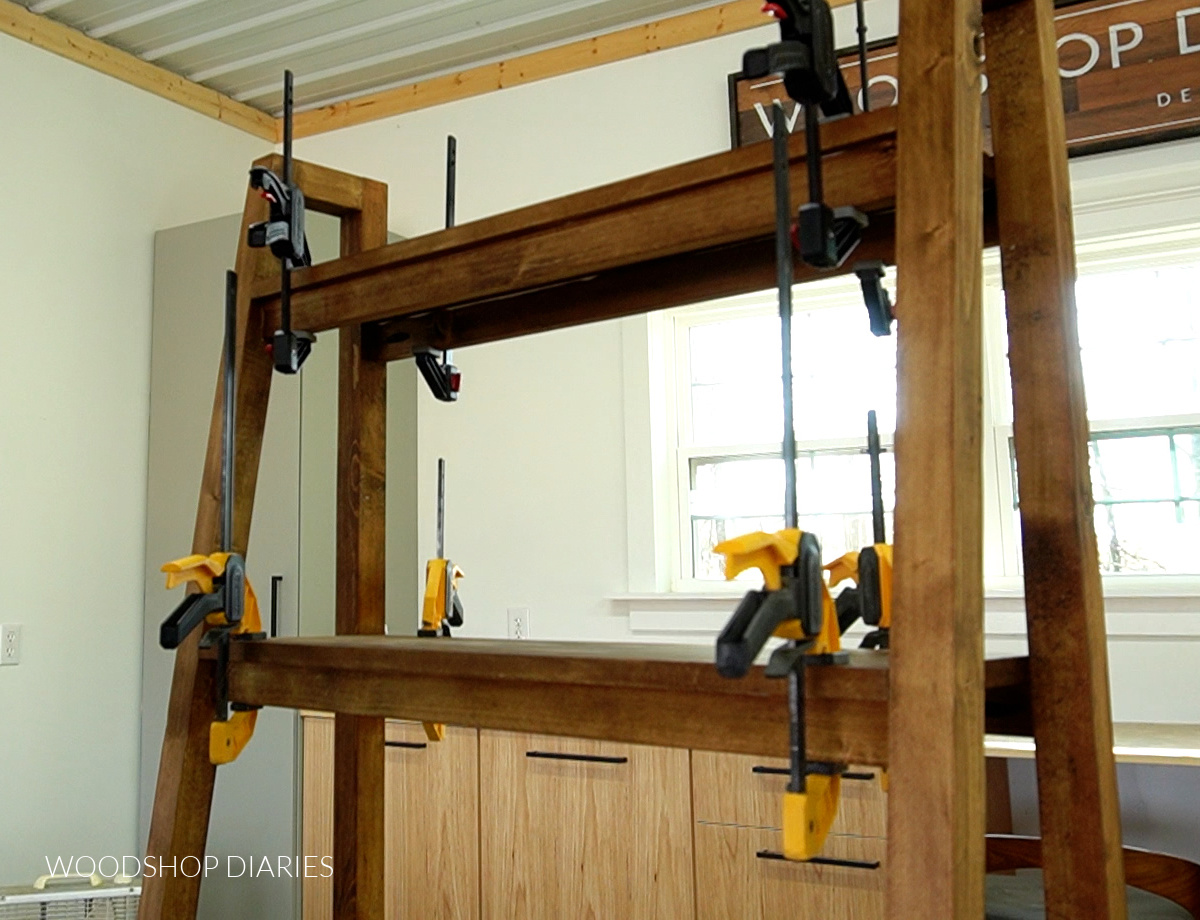
And once the glue had dried, and a few coats of poly were applied to seal it, it was ready to load up.
This is such a simple design that could be decorated to fit a farmhouse, or a modern style.
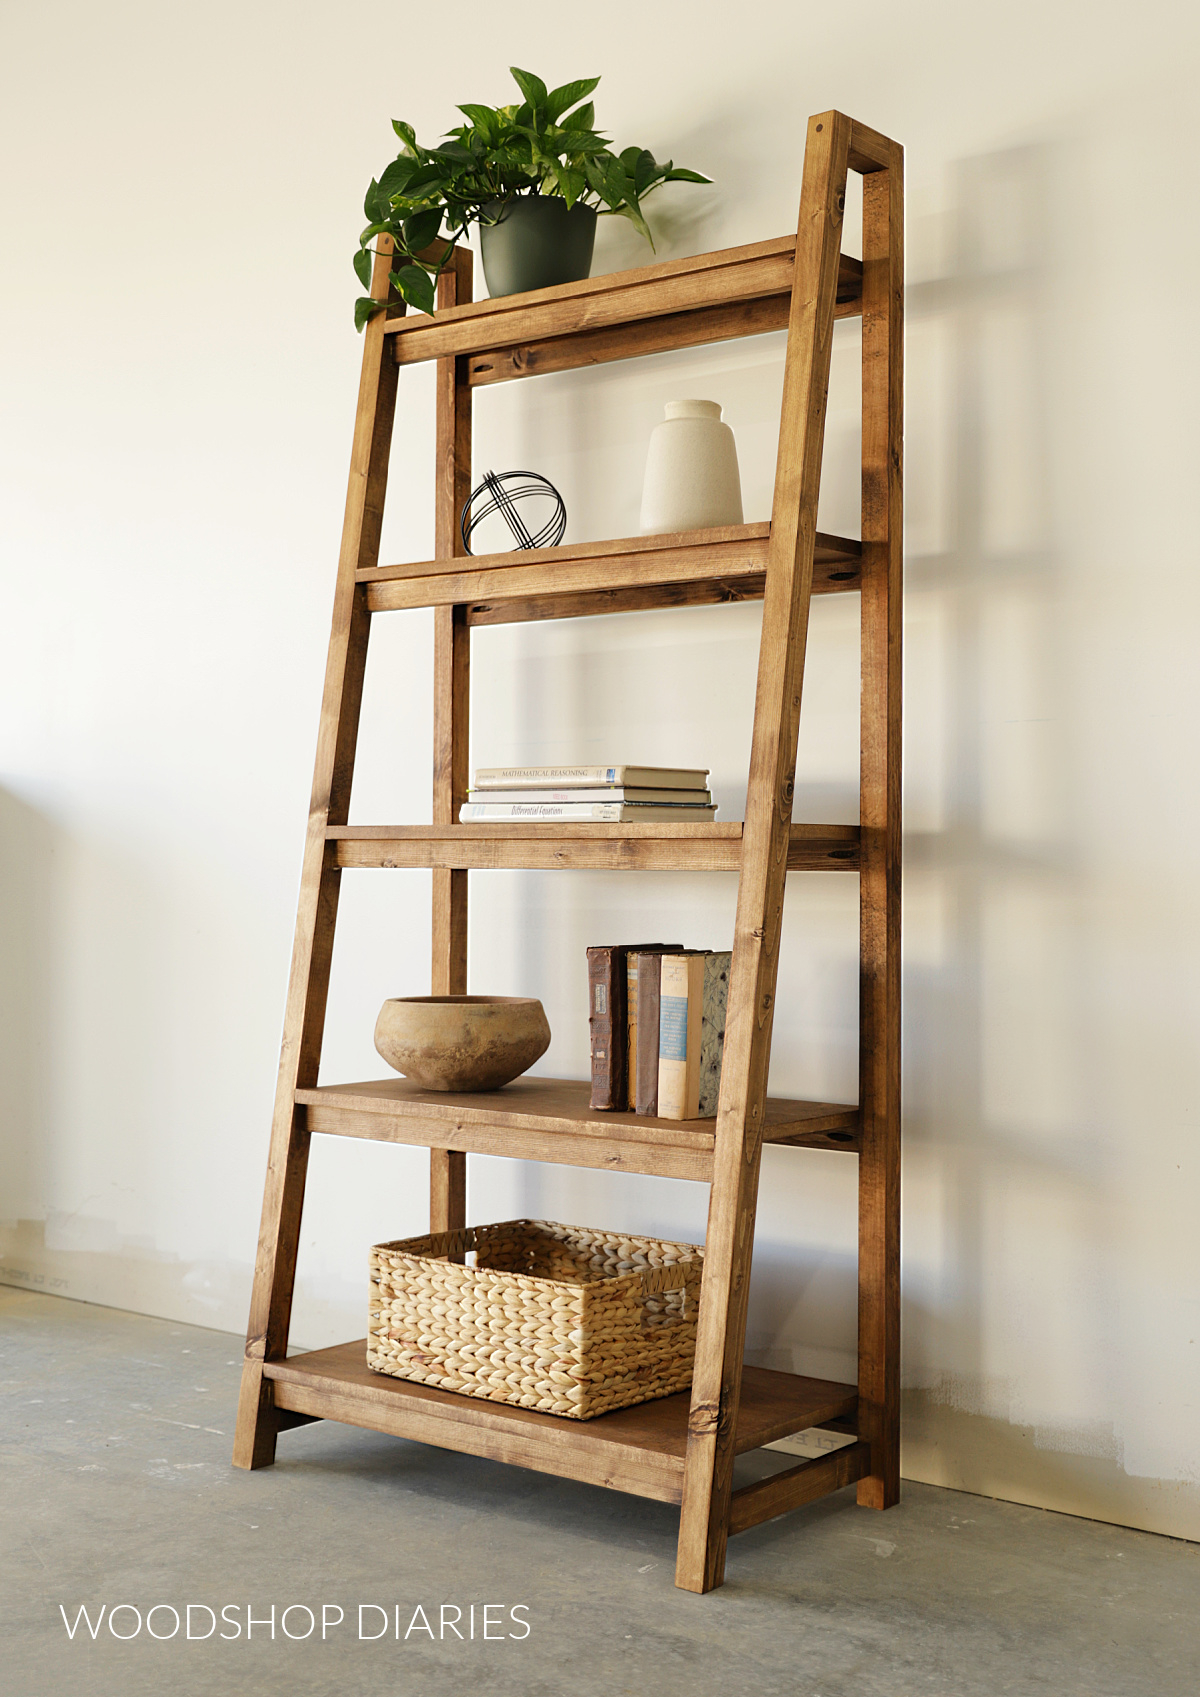
I love the size—not too big, not too small. Perfect for a home office, living room, even a kitchen or bathroom.
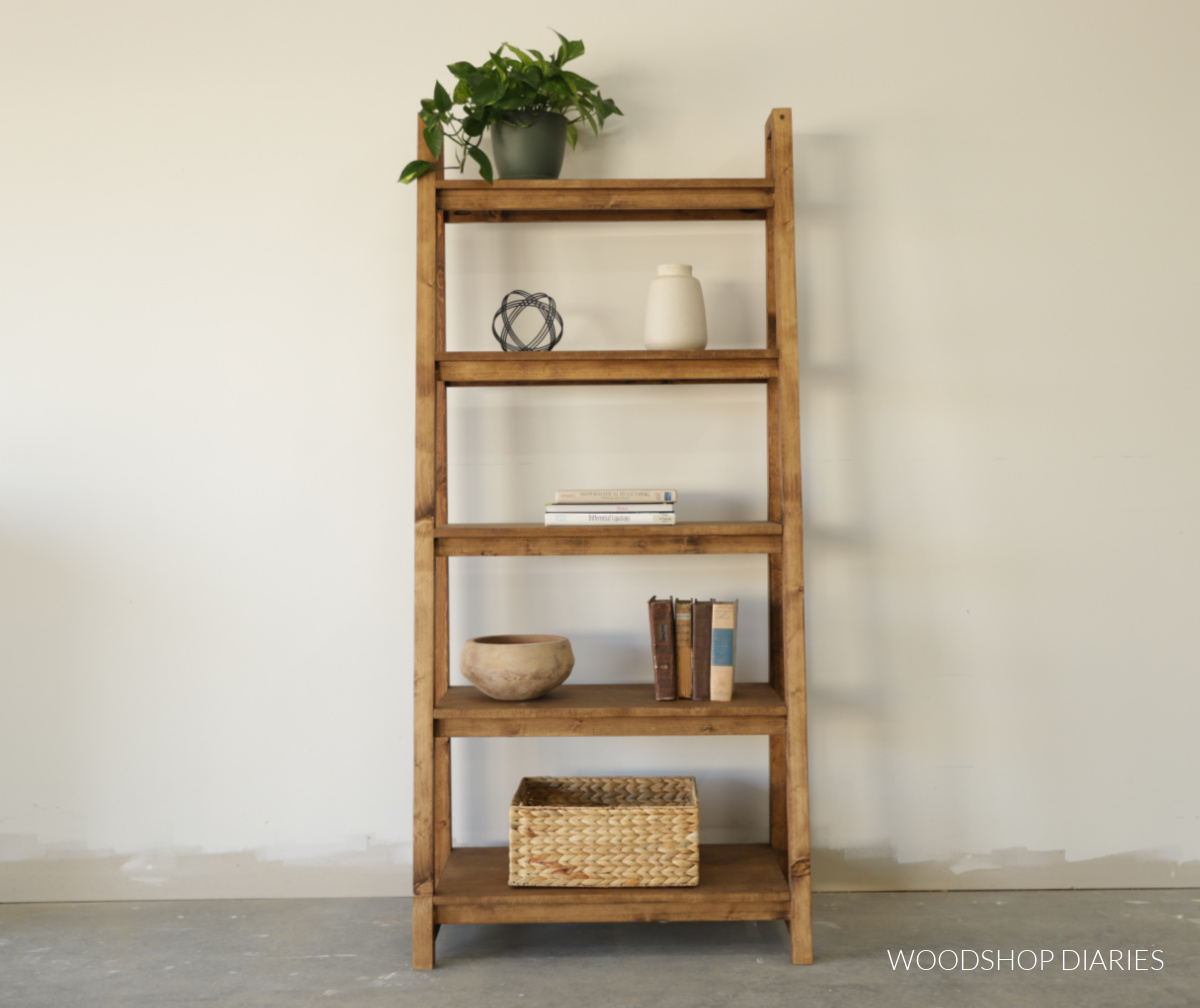
I hope you guys enjoyed watching it come together and if you want to build your own, don’t forget to grab the printable plans.
Looking for more DIY Shelving Ideas?
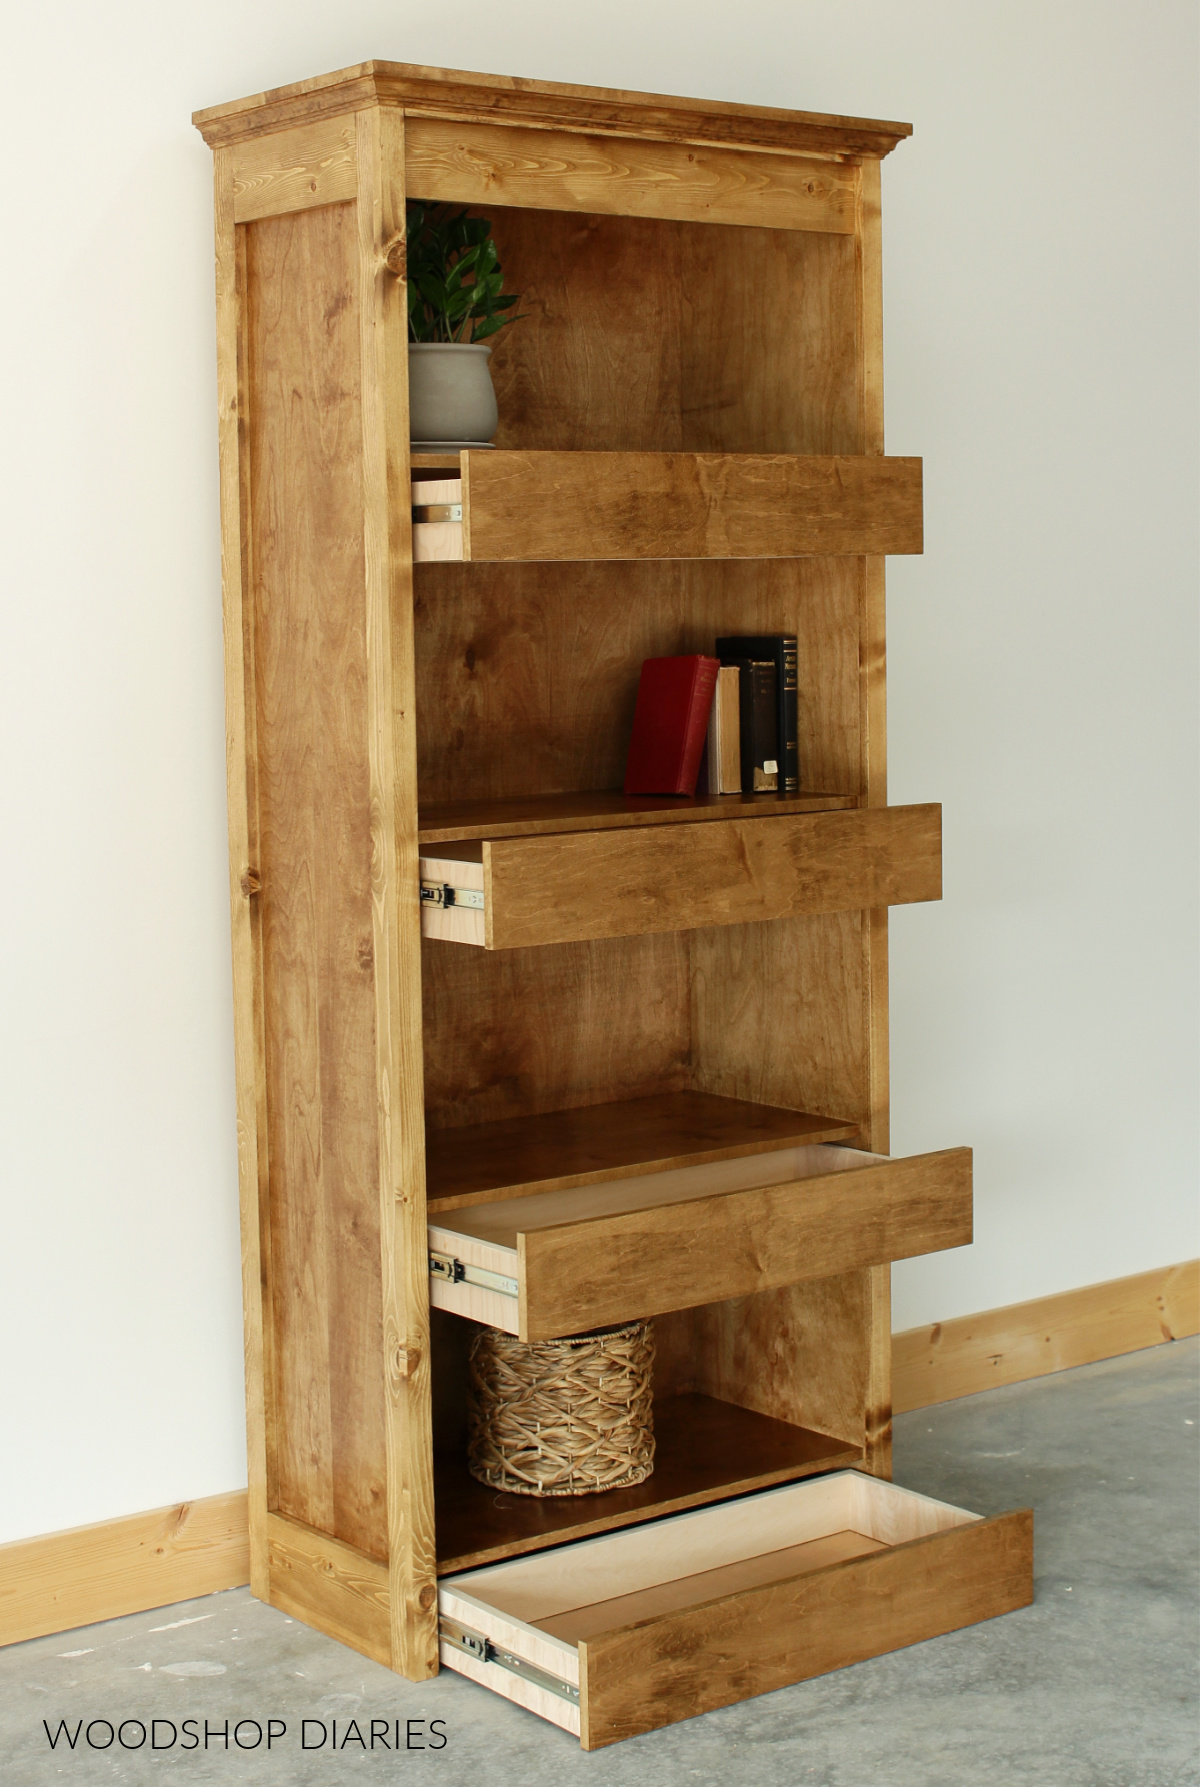
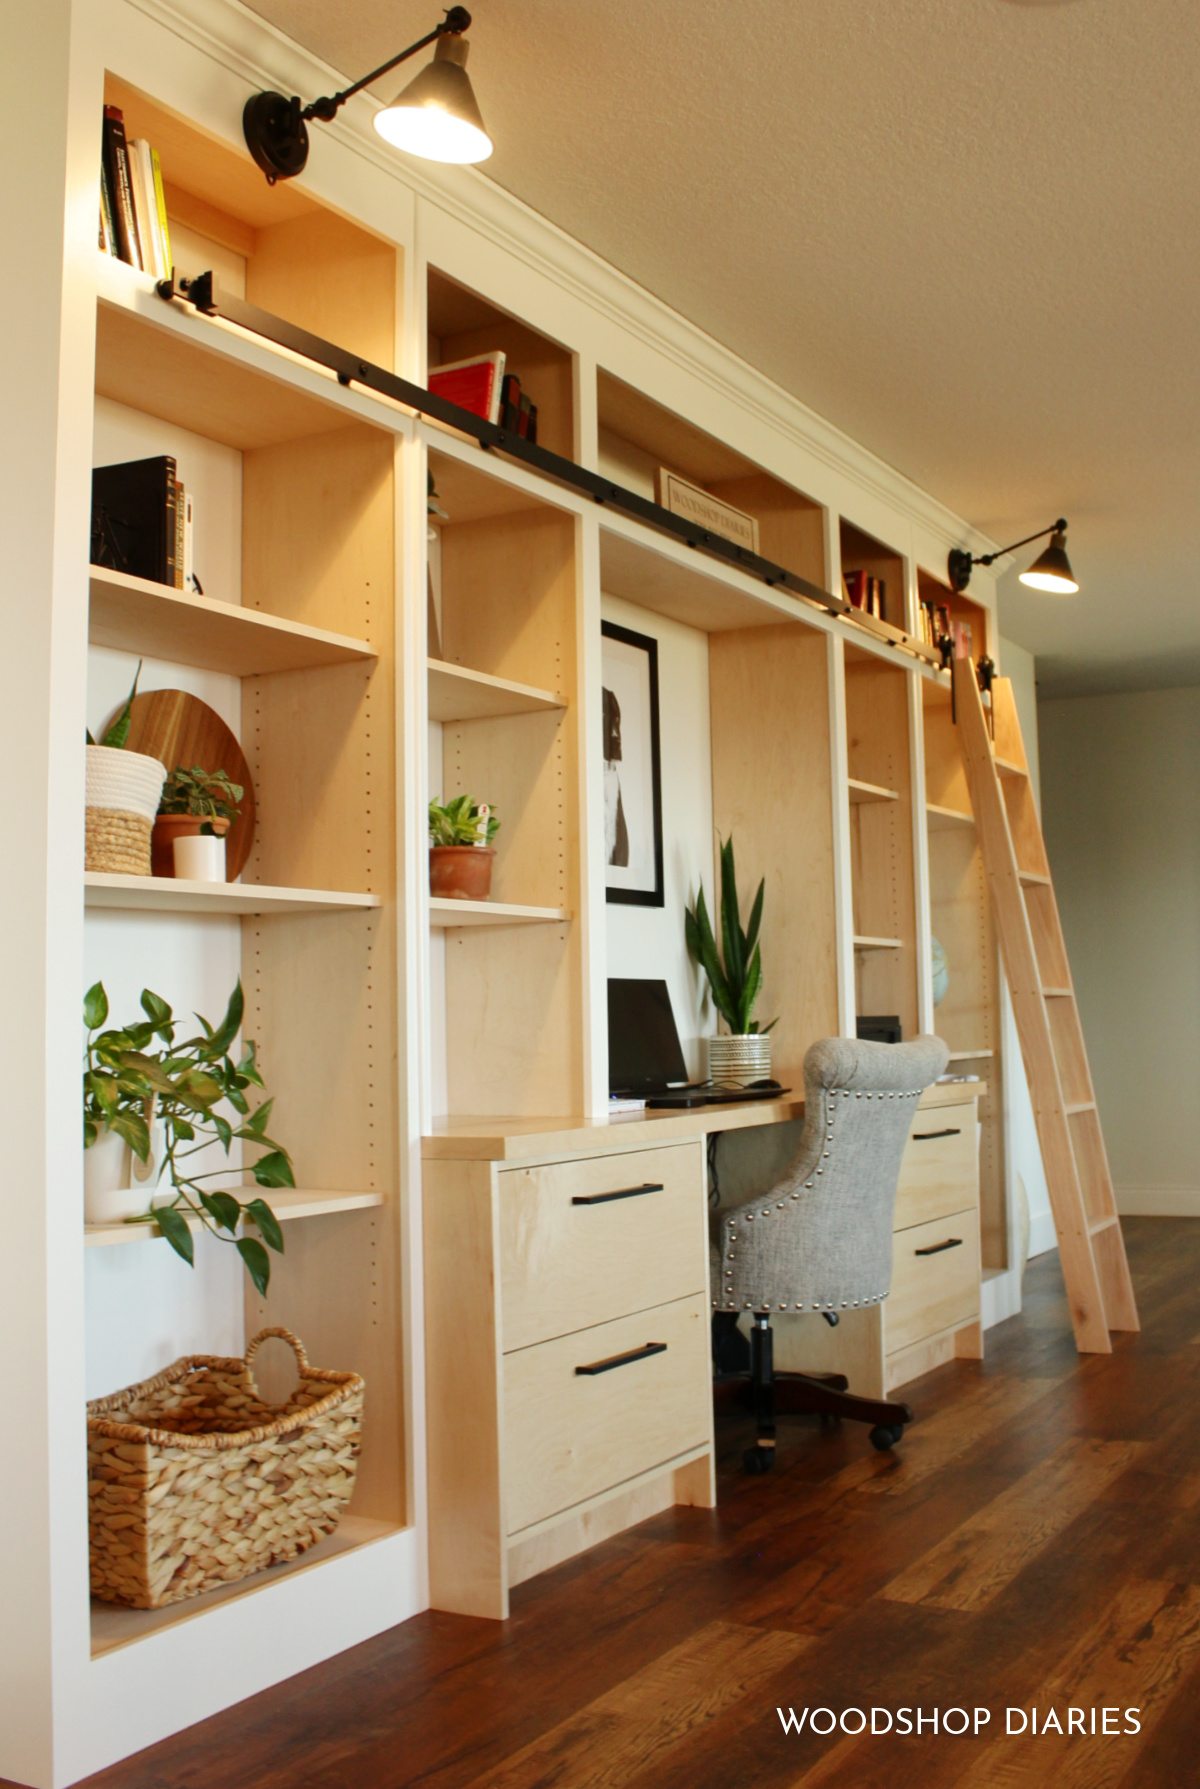
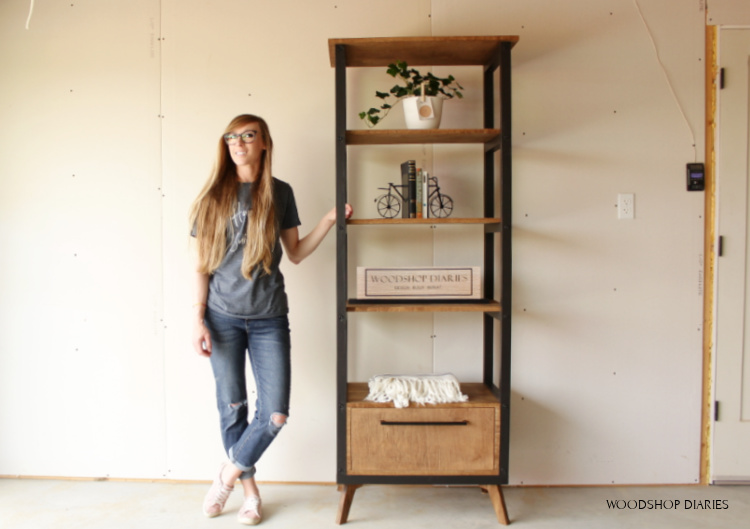
Here are some of my favorite shelving projects you can check out and learn how to build:
If you enjoyed this DIY ladder bookshelf project and can’t wait to see what’s next, be sure to subscribe to the newsletter for priority access to new projects and plans!
Don’t forget to share this or pin it for later!
Until next time, friends, happy building!
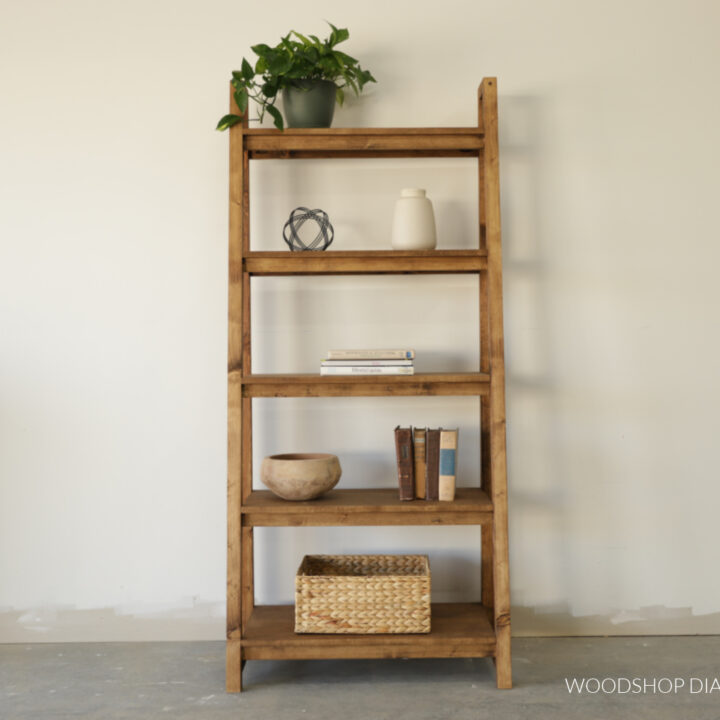
DIY Ladder Shelf
Learn how to build a DIY ladder bookshelf from basic lumber and simple tools.
Materials
- 2x2x8 boards
- 1x2x8 boards
- ½ sheet ¾” plywood OR scrap solid wood boards (see notes below)
- 1 ¼” pocket hole screws
- 2 ½” wood screws
- Wood Glue
Tools
- Compound Sliding Miter Saw
- Drill/Driver
- Circular Saw
- Pocket Hole Jig
- Countersink drill bit (Kreg Quick Flip used here)
- Clamps
- Speed Square
Instructions
- Assemble the side frames using 1x2 and 2x2 boards.
- Install back shelf supports using wood glue and 1 ¼" pocket hole screws.
- Install front shelf supports using wood glue and pocket hole screws.
- Cut shelves and apply edge banding.
- Install shelves using wood glue.
- Add a few coats of poly and it's ready to decorate!


