Sometimes you just need a little DIY bookshelf. Nothing big. Nothing fancy. Nothing complicated. Just a plain, little bookshelf. Something simple…like this.
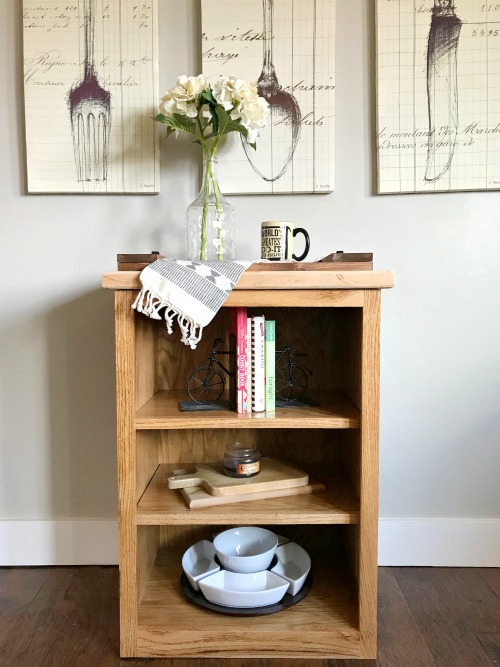
Isn’t it cute? It’s so little. Everything miniature is cuter than the full size, isn’t it? Except for candy bars…those are always better full size, amiright? 😉
.
It’s not REALLY that little, though, I don’t guess. But it’s smaller than some of my latest builds and it’s the perfect little size for a small nook or space that needs a little extra storage or a display piece. The top is actually a leftover piece of butcher block counter top from when they cut out a hole for the sink. It was made to butt up to the existing counter in a friend’s kitchen for some extra counter space.
.
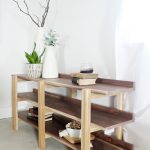
But it would also work great in a bathroom for towels, or in an office for books, or in a kitchen for cookbooks, cutting boards, and dish storage…as seen here 🙂

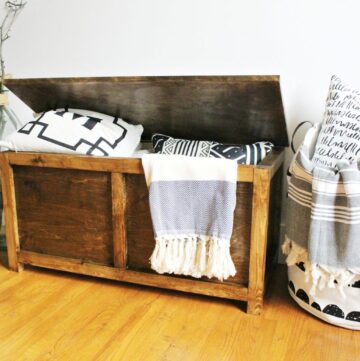
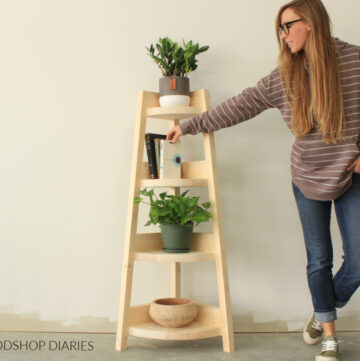
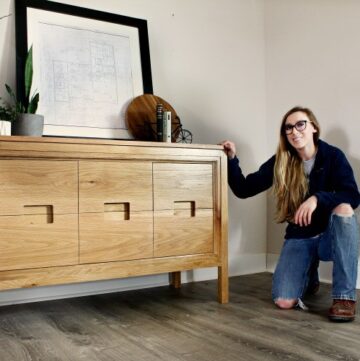
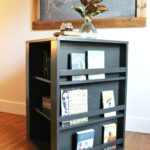
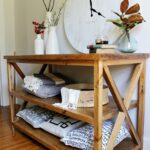
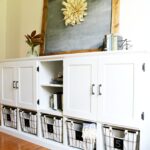
If you’re looking for something a little bigger, though, check out some of these projects:

But, if you’re ready for a quick and easy build for this versatile little shelf, let’s get started.
.
This post contains affiliate links. Please see disclosure policy for details.
.
For this DIY Bookshelf, you’ll need:
¾″ oak plywood (you can get all the pieces cut from a half sheet (4’x4′), but the bottom piece’s grain direction will be the wrong way. It still works fine, but I am picky about my grain direction, so I bought a whole sheet and will just use the leftovers for another project 🙂 )
¼ sheet (2’x4′) ¼″ oak plywood
(2) 1x2x6 oak board
(1) 1x3x2 oak board
Kreg Rip Cut (optional, but helpful)
Kreg AccuCut (optional, but helpful)
1 ¼″ brad nails
.
Step 1: Cut Plywood to Size for DIY Bookshelf
First, I cut my plywood pieces down to size. You can cut all your pieces from a half sheet of plywood, but I used a whole so I could better control the grain direction of my pieces. I used my Kreg Rip Cut and circular saw to rip a piece of 16″ wide x 8 ft long from my sheet of plywood. If you don’t have a Rip Cut, you can use a straight edge or a table saw. This piece will become the sides and bottom of the shelf.
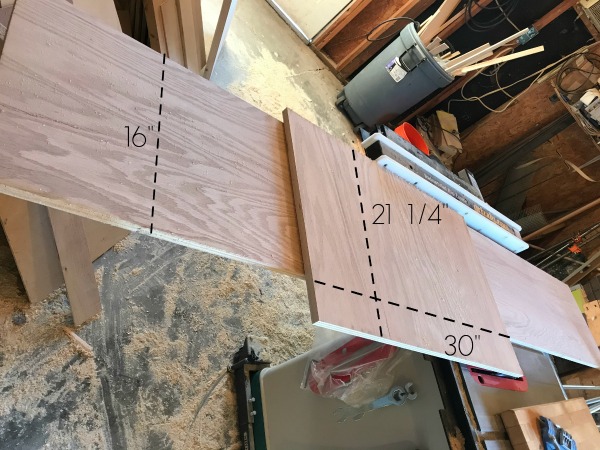
Then, I used my Kreg AccuCut and circular saw to cut another piece off the remaining sheet to 21 ¼″ x 30″ like shown above. If you don’t have an AccuCut, you can also use a straight edge. This piece will be the shelves. I ripped it in half to create two pieces 21 ¼″ x 15″.
.
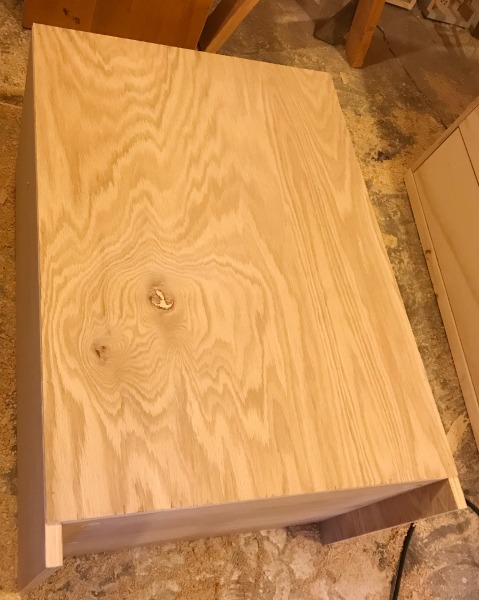
Finally, from the 16″ wide piece, I cut two pieces 32″ long and one piece 21 ½″ long.
.
SO, I ended up with the following:
(2) 16″ x 32″ side panels
(1) 16″ x 21 ½″ bottom
(2) 15″ x 21 ¼″ shelves
Step 2: Assemble the DIY Bookshelf Carcass
Have I mentioned how much I love using the word carcass when talking about cabinets? I use it every chance I get! Haha.
.
Okay, back to building. I used a pocket hole jig to drill ¾″ pocket holes into the sides of the 16″ x 21 ½″ piece from step 1.
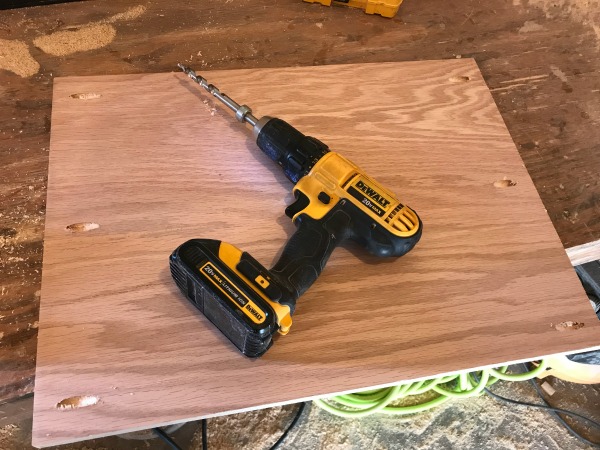
Then I attached between the two side pieces cut from step 1 like shown with 1 ¼″ pocket hole screws. I attached so the top of the bottom piece is 2 ½″ from the bottom of the side pieces.
Then, I used some scrap pieces (or you could cut some from the remaining plywood) 21 ½″ long. Width doesn’t matter much here. I drilled ¾″ pocket holes into the ends of the pieces and attached at the top of the cabinet carcass like shown using 1 ¼″ pocket hole screws.
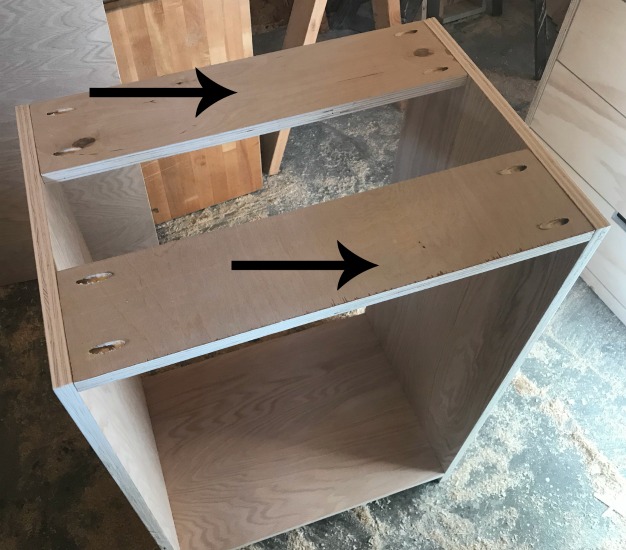
These will be used to attach the face frame, and backing later and for attaching the top.
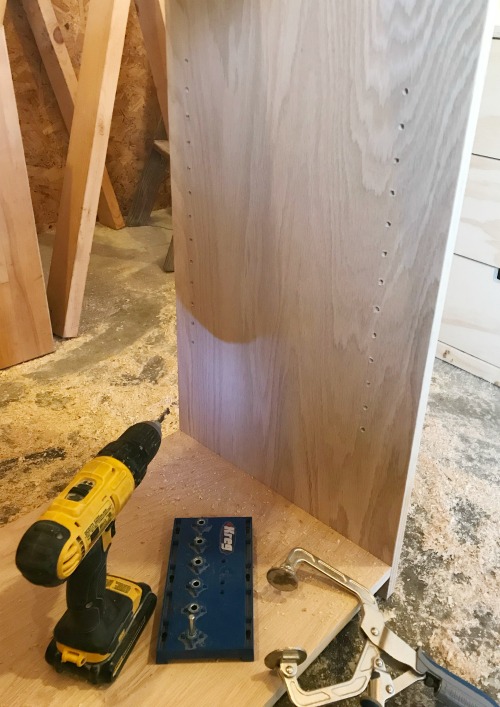
Step 3: Drill Shelf Pin Holes on Shelf
This step is optional, but recommended. You could use pocket holes and screws to attach stationary shelves, but I prefer adjustable shelves because I’m extremely indecisive, so I switch things around a lot haha. If you do want stationary shelves, you can skip this part, but in step 1, cut your shelves 21 ½″ wide instead of 21 ¼″.
.
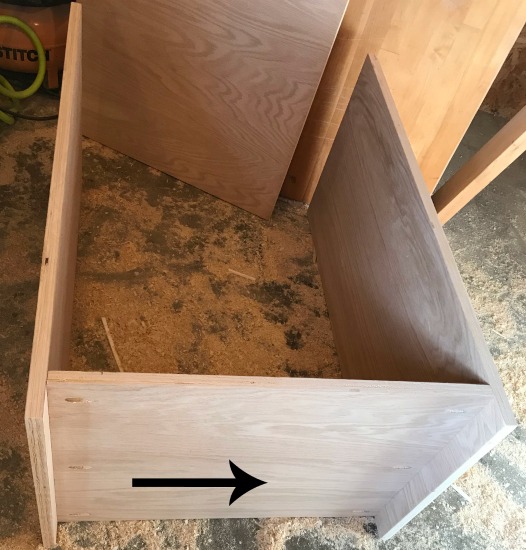
I drilled shelf pin holes using my Kreg shelf pin jig along the front and back of each cabinet side like shown. I use shelf pins like these to hold my shelves in place when it’s finished.
Step 4: Add Back to DIY Shelf Cabinet
I cut my ¼″ plywood to fit the back side of the cabinet (23″ x 31 ¼″) and stapled into place. Make sure the cabinet is square when you attach.
Step 5: Build and Attach Face Frame to Bookshelf Cabinet
I cut two pieces of 1×2 oak 32″ long and one piece 1×2 oak 20″ long. These will create the top and sides of the frame. Then, I cut the 1×3 oak board 20″ long. This will be the bottom of the shelf face frame. I glued the frame together using wood glue and clamps like shown.
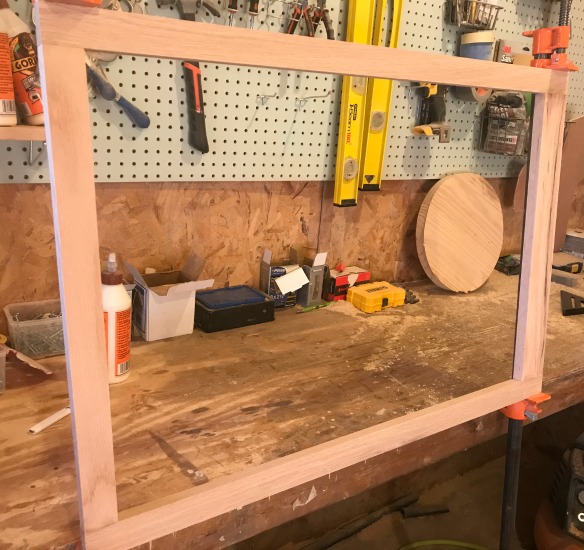
Also, for a more finished look, you can add oak edge banding to the front edge of the shelves, or glue on some thin strips of oak wood. I cut some 1″ wide strips of oak and glued them on.
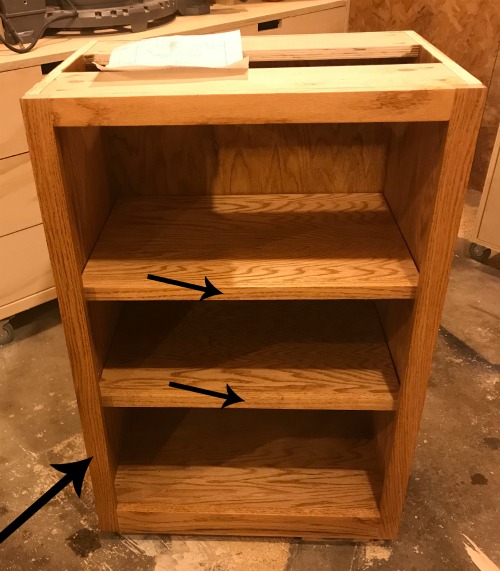
Once the face frame glue was dry, I glued and nailed it onto the front of the cabinet like shown. I stained the cabinet before I took the picture (whoops!).
Step 6: Add Top and Finish
I said earlier that the top of this shelf was actually a leftover piece of maple butcherblock countertop. But, if you don’t have any of that, you can make your own top from some 2x material or even use ¾″ plywood if you wish. Since you have plenty of leftover plywood from the shelf if you got a full sheet, I would recommend using that for the top if you don’t want to glue one up.
.
Simply cut a piece about 17 ½″ x 25″ and apply edge banding for a more finished look. Then center the top onto the shelf and screw in place through the top supports from step 2 using 1 ¼″ wood screws. Then, finish as desired.
.
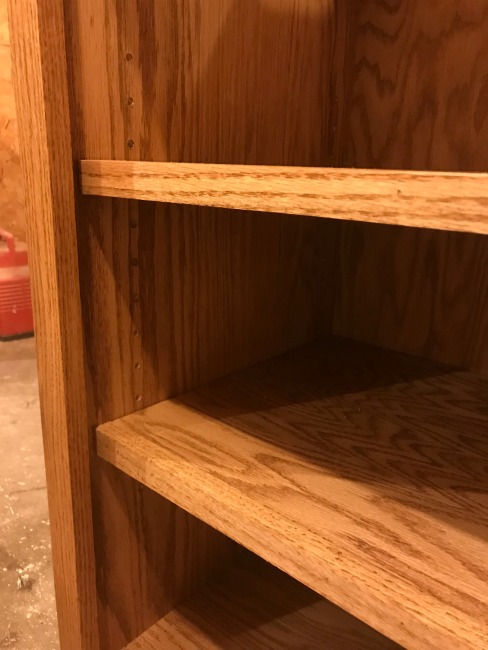
Since this was oak, I used Minwax Golden Oak stain with a top coat of semi-gloss Minwax Polycrylic for a natural oak look. I set the shelves where I wanted using shelf pins and that was it. A simple little DIY bookshelf.
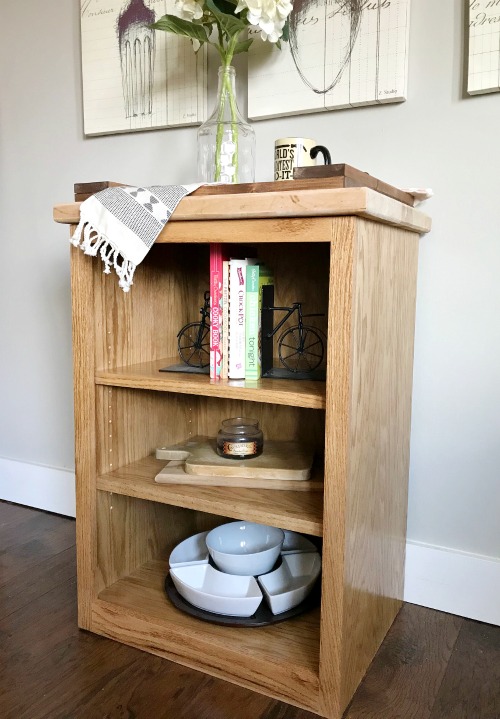
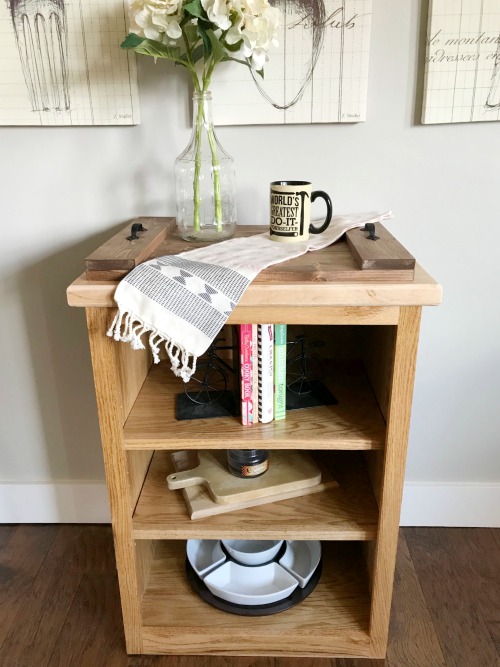
Sometimes, you don’t need anything fancy…just a little bookshelf. This would be perfect for a kid’s room, kitchen, bathroom, office. And if you’re like me (indecisive), it’s nice to have the option to switch up the shelves if I decide to use it for something else haha.
.
Be sure to check out my other shelf projects, and don’t forget to pin this for later 🙂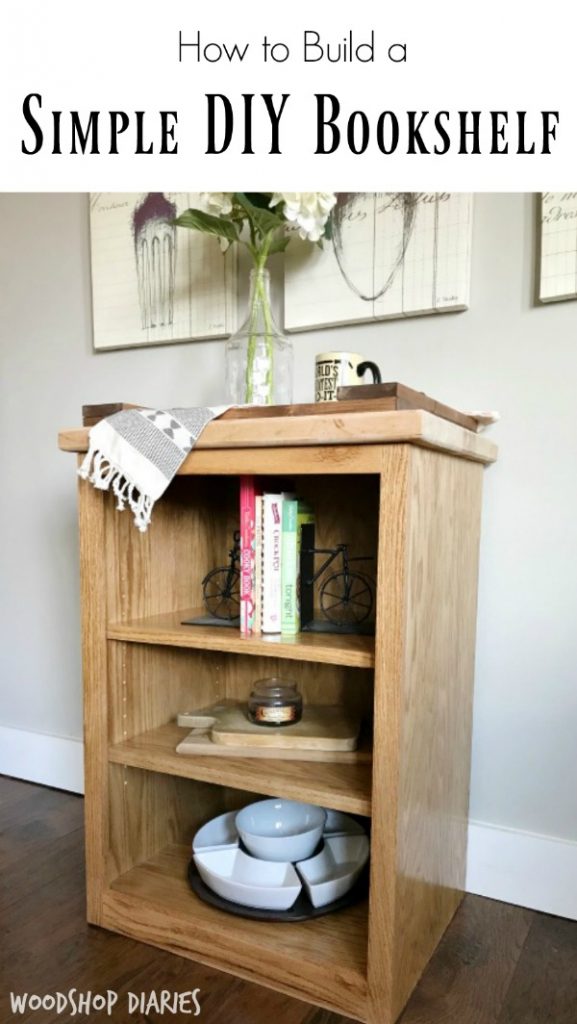
Until next time, happy building 🙂