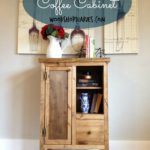
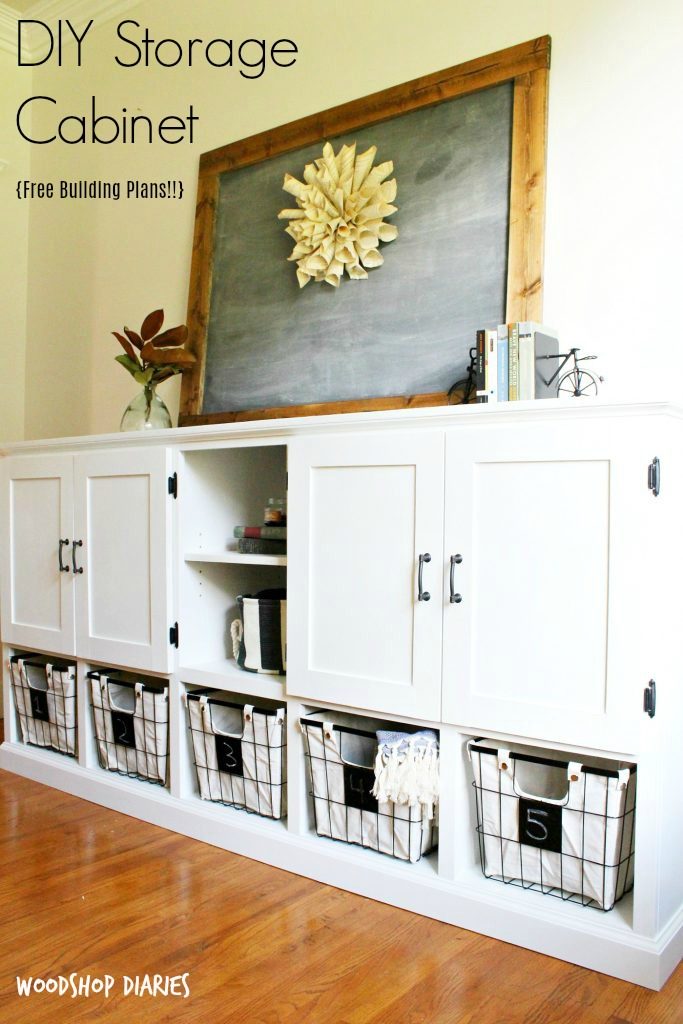
Interested in adding a DIY Storage Console to your living room or play room area? I’ve got the project for you!
I’ve said it before, but I will say it again. You can never have enough storage.
.
But, here’s the dilemma. When we say “you can never have enough storage,” what does that mean? Do you need more drawers, more cubbies, doors to hide things behind, shelves to stack things on, baskets, boxes…what do you NEED?
.
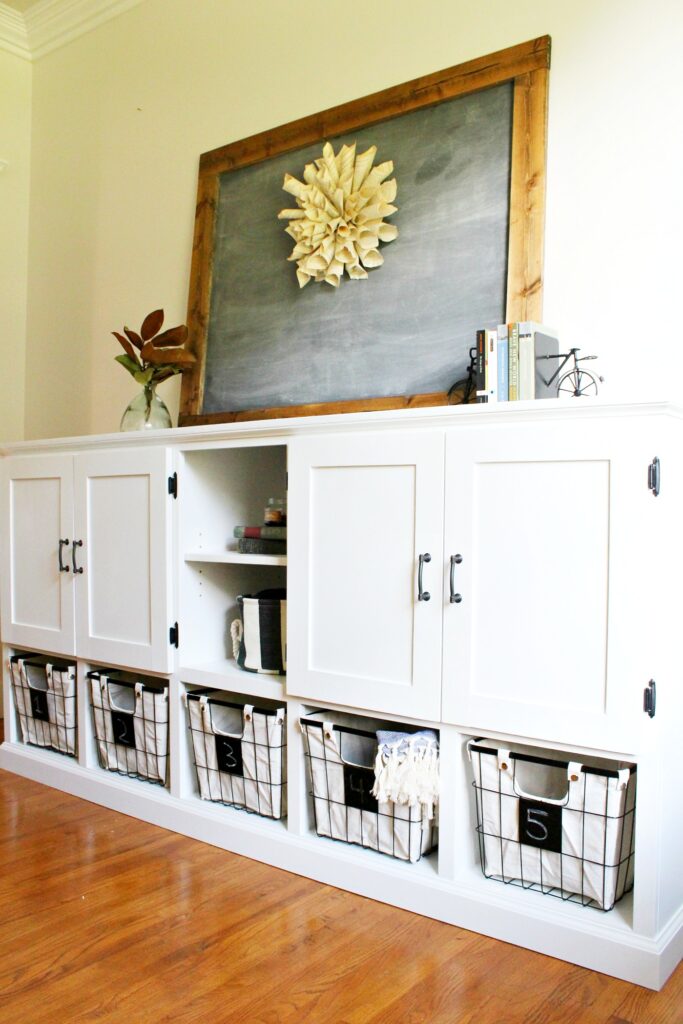
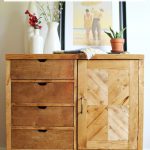
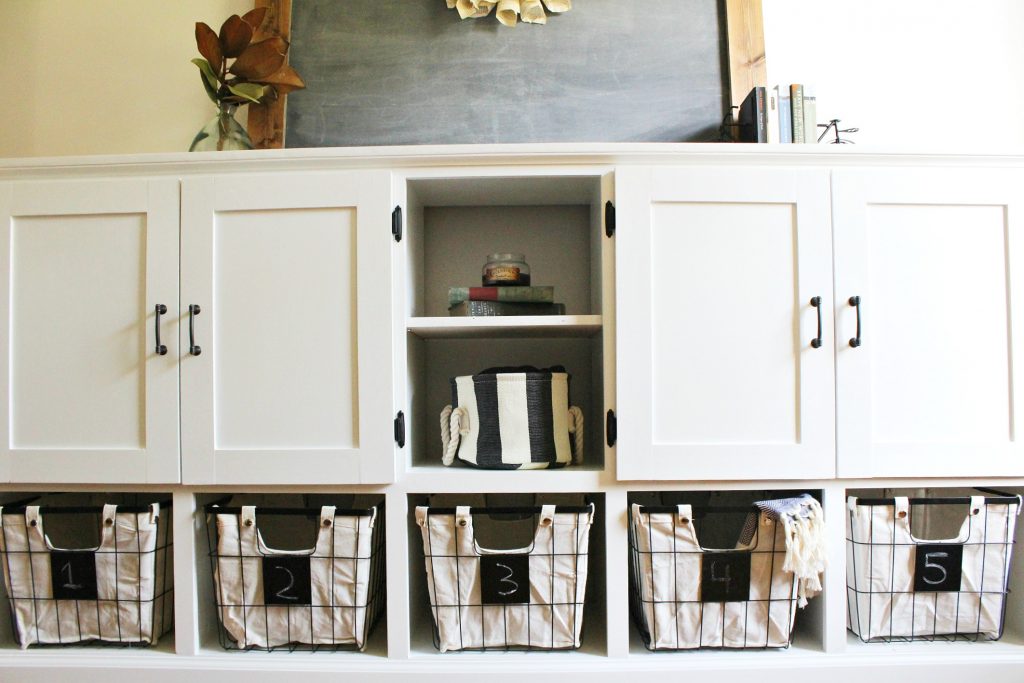
I have good news!! You don’t have to pick just one. This DIY storage console has a combination of cubbies, shelves, baskets, and doors to hide things behind. And as always, I’ve got the how to to make your own right here 🙂
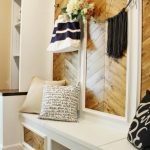
BUT wait…there’s more!!! (I sound like a 3AM infomercial hahahaha) This isn’t the only combination storage piece I’ve made. So if you’re looking for more storage combos, check out these projects, too!
But if you’re ready to tackle this particular DIY storage console, let’s get started 🙂 By the way, the overall dimensions are 17 ½” deep, 40” tall, and 83” wide. So it really is a monster, but it would look awesome in a family room!
.
This post contains affiliate links for your convenience. If you purchase from these links, I may receive a small commission at NO extra cost to you. Please see disclosure policy for more information. Thank you for supporting this site!!
.
Tools and Materials:
(2) sheets ¾” cabinet grade plywood (I used birch)
(1) sheet ¼” plywood
(2) 8ft sticks of baseboard trim
(2) 8ft sticks of cove molding
(4) 1x2x8 boards
(3) 1x3x8 boards
Wood Putty
Wood Glue
1 ¼” brad nails (for nail gun)
Shelf pins (If you want adjustable shelves)
.
Rip Cut (optional, but helpful)
Sander (unless you want to hand sand everything)
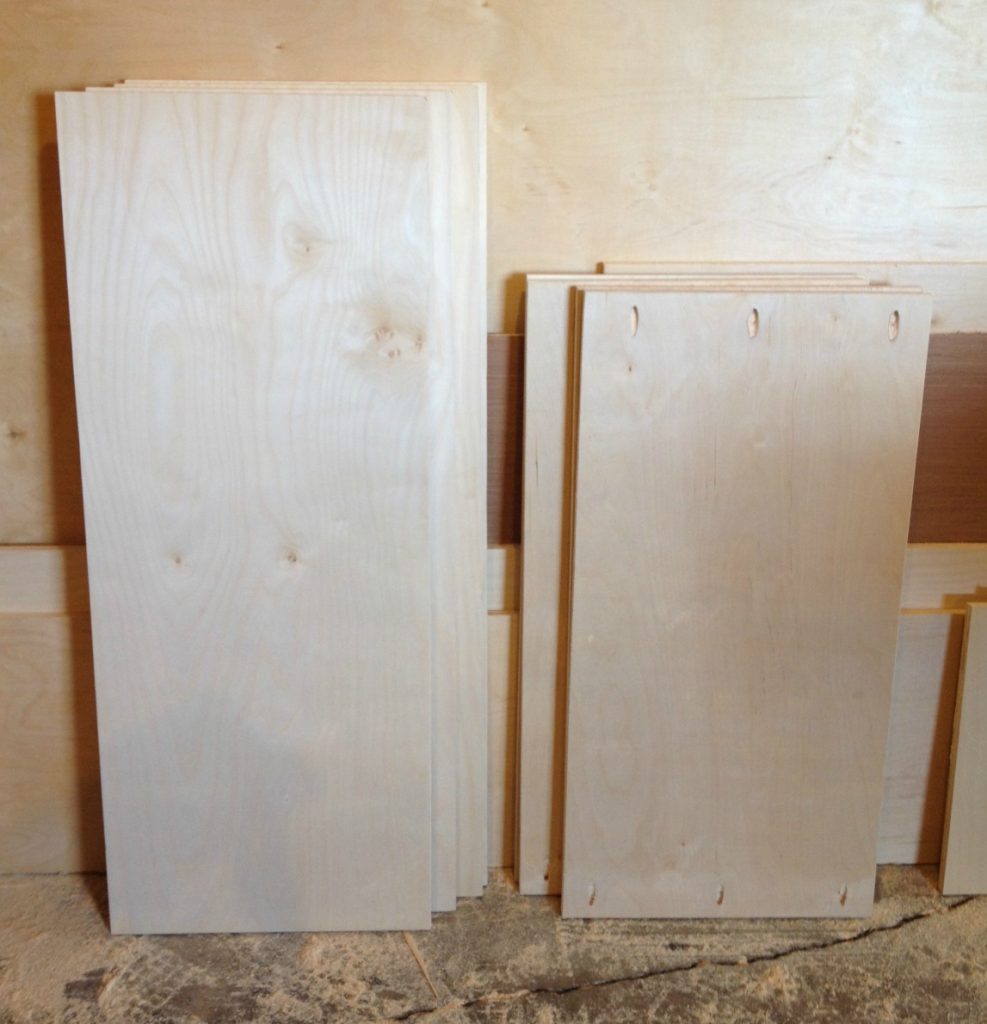
Step 1: Rip and cut plywood down to size
First, I ripped one sheet of ¾” plywood down to three 16” wide strips using my circular saw and Kreg rip cut. Then, I cut one other 16” strip from the second sheet of plywood. The Kreg rip cut is really helpful to rip all three pieces down quickly to consistent widths.
.
From these strips, I cut 4 pieces at 39 ¼” and 4 pieces at 31 ½”.
Step 2: Assemble the carcass of the DIY storage console
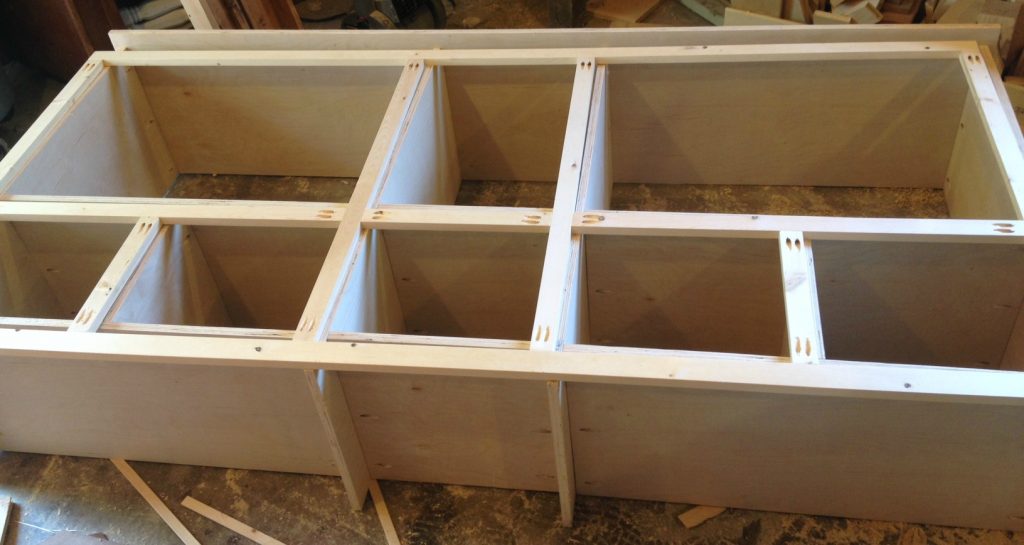
I drilled ¾” pocket holes in the ends of each of the four 31 ½” pieces like shown below above.
.
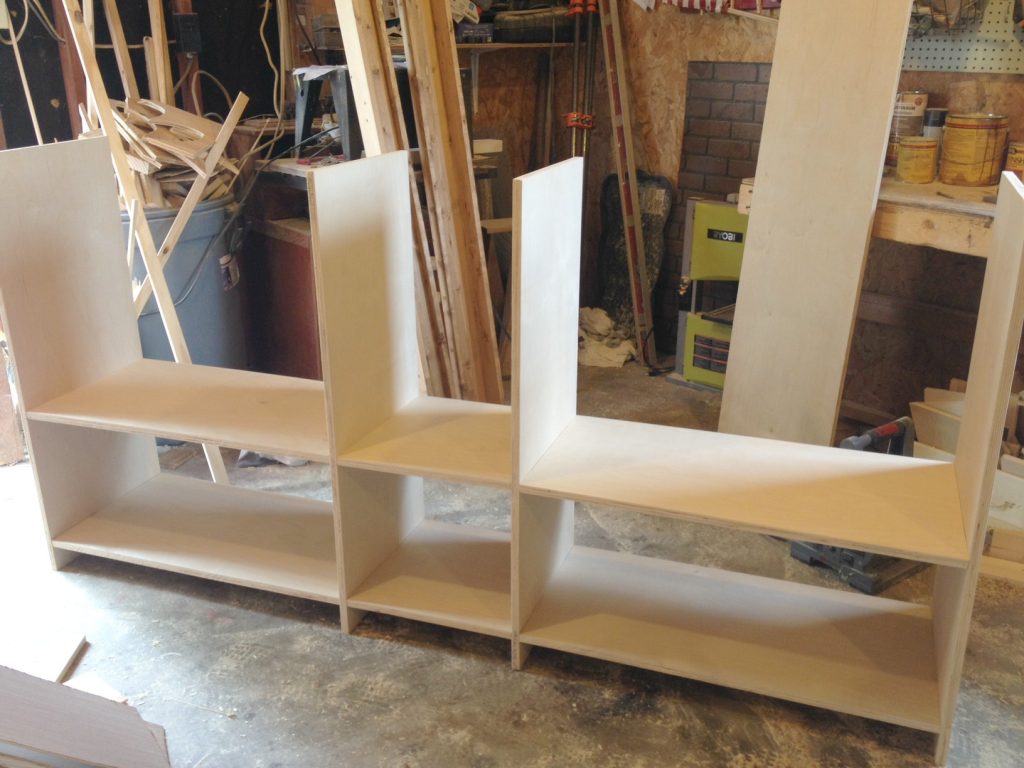
Then I attached them using 1 ¼” pocket hole screws to the 39 ¼” pieces to make two “carcasses” like shown below. The bottom shelf is attached so that the top of it is 3 ½” from the ground and the top shelf is attached so that the space between the shelves is 13” tall.
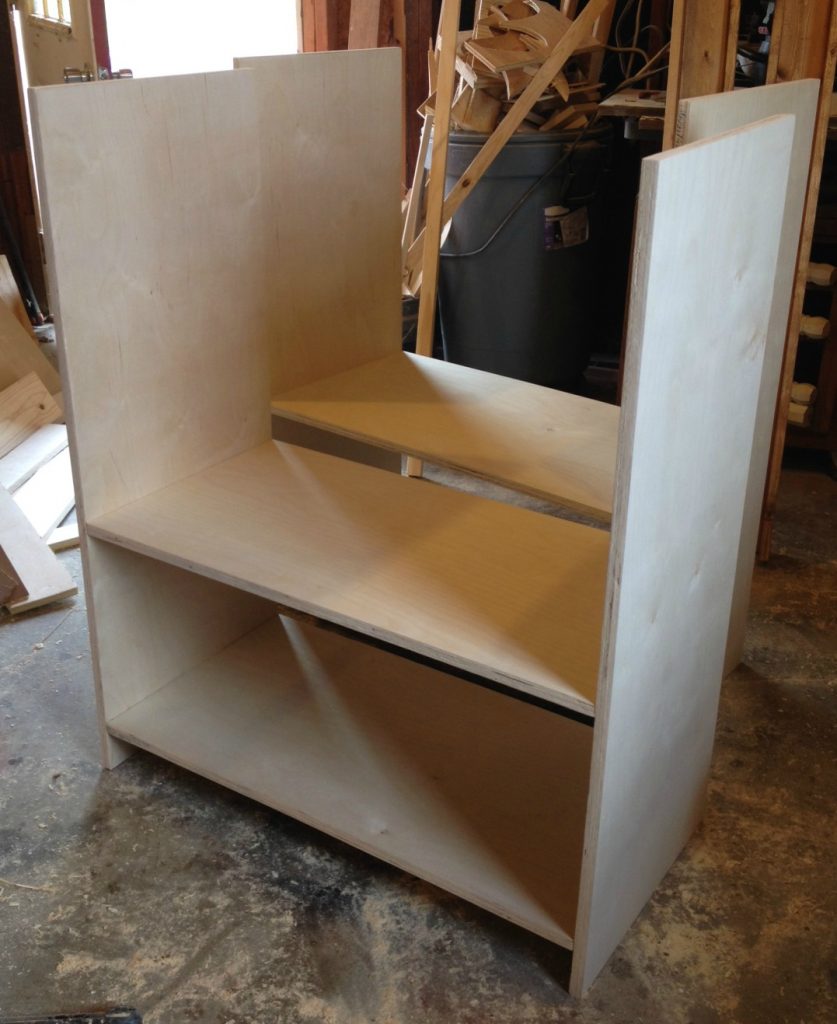
Once the two sides were assembled, I cut two pieces from the 16” strips from step 1 to 15 ¼” long, drilled ¾” pocket holes in the ends and attached like shown below. All the shelves should be at the same heights.
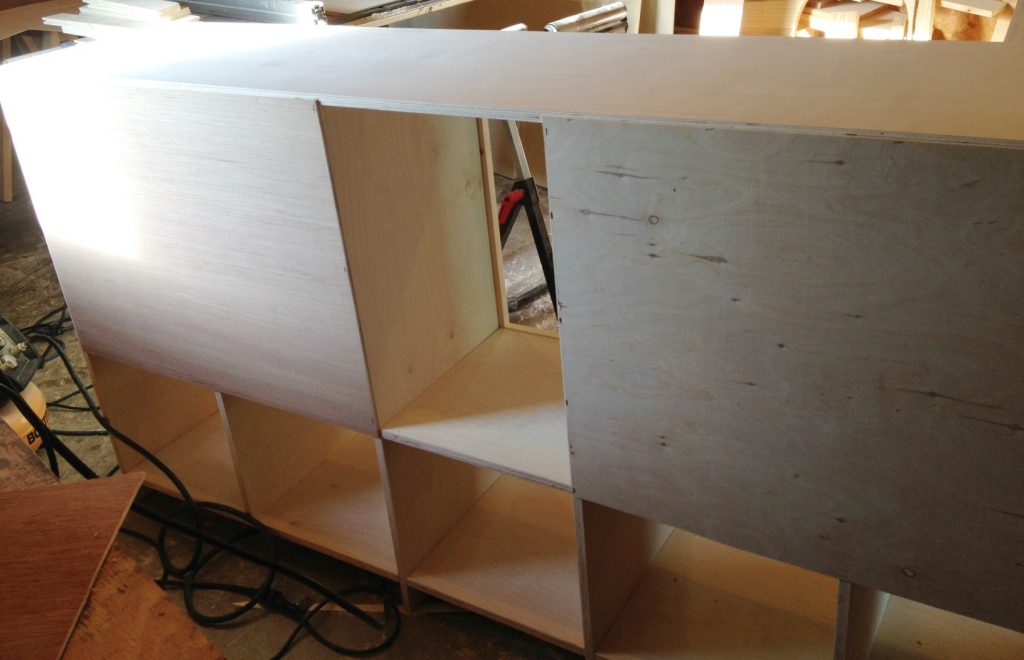
Step 3: Add the top
From the remaining plywood that wasn’t ripped down to strips, I cut a piece that was 17 ½” wide and 83” long for the top.
.
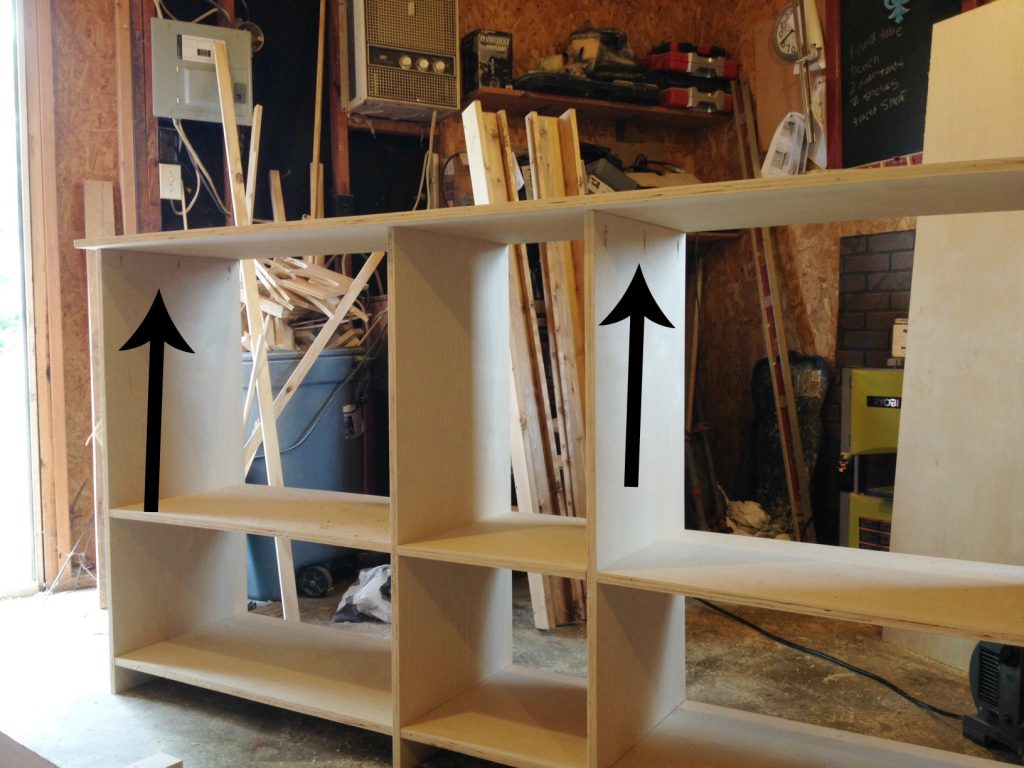
I drilled ¾” pocket holes into the two cabinet sides and the two vertical middle pieces. I attached the top using these holes and 1 ¼” pocket hole screws. It’s vital that you make sure everything is square and that the overhang on each side of your top is the same on both sides at this point. You’ll also want to make sure that the back of the top is flush to the back of the cabinet carcass…there will be about 1 ½” overhang on the front.
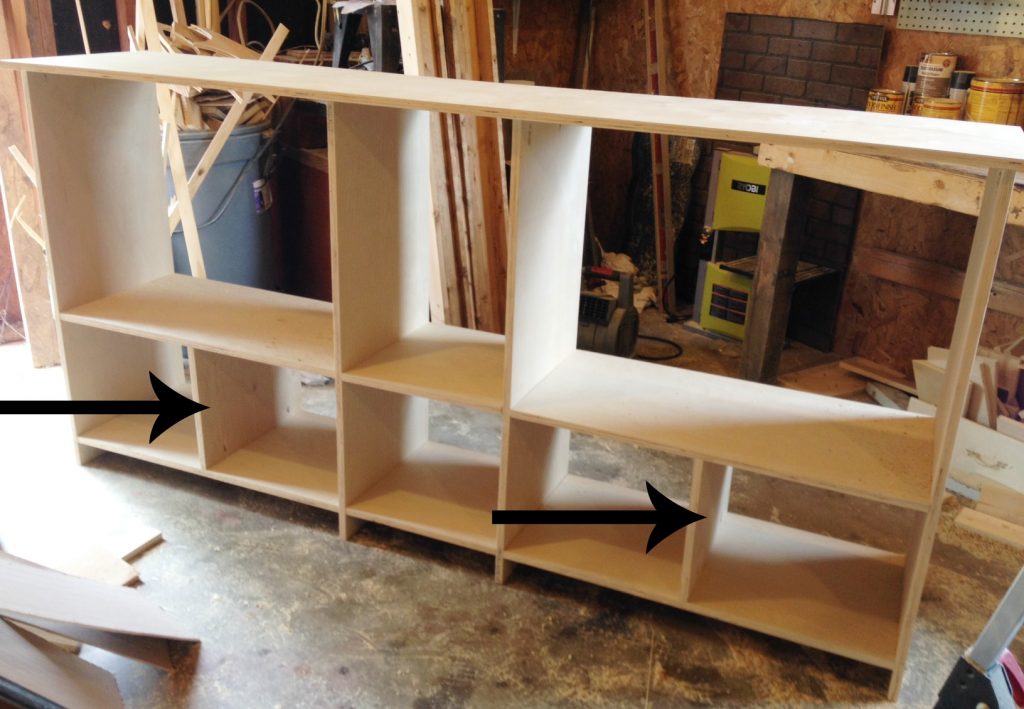
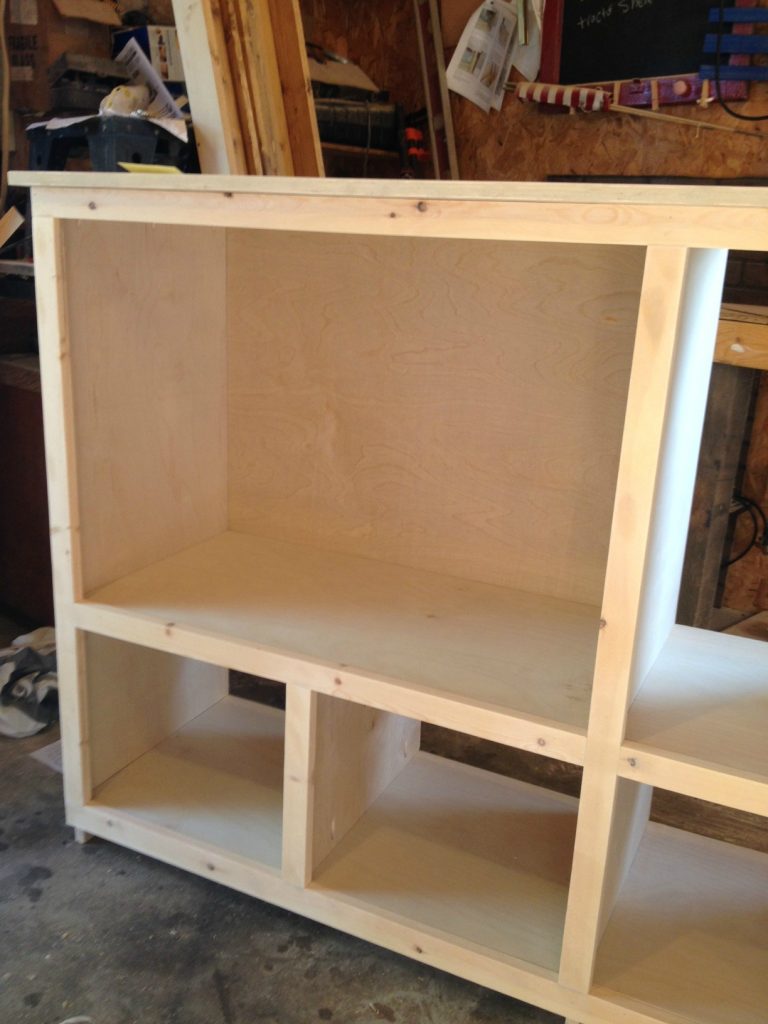
Step 4: Add cubby dividers to storage console
I cut two pieces from the 16” plywood strips at 13” long. Then, I drilled ¾” pocket holes in the ends and attached in the center of the two bottom side pieces using 1 ¼” pocket hole screws.
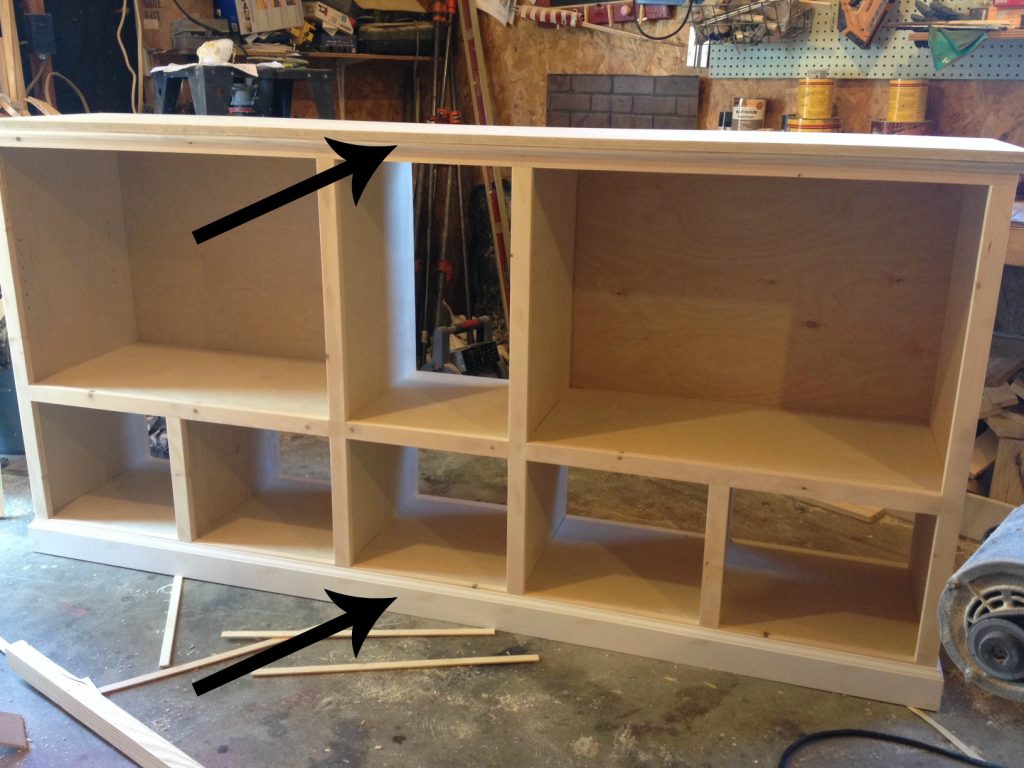
Step 5: Add face frame
The face frame is made from 1x2s. You can add them different ways. One way would be to cut to fit and just nail in place so that each individual piece of the frame isn’t connected to the other pieces. That’s fine. But, I chose to use pocket holes and screws to assemble my frame then nail it on as one piece. Either way is fine.
Build your face frame to fit your exact measurements for your carcass. If you accidentally screwed your shelves in slightly off the measurements I gave you, it’s fine, just make sure your face frame matches your carcass and make sure the cubby openings are the same widths.
.
Once my frame was assembled, I used my nail gun to nail it onto the front making sure everything was lined up and square. (Note: I had already put the back on before I got the picture of the face frame.)
Step 6: Add back and trim
I cut ¼” plywood to fit over the two top outside openings. I left the cubbies and middle section open. You could add backing here, too, if you wanted. Just staple the plywood in place.
Then as a finishing touch, I nailed on baseboard trim along the bottom and cove around the top. It’s easiest here to cut to fit and miter the corners at 45 degrees.
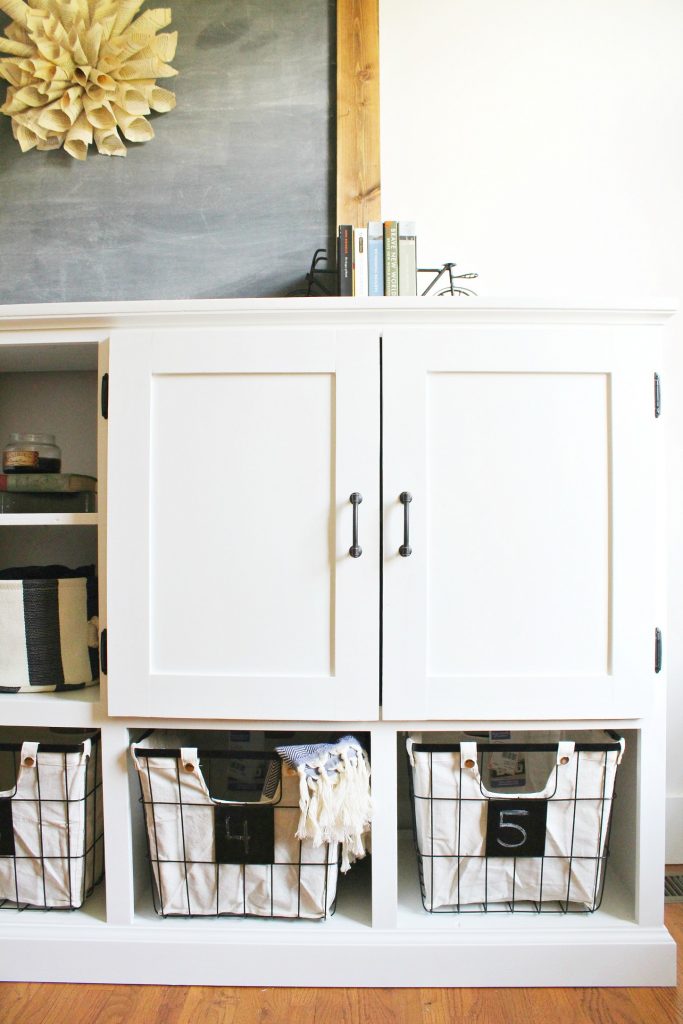
Step 7: Add doors to storage console
I usually make these simple shaker style doors for my cabinets. You can get my full tutorial for how to make them here.
Step 8: Finish
I puttied along the top edges and sanded smooth instead of using edge banding. If you prefer, you could edge band around the plywood top. I puttied the joints and all nail holes and sanded the whole piece. After painting everything (which took forever haha), I added the doors using these hinges.
I also used my Kreg shelf pin jig to drill shelf pin holes on the inside of the cabinet on the sections behind the doors and the middle section for adjustable shelves. The adjustable shelves can be cut to fit from the remaining ¾” plywood if you decide to add them. And if you don’t want adjustable shelves, you can make them stationary by using pocket holes and screws on the ends of the shelves instead of the pins.
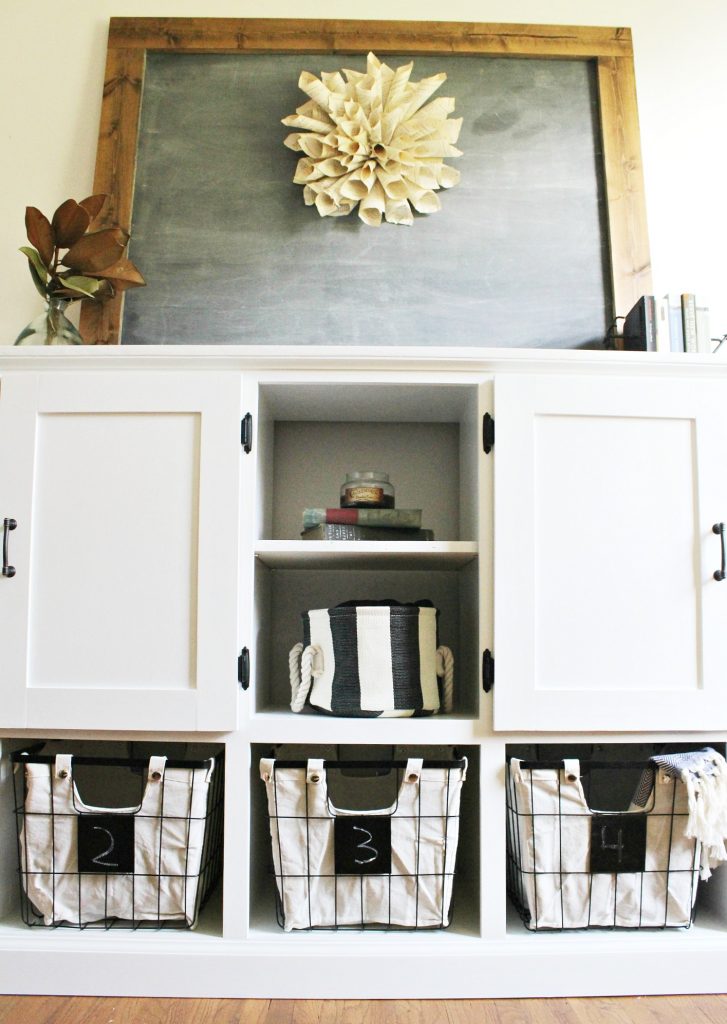
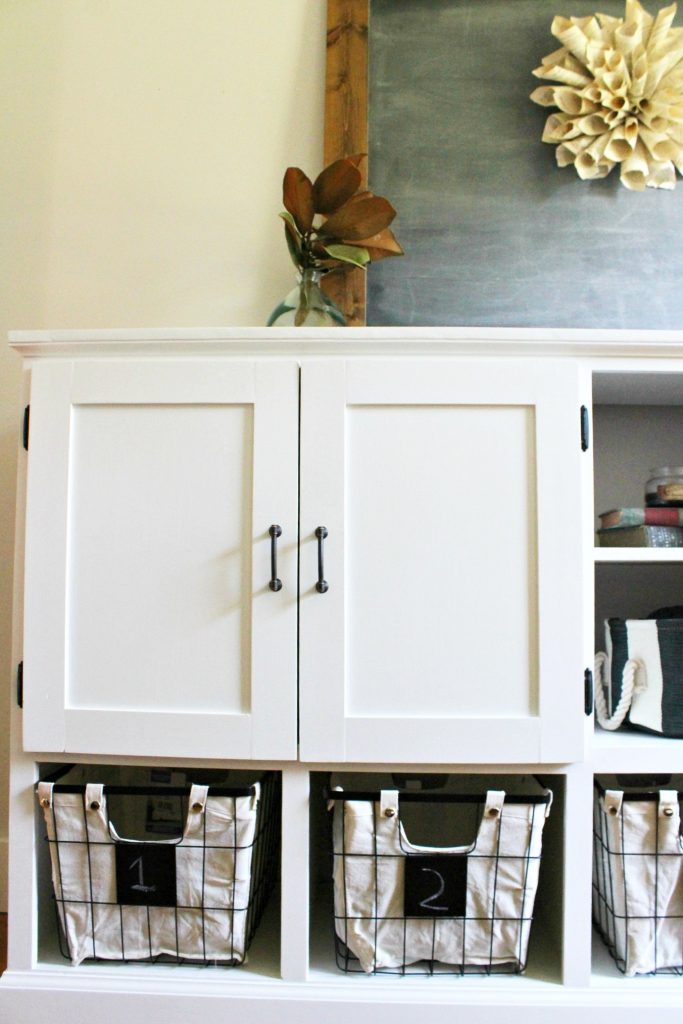
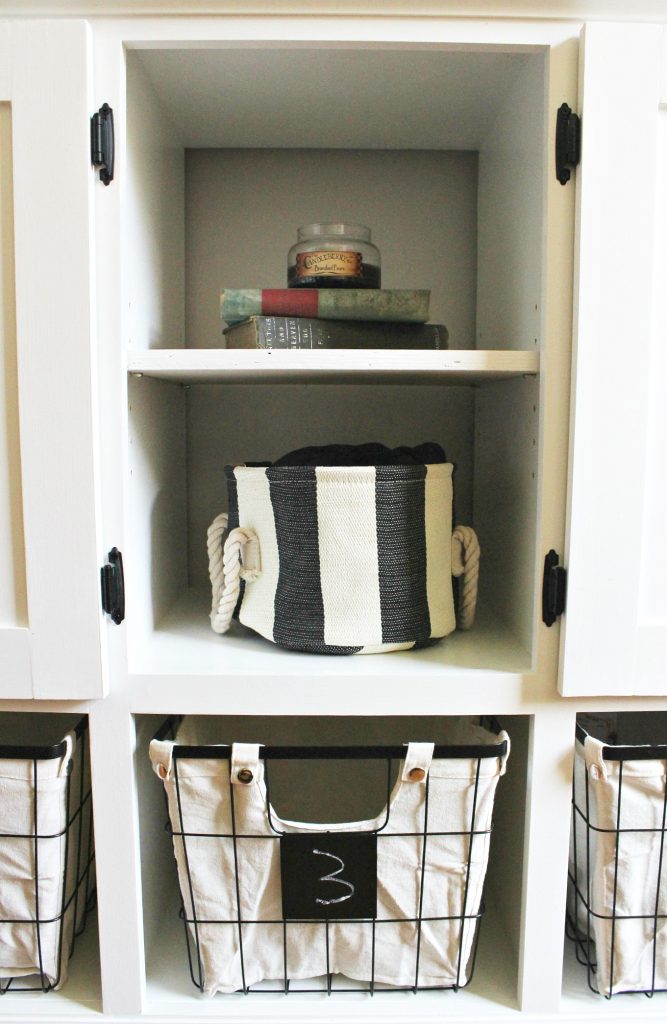
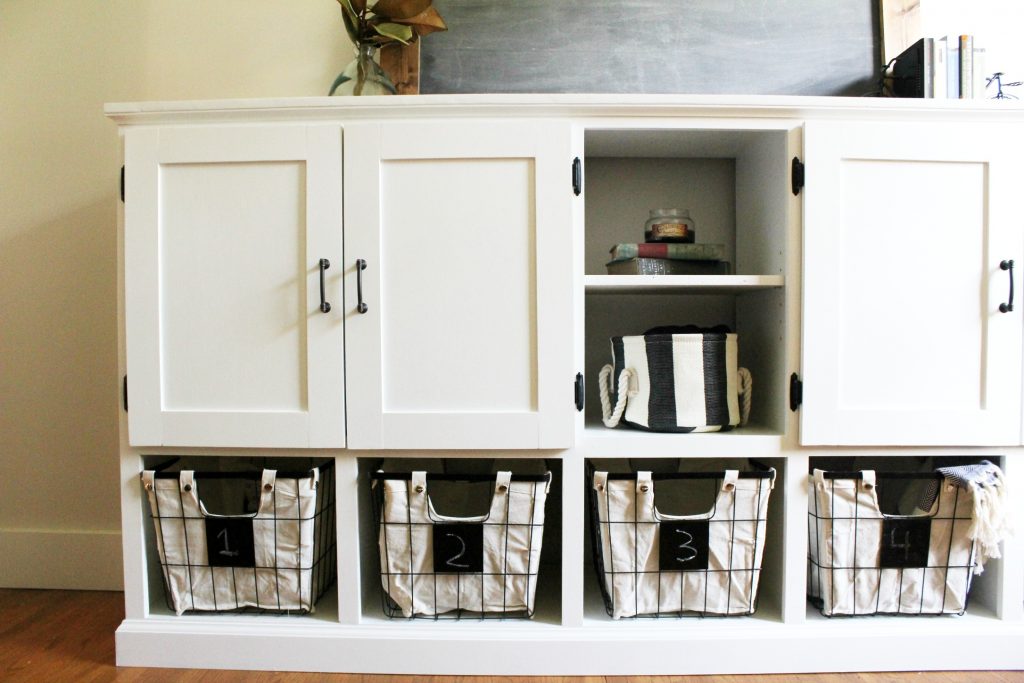
And now it’s ready for filling up! I built this for a friend to store her kids’ toys in in their family room, but this would be good for any kind of storage…books, DVDs, blankets. You could even use it as a TV console.
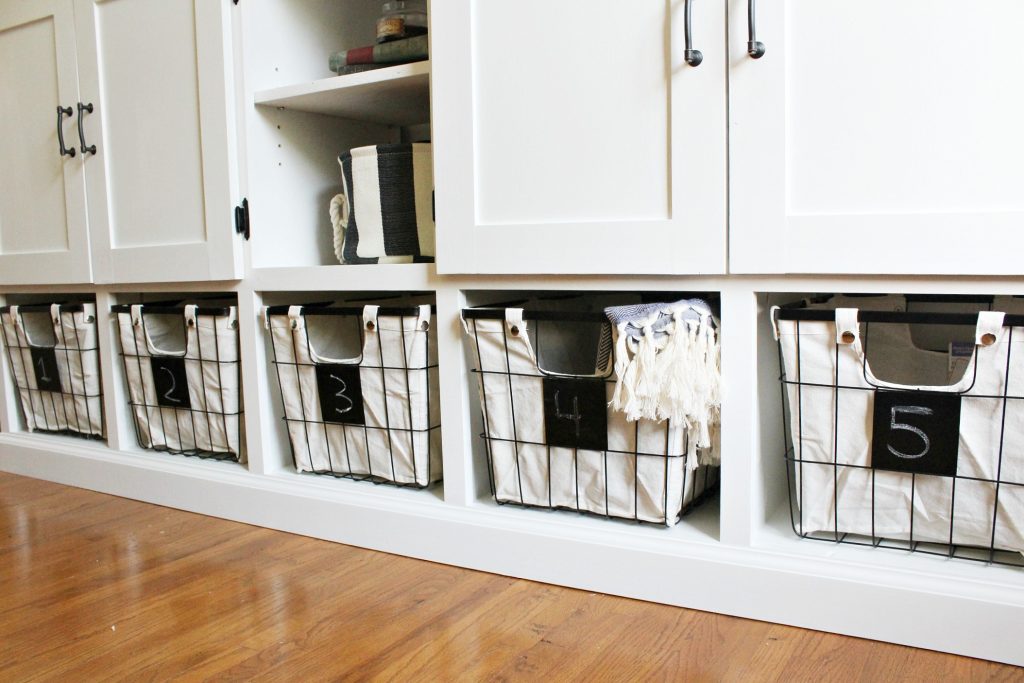
These baskets fit perfectly in these cubby holes. You can find a link to the baskets here in case you want the same ones to fit your own build.
Combination storage is the best kind of storage 😉
If you enjoyed this project, I’d love it if you’d pin this for later 🙂
Until next time, happy building! 🙂