
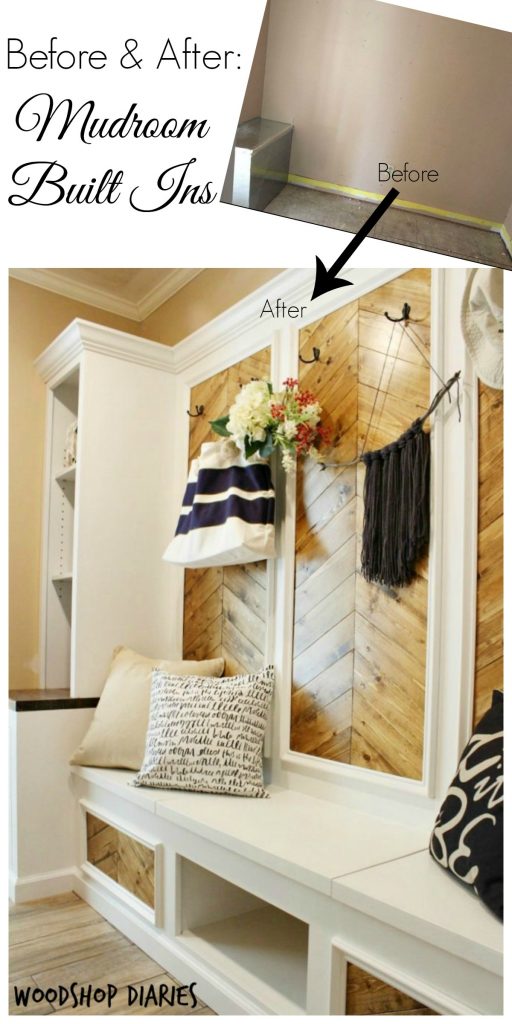
You won’t believe the transformation this DIY mudroom built ins project had on this simple entryway area! I’ll show you how it came together in this post 🙂
.
Do you prefer starting from scratch or redoing what’s already there? If you can’t already guess, I prefer a start from scratch project. I like to build my furniture from nothing, and I like to remodel by gutting it first. It’s just more fun to start from a clean slate.
...
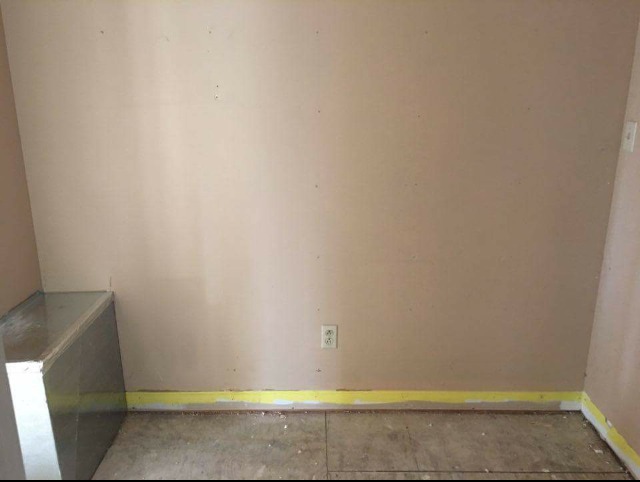
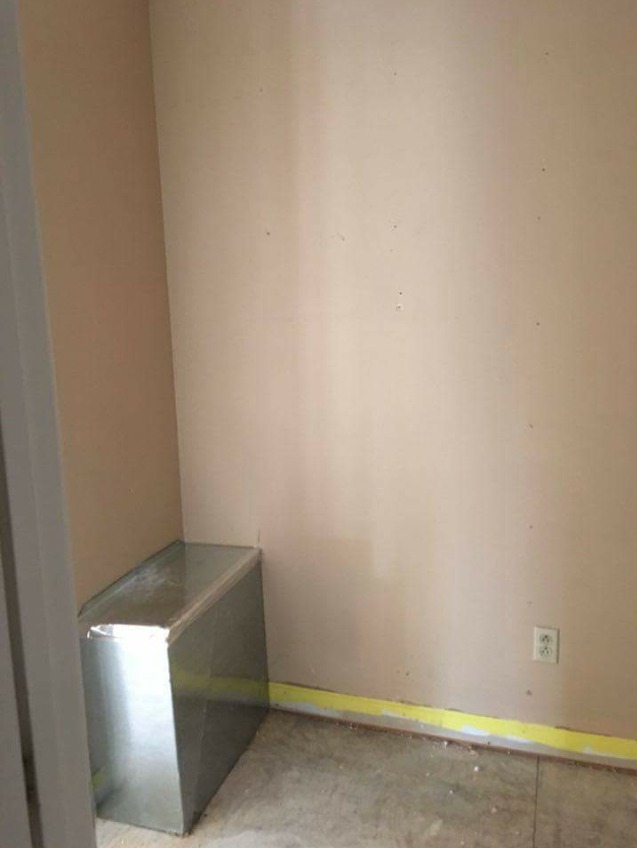
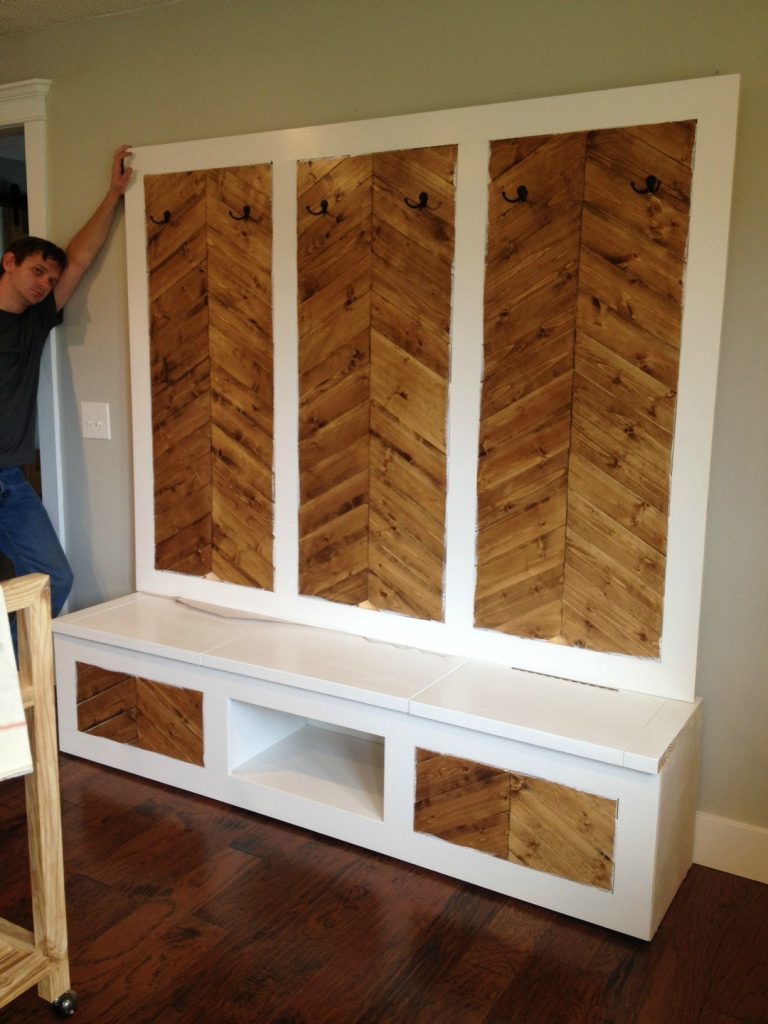
So when my friend asked me to help her with her completely empty mudroom to create some mudroom built ins, I was PUMPED. Complete freedom. Constrained only by the dimensions between the walls. It could be anything. Here’s the before:
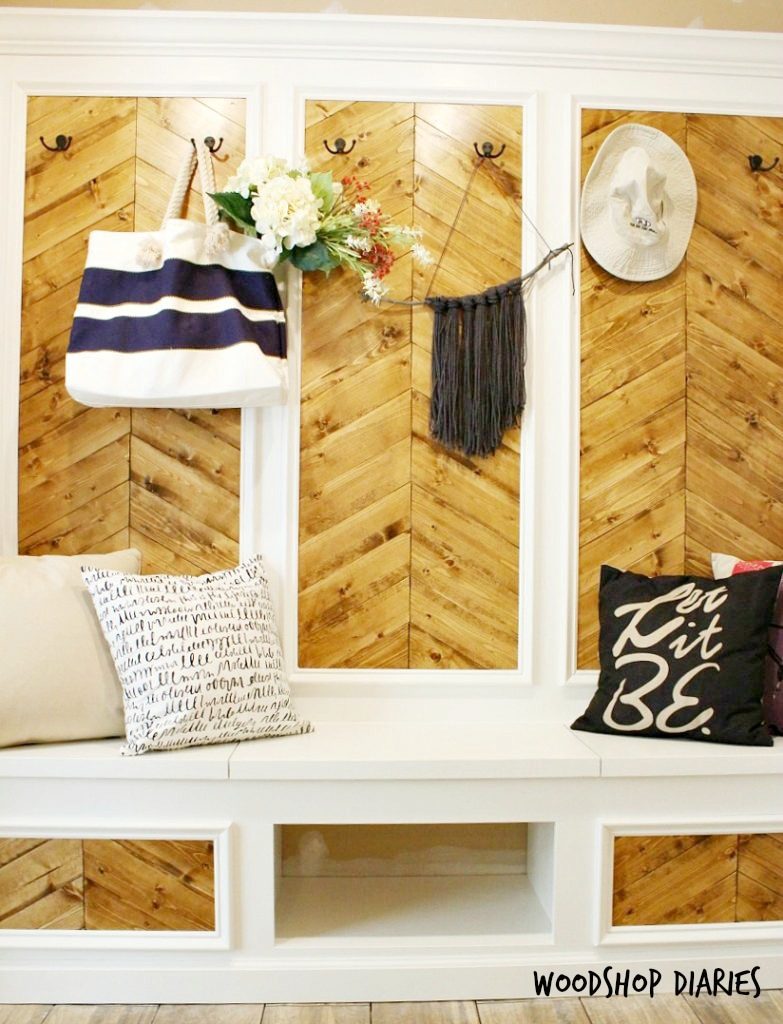
.And this is what I came up with for it:
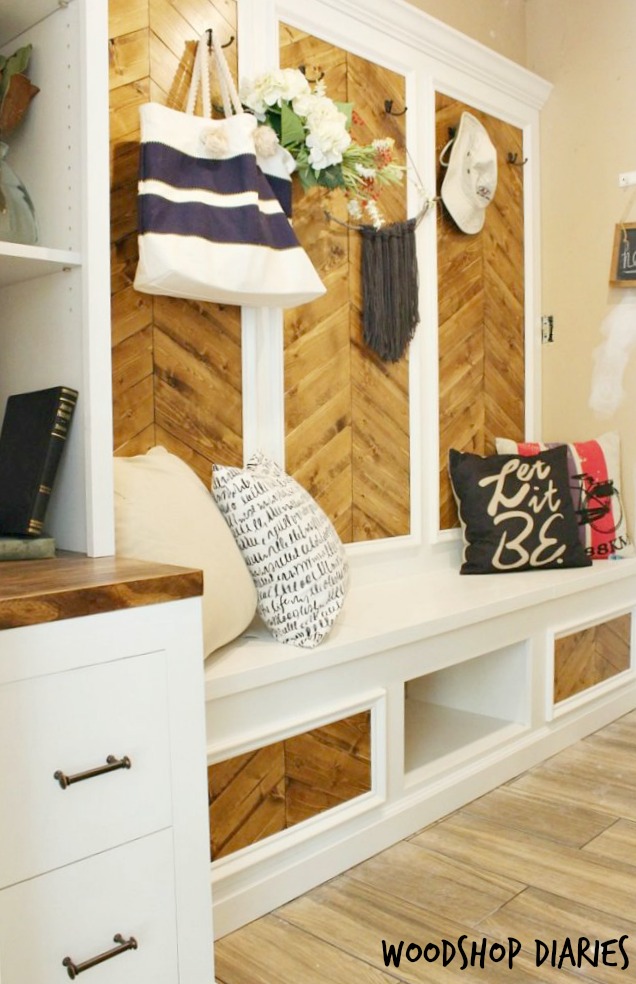
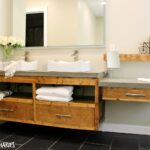
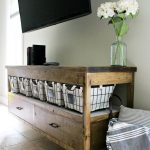
Talk about a transformation, right?? I’ll show you the details on how I did it further down, but first, I really just want to show you some more pictures of the transformation. By the way, if you’d like to see some other projects I made for her, here are a few:

.
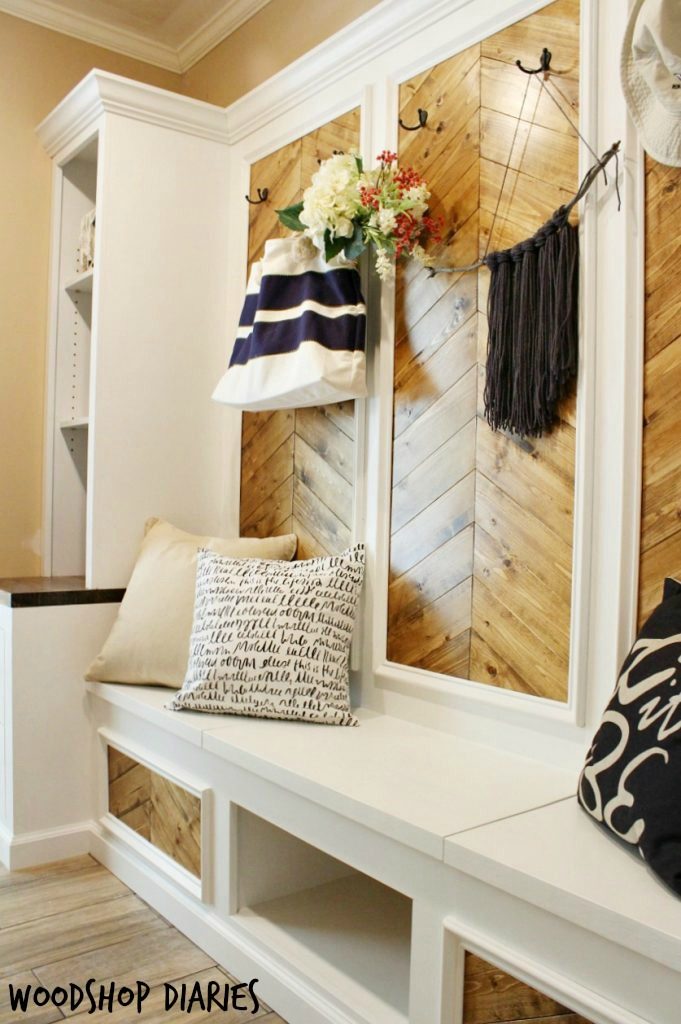
The mudroom is fairly small (as you can tell because I can’t really back up enough to get a full picture of the whole thing), but one major eyesore in it was this duct sticking into the room.
To work around this, I decided to build a “dummy cabinet” with “dummy drawers” to cover it up. Obviously, nothing works (hence the “dummy”), but it made it flow and look better together with the rest of the built ins instead of just making a plain box around it. I even hinged the fake drawer fronts so if she decided to change out the pulls later, she can open the door and switch them out then close it back.
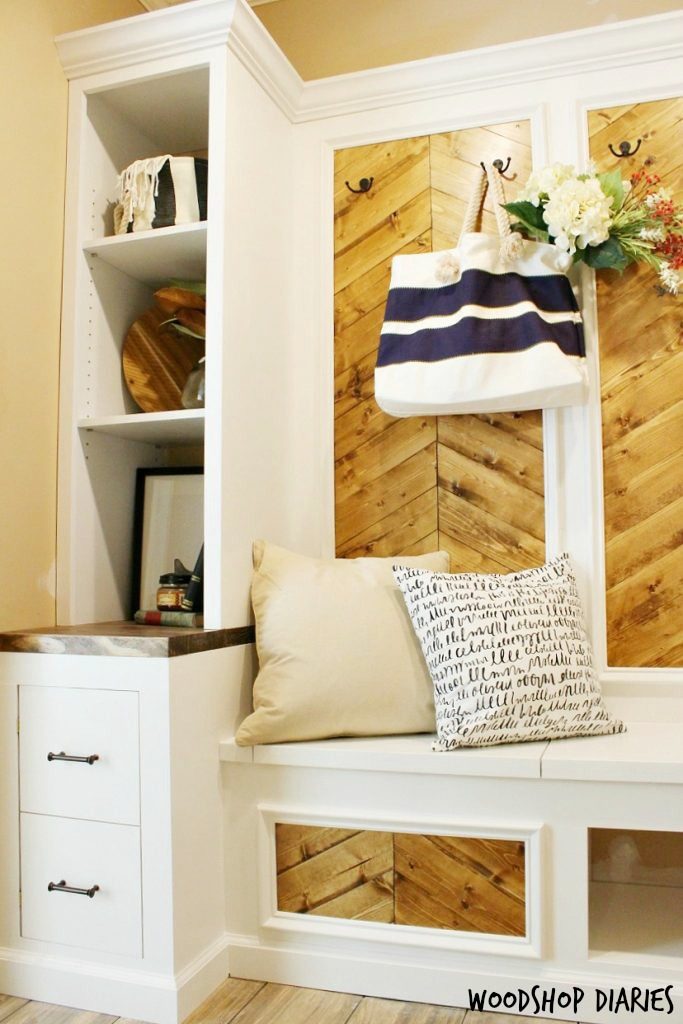
The other side of the room was just empty. My friend wanted somewhere to put shoes and hang jackets and bags, so this bench and decorative accent wall was perfect. The bench has two flip tops on the sides for storage and a shoe cubby in the middle. Each decorative panel has two hanging hooks.
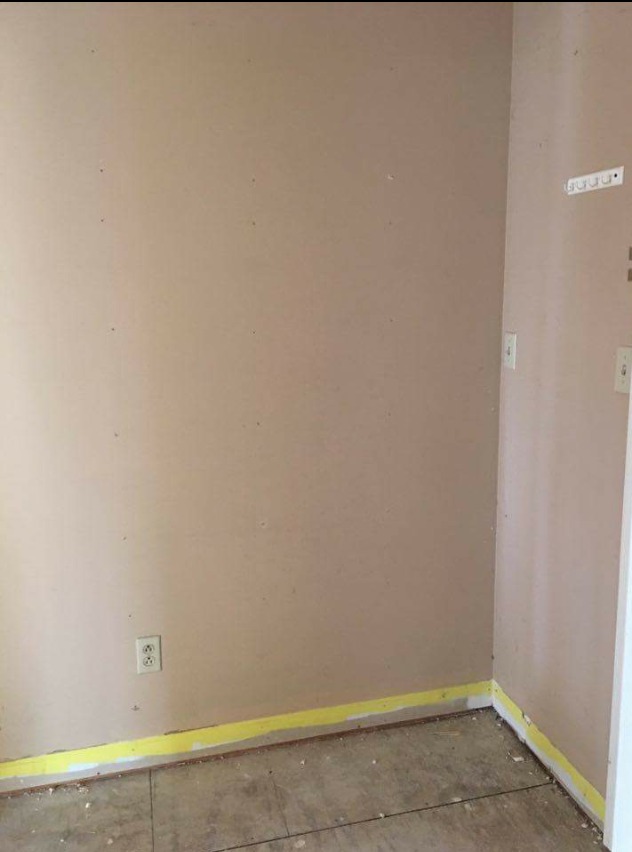
PS she is remodeling her entire house, and she hasn’t gotten around to the paint yet, so just ignore the drywall patching. I was too impatient and went ahead and took pictures before she finished it 🙂 I was really happy with how it turned out!
Because she lived about an hour away, I built it mostly at my shop and then installed it all at once when I was finished with it, so it came in basically four parts. So this post will be broken down to show you how I built each part separately instead of going step by step.
..
This post contains affiliate links. Please see disclosure policy for details. Thank you for supporting this site!
The Built In Dummy Drawer Cabinet
As previously mentioned, there is a return air duct on the bottom left side of the room. It’s an eyesore that needed to be covered up, but whatever covered it needed to be seamlessly incorporated with the rest of the room design. We decided on a “dummy drawer” cabinet that would look like a set of drawers, but is actually fake.
.
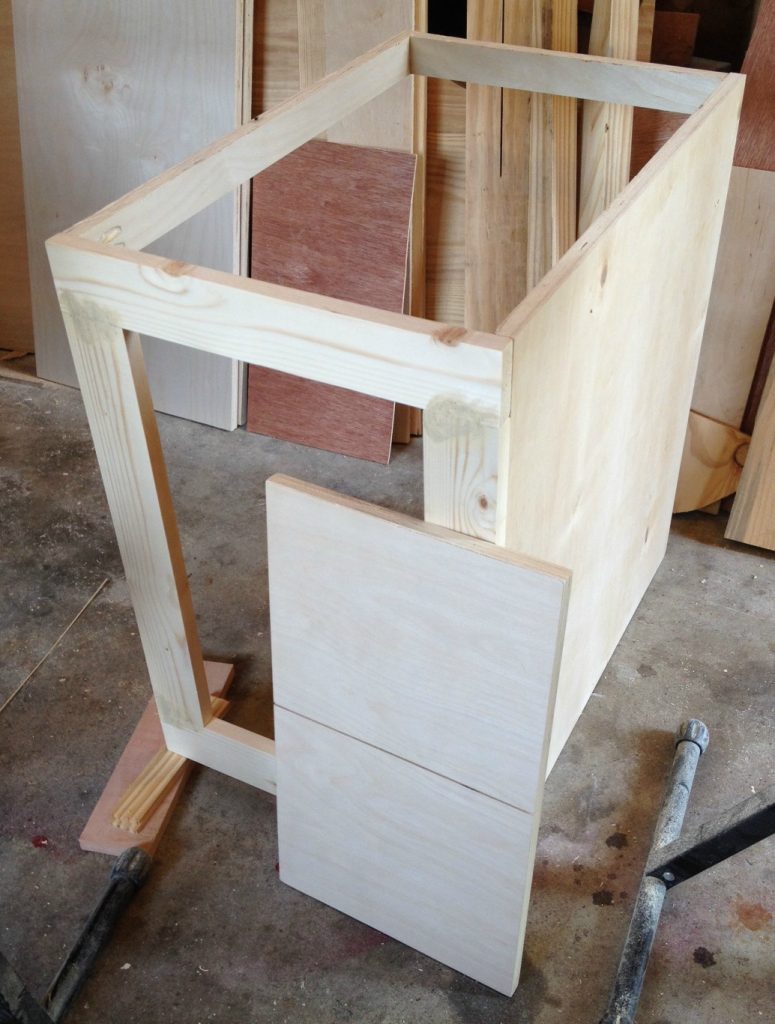
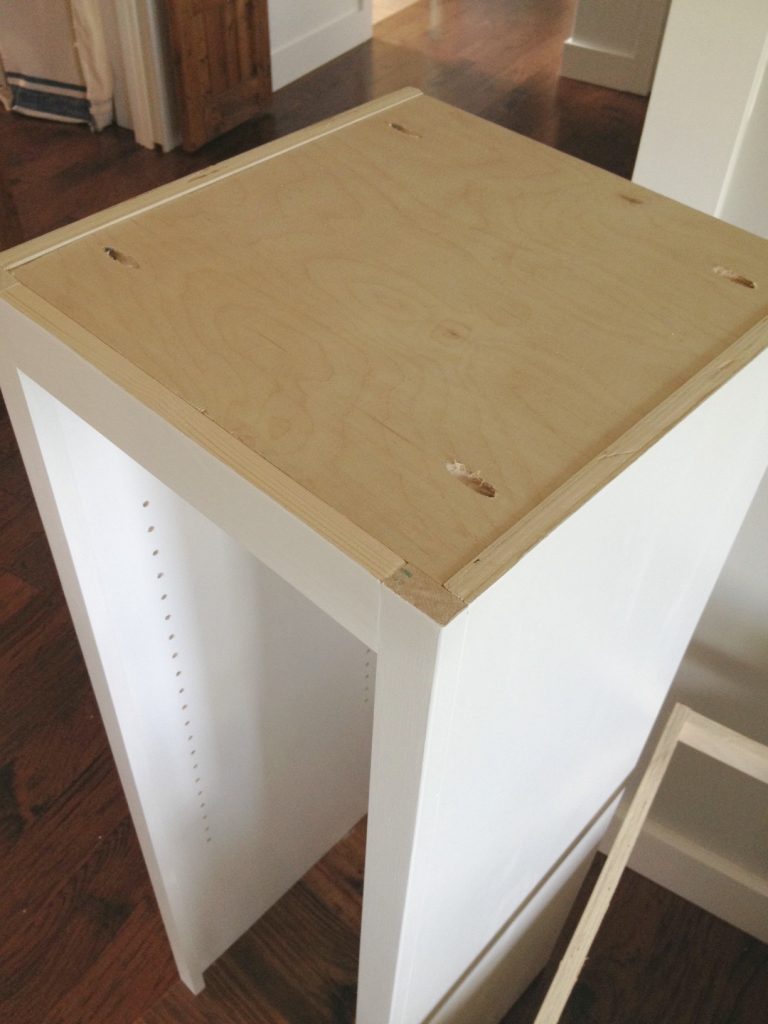
So I simply cut a piece of ¾” plywood slightly larger than the side of the duct, made a face frame slightly larger than the front of the duct, and attached them together. I added some scrap 1x2s along the other side and back to screw into the wall during install to secure it in place.
.
Then, I simply cut a piece of plywood to fit in the opening of the face frame (with gaps around the edges like a drawer would have) and used my table saw to cut a groove in the middle to look like separate drawers.
Once these were painted, I attached the dummy drawer fronts with small brass hinges and added pulls. I used hinges so that if my friend later decided to change out the pulls, she can open the door and remove them.
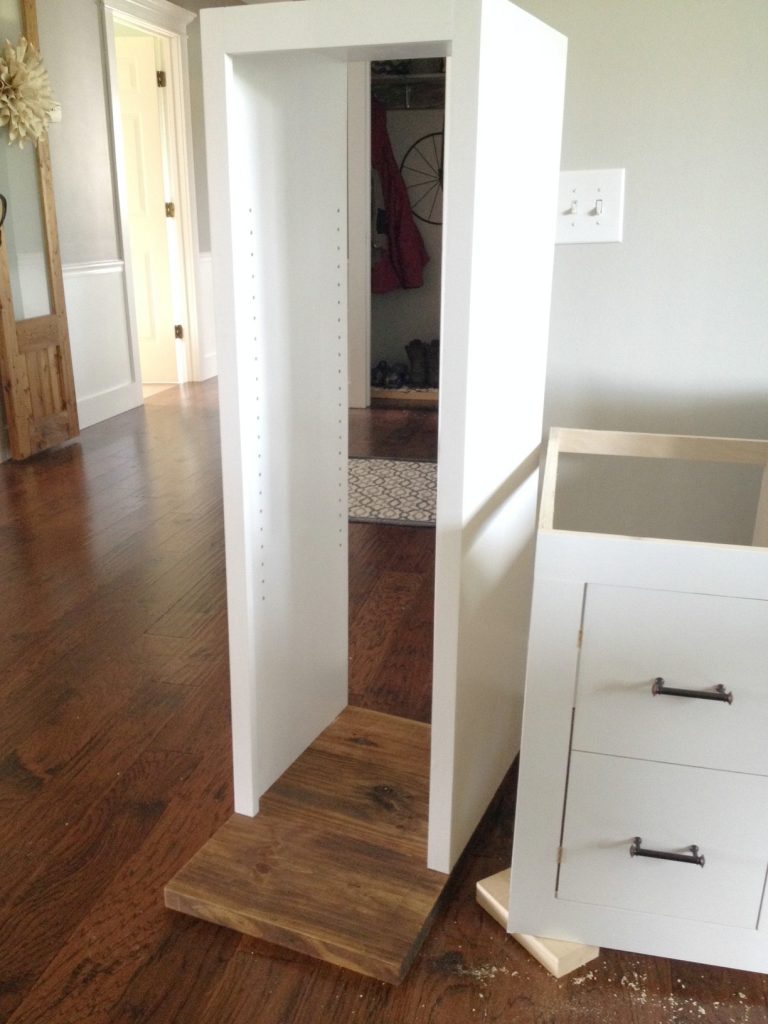
Mudroom Built ins Shelves
To make everything flow, there needed to be something above the fake cabinet. Because of space constraints, we decided against a door, so we did open shelving. I simply screwed two pieces of plywood together with a top using pocket holes and screws and added a face frame with my nail gun.
I cut a 2x thick countertop to fit the dummy cabinet and stained it. Once the top shelf was painted, I used 2 ½″ screws to attach it to the counter through the bottom side. Then I drilled shelf pin holes with my Kreg shelf pin jig for adjustable shelves. Now all that was left, was to cut two shelves and set in place.
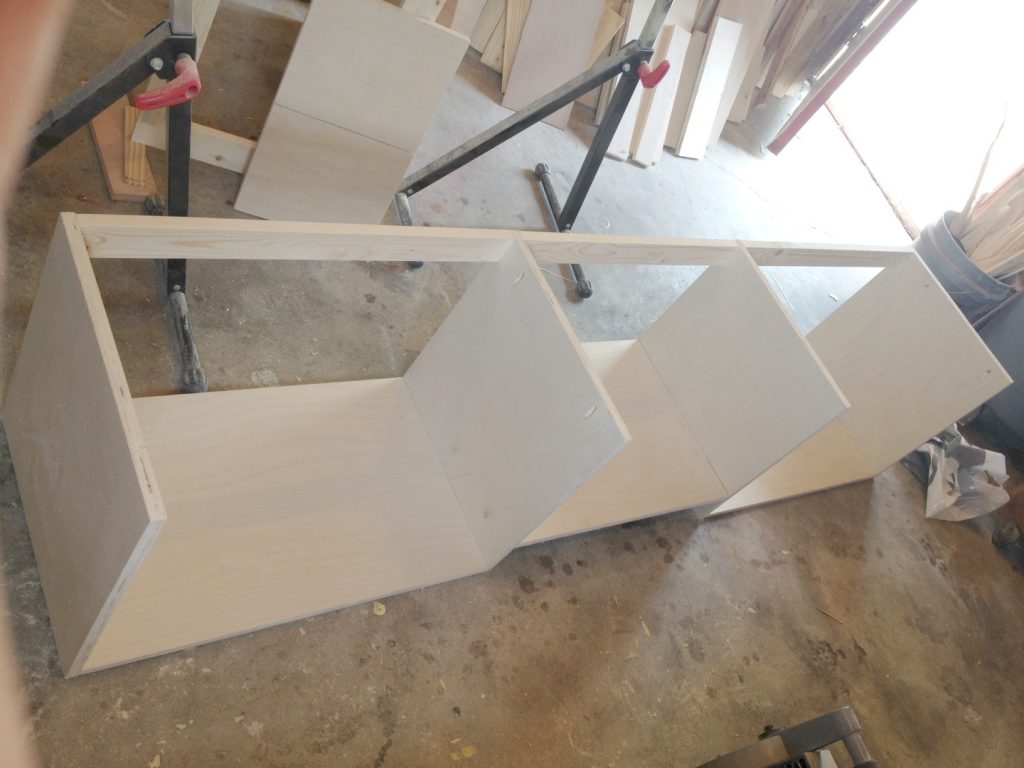
Built In Mudroom Storage Bench
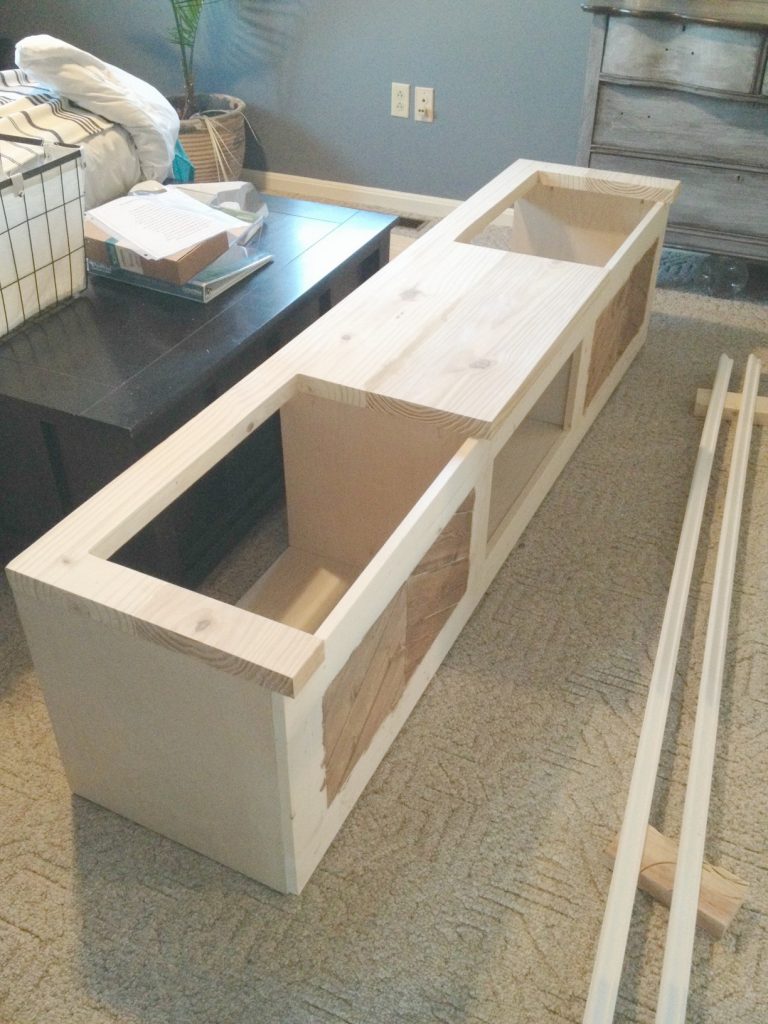
For the bench, I used ¾” plywood to build the carcass. The middle is for shoe storage and the sides will have flip tops. So I attached the plywood bottoms on the sides all the way to the ground, but attached the middle piece higher to be flush with the face frame when it’s added.
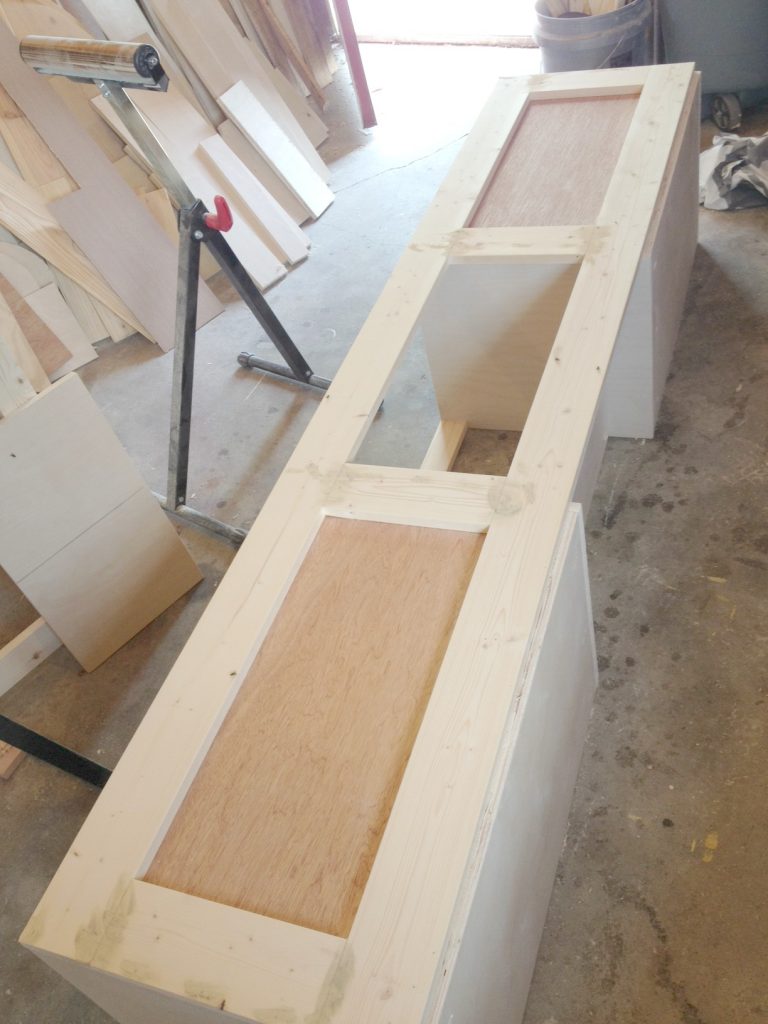
I screwed together a face frame using 1x4s and pocket holes and screws and nailed onto the front.

For the chevron designs on the front, I stapled ¼” plywood into the openings on the inside of the bench, then glued and cut to fit the pieces in place. I cut my pieces at 30 degree angles with my miter saw.
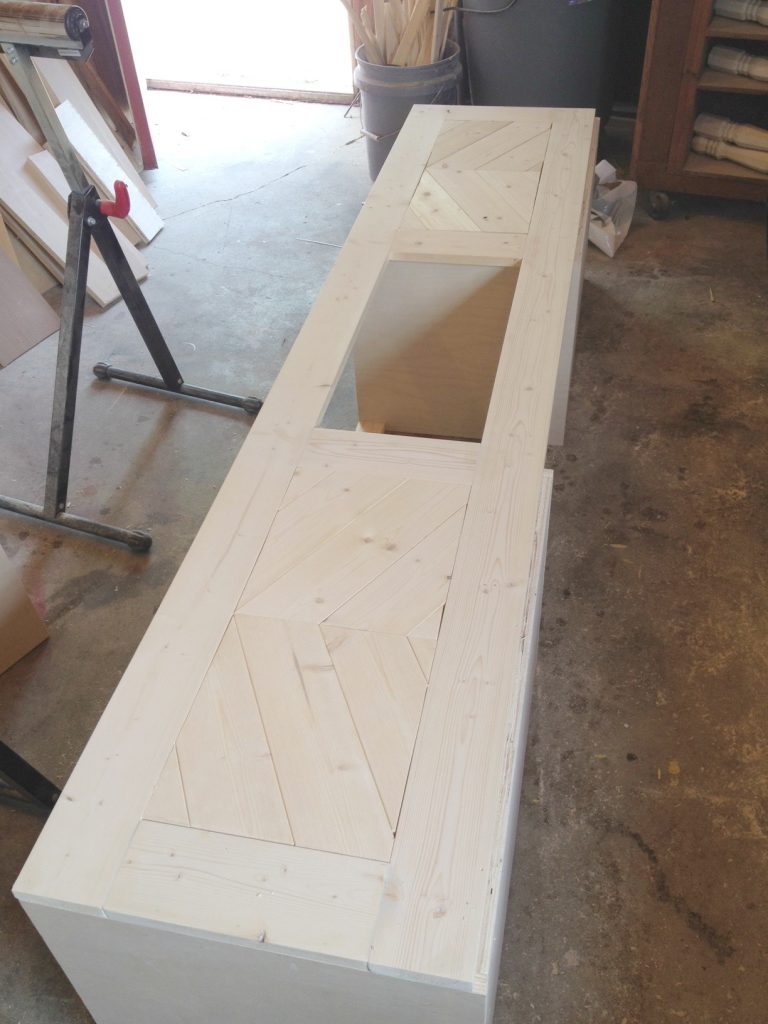
Once the glue was dry, I stained the designs in Minwax Provincial.
.
Next, I glued together a bench top just like I make table tops. I trimmed it to fit, then cut out two pieces for the flip tops using my circular saw. Once the main piece was trimmed, I attached it to the bench using pocket holes and screws from the plywood underneath. (I had already moved these inside to paint before I took a picture.)
Then I painted the top and the frame in Sherwin Williams Extra White.
.
Once the paint was dry, I cut base cap molding (I always called it picture frame molding) and nailed it around the chevron designs. This helps hide all the messy paint you got all over the place…not that I did that…
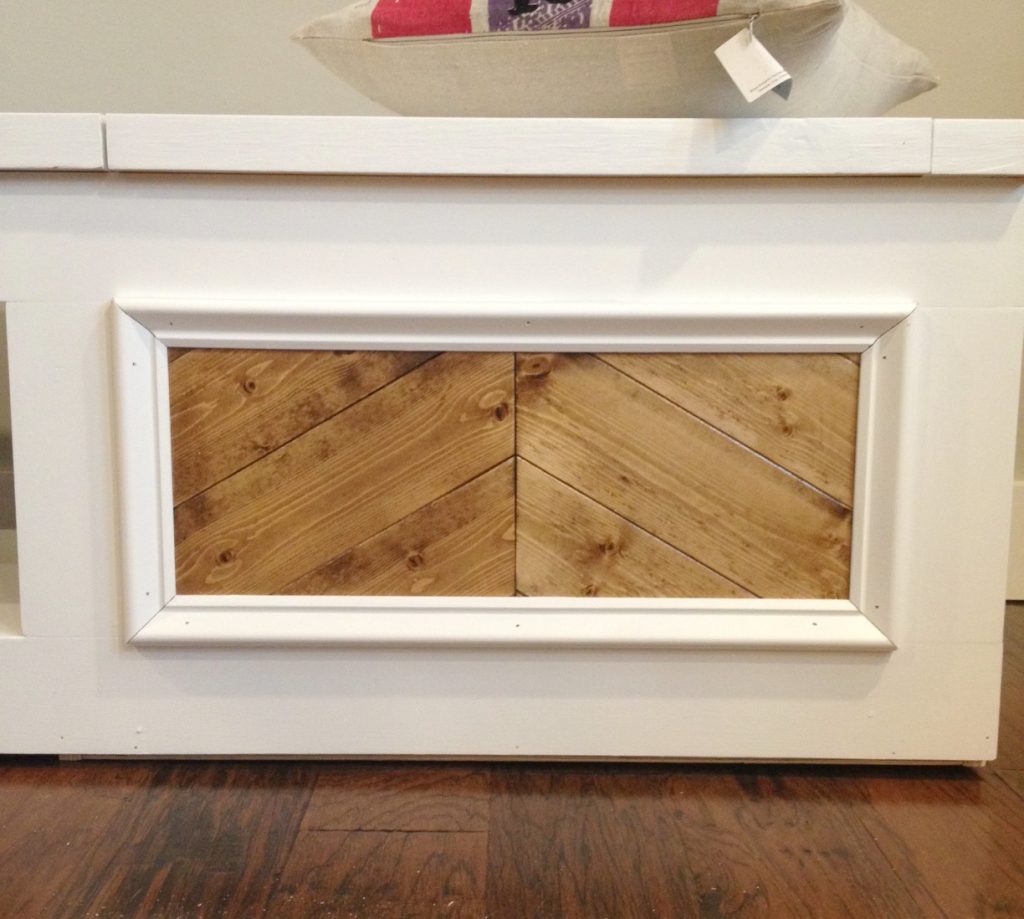
A little putty and caulk in those seams and nail holes, and attach the flip tops using continuous hinges (also called piano hinges) and the bench is DONE.
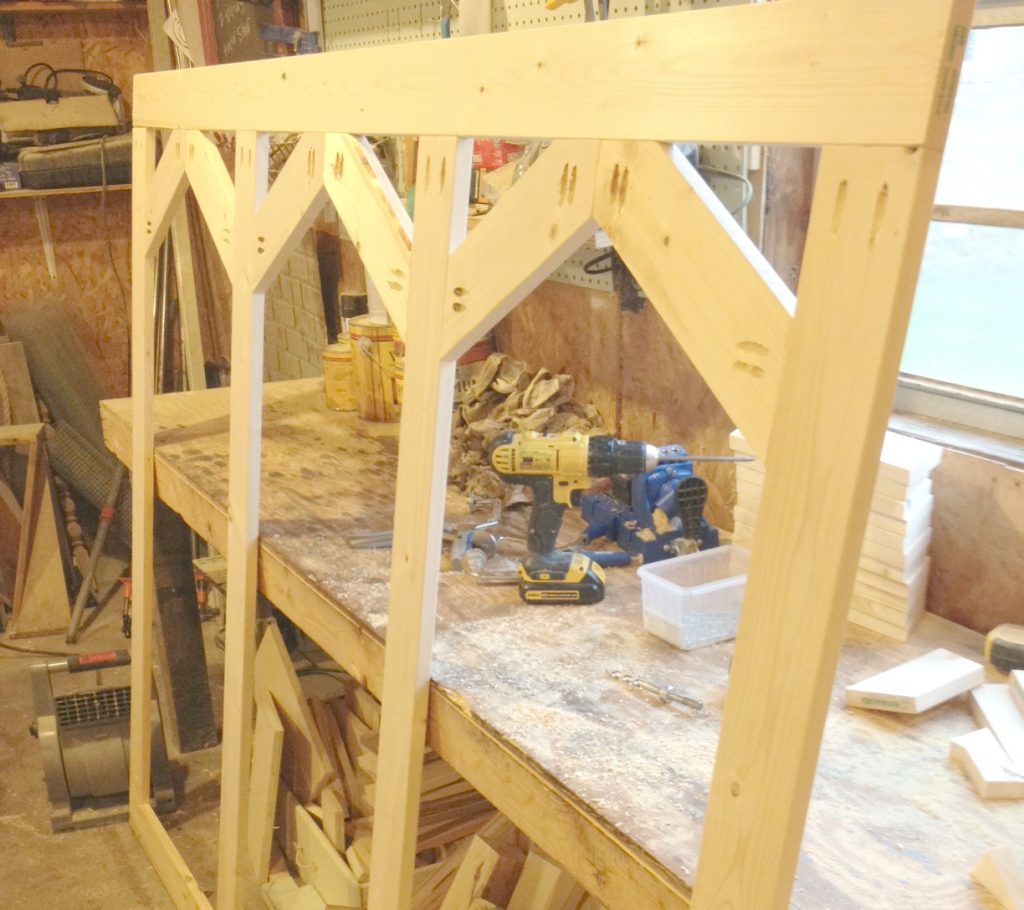
Mudroom Built Ins Wall Hook Board
For the back, it’s just like making a really huge version of the bench design. I built a large frame from 1x4s and attached everything with pocket holes and screws.
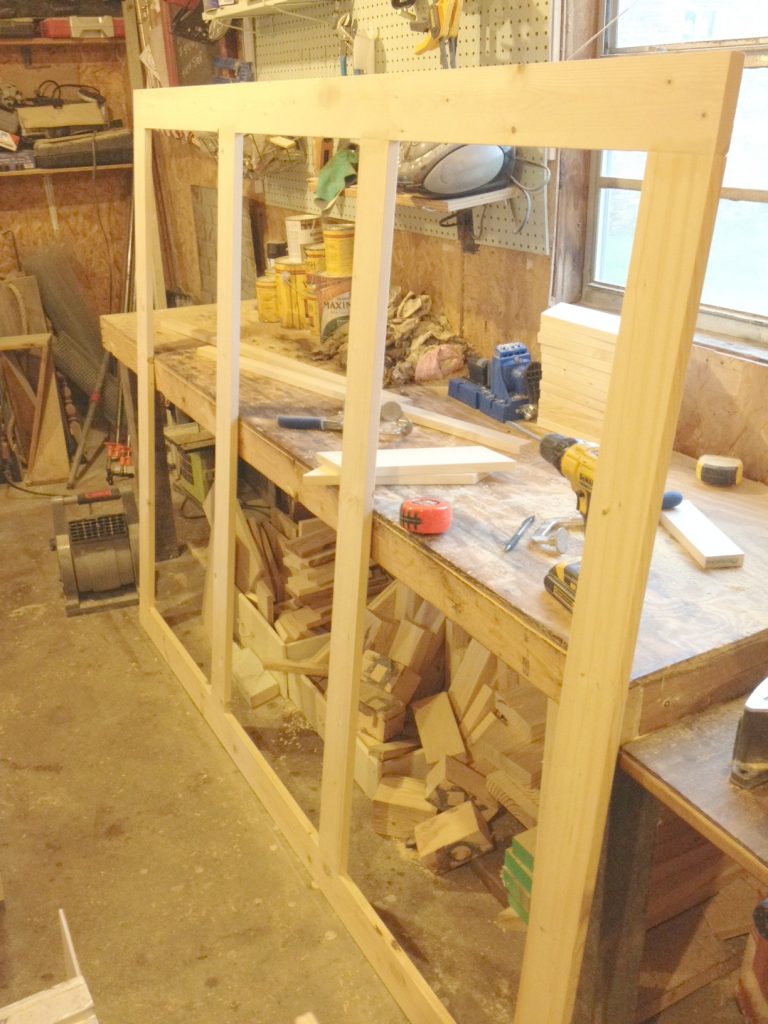
I did this next part in order to have a secure place to hold the hooks. I cut pieces as shown and attached with pocket holes and screws as shown. These are the pieces that the hooks will be screwed into, so I wanted to make sure they were secure to the part that is screwed into the wall during install.
Next, I glued and nailed this frame into a piece of ¾”plywood cut the same size and added the chevron pieces all the way down gluing and nailing as I went.
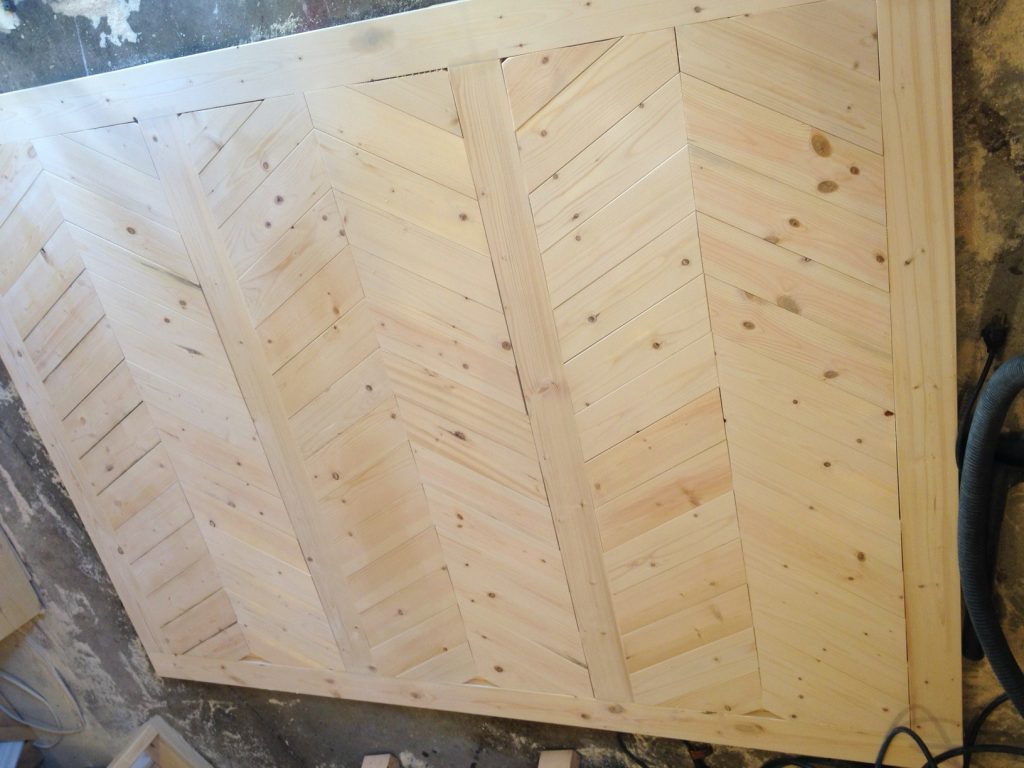
Then, I stained the chevrons parts, and painted the frame. Once all the paint was dry, I cut and nailed on the base cap molding just like on the bench. I attached the vertical pieces before install, but the horizontal pieces I did after install to cover the screws we used to attach the back to the studs.
.
Here’s Danny helping me get an idea how things were going….he’s SOOOO excited as you can tell hahaha.
Then I screwed in the hooks to the secure boards from earlier.
.
We took everything over to her house and attached all the pieces into the studs to secure them. Once everything was in place in her mudroom and secured to the studs, I added the base and crown molding along the top and bottom of the built ins and the horizontal pieces of the base cap on the back (to cover the screws) and caulked any joints and gaps.
.
And that was it…mudroom went from a blank canvas, to a modern and functional space.
The flip top benches are perfect for hiding winter gloves, hats, and other accessories.
.
And the little counter looks like a good place to drop the mail on to prevent clutter to the kitchen table. I think I could use something like that…couldn’t you?
.
The only downside to building things for your friends is that after you’re done with it and it’s all theirs, you’re jealous because you want that yourself haha. I know that was a super long post. I didn’t go into too much detail as far as the building goes since the details will vary depending on your space size, but hopefully that gave you a good idea of how you could do something similar 🙂
.
I’m going to cut out now before this post gets any longer 🙂 But, before you go, I’d LOVE it if you’d pin this mudroom built ins project for later and share it on your favorite channel!
Until next time, happy building! 🙂


Maureen DuPree says
would like to know what the dimensions of the chevron pieces are?
Shara, Woodshop Diaries says
Hi! I used 1x4s for the chevron pieces on this build 🙂 Their lengths were all cut to fit.
Ana Owen says
Looks amazing! What are the room dimensions?
Shara, Woodshop Diaries says
Thank you! The room was about 8ft long with 8ft ceilings 🙂
Laura says
You are extremely talented. A nice soft in your style. Your work is impeccable. In this piece I love the chevrons. You have a very nice, useful talent that I am glad you share.
Shara, Woodshop Diaries says
Aww thank you so much! You just made my day 🙂
Tylynn says
Amazing before-and-after! You’re so creative with your projects! How many hours do you think you have into that mudroom?
Shara, Woodshop Diaries says
Thanks so much!! It’s hard to calculate exactly how much time I have in it…I worked on it early mornings and late afternoons when I wasn’t at my day job for about a week 🙂