
I’ve learned a few things in my short time as an adult. One of those things is that the saying “when Momma ain’t happy, ain’t nobody happy” is 135.74% true. So when Momma wants built ins, you make her some built ins.
.
My Mom has been going through her house (against Dad’s will) and repainting and rearranging and buying new furniture and all that stuff. It really looks a ton better. Once she got her kitchen painted, she wanted me to make her some built ins in her breakfast nook. Totally cool. Except for I was about to start working on my bathroom remodel. I figured out real quick that that wasn’t going to work out very well since Momma wanted her benches….like now.
.
So I took some time off the bathroom (it’s still not done by the way) and finished her built ins this weekend. Now she’s happy (and so am I 😉 ).
.
I could not possibly give you a detailed plan on how to build built ins because it’s a totally custom project based on your measurements, but I will give you a overview. And lots and lots of pretty pictures 🙂
.
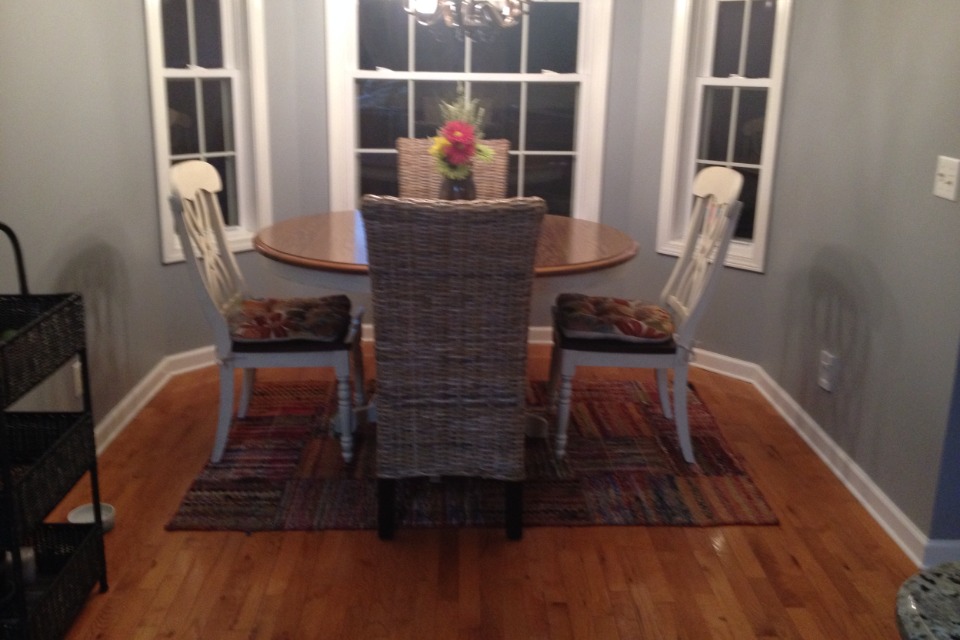
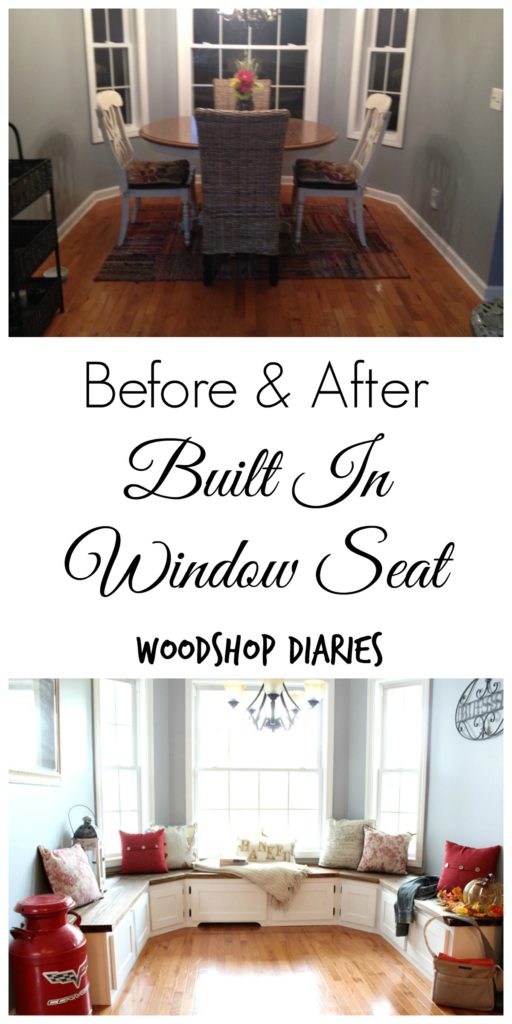
This was her space before.
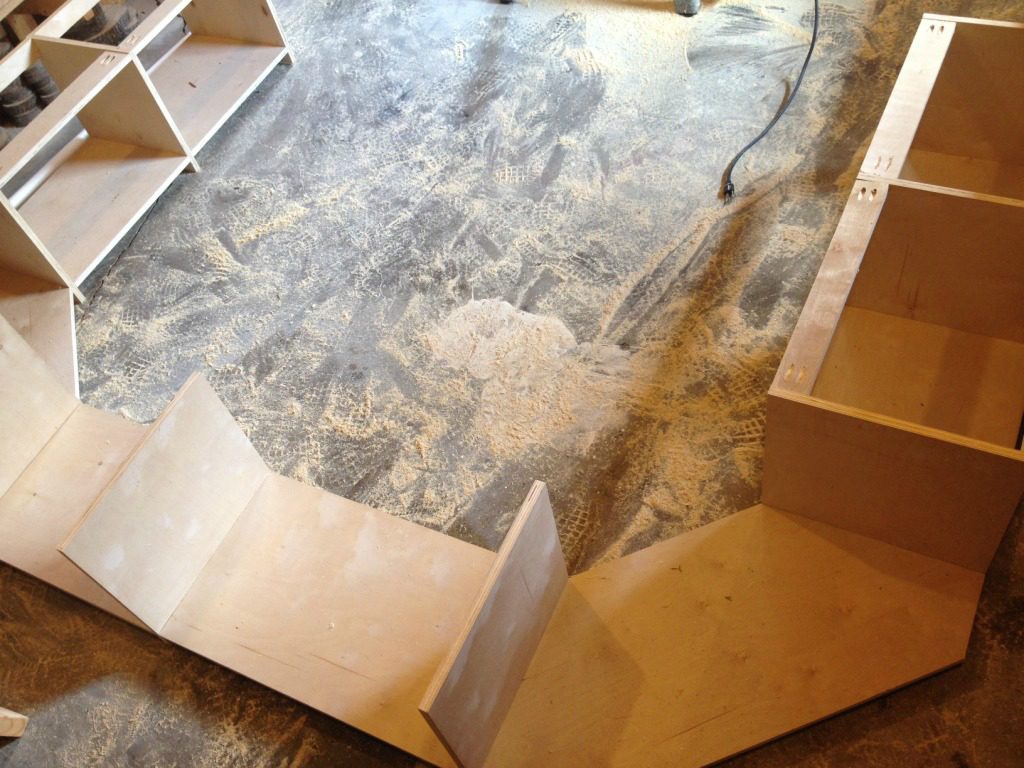
I made some detailed measurements and made the built ins in several sections. First I started making the corners. There are lots of ways to make the corner pieces, but I made them this way because it was easy to attach the side and back pieces.
.
I made two pieces like this based on the exact measurements of the corners. One of her corners was ½″ longer than the other. Always measure everything when doing stuff like this because no house is perfect and the measurements are NEVER exactly the same. I used my (affiliate link) Kreg Jig to attach everything to make the cabinets.
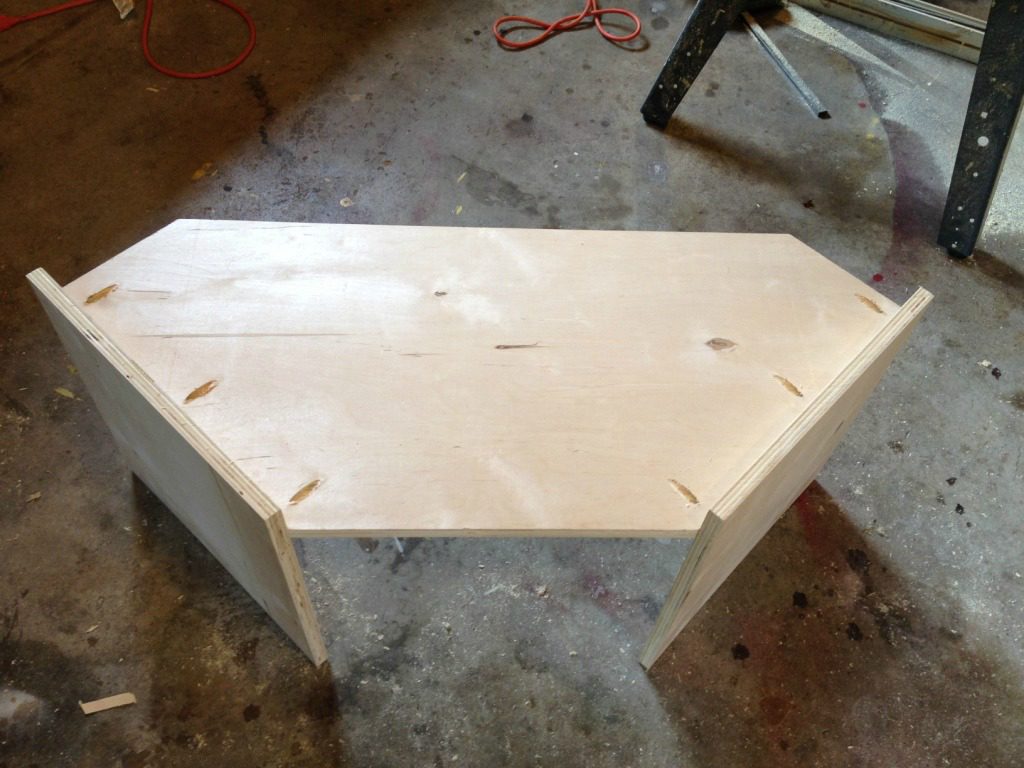
These two pieces fit perfect in each corner and allowed me to make the other cabinets straight without any weird angles.
.
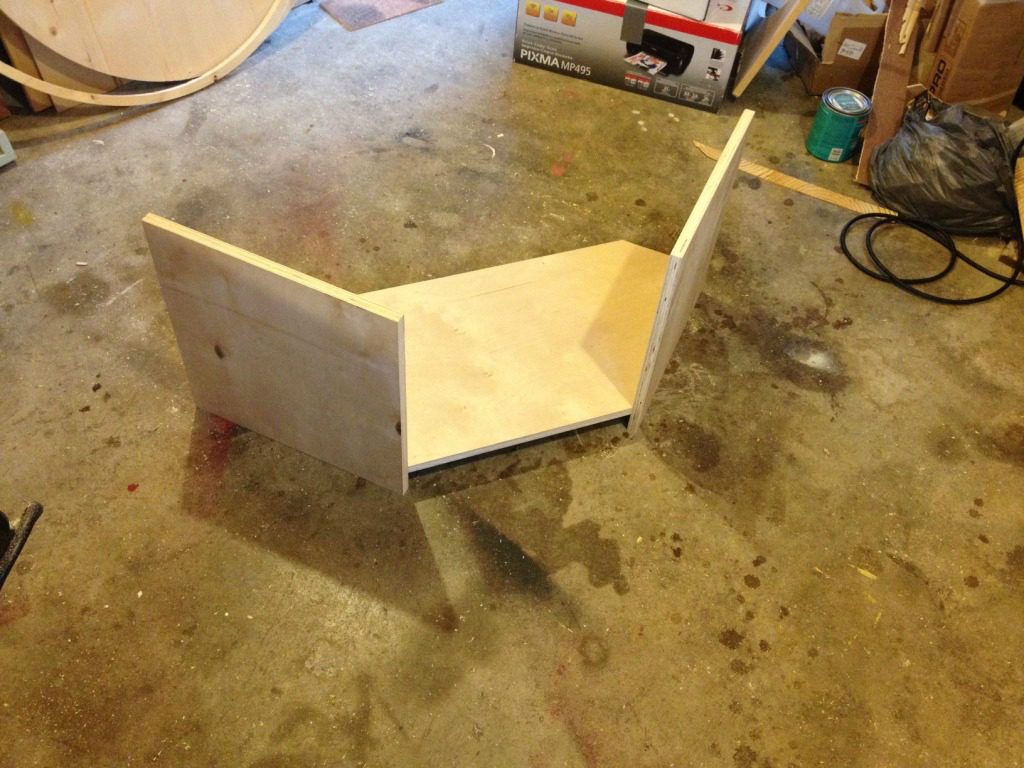
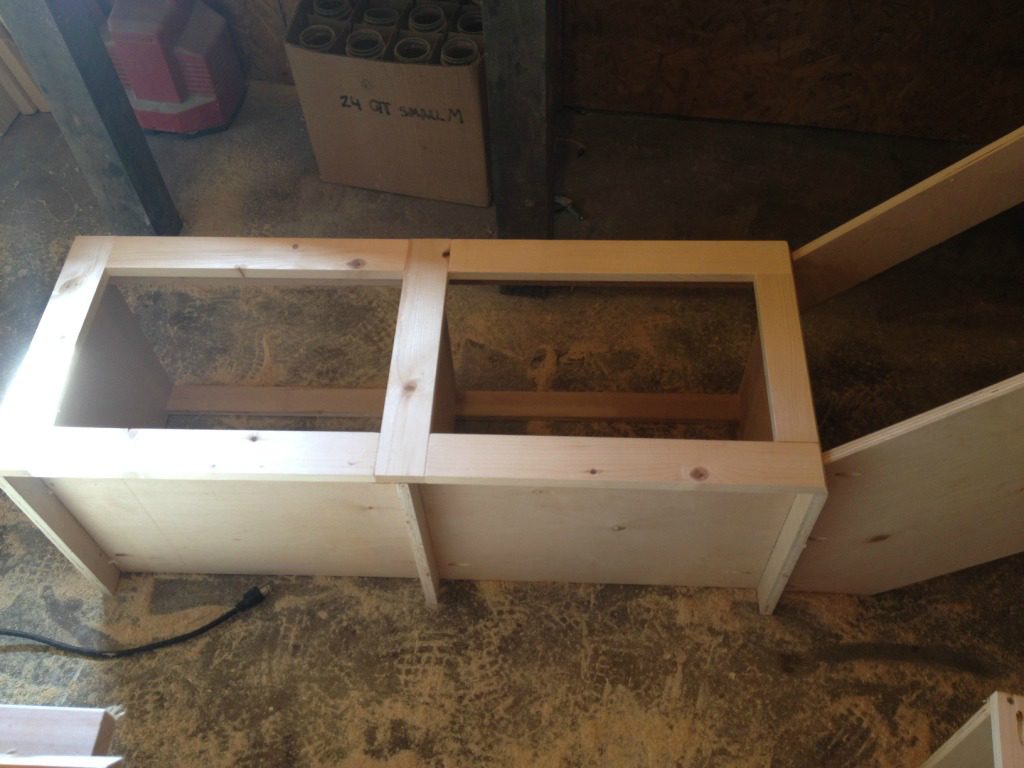
I made the side cabinets and attached them to the corners. I left the back cabinets detached until I could get them set in place at mom’s house and see how they fit. Here’s a picture of my cat chilling out in one of the cabinets. I’m sure you all totally wanted to see that, right? He’s the best cat ever. And I don’t even like cats that much.
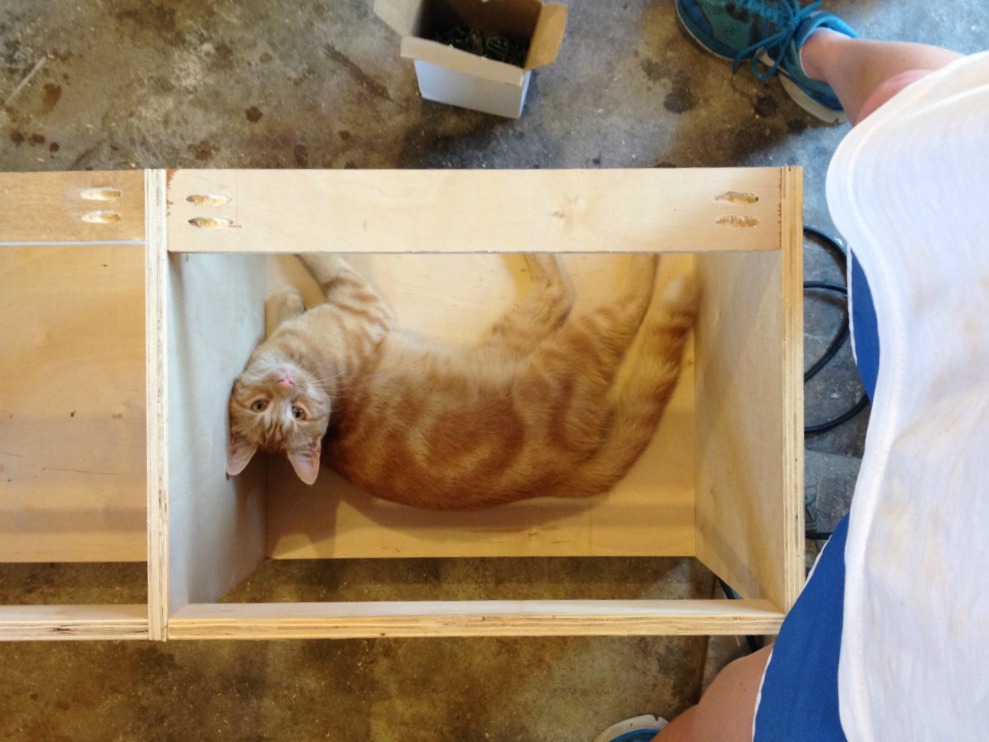
Sorry, I just had to throw the cat picture in there. Moving on…I laid the cabinets out in my shop before we took them to my parent’s house.
I added face frames to the corners and side cabinets before we took them to mom and dad’s, but I didn’t add the back face frames until I made sure everything was going to fit. The corner face frames had to be beveled to fit the weird angle.
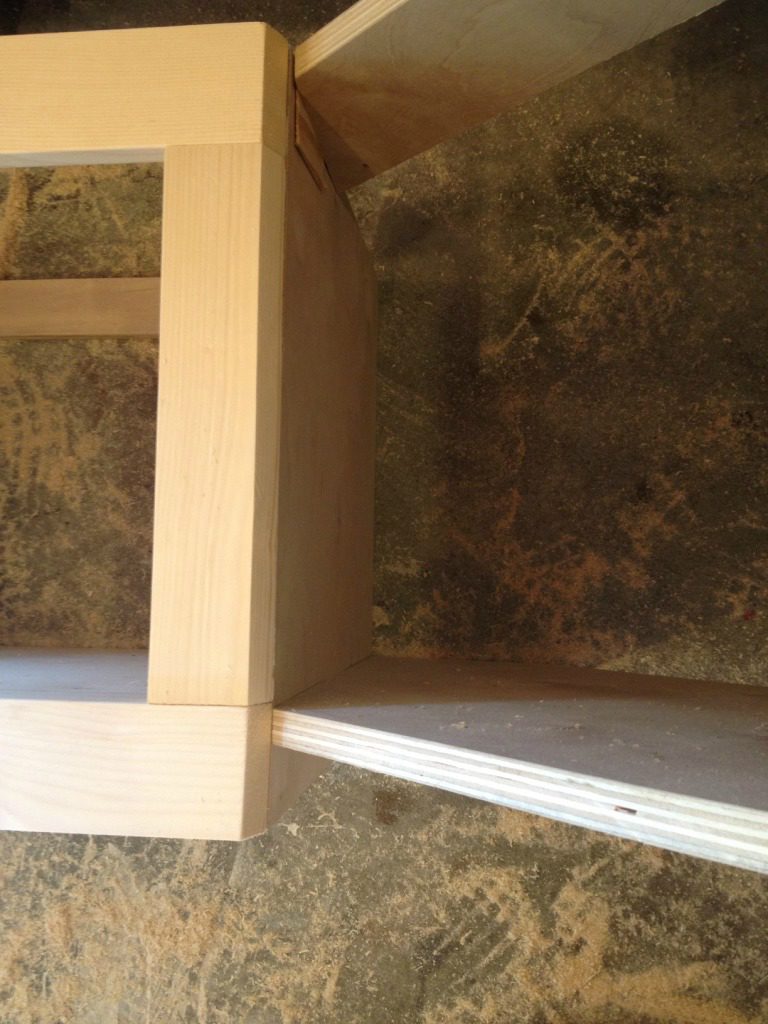
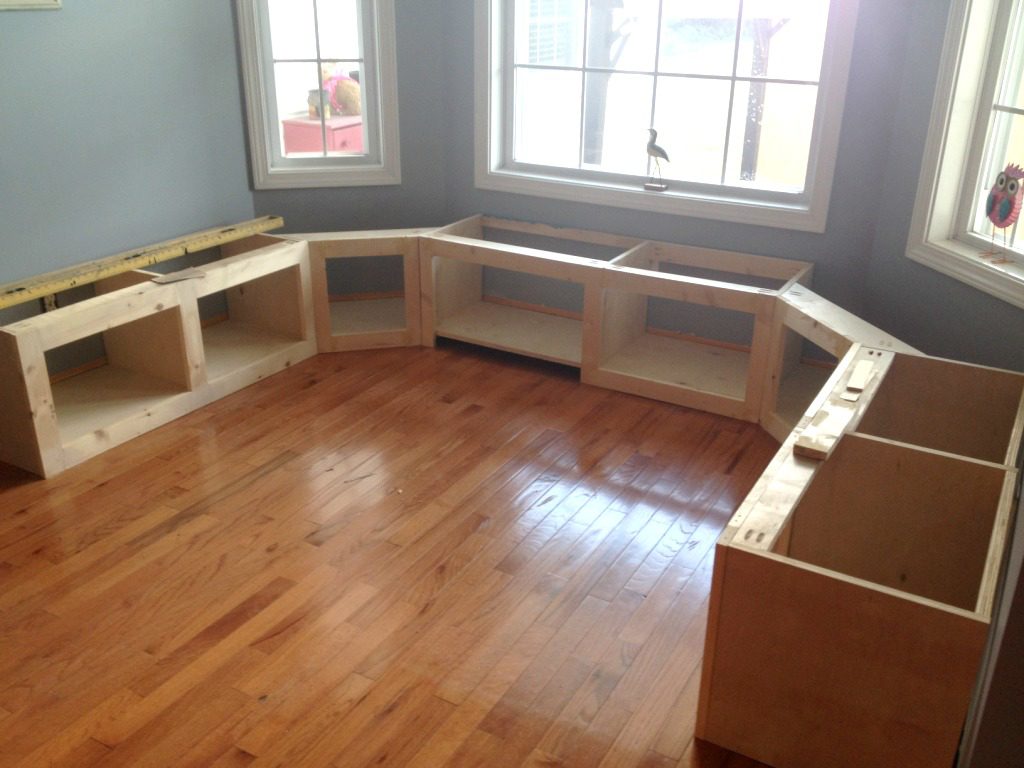
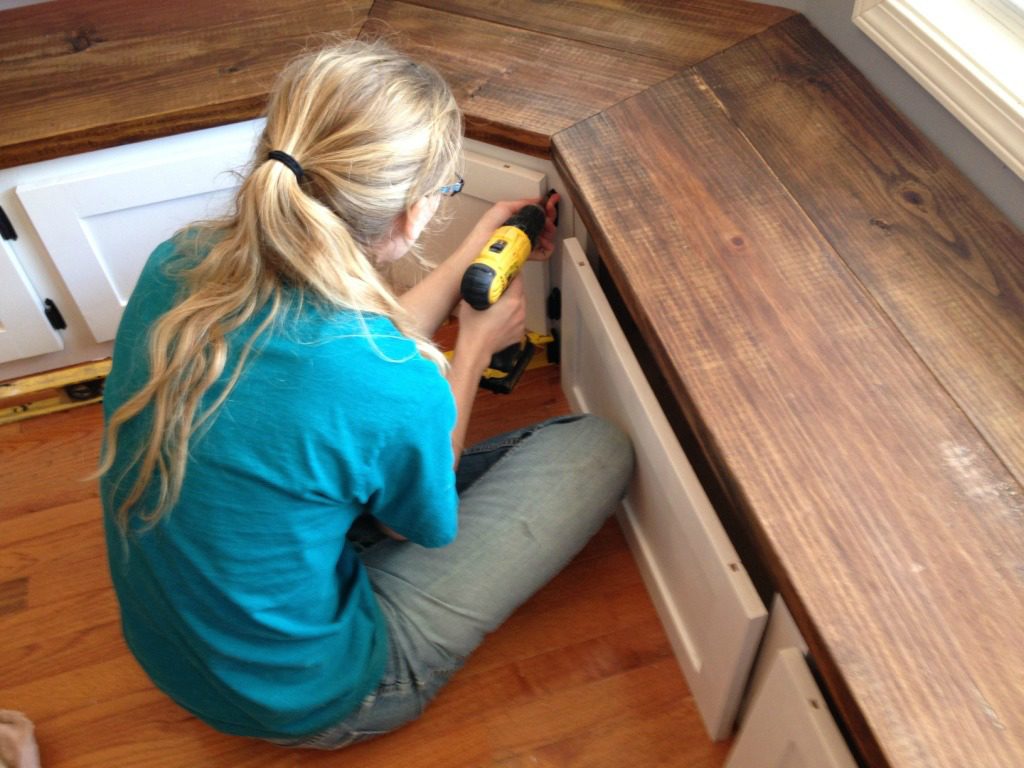
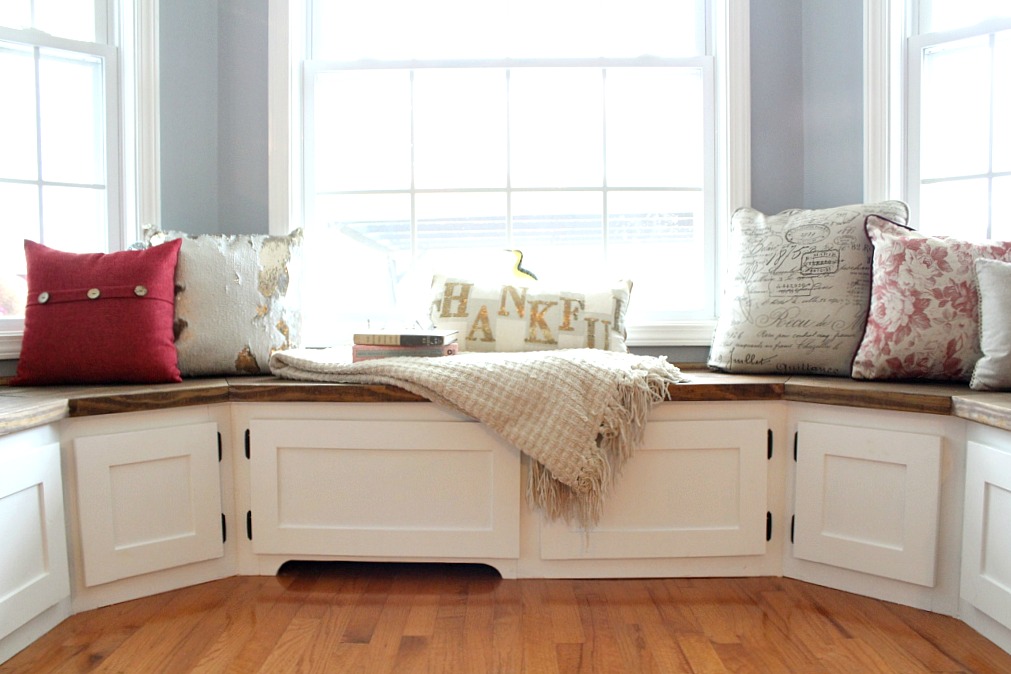
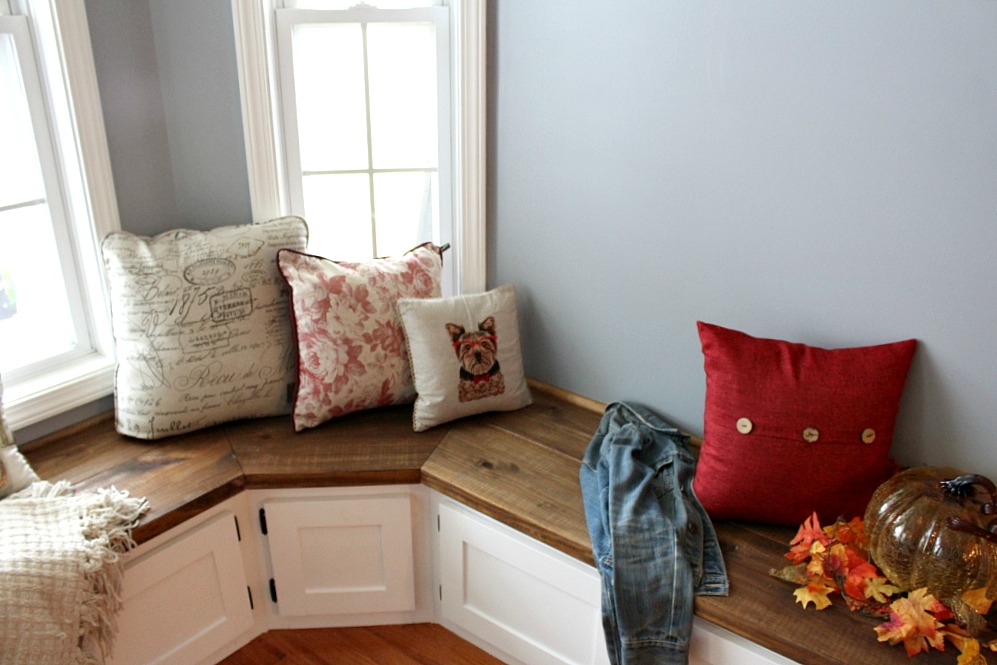
Once they were fitted in place in my parent’s kitchen, we shimmed everything up and I attached the back face frames. The piece on the back left is where the air register was, so the bottom of the face frame is left open for air to come out. I added a decorative piece later that you will see.
Mom painted the cabinets and the doors while I got the bench tops ready at home. You can find a detailed post about how to make the doors here.
.
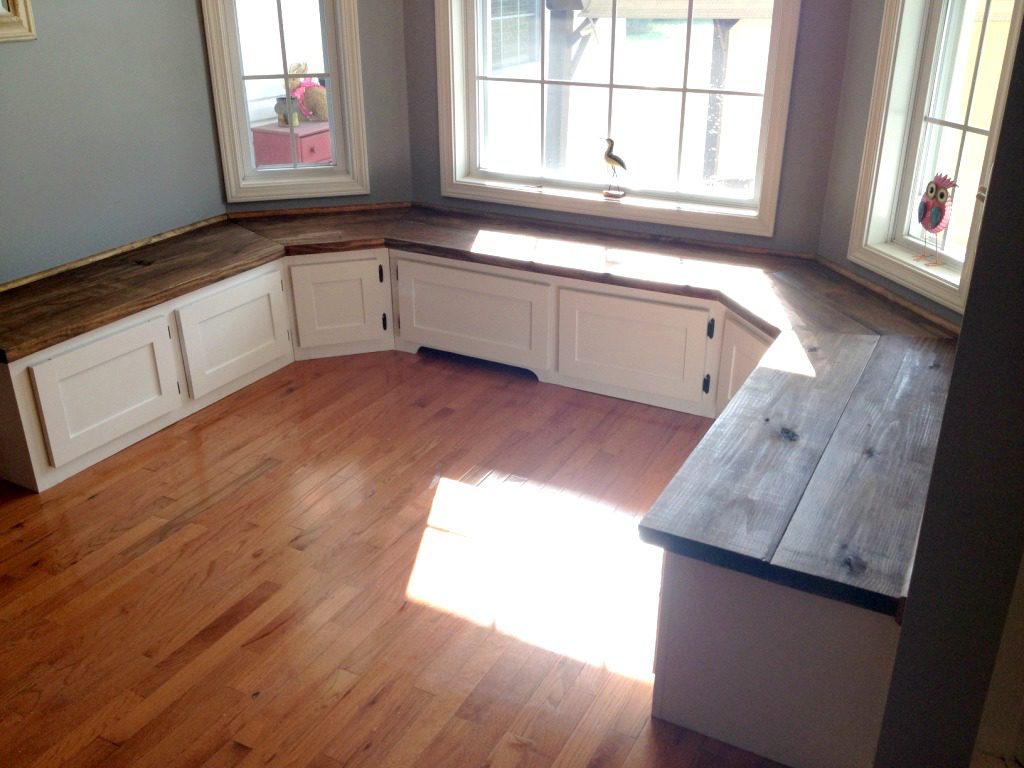
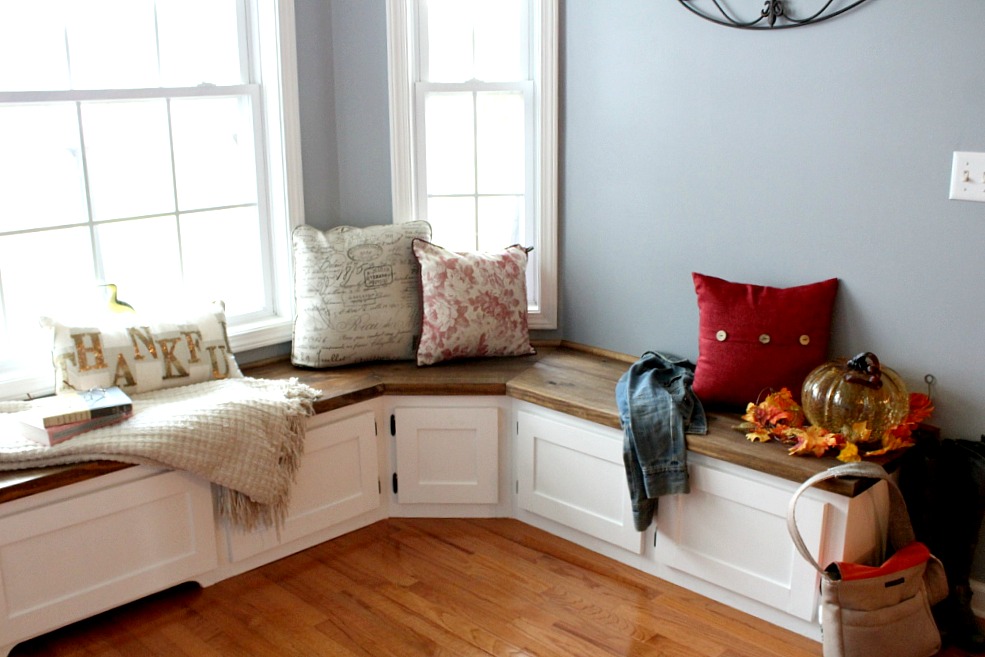
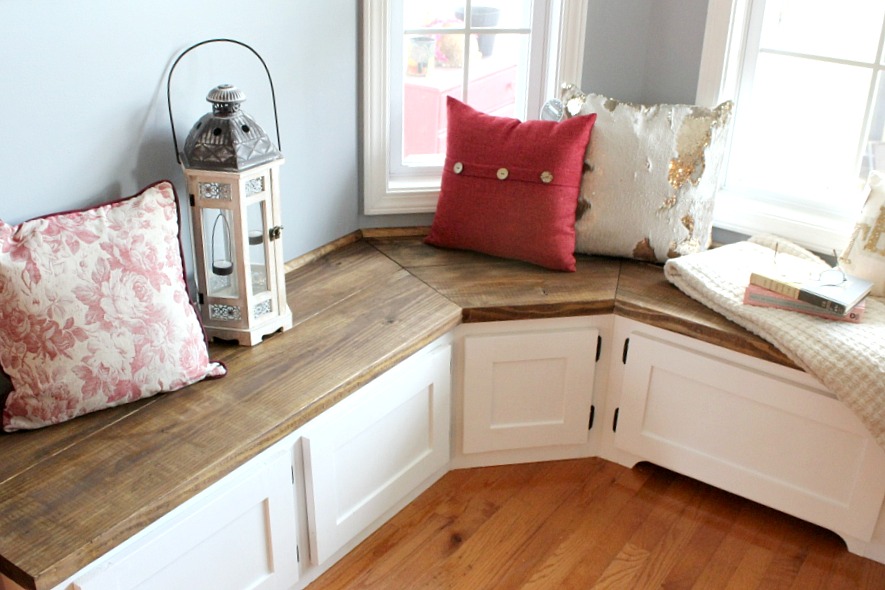
I glued 2x10s together for the tops and stained them. I cut the tops to size this weekend and added quarter round on the backs for trim. Then I installed the doors.
It was blazing hot outside and I was pooped, so I left them like this until I could come back the next day and fancy them up to take pictures.
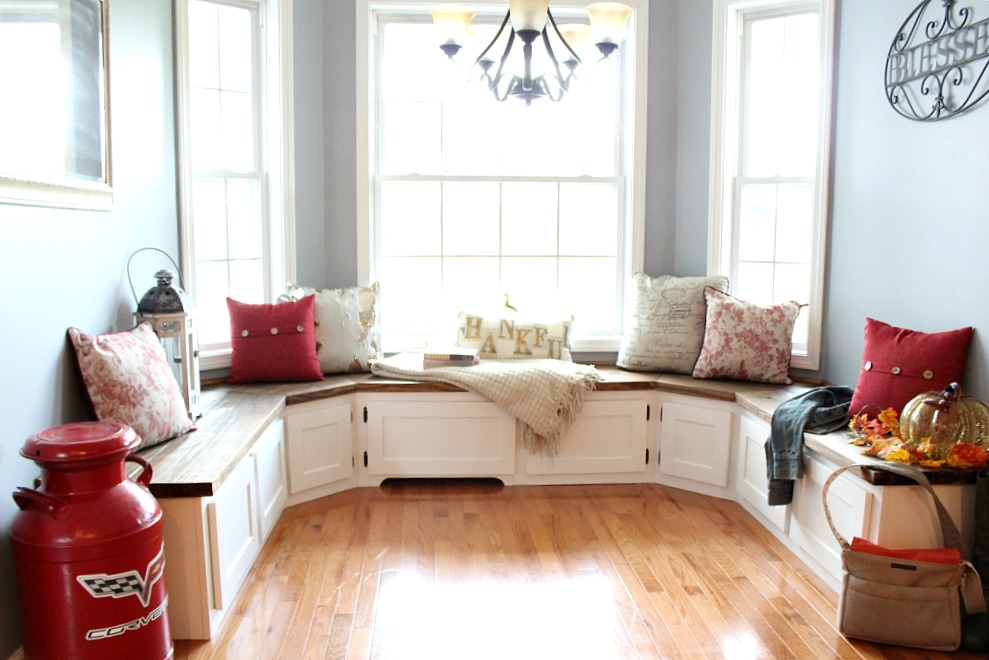
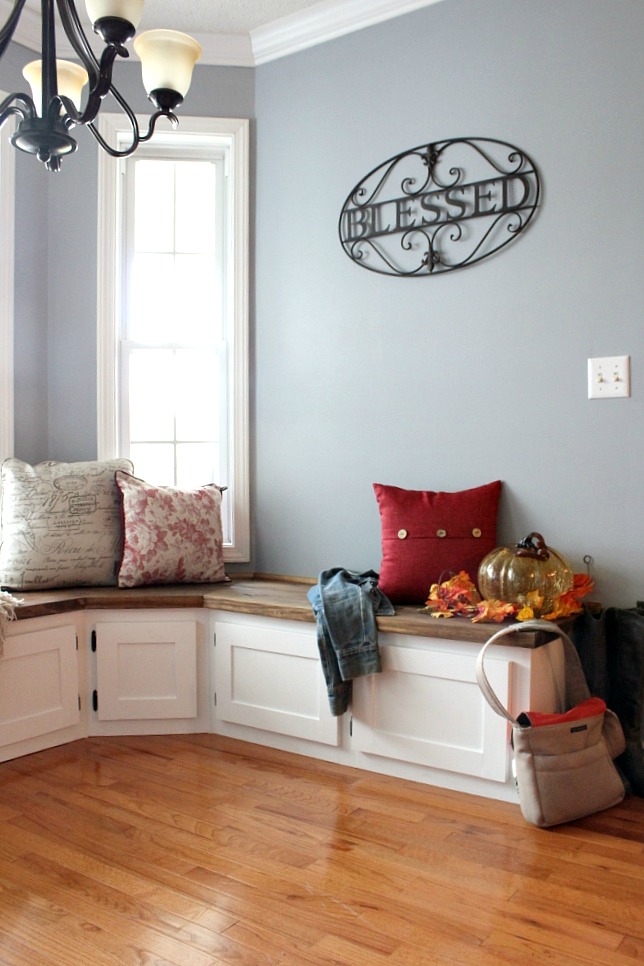
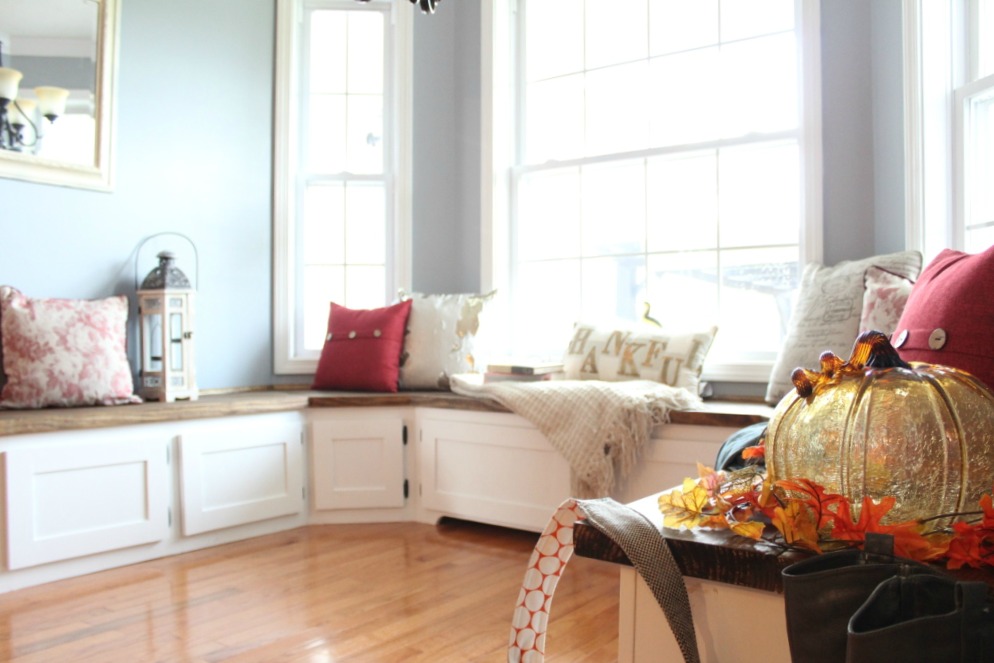
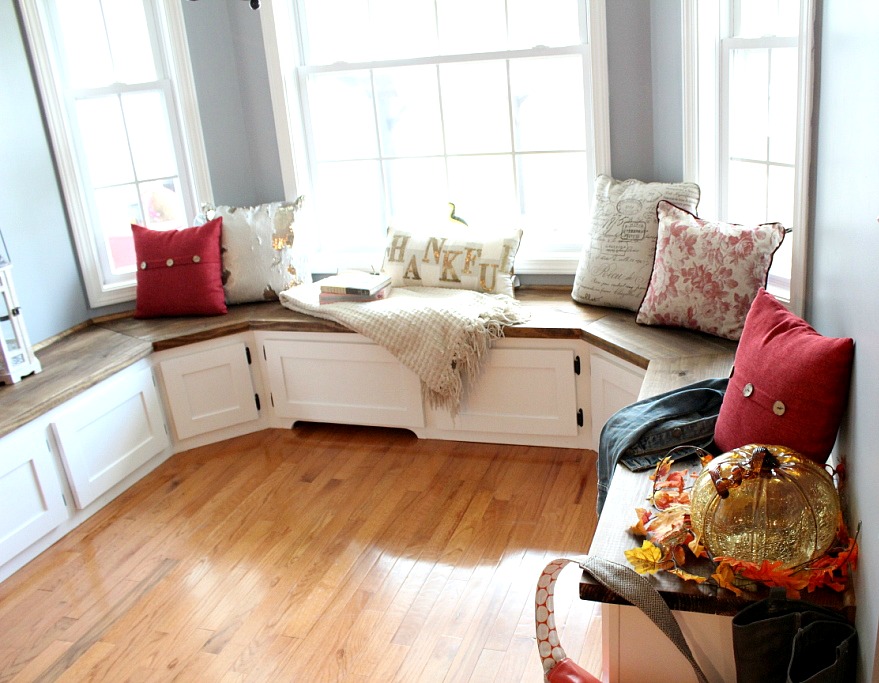
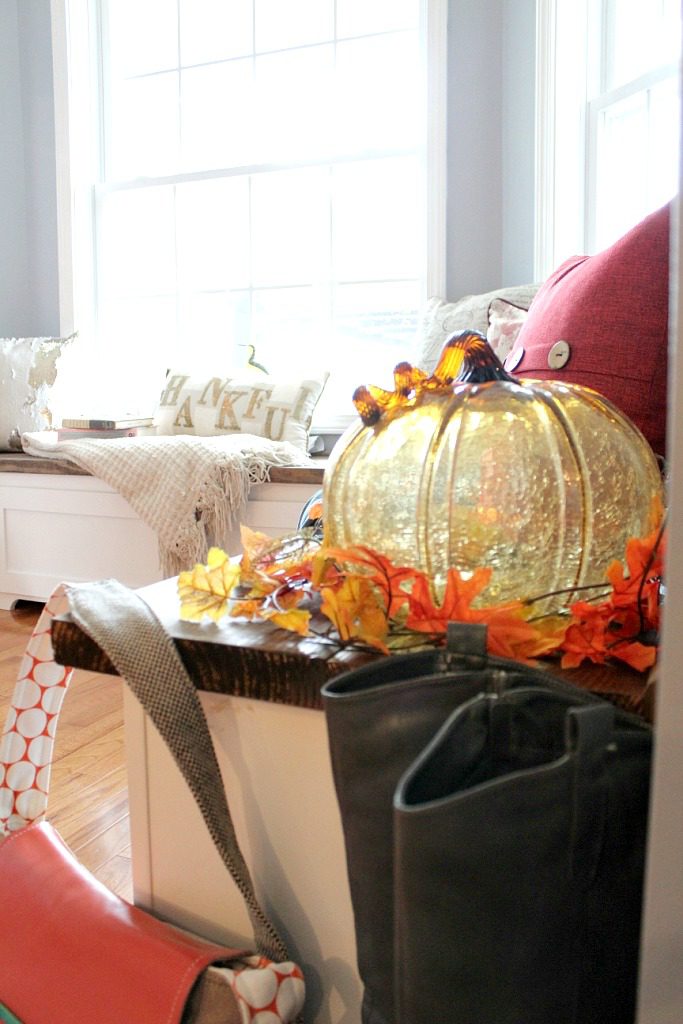
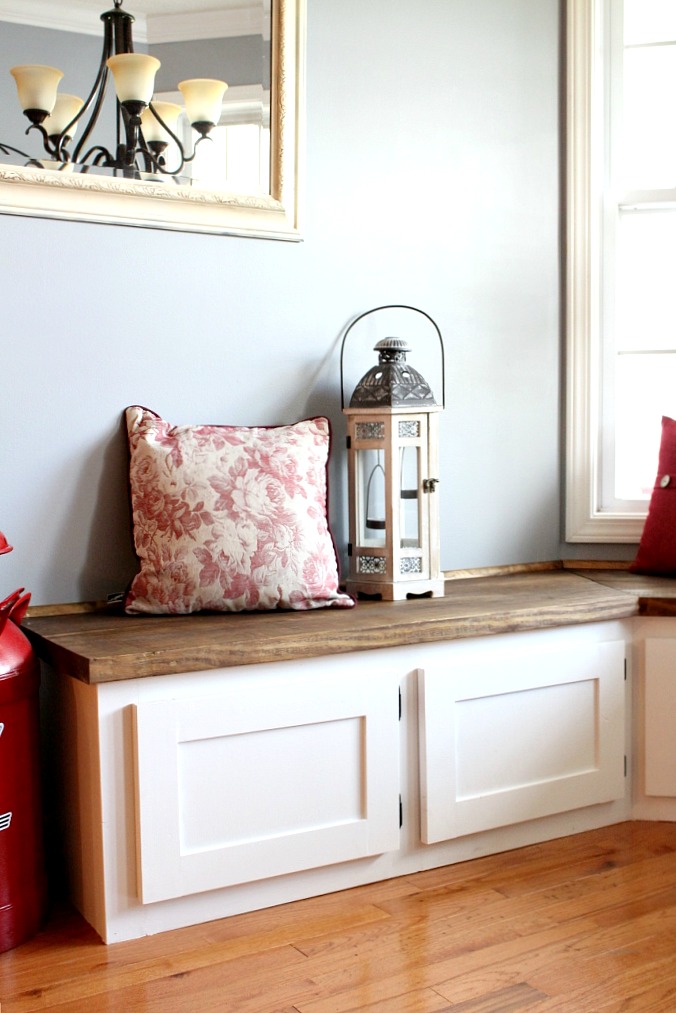
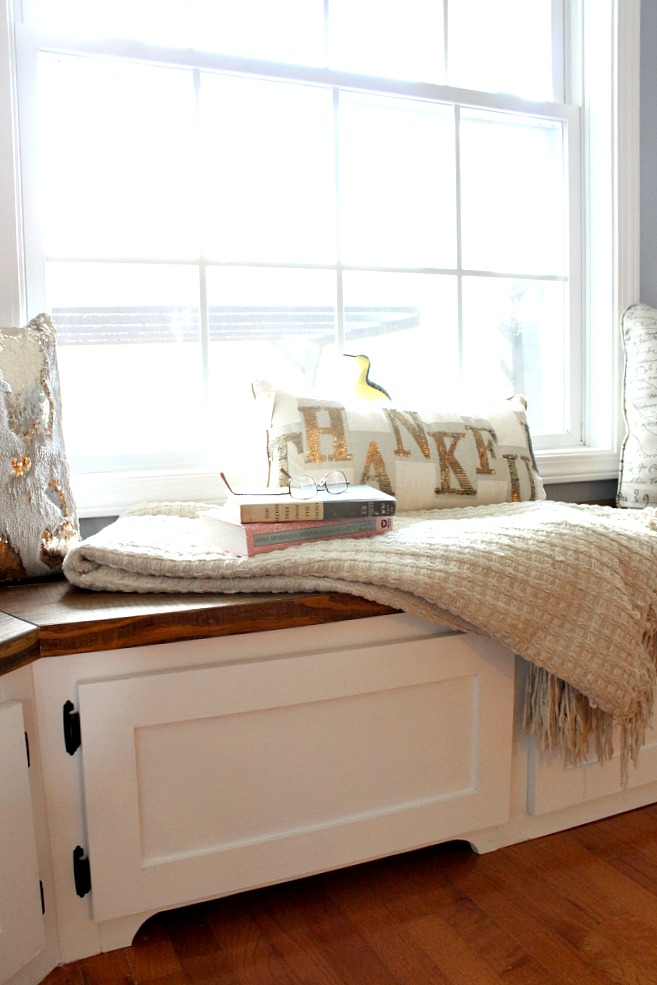
Now, you guys know that these final pictures are staged, right? I came over and rummaged through all mom’s stuff and found some cute stuff to “fancy them up” with. I always use the same stuff over and over to stage my stuff with. It was weird having to look through mom’s stuff instead. But, if I say so myself, I think they turned out really good!
.
What do you think?
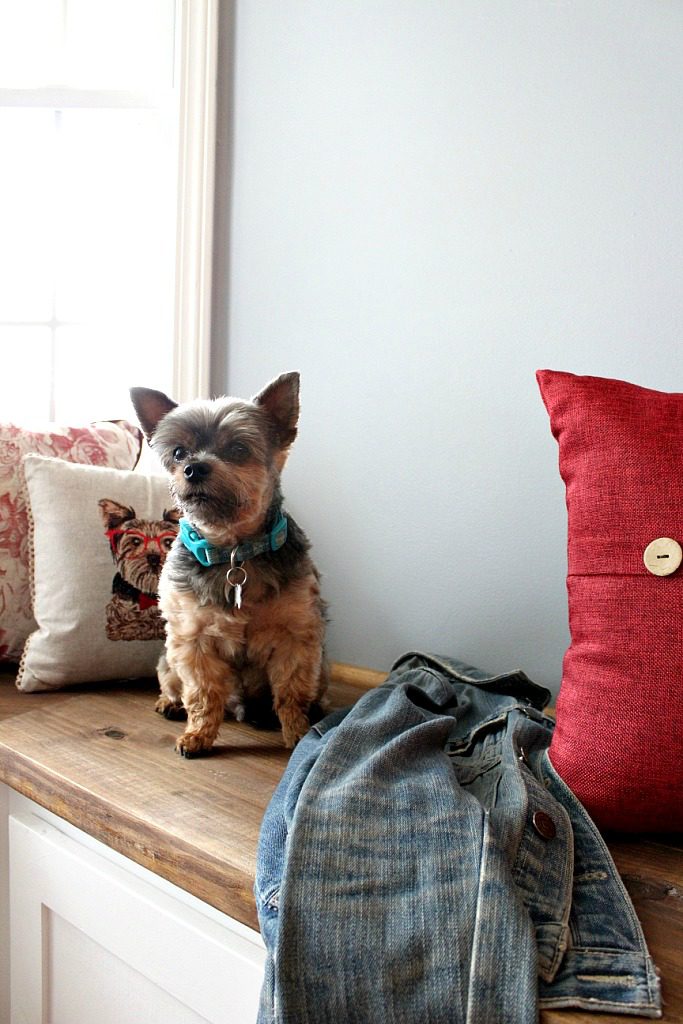
This is Bubba James–the baby of the family.

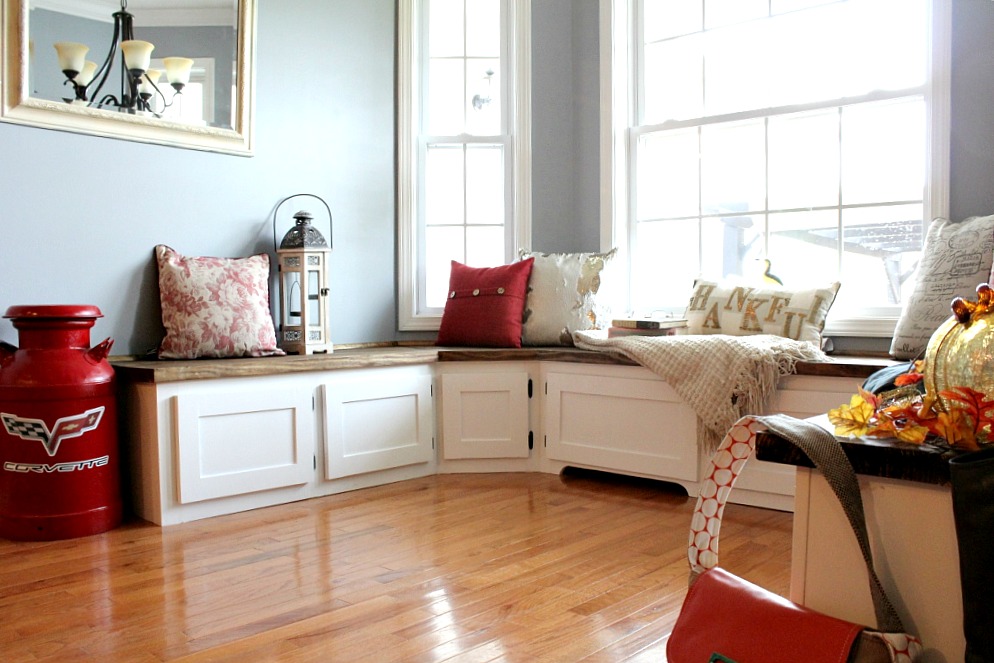
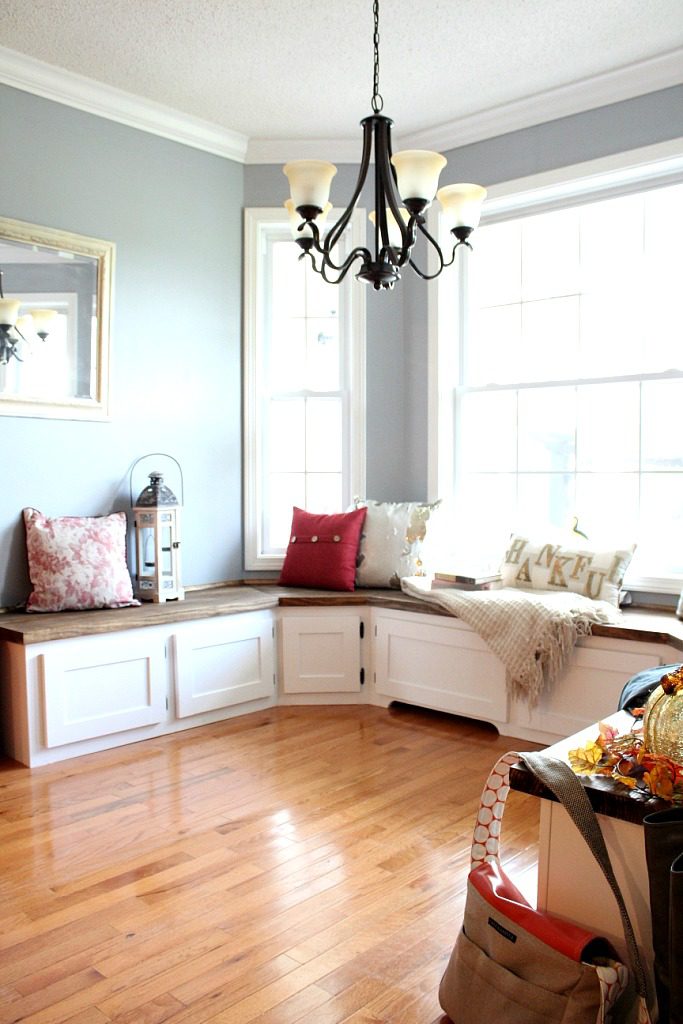
Now, I know, I know. Some of you will say, “Yeah, but what about the table? Where are they going to eat?!” It’s cool, everything has been pre planned and thought out. I’ll be making mom a new table for this space so it will still function as an eating area. But for right now, we can pretend this whole space is designated to sitting and reading and snuggling with a blanket and a million pillows, okay? Because that’s realistic, right?
.
So, seriously, what do you think? It was kind of a rush job, so a few details could have been done a little better, but I think it really adds a lot of character to this space…plus storage and seating…and it turned out really good! If you loved the transformation, too, be sure to pin for later!
Until next time, happy building!
Tigerquill says
Love the build. Mom Jobs are the best. You get to practice what you love and Love the time you spend with her.
I have a question about the top of the bench seat. Did you add bisquits and glue or just the Krig Jig with screws and glue? Thanks for the great photos!
Shara, Woodshop Diaries says
Thank you! For the tops, I just glued the tops together…no fasteners or anything, just glued and clamped. I attached them to the cabinets from the underside by screwing through the cabinet sides at an angle and through the front top support piece.
Grandma GG says
What a lucky mother you have! So beautifully done. You need to teach woodworking classes.
I am curious….why did you leave an opening under the bench in that one place. I have been pondering that and needed to ask.
Bubba James is ADORABLE….what a sweet little fur baby he is.
Shara, Woodshop Diaries says
Thank you! The opening in the bottom left piece is for the air vent that is under that cabinet 🙂
Rhonda Molin says
Dear Shara,
Great job! Do the table and chairs still work there? BTW, Bubba James looks ornery !
Shara, Woodshop Diaries says
Thank you! I will be building a new table for them to fit the space better soon so keep an eye out!
Karen McCarty says
Can I adopt you? Your talent is amazing. I am so impressed. God bless you for your devotion to your Mom. BEAUTIFUL job and staging.
Shara, Woodshop Diaries says
Thank you so much! 🙂
Maury Hill says
You Rock! Great job, design, follow through…and staging?
Shara, Woodshop Diaries says
Thank you! 🙂
Martha says
Beautiful !!! You are one smart cookie !!!
Shara, Woodshop Diaries says
Thank you! 🙂
linda kelley says
You did a fabulous job on this! Question, where’s the table?
Shara, Woodshop Diaries says
Thank you! In the post, I explained that I will be making a new table for this space soon. We are still deciding on its design 🙂
Constance says
You did a really great job, and in a hurry, too! Cannot wait to see the table in there. Will you be using the built ins as part of the table design? Thanks for sharing! 🙂
Shara, Woodshop Diaries says
Thank you! We are still deciding on the exact table design, but the seats will be used for seating at the table.
MNMealer says
Let me start by saying I think it looks great! Kudos to you for learning such a craft. I have a question….. The left-center cabinet has a cut-out at the floor. I’m sure it has a specific purpose and because I’m not knowledgeable it is not apparent to me. Sooo, please share it’s reason. Thanks.
Shara, Woodshop Diaries says
Thank you so much! Yes, the air vent is under that cabinet, so I left an opening for the air to come out.
MNMealer says
See! I knew there was a perfectly good explanation 🙂
Tammara says
Looks fantastic!! Great job.
Shara, Woodshop Diaries says
Thank you!
Jody says
Would you be my daughter cause my son would never do this for me. I already have a long window seat so it would just be one long straight and a short corner. Well gee. Who needs a son when he has a smart mom.
Shara, Woodshop Diaries says
If I lived close and had time, I wish I could do this for other people!
Kathy from CT says
Awesome! I look forward to seeing this with the table you will built.
Shara, Woodshop Diaries says
Thank you!
Ariana Goldberg says
This is exactly the style that I am looking to build during my kitchen renovation to match my table. Thank you for sharing this, I hope mine will come out this good!!
Shara, Woodshop Diaries says
Awesome! Thank you! I’m sure yours will turn out great 🙂
Tom Clarke says
Very, very nice. Not only is it pleasing to the eye, it provides some great storage and there is never enough storage. As a former Corvette owner I appreciated the Corvette milk can. Does your dad own a Corvette?
Shara, Woodshop Diaries says
Thank you! Yes storage is always a good thing haha! Yes, my dad has a Corvette. He loves them. He painted the old milk can and bought the decal for it a while back.
Linda says
Wow, just wish I had your abilities!! Great job.
Shara, Woodshop Diaries says
Thank you so much! 🙂
Laura says
Shara, you are my hero! Beautiful built-ins as well as a wonderful way to take care of your mom. Love your blog!
Shara, Woodshop Diaries says
Thank you sooo much! 🙂
Cecilia says
I bet momma’s happy now! It looks great! And I absolutely love your cat picture. He’s adorable. But then, I’m partial to orange cats. They have such personalities!
Shara, Woodshop Diaries says
Thank you! And yes, our orange cat is FULL of personality. He is our bud and he is hilarious! I love when he hangs out with me in the shop while I’m working 🙂
Mary @ The Cofran Home says
Shara! It looks AMAZING!! Awesome awesome job! Now I will not be happy until I have some of those in my house! 😉
Shara, Woodshop Diaries says
Thanks, Mary! They really turned out better than I expected haha. You should totally put some in your house! If I lived closer, I would love to come see!