
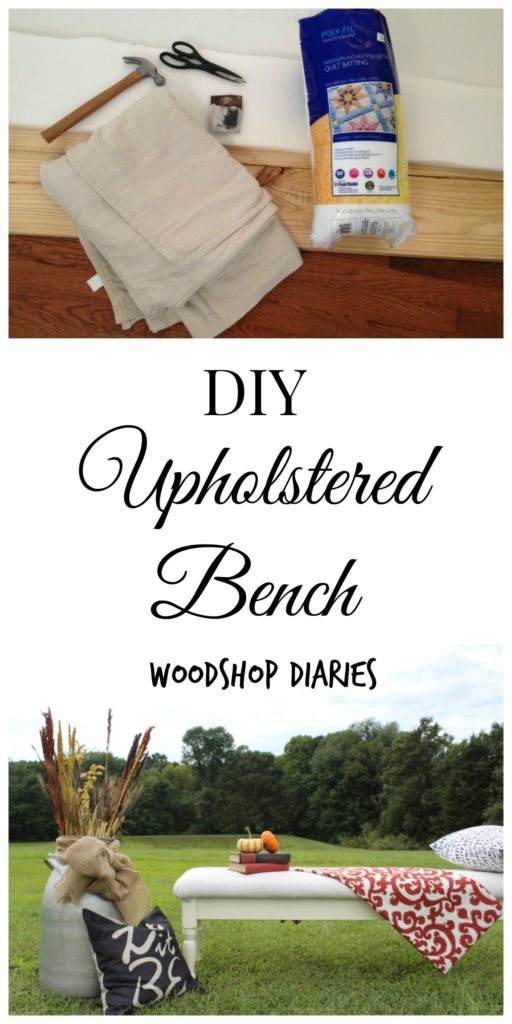
I built this dining bench I posted a couple weeks ago…but that was just the start of the project. Now I’m going to show you how to upholster a bench so we can finish this up 😉
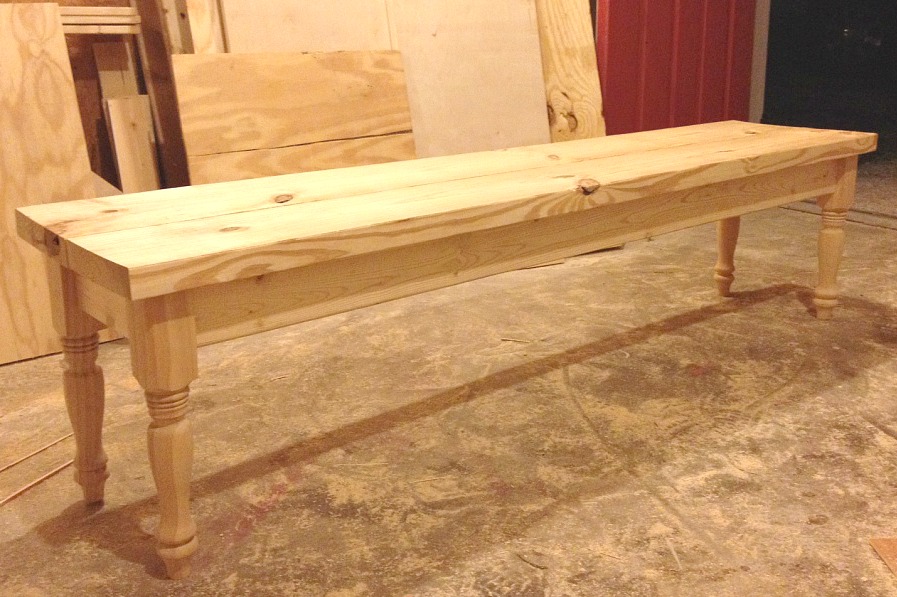
My mom needed a bench built ASAP because our family was having our annual “Thanksgiving in August” get together (don’t ask) and she didn’t have anywhere for people to sit. So I built her this easy bench with turned legs, but didn’t have time to finish it before the meal.
.
When we have family dinners at Mom and Dad’s house, the men sit in the dining room and the women sit in the kitchen breakfast area (which has new built ins…have you seen them yet?!). This bench was going in the dining room. Personally, I think the men need to toughen up, but Mom thinks they should have a padded seat.
.
So as good as the bench would have looked with a pretty white base and a dark stained top, I upholstered the seat so the men can have a cushy seat haha.
.
It’s really easy to upholster a bench like this. I’ll show you how.
.
Note: This post contains affiliate links for your convenience. See disclosure policy for details.
.
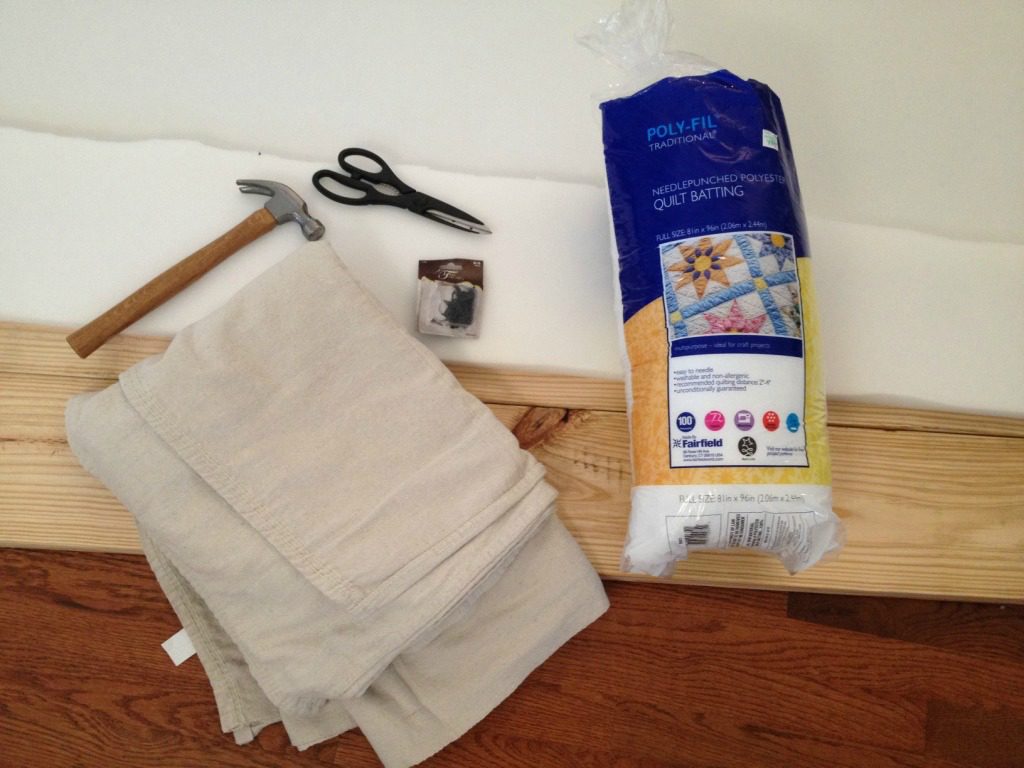
First, you will need:
Fabric
Hammer and upholstery tacks OR staple gun
Scissors
1. Remove the Top of the Bench
First, I removed the top from the bench. I had screwed the top on with pocket hole screws using my Kreg Jig on the underside, so I simply unscrewed them to remove the top. When I made the bench, I didn’t attach the two top pieces together. Before I upholstered it, I used pocket holes and screws to attach the two pieces together. I could have also glued them, but didn’t want to wait for the glue to dry, so pocket hole screws worked fine.
.
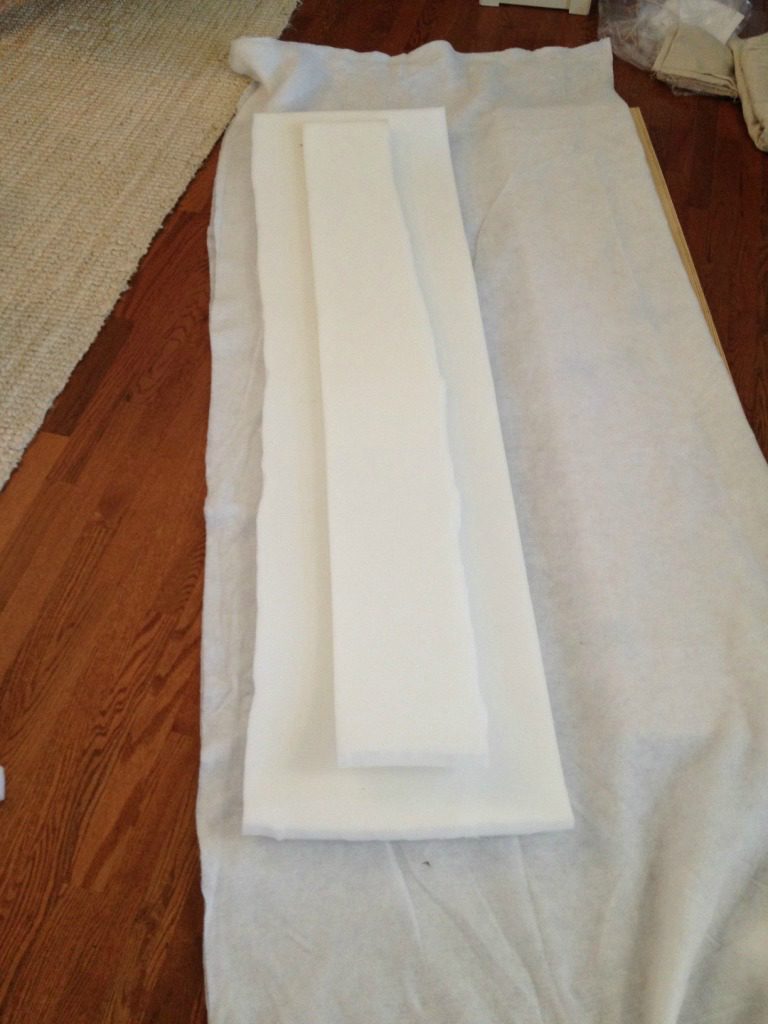
2. Cut the foam to size
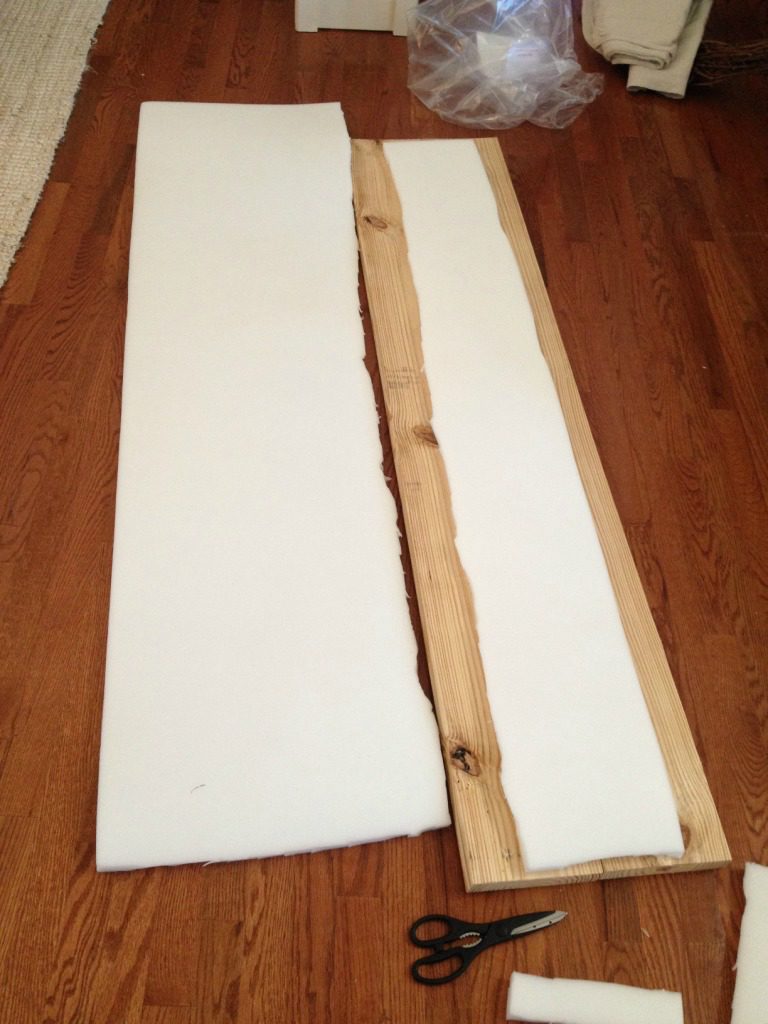
I unrolled the 1″ foam and laid it on the top of the wooden seat. Using the scissors, I cut the foam with enough overhang on each side that it would wrap around the edge of the seat. You want to wrap the foam around the edges for a softer, rounder look.
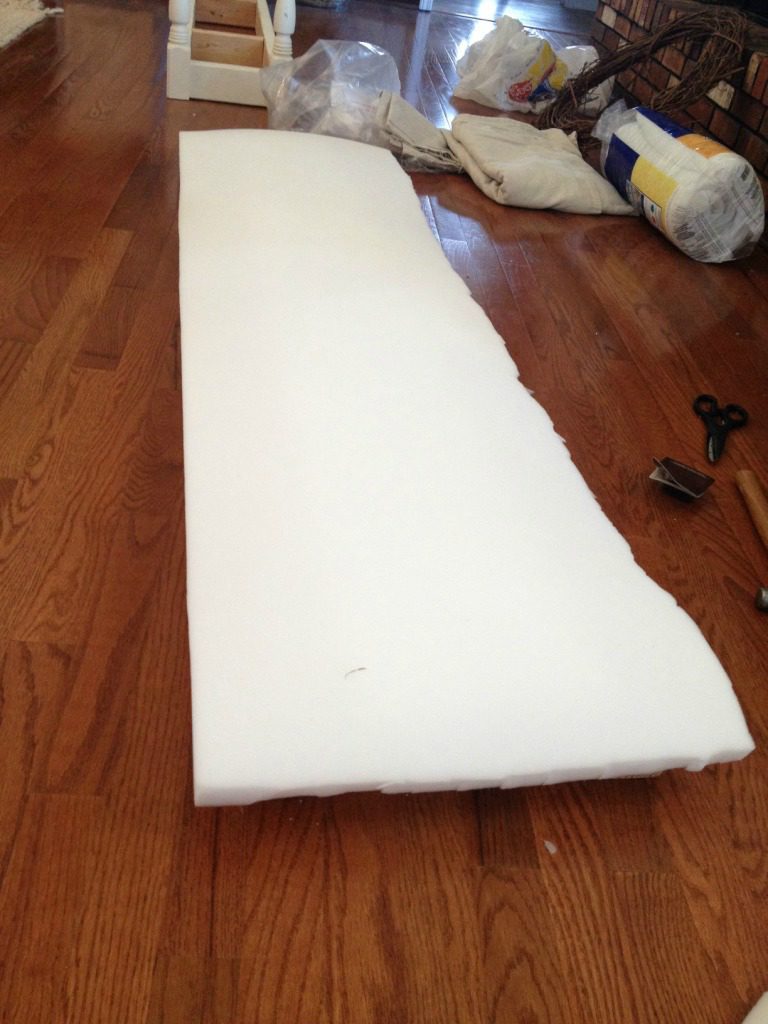
I used the extra strip of foam for additional cushion. I placed the thin “leftover” piece in the middle of the seat, then put the larger piece on top. This gives the seat more cushion, but also gives it a better shape than if you only had one layer of foam. (PS Yes, I’m better with a saw than scissors…it looks like a 3 year old cut this. Whatever, it still works.)
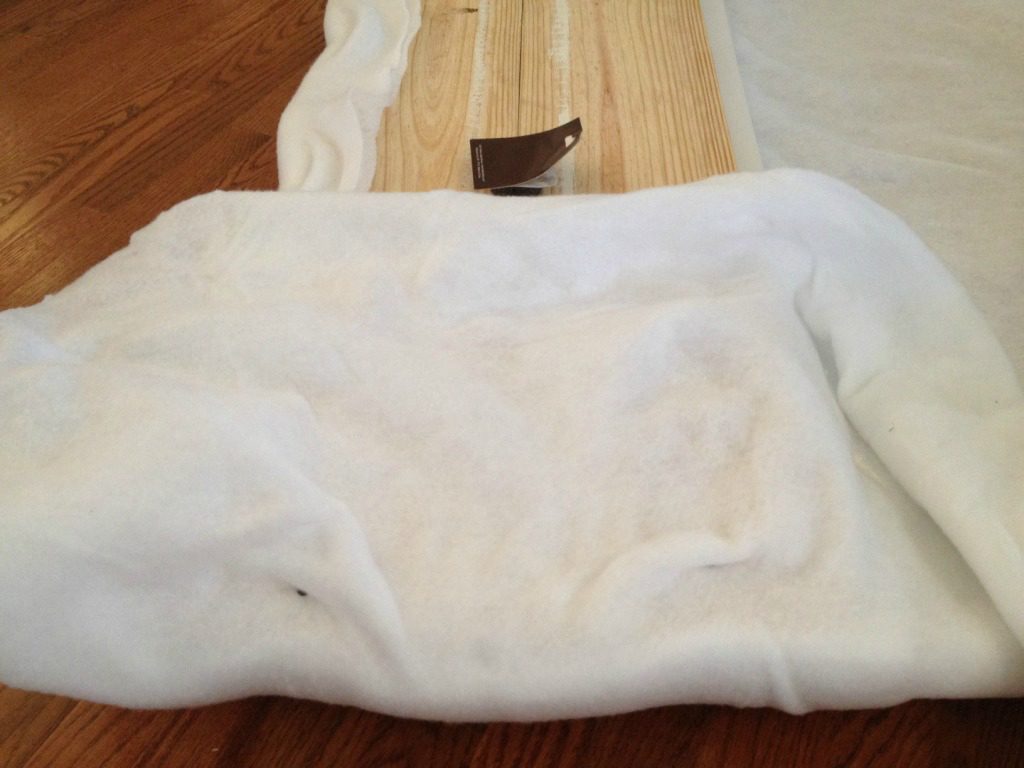
3. Add the batting to Upholster Bench
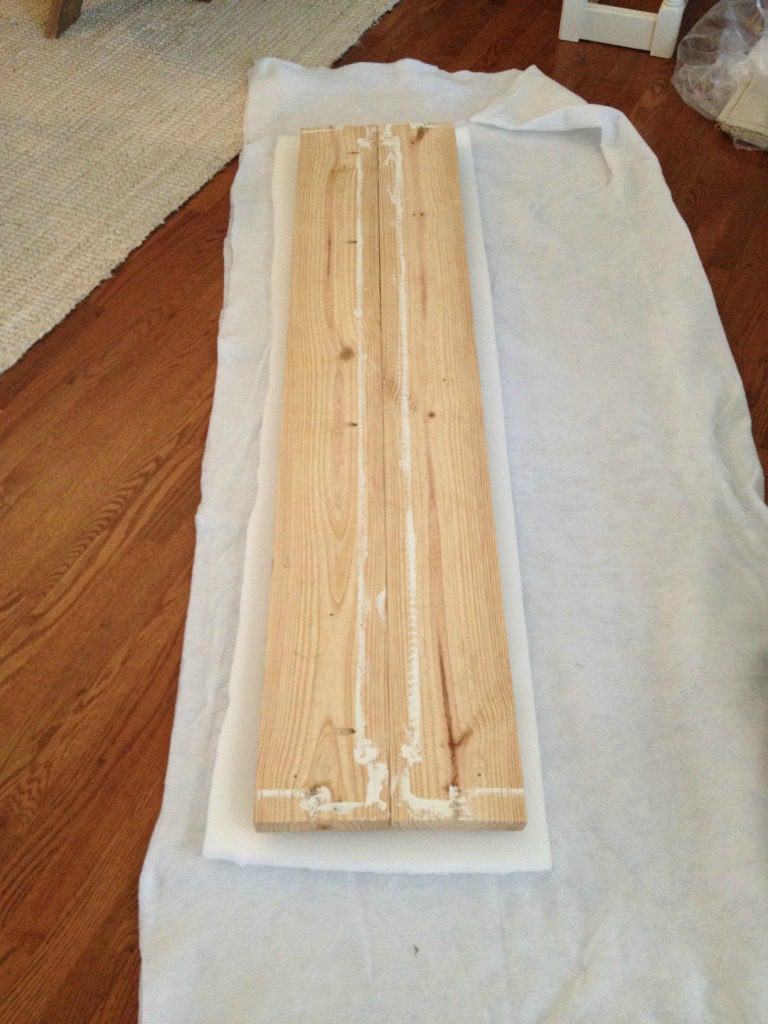
The batting helps to hold the foam in place and gives a little shape and cushion to the foam before you add the fabric. I laid out the batting on the floor. Because I had so much, I folded it in half, so it would give a double layer. Then I placed the foam and the top upside down on the batting like shown.
Then, I placed the wooden seat on top.
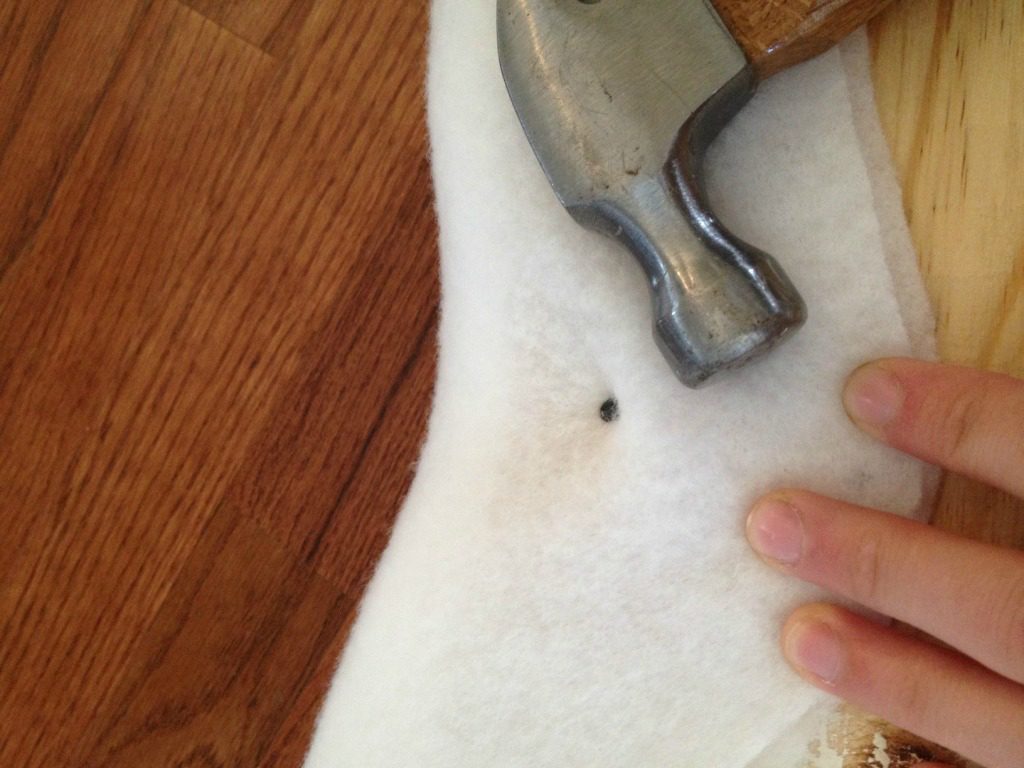
To attach the batting, I folded it over the sides and tacked it onto the bottom. I started out using a hammer and upholstery tacks. I’ve upholstered several chairs in the past and that’s how I did it…before I got a staple gun. After several tacks, I realized things would go faster with my staple gun (DUH), so I used it a little later. You can do either.
.
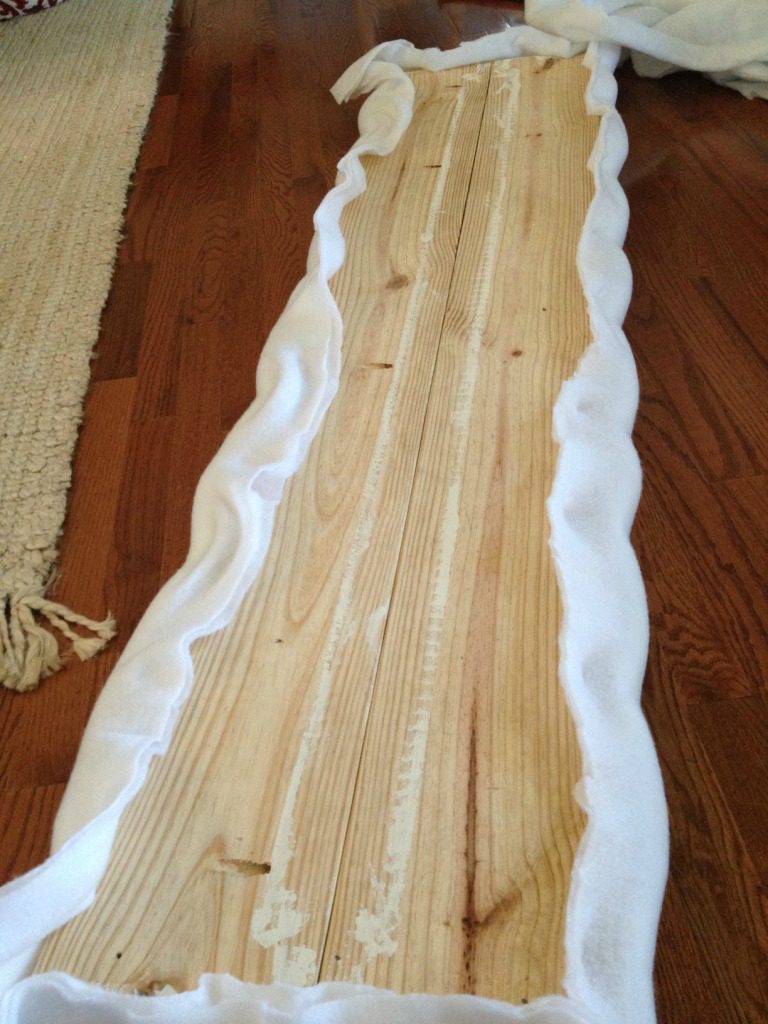
Start in the middle of one side and work your way around, pulling the batting tight and making sure the foam wraps around the side. Don’t pull the batting TOO tight…it will rip. If you have some lumps, it’s okay.
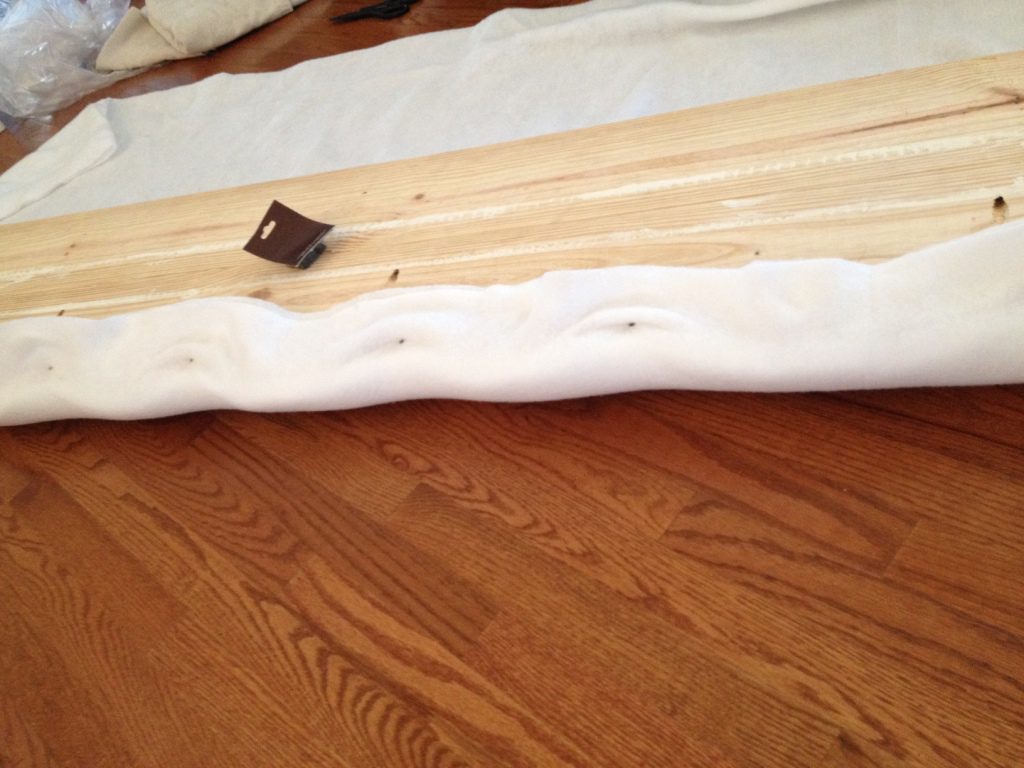
Once it was all tacked on, I trimmed off the excess.
4. Add the fabric to Upholstered Bench
Now, it starts to look more like a bench top. Mom wanted to use a drop cloth for her fabric because 1.) it’s cheap 2.) it matched almost exactly to the fabric on the seats of her new dining chairs. I added the fabric exactly how I added the batting, just pulled it a lot tighter. I laid it out on the floor and set the top on it upside down.
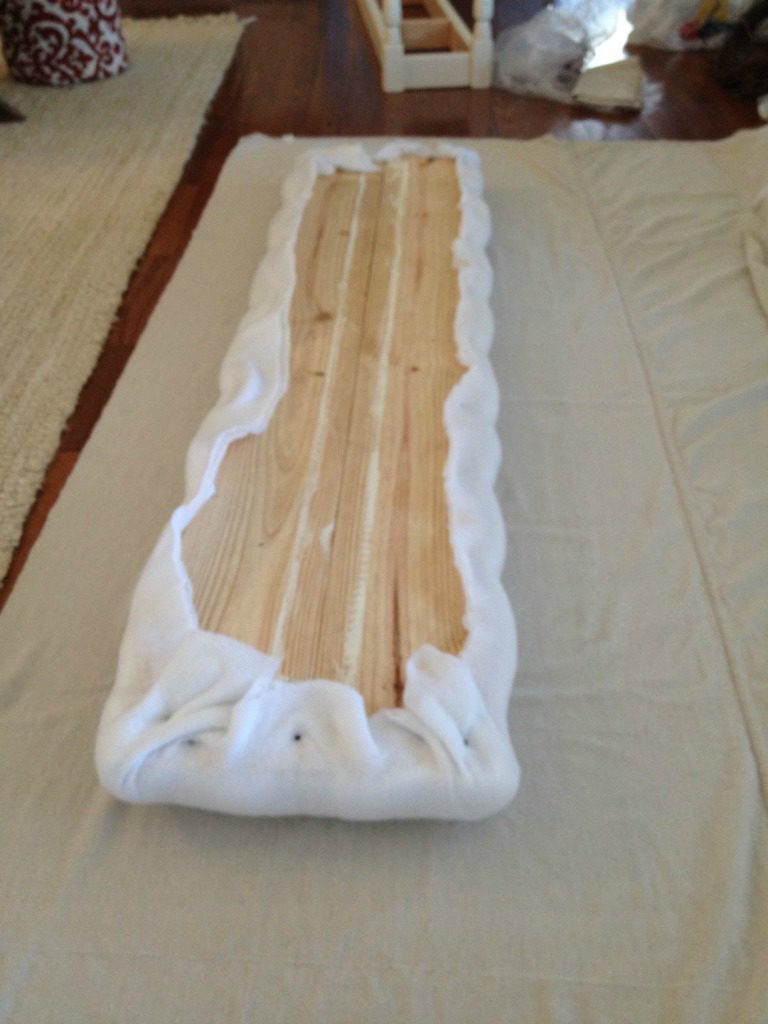
I apologize for the lack of pictures at this point, but it’s literally the same as the batting. I pulled the fabric over the edges and tacked them onto the bottom. I pulled the fabric very tight when I tacked it. This helps remove the lumps from the foam and shapes the seat better. You will use A LOT more tacks on the fabric than on the batting. I used my staple gun at this point and pulled everything tight and stapled it until all the lumps were gone. I used A LOT of staples. When I was done, I trimmed the excess.
.
Helpful hint: there are lots of ways to handle the corners. For mine, I just pulled tight and folded them over trying to have as few wrinkles as possible. Just play with it until you get it the way you want it then staple the crap out of it. Or google fancy ways to fold the corners. Totally up to you.
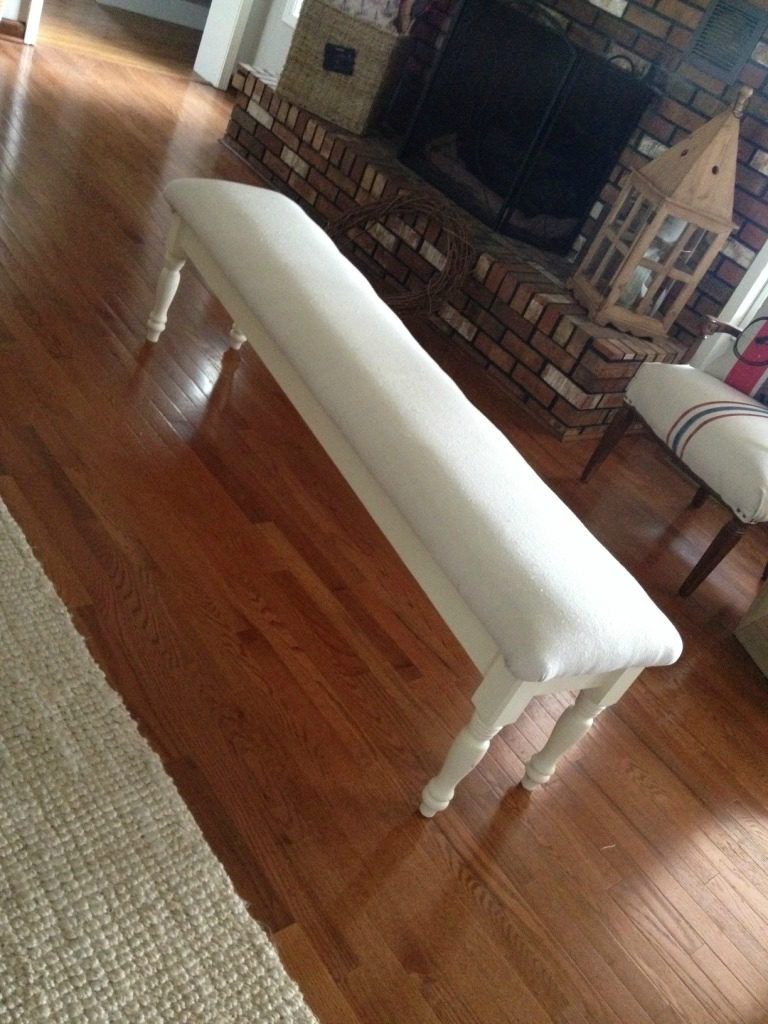
5. Attach the top back onto bench
Once it was finished, I used pocket holes and pocket hole screws to reattach the top in several places just like I had done when I built it. OR, you could use L brackets on the underside to attach the top to the base of the bench if you didn’t want to use pocket holes. You could add some decorative tacks around the edges, but Mom’s dining chairs didn’t have any decorative tacks, so we didn’t add any to the bench.
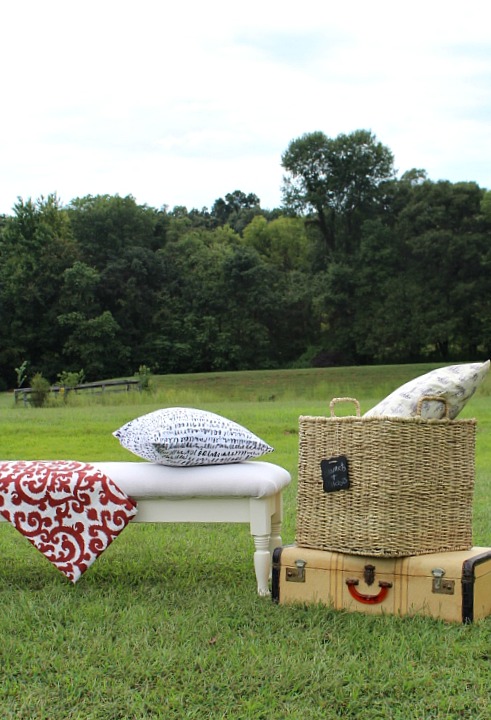
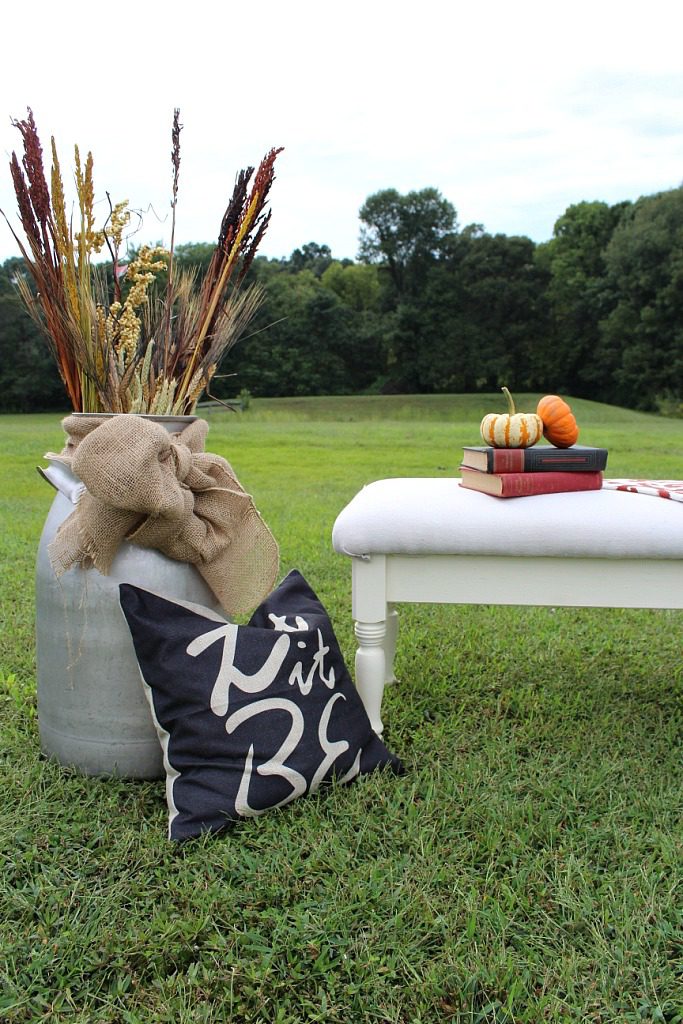
Now, it was time to stage for pictures! Because what’s more realistic than a random bench in the middle of my back yard? HA!
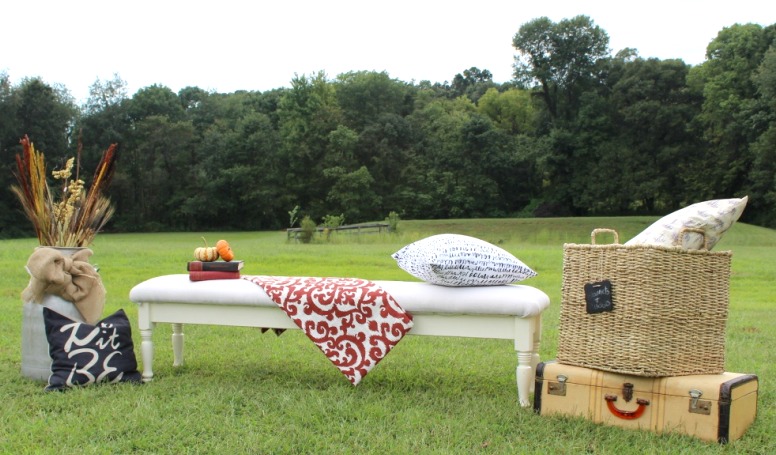

So what do you think? Upholstering is really fun. It’s probably my second favorite thing after woodworking. If you haven’t given it a try yet, learning to upholster a bench is a really good project to start on. So what are you waiting for? Get to it! Oh and just in case anyone is wondering, the seat sits REALLY good…very cushy and soft. I tried it out. All the men in the family can thank me 😉
Until next time, happy upholstering!! 😉


Linda says
What color white paint did you use with the canvas drop cloth? Looking good! I LOVE doing stuff with those drop cloths.