
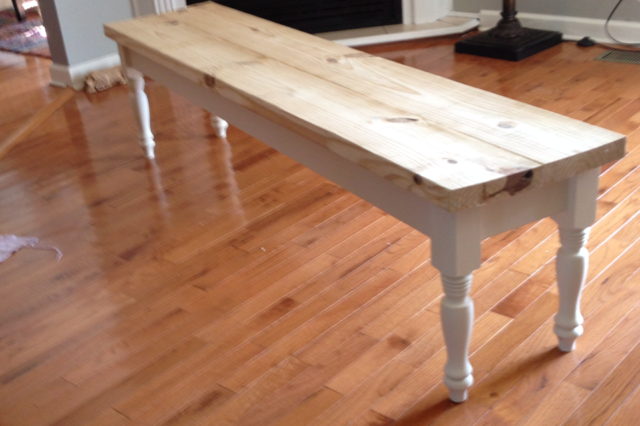
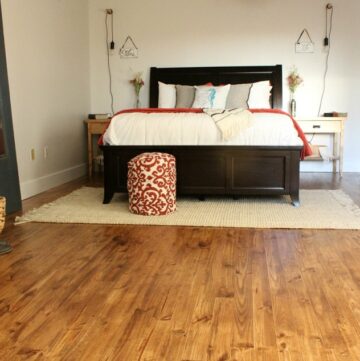
I’m so glad to finally have a fun, new project to show you guys besides the bathroom remodel. I know you are probably all super tired of hearing about it and it’s taking WAY longer than we expected. To be honest, I’m tired of working on it. But, it has been consuming all my time after work and I am bummed I haven’t been able to make anything fun and show you guys…until NOW. (ps forgive the terrible picture…after I made the bench, Mom took it home to paint it and when I asked for a picture, this is what I got. You get the idea, right?)
.
Quick backstory: My family has started this tradition the last few years where we have “Thanksgiving dinner” in the summer. Everyone gets together at mom and dad’s house and we have turkey and dressing and pumpkin pie just for the heck of it. I have no idea why this happened…I’m just told to be there and bring the pie.
.
Well, our summer Thanksgiving dinner is this weekend and mom has been redoing parts of her house. In her dining room, she re-painted her old table and got new chairs to match. She wanted a bench instead of chairs for one side of the table and asked me to make it for her. I was originally told I didn’t have a deadline and with all the remodel stuff going on in my house, I figured I would get to it when we were done. But then I was informed that she needed it by this weekend’s family dinner.
.
Mom always gets what she wants. You know the saying…when momma ain’t happy…
.
So I took an afternoon and put this bench together for her. It’s super easy and I really should have done it sooner. It only took about 20 minutes.
.
Note: The following contains affiliate links for your convenience. Although I may receive a small commission if you purchase from these links, I only link to products that I highly recommend and/or personally use myself. Please see disclosure policy for details.
.
So here is what you need:
.
(2) 2x4x8
(1) 2x8x12
(4) short turned legs–they should be about 15″ tall and should have flat sides on the top
2 ½″ regular wood screws
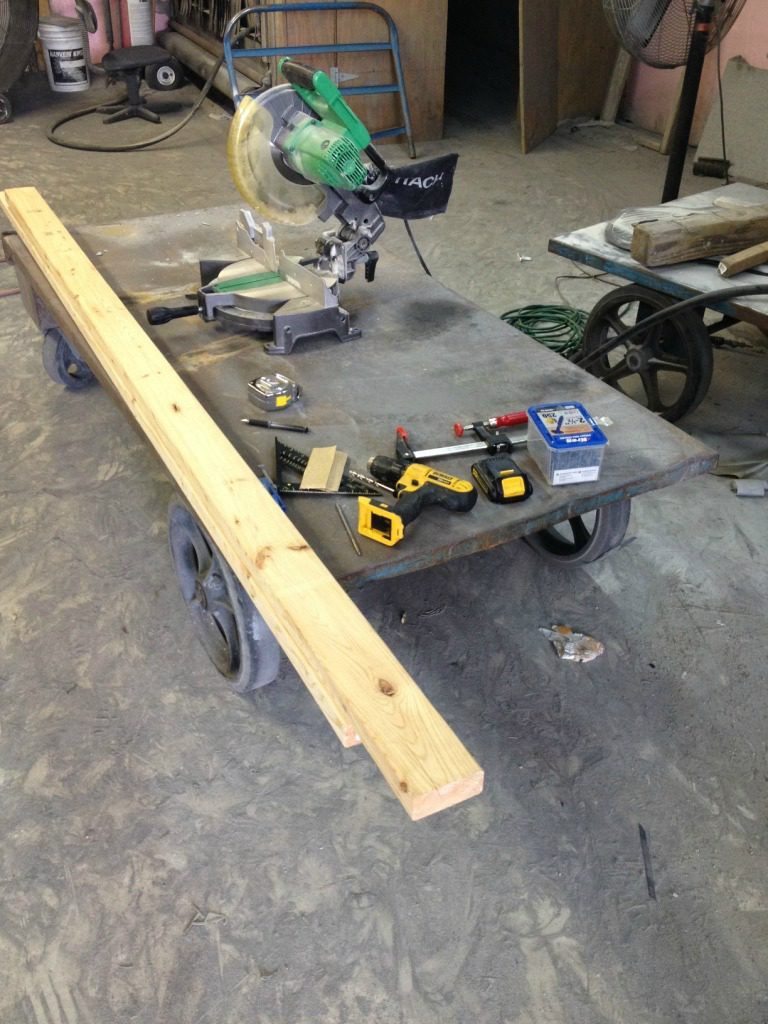
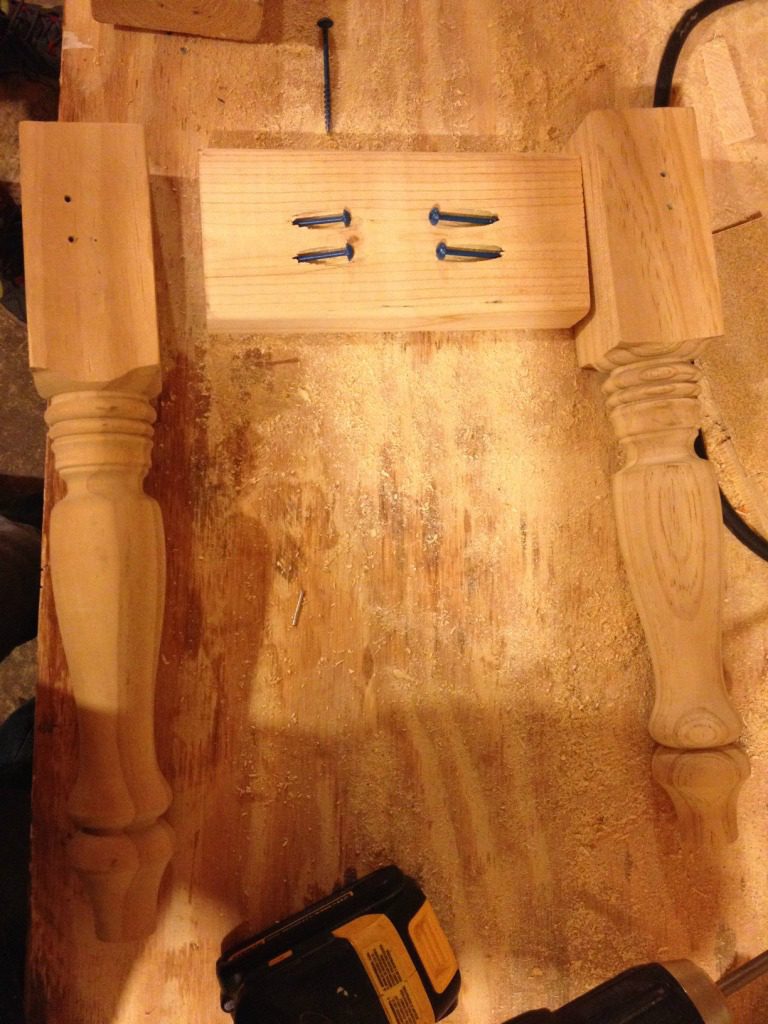
Basically all this stuff right here: (this bench started in my dad’s shop but then I took it back to my shop later that night…long story. I had dinner plans and gave blood after work and anyway…so that’s why the pictures from “not my normal workspace”)
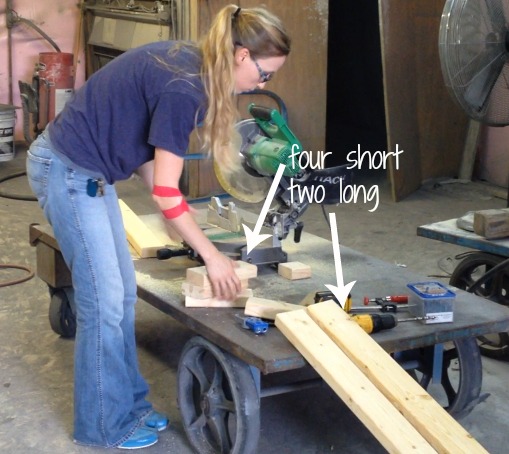
Step 1: Cut the boards
.
Mom’s bench needed to be 67″ long. This was the perfect length to be able to slide the bench under the table and out of the way if needed. So I cut the 2x8x12 into two 67″ long pieces for the bench top. Set these aside for now because you won’t need them again until the last step.
.
Now, for the frame. I allowed for a 1″ overhang on each edge, and the legs were 2 ¼″ square, so my long 2x4s (for the front and back side) were 67″-2″ overhang-4 ½″ for the legs=60 ½″ long. So, I cut two 60 ½″ long pieces from the 2x4s. The short pieces on each end were 8″ long (doing the same math…14 ⅕″ deep bench-2″ overhang-4 ½″ legs=8″). So, I cut two pieces of 2×4 at 8″. Now, you will also need two pieces at about 8 ¼″ long as well for the braces in the middle of the seat.
.
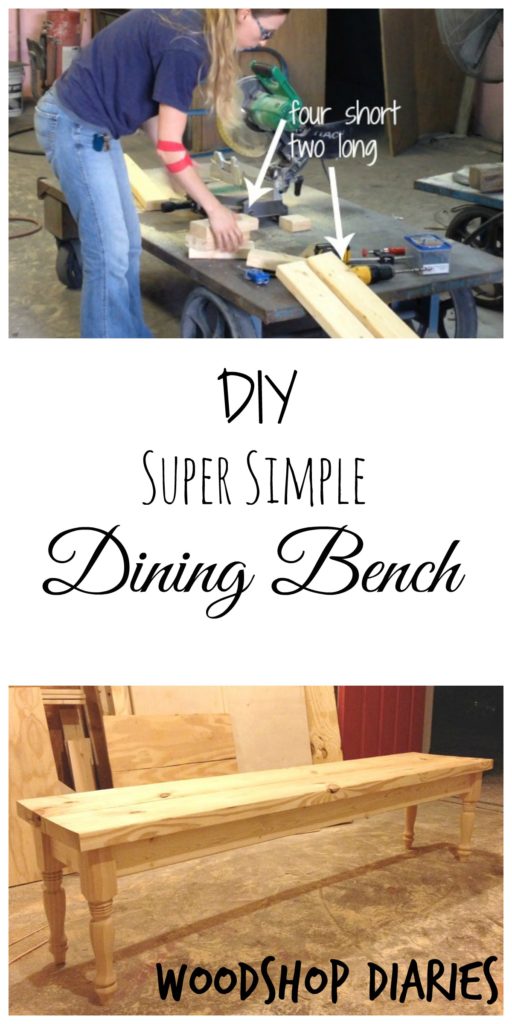
To sum it all up, you need two 60 ½″, two 8″, and two 8 ¼″ 2×4 pieces. Don’t get lost in the math. By the way…I attempted a video of me making the bench and it just wasn’t working…but here are a few shots from it. You know…for entertainment value…
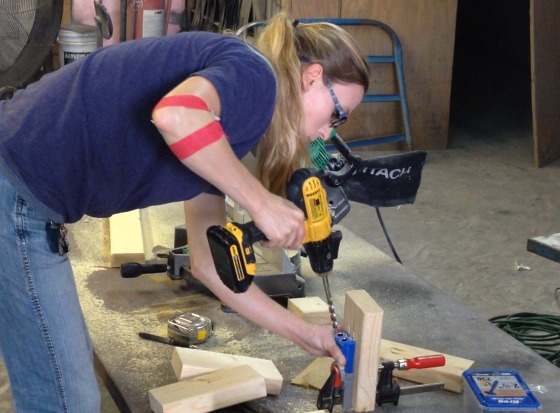
Step 2: Drill the pocket holes
Using the Kreg Jig set to 1 ½″ stock, drill pocket holes in each end of the long 2x4s and also in the 8″ pieces. Don’t drill them in the 8 ¼″ pieces. I did this at first, then later realized it wasn’t going to work.
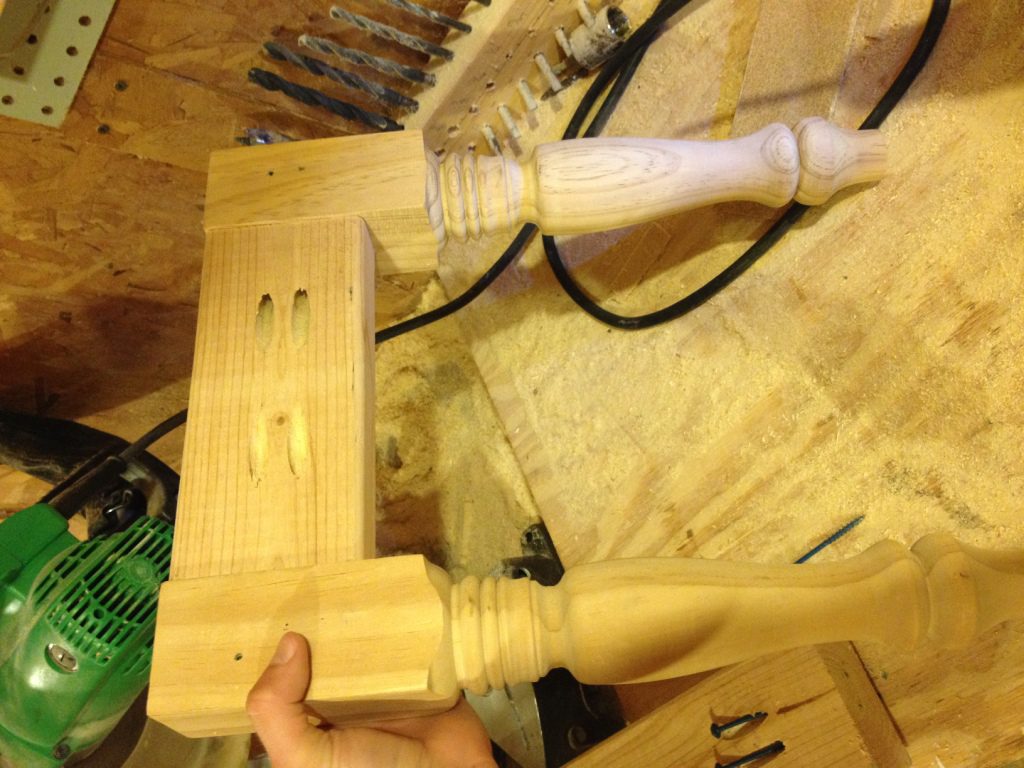
Step 3: Assemble the frame
Screw the short pieces into the top of the legs with 2 ½″ long pocket hole screws.
I screwed mine about ⅛″ out from the inside corner.
Once you have both short sides done, screw the long boards in the same way, leaving about ⅛″ from the corner.
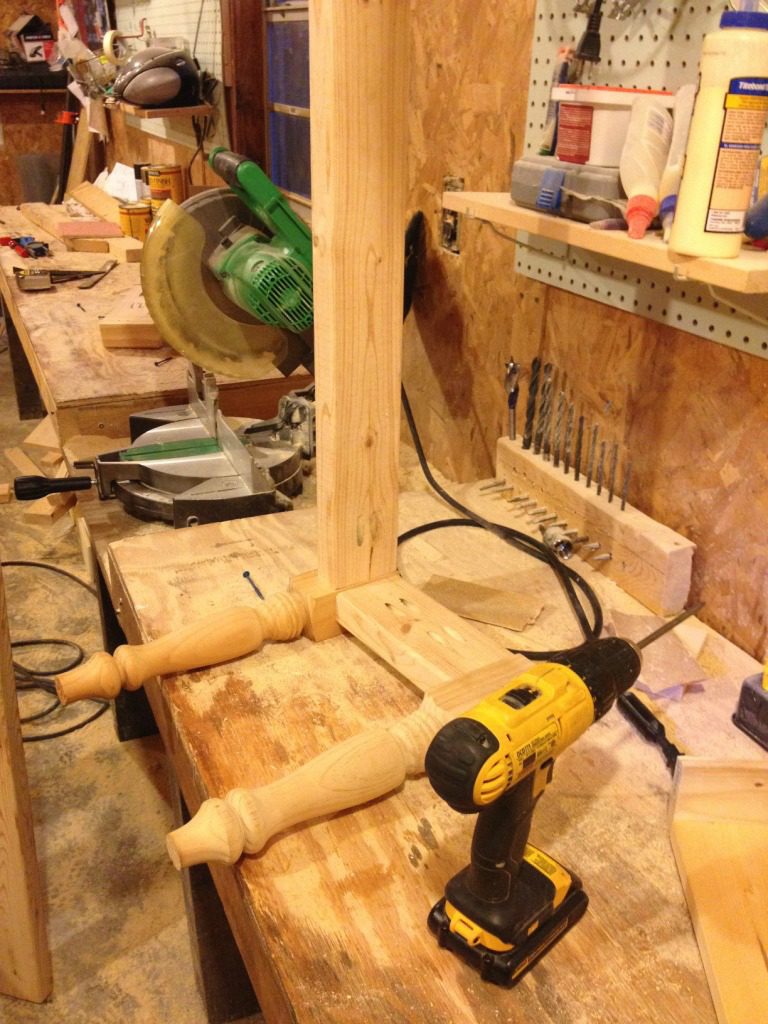
Screw each end of both pieces into the legs.
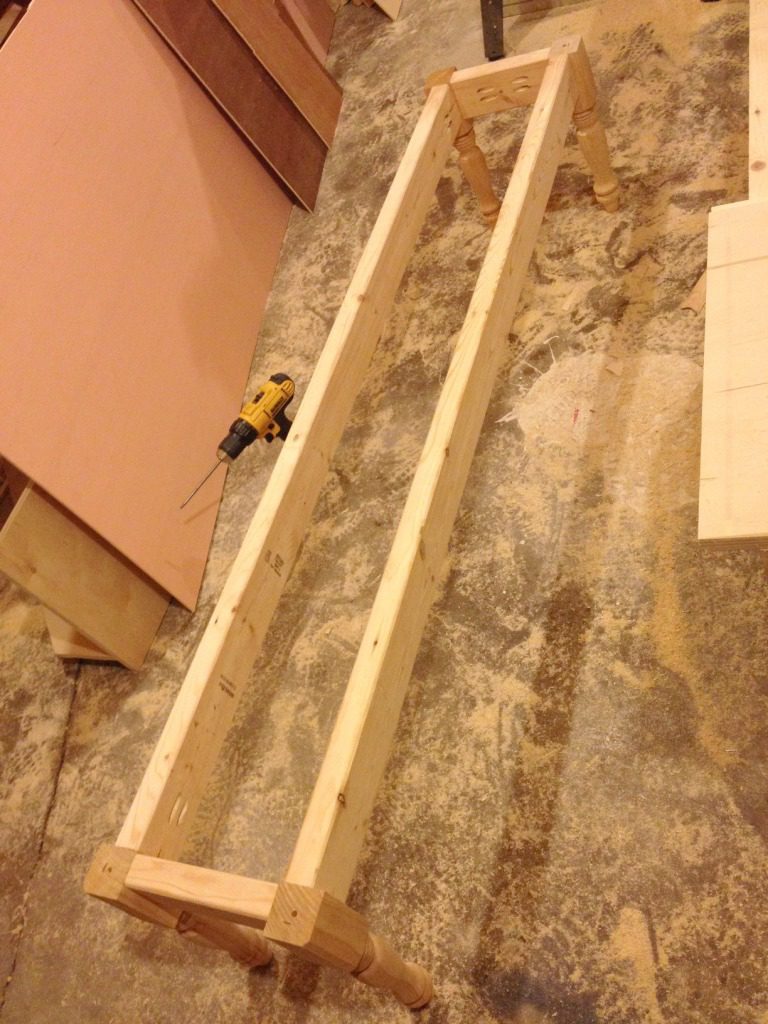
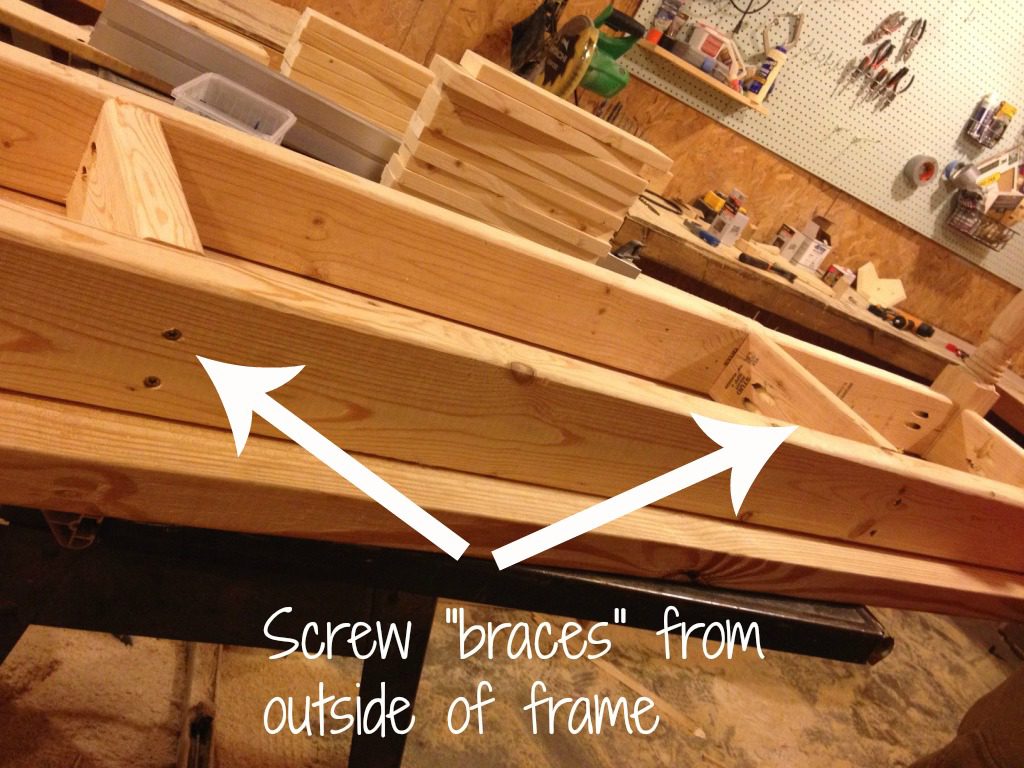
Now, add your 8 ¼″ blocks, screwing them in from the outside. I tried using pocket holes, but I couldn’t get the drill in such a tight spot, so I screwed from the outside and puttied the holes later before painting.
Step 4: Attach the top
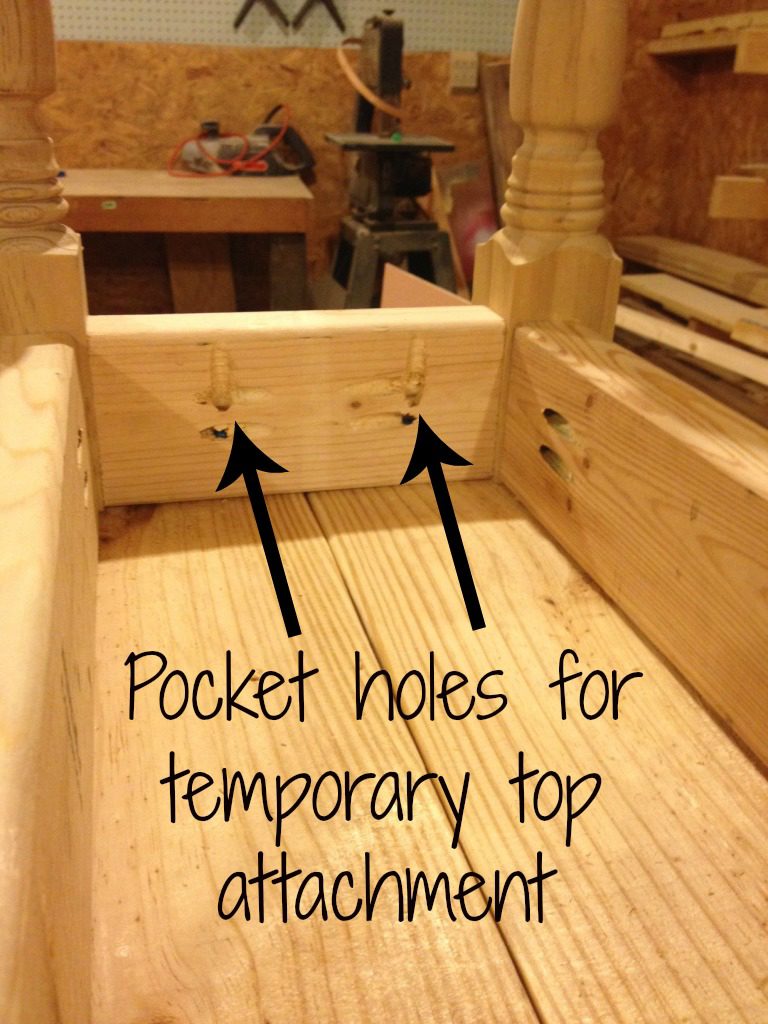
Now, I have to tell you that this bench will eventually be upholstered. Mom hasn’t picked out her fabric yet, so the top is being attached temporarily since it will be removed later to upholster. To attach the top more permanently, I would either glue or pocket hole and screw the two top pieces together then attach to the frame. To attach it to the frame, drill pocket holes along the insides of the frame and braces and attach from the bottom with 2 ½″ screws. In our case, since this is temporary, we simple screwed the two boards in on the short sides of the frame.
Like I said, to attach it permanently, drill holes just like this on the braces, and the long side support, too. That is what I will do once I get it upholstered–which will be soon, so keep an eye out for that project : )
.
And that’s it. I told you it was super simple.
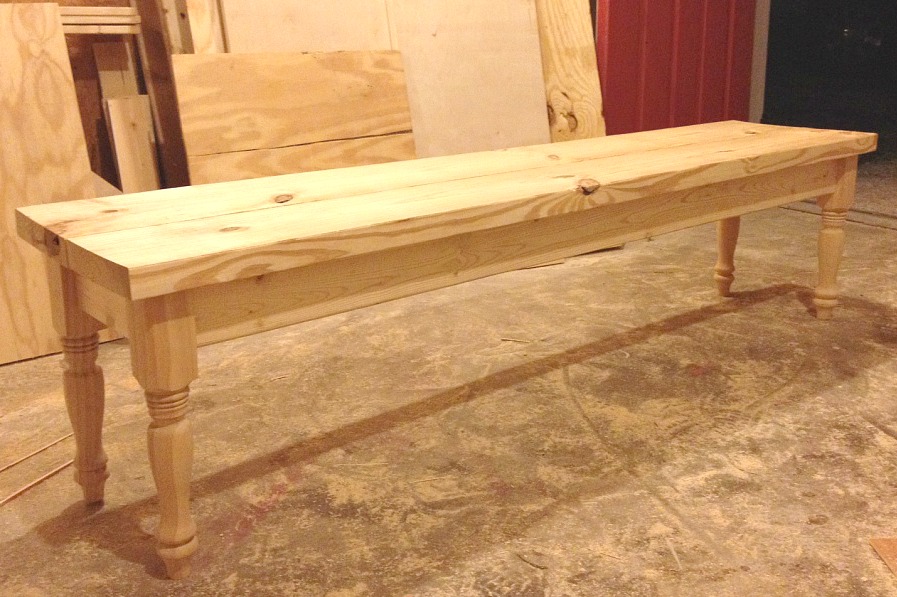
Mom took it home to paint it, so I don’t have a lot of good “finished product” pictures, but when I upholster it later, I will get some. She’s supposed to pick out fabric this weekend, so hopefully I can show you how to upholster it soon : )
.
So what do you think? Easy peasy, right?
.
So what are you waiting for? Get building : ) right after you pin for later.
Until next time, happy building!

Jess says
Where did you buy the legs for this bench? This will be one of my first woodworking jobs. Done a lot of refinishing other’s work but haven’t built many on my own, do I don’t yet know where to go to find the best (and more importantly, least expensive) materials. I see Osbourne Wood mentioned all over blogland, but they seem really pricey for my needs. So where did you get the legs for your bench, or do you have a suggestion for a place to find turned bench legs for the lowest price? Thanks so much for posting this. Excited to try a great project that might be simple enough for my skill level!
Shara, Woodshop Diaries says
Hi! I do actually highly recommend Osborne Wood legs. They are actually some of the cheapest that I have found and have never been disappointed in the quality (I’ve used them for several projects). However, you can always check Lowes or Home Depot as well. Typically, they have fewer options and are more expensive though from my own experience. Since I made this for my mom, she picked the legs out from Lowes. They were about $15-20 each.
Wendy says
Hi Shara,
When you built your moms bench using the 15 inch legs, did you find it to be short for a 30 inch tall table? Most plans say a 17 inch leg, and often the legs have to be ordered from Osborne Wood, making the height 18-19 inches. I know your mom upholstered the top so that helped. I’m just worried they will be sitting a bit low to the table. What did you find to be the case? I love your plan! It’s exactly how I know to build things, so I’ll be good to go!
Thank you! Wendy from California
Shara, Woodshop Diaries says
Hi Wendy! The bench legs are 15″, but the top adds another 1 1/2″ so total it sit 16 1/2″ tall. This sits just fine at her 30″ table. Of course,you could always use a taller leg if you wanted…the plans would be the same. But, the 15″ works fine for us and we sit there comfortably 🙂 hope that helps!
Bill says
Really nice!!! On those 8 1/4 inch blocks, if you don’t have a small drill for tight spots, you might try doing the pocket holes by hand with a rachet and socket that will fit your bit.
Shara, Woodshop Diaries says
Thank you! Yes that is a good suggestion. I’ve also been wanting to buy a right angle attachment for my drill, too for times like this. Looks like something I need to add to my Christmas wish list haha