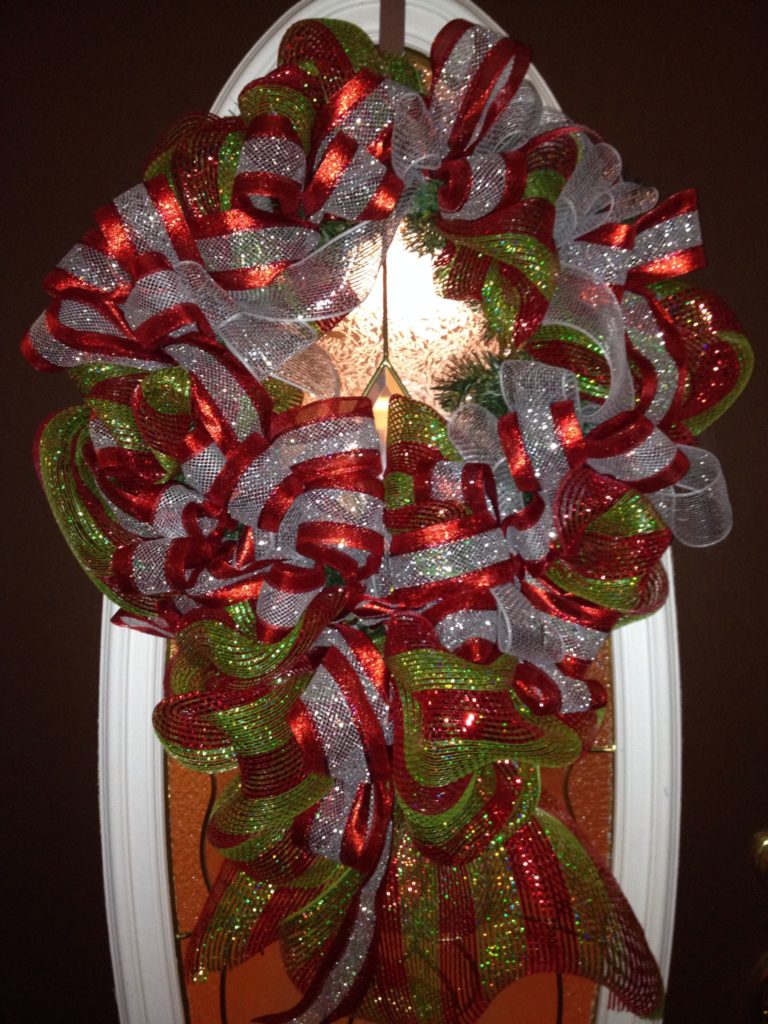
We are taking it back to my roots today. Did you guys know that long before I ever had a blog, or used a saw, or even knew Pinterest was a thing (when exactly did it become a “thing?”), I made my own wreaths? Looking back, I guess this was my first dabble into the DIY world. It all started with this Christmas wreath. It was like a giant glitter ball.
OOOOh shiny! Of course things progressed and I made several styles of wreaths before I began repurposing all sorts of things, then started a blog, then eventually moved onto woodworking. And now, here we are. (I just summed up my entire last two and a half years into one sentence.)
.
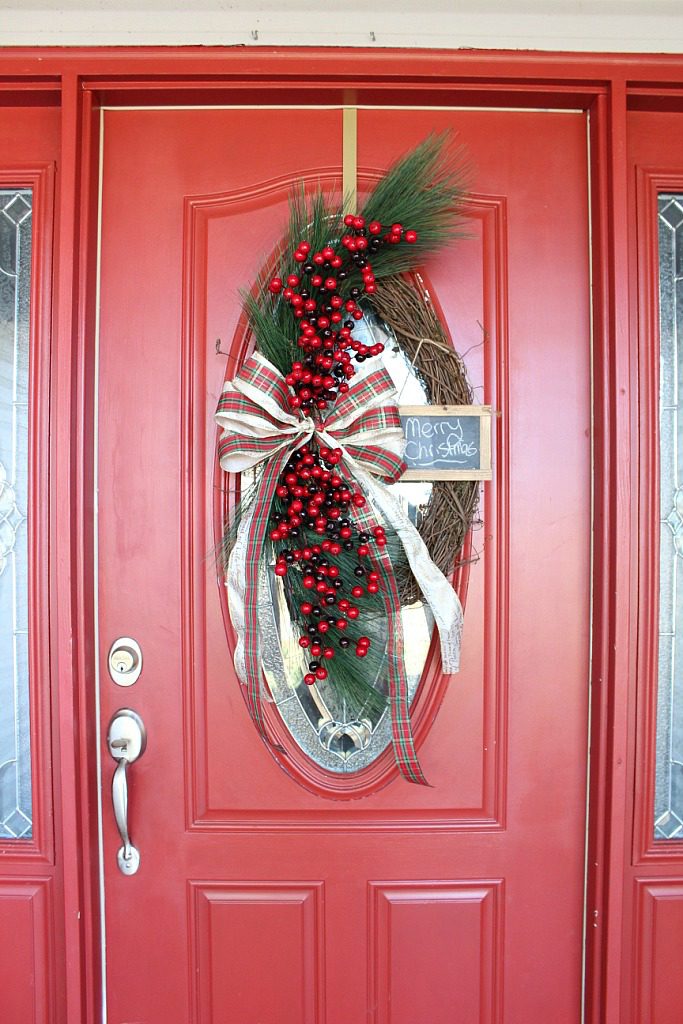
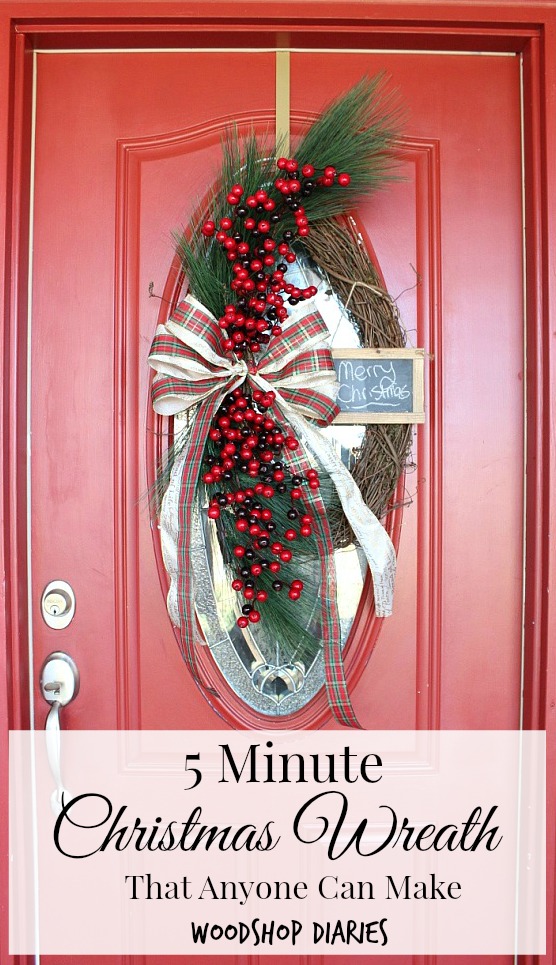
But, I still like to go back to the beginning sometimes and make a new wreath. And this year’s Christmas wreath is the easiest one I think I’ve ever made. It literally took me 5 minutes to put it together. And, to be honest, it looks better than most of the EXPENSIVE wreaths I’ve seen at the stores so far this season.
.
But, seriously, DIY wreaths almost ALWAYS look better than store bought…unless you want to pay $100 for the good ones. In full disclosure, this one cost me about $30. Mmmm hmmm. So let me show you how it’s done so you can make your own this year, too 🙂
.
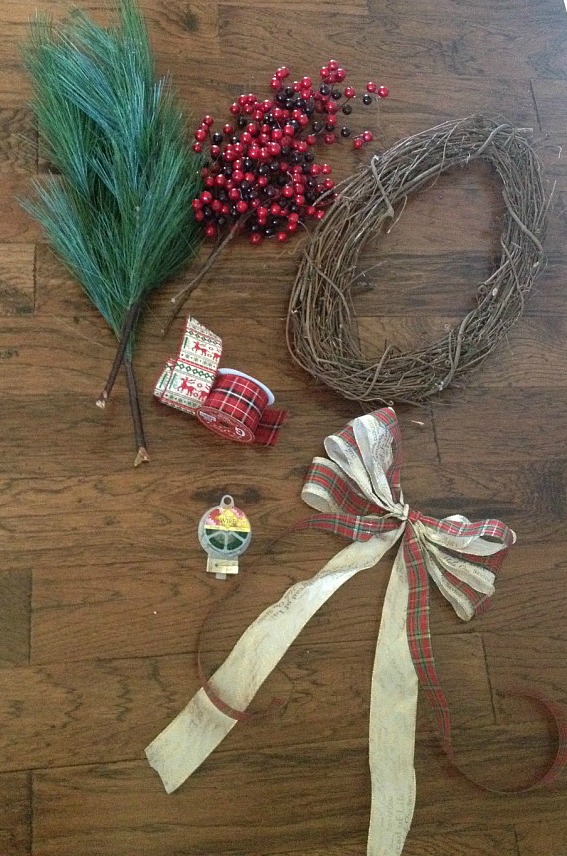
You will need:
An oval (or round, but I prefer oval) grapevine wreath form (any size you want…read below for more information)
(2) greenery stems (I used pine needles for the demonstration, but you can use any greenery)
(2) red berry stems
(2) rolls of contrasting color ribbon (to make your own bow) OR a premade bow if you don’t want to make your own
Floral wire
Jingle bells or chalkboard or other decorative item (optional)
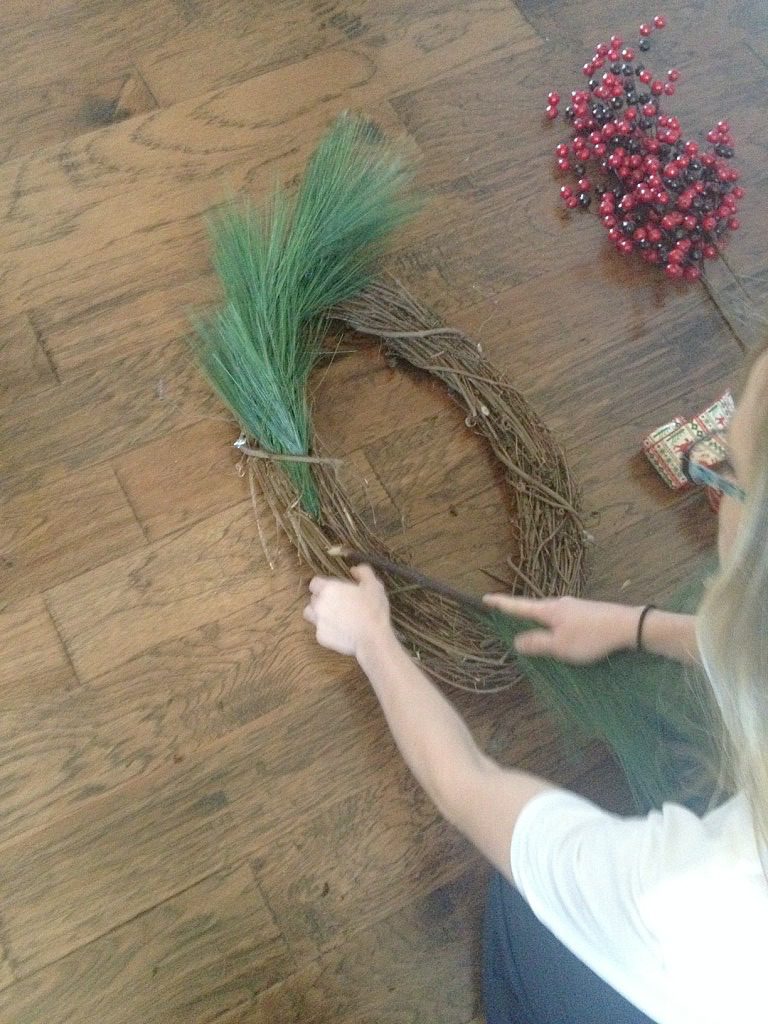
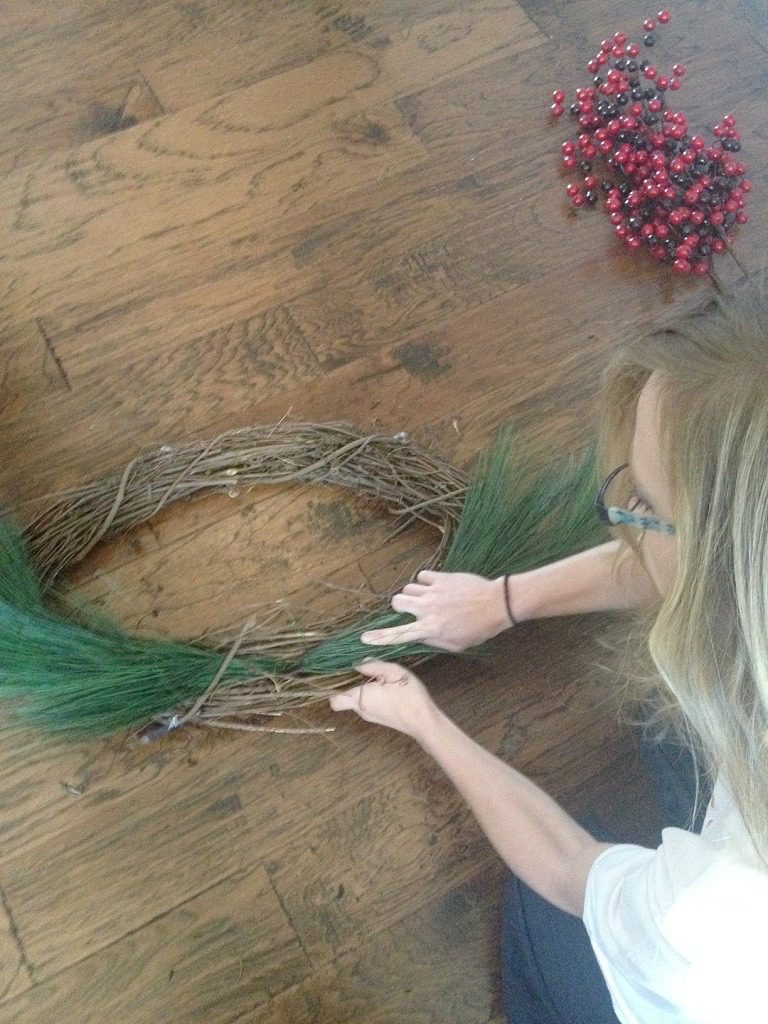
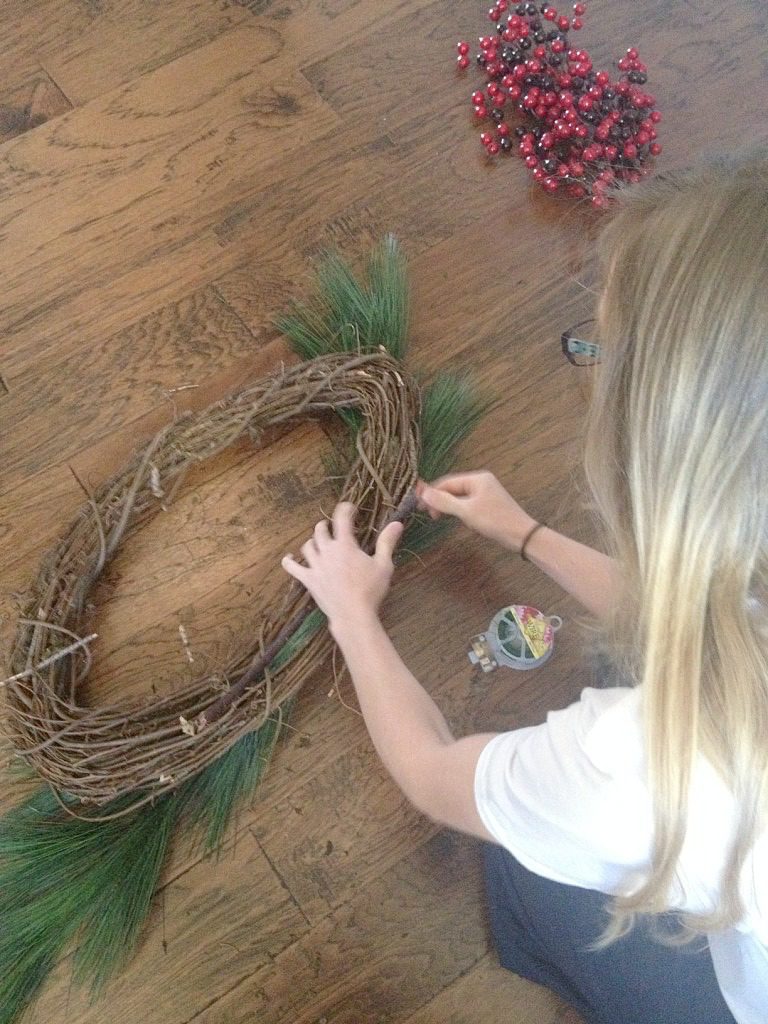
Now, before we get started, I have to apologize in advance for how terribly awful these pictures are. I asked Danny (oh, Danny) to take some pictures while I made the wreath because I needed both hands to do it. Poor Danny, he just doesn’t get what I’m going for and so these pictures are….well…not what I was going for. But since this is super easy, hopefully they will still work and be helpful. HOPEFULLY being the key word here.
.
Just for an FYI, I bought all my supplies at Hobby Lobby. I already had the grapevine wreath on hand (I keep several), but they are like $8 at Hobby Lobby which is actually really, $4.80 because who goes to Hobby Lobby without a 40% off coupon?! By the way, grapevine wreaths are AWESOOOOOOME because they are SOOOOO easy to decorate. You literally just shove everything in it and you’re done. No joke. And when you are ready to change seasons, you just take it out and shove something new in it. So let’s get to shoving.
.
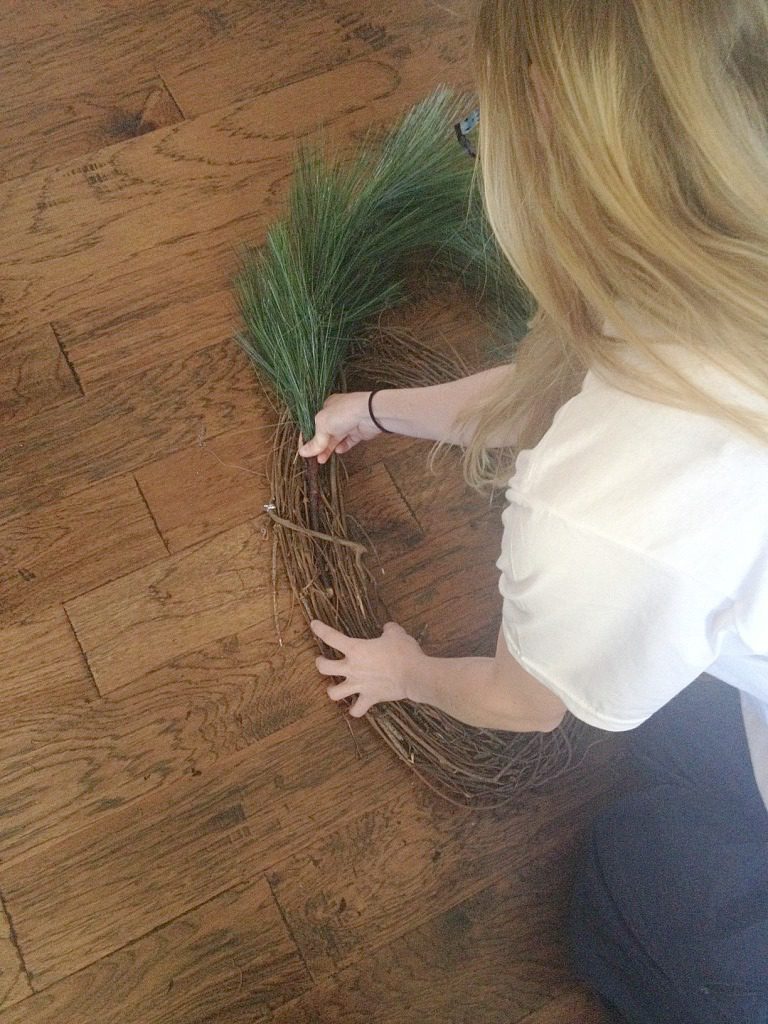
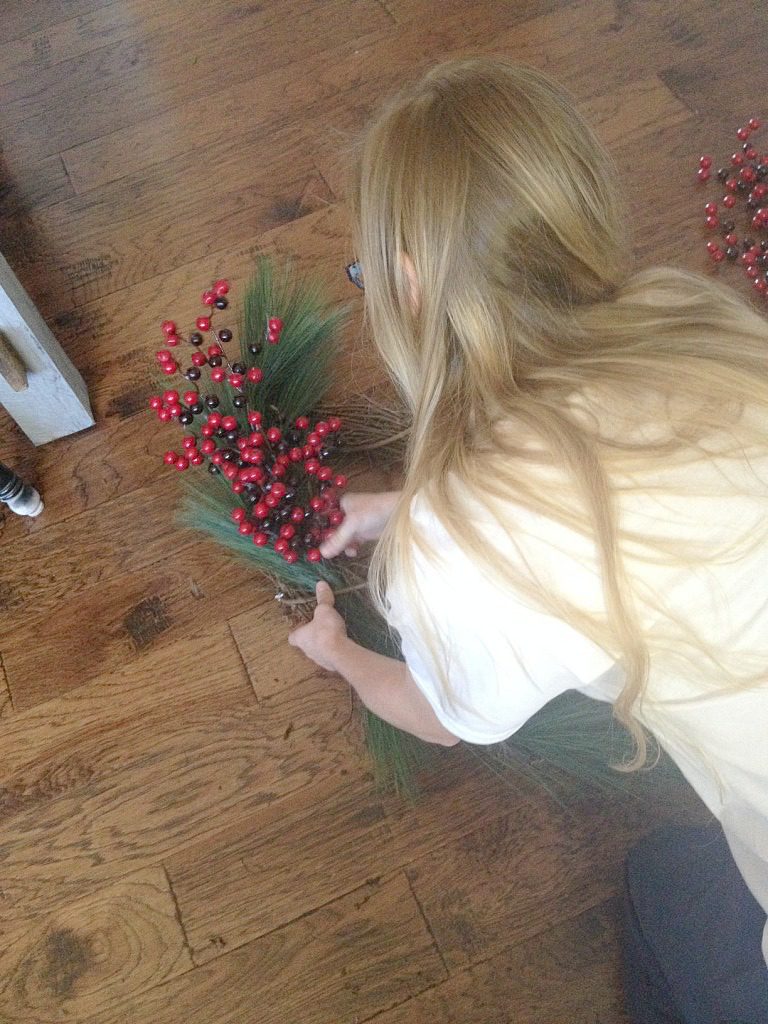
So, first, I took a greenery stem and shoved it in the middle of one side of the grapevine form.
Then do the same on the bottom side.
IF (capital IF) you need to (I prefer not to unless absolutely necessary), you can secure them a little more if they aren’t staying put by cutting off a piece of floral wire and “tying” them down on the back side.
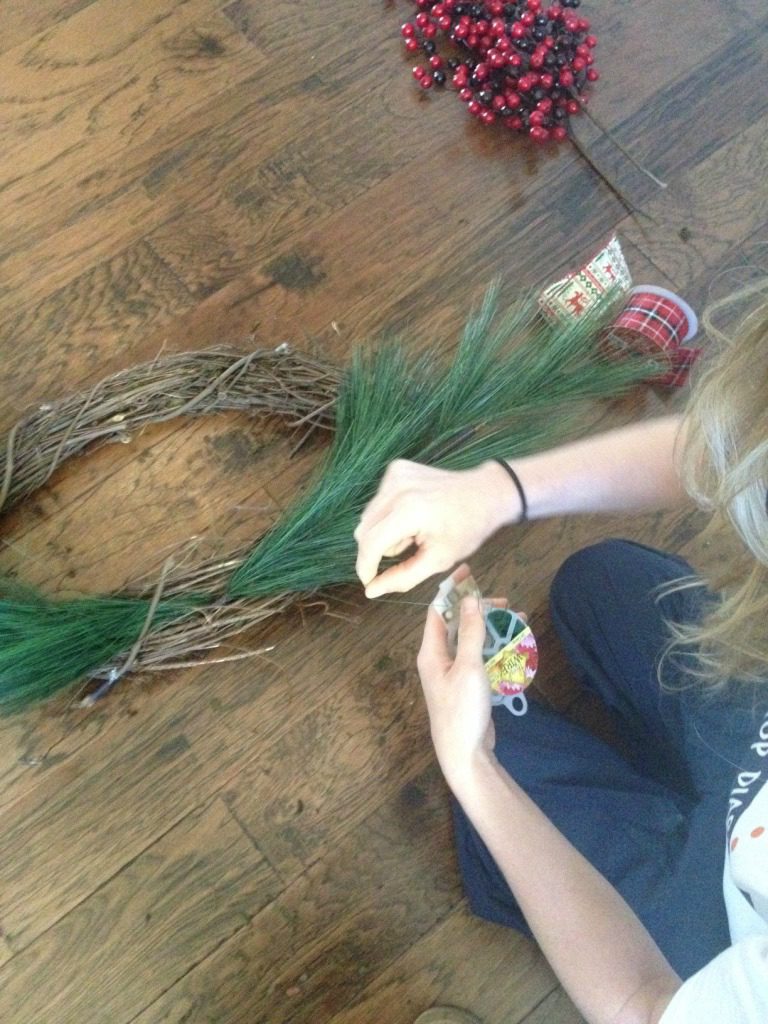
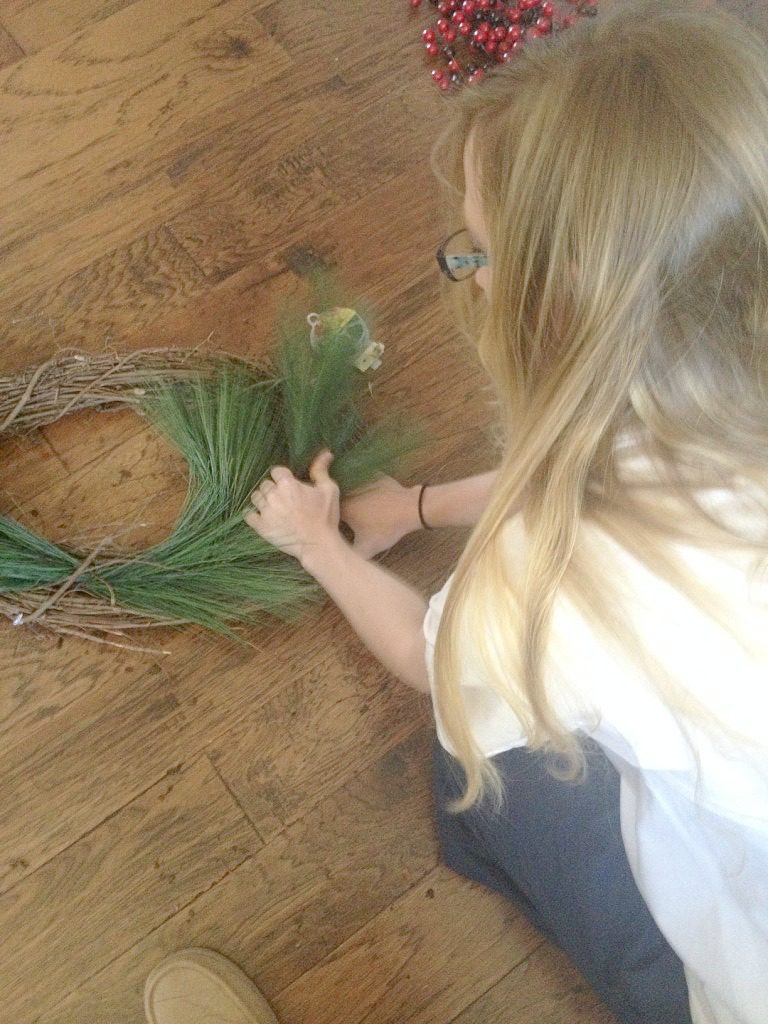
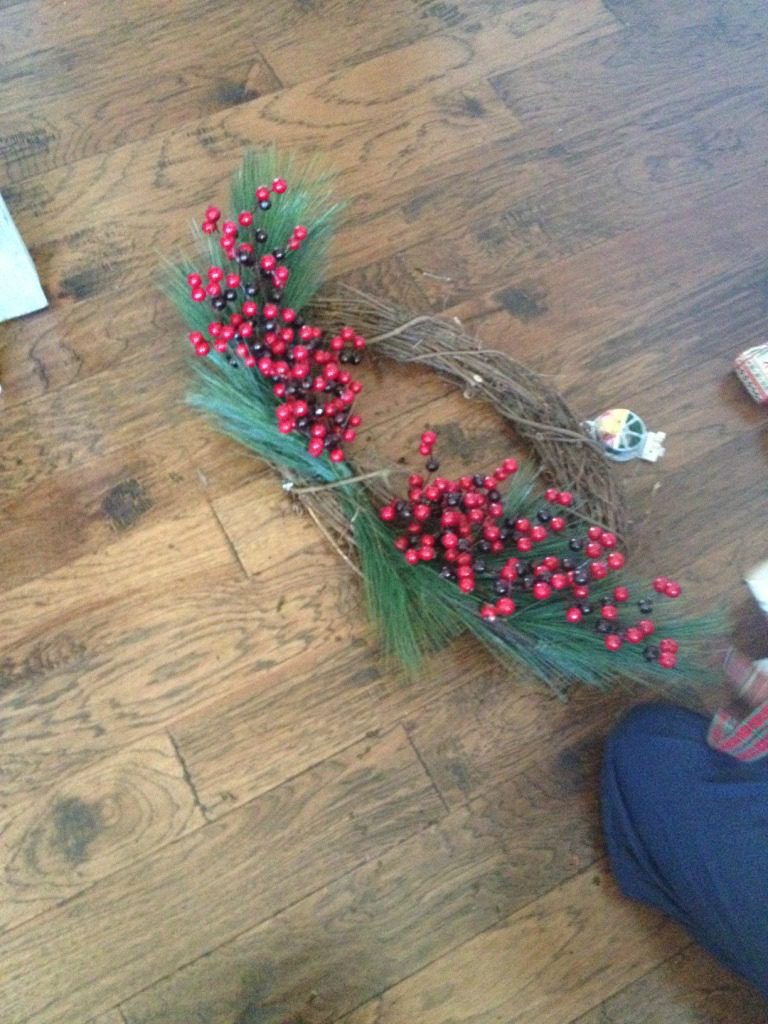
I prefer not to do this so that it’s easier to take apart later and reuse the form. That’s just me. After it’s all in place, I shaped the greenery to curve around the wreath form a little. Just play with it until it looks like you want it. PS see Danny’s house shoe in the corner? He makes me laugh.
.
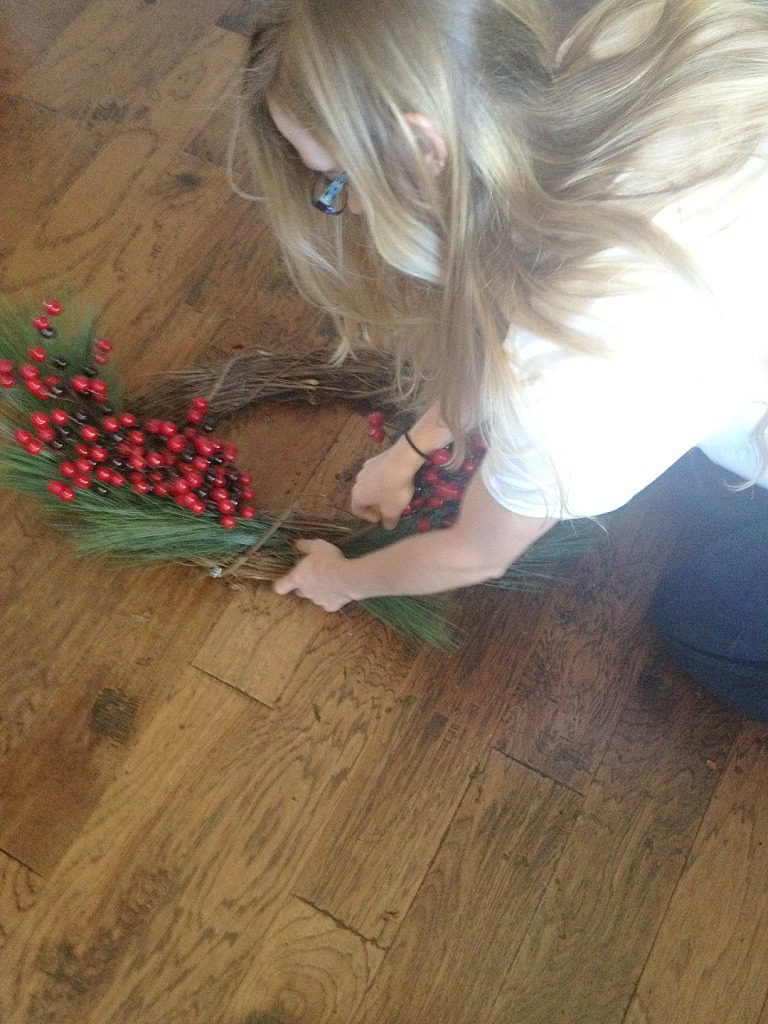
Next, do the same thing with the berries. Shove them in on top of the greenery.
Ta Da!! Two minutes down and we are practically done already!
Spread the berries out and shape them until you like how they look.
.
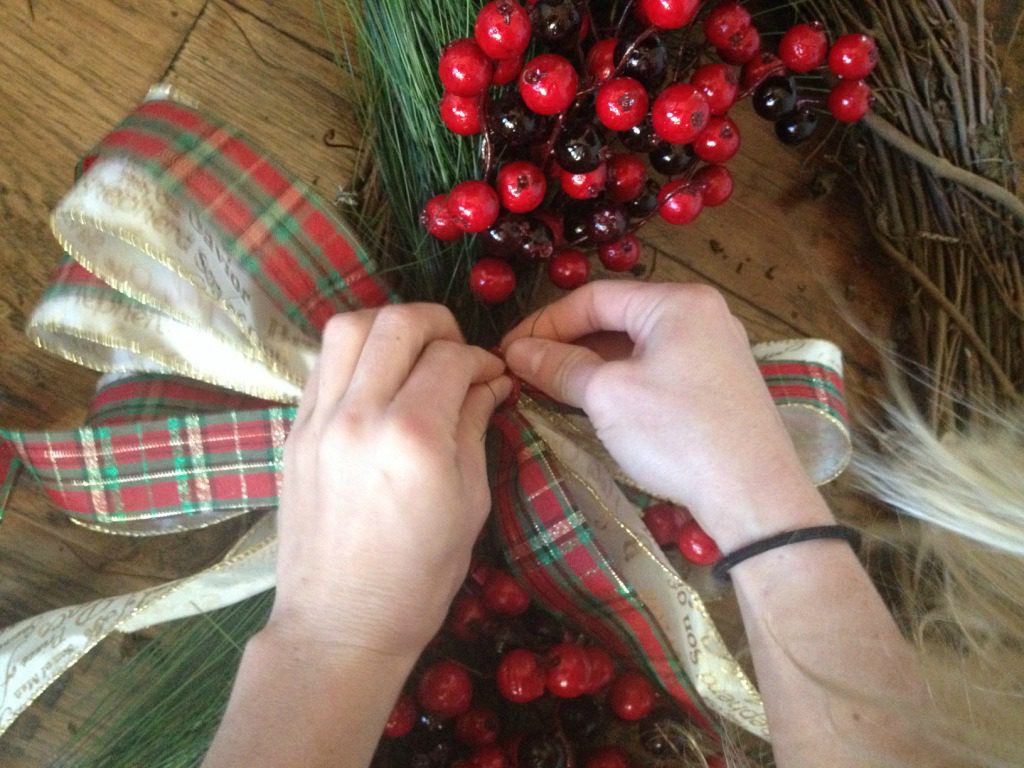
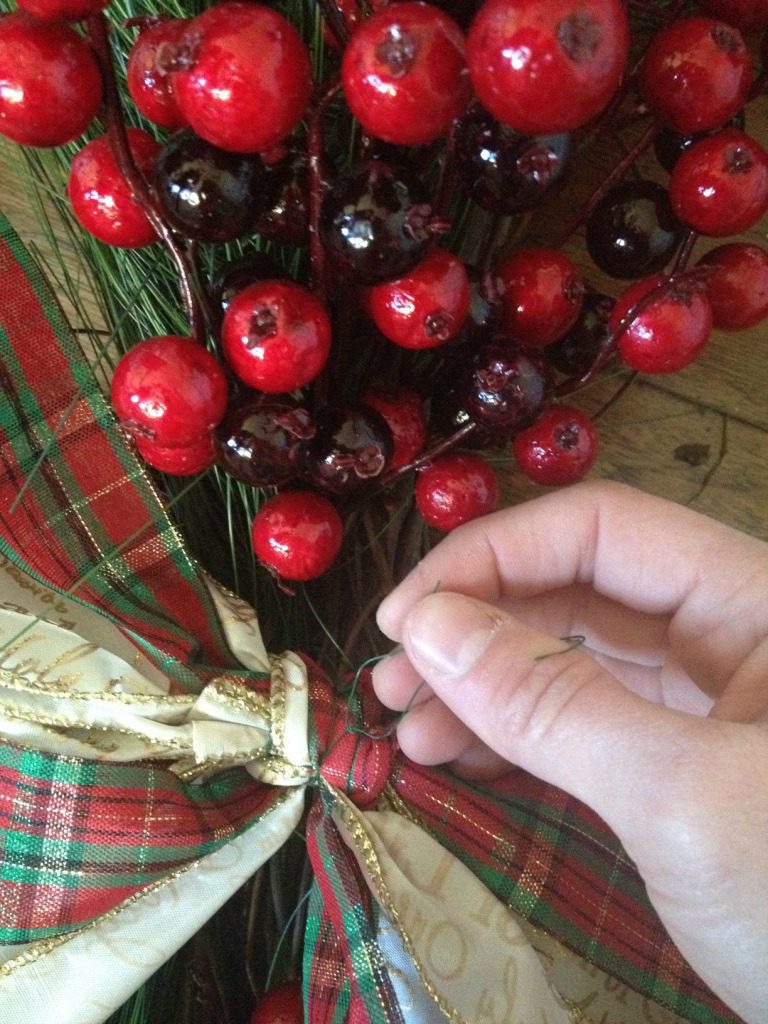
Next, attach a bow. If you want to make your own, keep reading, I will show you in a second. Just cut a piece of floral wire, slip it under a couple branches in the wreath form and twist it around the middle of the bow. Twist several times to secure it, then fold back or trim the excess wire.
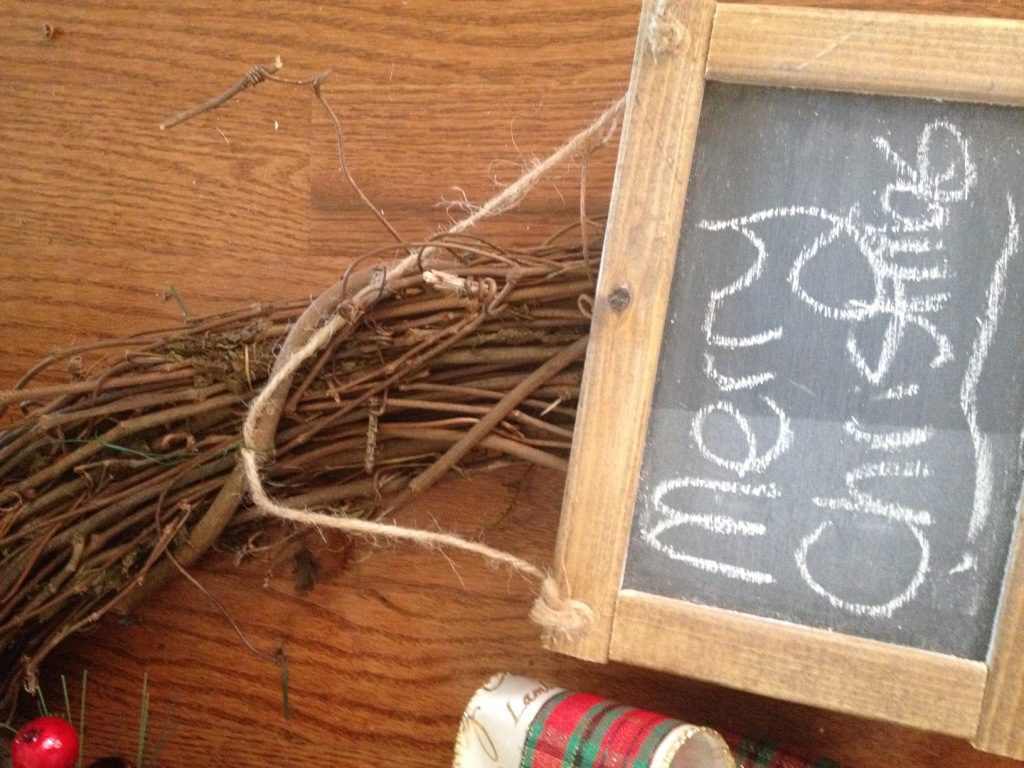
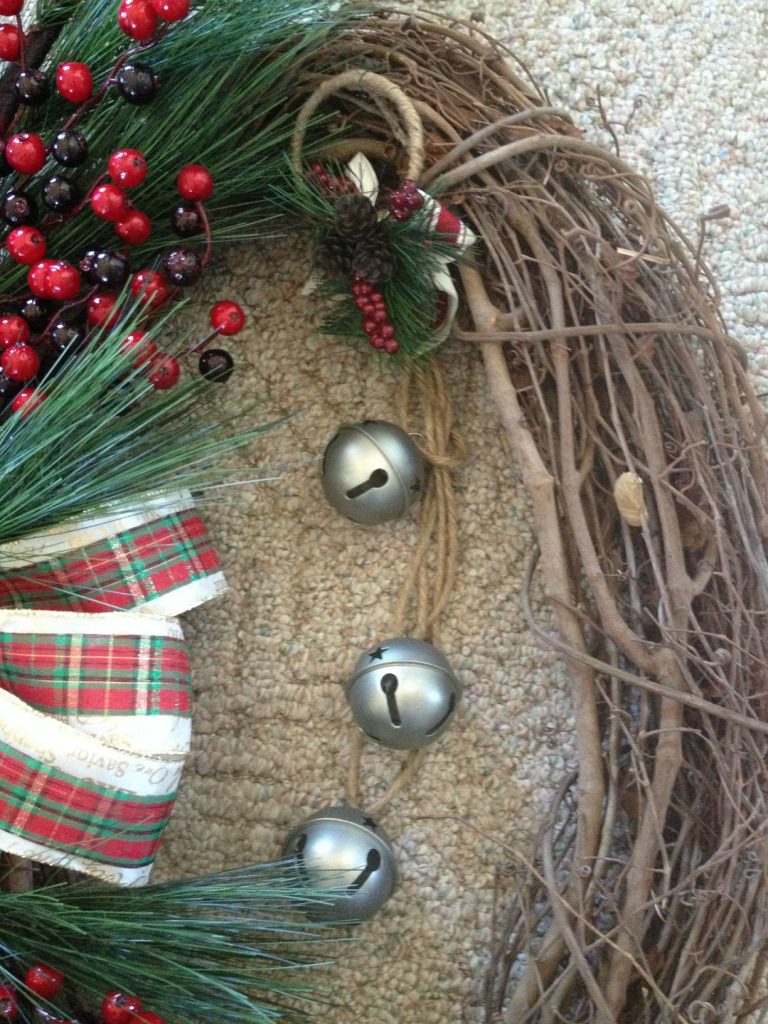
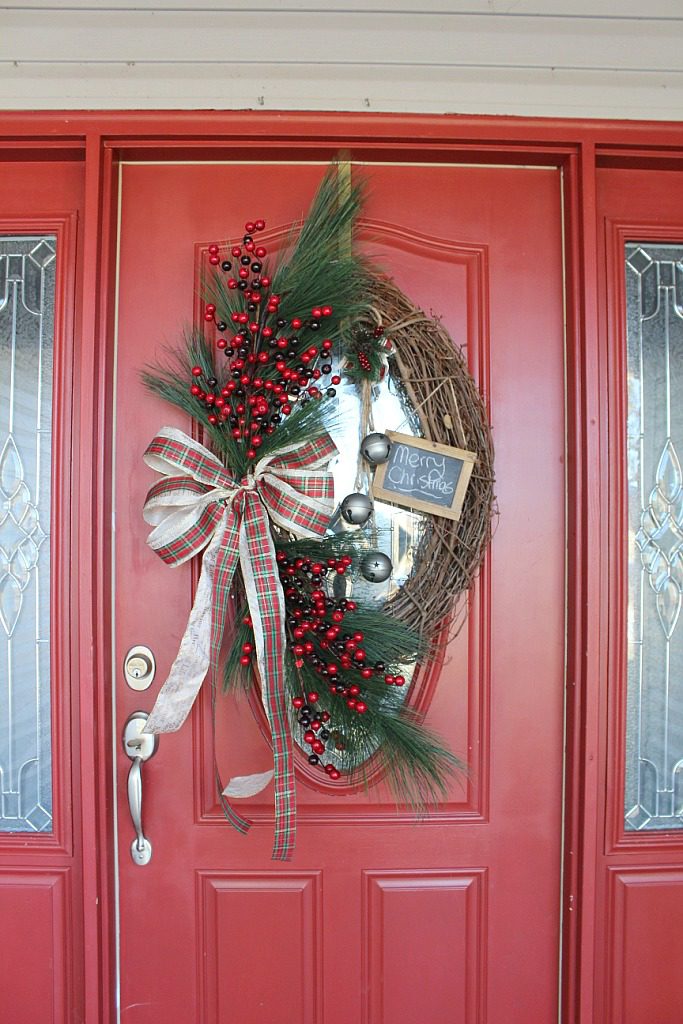
The next part is optional. If you want and you have room in your wreath, you can add a decorative item like a chalkboard or jingle bells…or both! Just use some floral wire to tie the item onto a couple branches.
And it’s DONE!
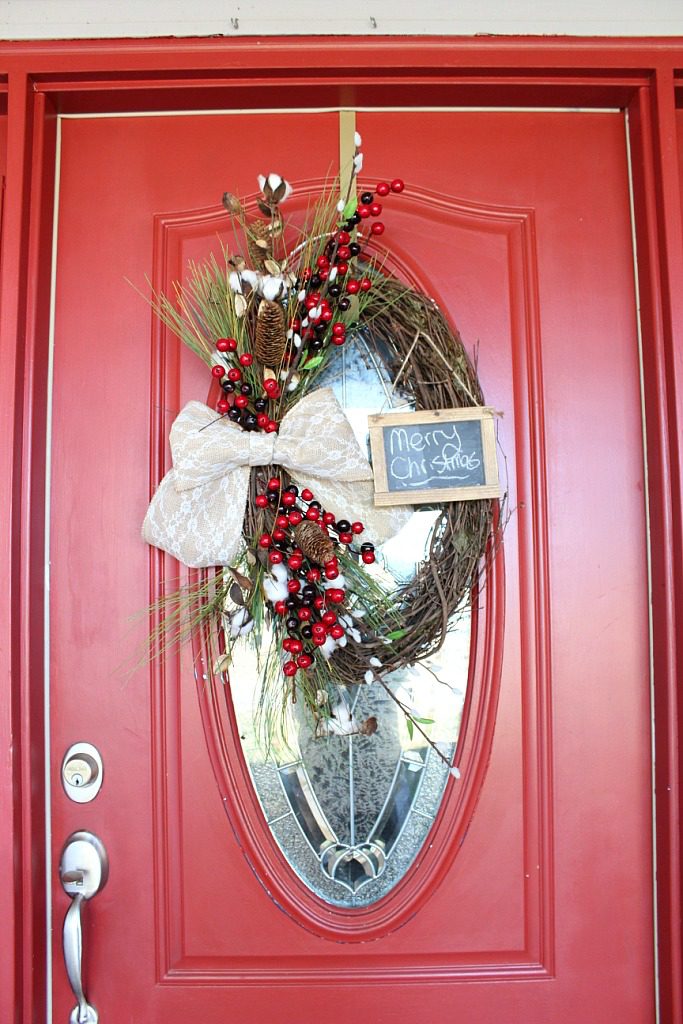
I made three of these one night. Two were 18″ wreath forms and one was a 24″. Here is the second small one I did. For this one, I did the exact same thing, only I used a different type of “greenery” stem. The beauty of these wreaths is you can mix and match whatever stems you like! You can also cut up your berries in smaller sizes and shove them all in separately. That’s what I did here.
This is the 24″ one. It was large enough to add a little chalkboard and jingle bells.
I promised you I would also show you how to make a bow. Now, there are probably a million tutorials out there for making a bow, but this is how I did it. I used two types of ribbon.
.
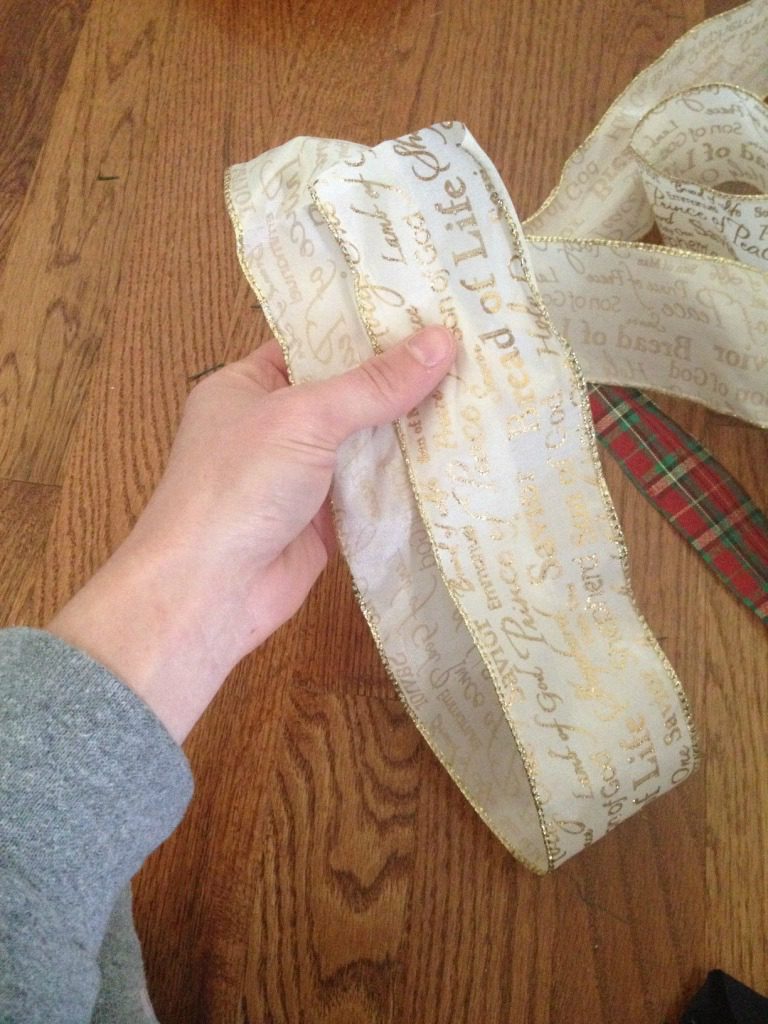
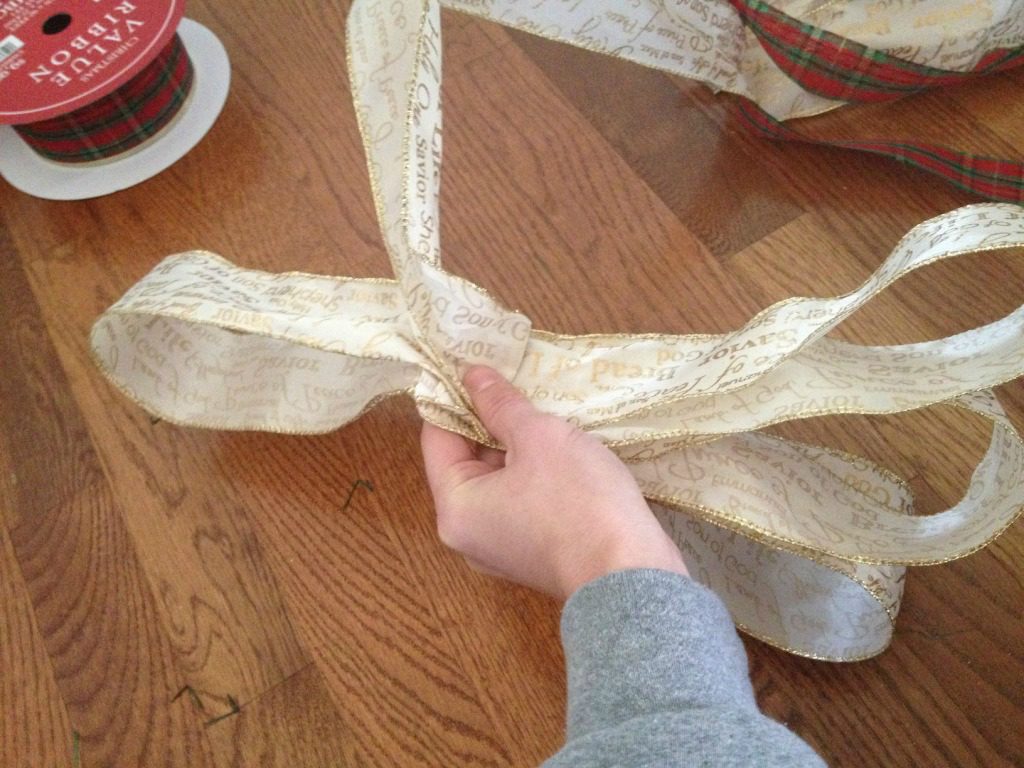
First, I took my main ribbon and made a loop.
Then, I folded back and made another two loops like this so that you have three loops the same size:
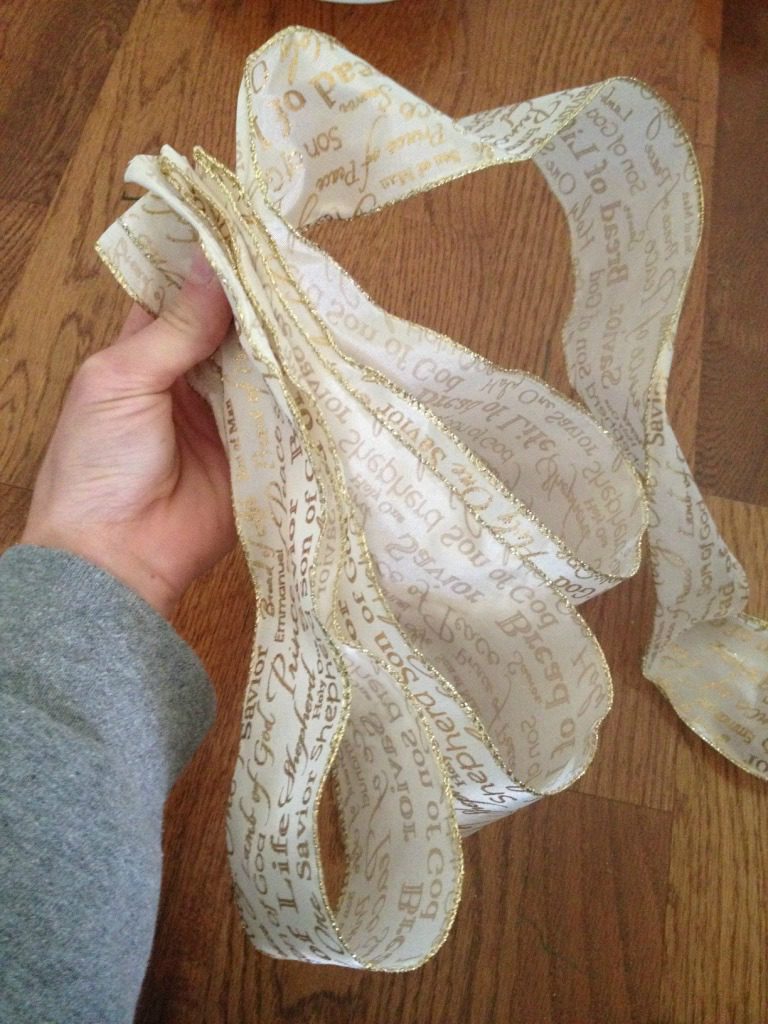
Fold the ribbon over on the other side and make a loop.
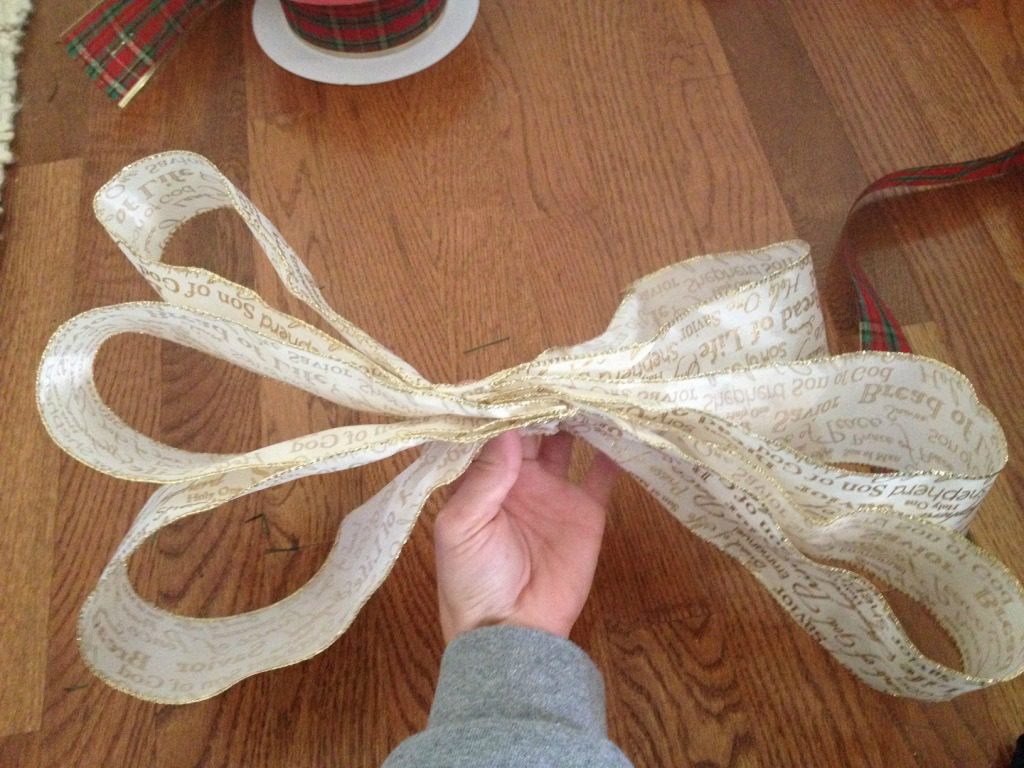
Then make two more loops on that side just like before. Make sure all the “folds” are overlapping a little in the middle then cut:
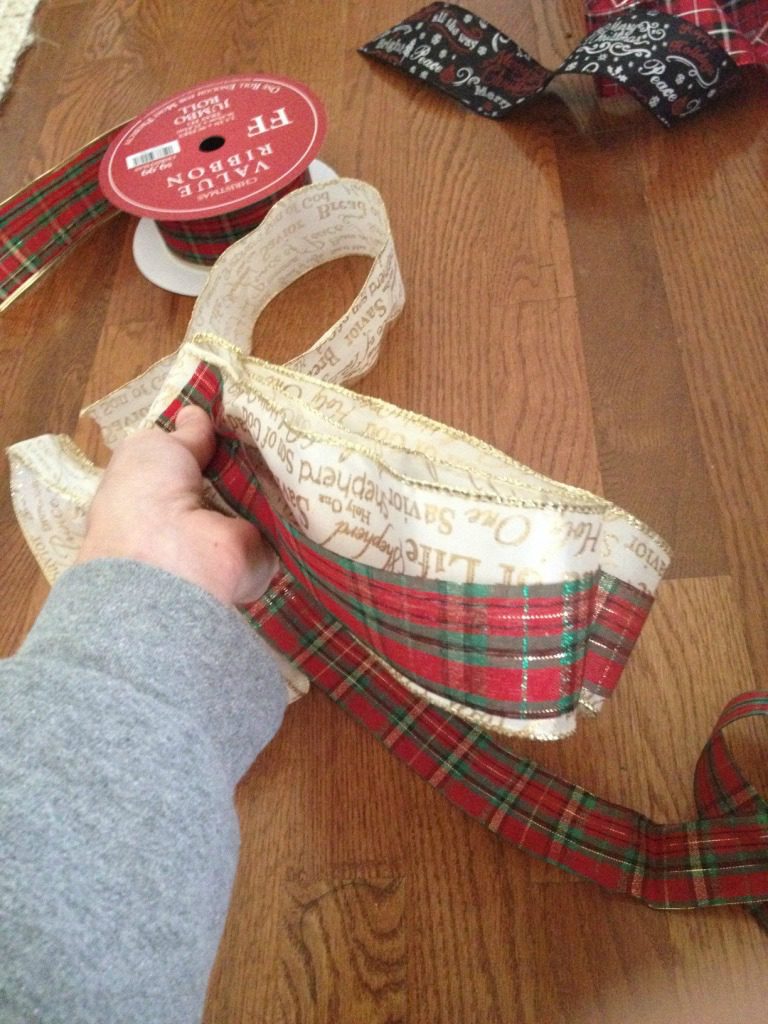
Now, stretch this bow back out and cut a piece of your “accent” ribbon the same length. Now do the exact same thing (make the six loops) with your accent ribbon on the top. Make sure you keep it tight.
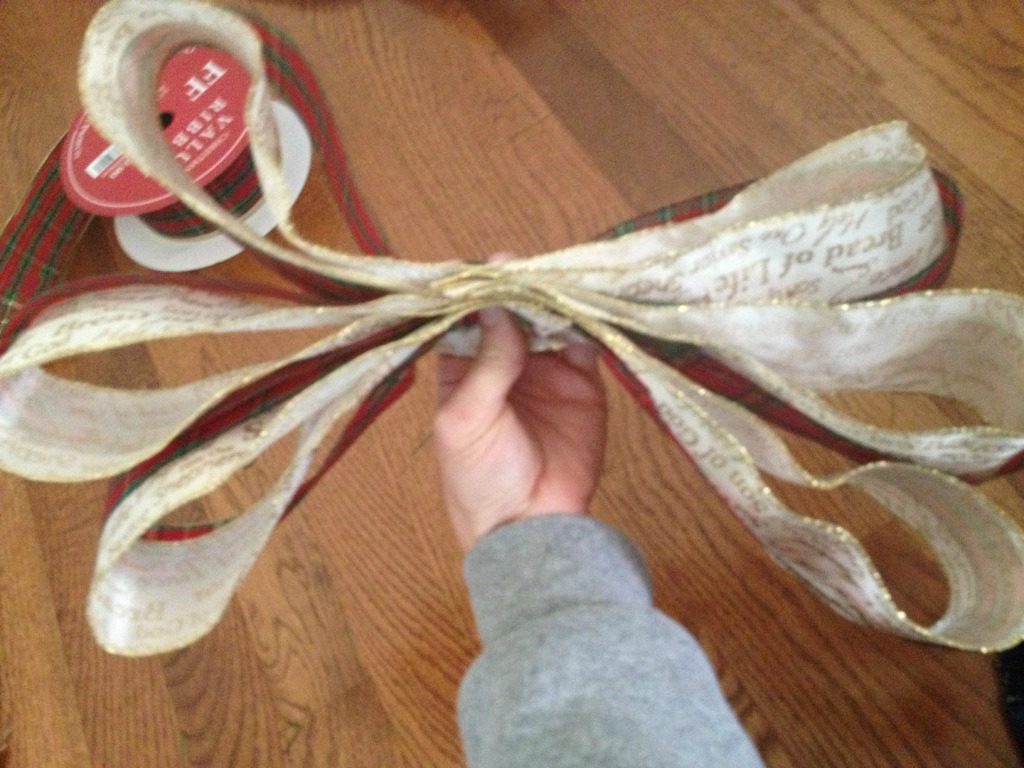
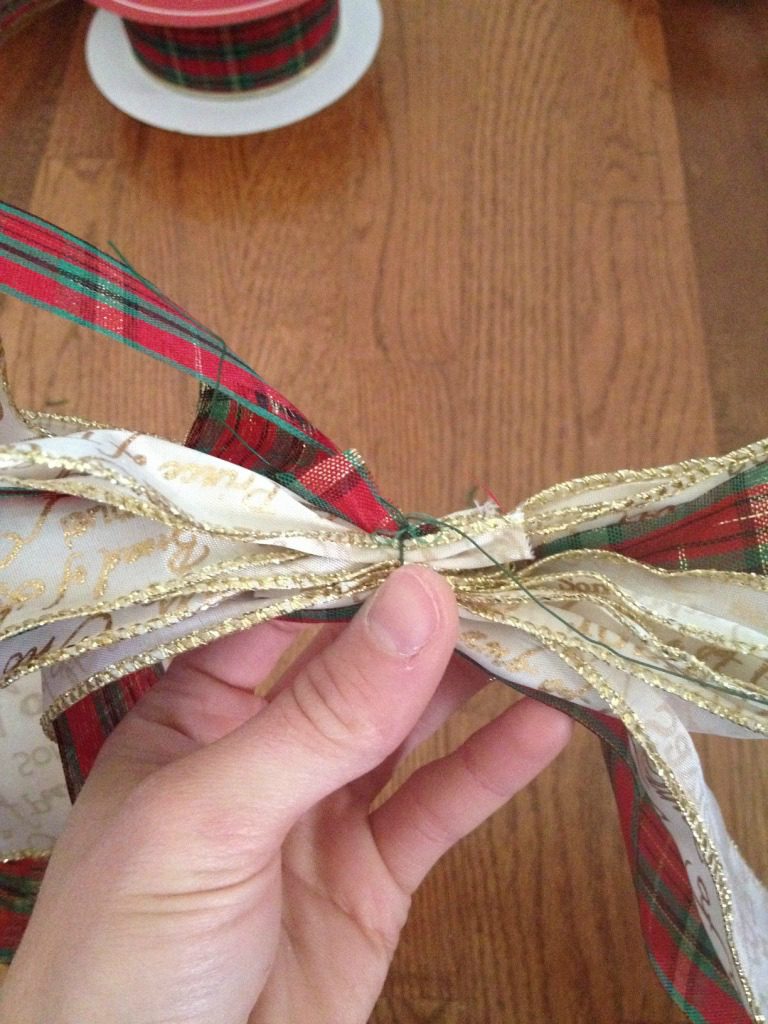
Once you made your six loops again, tie it TIGHT around the middle with some floral wire.
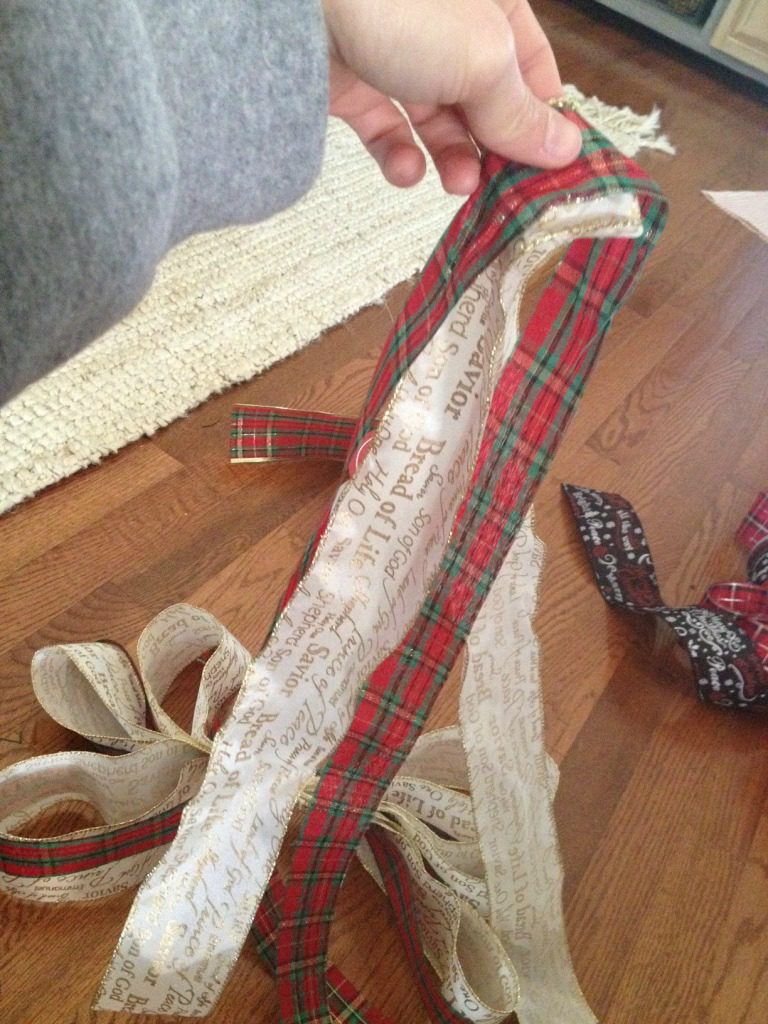
Then, cut two long pieces (as long as you want your ribbon tails) of each color ribbon.
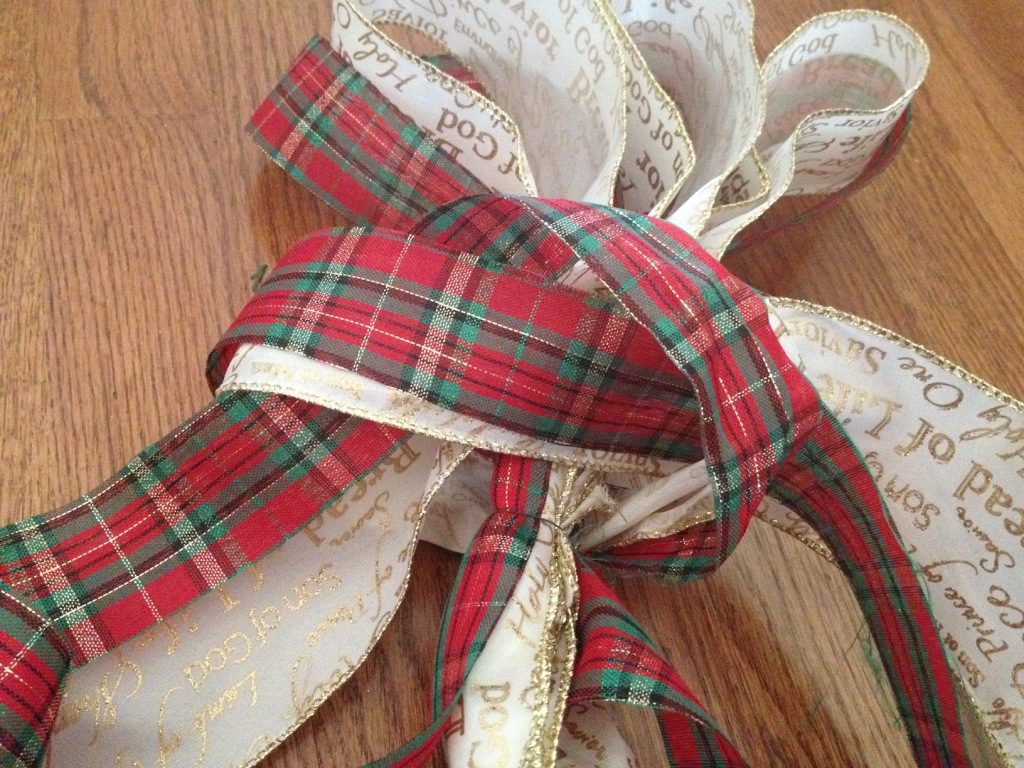
Tie them in a knot around the middle of your “six loop thingy.”
Pull tight, and fluff out your loops. Don’t pull them too much or they will come undone, but fluff and spread them out a little and that’s it!
For real, 5 minutes work and you’ve already made your neighbors jealous. Because, let’s face it…that’s the REAL goal here, right? Don’t lie, we all do it.
.
Stay tuned all this week for a few fun, fast, and easy Christmas DIYs as we head full force into the season!
.
Until next time, happy wreath making! 🙂




[…] you give it a try?? If you’re looking for more wreath ideas, be sure to check out this super easy 5 minute Christmas wreath and this super easy magnolia and cotton wreath, […]