
My sister is one of my most favorite people. I mean, we kind of grew up together. Of course, she had six MISERABLE years on this earth before I came along, but she’s known me for most of her life, and I’ve known her for all of mine.
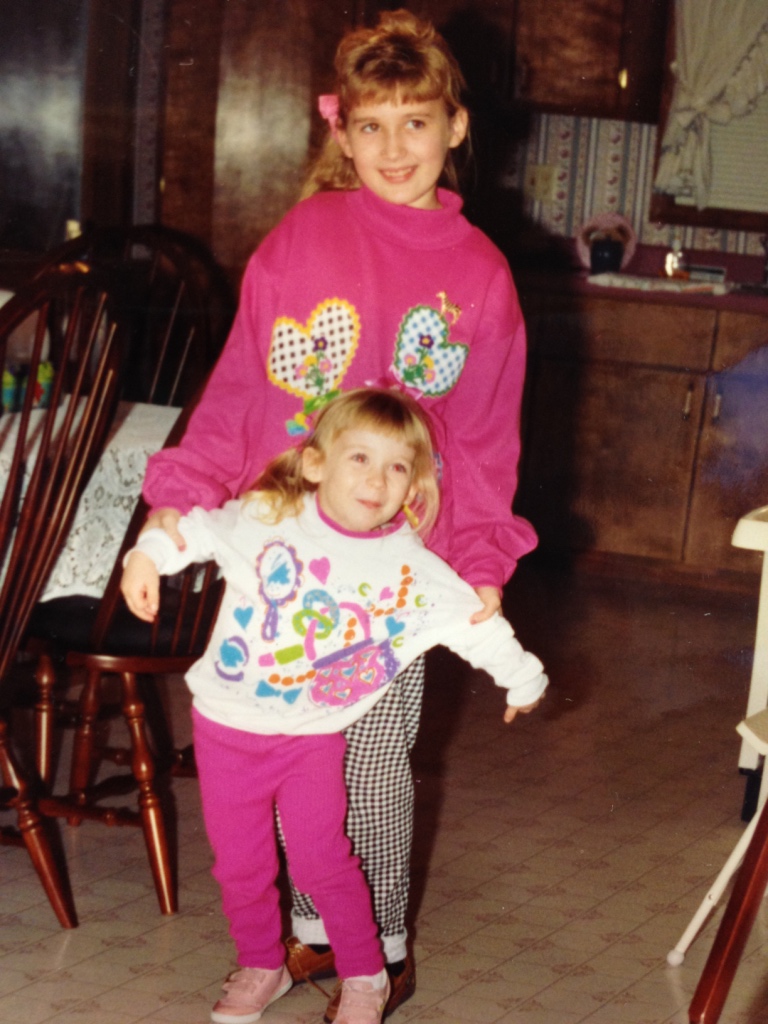
We vacationed together. We watched Disney movies together. We rode the bus together. And when she was old enough to drive, we would roll the windows down, listen to Kid Rock and see how fast we could top the hills on the hilliest road in the county. Seriously, DO NOT TELL MOM WE DID THAT. (FYI–mom on the left, sister and I on the right.)

Oh and on Christmas Eve, I always got to sleep in her bed because when I was little, I thought I would wake up in the middle of the night and scare away Santa, so she would make sure to keep me there until it was “safe” to leave the room. It became a tradition and we did that until she moved out. She will tell you she hated it, but she lies :).

So, all of that has nothing to do with nightstands. I said all of that to say I know my sister better than she thinks I do and sometimes it’s really funny.

She asked me to come over and help her with some storage ideas in her bedroom and closet. The first thing I noticed when I walked in the bedroom was that she didn’t have any nightstands. I asked if she would like some nightstands and pointed out that it would provide some extra storage.
.
She is very minimalist and doesn’t like a lot of furniture, so I knew she would say no. The dogs sleep beside the bed and she didn’t want nightstands in the way. I didn’t push it, but a couple weeks later she texts me asking if I would make some nightstands. Totally knew that was coming. Sometimes I just have to plant the seed and wait 🙂
.
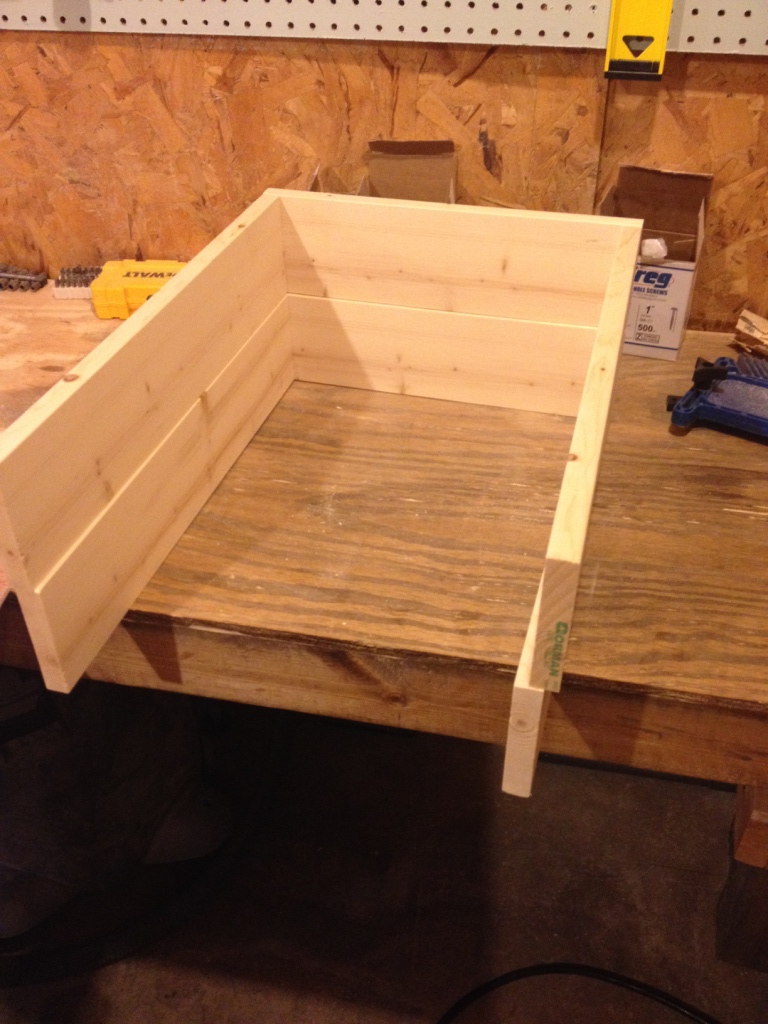
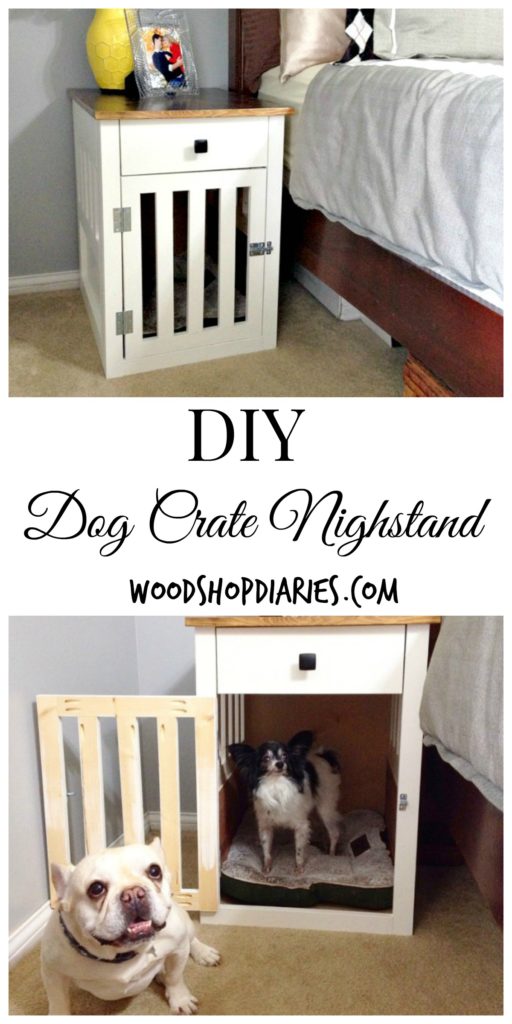
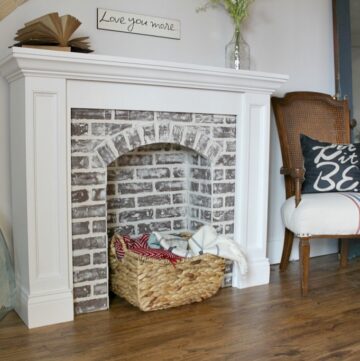
She wanted a dog crate nightstand like this one from Ana White. But just like with the fireplace I made her, she wanted it customized. She gave me the dimensions she wanted and I modified the plans and added the drawer. You can pretty much follow Ana’s general plan for the crate (adjust measurements as needed for your particular size).
.
But, to add a drawer, I just made the top piece on both sides a 1×6, added wood drawer slides, and made a simple drawer to fit the space.

I also used a solid piece of plywood for the bottom and the back. Ana’s version had “bars” in the back to match the sides.
Be sure to attach the top before the drawer slides. I used pocket holes and screws to attach the top.

I attached drawer slides to each side of the crate at the bottom of the 1×6 piece using pocket holes and screws.

I made a simple drawer to fit in this space and I made the sides and back just deep enough to where they wouldn’t rub on the top when you slid it in and out. I stapled ¼″ plywood on the bottom, so don’t forget to add this in the drawer height as well. I used a 1×6 piece for the front. Below are the two “drawers” before attaching the front 1×6 piece and the ¼″ plywood bottom.
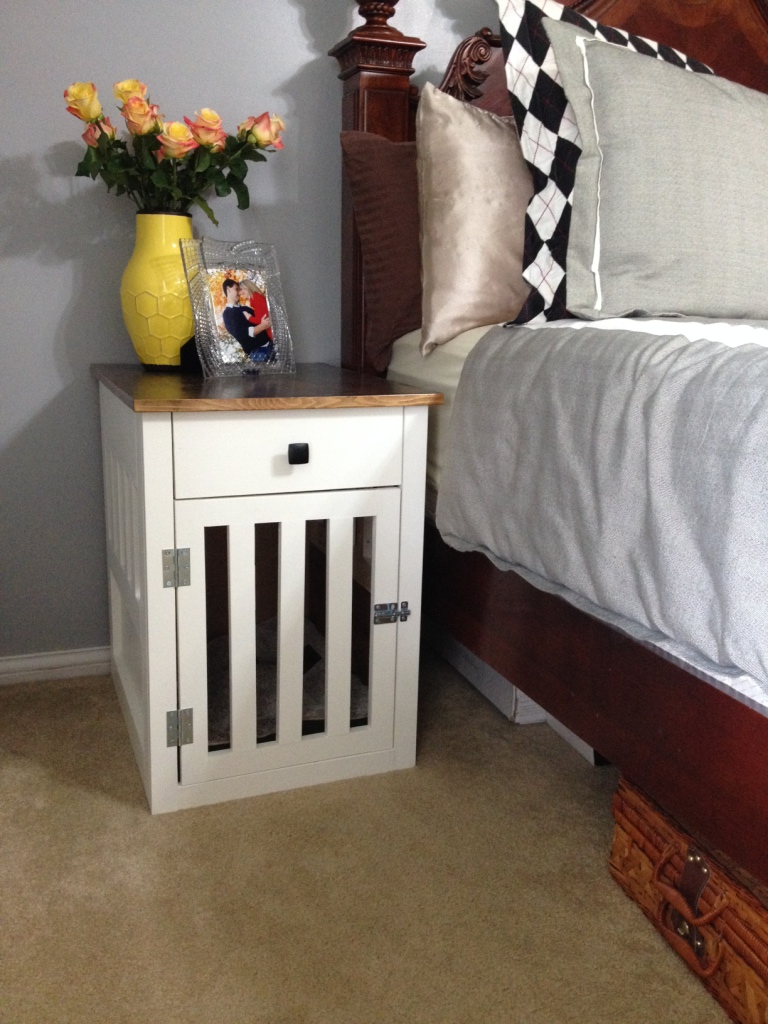
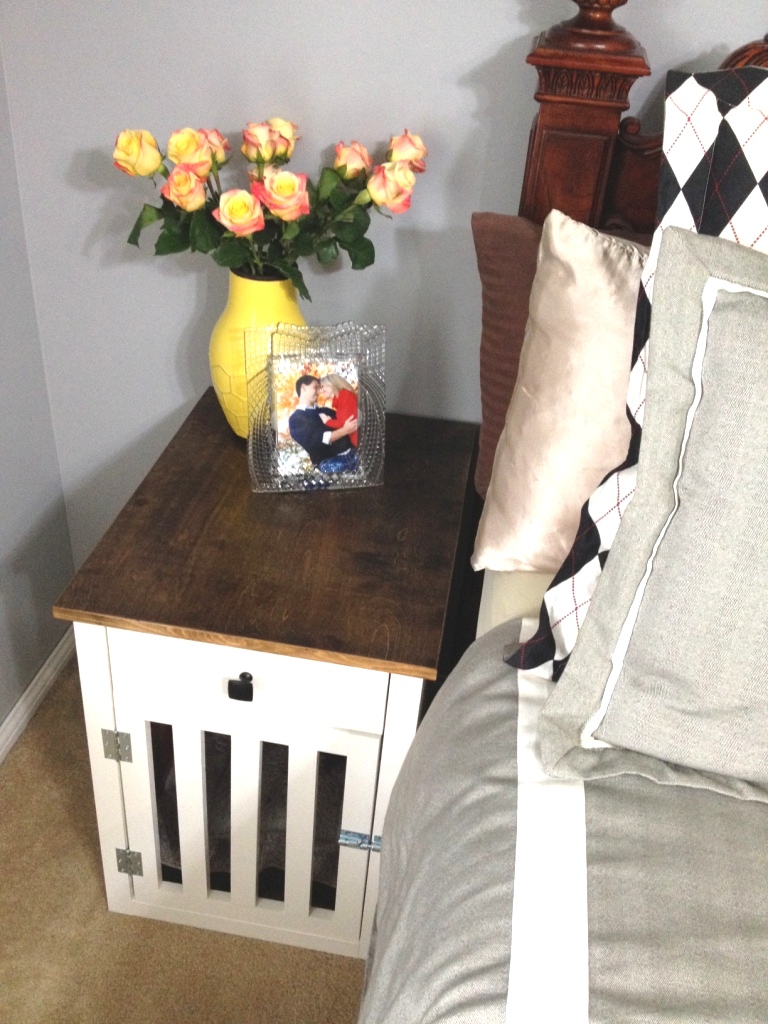
I also made a door to fit the opening once the drawer was installed. I painted the bottoms white and stained the top. I didn’t paint any of the inside because I didn’t want the dogs chewing on anything and eating any paint.

Add a simple knob, two hinges, and a latch to the front and it’s done!


And now, I present Sissy’s two dogs, Rufus and Wally!
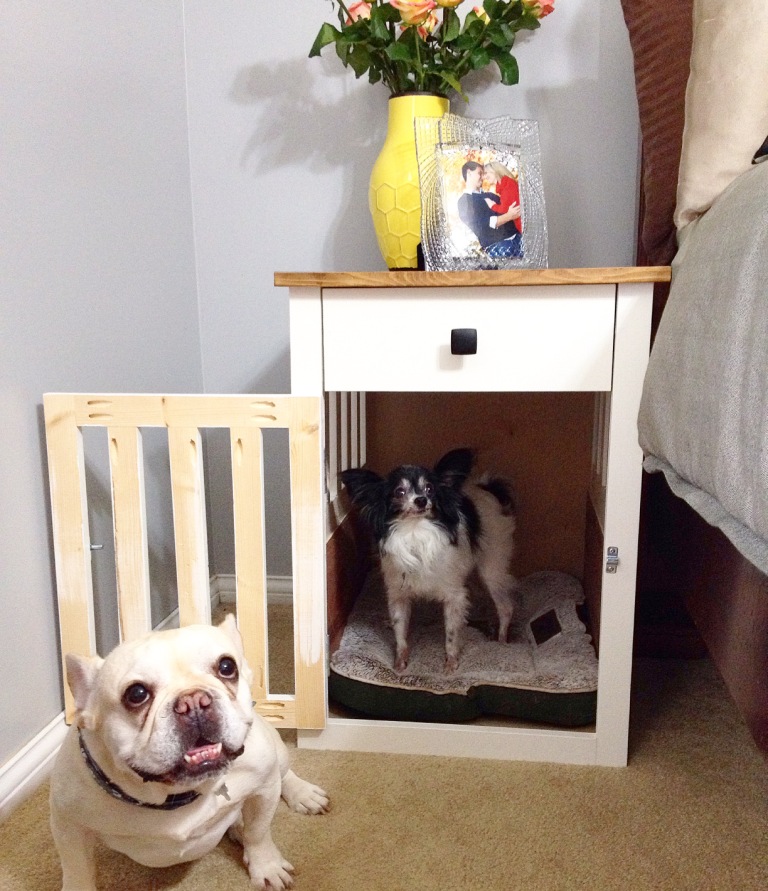
Rufus is more photogenic than Wally. Is this not the cutest thing?

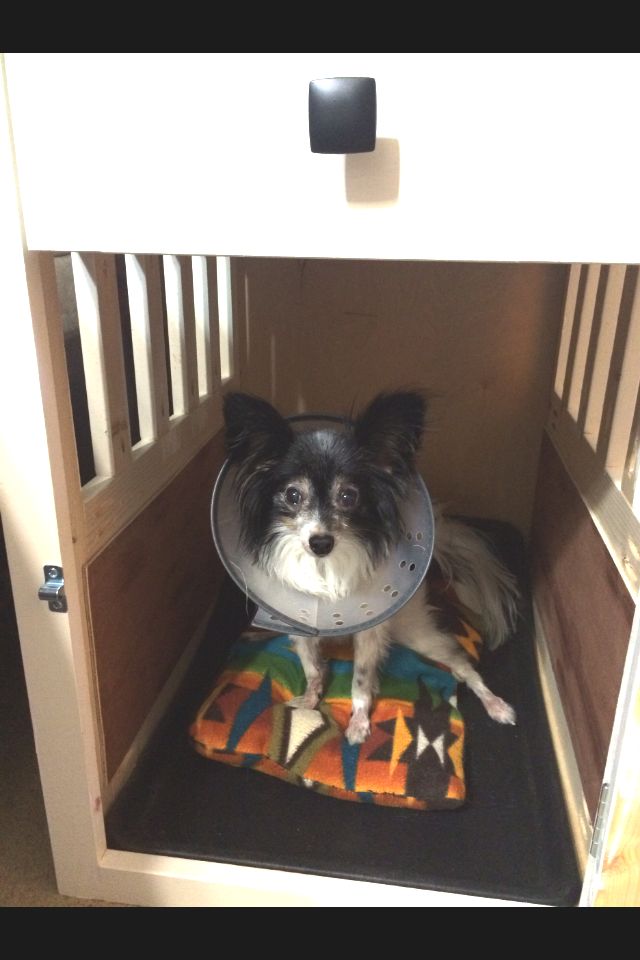
I think Rufus is a little more excited about the new crates than Wally. But my sister and her husband seem to like them, too. Which is more my concern than if the dogs like them haha.
.
Although this doesn’t provide my sister A TON of storage, it does give her two more drawers she didn’t have before, another surface to set things on, and a cuter place to house the dog beds. It’s a win!
.
Looks like my storage ideas are “going to the dogs” these days. Get it? I guess I should give my sister credit for the idea. She has these ideas and I just interpret them and bring them to reality. We make a good team I guess 🙂
.
Here’s to many more project collaborations with my sister! Maybe for the next one, I can talk her into painting haha!
.
Don’t forget to pin for later!
Until the next project, happy DIYing!

Mishelle says
What a great sister you are!!! I love them, great job.
Shara, Woodshop Diaries says
Thank you!
vince depiero says
What wood did you use for the top of the crate?
Shara, Woodshop Diaries says
I used birch plywood for the top 🙂
Diane Schule says
These are absolutely perfect! Ourdogs are too big (and too numerous) for these palaces, but I can wish…. BTW, try turning the drawer knobs a quarted to be on the diagonal, and pick up thaf harlequin bedding. They were a great choice for this room!
Shara, Chasing A Dream says
Thank you! Good idea, I hadn’t picked up on that!
Tom Clarke says
More pocket screws but now that I have the good Kreg jig, I don’t mind them. 🙂
Shara, Chasing A Dream says
HAHA Once I get used to using them, it’s really hard not to. They’re just too convenient!