
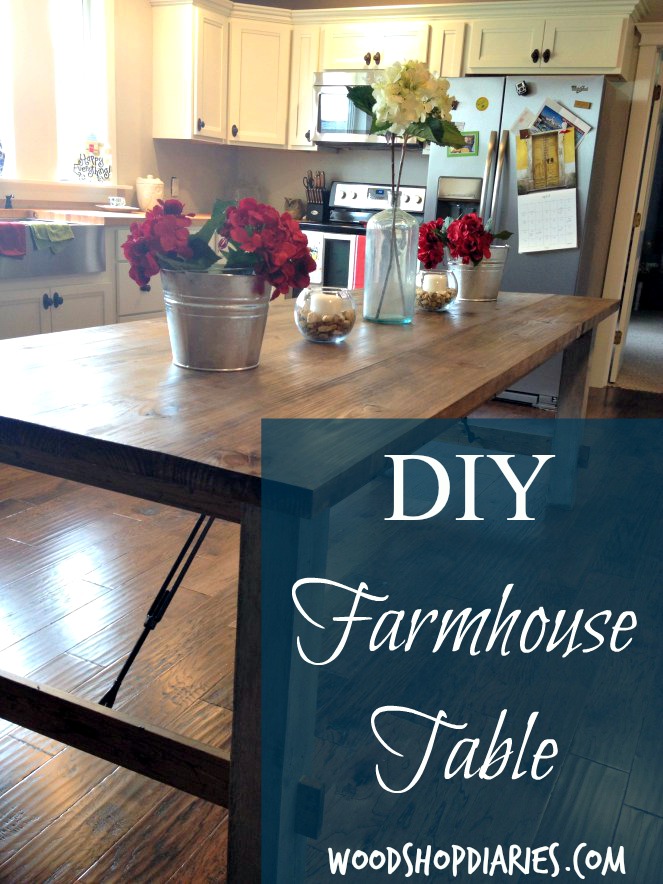
So when we got our kitchen put back together after our recent remodel, I wanted a big, long kitchen table to put in the middle of it. One of those tables that seats like ten people…with chairs and a bench and a rustic “farmhouse” thing going on. This raised some curiosity when I explained what I had in my mind to others because we are a whopping family of two with no plans for children.
BUT I want what I want and I made it anyway…

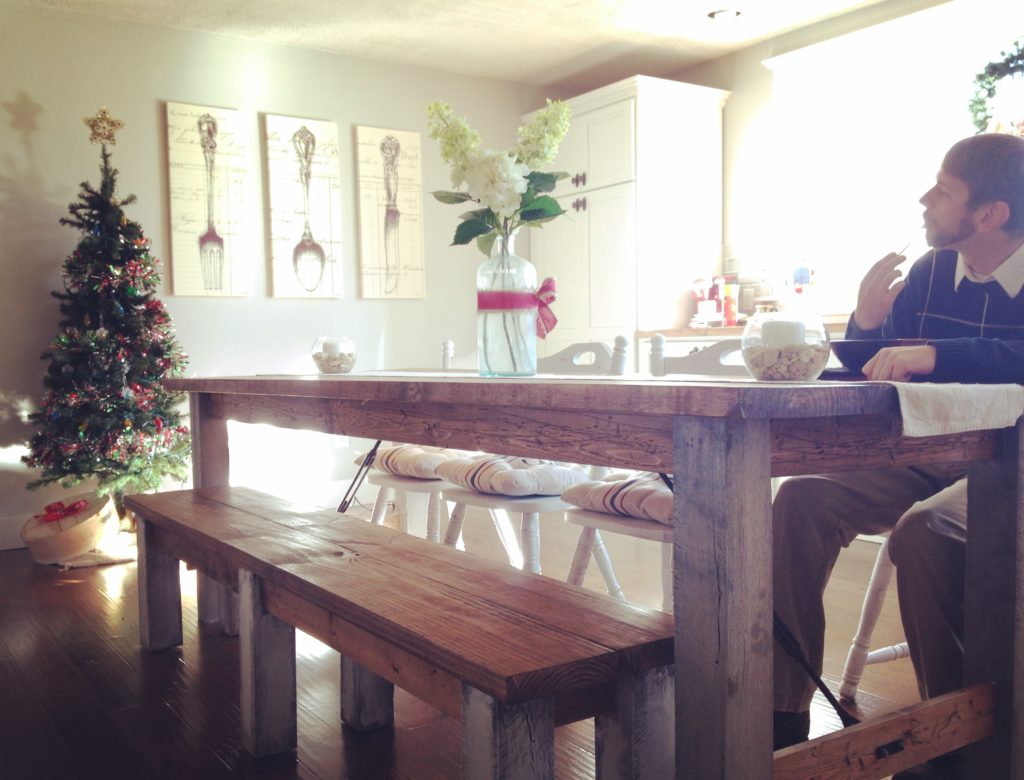
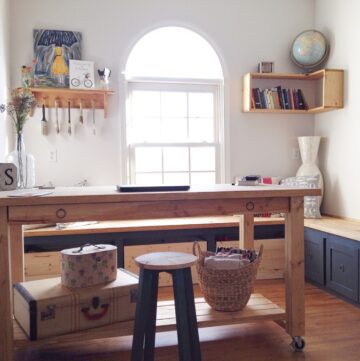
I loved it! It fills up just enough space in my kitchen to not be crowded, but not be empty–which was the goal here. Plus, I can slide the bench under the table and out of the way. Awesome!!!!! And when we have family over, everyone can sit at the same table 🙂
It cost me maybe $150 total for the lumber and hardware. Seriously, an 8ft table with seating for 8 for $150. Talk about a steal!
I have a pallet full of old 4x4s I got from work several months ago and I cleaned a couple off, whitewashed them and used them for legs. (Much cheaper than turned wood legs at Lowes.) I cut the legs about 29″ long so that my table would be a total of 30 ½″ tall (about standard height). I built the frame one Saturday morning and waited patiently until the next weekend to buy the tabletop wood.
For the frame, I pocket hole screwed 1x4s into the 4×4 legs on all four sides. Then I pocket hole screwed 2x4s between the 1x4s in the middle for extra support and for having a place to screw the top into when I added it. (NOTE: This was one of my first build and I apologize for the lack of details as I was mainly figuring it out as I went haha. I’m editing this now a year later with a few more specifics.)

Since I’m too cheap to buy pipe clamps (which is like woodworking number one basic tool), I waited for dad to bring his over to borrow. (NOTE: It’s now a year later and I am proud to say I am the owner of FOUR pipe clamps…moving on up in life haha). So about a week later, we FINALLY (everything feels like an eternity when you want to finish a project and you can’t yet) got the table top glued and screwed together and I could stain it. I love staining. I love the smell, the process, the colors. I dream about staining all the time…no joke…is that weird?
For the table top, I used (4) 2x10s and squared them off on the table saw. Once they were square, I glued the edges and clamped it up overnight. I belt sanded the table really good before staining.
I saw a table online (I can’t find the link anymore 🙁 sad day!) that had used turnbuckles purely for decorative hardware on the underside of the table. I thought it was the coolest thing! But, as cool as that might be, NO ONE carried massive turnbuckles. I went to five different hardware stores and looked all over the internet. I finally found some (for a pretty hefty price) at Falders and was so relieved, I paid $50 without thinking. Looking back, I probably wouldn’t have spent that much seeing as you don’t really see much of it under the table…but whatever it’s there whether you notice it or not. See???


They do add a little something extra I suppose…
To attach these, I had to add another 1×4 between the bottom legs on the short side. I didn’t want to see the pocket holes, so I glued and clamped that piece there instead of screwing it. I just nailed a little piece onto the sides to make it look like it was notched out all the way through the leg. FOOLED YA! I used a little U hook to go through the eye on the turnbuckle and screwed it into the 1×4. I screwed an eye screw into the 2x4s I showed you in the frame under the table top and attached the hook of the turnbuckle in there.
I found these chairs at my favorite local junk store for $8 each!! Deal! I clearly haven’t finished painting them here yet. Actually I STILL haven’t finished them and they’ve been in my kitchen for over a month 🙂 that’s how I roll. Priorities, right?

After thinking about it for weeks, I finally made this cute little bench. I made the bench similar to how I made the table…it’s just got six legs. I pocket hole screwed 1x4s between all the legs, glued the top, and attached the top using pocket holes in the 1x4s from the underside.

I made Danny sit on it with me to make sure it would hold us both up haha. Good news…it did. Not even a little wiggly 🙂 (NOTE: it’s now a year later and we’ve sat at least 700 lbs on this bench in my kitchen on multiple occasions and everything still holds. This is what we do at family dinners–see how much weight we can put on things I build…)
I’m so excited about my new table. I’ve never had anything that had more than four seats and now I’m glad I can have my family over and we can all fit at the same table. And to top it off, I like that I can say, “why yes, yes I did build that myself (with a little help from dad).” Nothing beats homemade 🙂
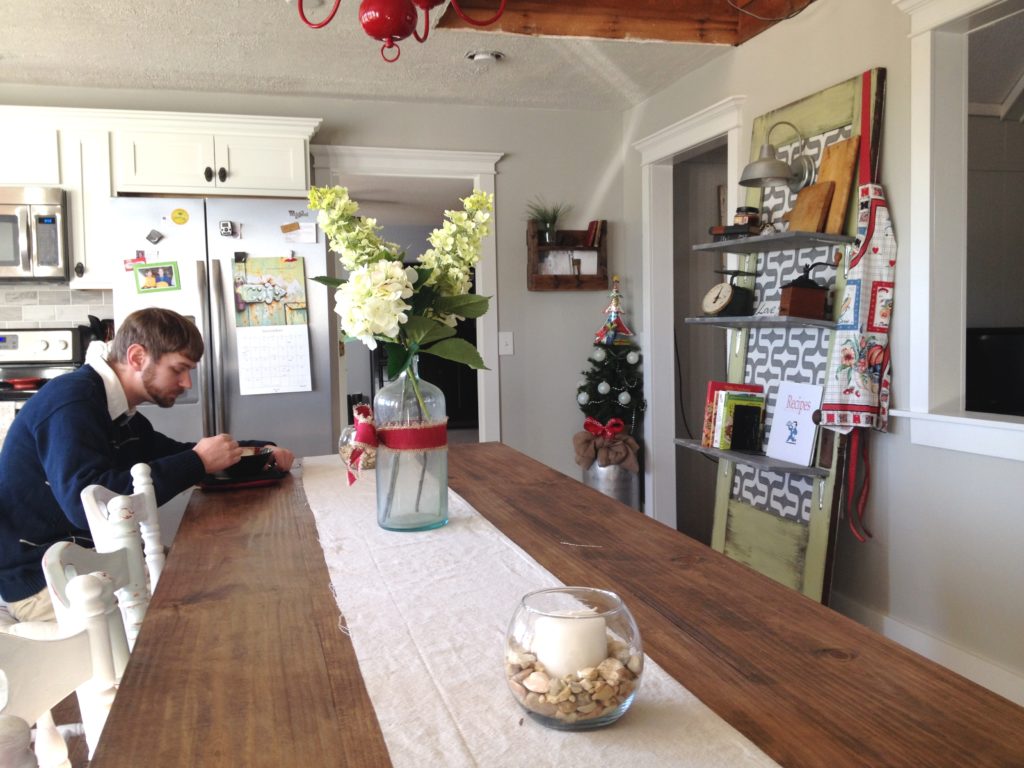
And now, a few more recent pictures:
Danny loves when I take pictures of him eating 🙂 hahaha
Don’t forget to pin for later!!
Ang says
How long are your turn buckles?
Shara, Woodshop Diaries says
I think they were 18″ turn buckles. They were the biggest ones I could find at the local farm store. I’m not sure how turnbuckle lengths are measured, but if it helps any, the turnbuckle part (the middle piece) is about 13 3/4″ long.
Sandra Green says
Where can I find plans for this table? I need pretty basic directions.
Shara says
I actually built it off an idea in my head….no specific plans. But, you can find plans that are pretty much the same on Ana-white.com. http://ana-white.com/2012/05/plans/turned-leg-farmhouse-table
Just modified to be 8 ft long instead of 6 1/2ft.
I used 4 1x8s for the top, 4x4s for the legs, 1x4s and 2x4s for the frame. I you’d like, I can try to write up a post with the exact plans and measurements.
Bman says
Those look like 2x8s on top. 1×8 would only be 3/4″ thick. 2x8s are 1.5″ thick. How did you cut the holes in the legs for the supports?
Shara, Chasing A Dream says
Yes the tops are 2x8s, but the apron is 1×4. I actually did not cut holes in the legs for the supports…I glued them to look like they went through the leg.