
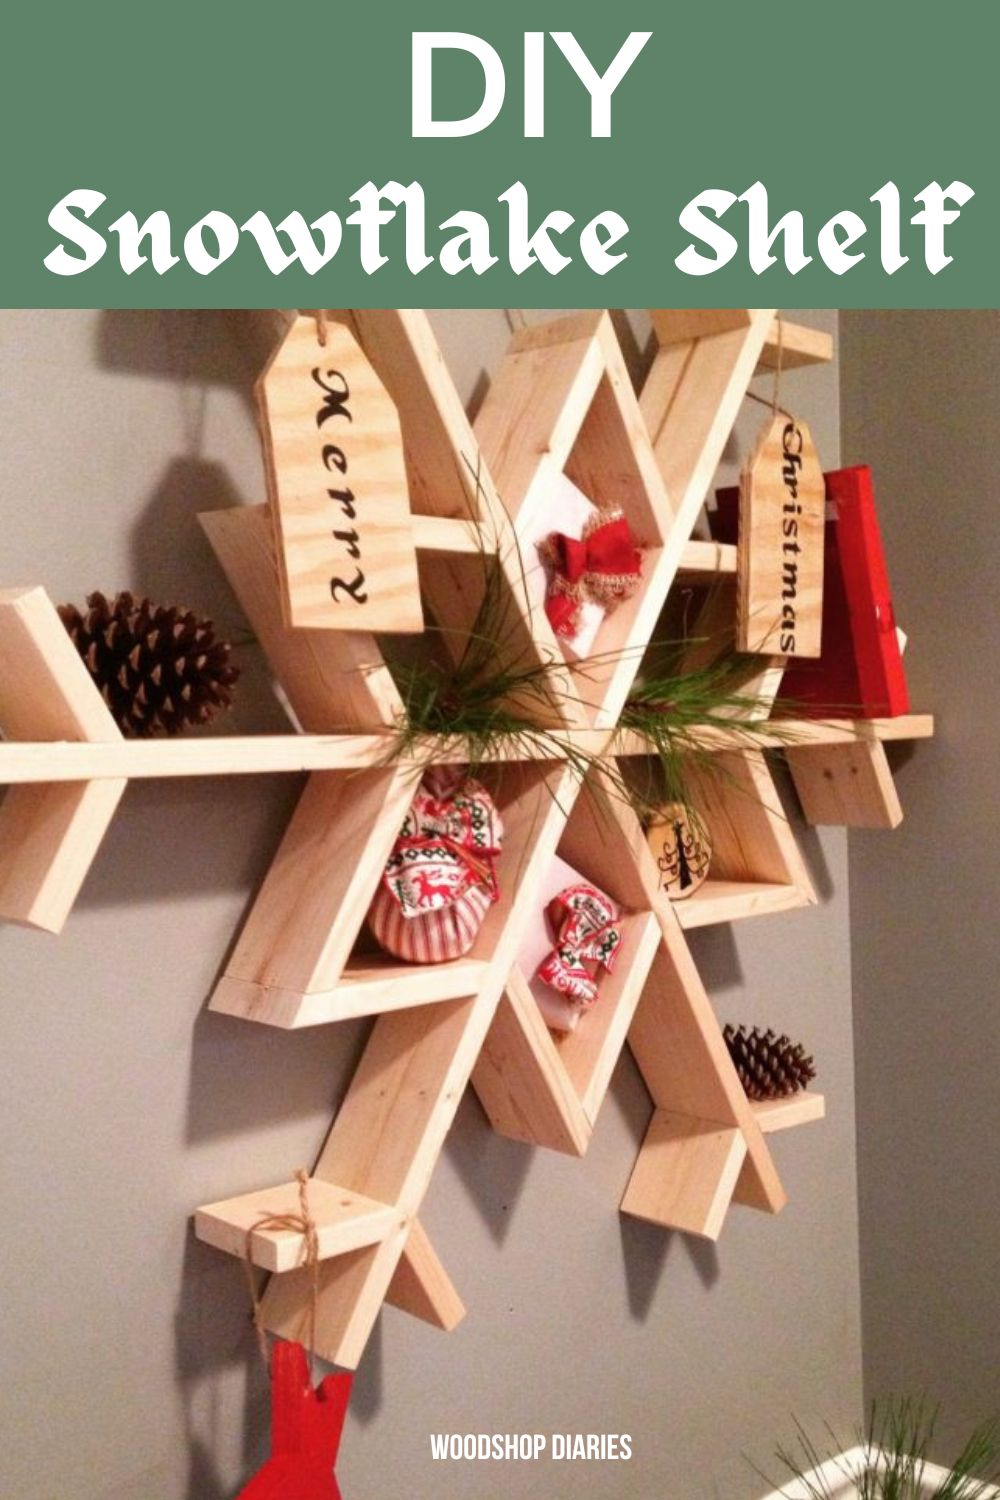
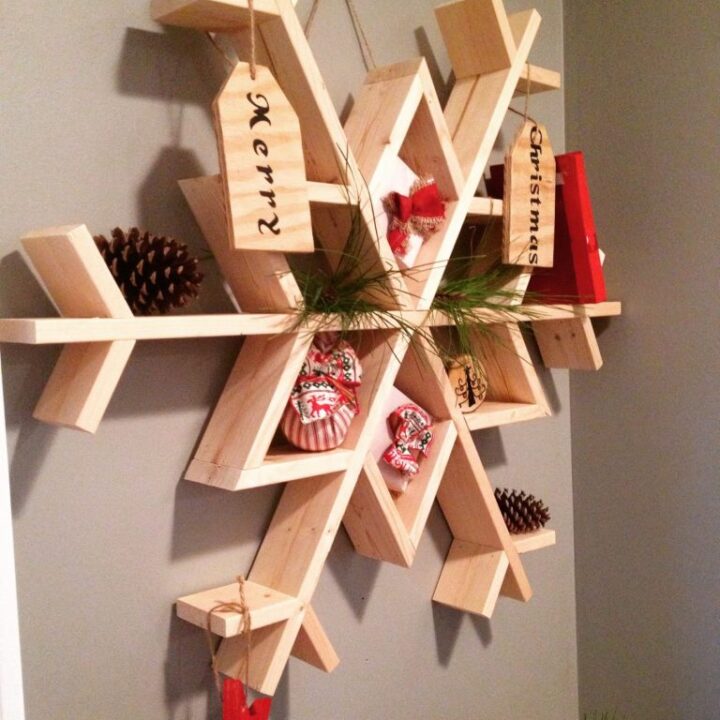
.This post will show you how to build your own DIY wooden snowflake shelf!
I love seasonal DIYs–and I also love snow. And I also love easy weekend woodworking projects.
So, this DIY snowflake shelf checks all the boxes and makes for the perfect little Christmas project!
This project was inspired by Jaime Costiglio’s Christmas tree shelf . I really loved the idea, but wanted something a little different.
So I made a SNOWFLAKE shelf instead. But this could certainly be used as a freestanding wooden snowflake as well!
(As a side note, this project has been copied multiple times since I made it back in 2015, so take note, mine was the original 😉 )
What to Know Before Building a Wooden Snowflake
The build was pretty simple and only took a couple of hours–mainly because the glue needed to dry.
The hardest part was getting the nailer into all the weird angles.
Using Nails to Assemble
You can use either a finish or brad nailer to assemble.
RELATED: What’s the difference between a finish and brad nailer?
But, some of these spaces are small and challenging to get a nailer into. Do the best you can and be sure to use plenty of wood glue.
Be careful when driving nails to drive at an angle that will seat the nail securely into the wood and not through and out the other side.
You don’t want any exposed nail ends sticking out of the finished project 🙂
That said, I recommend using nails 1 ½″ or shorter to help avoid this issue.
Weight Capacity
While this will hold some weight, it is intended for decorative purposes and not heavy duty use.
Exact weight capacity depends on a variety of factors like the condition and type of wood used, quality of assembly, etc.
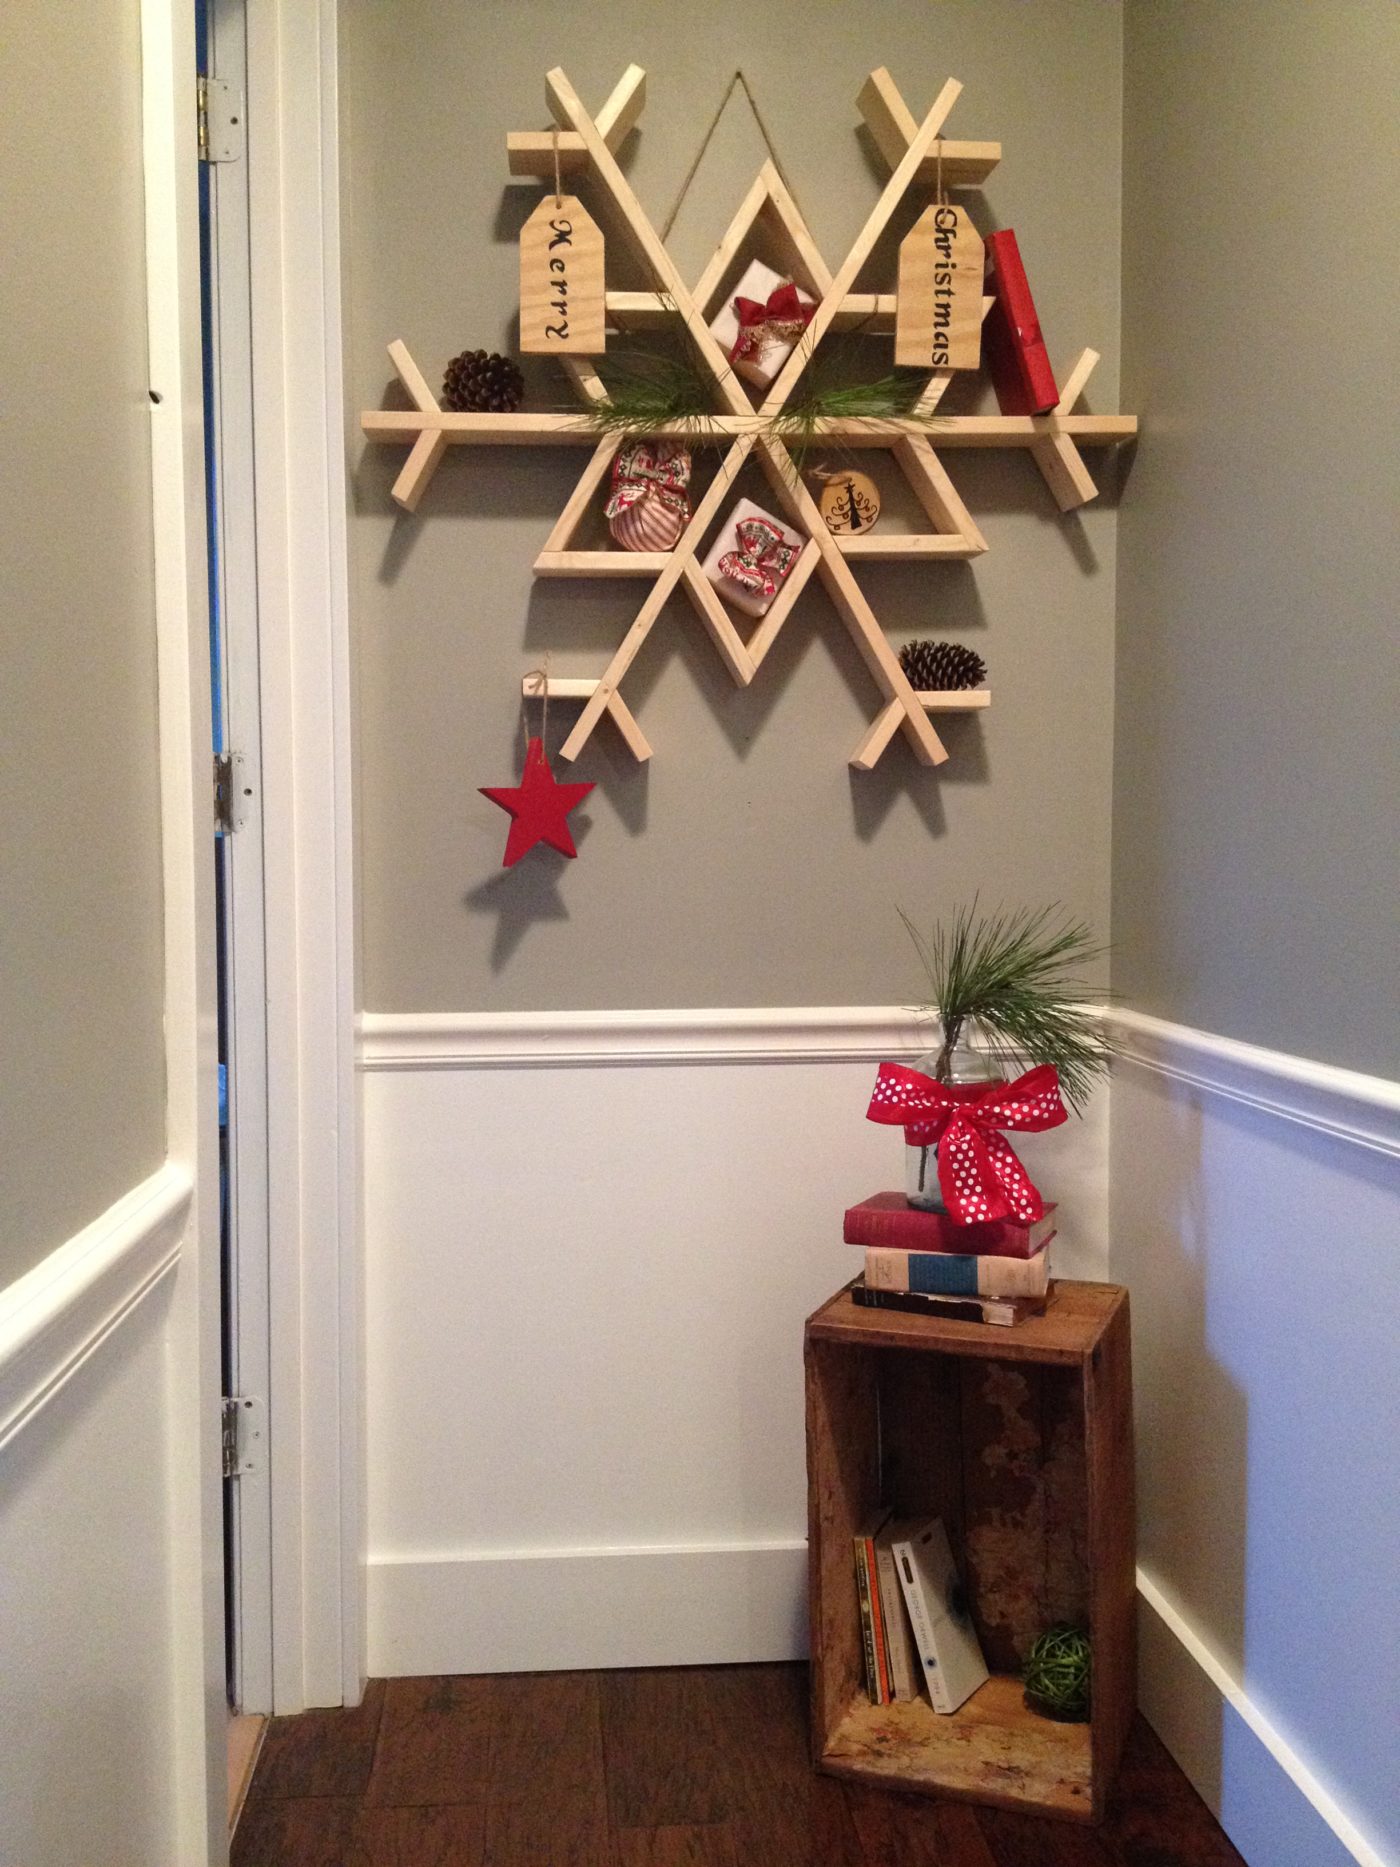
I hung my snowflake to use as a shelf by tying some twine around two of the arms and hanging it over a screw that was driven into a wall stud.
However, you can also use command strips, mounting tape, etc to hang it. It’s fairly heavy, so make sure whatever you hang it with can hold the weight.
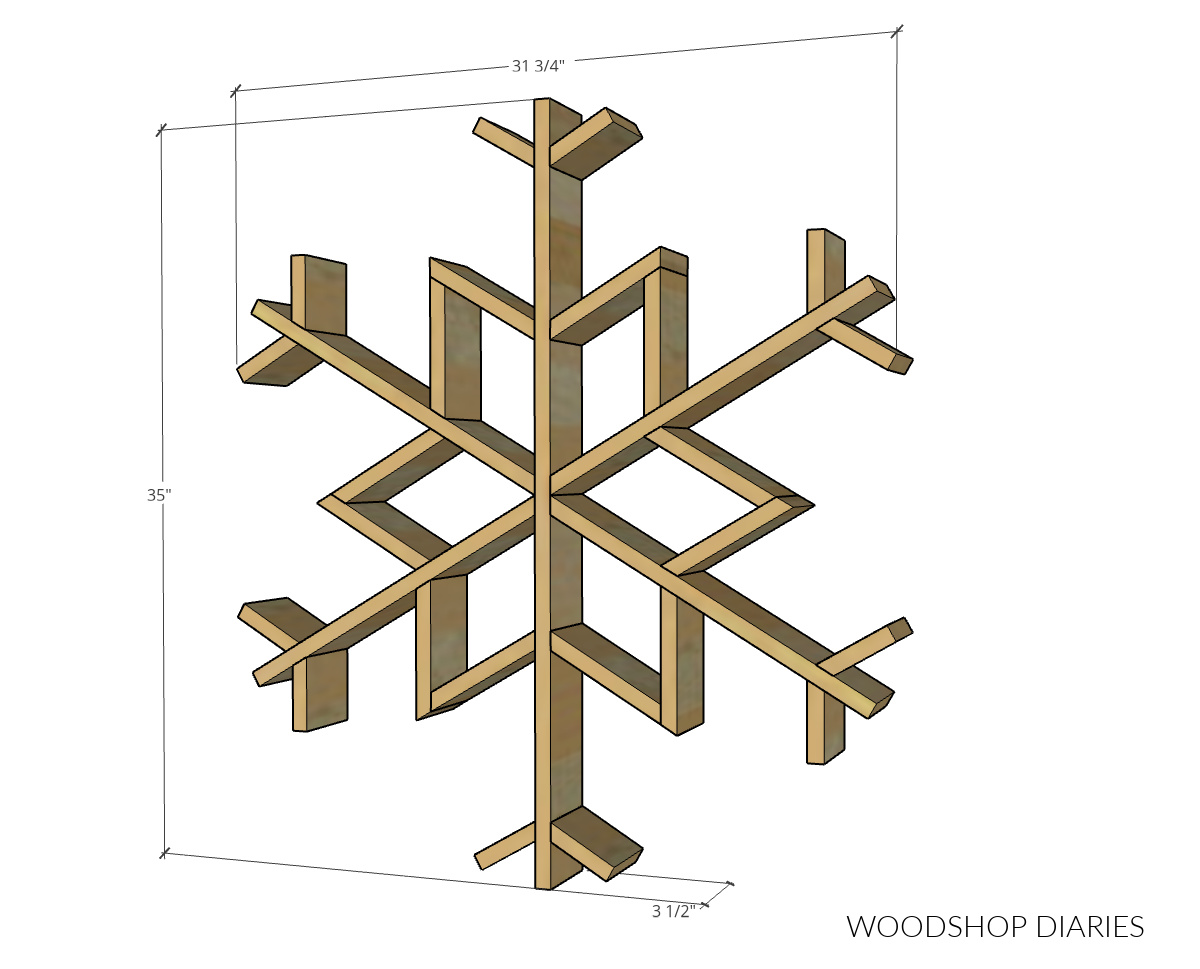
Overall Size:
The size is fairly easy to modify, but mine was about 35″ in diameter.
This post contains affiliate links. Please see disclosure policy for more details.
How to Make a Snowflake Shelf
I’m sharing the plans below, but if you prefer to print your plans, you can grab the printable wooden snowflake plans here:
Tools & Materials
Materials:
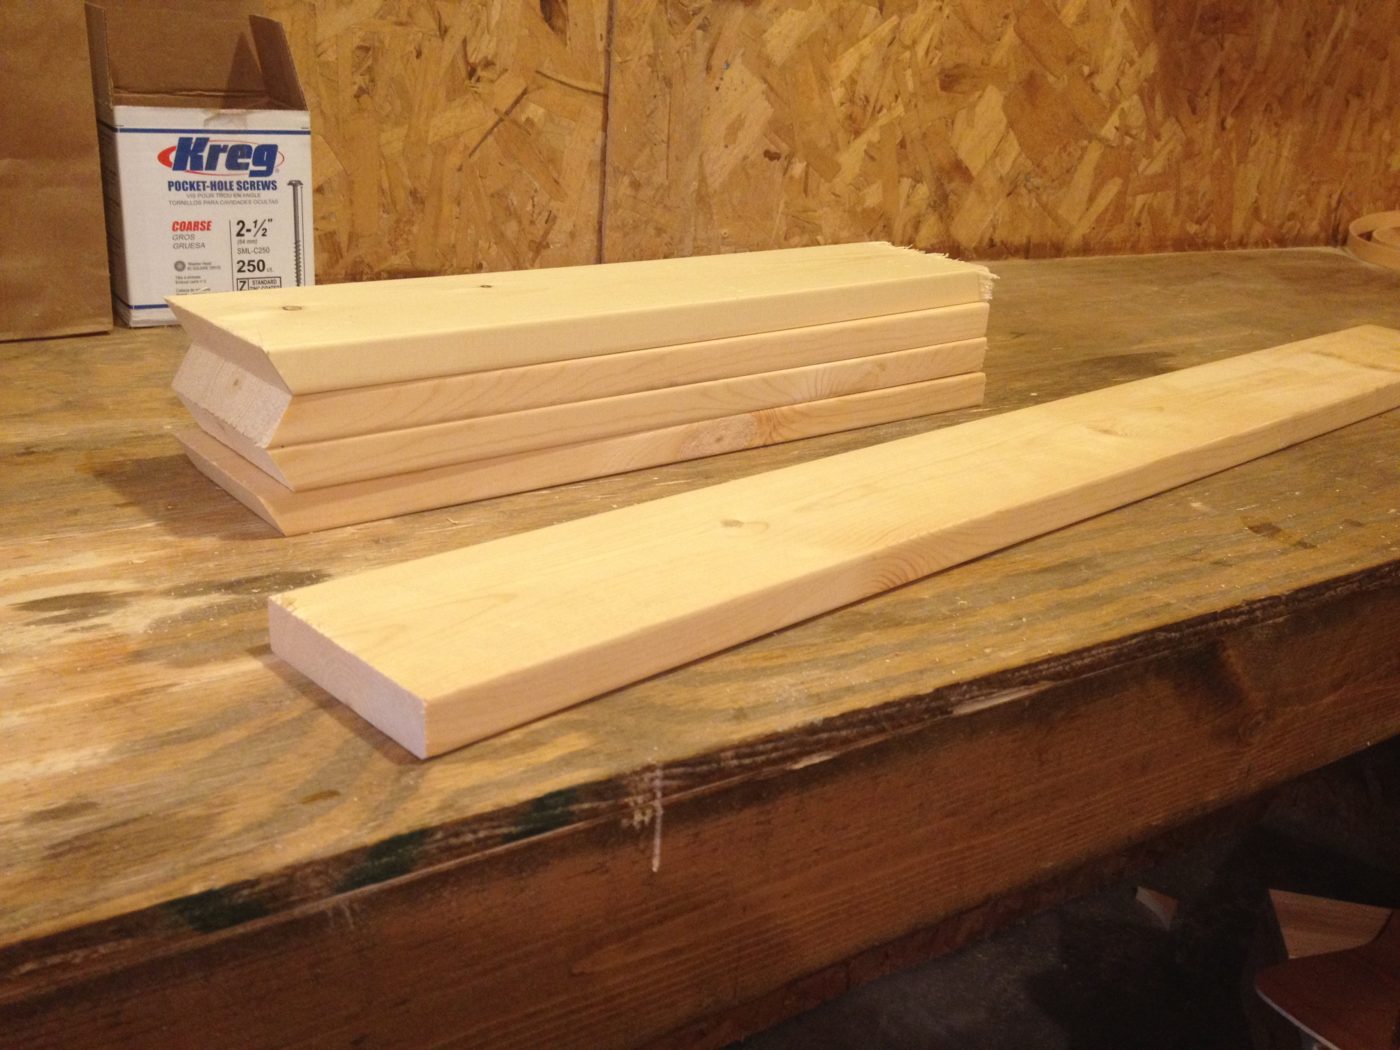
- 18+ feet of 1×4 (I used about 18 feet of lumber, but you may want to get a little more in case you make a mistake in cutting)
- Glue
- Clamp (optional)
Step 1: Assemble Main Frame of DIY Snowflake Shelf
I cut a piece of 1×4 at the the height I wanted my snowflake long with ends square. Then I cut 4 pieces of 1×4 about half that length with a 30 degree bevel on one end.
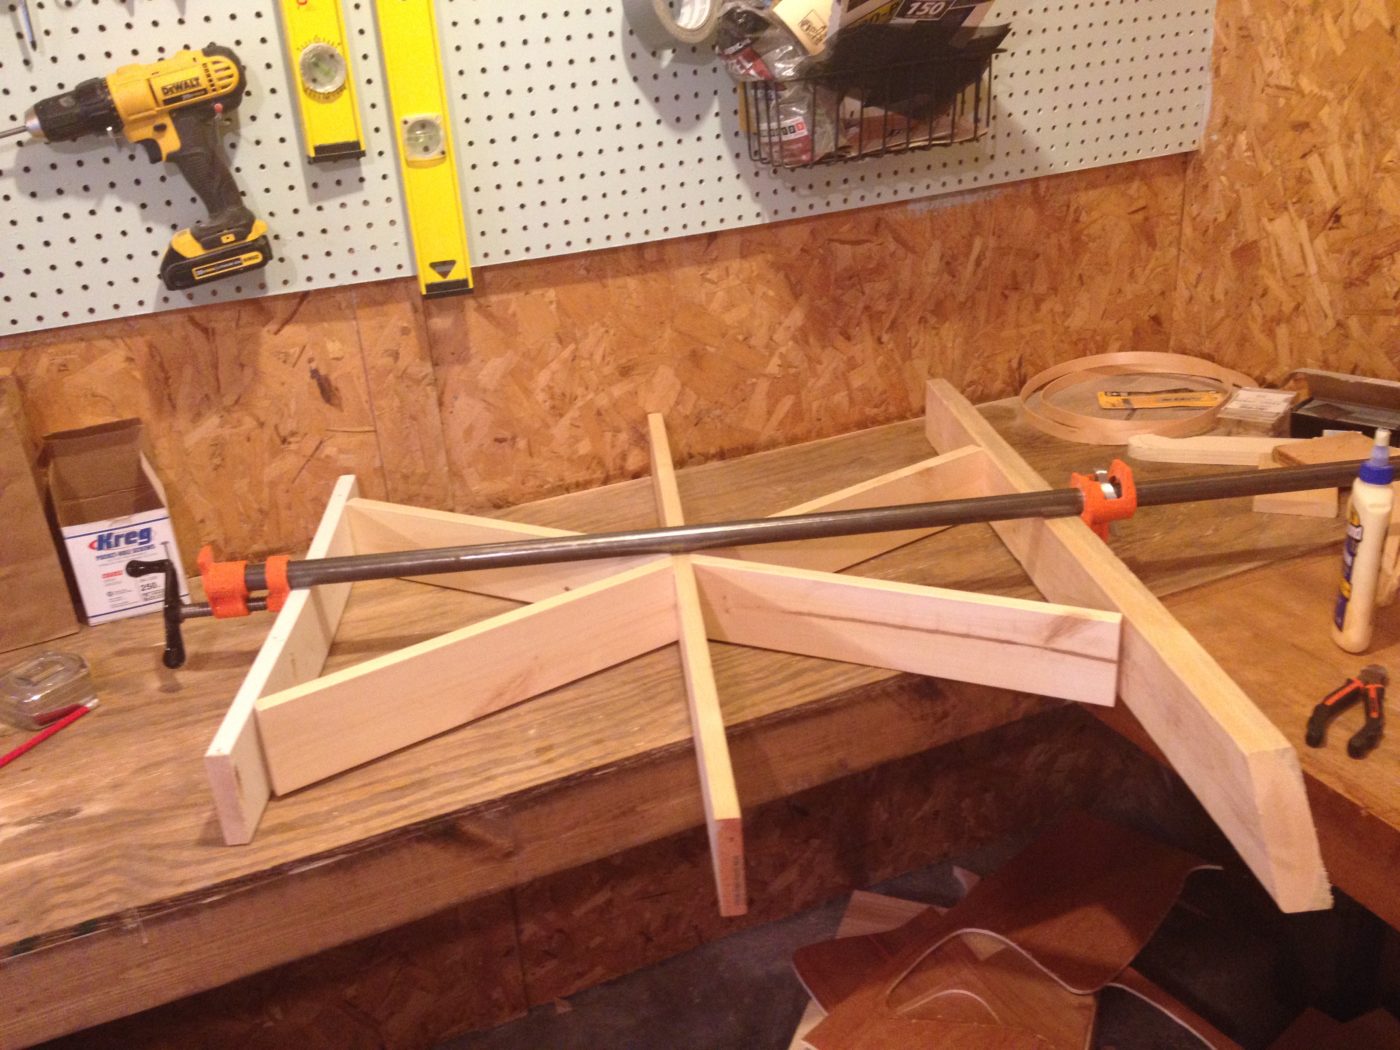
Then, I attached two of the short pieces to the center of the long piece with a brad nailer and wood glue.
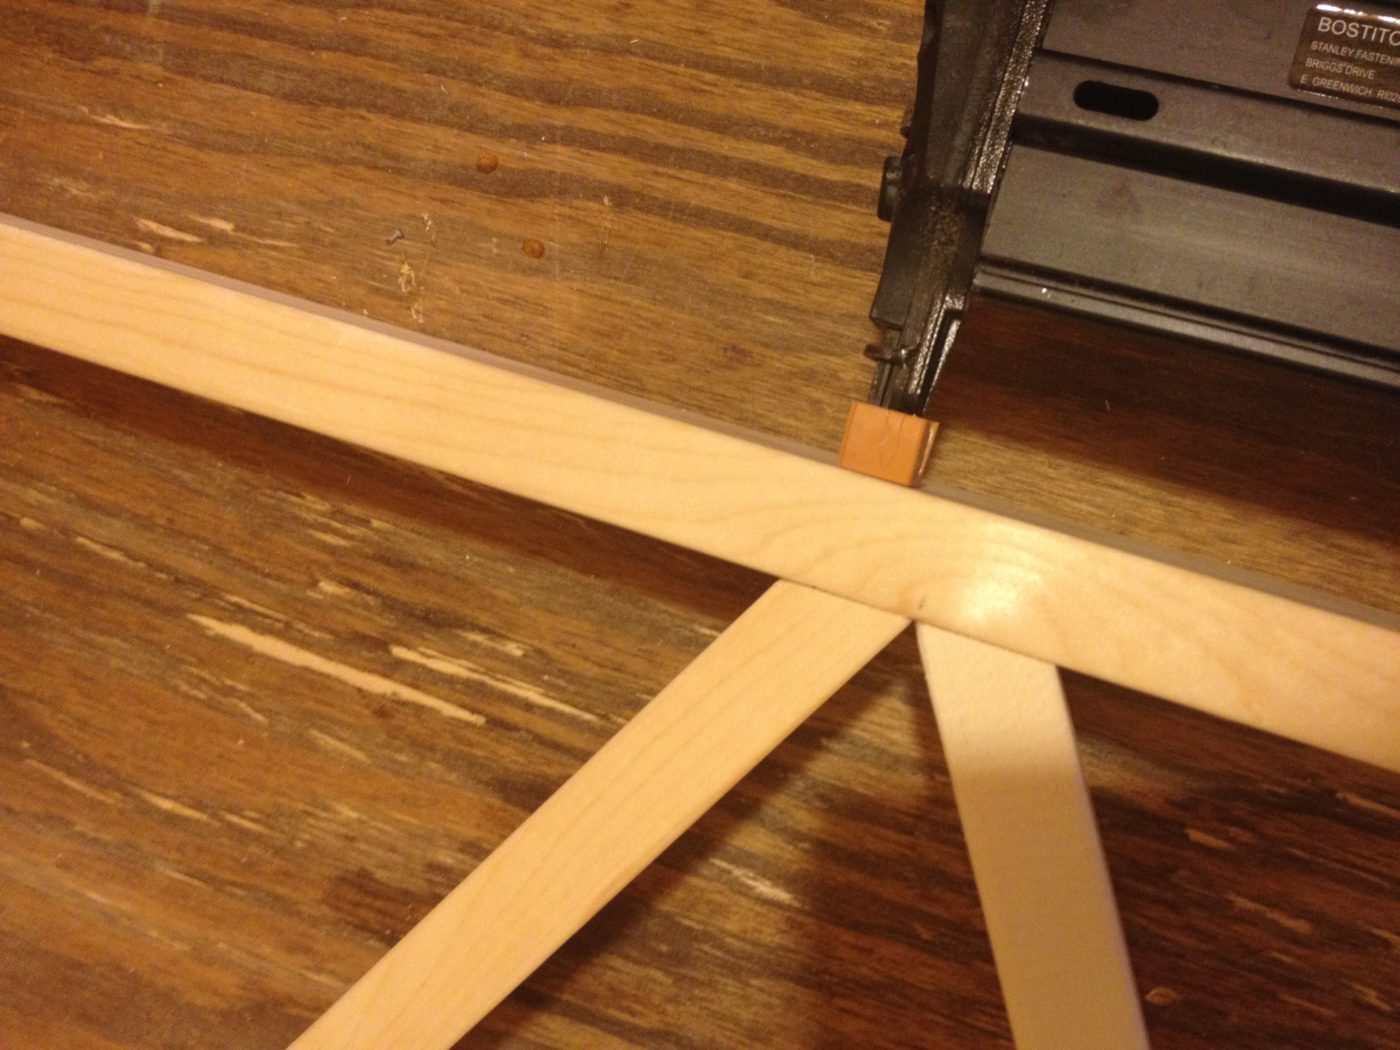
The first two will be easy to nail, but with the other two, it’s hard to get the nailer into the angles.
Glue them to the other side of the long piece and drive a few nails in as best you can.
Clamp like the picture below to hold it tight in place until the glue dries.
Prefer to print? Grab the printable plans for this wooden snowflake here!
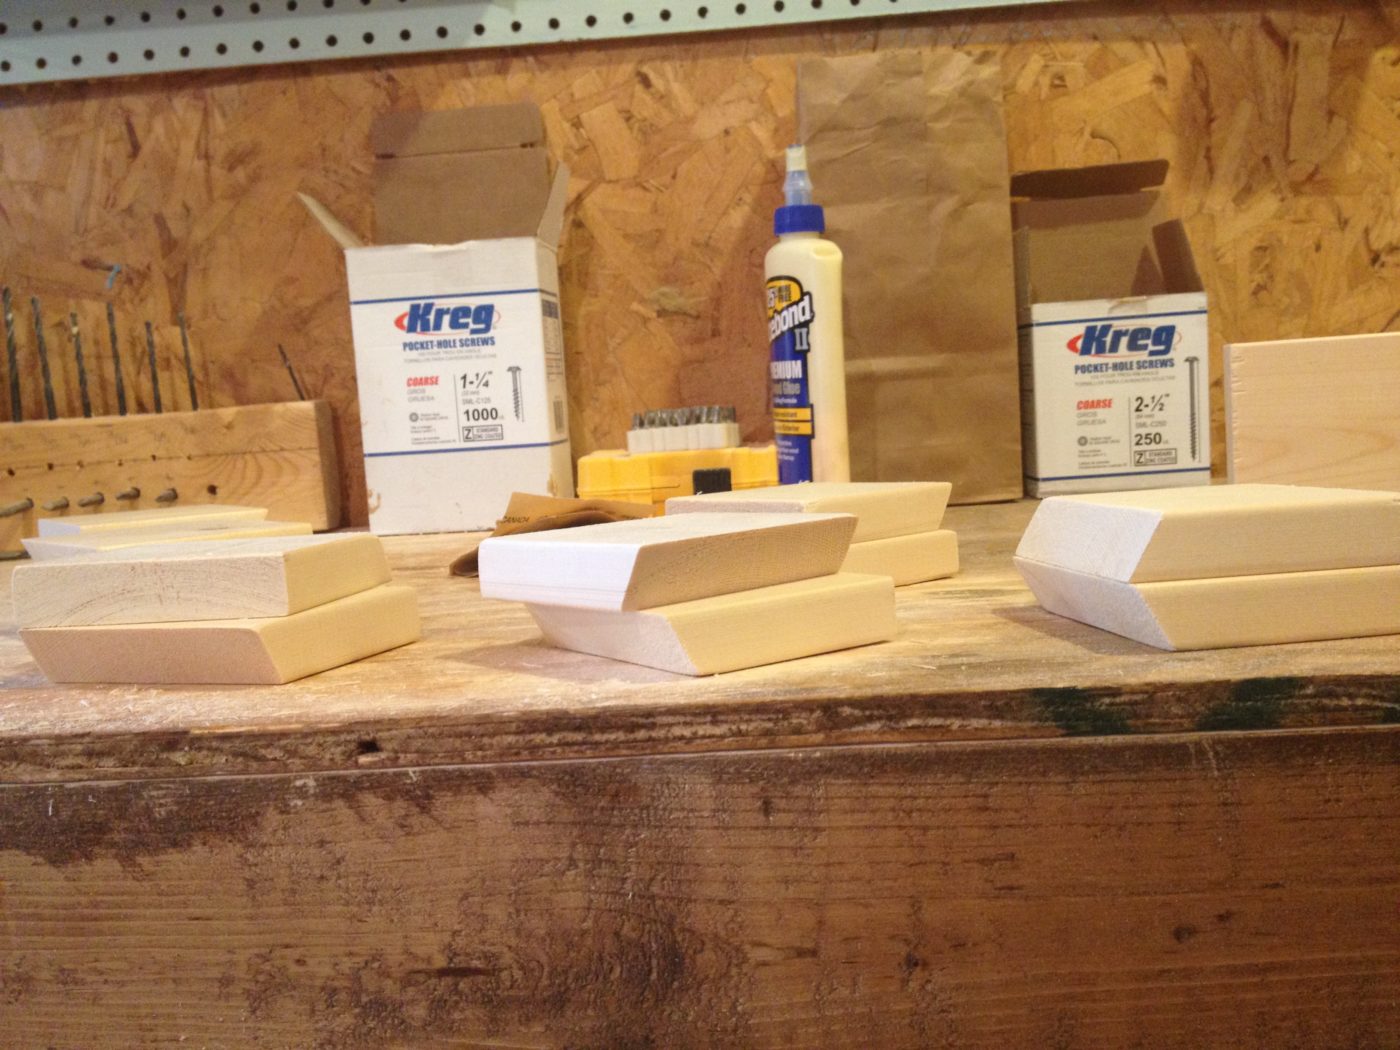
Step 2: Cut and Assemble Snowflake Points
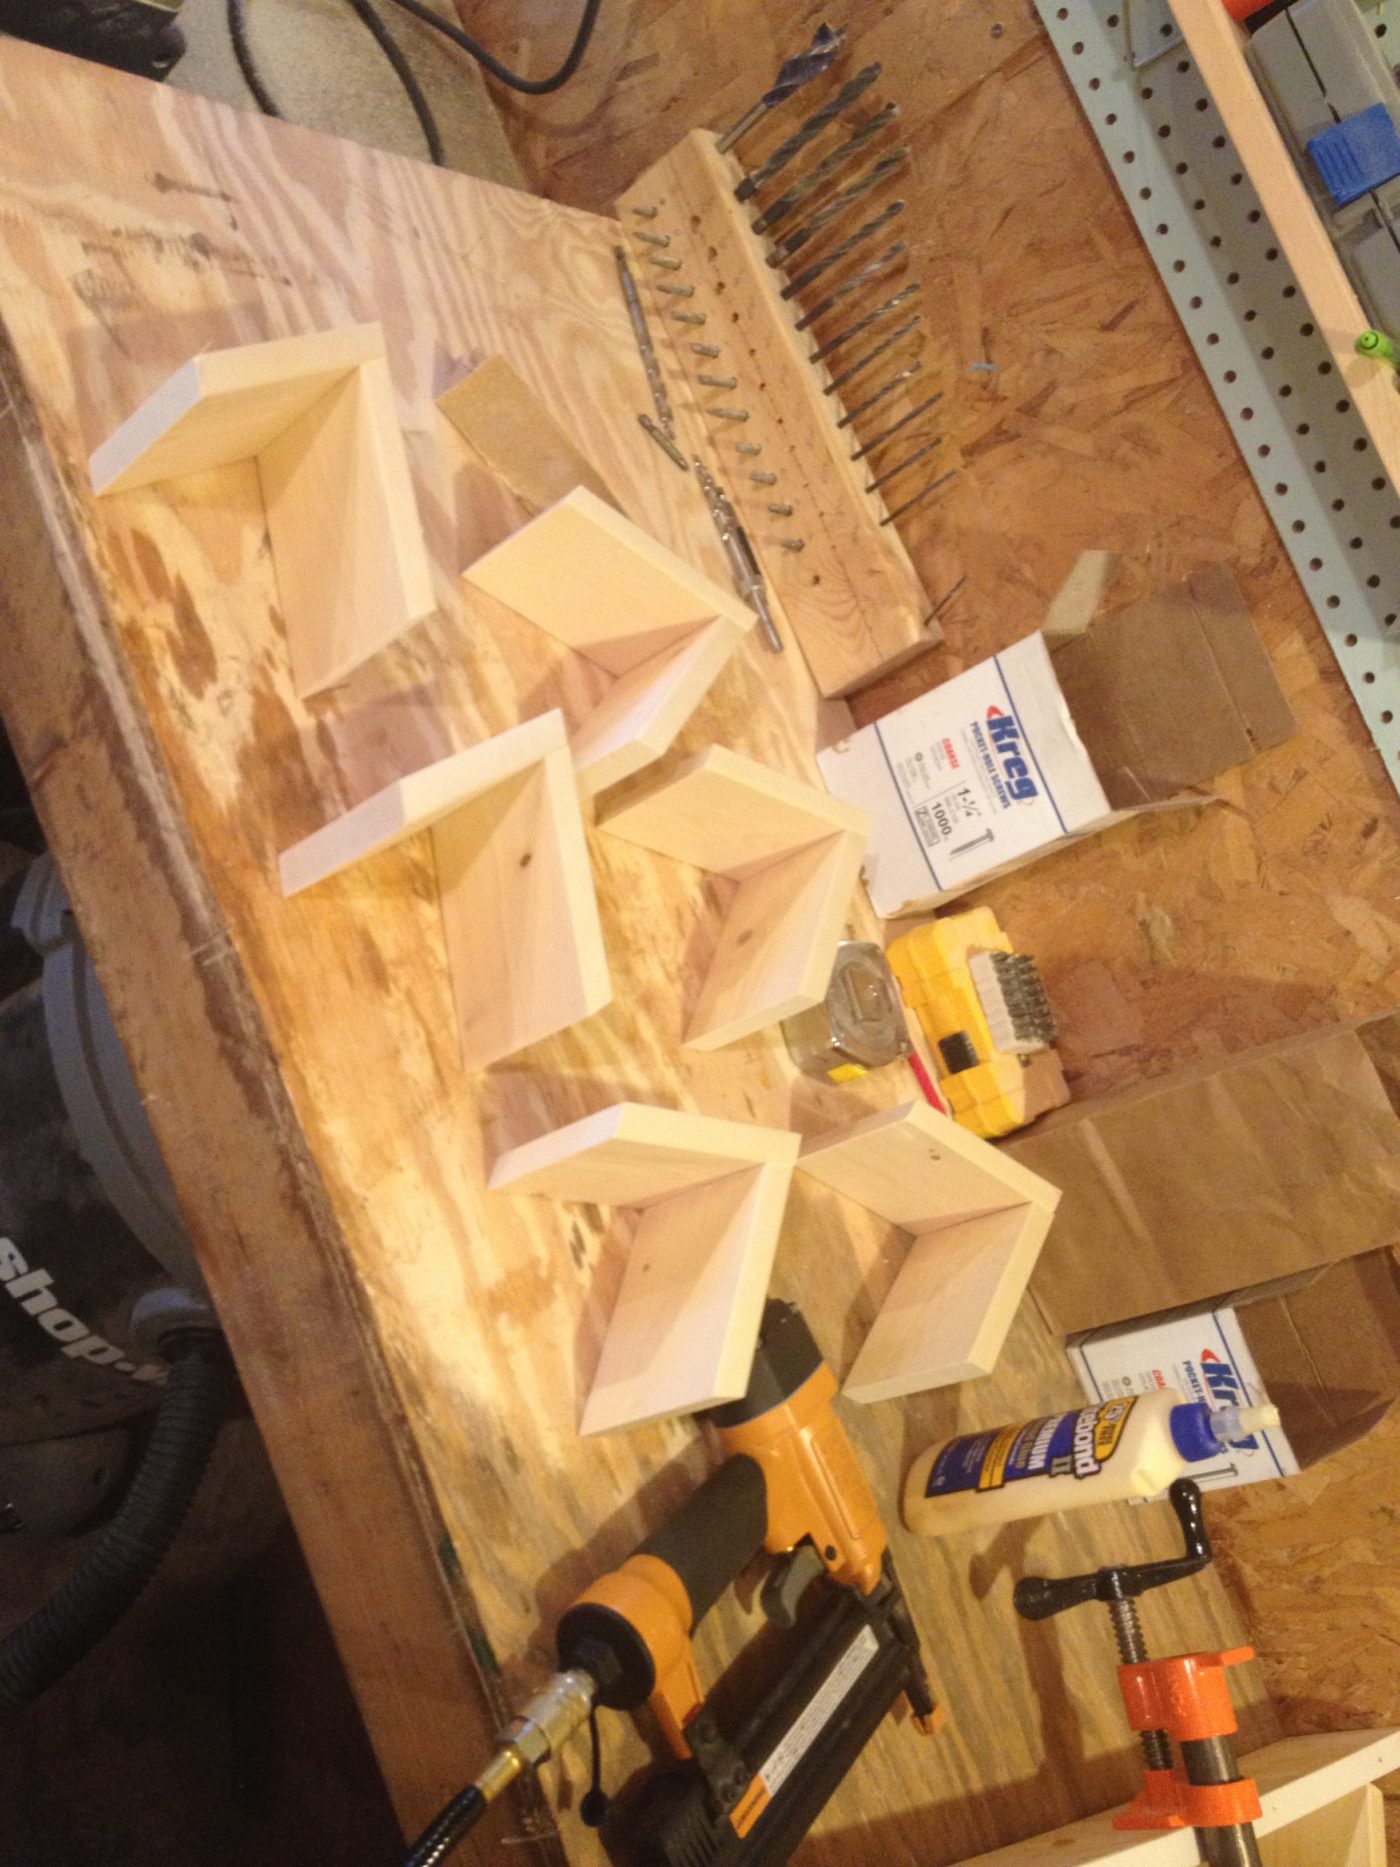
While the glue dries on the main frame of the snowflake shelf, I cut 12 short pieces with 30 degree bevels on each end parallel to each other.
These can be any length, but six inches seemed to work well.
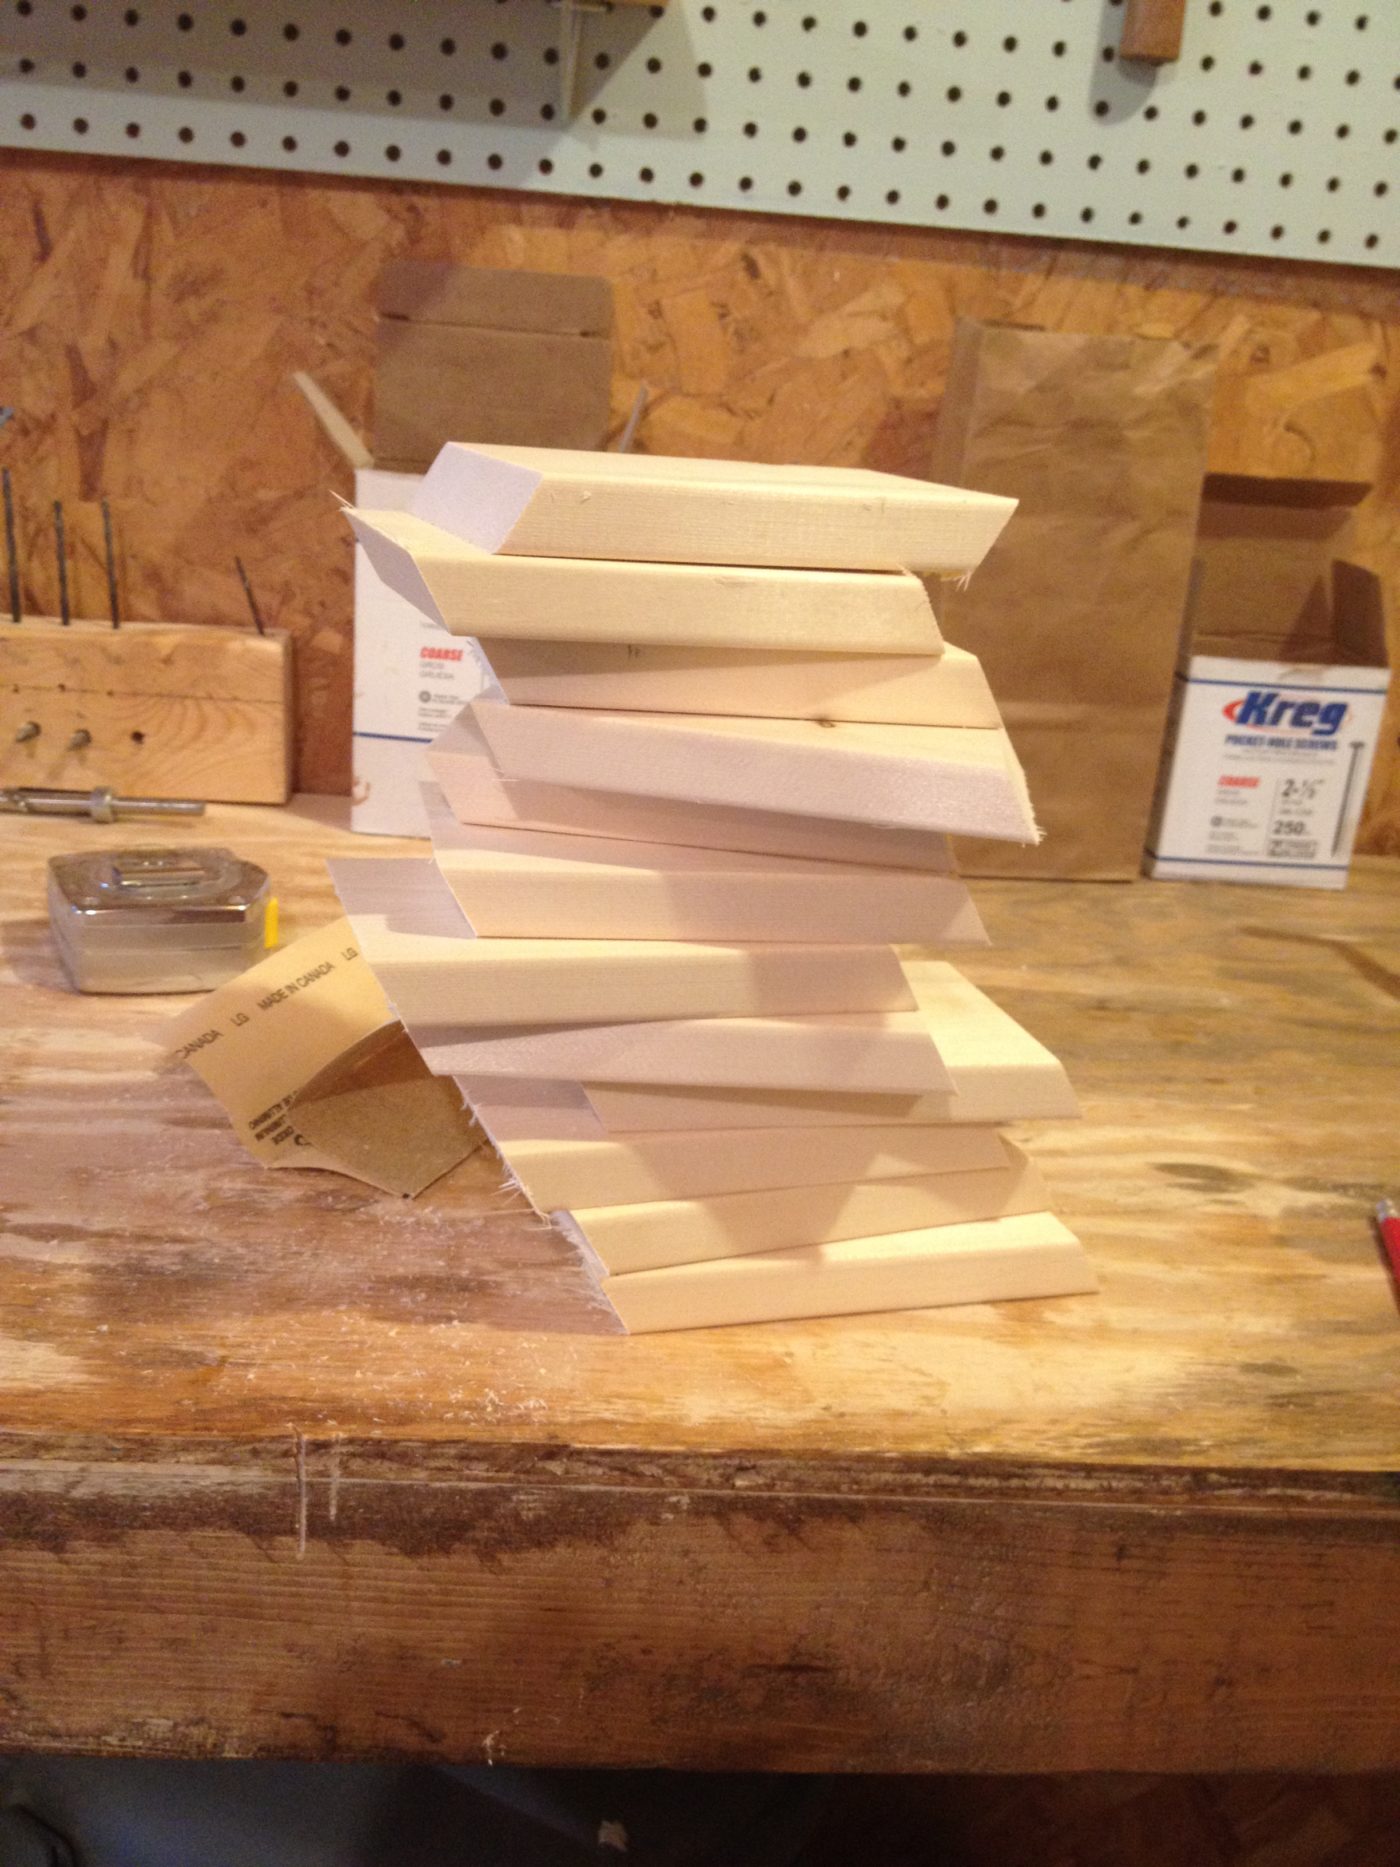
I paired these pieces and glued and nailed them together like the picture below.
Find the cut list and all the project dimensions in the printable plans here!
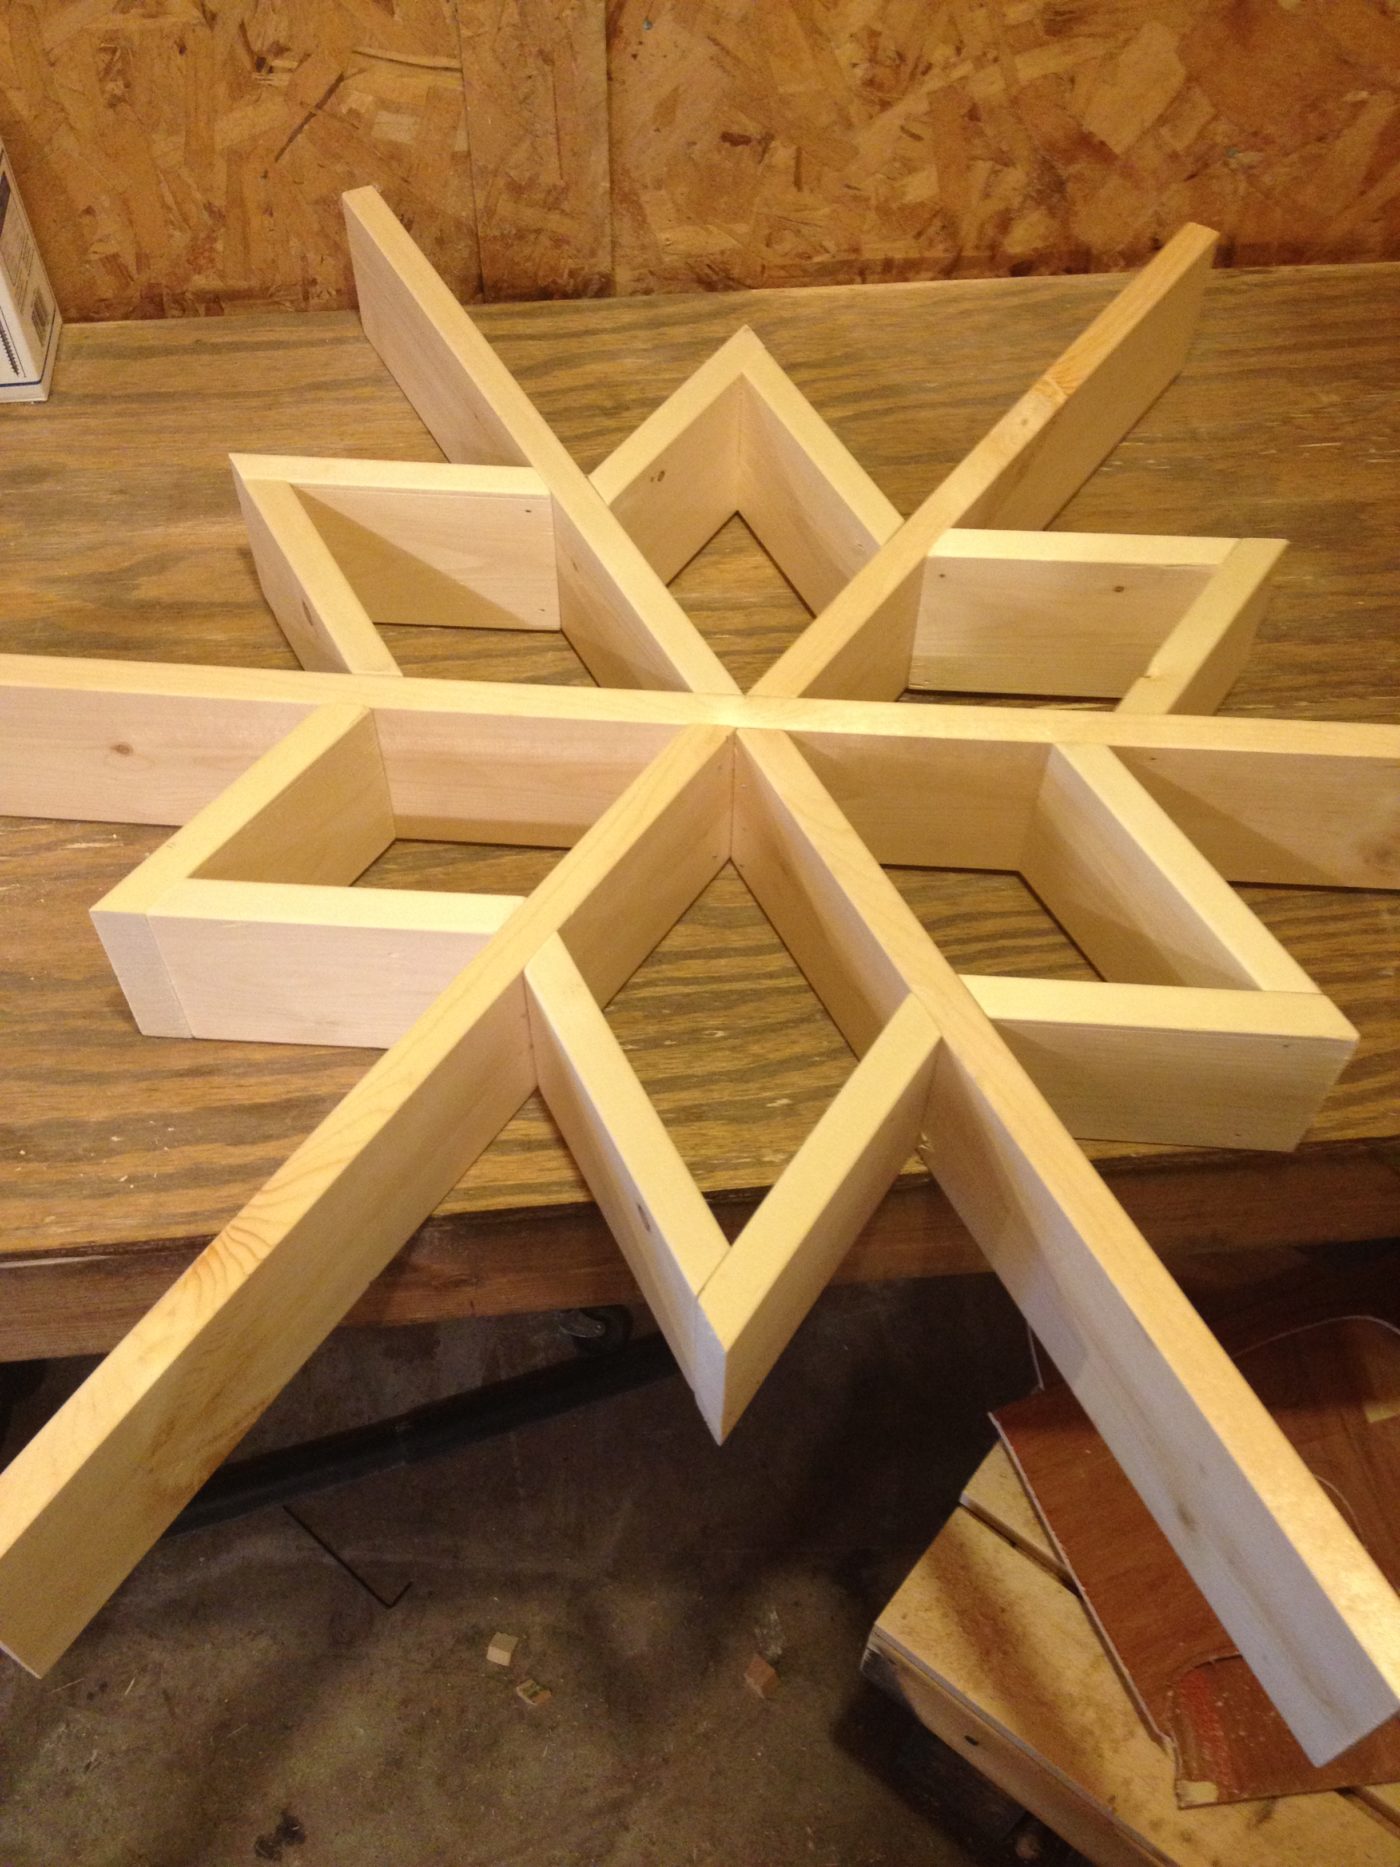
Step 3: Attach Snowflake Triangles to Main Frame of Shelf
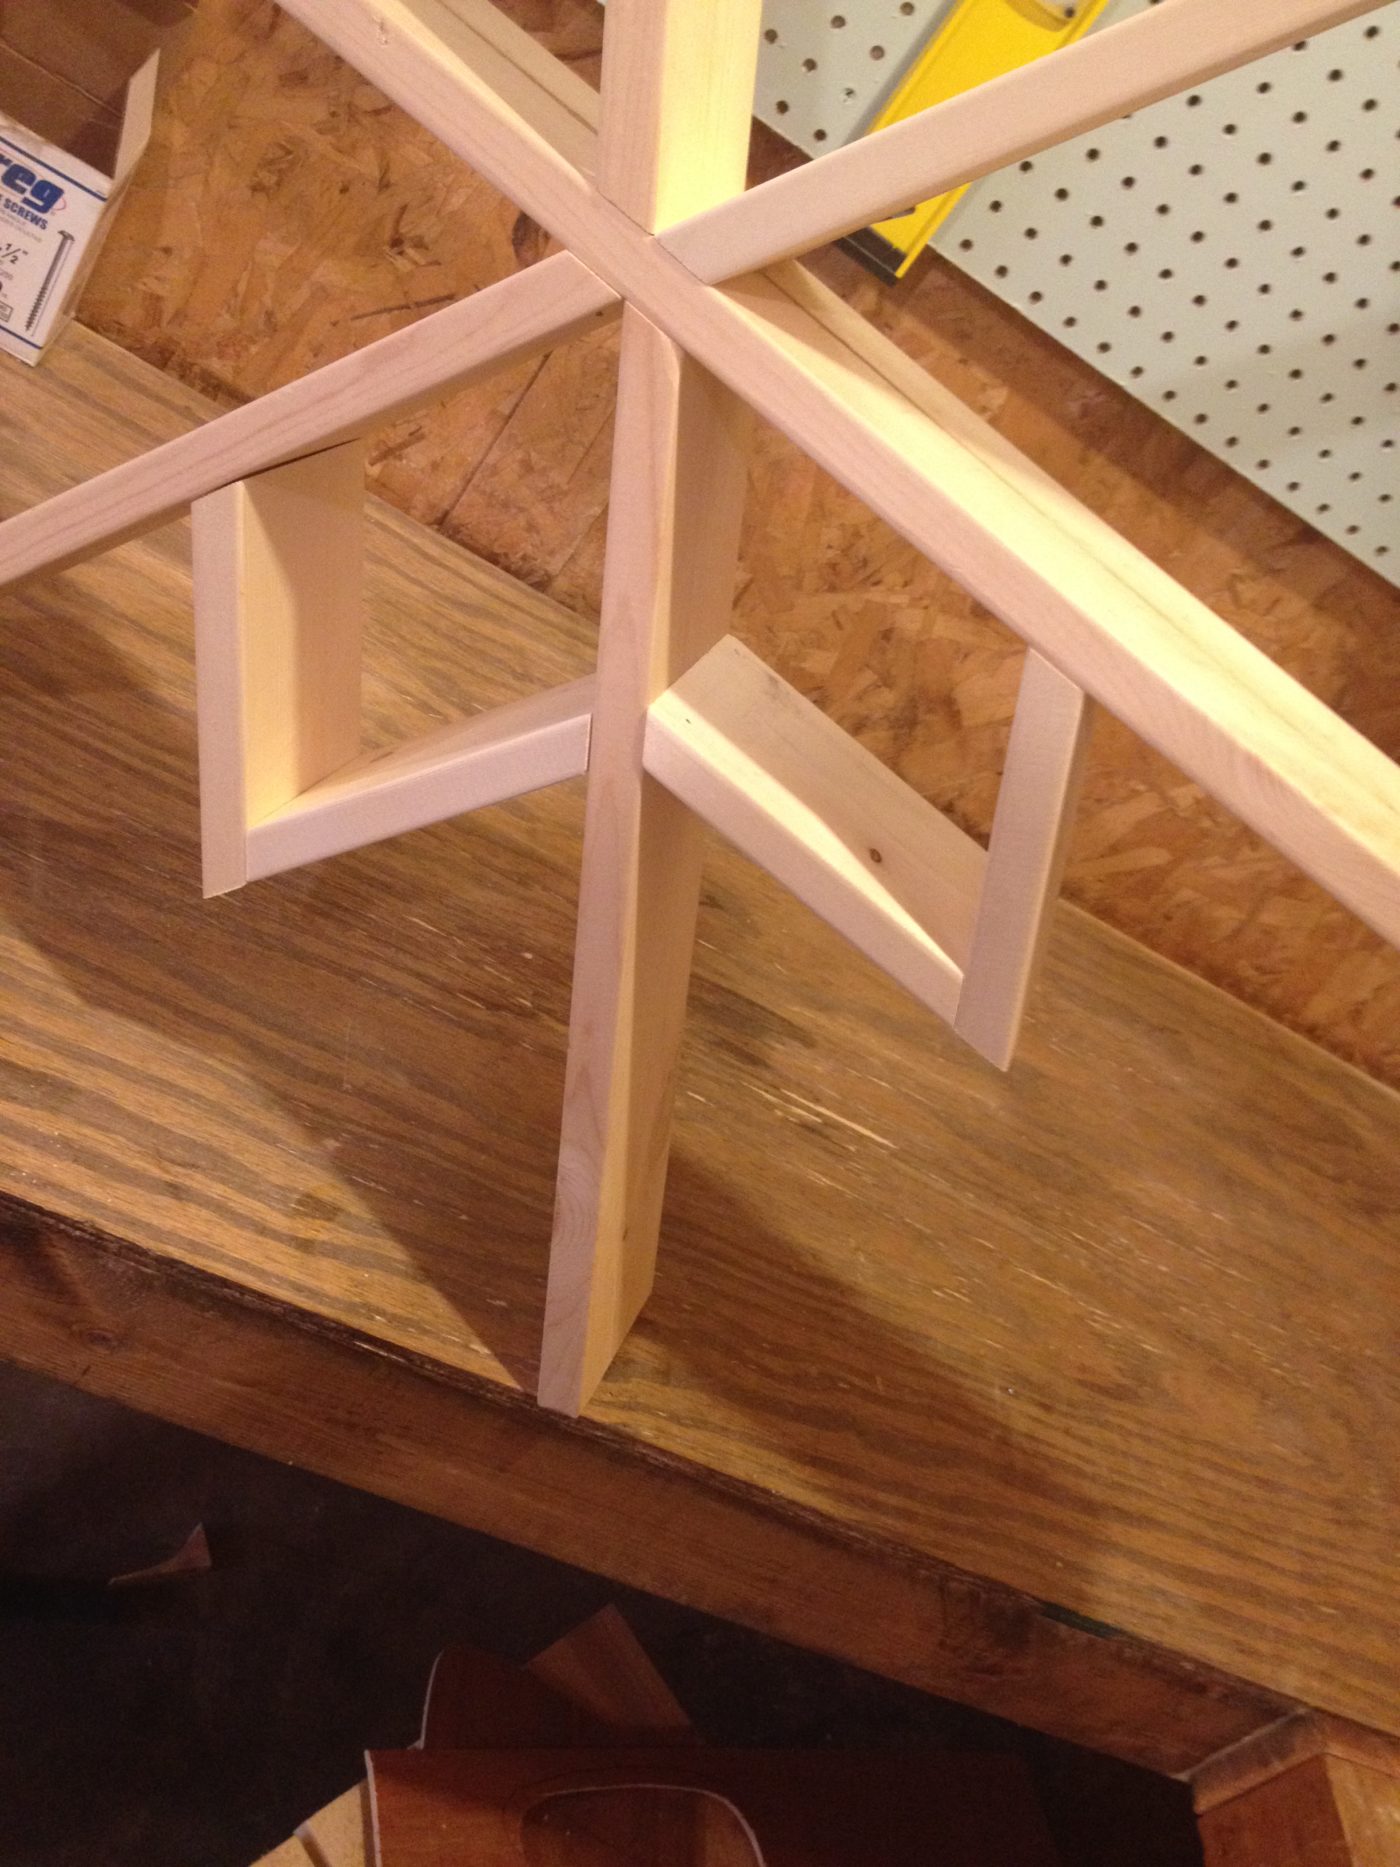
Once the glue had dried, I attached these triangles to the main body of the snowflake from step 1. Again, I used both glue and nails.
Sometimes the angles will be difficult to get the brad nailer into, but it is doable. Make sure you use plenty of glue in case your nails do not hold very well.
Add the triangles one at a time around the flake.
Step 4: Add Final Details on End of Shelf Frame
While that glue was drying, I cut 12 pieces with a 30 degree bevel on one end to go on the tips of each branch of the snowflake.
I attached these pieces to the end of each flake “arm” like the picture below. Again, I used both glue and nails.

I let the glue dry well before handling.
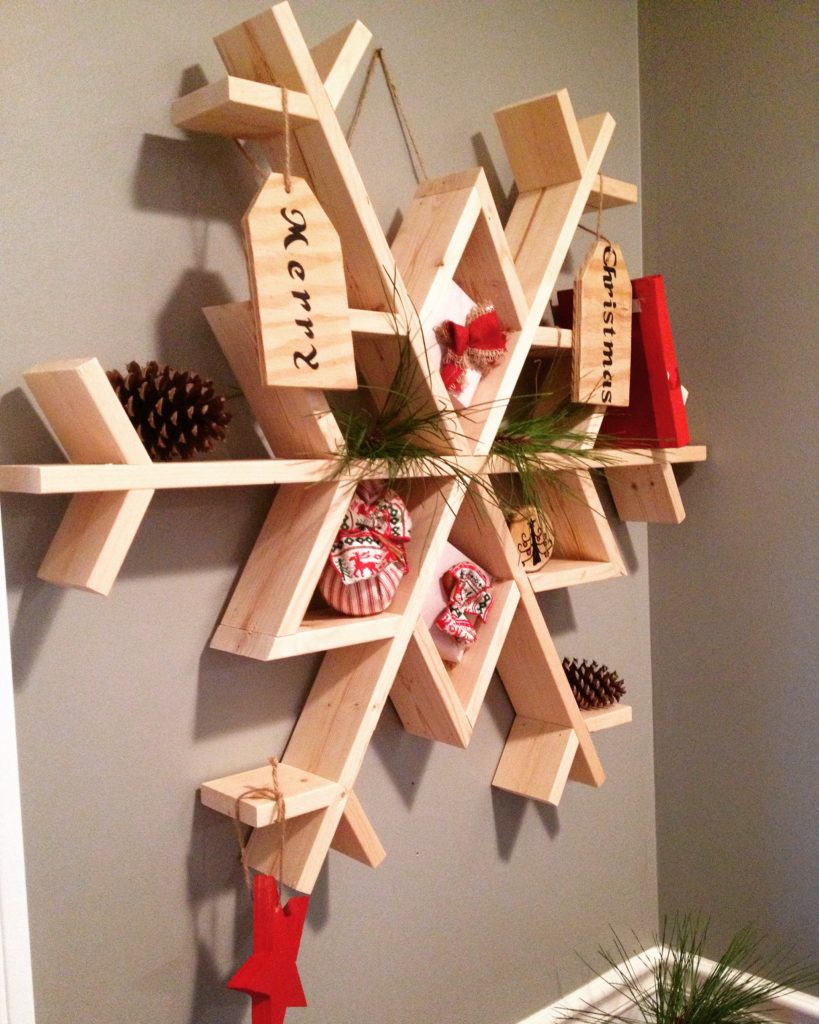
You could paint or stain (if you didn’t get glue everywhere while you were making it haha), but I liked mine natural.
I tied twine around two of the arms to hang it from, but you could use ribbon, sawtooth hangers, mounting tape, Command strips or picture frame hangers to hang yours.
You can decorate however you would like. I kept it simple and used ornaments, pine cones, and fake gift boxes.
If you’re reading this now, this project is 10 years old, so bear with the decorations in the photos.
I’d like to think I’ve gotten better over the years, but I gave this snowflake away, so I can’t redecorate and take new pictures of it haha.

It’s kind of a beast. I could have made it a little smaller, but it’s big enough to make a statement, right?
Look at all those angles!! Don’t be intimidated. Angles never hurt anyone 🙂
If you’d like to print the plans to build it, you can grab them here.

So what do you think of the GIANT wooden snowflake shelf?? You can make it deeper by using a 1×6 or 1×8 (although that would be much heavier).
Please share your wooden snowflake shelf with me when you make it. I would love to see your pictures!
Don’t forget to pin for later!
Until next time, happy building!
DIY Snowflake Shelf
Build this easy DIY snowflake shelf perfect for decorating for Christmas!
Materials
- 18+ feet of 1x4 (I used about 18 feet of lumber, but you may want to get a little more in case you make a mistake in cutting)
- Glue
- Clamp (optional)
Instructions
- Cut and assemble the main frame of the snowflake shelf using wood glue and nails.
- Cut and assemble snowflake points.
- Attach snowflake triangles to main frame of the shelf.
- Add final details on end of shelf frame.
- Paint or stain in the color of your choice. Or just leave it natural.
- Hang on the wall and decorate.
Shara, Woodshop Diaries says
Great tips! Thank you for sharing!
Shara, Woodshop Diaries says
Oh yes the Ryobi nailer is much larger than my bostitch nail gun. But, the glue should help keep it fairly sturdy even if all the nails didn’t sink as well as you’d liked.
Shara, Woodshop Diaries says
It was intentional. You could cut six of the pieces shorter if you wish. I just cut the this way because it made it faster to cut them all the same length and it made it easy to join them at the tip. Plus, my miter saw isn’t capable of cutting them at 60 degrees to join them evenly at the tip.
Shara, Woodshop Diaries says
Awesome! So glad you liked the project 🙂
Shara, Woodshop Diaries says
Hi! I typically buy 8 foot boards. I think that would leave you with the least scraps 🙂
Shara, Woodshop Diaries says
Thank you! So glad you enjoyed the project and I’m sure your little boy will love the one you make for him!
Shara, Woodshop Diaries says
Awesome! So glad you liked it 🙂
Shara, Woodshop Diaries says
Yes, I used a miter saw for this project.
Shara, Chasing A Dream says
Thank you!!