I’m all about these 5 minute Christmas decorations this week, you guys. For real, my attention span when it comes to decorating is like 3 minutes, so by the time we are at five minutes, if we aren’t done, I’ve already mentally moved onto a new project…one that probably involves demo or table saws.
.
So these quick little projects are my jam this year with my Christmas décor. Speaking of jamming, do yourself a favor and buy Chicago’s Christmas album (affiliate link). BEST. CHRISTMAS. ALBUM. EVER. Just play it on repeat and thank me later 🙂
.
So anyway…back to the swags…I made several of these little Christmas swags one night while supper was cooking and they are so multipurpose, you can find a place for a couple in every room. And I did. And I will show you 🙂 Oh and to top it off, because you guys know me…..THEY ARE CHEAP.
.
I can’t believe I’m posting about this, because I feel like it’s so easy, it doesn’t need a tutorial, but mom keeps telling me to post one (though she doesn’t read my blog…what’s the deal, mom?), so here we go.
.
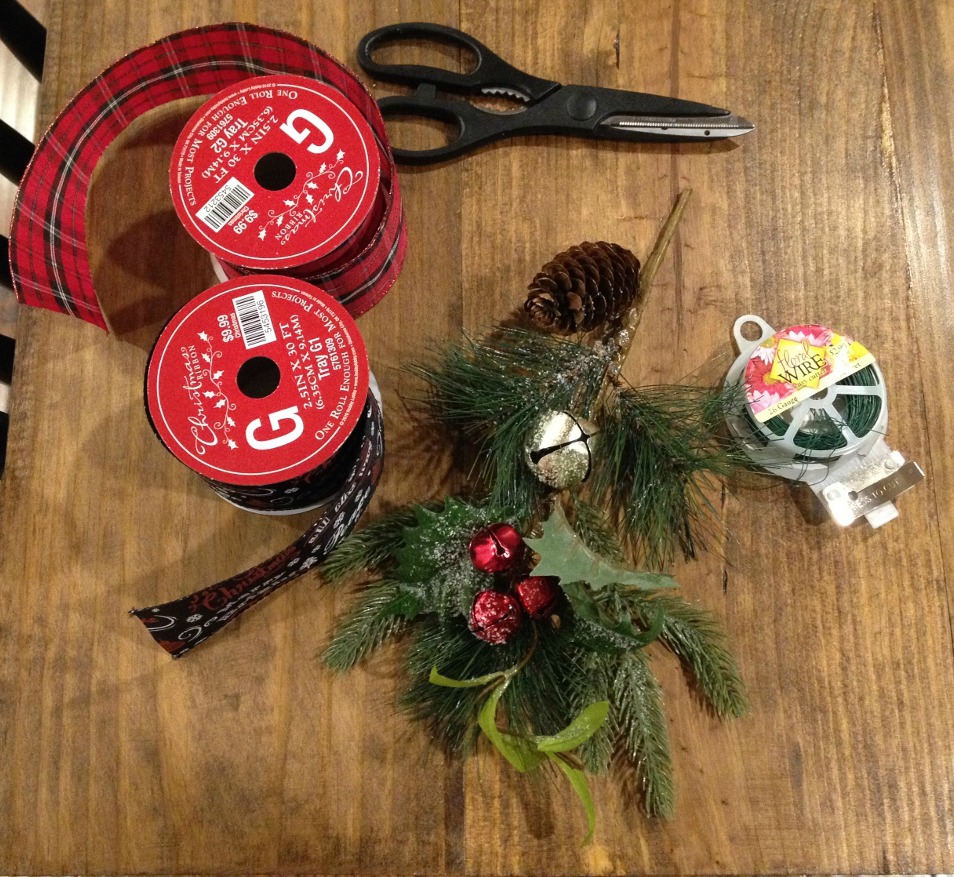
You need:
Small swags (I found mine at Hobby Lobby in the Christmas ribbon section…they have ALL KINDS…Michael’s has some too!)
Wire edged ribbon (I used two colors for variety, but you could just use one if you wanted)
Floral Wire
Scissors
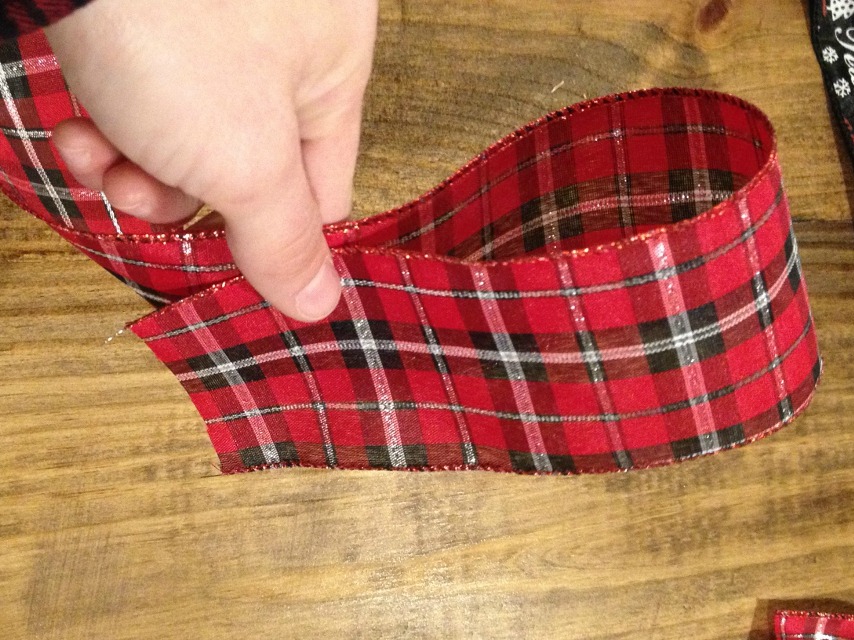
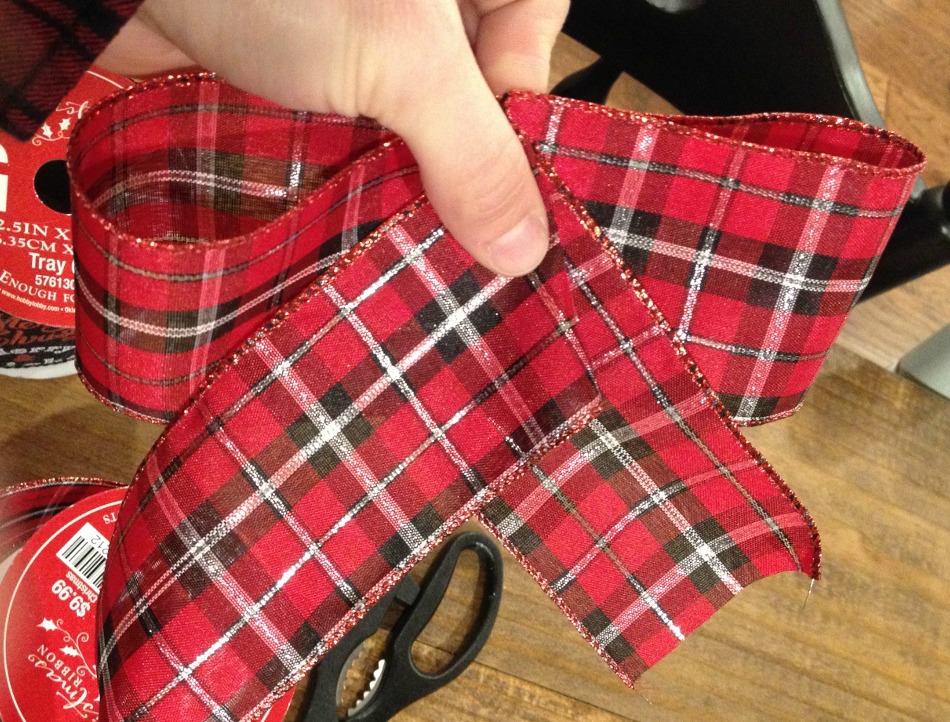
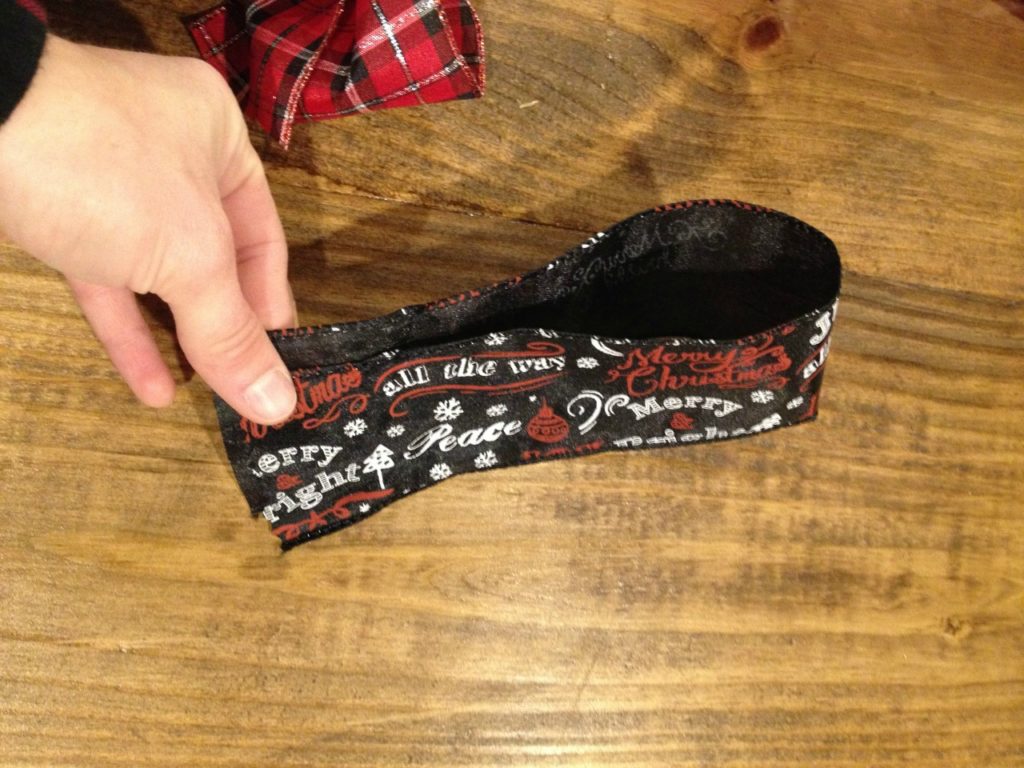
Then, fold some back for a “tail.”
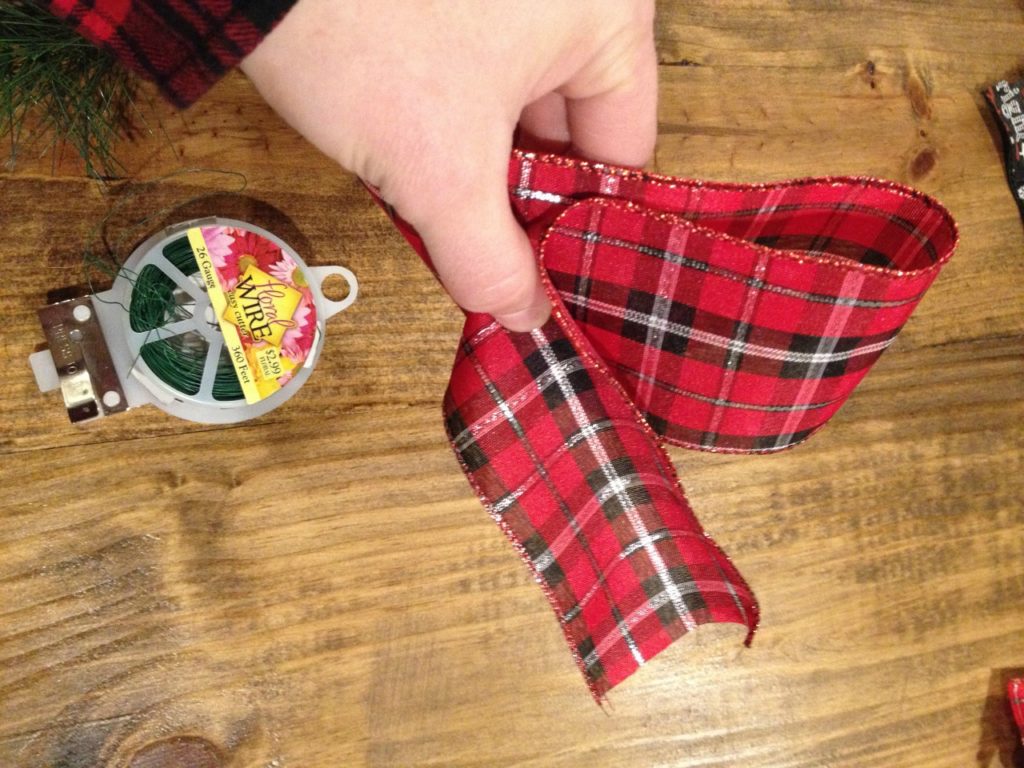
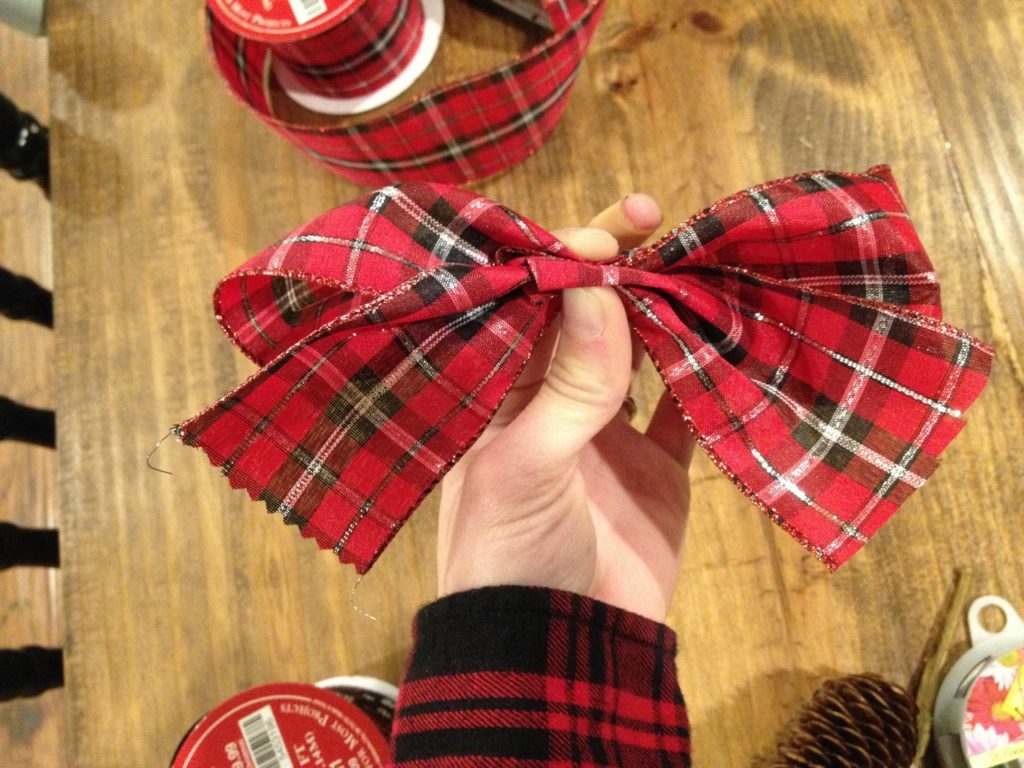
Next, make another loop on the other side.
And then fold it back over for another “tail.”
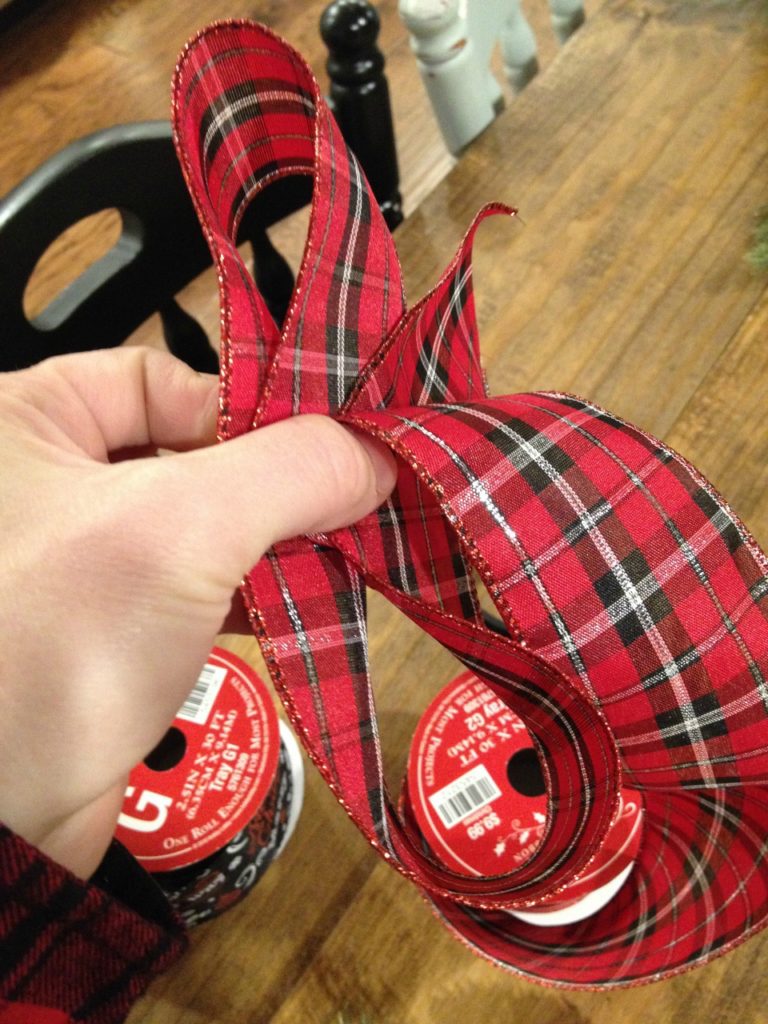
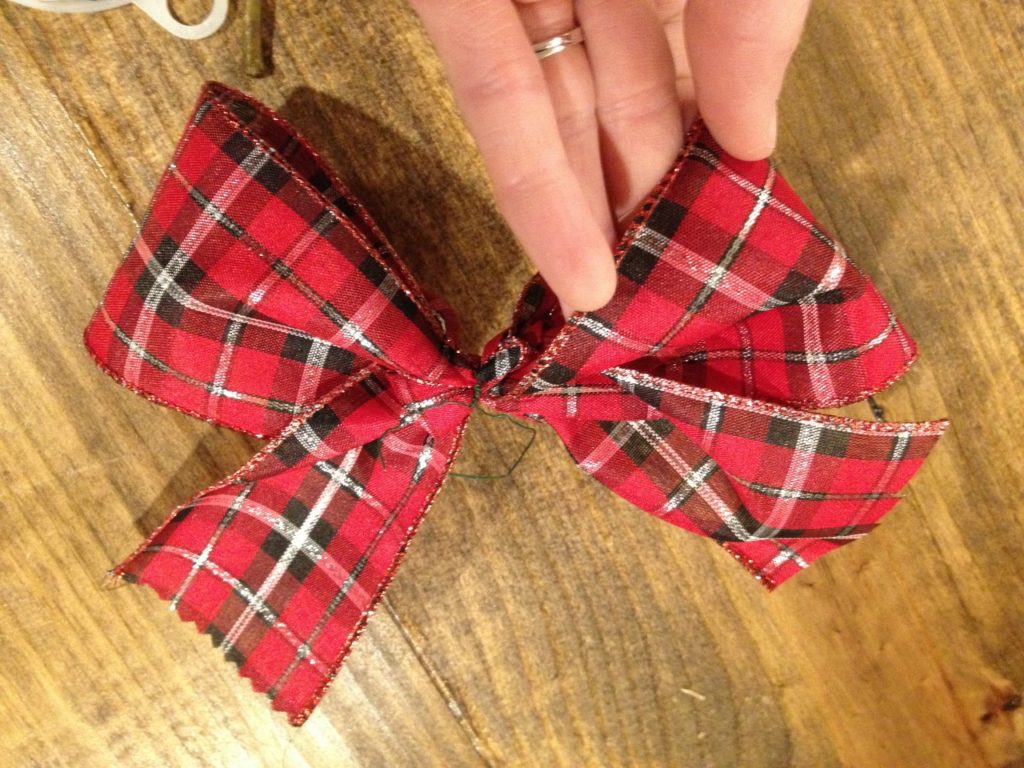
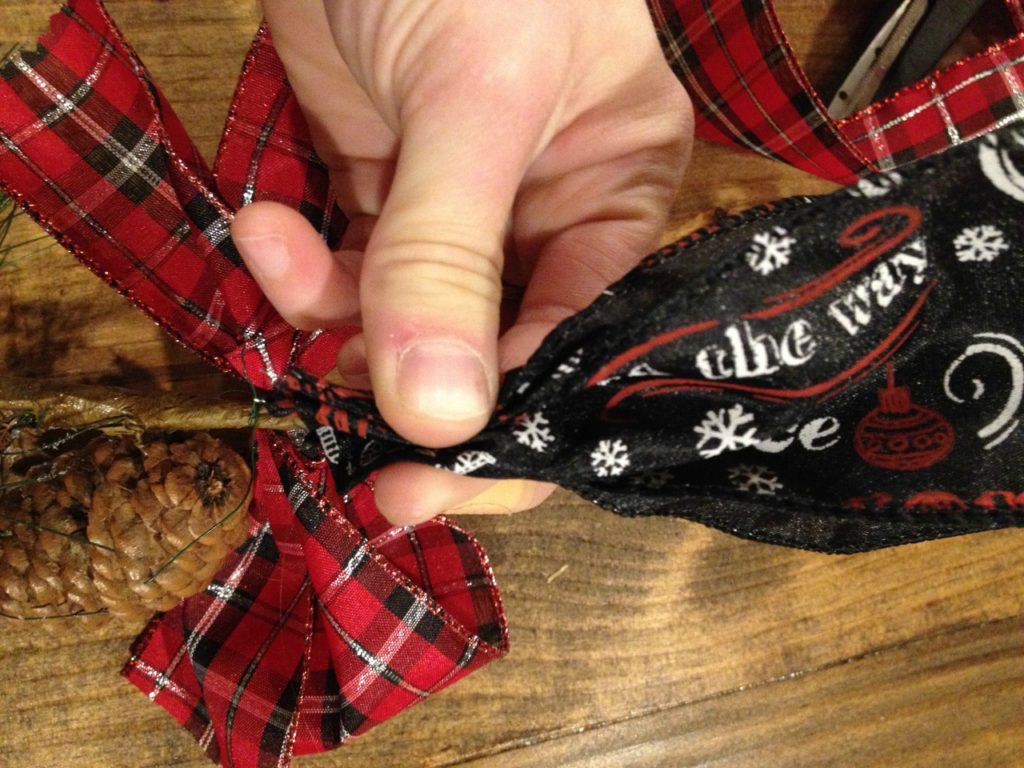
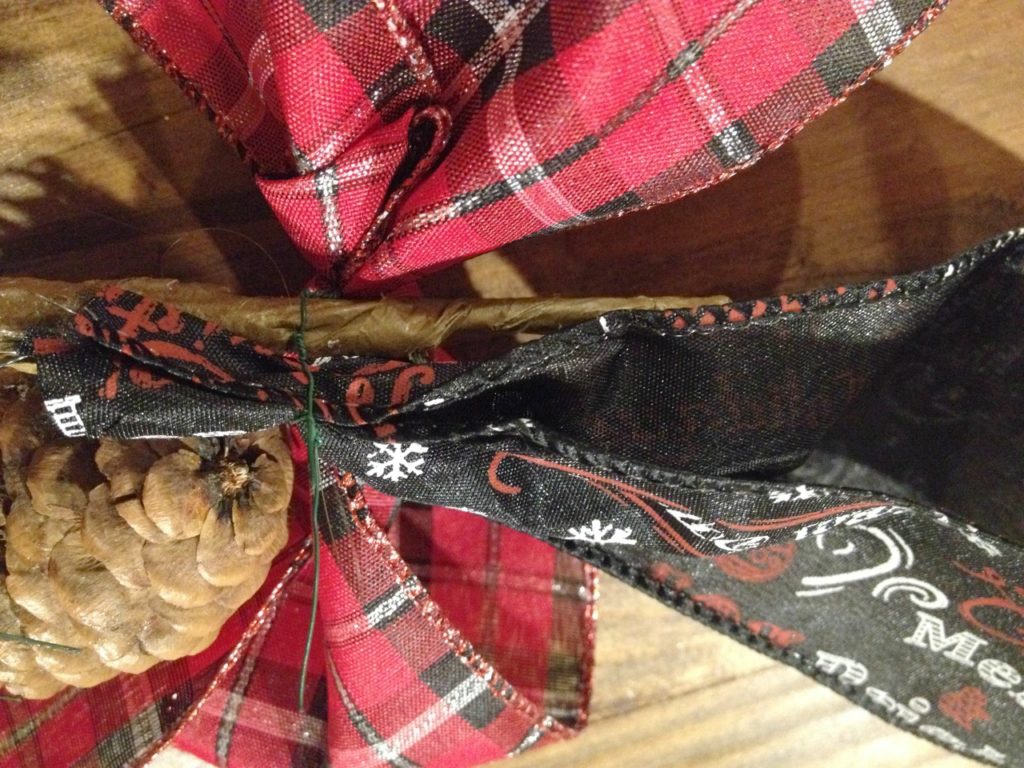
Trim the ribbon so that the tails are about equal lengths. Make sure the folds in the middle overlap some and take a long piece of floral wire and twist it tight around the middle of the bow. Twist several times.
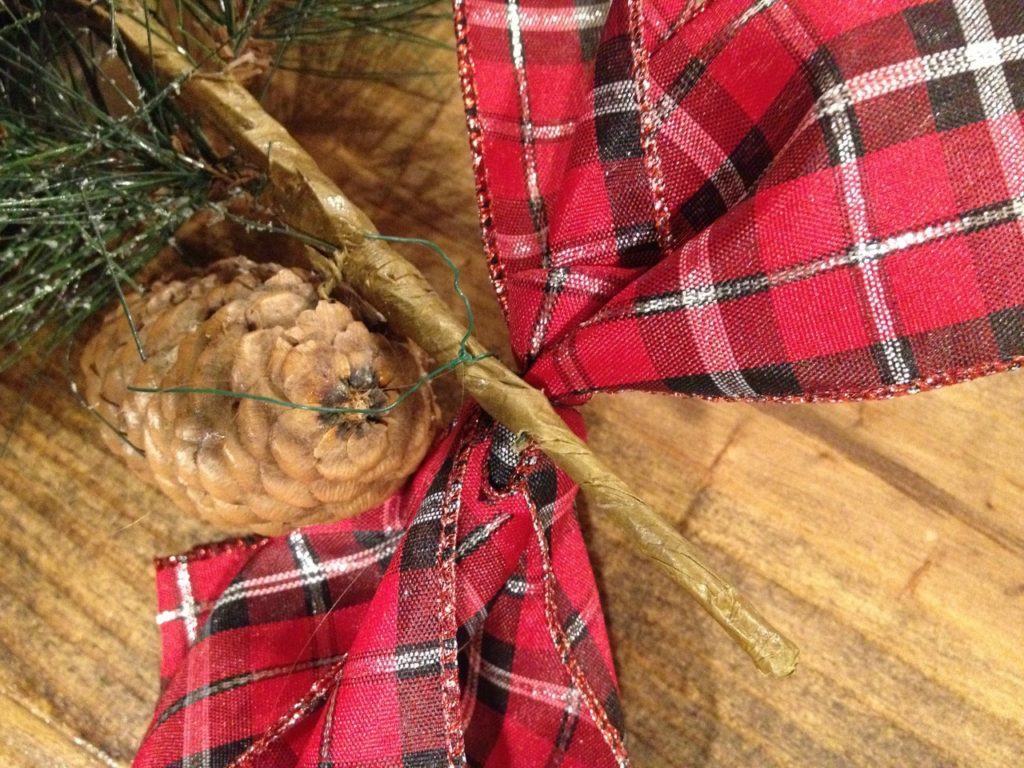
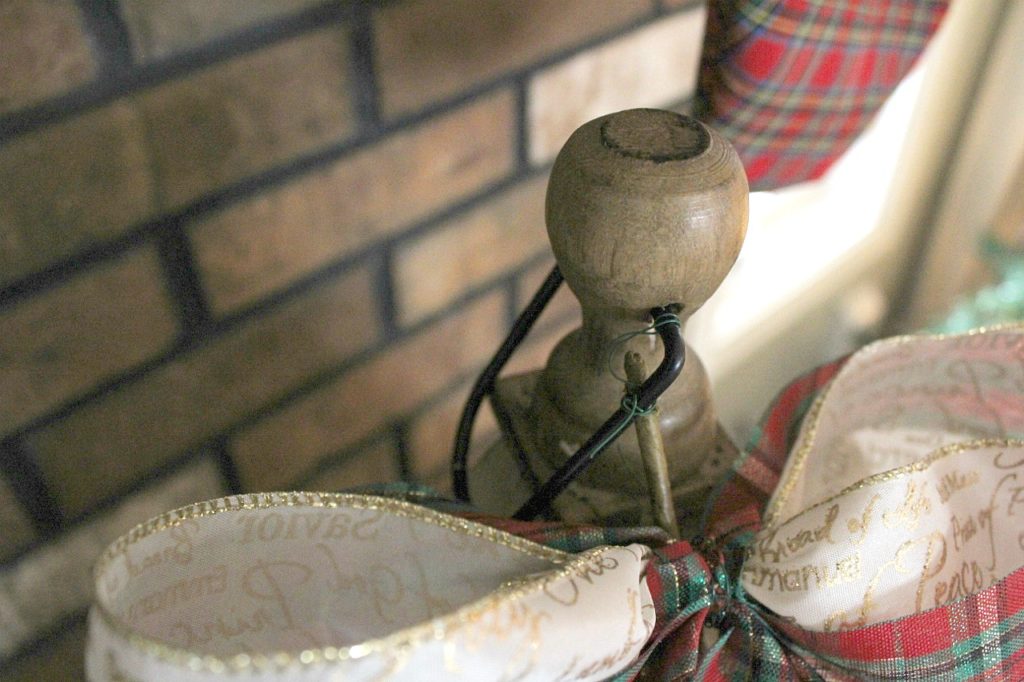
Then, twist the floral wire around the stem of the swag. Twist it tight or the swag will fall out.
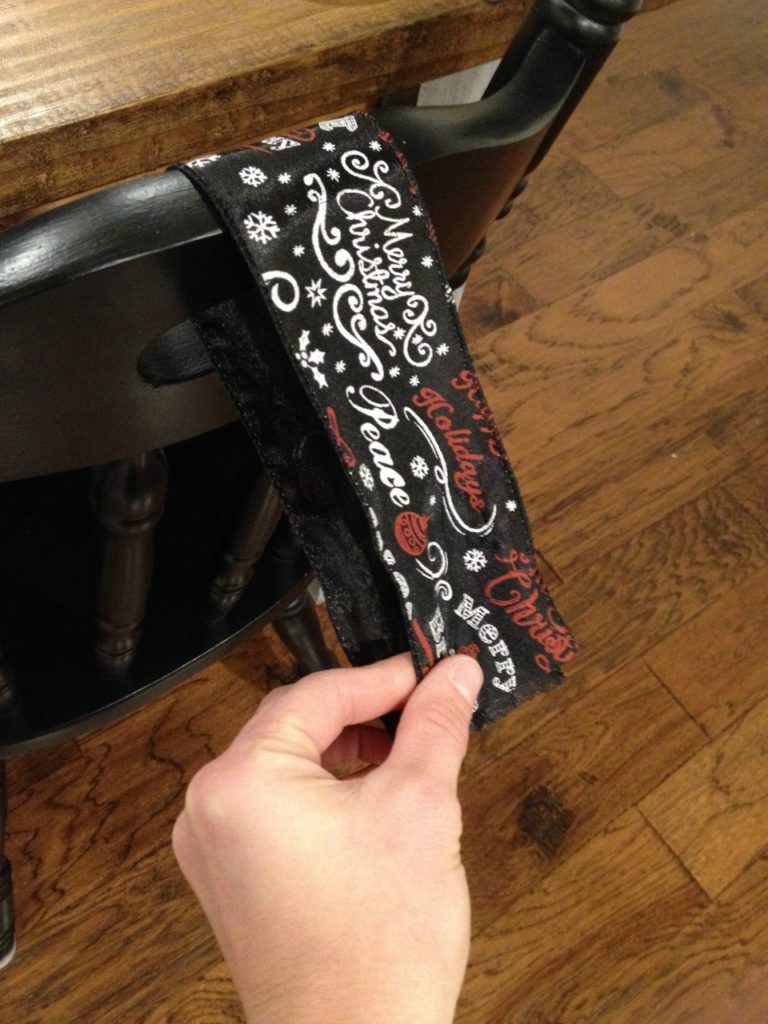
Next, cut a loop (length will depend on how long you want it to hang) of the ribbon you want as your “hanger.”
Fold it together at the ends and twist the floral wire around it. Make sure it’s tight and twist several times.
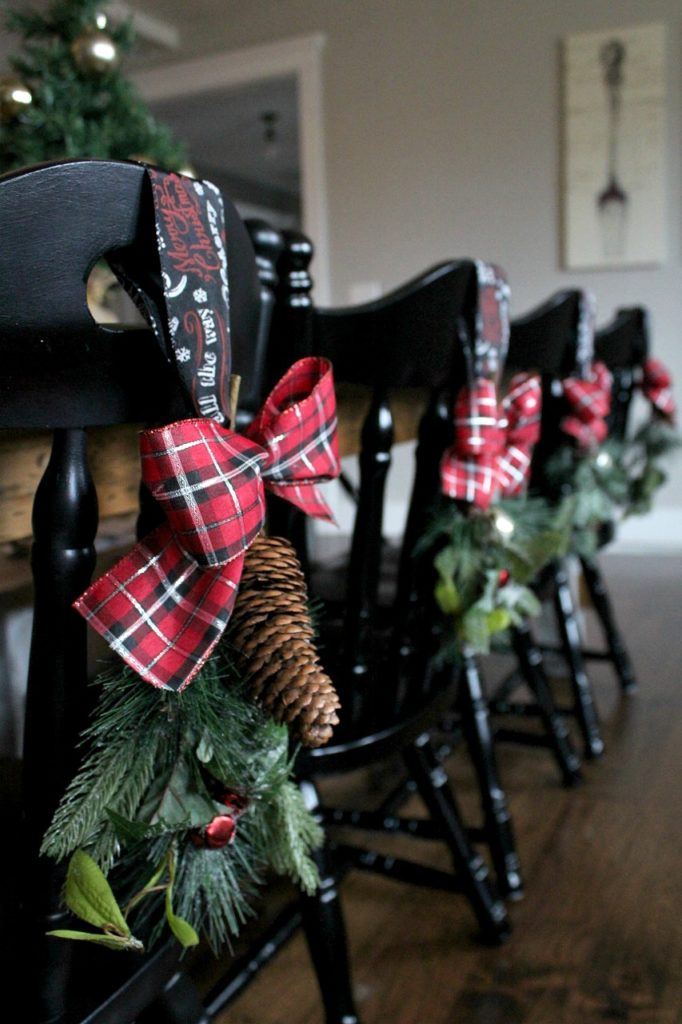
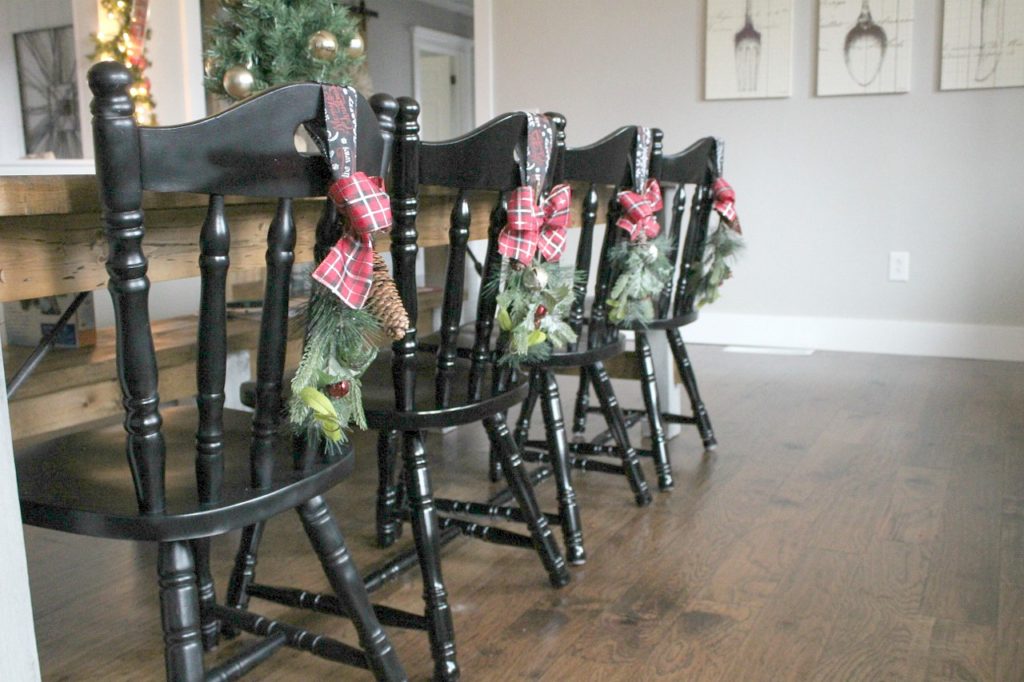
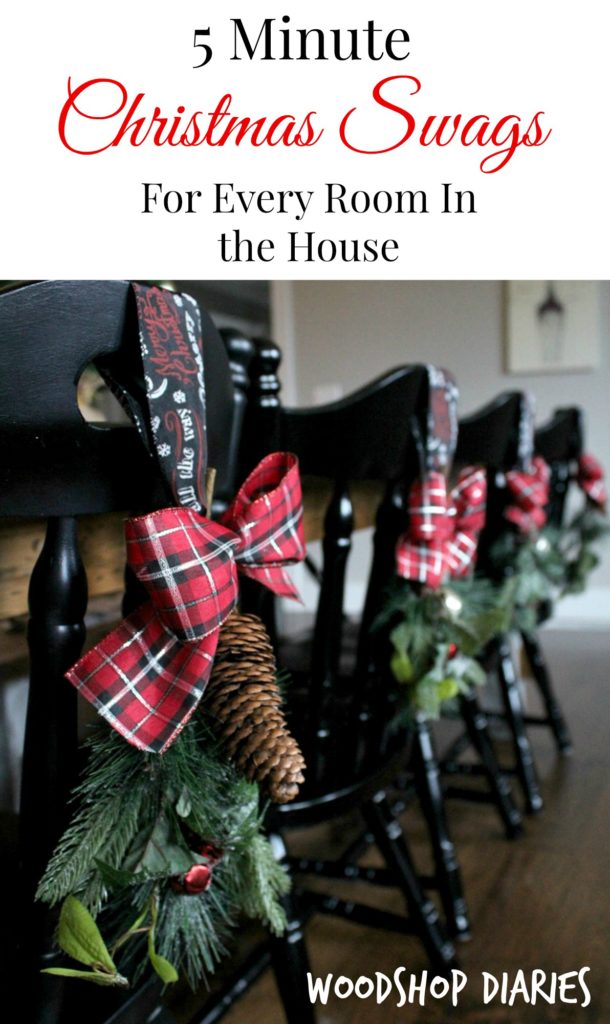
If you are going to hang this around something, you will need to loop that ribbon around it before you twist it with the wire. For example, on my chairs, I looped it around the back first, then twisted the floral wire.
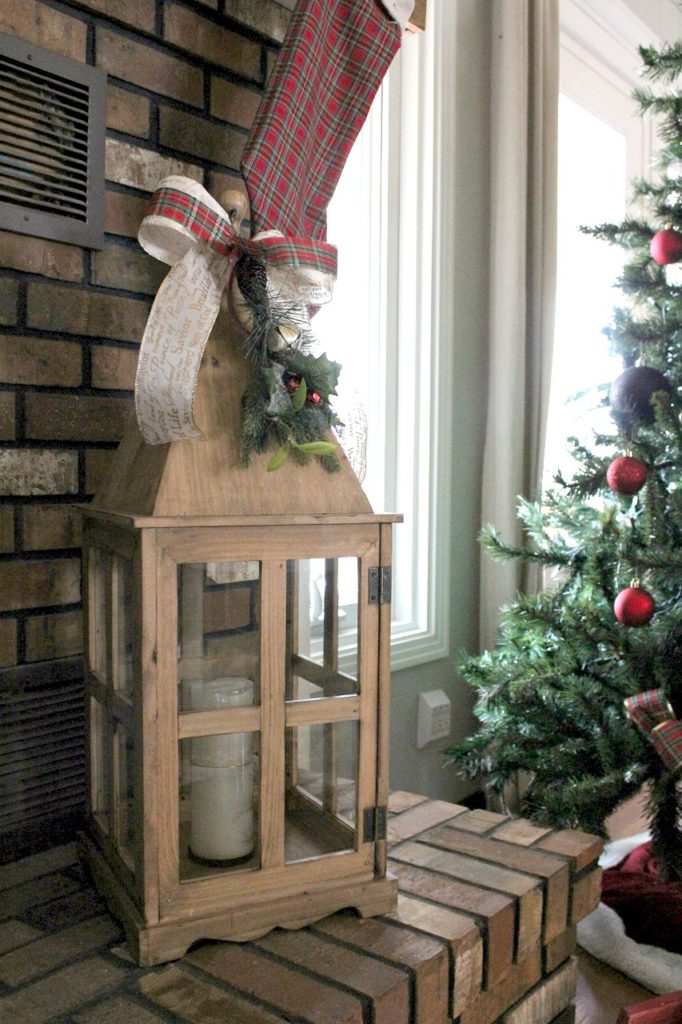
You actually don’t have to use this “hanger” ribbon at all. For my lantern, instead of twisting around this loop of ribbon, I simply twisted the wire right onto the lantern handle.
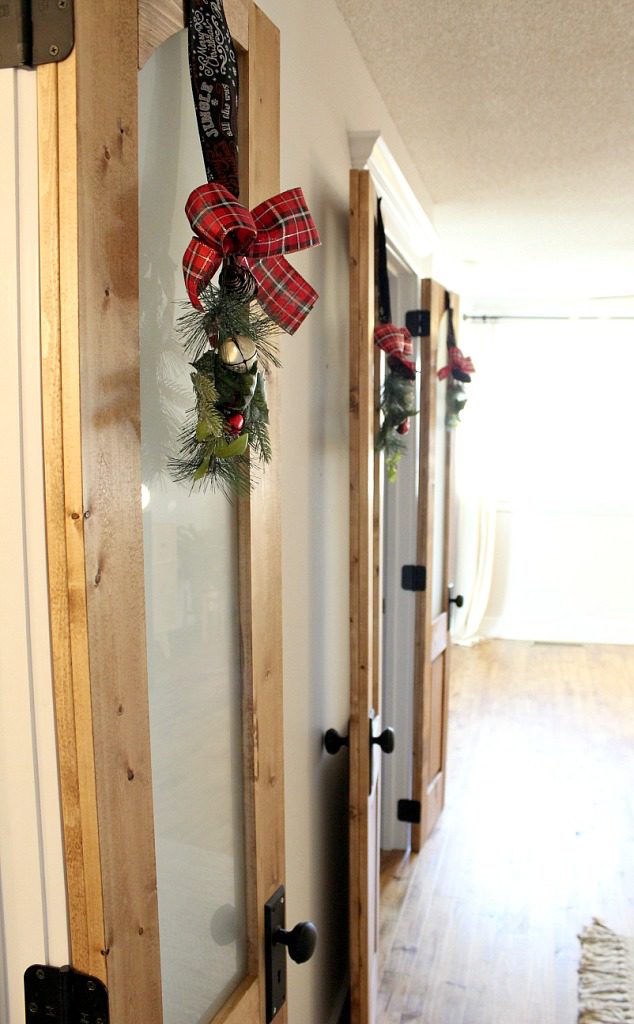
But, for my door swags, I taped them to the top so I didn’t need to loop around anything. You could hang them from a nail or Command hooks or even just the door knobs if you choose, but I cheated and used clear tape. (PS I’ll tell you all about these doors next week!! You don’t want to miss it!)
And that’s it! Once you get the hang of making bows, you’ll crank them out one a minute. These took me less than 5 minutes each to make and I hung them up all over the house for a little extra Christmas festiveness.
There are so many ways to use these and they are so versatile! You can put some swag in every room in the house…and not break the bank…and you’ll have it done in no time! Put them on the doors knobs or hang them from the door, hang them down a hallway, on a lantern, on a window, on the fridge, on the chairs, on the knobs of the dresser, on the bathroom mirror. String them together and make a unique garland of swags. Whatever you do, don’t skimp out on the swag this season 😉
.
Now get out there and get your decorations up! And while you are decorating, don’t forget to take a moment to stop and remember the real reason for the season 🙂
Until next time, happy DIYing!






Shara, Christmas swags are a great quick idea. Also wanted to let you know your DIY stocking stuffers are right on target. I have the short cut paint brush & love it. All my DIY over the years has cause carpal tunnel syndrome & the short paint brush is so helpful. I so enjoy your stories & ideas.
Thank you so much! Yes, I love the short handled brushes, too! Much easier to paint with 🙂 Thank you SO much for following along and listening to all my stories 🙂