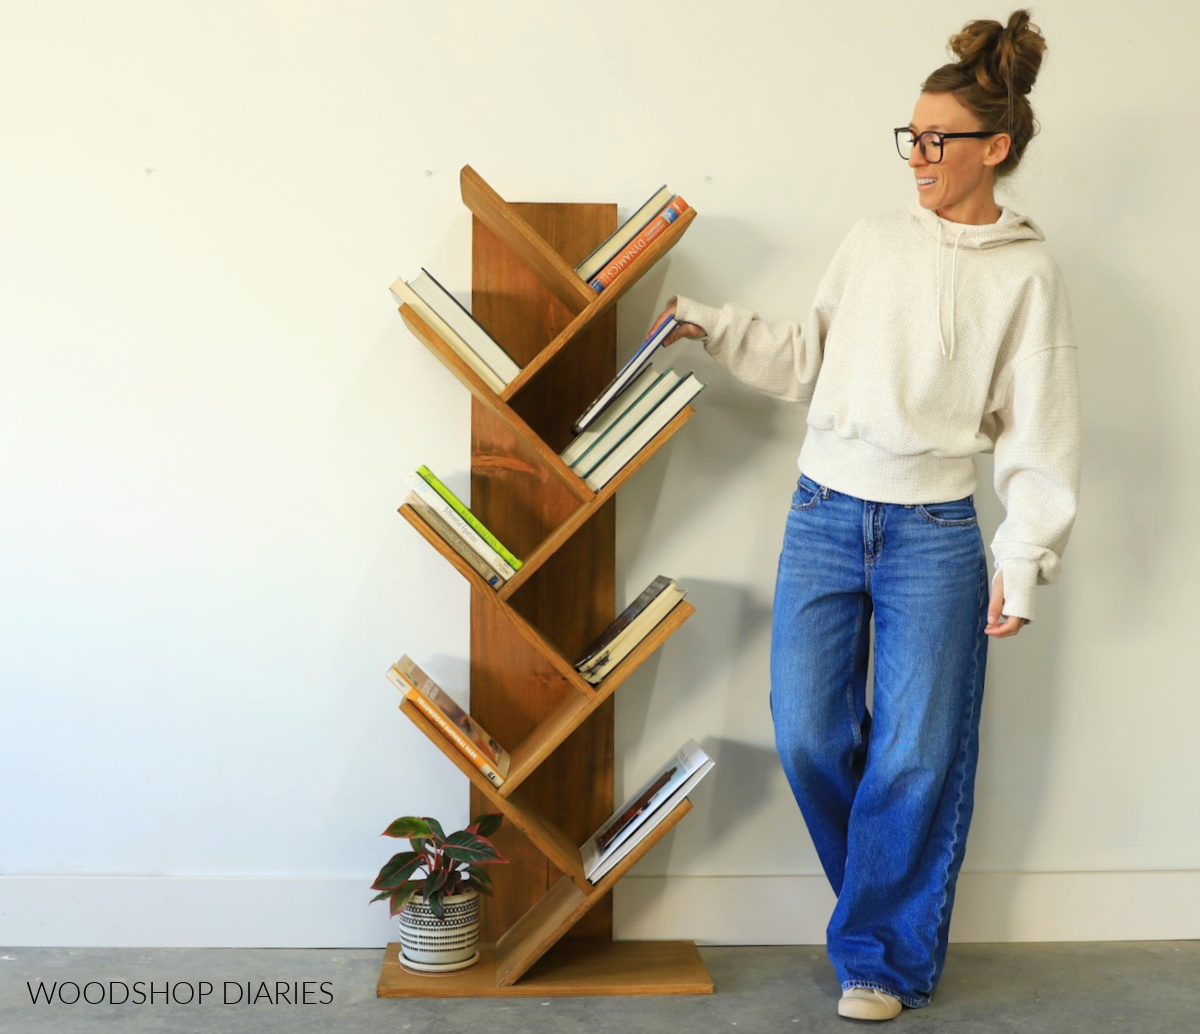
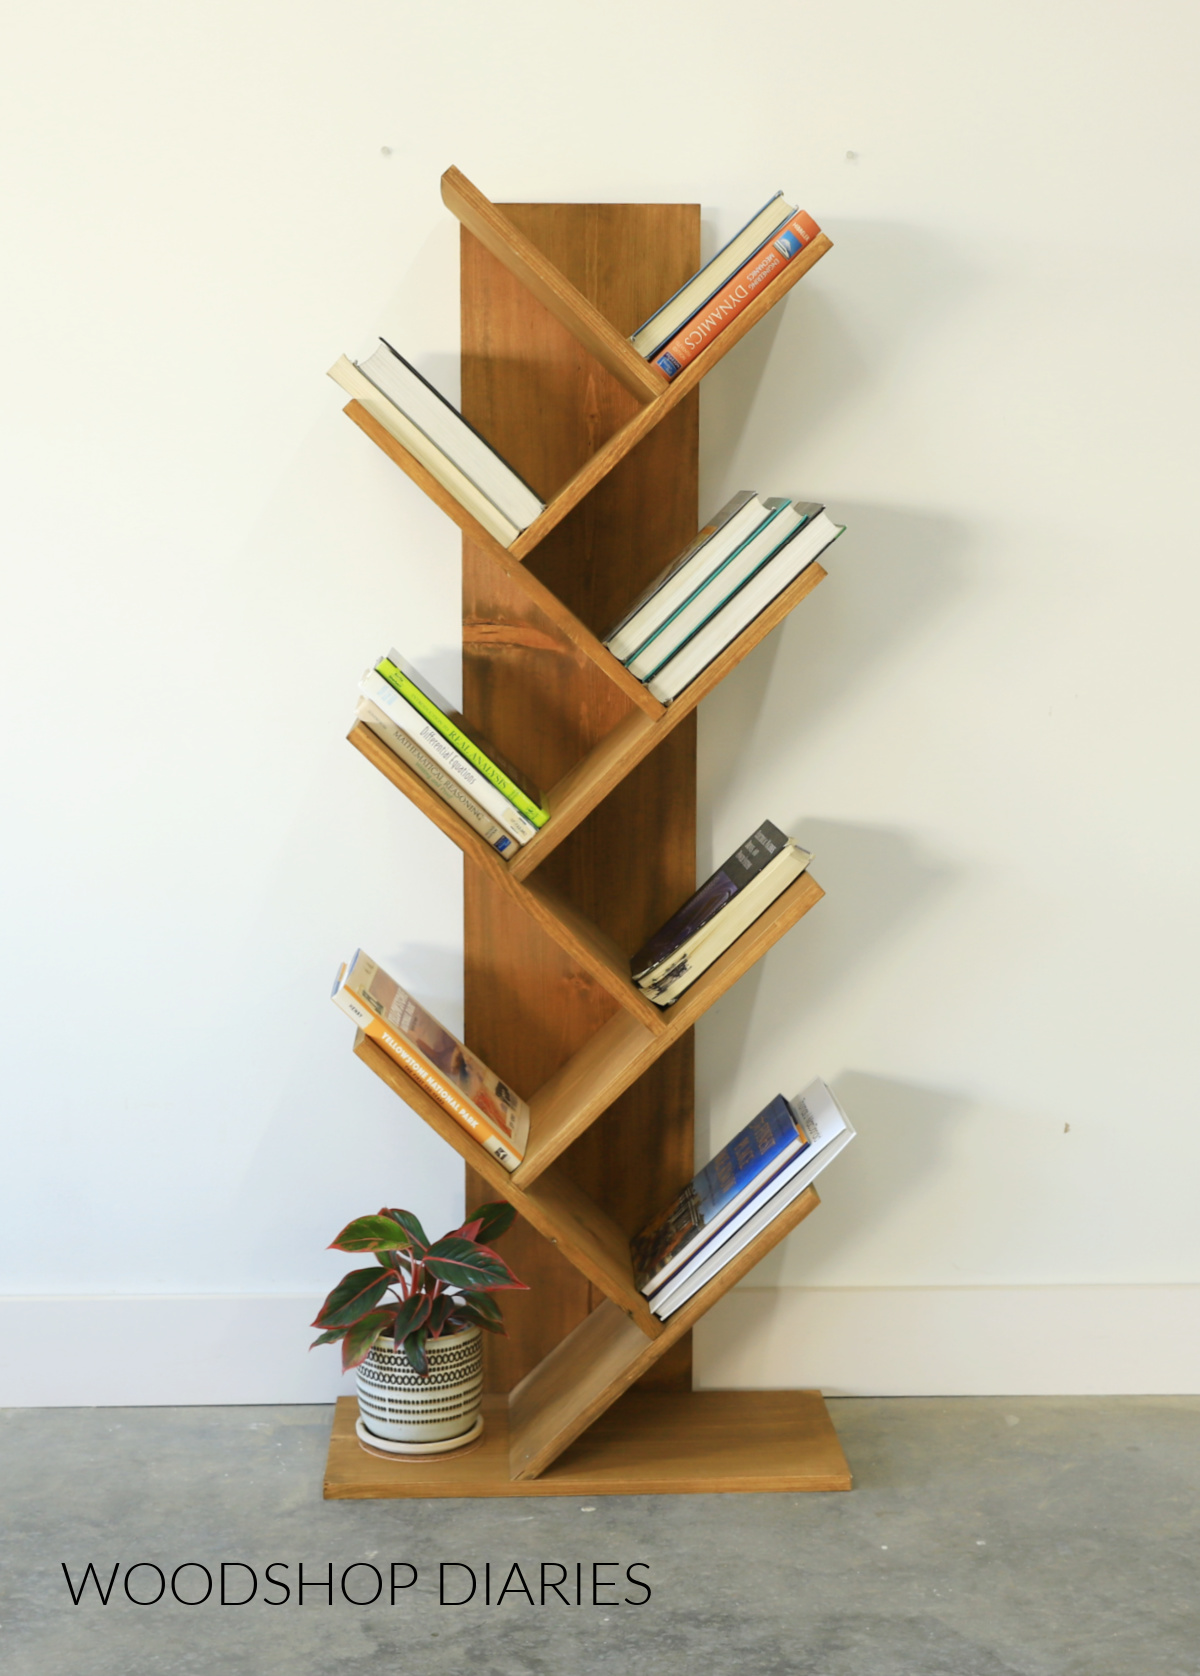
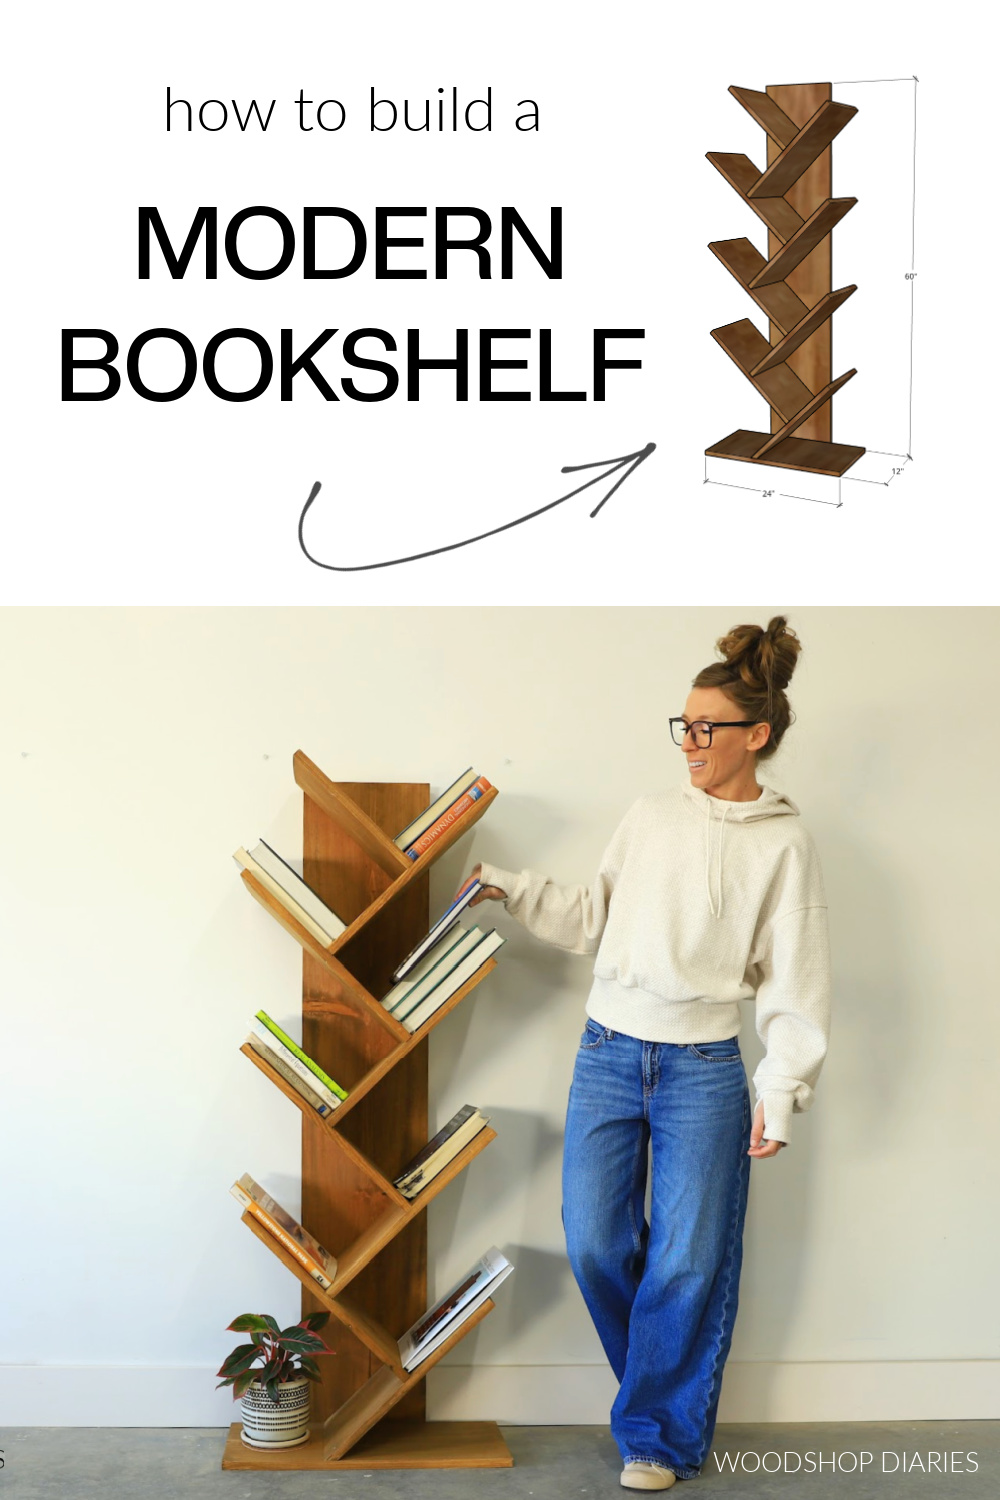
In this post, I’m sharing how to build a simple angled bookshelf from just a few basic 1×12 boards!
This shelf features a unique design that is eye catching, but simple and is great for extra storage in small spaces.
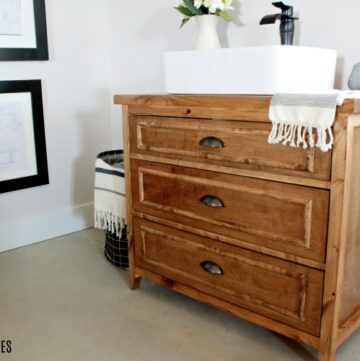
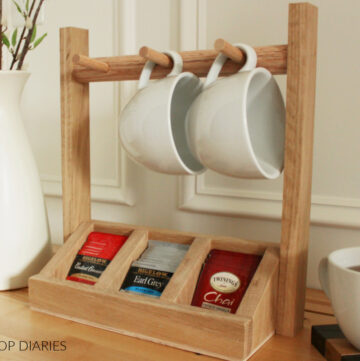
And while this makes an great bookshelf, it could also be useful for towels in a bathroom, shoes or clothes in a closet, or a little extra (and fun!) storage in any small space.
The angled shelves are easier than they look to assemble, so if you’re ready to build your own, I’ve got the how-to for you below.
*This post contains affiliate links. See website policies.
What to consider before building
This is an excellent weekend woodworking project since it only takes a few hours to put together.
And most of that time is spent waiting for glue to dry, so you can spend a little time gluing up a few pieces, go watch a game or run an errand. Then come back and do the next section once that’s dry.
MATERIAL CHOICES
You can use just about any wood type you’d like for this project, but to keep it budget friendly, I recommend using pine/spruce/whitewood lumber from the local big box or building supply store. It only cost about $40 in lumber at the time of building (Dec. 2025).
Or, if you wanted, you could rip ¾″ plywood strips to build this with as well. RELATED: How to cut plywood sheets
Either way, whether you rip your own lumber to size or buy precut boards, keep in mind the difference between nominal and dimensional lumber.
FINISHING
Depending on the type of finish you plan to use, you may consider finishing the pieces separately before assembling each step. For example, I used a water based stain for this project and I find it much easier to apply to individual pieces vs after everything is together.
So I stained each piece as I assembled each step. Learn how to stain wood here.
However, you can choose to finish the entire project at once after it’s complete.
DOWEL ASSEMBLY vs SCREWS
I assembled the shelf section of this project (steps 1 & 2) using wood glue and dowels to avoid any visible joinery. But, I added the back and bottom using screws because these will be hidden in the finished project.
RELATED: How to use a dowel jig
If you don’t want to assemble with dowels, you can assemble this entire project using 1 ¼″ wood screws, instead. If/when using screws are used on this project, make sure they are countersunk and be sure to predrill pilot holes to prevent wood splits.
I highly recommend watching the video linked below for additional tips and visuals on assembly.
Overall Dimensions
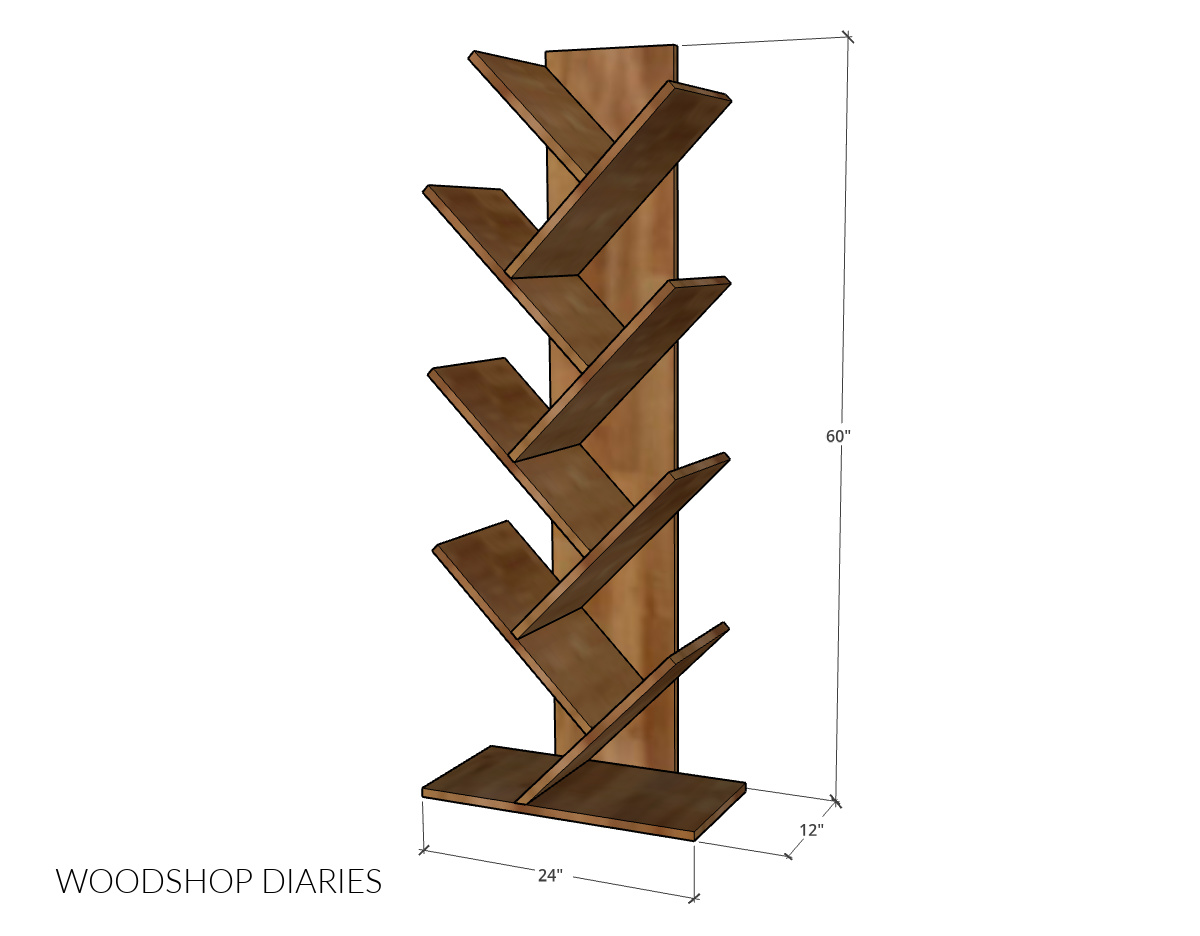
The overall dimensions of this angled shelf project are approximately 12″ deep x 24″ wide x 60″ tall.
Are DIY projects your thing? Sign up for our newsletter for priority access to the latest projects and build plans!
How To Build a Modern Angled Bookshelf
I’ve included the step by step building instructions below along with printable building plans. But, if you prefer to watch, I’ve also included a build video as well.
Check out the video for tips, visuals, and some extra clips from behind the scenes!

Love watching how-to videos? Subscribe to my YouTube channel for plenty more where that came from!
Prefer to print? Grab the printable modern geometric bookshelf building plans here:
Tools & Materials:
Tools:
- Miter Saw
- Drill/Driver
- ⅜″ Dowel Jig (optional–see notes page)
- Clamps
Materials:
- (2) 1x12x8′ boards
- (1) 1x12x6′ board
- 1 lb box 1 ¼″ wood screws
- (35) ⅜″ x 1 ½″ dowel pins (optional–see notes page)
- Wood Glue
Step 1: Assemble “T” Shapes
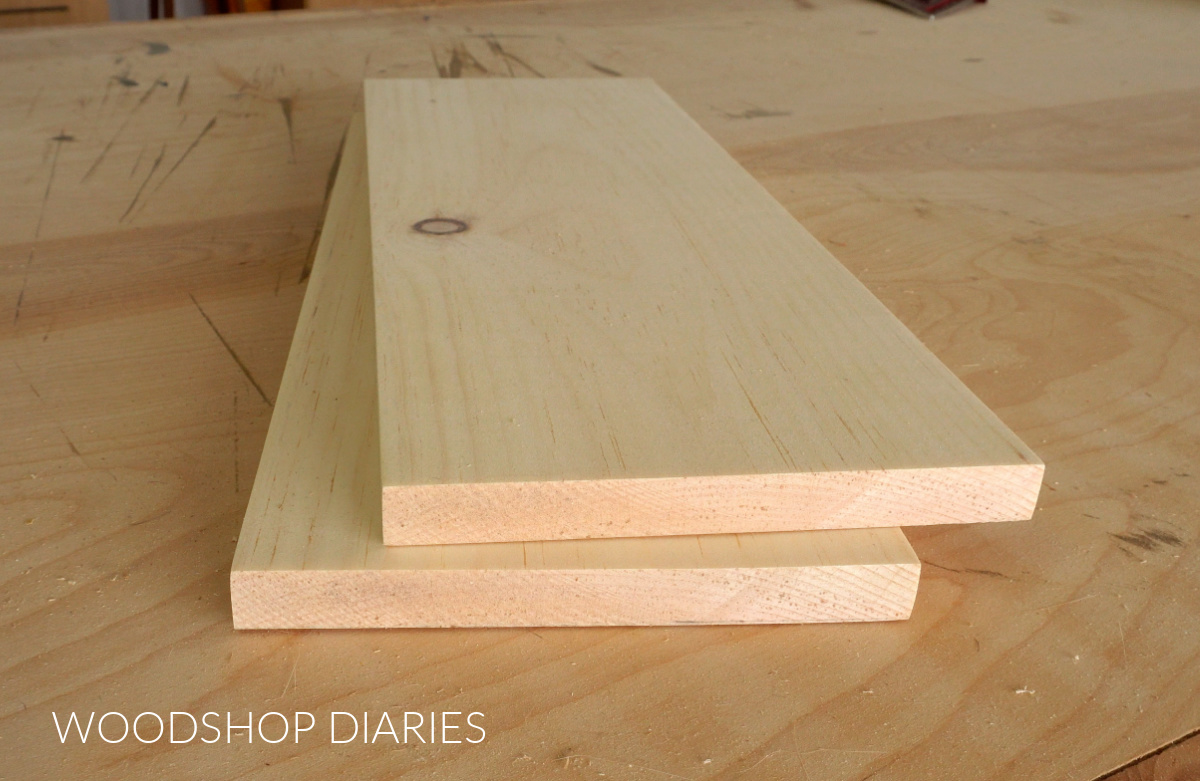
One of the nice things about this project is everything is simply cut from 1×12 boards. So, first, I cut 8 pieces from my 1x12s to make the actual shelf parts. I cut seven pieces to 19″ and one piece to 13″.
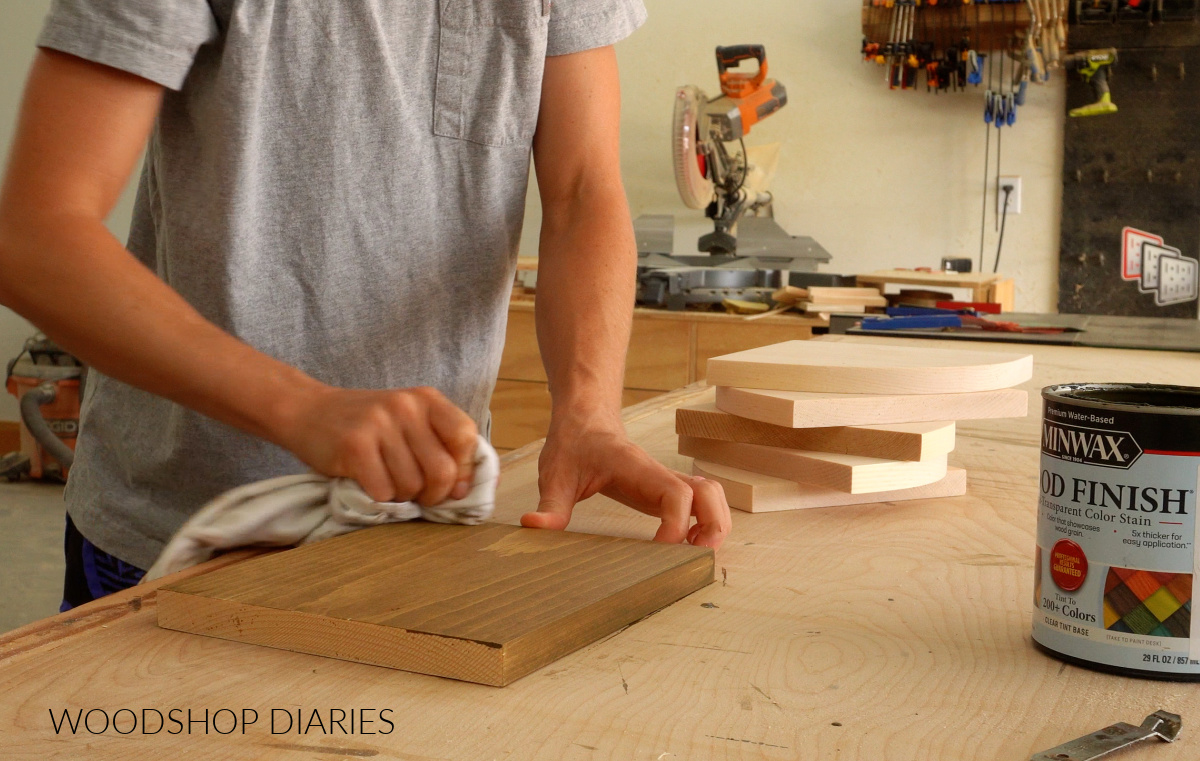
These will be glued together into pairs to make “T” shapes. Before assembling, I went ahead and stained each piece separately with Minwax Water Based Semi Transparent Wood Stain in Aged Oak.

I assembled my shelf pieces using wood glue and dowels because I didn’t want to see any visible screws. BUT, if you wanted to assemble with wood screws, you absolutely can. It’s probably a bit easier that way.
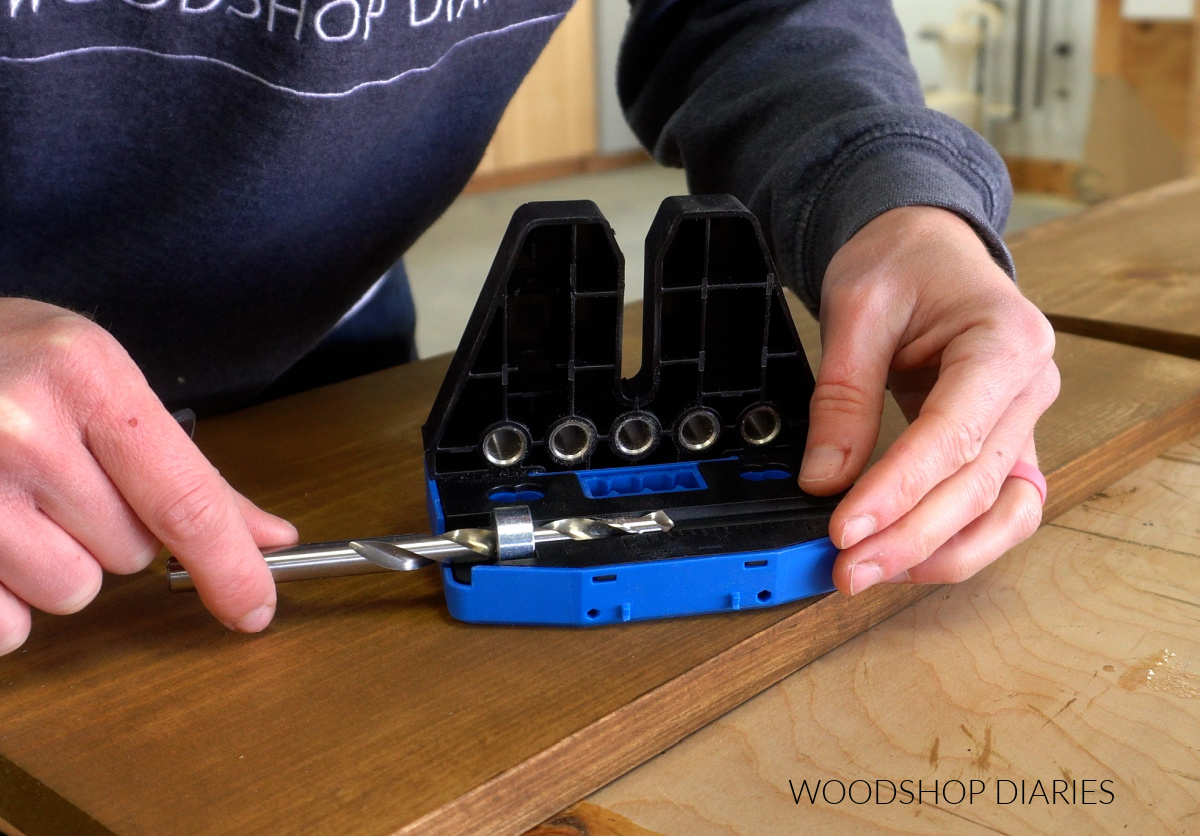
I was using ⅜″ diameter x 1 ½″ long dowel pins. Since I’ll be drilling into the face of some boards and the ends of others, I was careful to adjust my drill depth so as not to drill my dowel holes THROUGH any boards.
So I drilled about ½″ deep into the face and about 1″ deep into the ends of my pieces. That way, the 1 ½″ long dowel will fit. FYI: The Kreg Doweling Jig has a built in drill depth gauge that’s pretty handy.
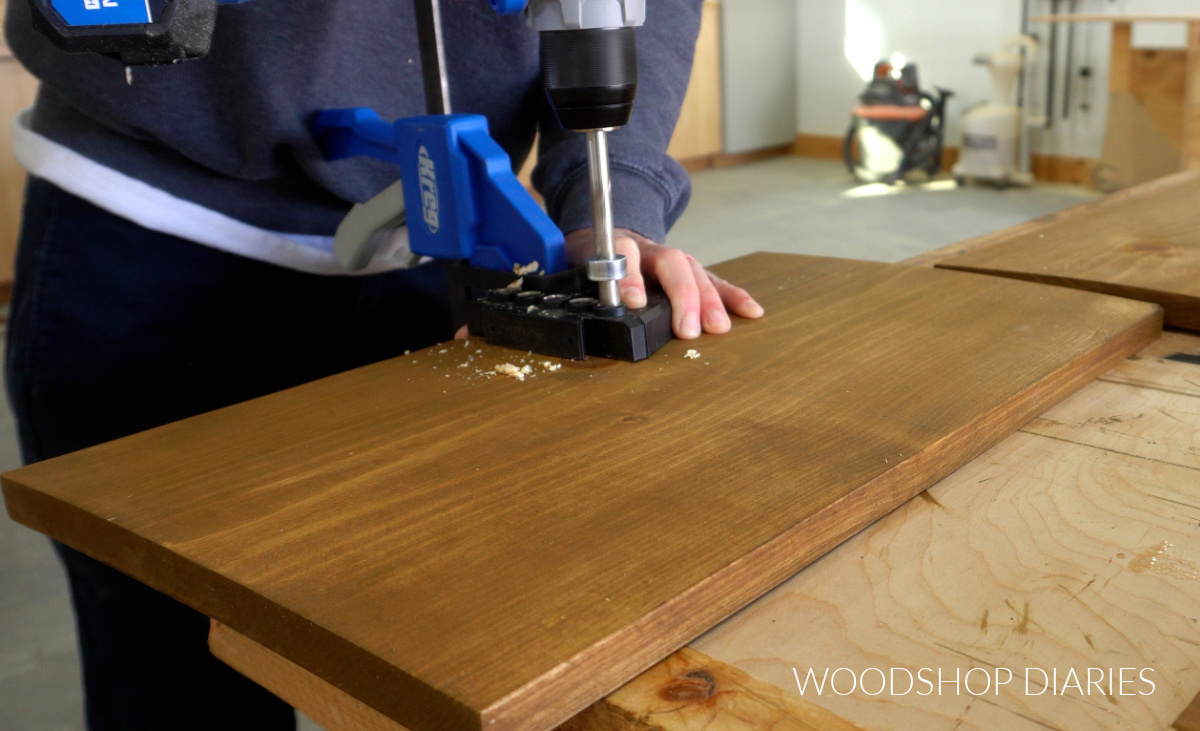
I measured and marked the middle on one side of four of my 19″ long pieces and drilled dowel holes along this mark.
Prefer to print? Grab the printable building plans for this project here.
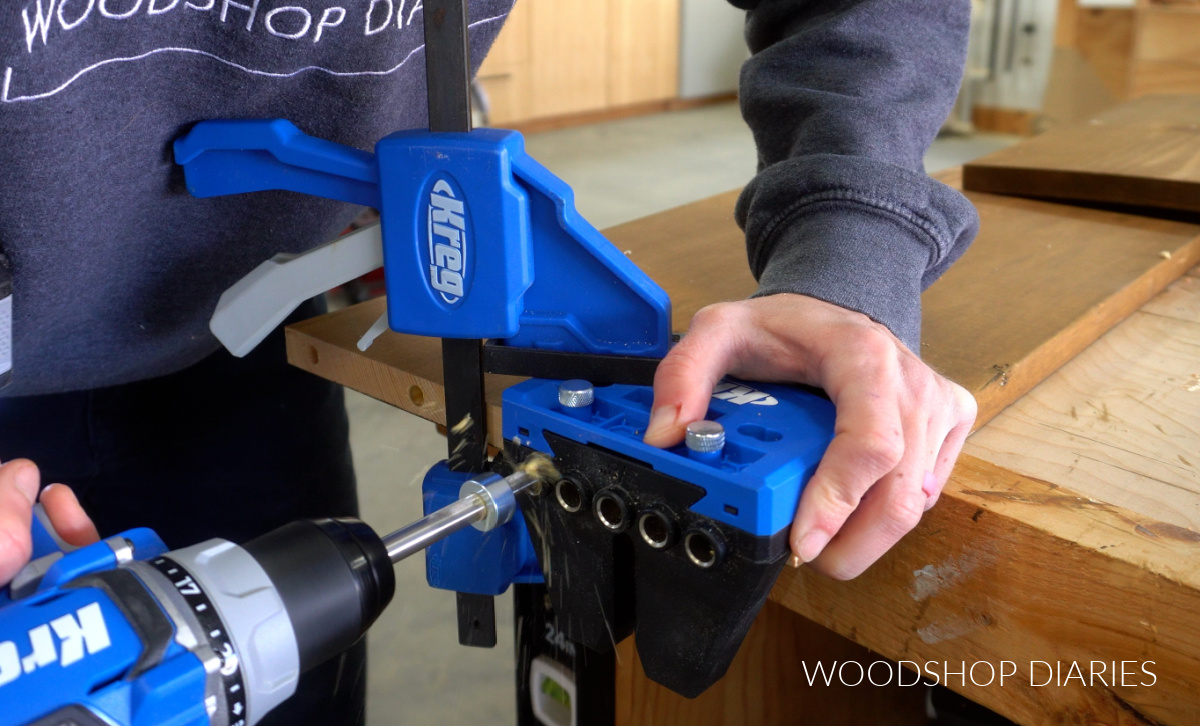
Then I adjusted my drill depth (see previous notes) and drilled corresponding holes into one end of my other three 19″ long pieces and into one end of my 13″ long piece.
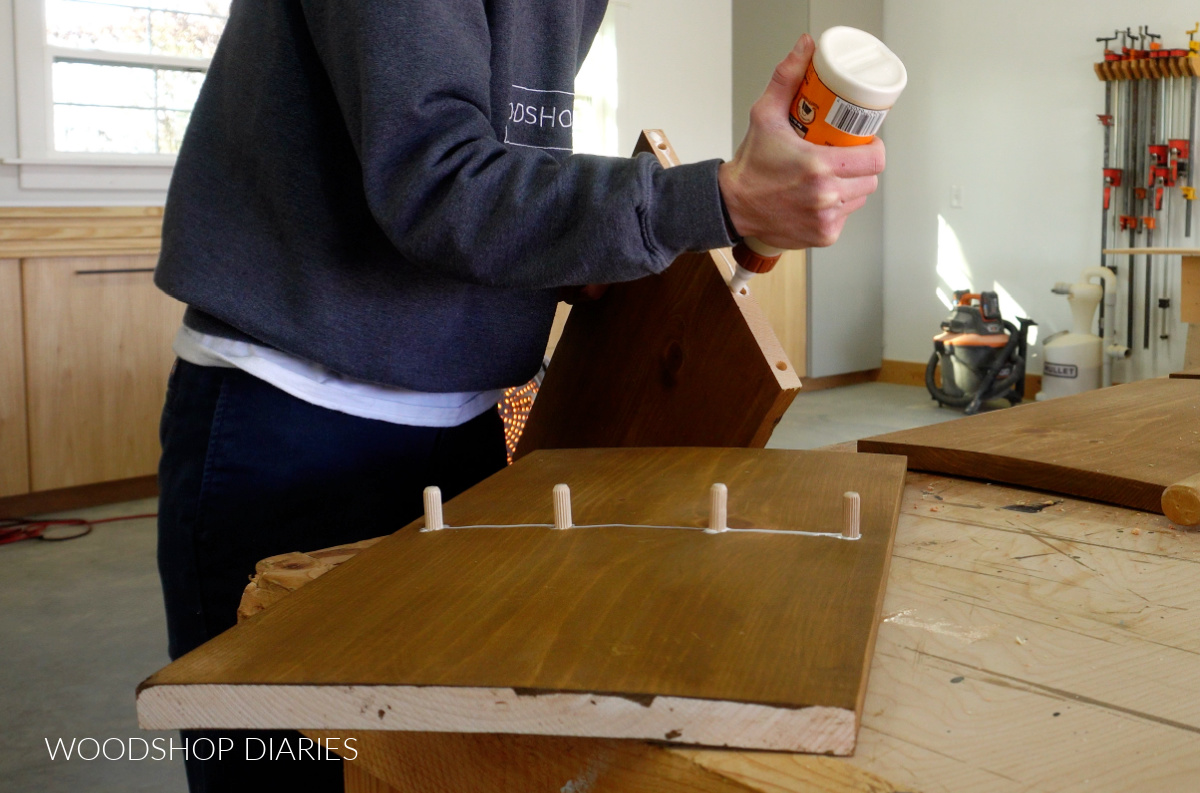
Once all the holes were drilled, I could glue and clamp up four “T” shaped shelf pieces using dowels.
Three “T” shapes will have both pieces the same length, but one “T” shape will have the shorter 13″ long piece. There’s a reason for that, so hang with me!
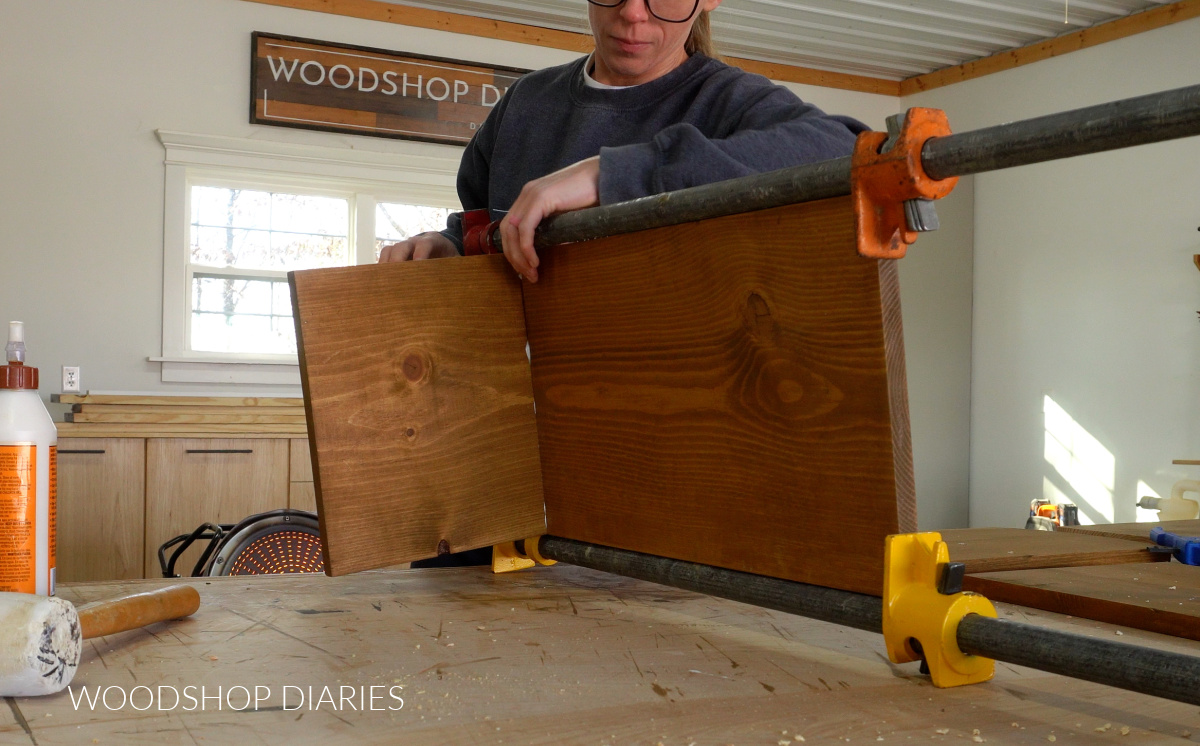
I clamped each of the four “T” shaped parts together and allowed to dry completely before moving on.
Step 2: Assemble Shelf Unit
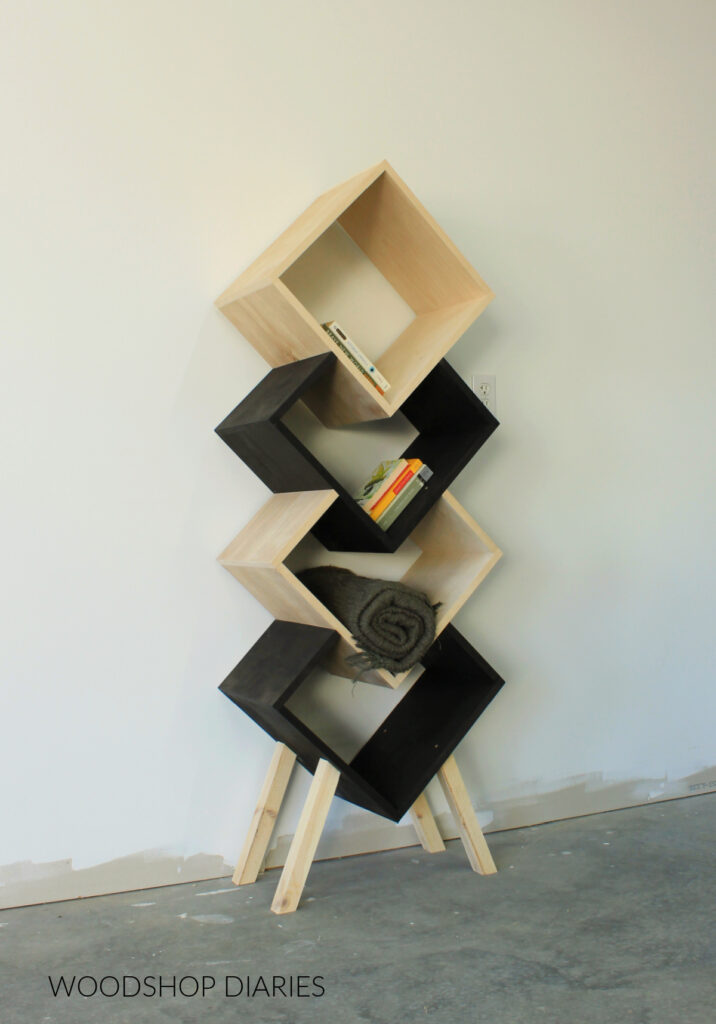
Because this design was a bit “tricky,” I wanted to lay out my pieces to get a visual of where we were heading. So I pieced my “T” shaped from step 1 together on the workshop floor making sure the short piece was at the top.
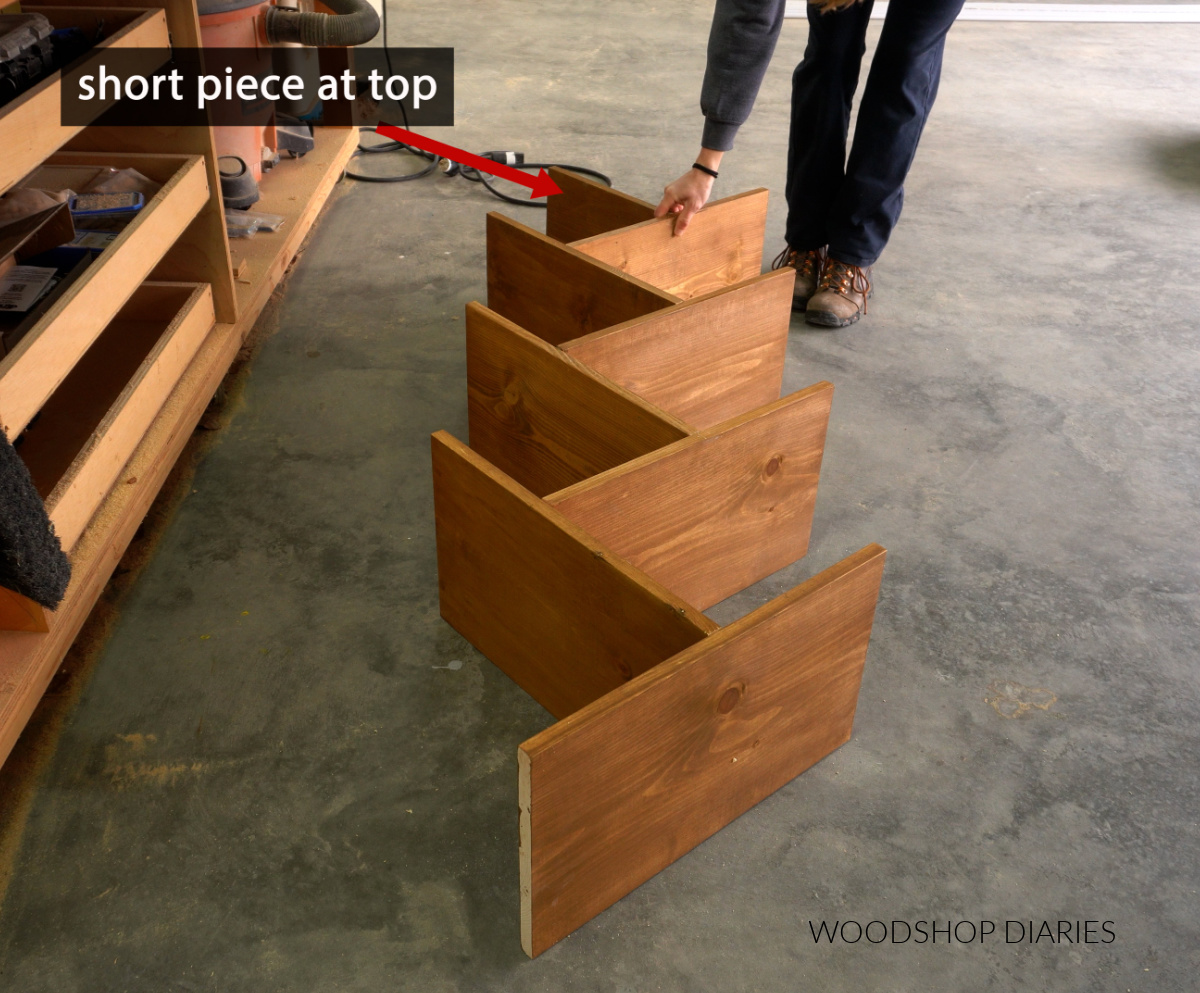
I remembered that the very bottom piece shown in the photo above needs to be trimmed so that the end is beveled 45 degrees. That way, it will sit flat on the bottom piece later.
So I trimmed that edge on my miter saw, then carefully marked on each board where I needed to drill the dowel holes to connect all of these pieces. I wanted to make sure I didn’t accidentally drill my dowel holes on the wrong side of the board!
See the video for more information.
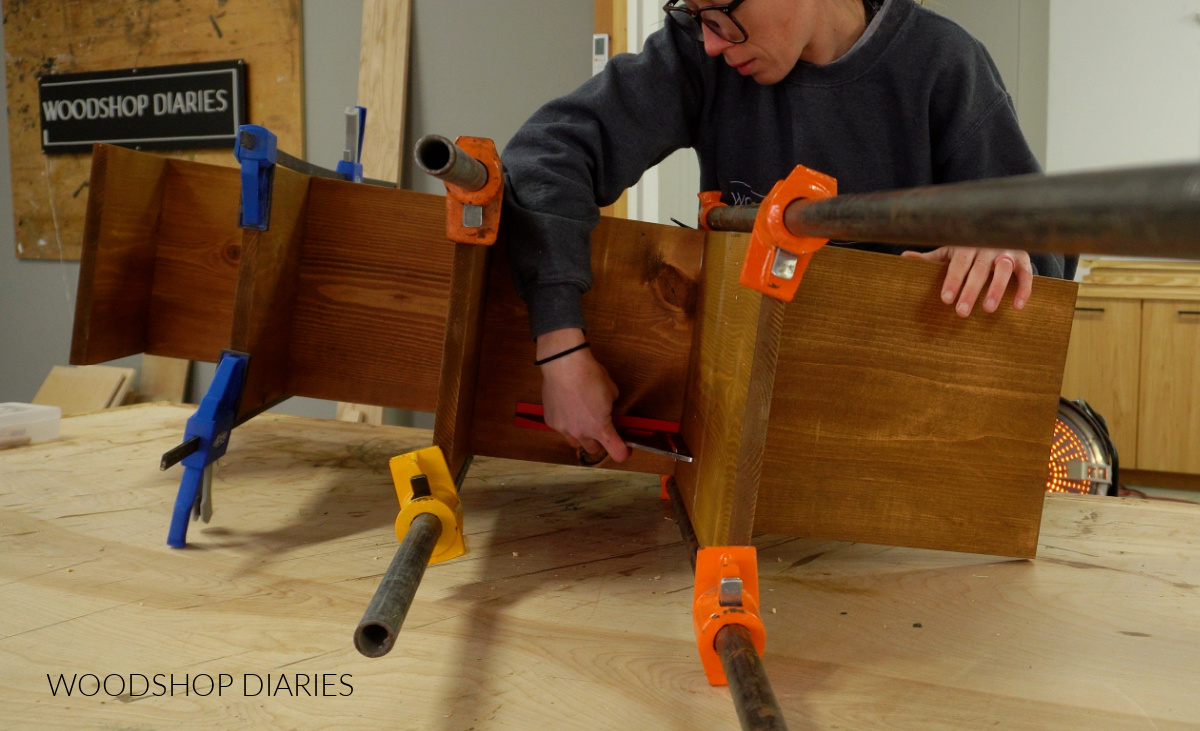
Then, just like in step 1, I assembled these pieces using wood glue and dowels. So I drilled my dowel holes on each “T” shape and glued these together. And again, if you wanted to use wood screws instead of dowels, you absolutely can.

It was a bit of an awkward glue up, but doable if you take your time. I made sure to check that each piece was clamped square before letting the glue dry.
Prefer to print? Grab the printable building plans for this bookshelf here.
TIP: Make sure the beveled end is at the bottom and the short piece is at the top!
Step 3: Assemble Shelf Back and Bottom
While the glue was drying on the shelf, I cut two more pieces of 1×12. One piece will be the bottom and one piece will be the back.
I measured and marked the center of each then aligned my marks and clamped together like shown below.
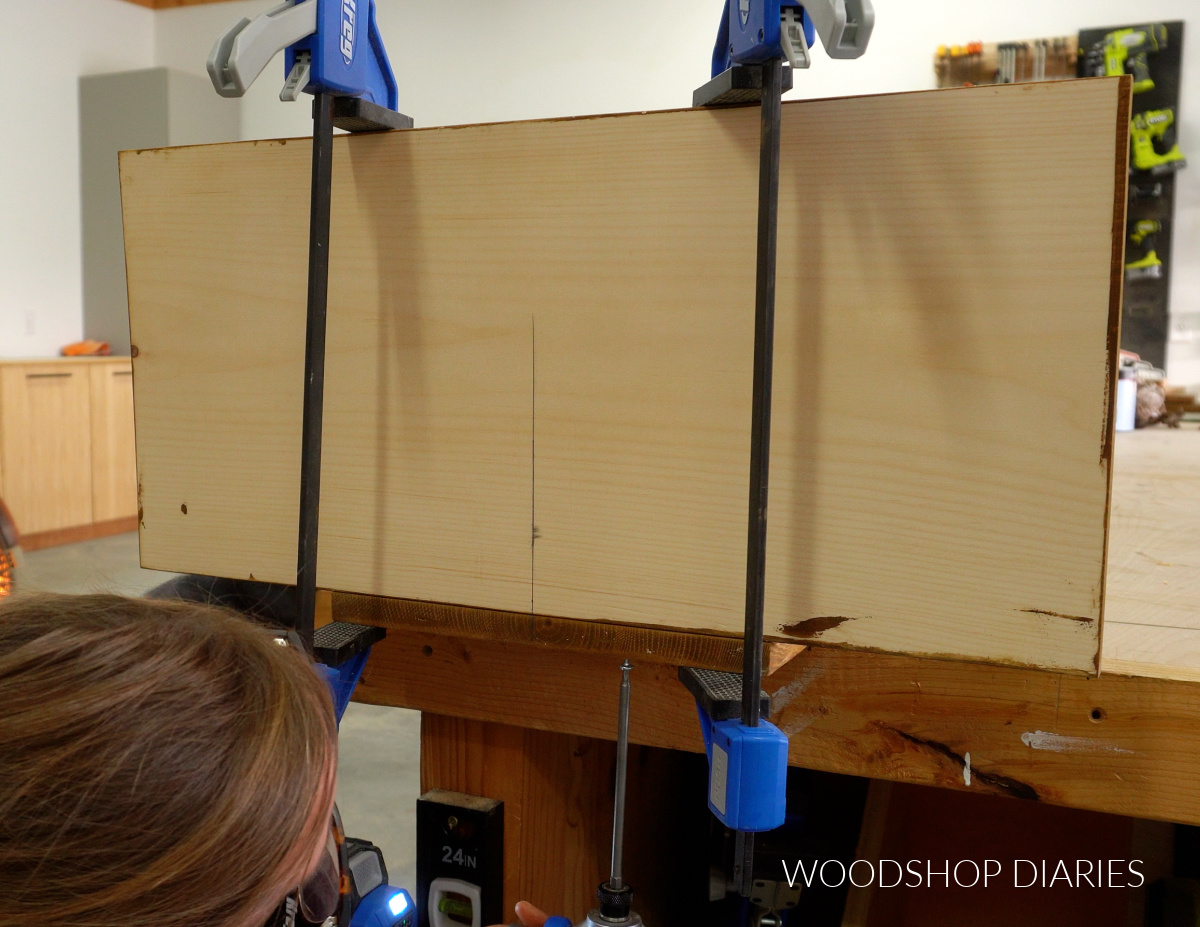
Up until this point, I used wood glue and dowels to assemble, but in this case, I used screws because they’ll be hidden in the finished project. So, I drove four screws through the back and into the bottom board.
Then, once the shelf unit was dry, I placed it on top to make sure everything fit well.

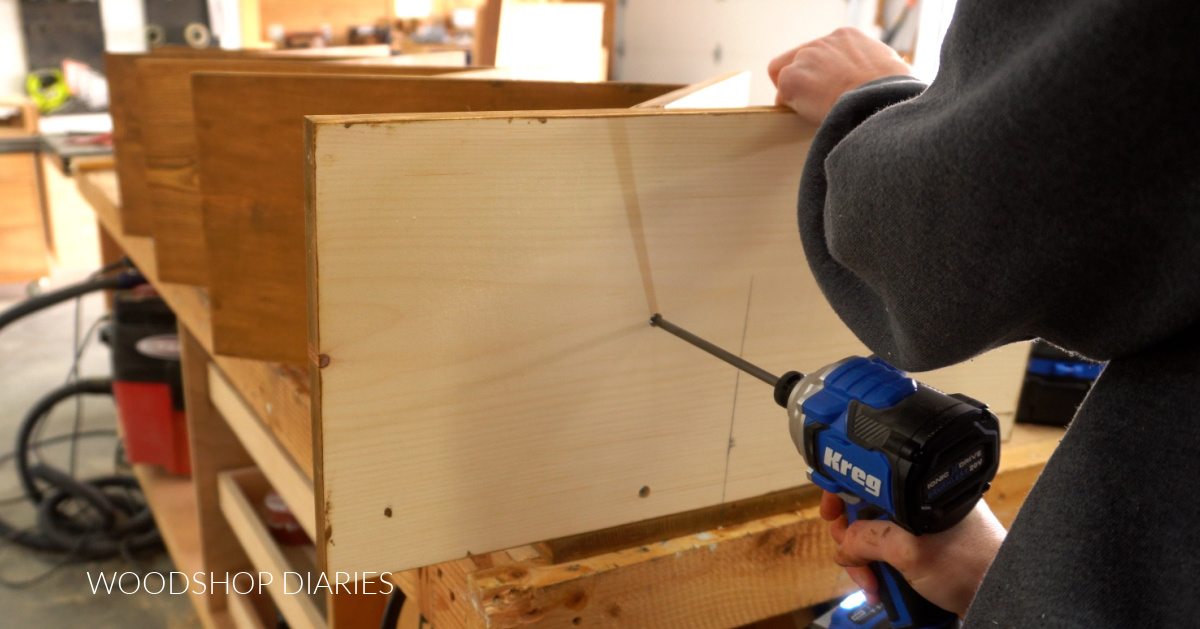
Step 4: Secure Geometric Shelf to Bottom and Back
I made sure the shelf unit was centered on the back piece, then secured it through the bottom with a few screws.
Once it was attached at the bottom, I carefully set the shelf upright, made sure it was centered (again) on the back piece, clamped, then secured each shelf with a screw through the back.

And with that, this simple angled geometric shelf is finished and ready for use!
If you’re ready to build your own, you can find the printable plans here.
I recommend placing the shelf on a flat, sturdy surface to prevent rocking. It’s also best to secure it to the wall to prevent tip over.
This fun little shelf can hold plenty of books or records and you can even use it for shoes, towels, or clothes.
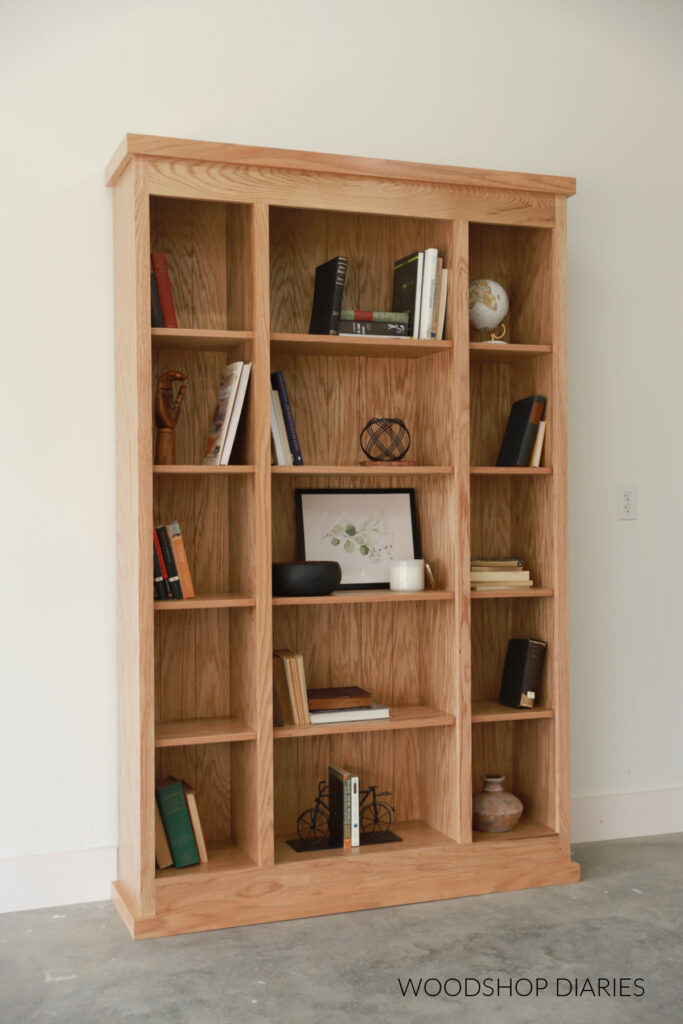
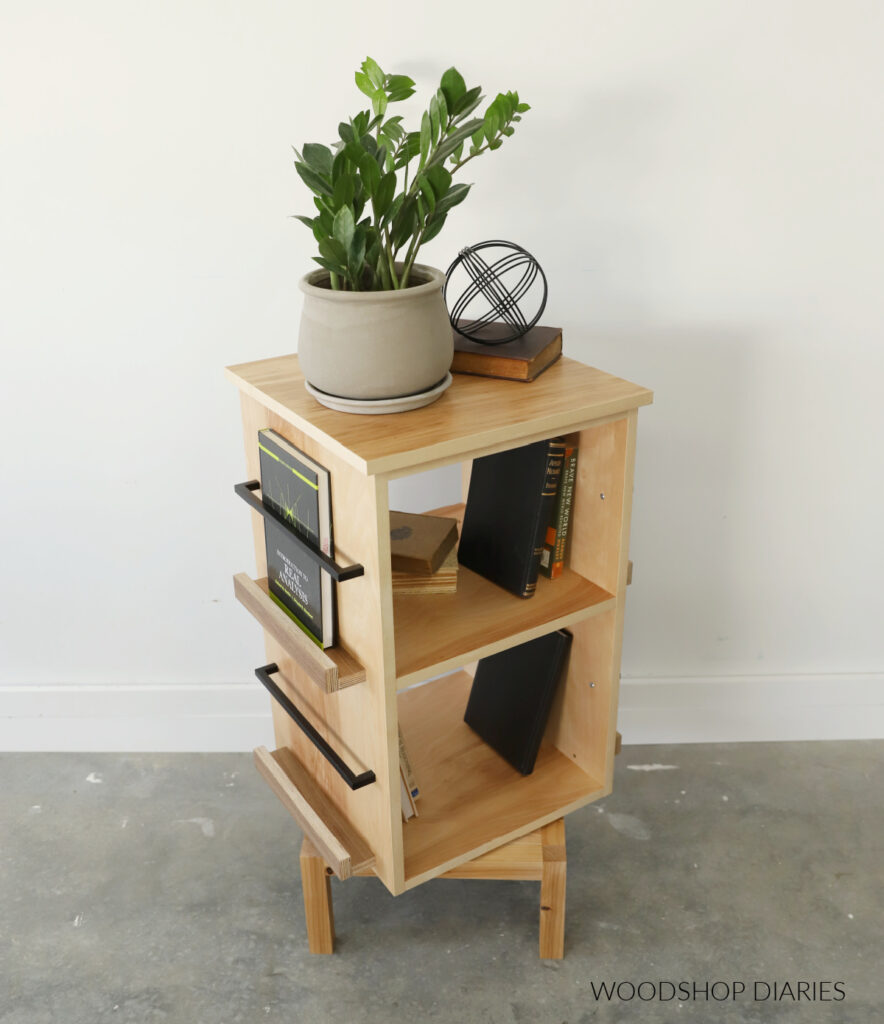
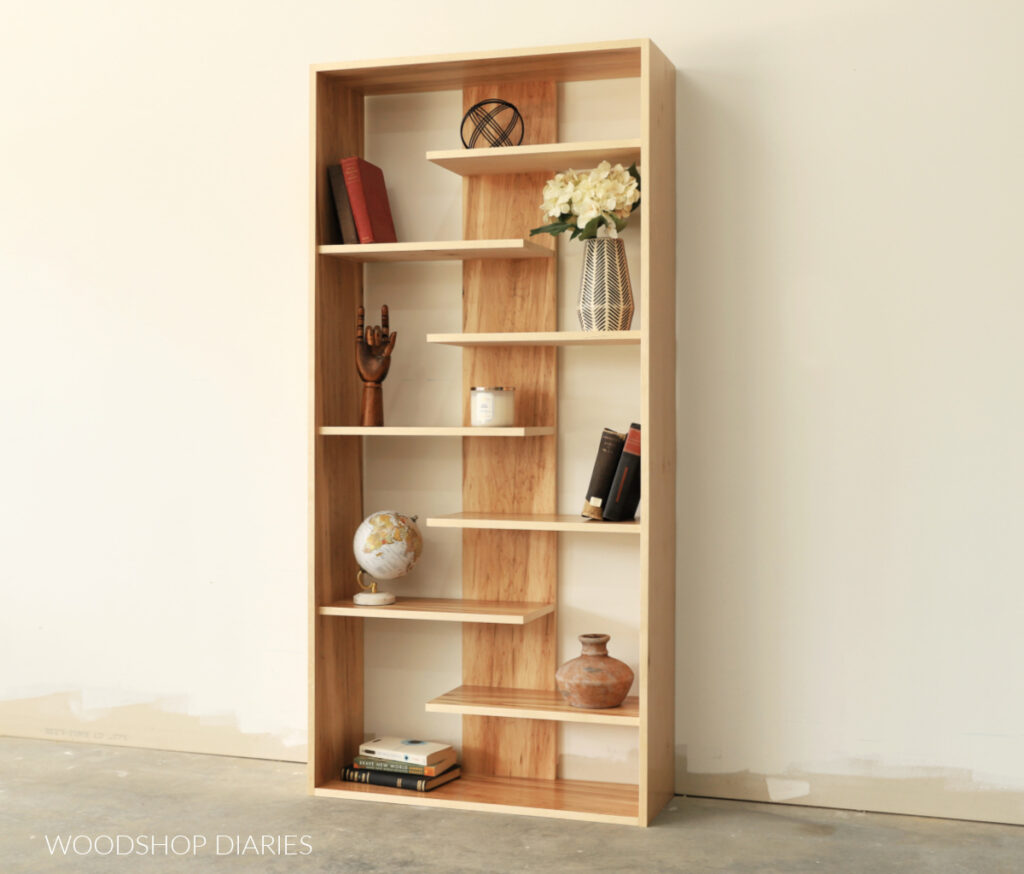
Looking for More Bookshelf Builds?
Bookshelves are so fun because there are a hundred styles, sizes, and shaped you can build them! So I have several options to choose from if you’re looking for more DIY shelving ideas.
Here are a few of my personal favorite shelf builds you may enjoy browsing:

If you enjoyed the post and want to save it for later, don’t forget to pin it or share to your favorite social channel!
Until next time, friend, happy building!