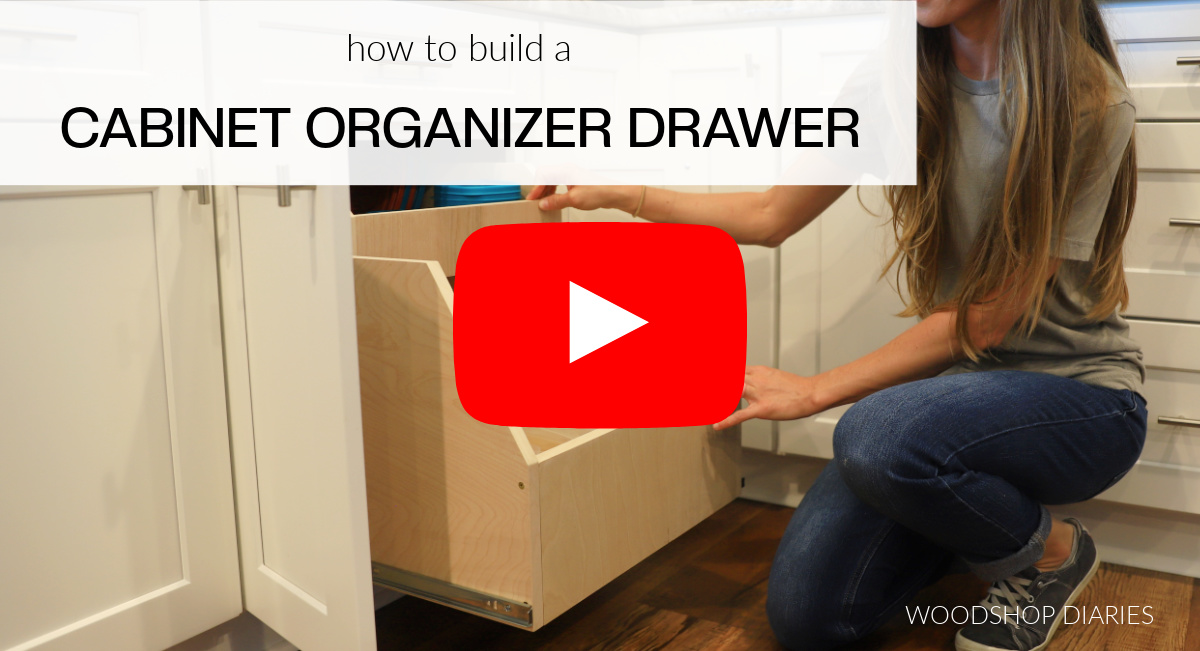
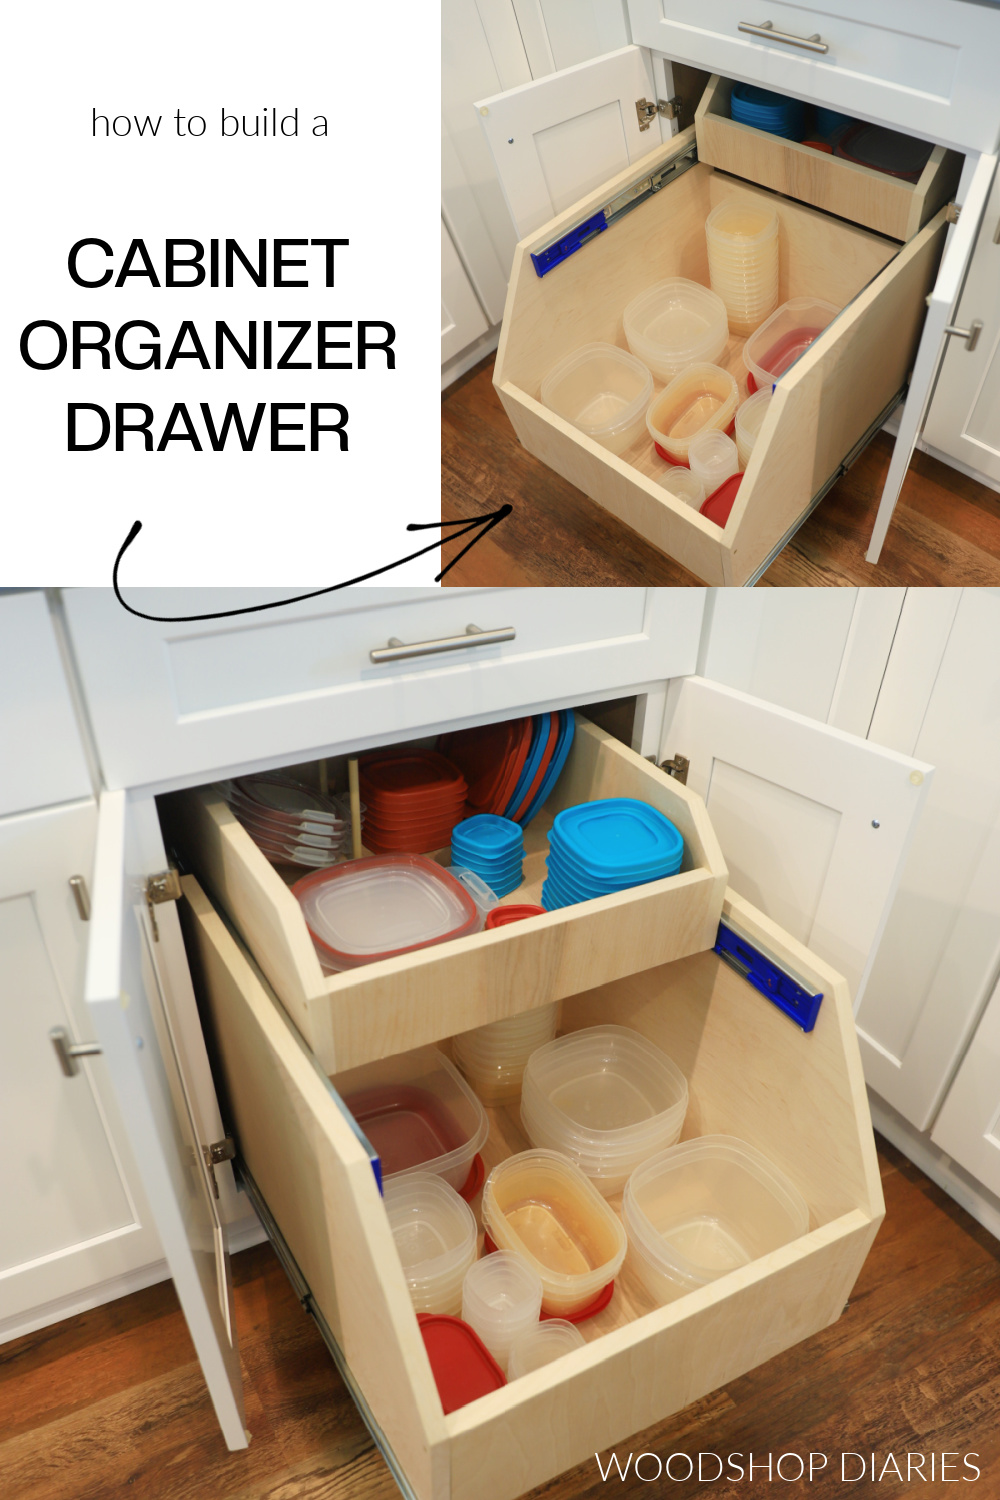
In this post, I’m sharing how to build a cabinet organizer pull out drawer from scrap plywood!
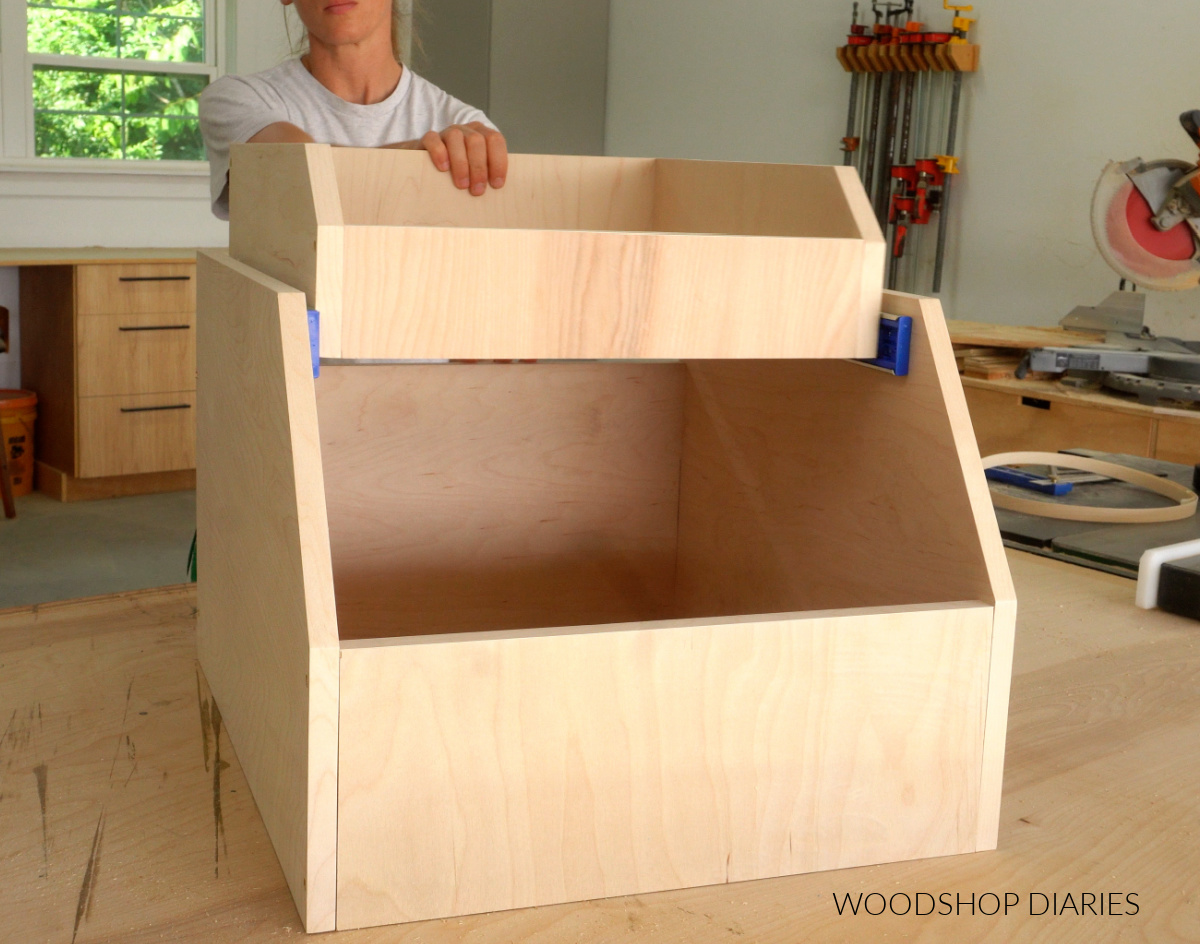
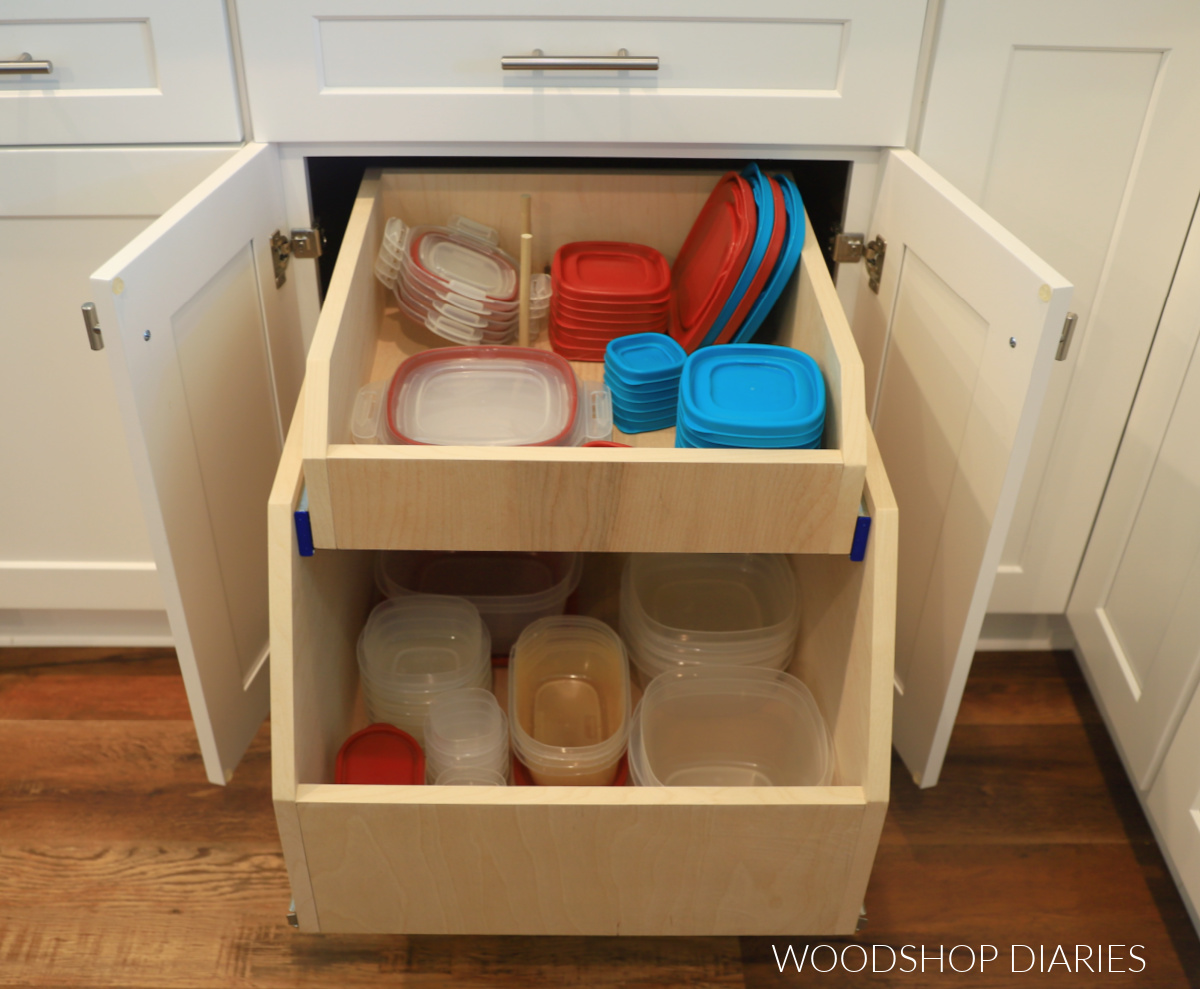
This design is unique because the entire organizer pulls out of the cabinet, but the small upper drawer can slide back into the cabinet for easy access to what’s stored below.
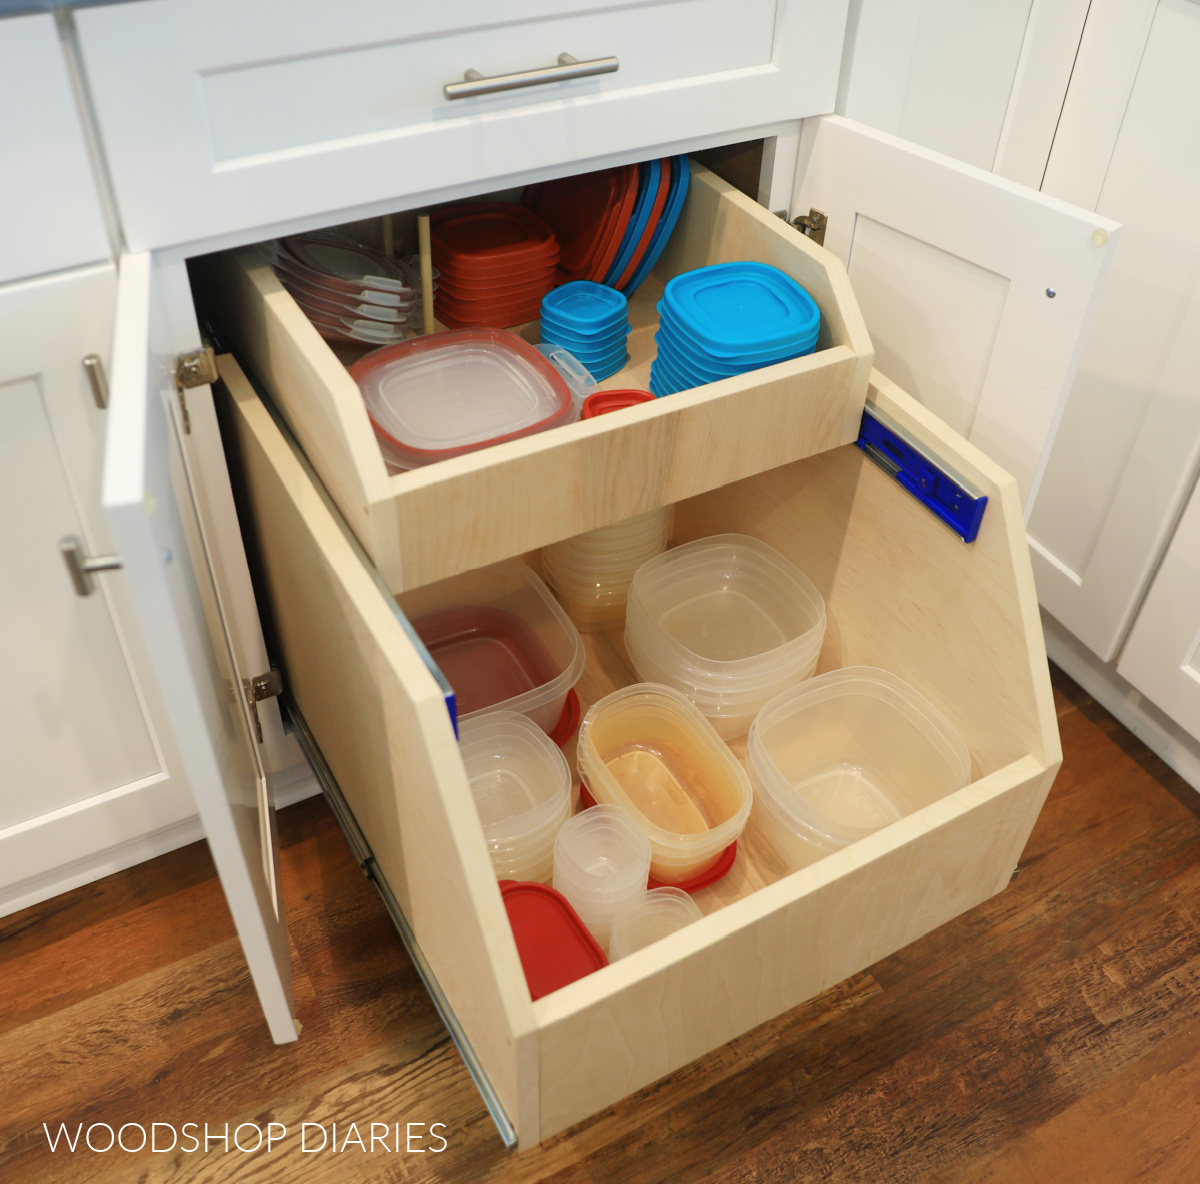
This is great for things like Tupperware storage (as shown above). But it would also work great for storing bulky kitchen items, like mixing bowls, in the bottom drawer and smaller accessories, like hand mixers, cookie cutters, etc., in the top drawer.
No matter what you plan to store inside, it’s an excellent addition that you can easily add into your existing cabinets to make time spent in the kitchen a little more efficient (aka not spent digging around your cabinets to find what you need).
So if your kitchen could use a little more organization, I’m sharing all the details on how to build and install this cabinet organizer drawer below.
*This post contains affiliate links. See website policies.
What to consider before building
This is a super quick, super simple project that you can easily complete in just an hour or two. The simple design is easy to customize to any size cabinet, but I recommend putting it into one of your bigger base cabinets, if possible.
While it can work in smaller cabinets, it may end up being a bit too small to practically store large items.
Material choices
I recommend building this from cabinet grade hardwood plywood. This is what most cabinets are built with, so it will blend in well, but it’s also strong, durable, and smooth.
Learn how to choose the best plywood for your project here.
This project can be built from entirely ¾″ plywood, entirely ½″ plywood or a combination of both. I built the one shown here using ¾″ plywood for the drawer sides and ½″ plywood for the drawer bottoms.
Because this is highly customizable and doesn’t require a lot of lumber, I encourage you to check your scrap pile as you may be able to get everything you need from there without having to buy any lumber!
RELATED: How to build a scrap wood cart to organize scrap plywood
How to measure your cabinet
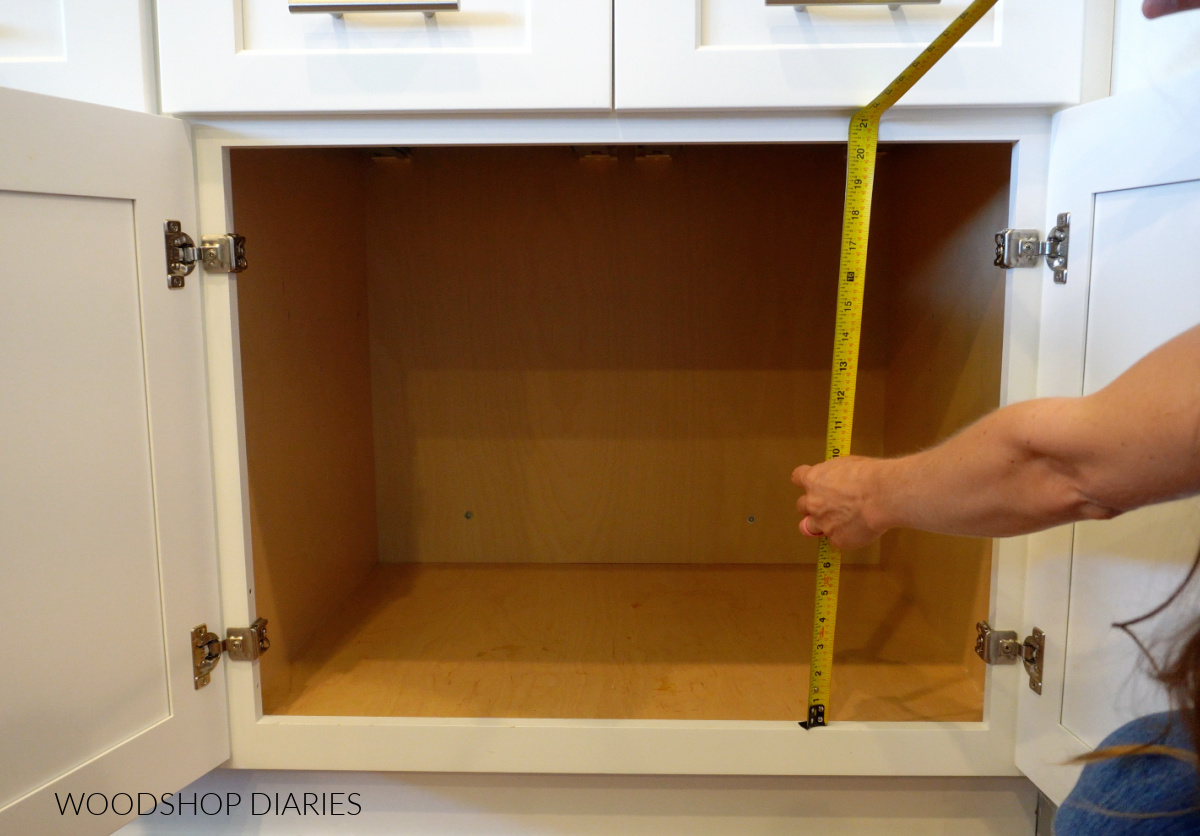
You can built this organizer to fit just about any size cabinet, so before getting started, I needed to take some careful measurements of the cabinet this is going into.
First, I measured my cabinet opening height and got about 20 ½″. So I know my organizer needs to be shorter than this–I made mine about 18 ½″ tall total.
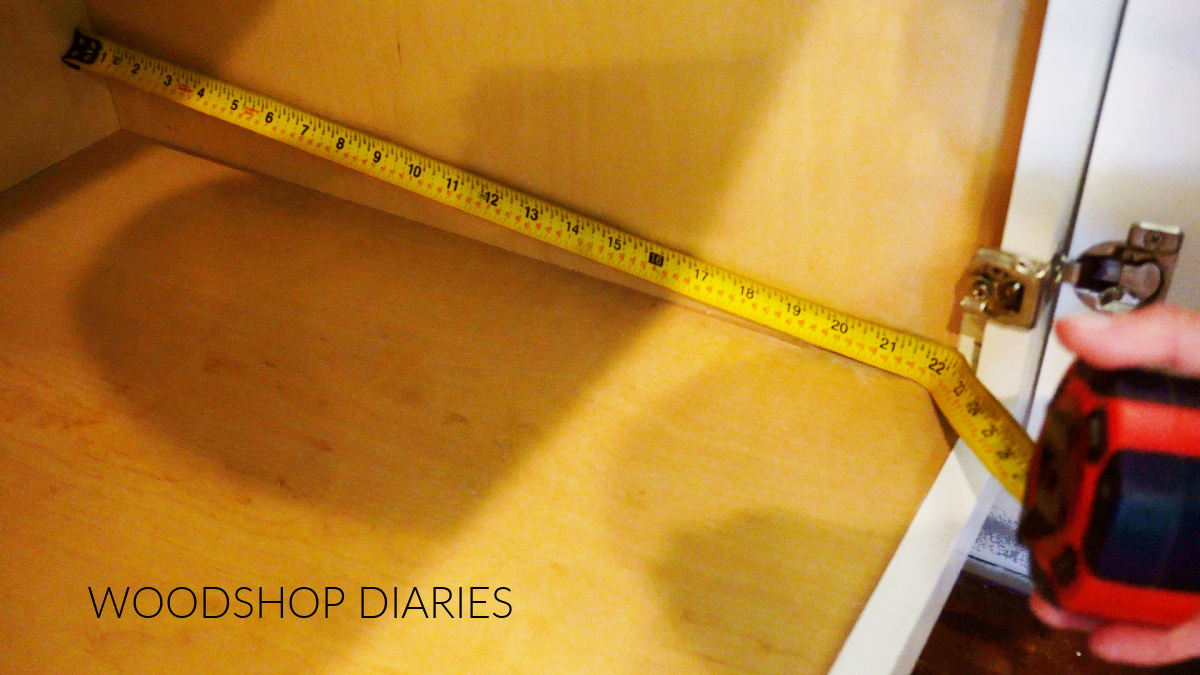
Next, I measured my cabinet depth. My cabinet has a face frame, so I measured from the back of the cabinet to the back edge of the face frame. It was a little over, but I rounded down to 22″ for some wiggle room.
Now, this organizer will be installed onto drawer slides, and since I have a face frame, I needed to install some spacer blocks to mount my slides onto so they can slide in and out. Learn more about installing drawer slides here.
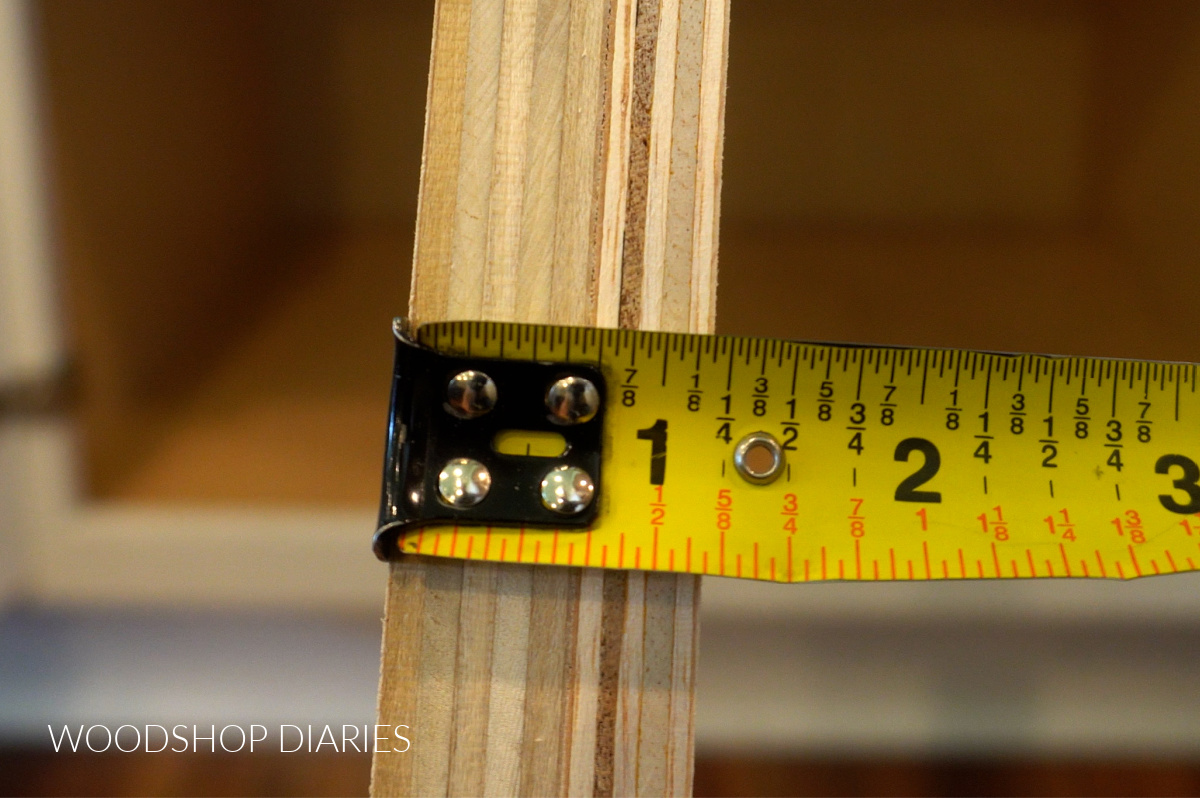
My face frame overhangs the inside of my cabinet 1 ⅛″ on both sides.
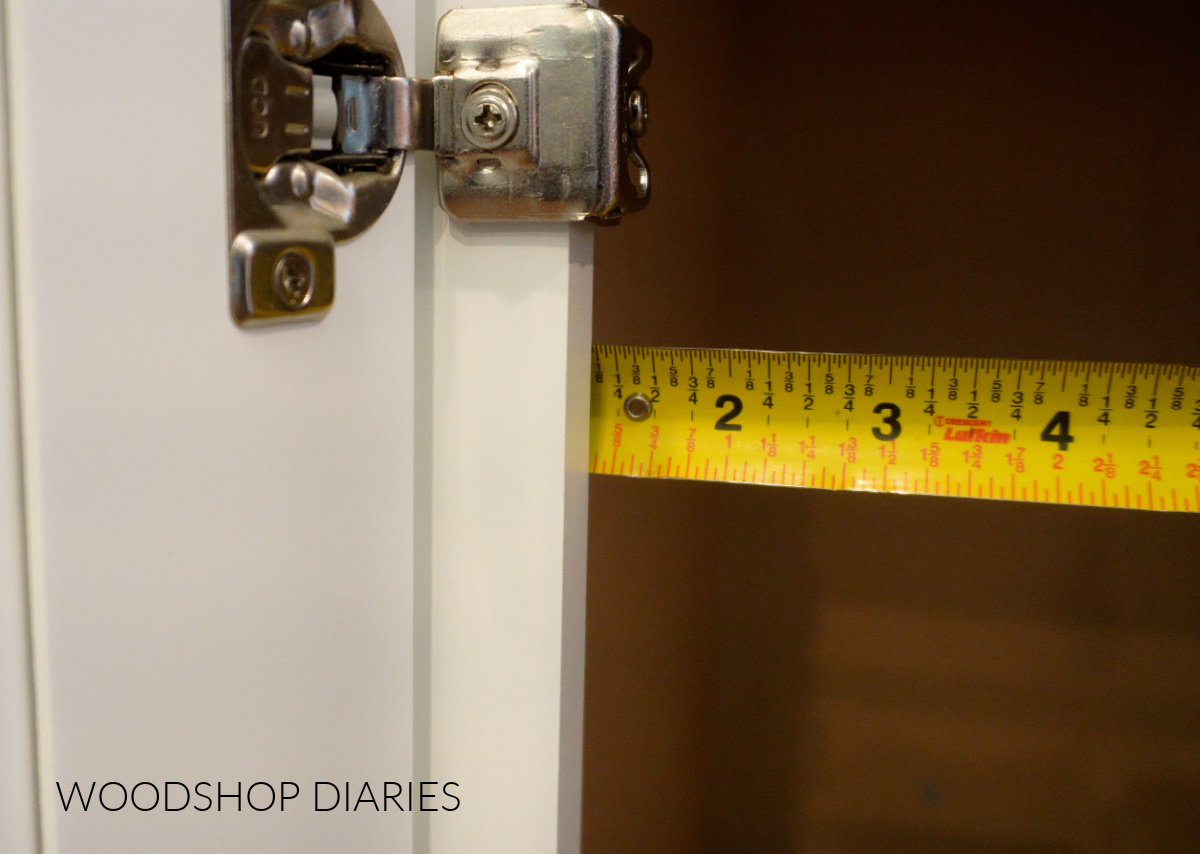
I could have cut some pieces to 1 ⅛″ exactly, but if I nailed a scrap piece of ¾″ plywood to a scrap piece of ½″ plywood, that was just barely over 1 ⅛″, so this worked well.
So I cut two pieces of ½″ and ¾″ plywood strips to 22″ long (my cabinet depth), nailed them together, then screwed them into the sides of my cabinets behind my face frame like you see in the image below. These will be where the drawer slides will mount to.
Once these were in, I measured the space between them to give me my width. It was 20 ¼″.
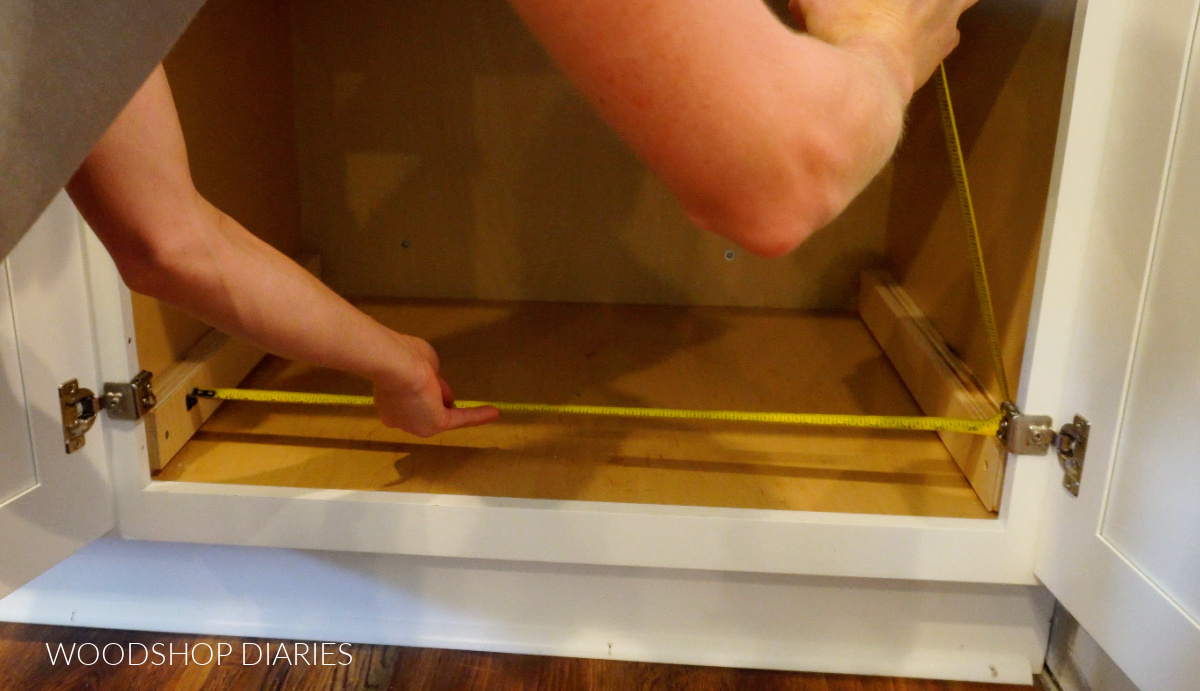
So my cabinet organizer size should be 22″ deep x 18 ½″ tall x 19 ¼″ wide. Note that the width between spacer blocks is 20 ¼″, so you need to subtract 1″ for the drawer slides to give you the overall width of the organizer.
Learn how to measure and size drawer boxes here.
Are DIY projects your thing? Sign up for our newsletter for priority access to the latest projects and build plans!
How to build a cabinet organizer pull out drawer
If you prefer to watch, I’ve shared the full build video with tons of tips, behind the scenes, and additional details on my YouTube Channel here.
Love watching how-to videos? Subscribe to my YouTube channel for plenty more where that came from!
Tools & Materials
Tools:
- Miter Saw
- Circ Saw or Table Saw
- Cutting Guides (Kreg Rip Cut and AccuCut)–optional
- Pocket Hole Jig
- Drill/Driver
Materials:
- ½″ and ¾″ plywood* (amounts depend on size (see notes above)
- 1″ pocket hole screws**
- 1 ¼″ pocket hole screws
- 1 ¼″ wood screws
- Edge banding
- (1) pair 22″ drawer slides*** (for installing into cabinet)
- (1) pair 16″ drawer slides (for installing upper drawer into lower drawer)
*If you have plywood scraps, you can likely find what you need from the scrap pile.
**1″ pocket hole screws are for ½″ plywood bottom. If using ¾″ plywood for the bottom, you’d need 1 ¼″ pocket hole screws.
***Drawer slide length should match cabinet depth rounded down to nearest even number.
Step 1: Assemble main bottom drawer
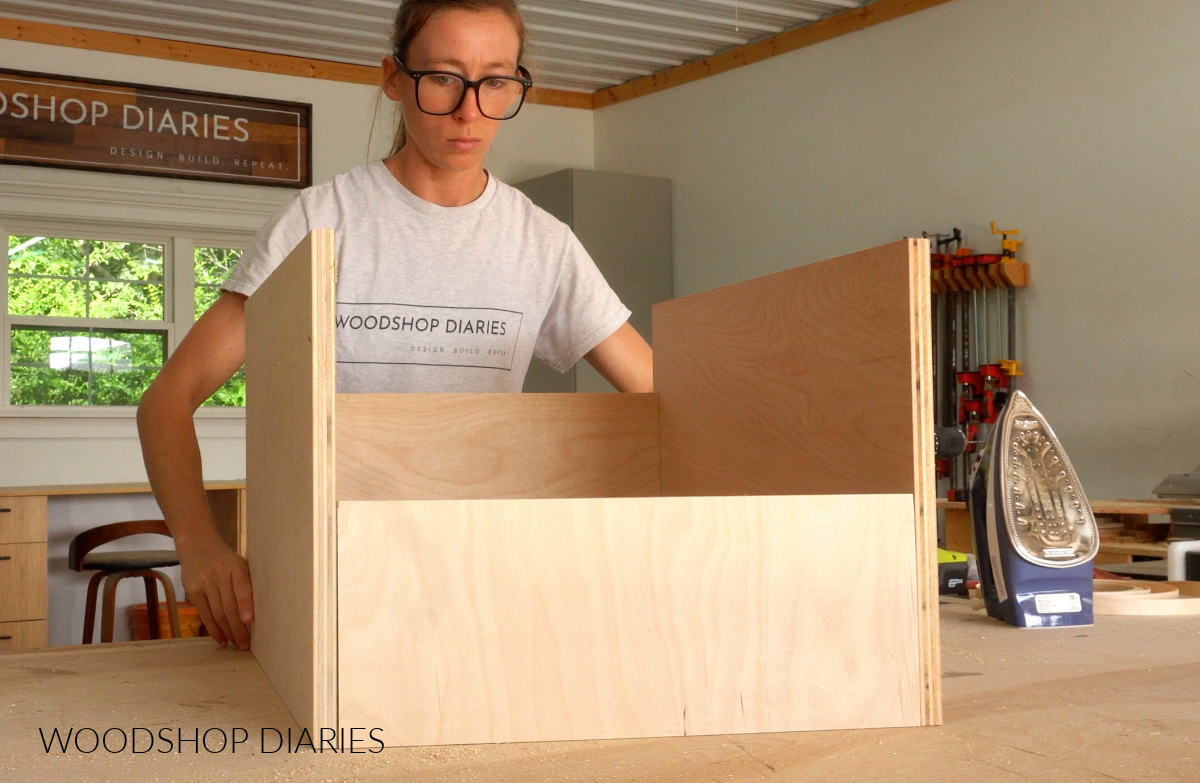
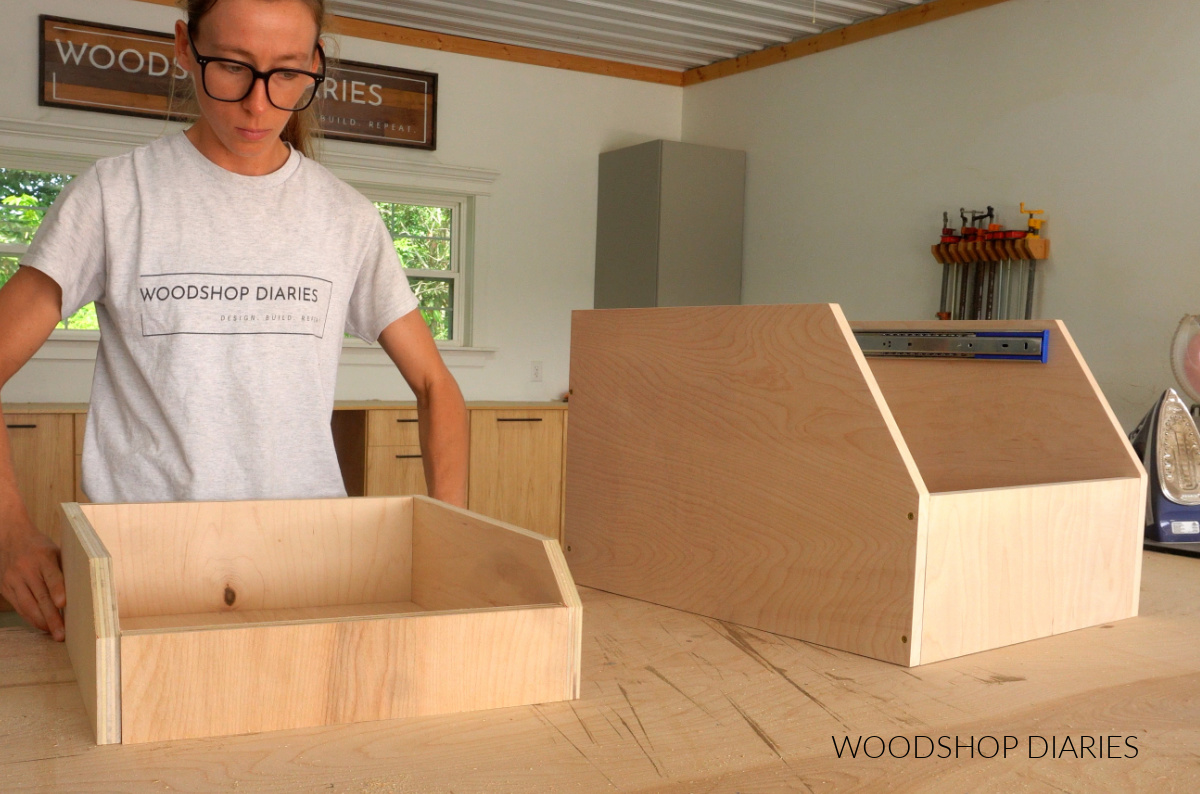
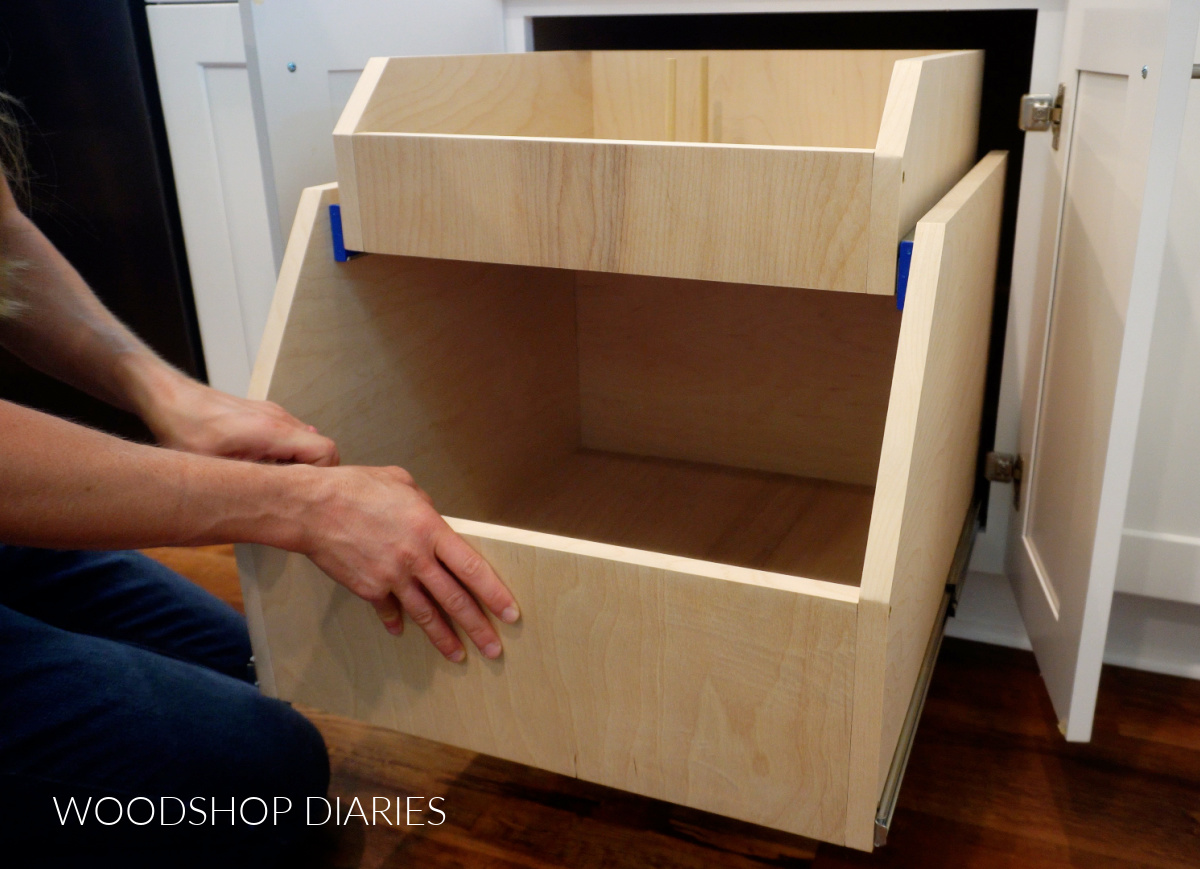
I started by building the larger bottom drawer. This was essentially building a simple box, but not all the sides are the same height as you can see in the image below.
I cut ¾″ plywood so that when assembled together, like shown below, the box was 22″ deep (front to back) and 19 ¼″ wide (see notes above on how to measure your cabinets to determine your sizing).
I made the two sides taller (about 16″), the front shorter (about 6″) and the back piece somewhere in the middle (about 12″).
Of course, these are not “hard rules” on the measurements. Feel free to customize as you see fit.
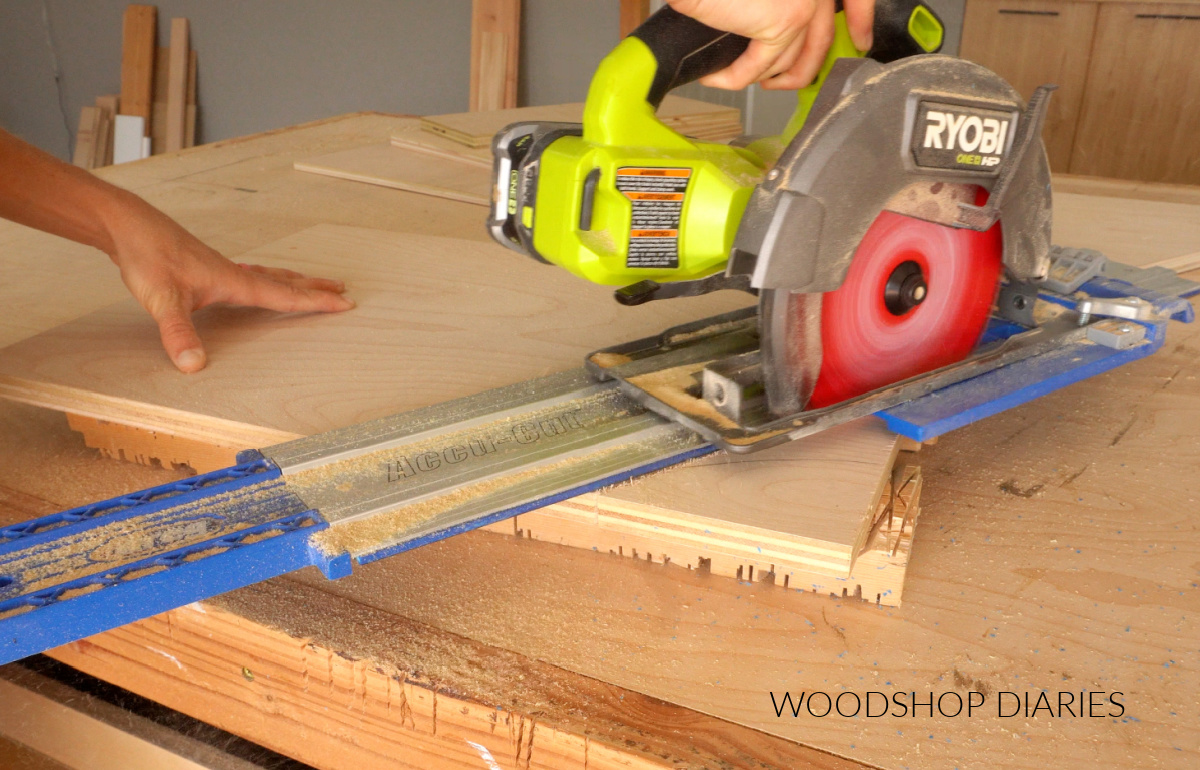
I didn’t like the sharp corners on the top of the sides, so I used a circular saw and Accu-Cut guide to miter these corners.
Then, I applied edge banding to the exposed edges of the plywood just so it looked a little cleaner. Learn how to cover plywood edges here.
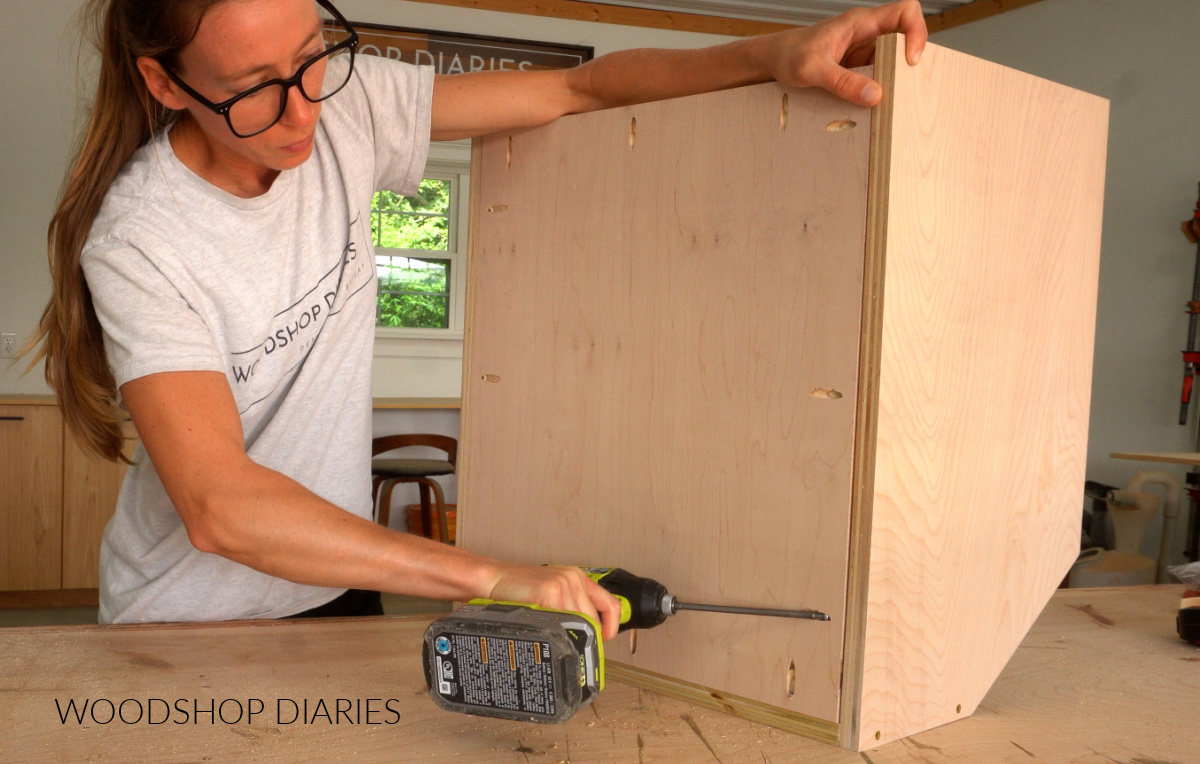
Once the edges were covered, I screwed the box together with wood screws at each corner.

For the bottom, I used ½″ plywood because I had some scraps, but ¾″ plywood would also work. OR, you could glue and staple a piece of ¼″ plywood onto the bottom as well.
I cut a piece of ½″ plywood to fit inside the box and installed using pocket holes and screws.
RELATED: How to use pocket holes in your DIY projects
Step 2: Install Inside Drawer Slides
Now the main drawer box is assembled, but I’m planning to place a smaller drawer box inside. So I needed to install a pair of drawer slides on the inside of this box.
(This is why I had to make the sides taller than the front and back pieces.)
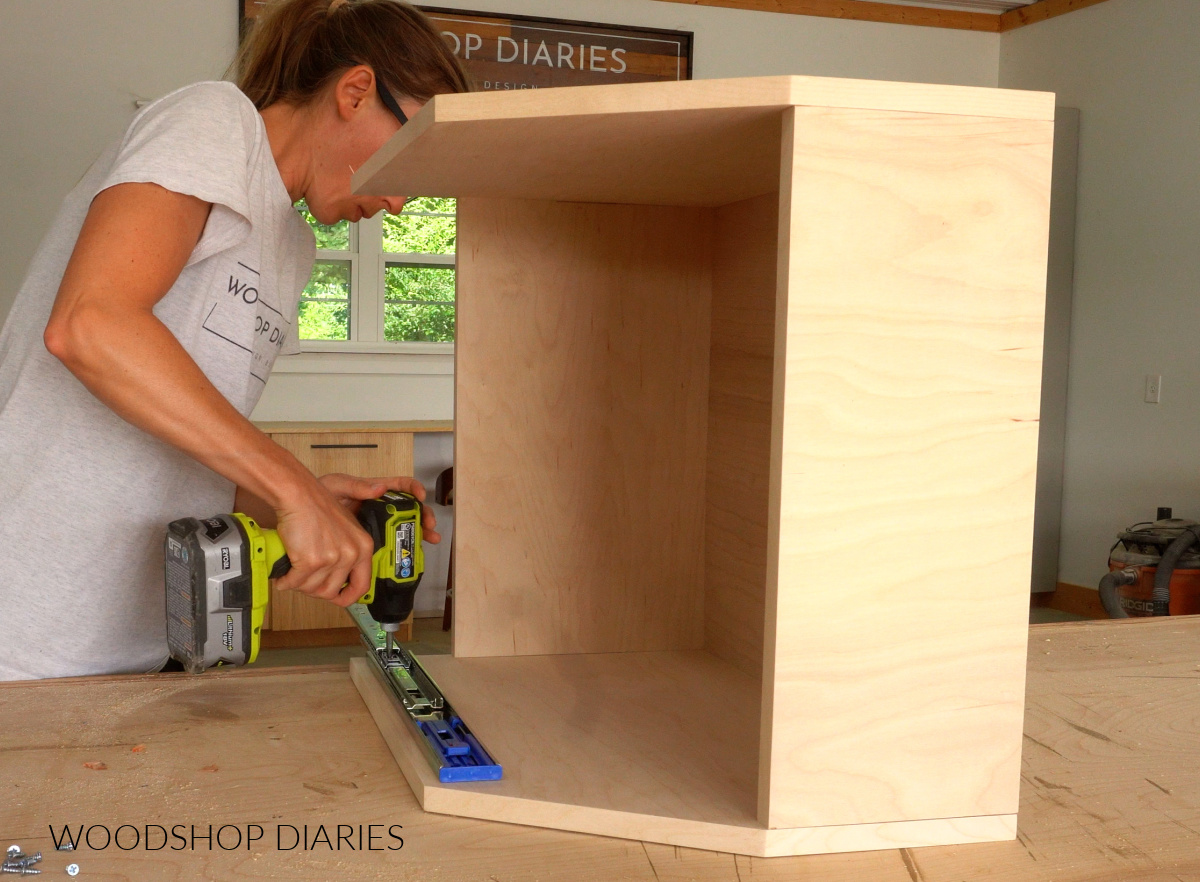
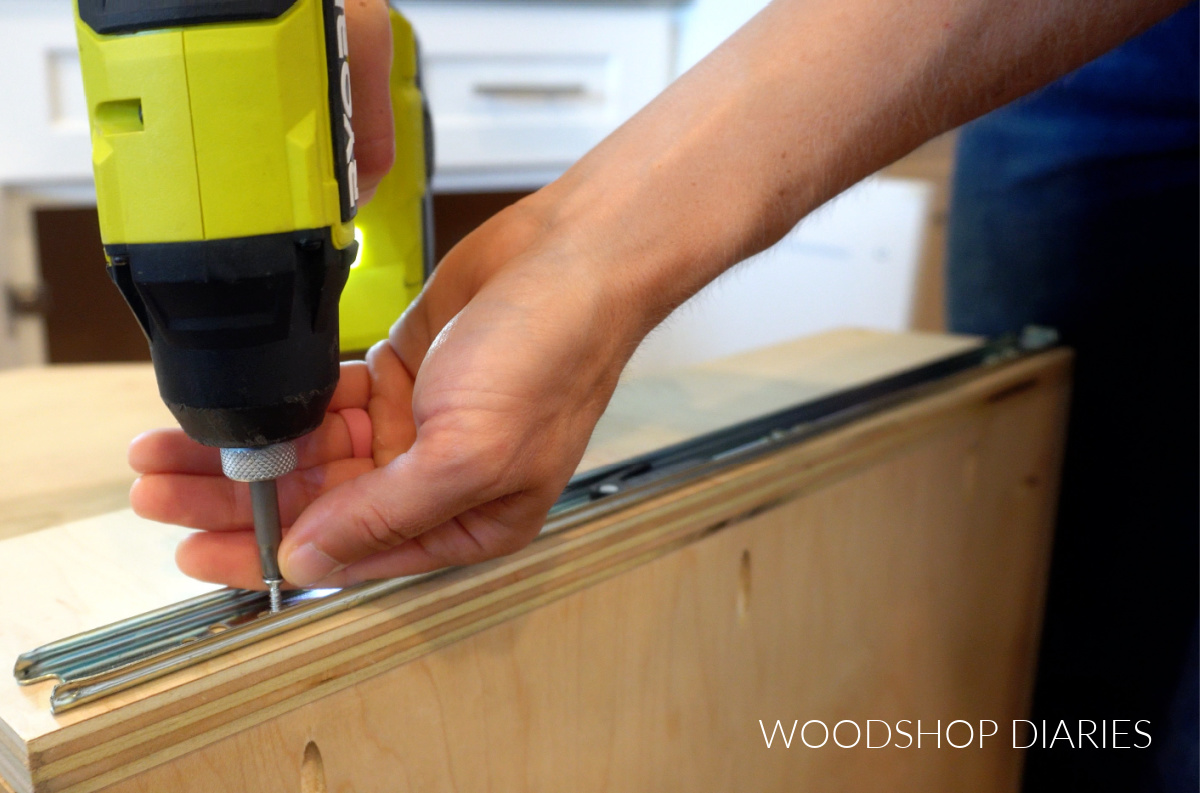
So I installed a pair of 16″ ball bearing drawer slides into this box so that the slides opened toward the back.
RELATED: How to install drawer slides
This seems kind of backwards, but the slides should open toward the back because the inside drawer will slide back into the cabinet once installed.
Step 3: Build and Install Inside Drawer
Next, I assembled basically a mini-version of the larger drawer to fit onto these drawer slides.
RELATED: How to measure and size drawer boxes
Just like the larger drawer, I cut the sides, front and back from ¾″ plywood scraps and the bottom from ½″ plywood scraps.
This box can be as shallow or as deep as you’d like, but keep in mind that once installed into the larger box, the overall height needs to be smaller than the cabinet opening so it will fit.
Once the smaller drawer box was assembled, I installed the part of the drawer slide that mounts to the drawer onto the sides of this box.
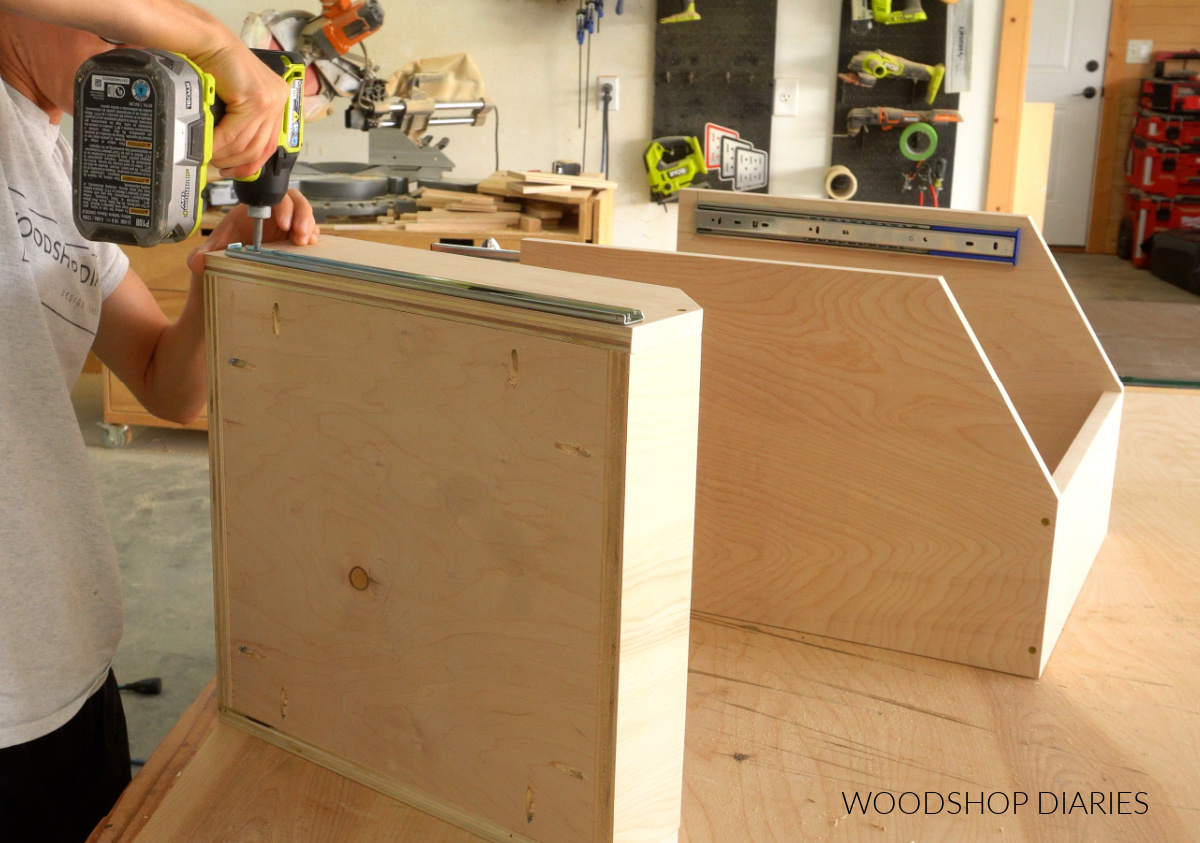
Then, I could slide it into the larger box from step 1. At this point, measure the total height of both boxes together and make sure it’s less than the cabinet opening (see notes above).
If it’s too tall, you can either install the slides on the small drawer box a little higher (this will lower the upper drawer). Or install the slides on the sides of the larger drawer box a little lower (this will also lower the upper drawer).
Step 4: Install Drawer Slides into Cabinet
Now this cabinet organizer is ready to install into the cabinet. So that it will easily slide in and out, I used drawer slides to install it.
I installed a pair of 22″ ball bearing drawer slides onto the spacer blocks that I added into the cabinet when determining the size (see notes above).
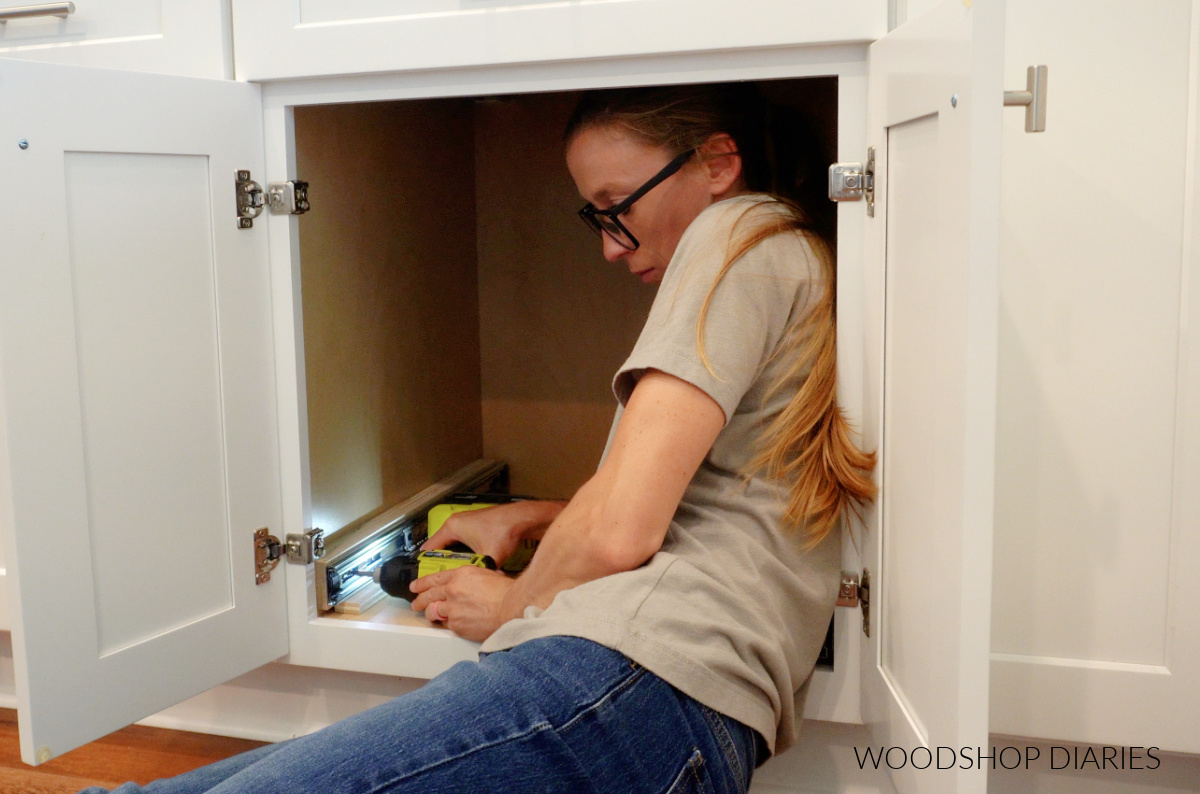
Make sure when installing these slides that they have plenty of clearance to open and close and that they don’t interfere with the cabinet door hinges.
I removed the part of the slides that mount to the drawer box and installed these on each side of my cabinet organizer.
RELATED: How to install drawer slides
Step 5: Fit Organizer into Cabinet
Then, the moment of truth–I slid the slides together into this cabinet to check the fit.
Thankfully, it worked and looked really nice and clean inside the cabinet, too!
I loaded it up with all our Tupperware containers and lids and it feels so much better to have all these pieces and parts in order!
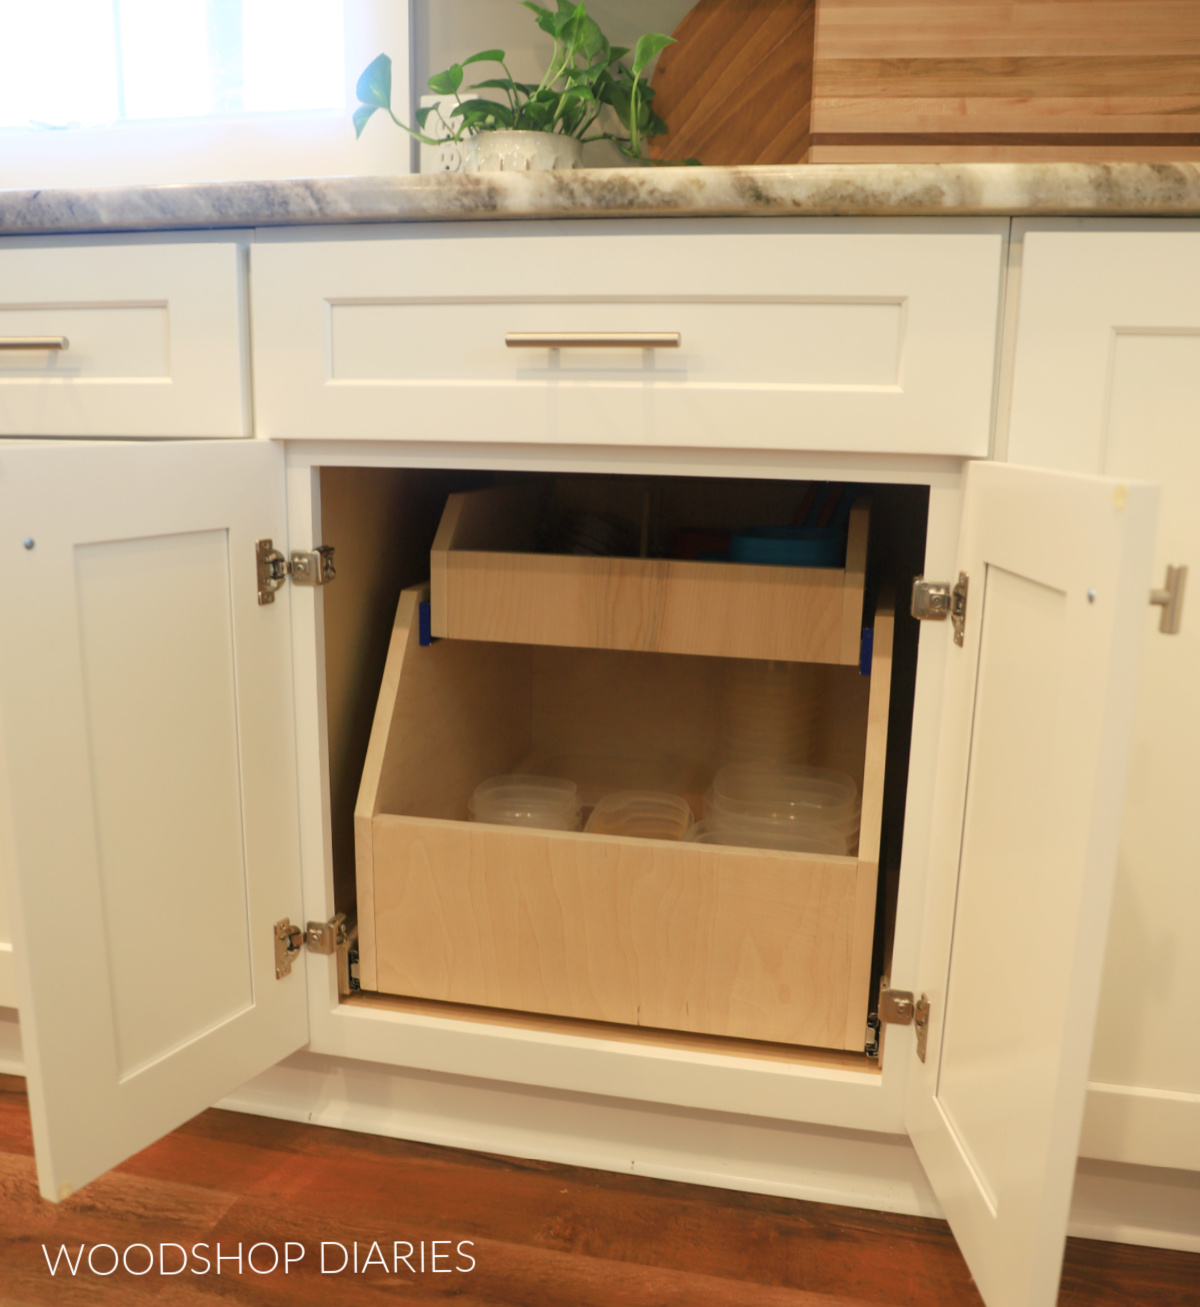
The top drawer conveniently slides out of the way to get into the bottom drawer.
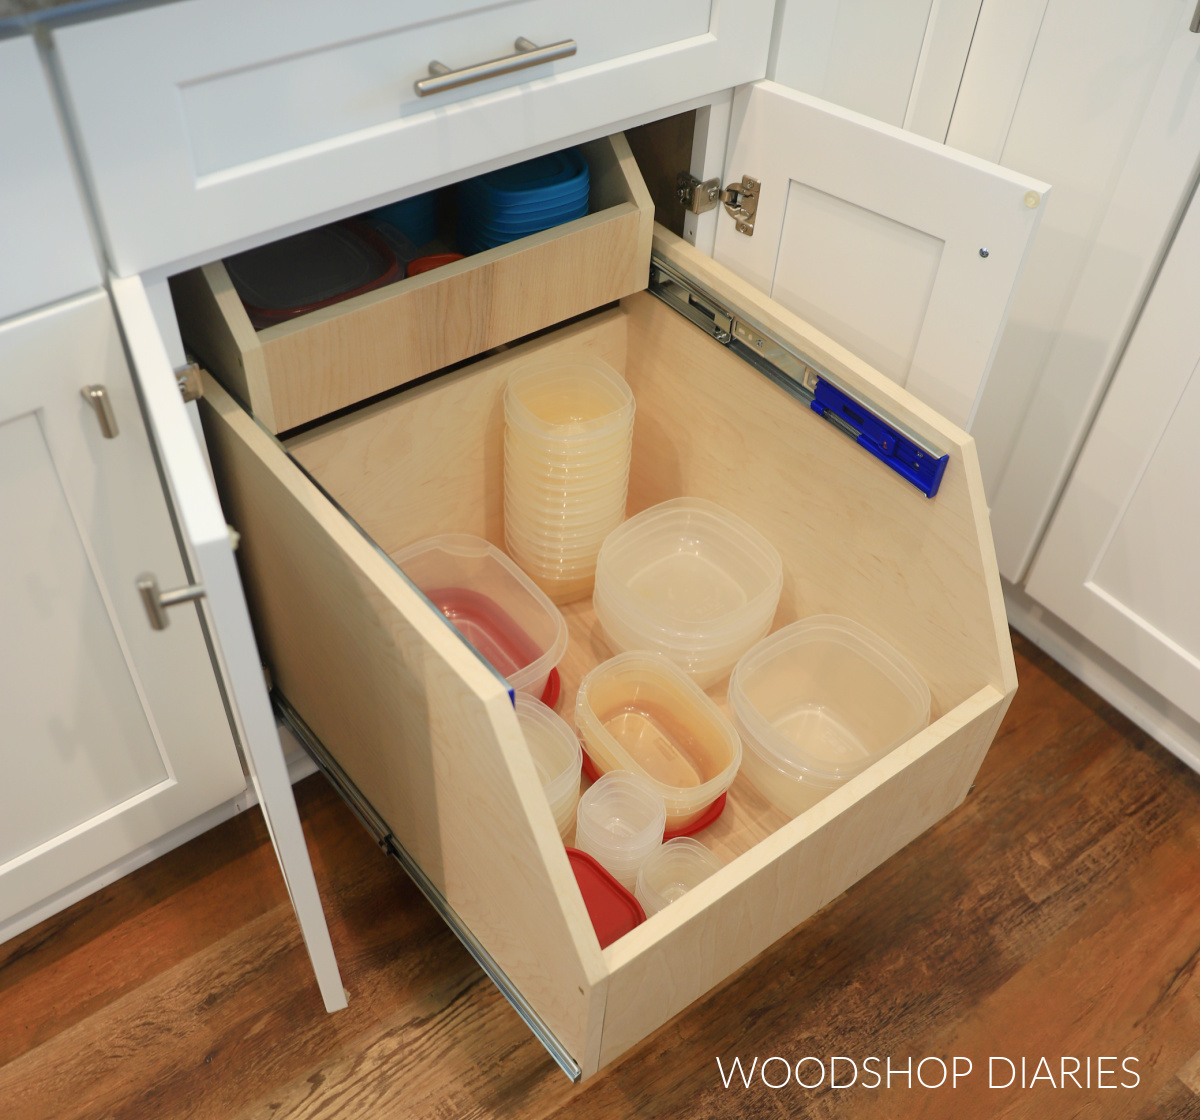
Then it slides back out to grab those smaller items at the top.
Now I’m tempted to add one of these into all of my cabinets! A simple, but so practical improvement–I hope this gave you some ideas for your own kitchen!
Looking for more organization project ideas?
I hope this project gave you some inspiration for customizing your own cabinets, but if you’re still browsing for more organization ideas, here are a few of my favorites! Click on the image(s) below to see how to build each one:

If you enjoyed this project and want to save it for later, don’t forget to pin it or share it to your favorite social channel!
Until next time, happy building!