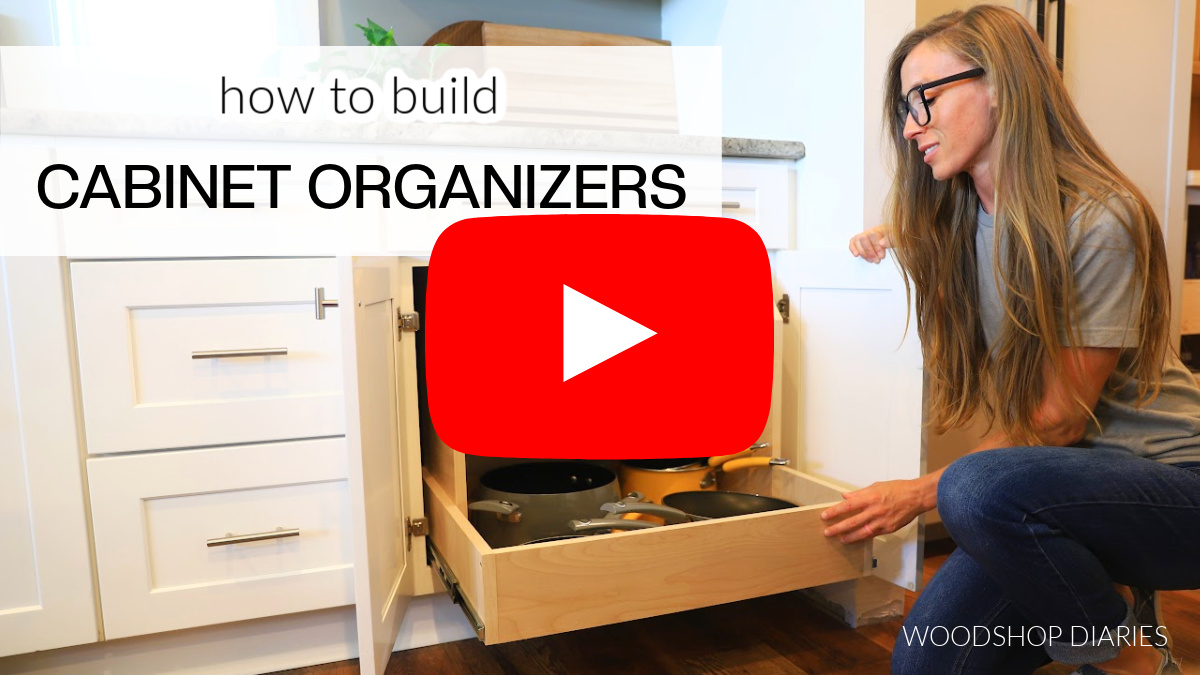
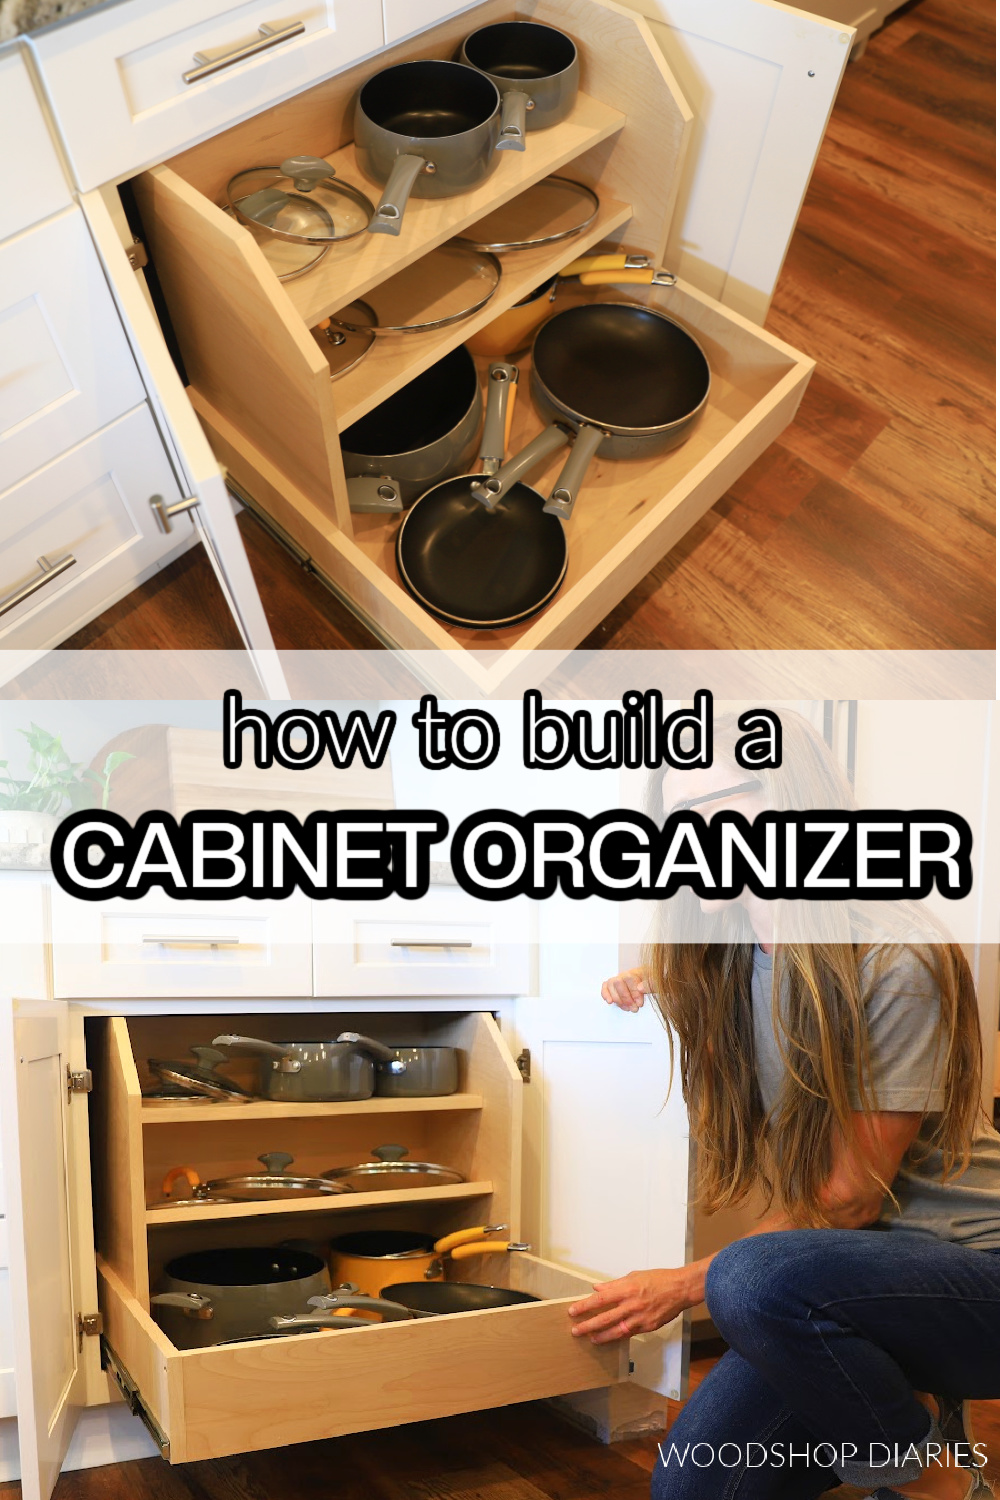
In this post, I’m sharing how to make a basic kitchen base cabinet a little more practical with a custom DIY cabinet organizer for pots and pans!
I don’t know about you, but it’s pretty easy for my kitchen cabinets to become a chaotic mess. When everything inside is hard to find and hard to reach, I’m already frustrated with cooking before I’ve even started.
So to save my sanity, I decided to add some simple custom organizers to a few of my cabinets.

I made this one specifically for my pots, pans, and skillets, but it would work well for just about any kitchen items you want to make more easily accessible in your cabinets.
And while “life changing” seems a little dramatic for a cabinet organizer, it has been a definite improvement in our home that we benefit from daily.
So if you’re looking for an easy (practically free if you have some plywood scraps!) project to improve your home, I’m sharing how to build a simple cabinet organizer below.
*This post contains affiliate links. See website policies.
What to consider before building
This is a super quick, super simple project that you can easily complete in just an hour or two. The simple design is easy to customize to any size cabinet, but I recommend putting it into one of your bigger base cabinets, if possible.
While it can work in smaller cabinets, it may end up being a bit too small to practically store large items.
Material choices
I recommend building this from cabinet grade hardwood plywood. This is what most cabinets are built with, so it will blend in well, but it’s also strong, durable, and smooth.
Learn how to choose the best plywood for your project here.
This project can be built from entirely ¾″ plywood, entirely ½″ plywood or a combination of both. I built the one shown here using ¾″ plywood for the sides and shelves and ½″ plywood for the bottom and back panel.
Because this is highly customizable and doesn’t require a lot of lumber, I encourage you to check your scrap pile as you may be able to get everything you need from there without having to buy any lumber!
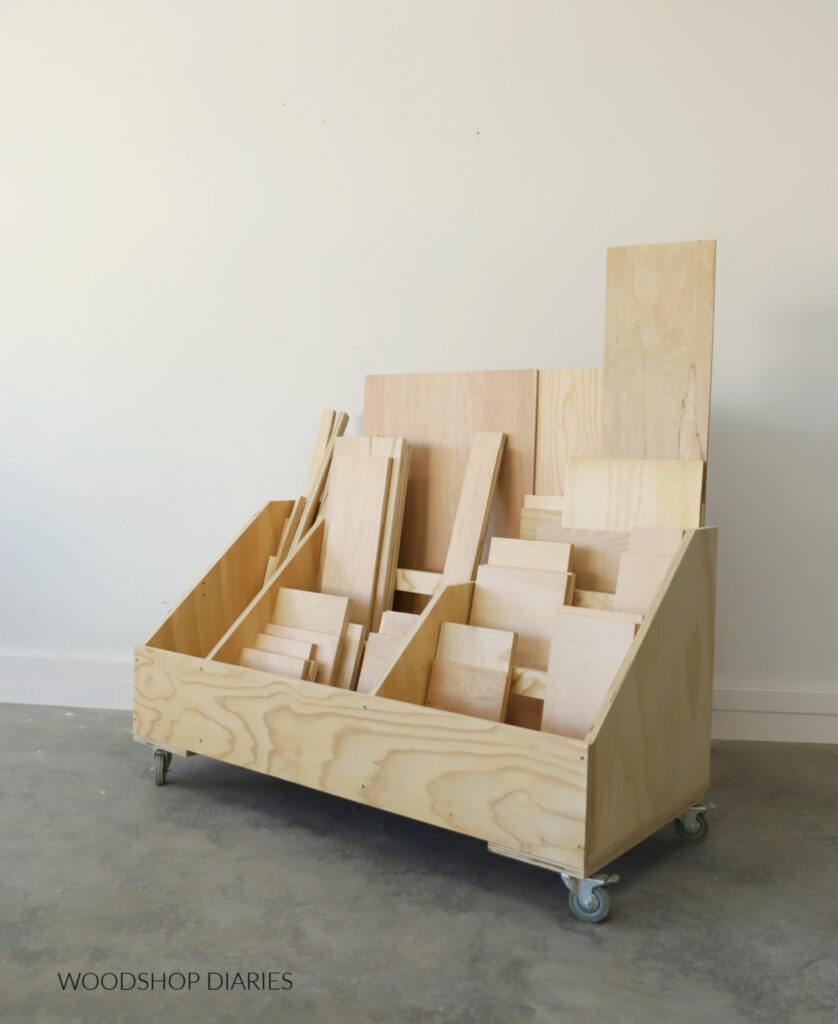
RELATED: How to build a scrap wood cart to organize scrap plywood
How to measure your cabinet
You can built this organizer to fit just about any size cabinet, so before getting started, I needed to take some careful measurements of the cabinet this is going into.
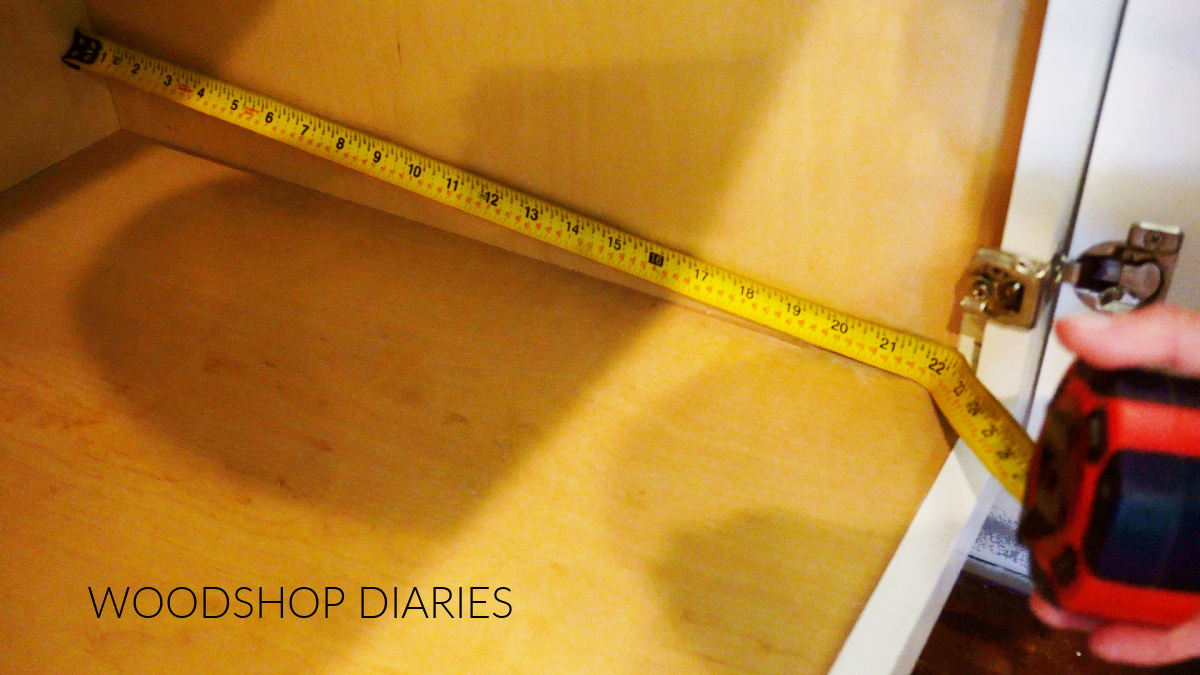
First, I measured my cabinet opening height and got about 20 ½″. So I know my organizer needs to be shorter than this–I made mine about 19 ½″ tall total.
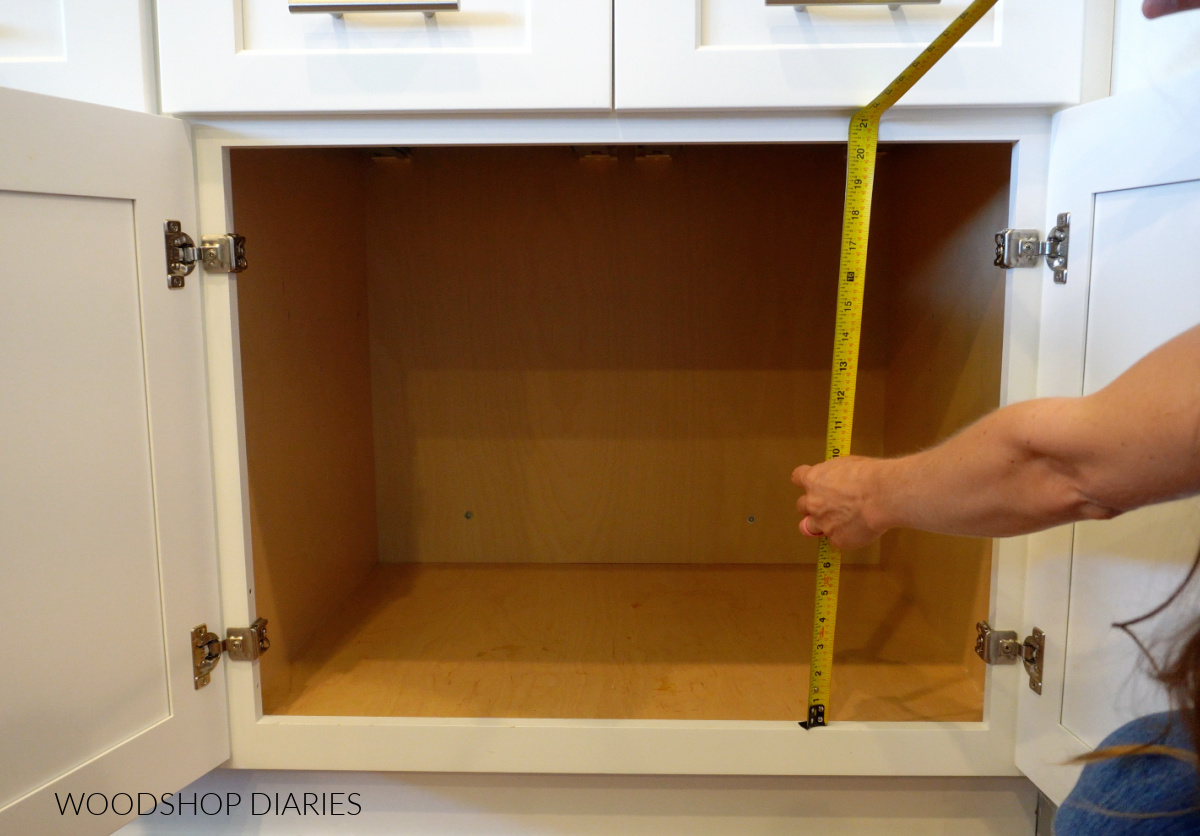
Next, I measured my cabinet depth. My cabinet has a face frame, so I measured from the back of the cabinet to the back edge of the face frame. It was a little over, but I rounded down to 22″ for some wiggle room.
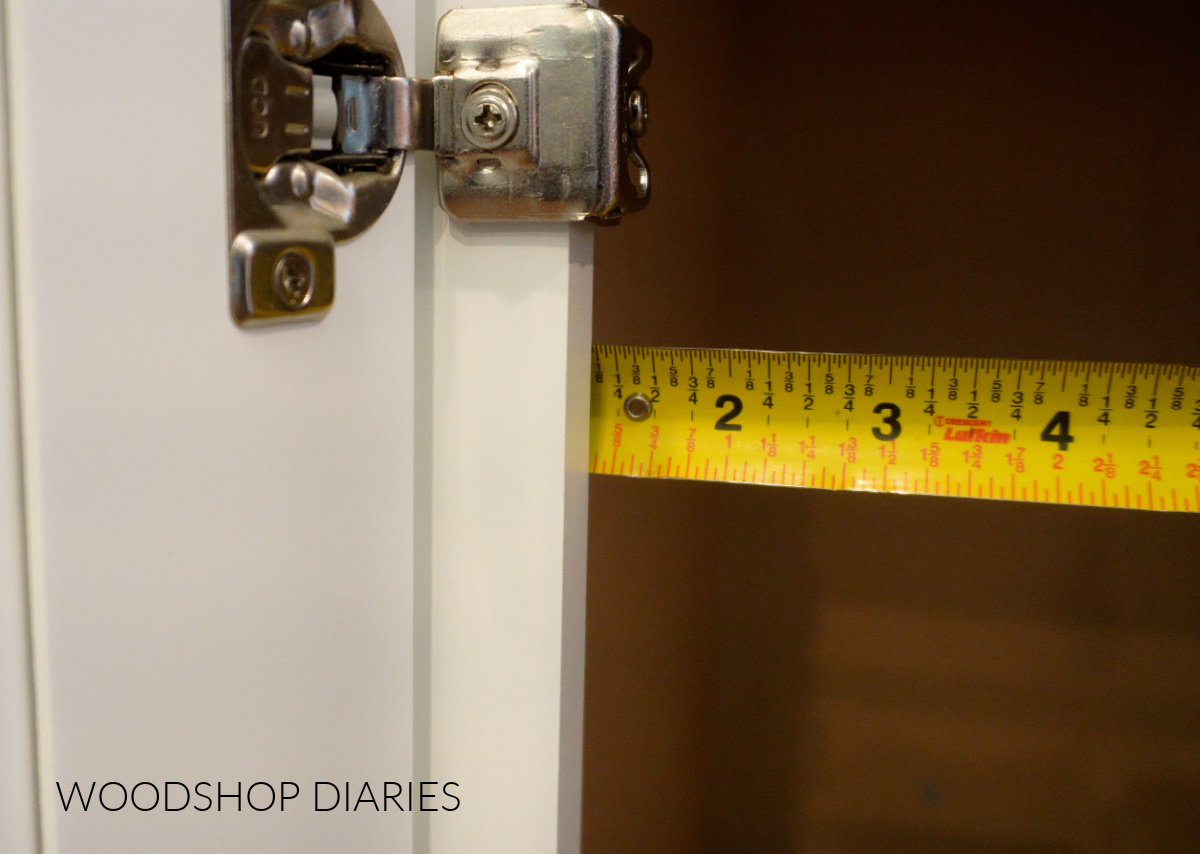
Now, this organizer will be installed onto drawer slides, and since I have a face frame, I needed to install some spacer blocks to mount my slides onto so they can slide in and out. Learn more about installing drawer slides here.
My face frame overhangs the inside of my cabinet 1 ⅛″ on both sides.
I could have cut some pieces to 1 ⅛″ exactly, but if I nailed a scrap piece of ¾″ plywood to a scrap piece of ½″ plywood, that was just barely over 1 ⅛″, so this worked well.
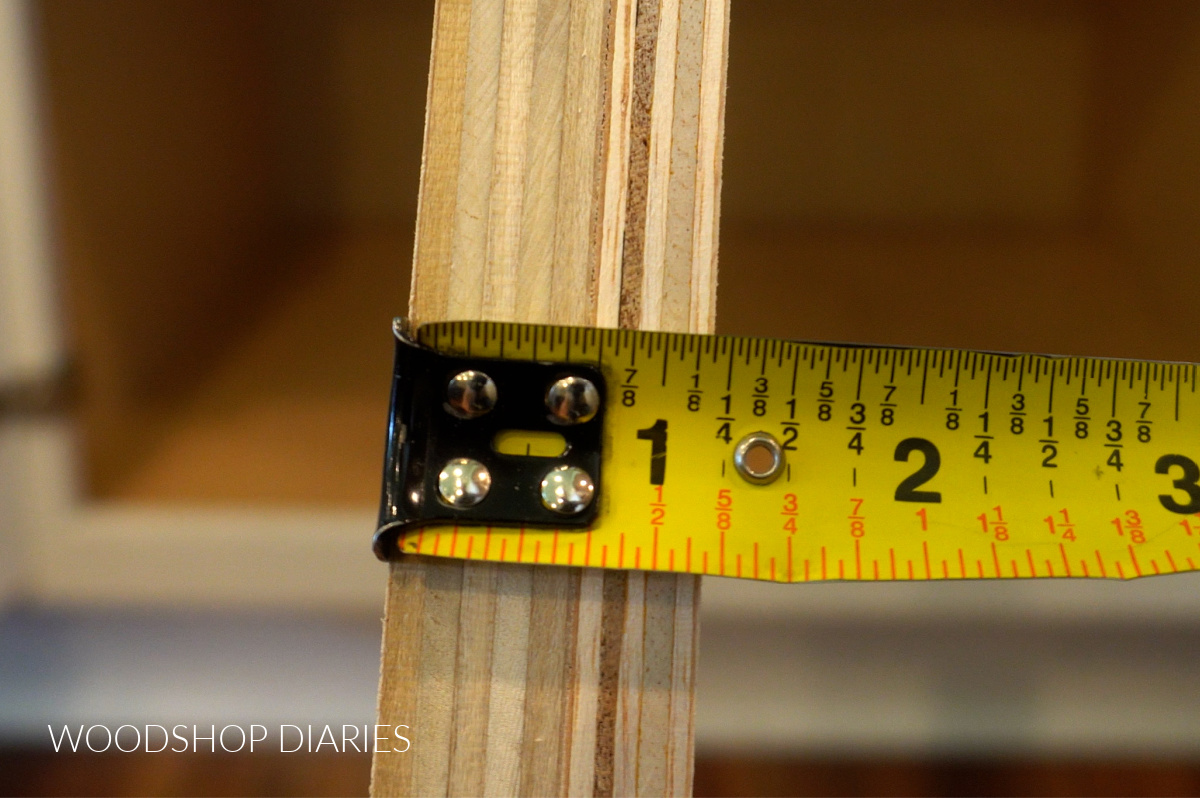
So I cut two pieces of ½″ and ¾″ plywood strips to 22″ long (my cabinet depth), nailed them together, then screwed them into the sides of my cabinets behind my face frame like you see in the image below. These will be where the drawer slides will mount to.
Once these were in, I measured the space between them to give me my width. It was 26 ¼″.
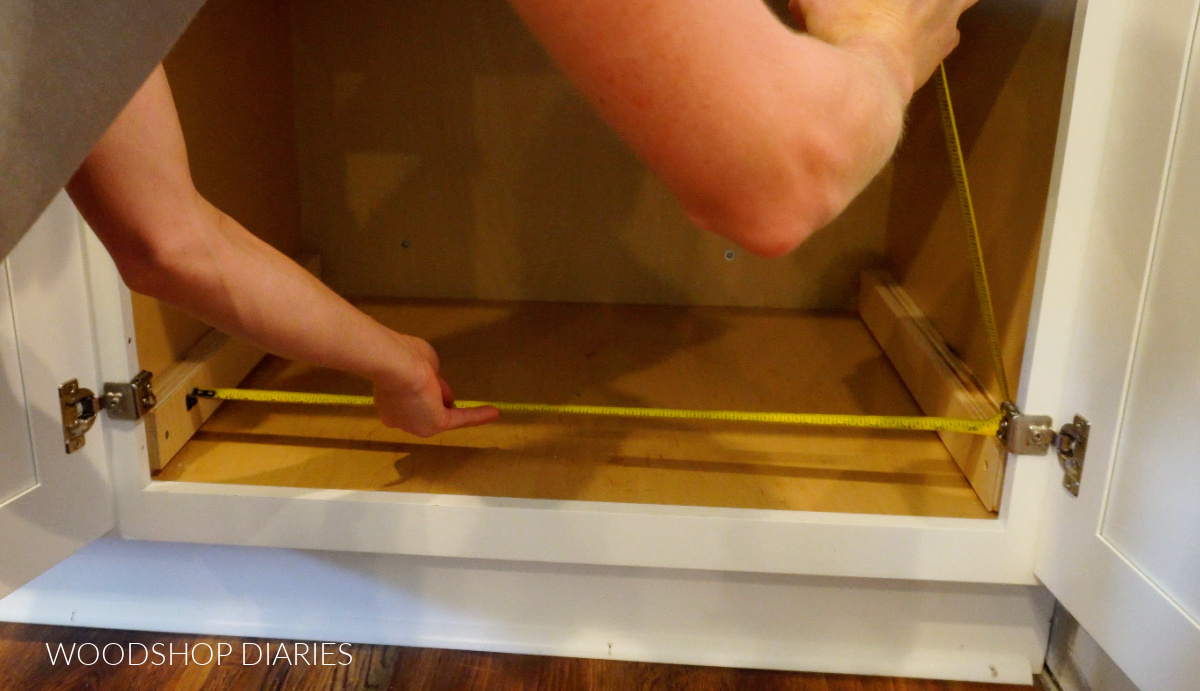
So my cabinet organizer size should be 22″ deep x 19 ½″ tall x 25 ¼″ wide. Note that the width between spacer blocks is 26 ¼″, so you need to subtract 1″ for the drawer slides to give you the overall width of the organizer.
Learn how to measure and size drawer boxes here.
Are DIY projects your thing? Sign up for our newsletter for priority access to the latest projects and build plans!
How to build a pots and pans cabinet organizer
If you prefer to watch, I’ve shared the full build video with tons of tips, behind the scenes, and additional details on my YouTube Channel here.
Love watching how-to videos? Subscribe to my YouTube channel for plenty more where that came from!
Tools & Materials
Tools:
- Miter Saw
- Circ Saw or Table Saw
- Cutting Guides (Kreg Rip Cut and AccuCut)–optional
- Pocket Hole Jig
- Drill/Driver
Materials:
- ½″ and ¾″ plywood* (amounts depend on size (see notes above)
- 1″ pocket hole screws**
- 1 ¼″ pocket hole screws
- 1 ¼″ wood screws
- Edge banding
- (1) pair drawer slides***
*If you have plywood scraps, you can likely find what you need from the scrap pile.
**1″ pocket hole screws are for ½″ plywood bottom and back panels. If using ¾″ plywood for the bottom and back, you’d need 1 ¼″ pocket hole screws.
***Drawer slide length should match cabinet depth rounded down to nearest even number.
Step 1: Assemble Bottom Drawer
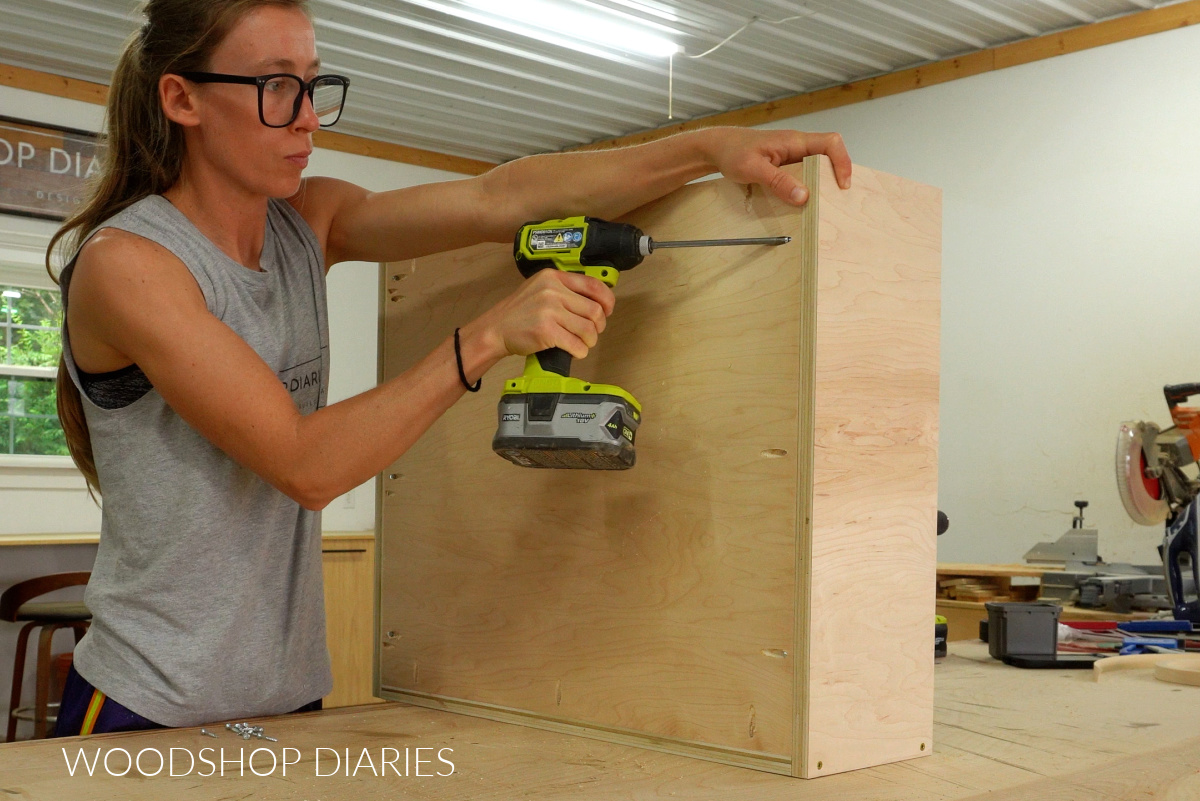
To get started, I cut three pieces of ¾″ plywood to make the bottom drawer–two sides and a front. (The back will come later, so don’t worry about it yet.)
I originally cut these pieces about 8″ wide (so the bottom drawer would be 8″ tall), but once it was built, I decided that was way too tall and ended up taking it apart and trimming it down shorter.
So I’d recommend cutting these pieces about 4-5″ wide. I cut their lengths so that when put together, they were the 25 ¼″ wide and 22″ deep (see notes above on sizing).

I edge banded the exposed plywood edges of these pieces and attached at the corners with 1 ¼″ wood screws.
RELATED: How to cover plywood edges
Then, I cut a piece of ½″ scrap plywood to fit between these pieces. I attached using pocket holes and screws. Learn how to use pocket holes here.
Step 2: Install Sides and Back
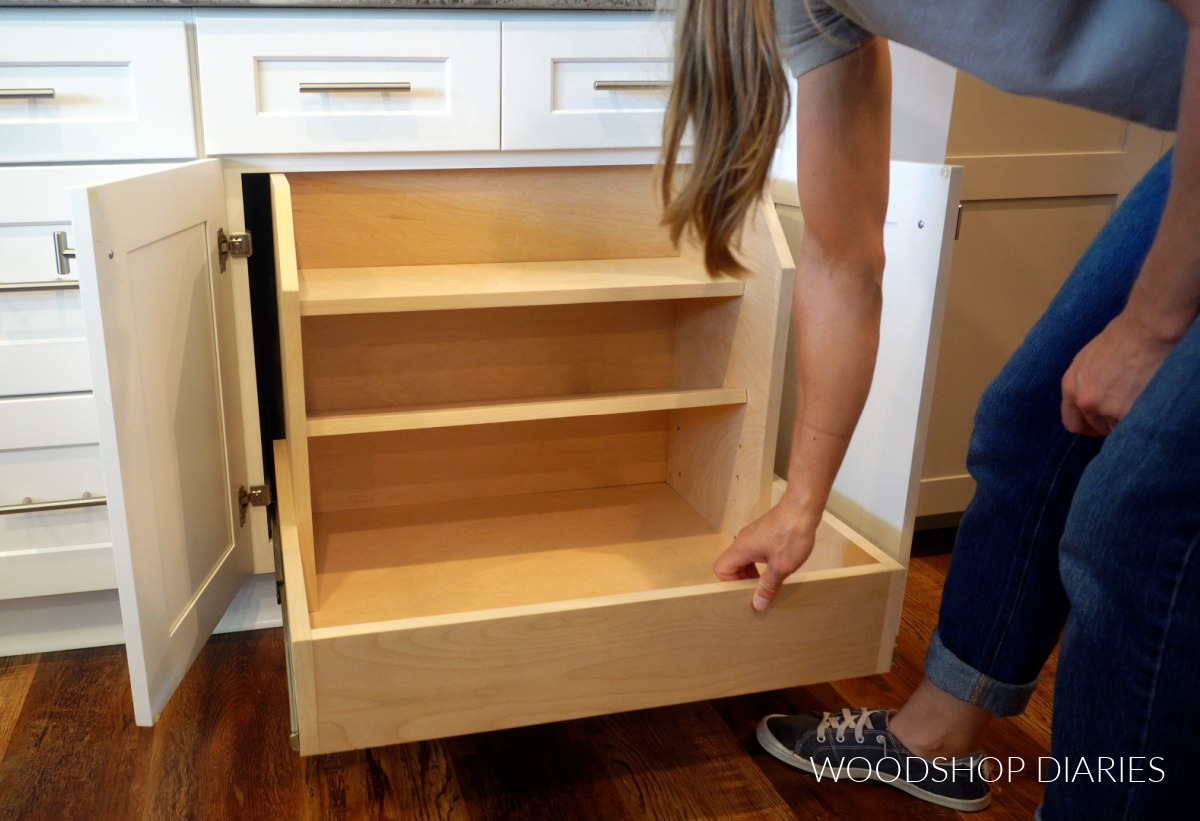
Now the bottom section was together, so I needed to finish out the back. I built this pots and pans cabinet organizer to have some shelves in the back to store smaller items and lids.
In order to have something to run the shelves between, I needed to add two tall sides into this bottom drawer.
So I cut two pieces of scrap ¾″ plywood about 10″ x 19″, edge banded the exposed edges, then screwed these into the insides of my bottom drawer flush to the back edge.
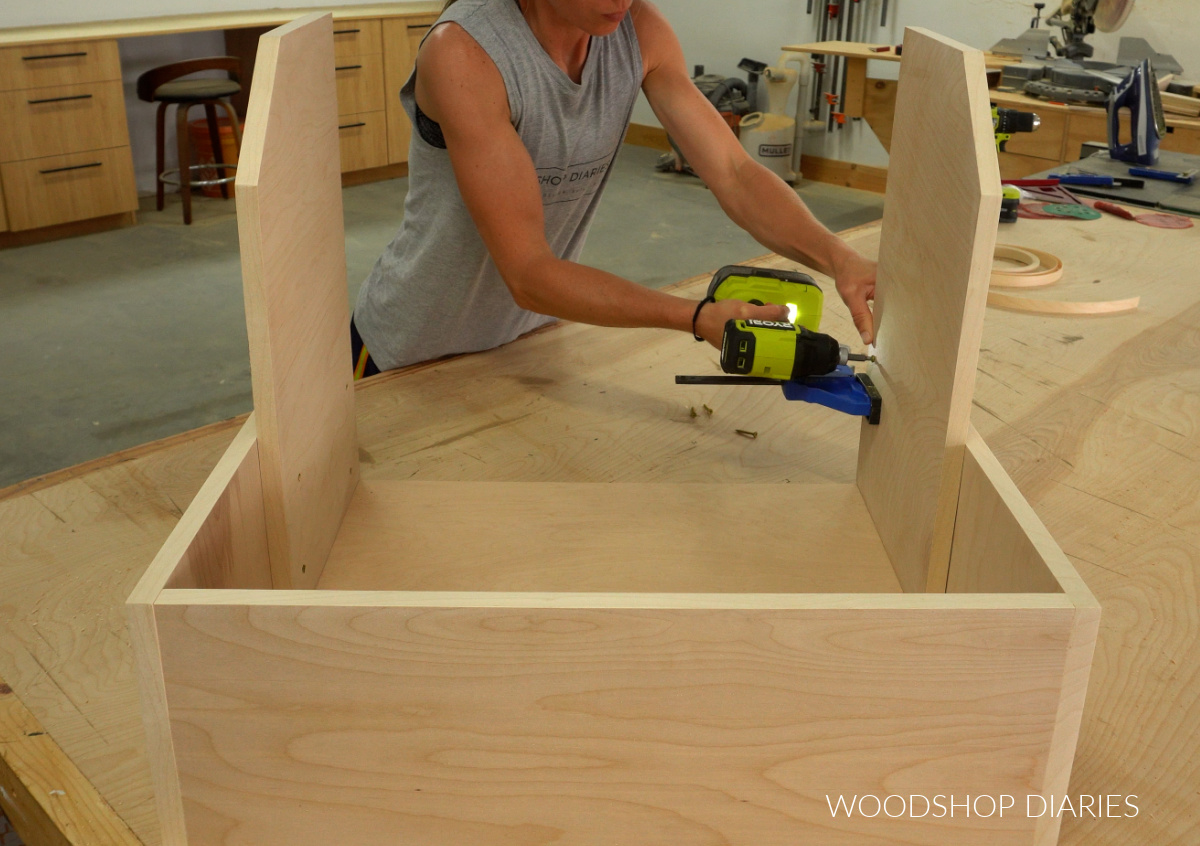
You’ll notice that I mitered the front, top corners of these side pieces. That’s optional, but it kind of “softens” it a bit so it’s not a sharp corner.
Then, I cut a piece of ½″ plywood to fit between these pieces (similar to the drawer bottom in step 1) and installed using pocket holes and screws.
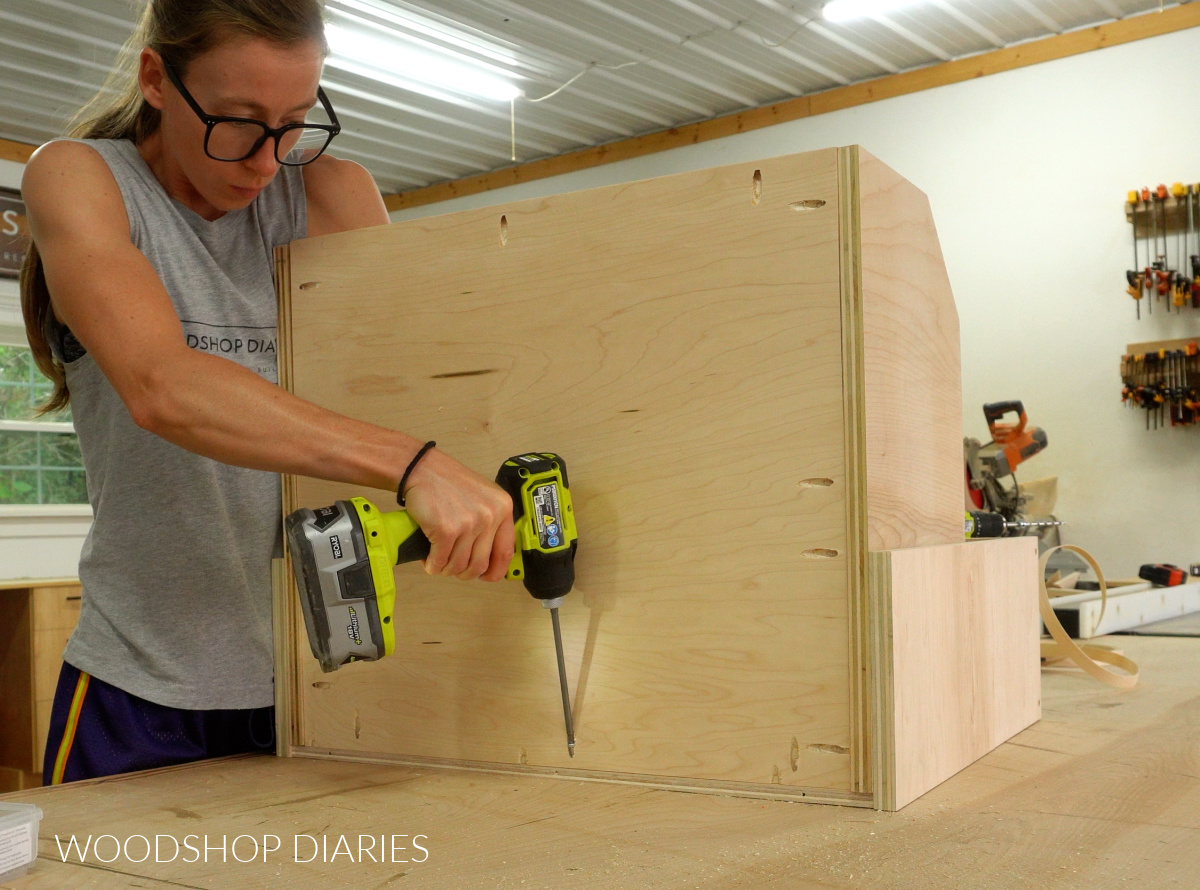
Step 3: Add Shelves
Next, I cut two scrap ¾″ plywood shelves to fit between the sides from step 2. I wasn’t sure how I wanted to space these out, so I brought out some of my pots and pans to kind of dry fit them together to see where I wanted to place them.
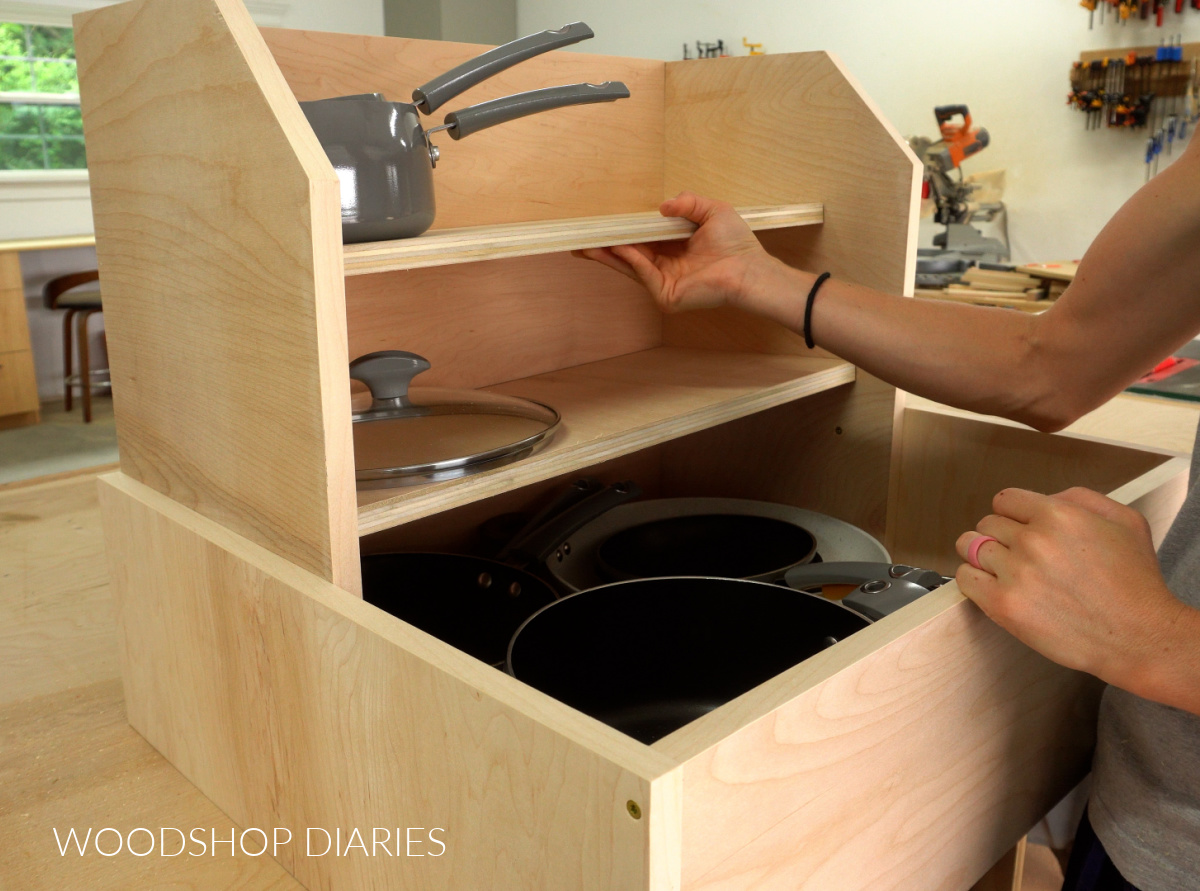
Once I determined where I wanted to put these shelves, I drilled pocket holes into the ends of them and installed them between the sides. I apologize it’s a little hard to see–it was difficult to get a good camera angle here.
I installed my bottom shelf with a slight tilt backwards (I thought this might help hold the lids in place), but installed my top shelf square.
Feel free to customize your spacing and shelving as desired. If you’re undecided, you could use shelf pins to install adjustable shelves instead of stationary shelves here.
RELATED: How to add adjustable shelves to any project
And this is the point that I mentioned in step 1 that I decided my bottom drawer was way too deep, so I took it apart and trimmed it down a few inches haha.

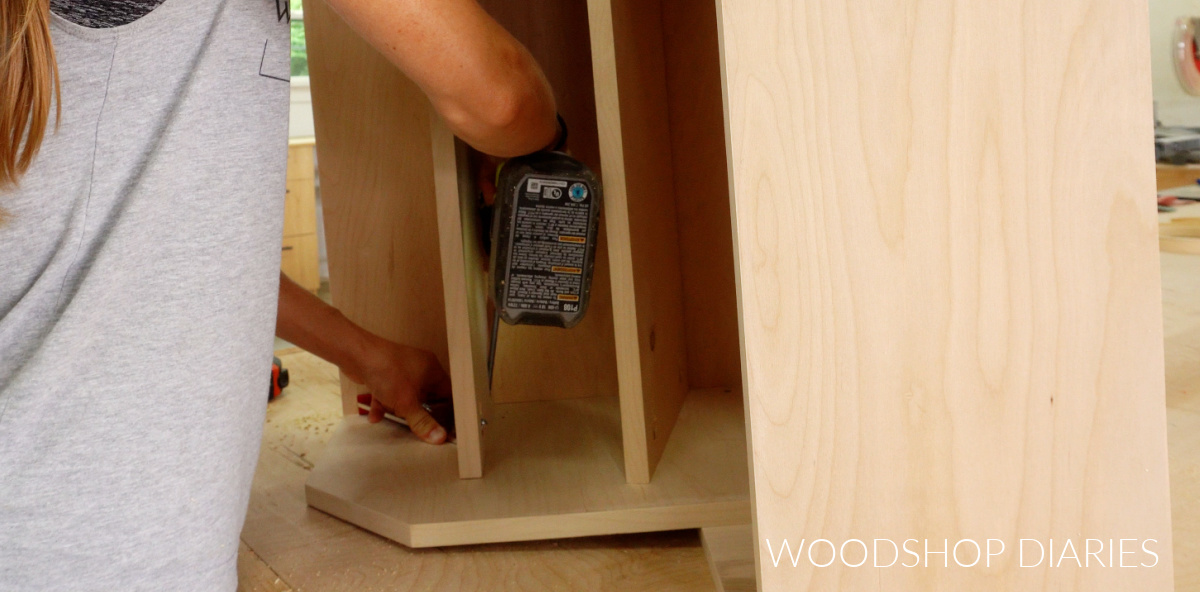
Step 4: Install Drawer Slides
Now the cabinet organizer is together and all that’s left is installing it. I mentioned earlier that I had planned to install this organizer onto drawer slides.
So I installed a pair of 22″ ball bearing drawer slides onto the spacer blocks I added into the cabinet when determining the size (see notes above).
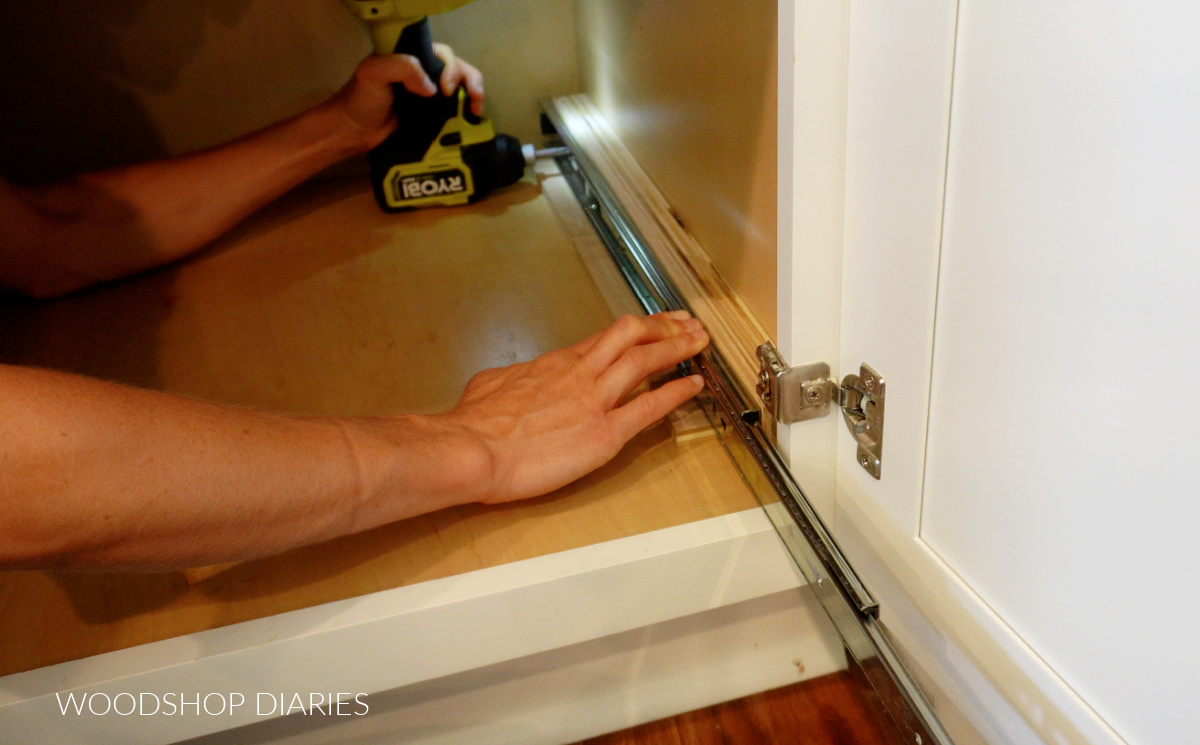
Make sure when installing these slides that they have plenty of clearance to open and close and that they don’t interfere with the cabinet door hinges.
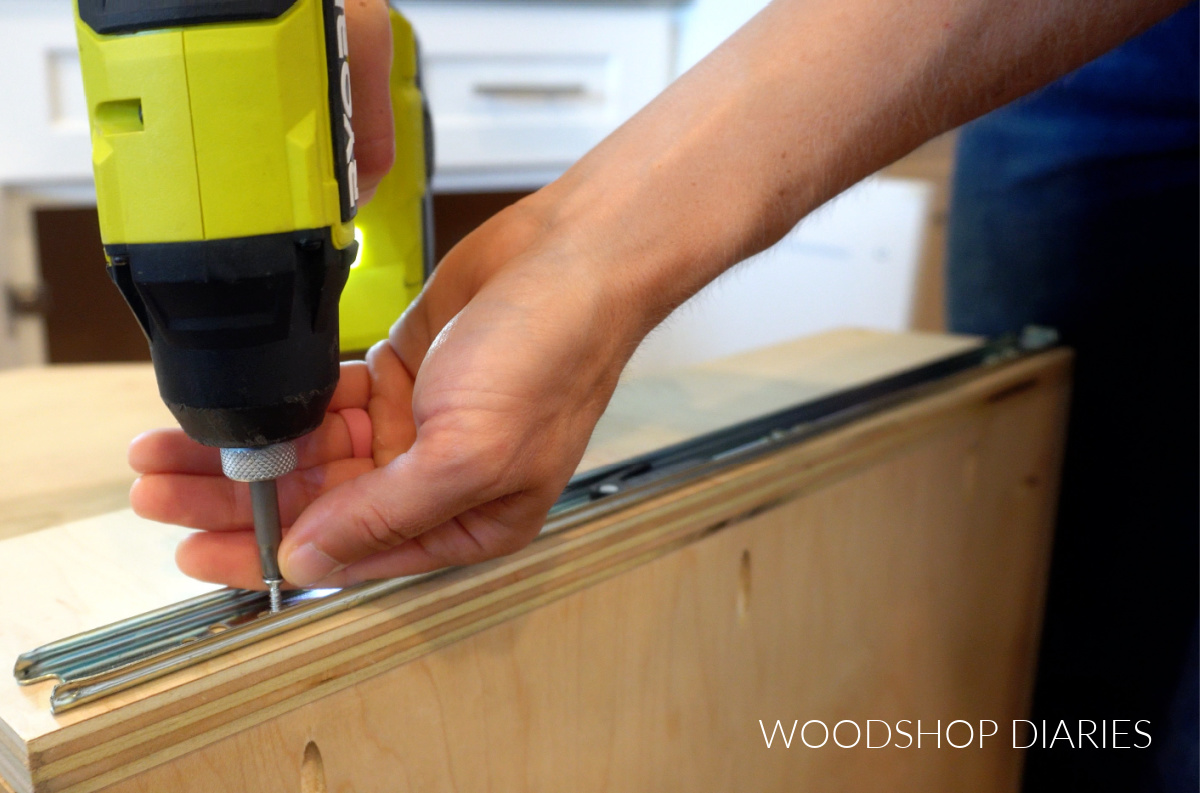
I removed the part of the slides that mount to the drawer box and installed these on each side of my cabinet organizer.
RELATED: How to install drawer slides
Step 5: Fit Organizer into Cabinet
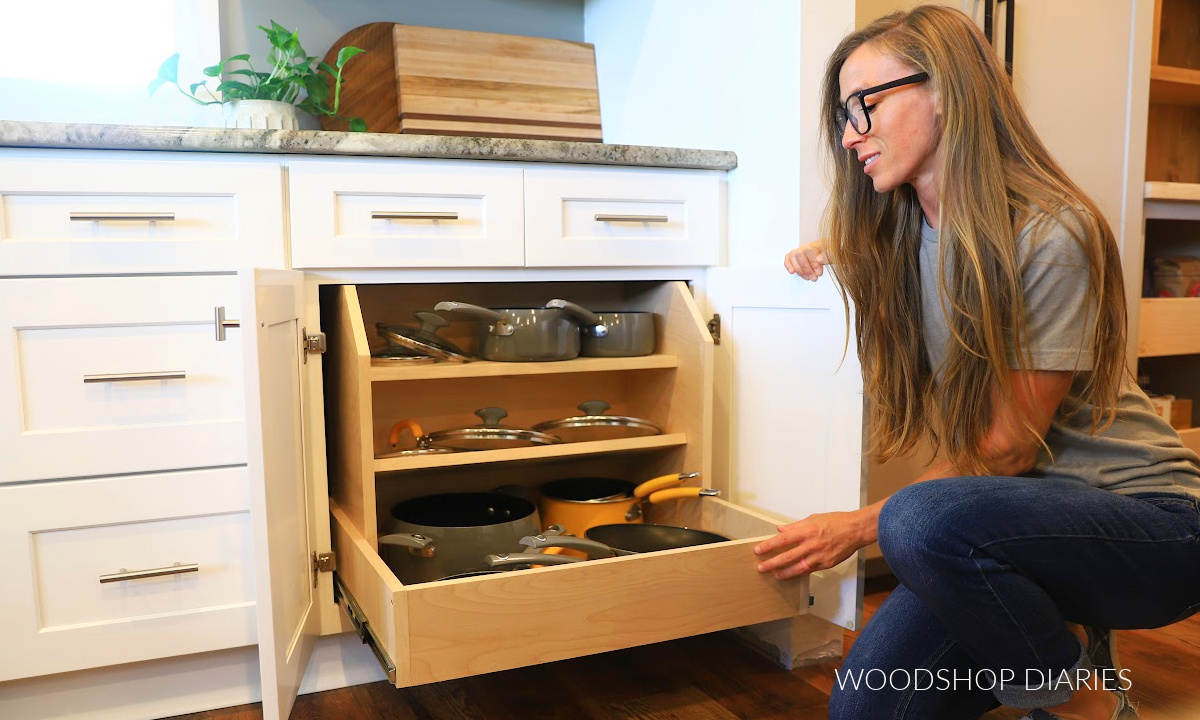
Then, the moment of truth–I slid the slides together into this cabinet to check the fit.
Thankfully, it worked and looked really nice and clean inside the cabinet, too!
Now it was ready to load up with all the pots, pans, skillets, and lids I could fit.
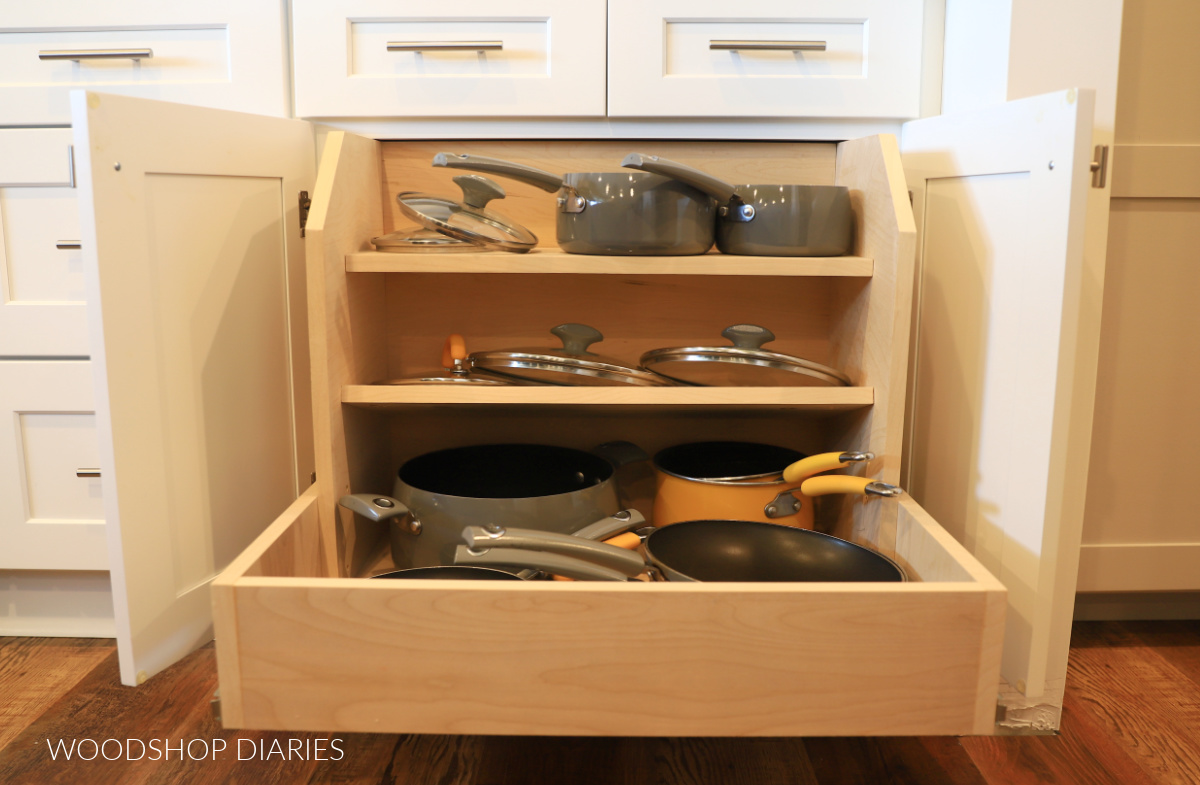
This would not only work well for pots and pans, but also dishes and other kitchen accessories, too. It can easily be modified in size to fit just about any size cabinet you have.
And it makes dinnertime a little less frustrating being able to reach in and grab what you need vs crawling inside the cabinet and digging around!
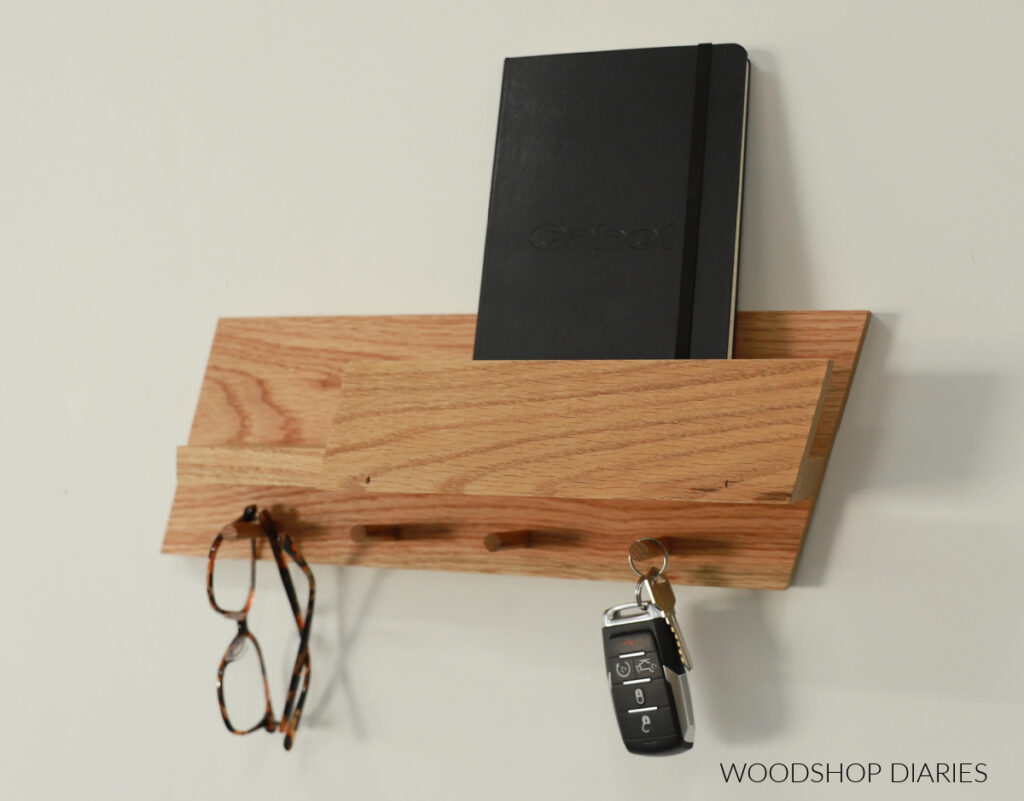
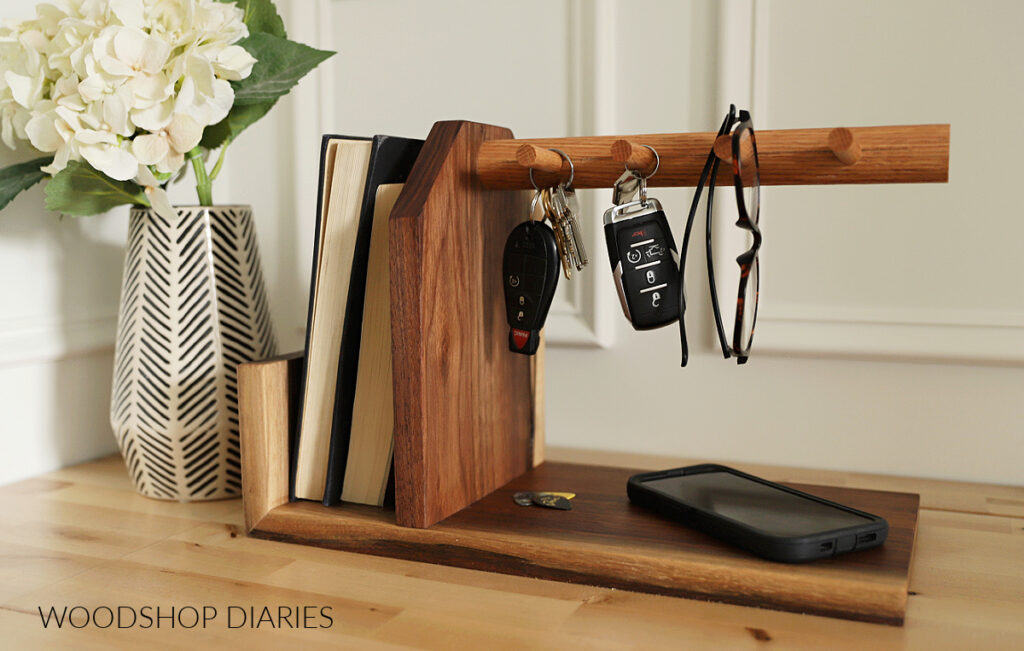
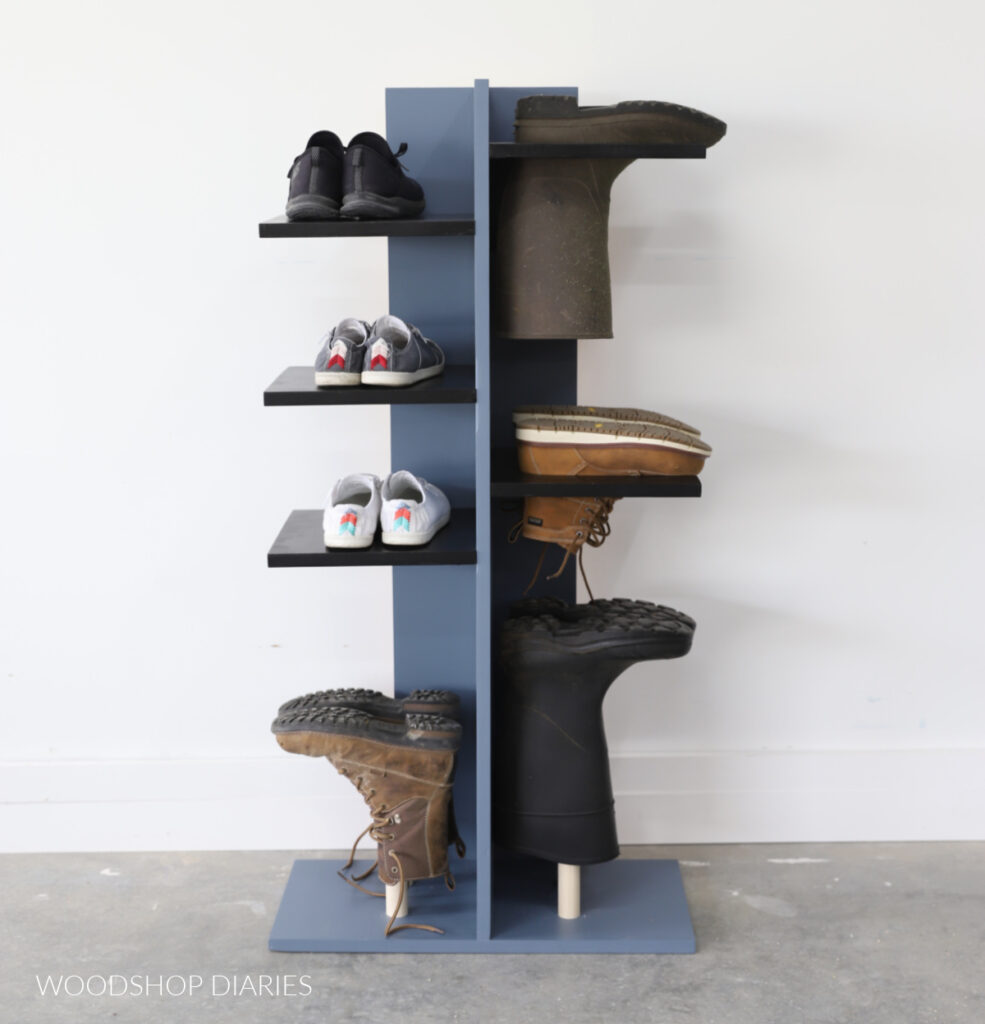
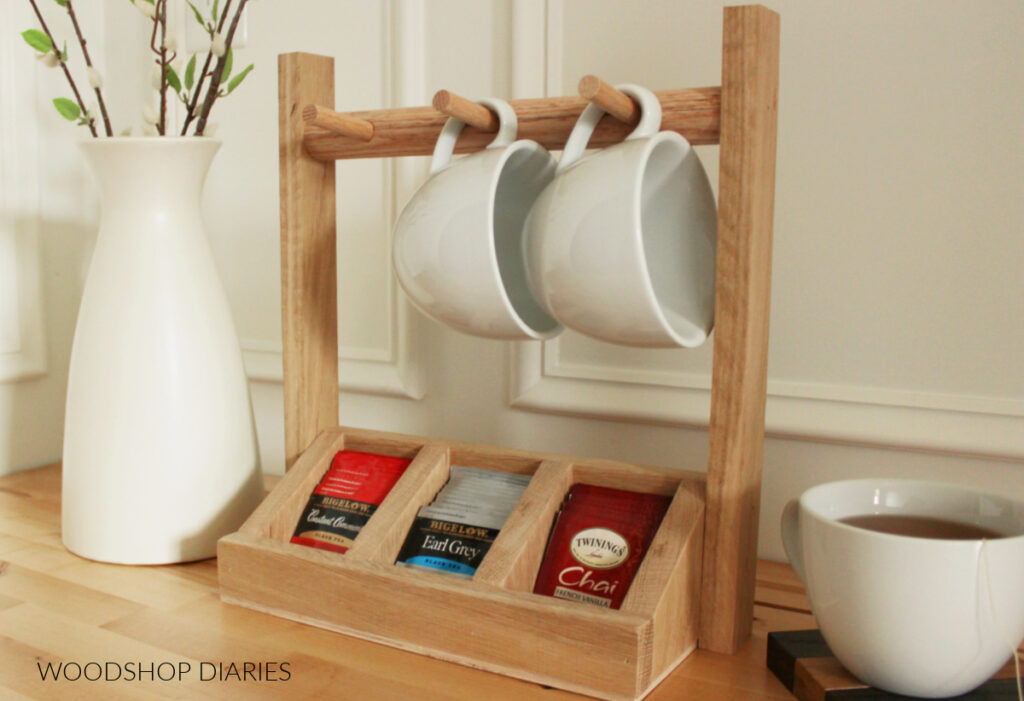
Looking for more organization project ideas?
I hope this project gave you some inspiration for customizing your own cabinets, but if you’re still browsing for more organization ideas, here are a few of my favorites! Click on the image(s) below to see how to build each one:
If you enjoyed this project and want to save it for later, don’t forget to pin it or share it to your favorite social channel!
Until next time, happy building!