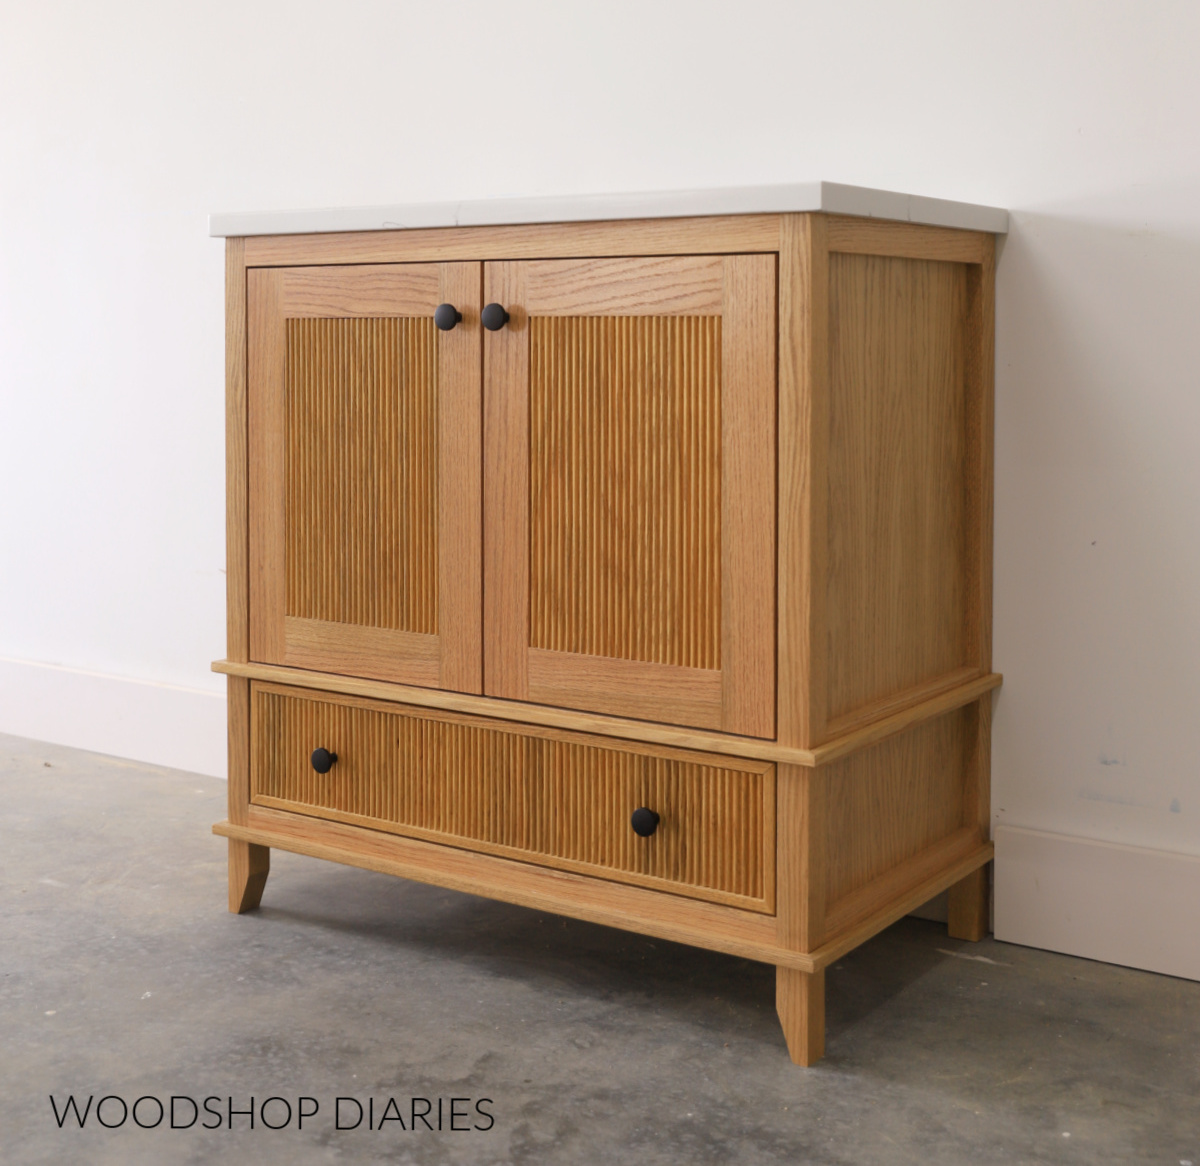
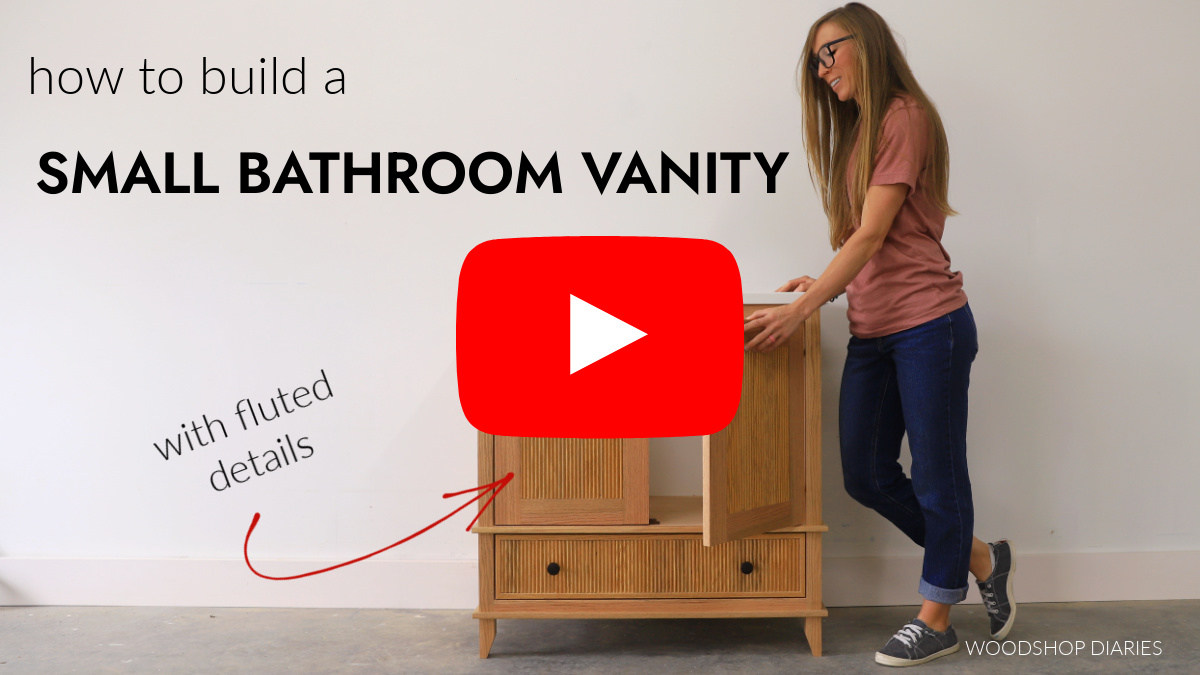
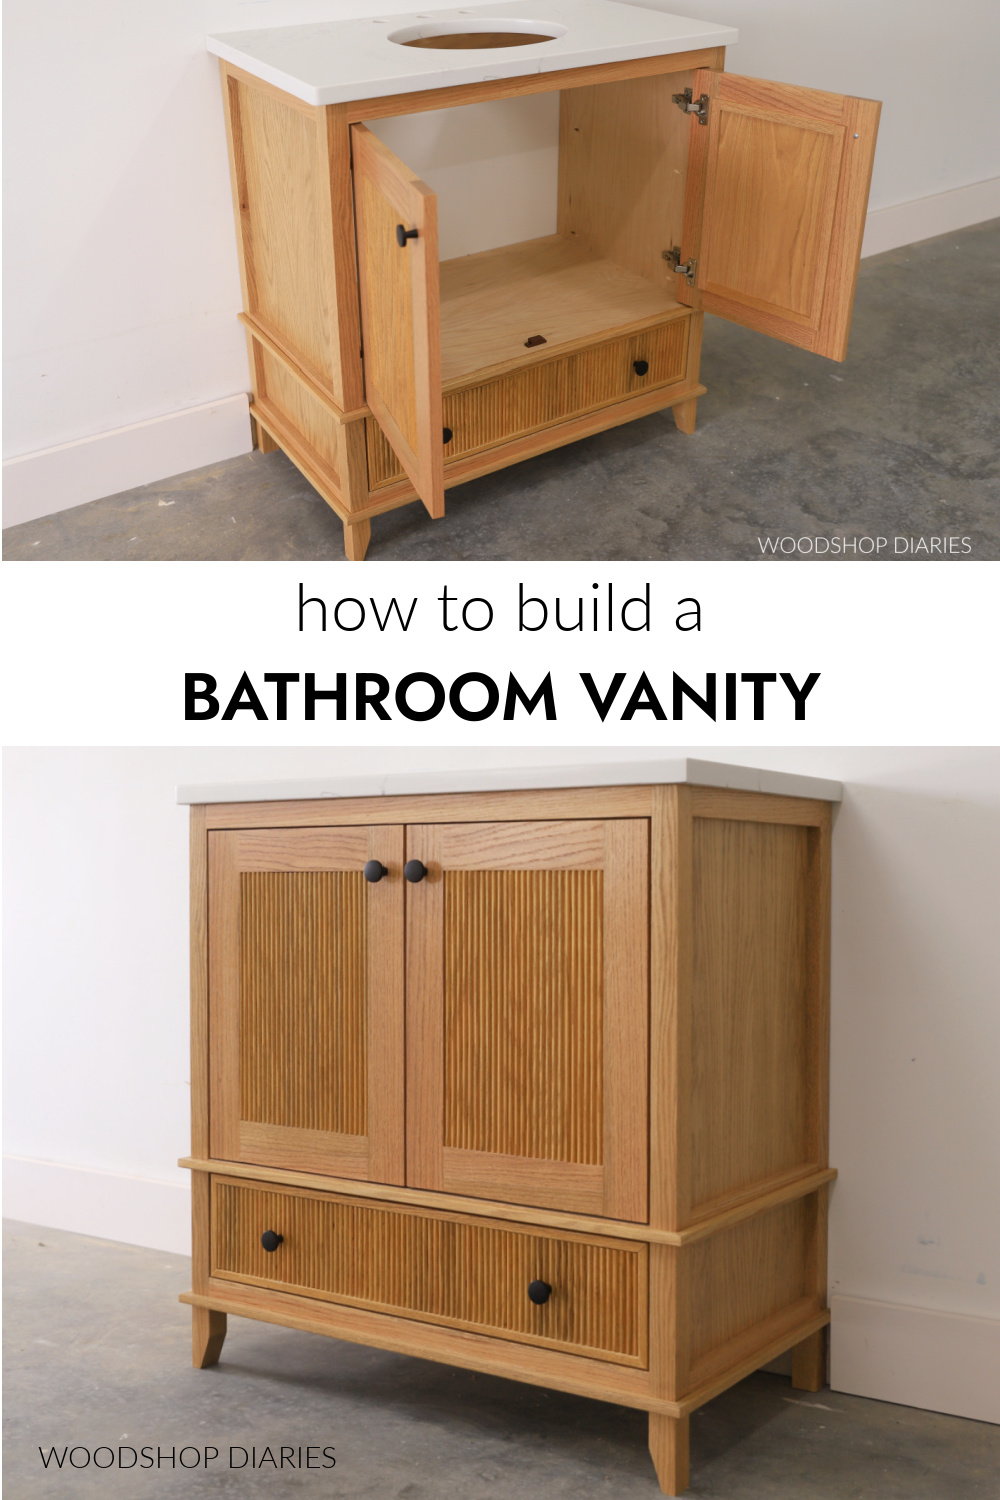
In this post, I’m showing you how to build a simple sink sink bathroom vanity with fluted trim details!
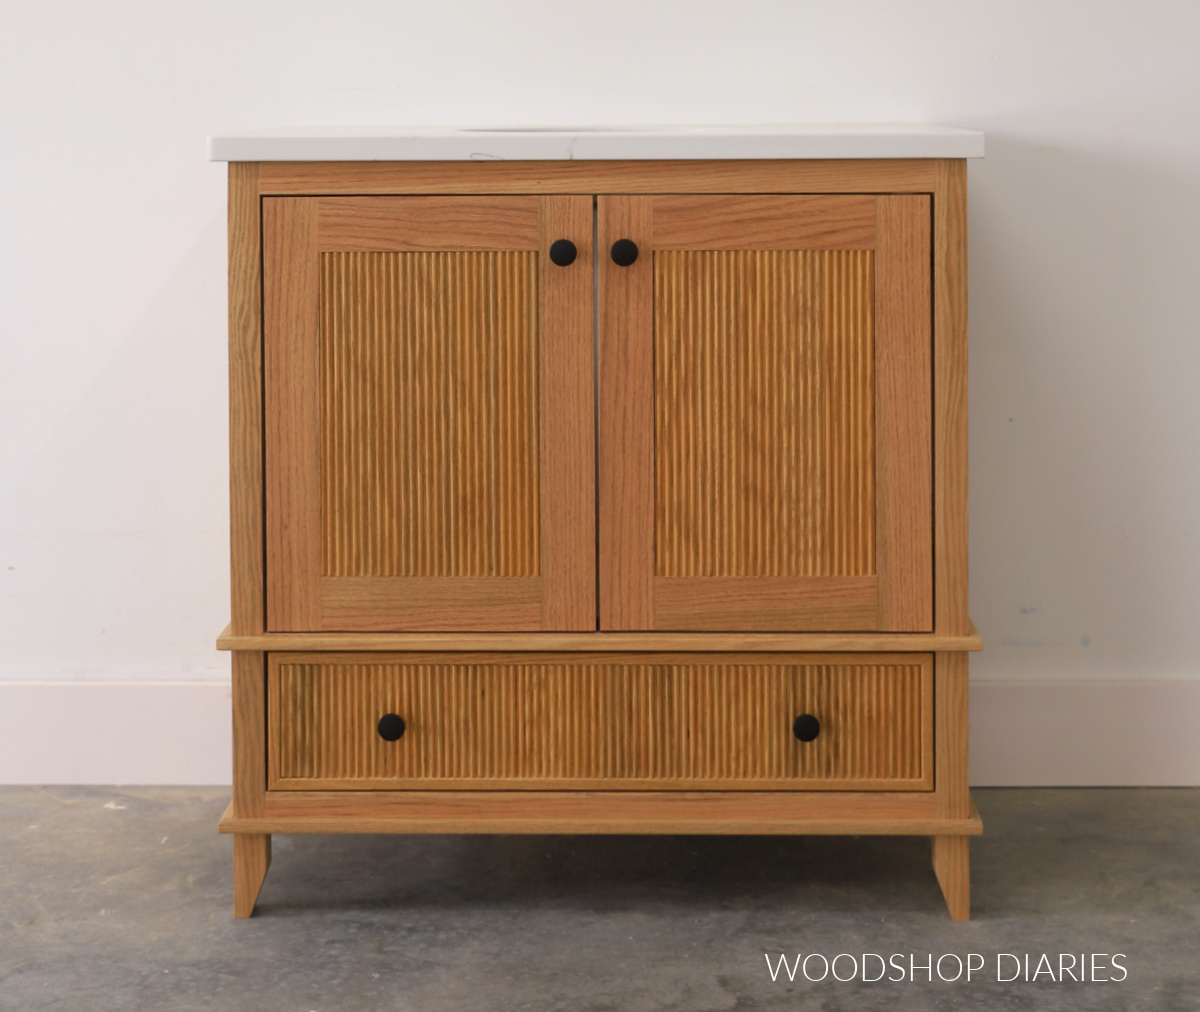
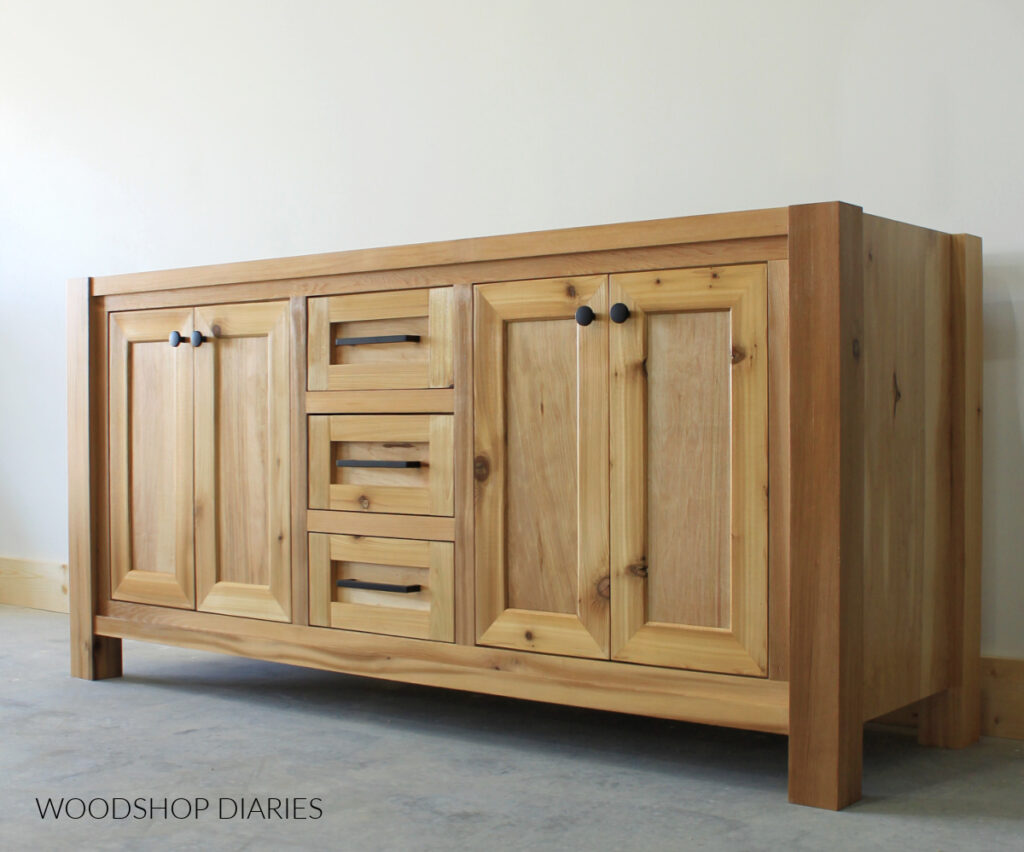
This stylish design features double doors at the top and a drawer at the bottom for versatile storage options and a centered sink and faucet.
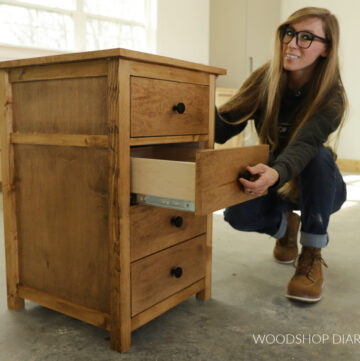
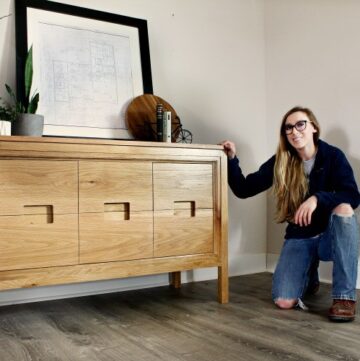
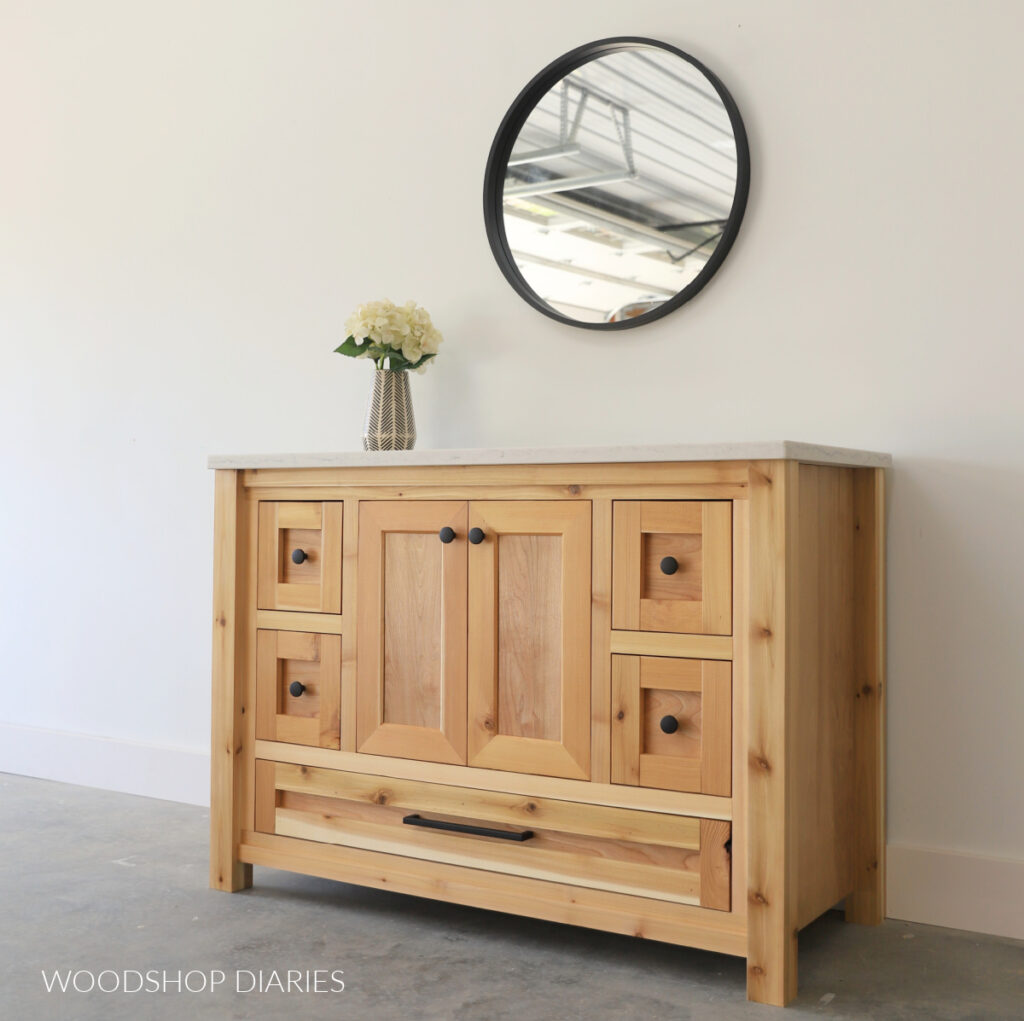
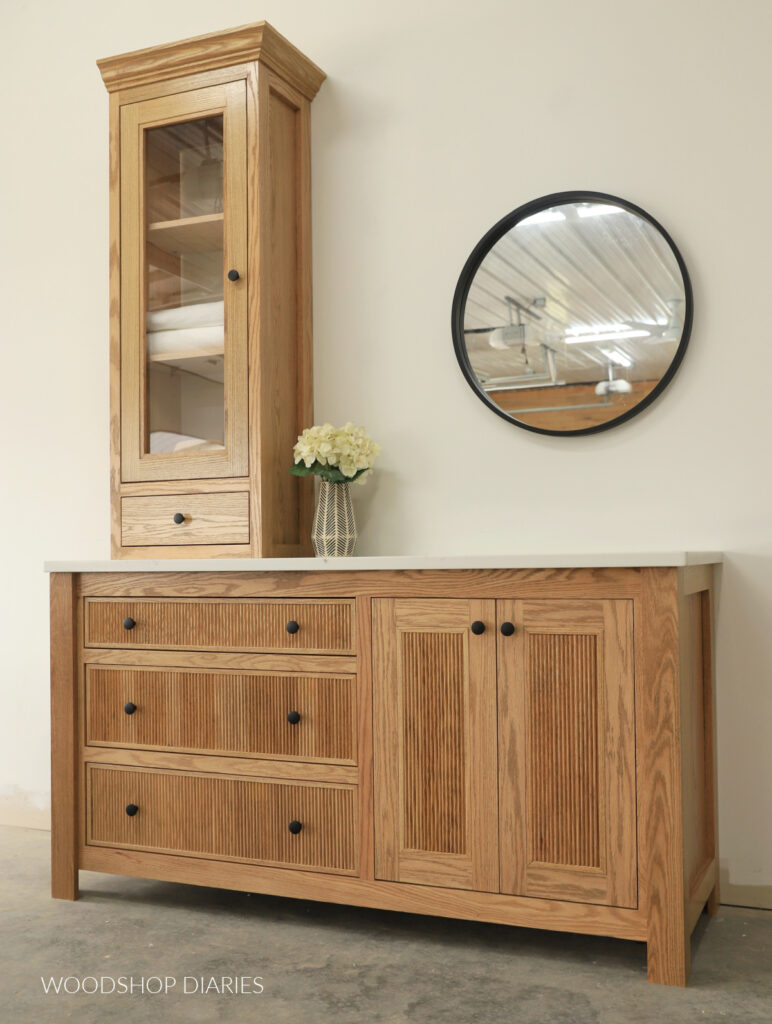
I built this beauty for our hallway bathroom remodel (which isn’t quite ready for the vanity to go in yet, so for now, it’s just staged in my workshop). And I wanted it to match the larger vanity that I built for our other bathroom last year.
To kind of “tie” the two designs together, I used fluted trim boards on the doors and drawer fronts and built them both from the same wood type–red oak.
If your bathroom could use a stylish new vanity, I’m sharing how to build this one in the steps below.
*This post contains affiliate links. See website policies.
What to know before building
While this project is small and pretty easy to assemble, I’d consider it an intermediate level build, simply because of the fluted trim details. This requires some precise cutting and patience.
However, this project would work well with or without the fluted trim, so if you’d rather keep it simple, basic shaker style doors and drawer fronts would look great, too!
This post shares 7 ways to build a cabinet door (or drawer front–you can build drawer fronts the same way as you would build doors), so that you can choose a method you prefer.
Overall dimensions & Countertop Size
The overall dimensions of this vanity is approximately 21 ½″ deep x 34 ½″ tall x 35″ wide (including the trim added around the bottom).
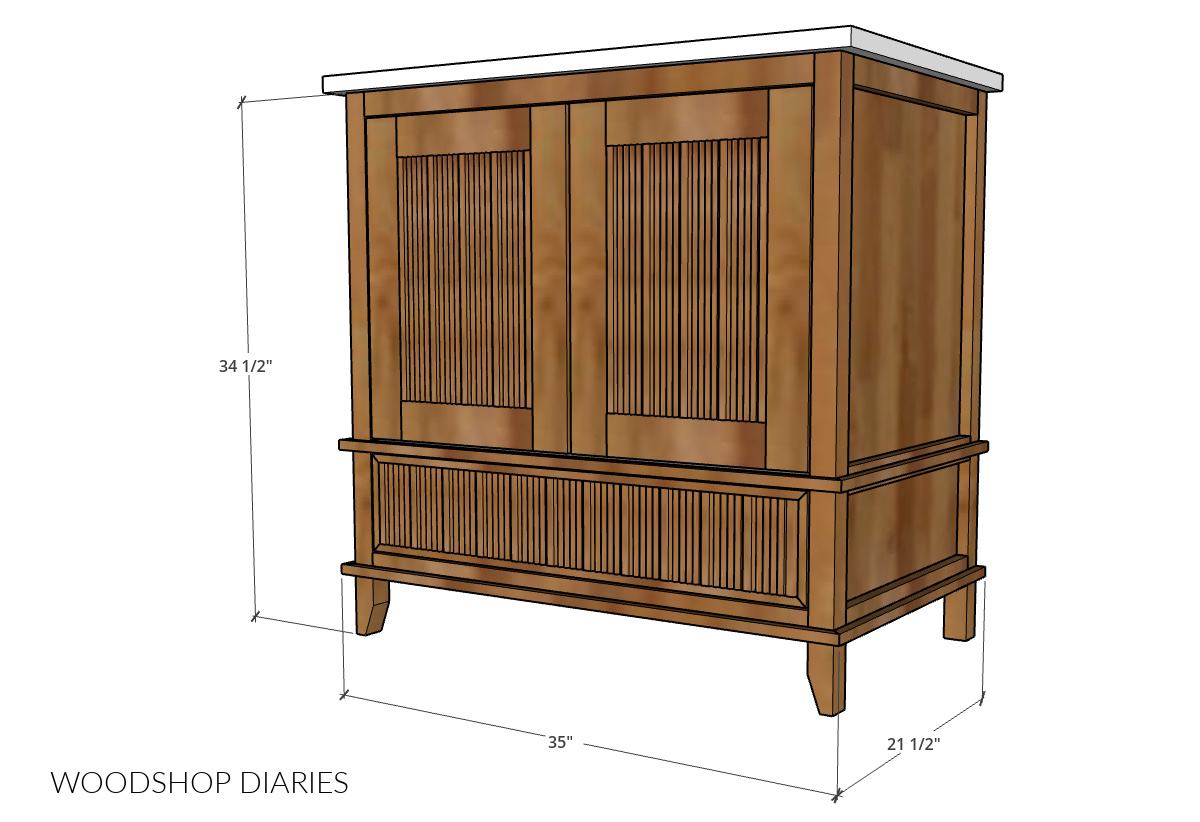
This single sink vanity was designed to fit a standard 22″ x 36″ vanity top with a centered sink. You can find several options of premade countertops this size from big box and home improvement stores OR you can usually have your local granite shop cut you a top from scraps.
NOTE: The bottom panel of this project is 12 ¾″ up from the ground. All plumbing parts and fixtures (like P-traps and supply lines) will need to be above this height once installed. If it is not, you’ll need to either modify your plumbing and/or adjust the bottom panel/drawer to accommodate.
Are DIY projects your thing? Sign up for our newsletter for priority access to the latest projects and build plans!
Helpful Resources
You may find these resources useful as you build to make your DIY the best it can be:
How to Build a Small Fluted Bathroom Vanity
If you prefer to watch, I’ve shared the full build video with tons of tips, behind the scenes, and additional details on my YouTube Channel here.
Love watching how-to videos? Subscribe to my YouTube channel for plenty more where that came from!
Prefer to print? Grab the printable bathroom vanity building plans here:
Tools & Materials
This project was built using solid red oak lumber and plywood. However, any wood type would work fine for this if you wanted to use something different.
For a more budget friendly option, pine wood and birch plywood is a great option. Learn how to choose the right plywood for your project here.
Keep in mind when using pocket holes and screws that you need to use fine thread pocket hole screws when driving into hardwood (like oak) and coarse thread pocket hole screws when driving into softwood (like pine) and plywood.
Learn how to choose the right screws for your projects here.
Tools:
- Miter Saw
- Drill/Driver
- Circular Saw
- Cutting Guides (Kreg Rip Cut and AccuCut)–optional
- Pocket Hole Jig (Kreg Micro recommended, but standard size jigs work, too)
- Dowel Jig
- Concealed Hinge Jig
- Router & ⅜″ Rabbeting Bit
- Table Saw
Materials:
- (1) 4’x8′ sheet ¾″ plywood
- (1) 4’x4′ sheet ¼″ plywood
- (2) 2x2x6 boards
- (2) 1x2x8 board
- (2) 1x3x6 boards
- (4) ⅝″ x 3 ¼″ fluted trim casing (8′ boards)
- 1 ¼” pocket hole screws
- 1 ½″ long dowel pins
- 2 ½″ wood screws (to install)
- Wood glue
- (1) pair 18″ drawer slides
- (2) pair concealed inset hinges for frameless cabinets
- Edge banding (optional, but recommended)
- Drawer pulls/knobs
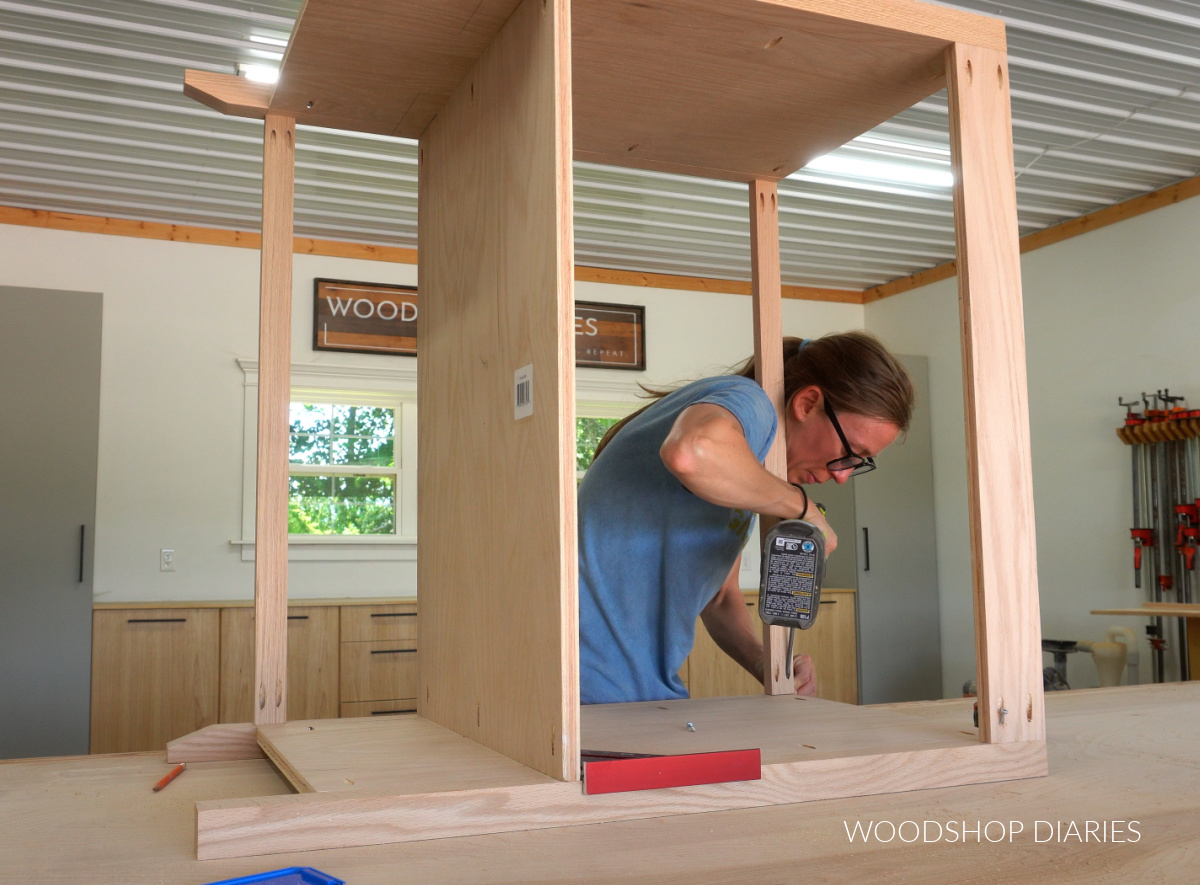
Step 1: Assemble the Vanity Frame
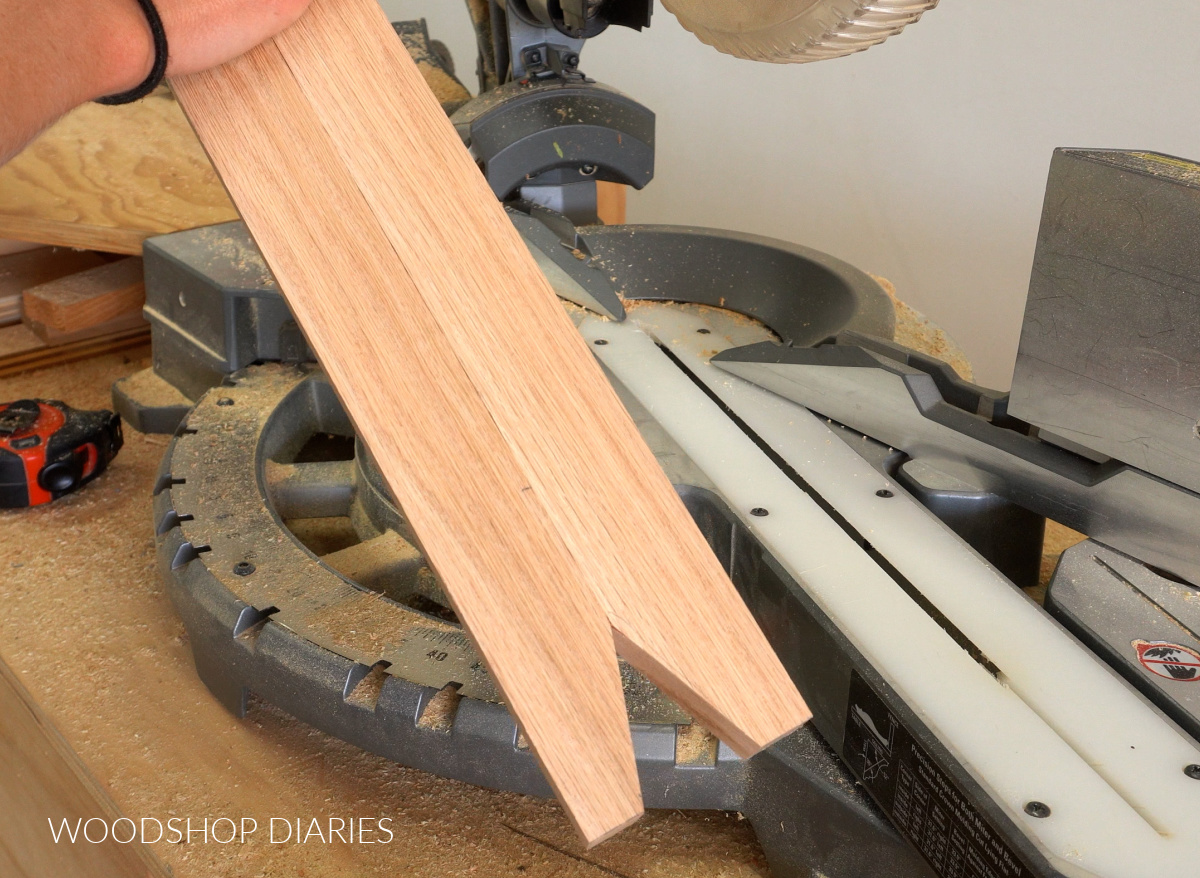
The vanity frame consists of a few different parts and materials. First, I cut the four legs from 2x2s. To give them some extra detail, I wanted to taper my front two legs on the inside corners.
So I set my miter saw to 70 degrees and cut the bottom corners of the two legs like you see below. (I know most miter saws don’t go to 70, so you can taper your legs 45 degrees if needed–it doesn’t have to be a specific angle.)
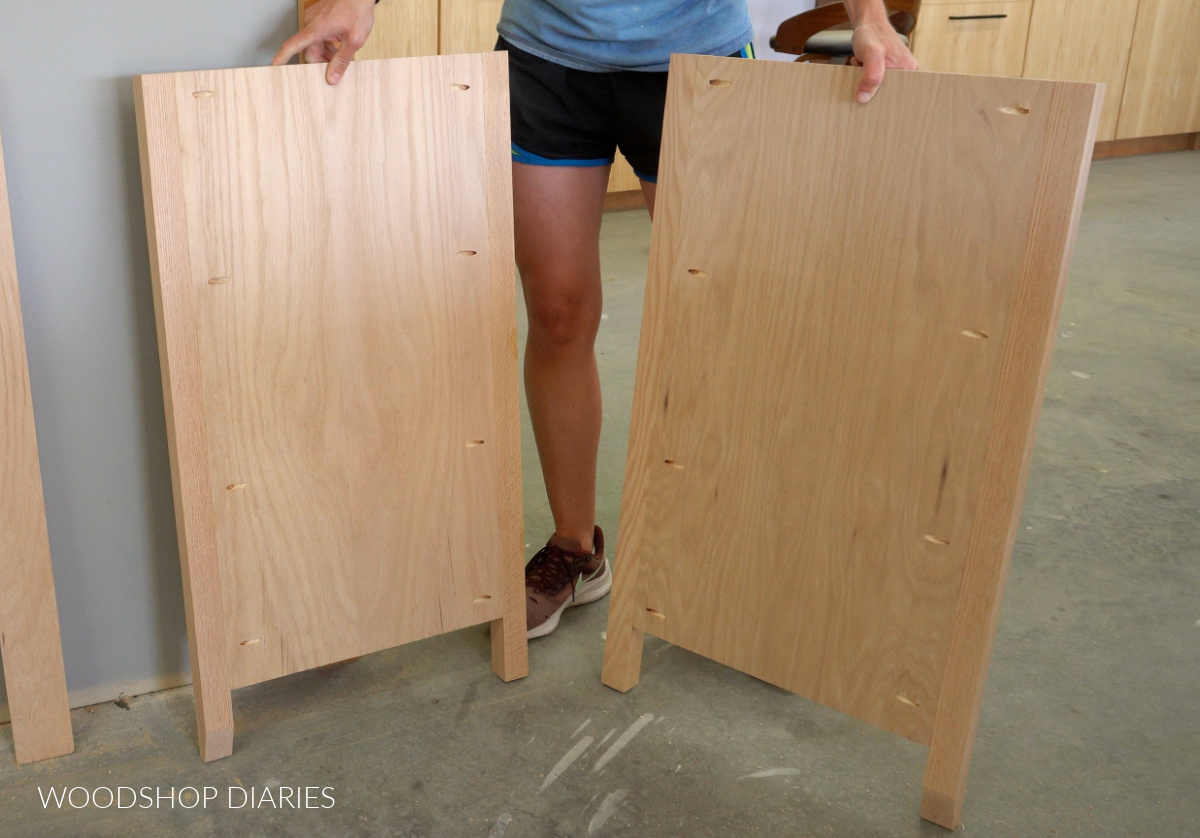
Then I cut two ¾″ plywood side panels to attach between the legs with pocket holes and screws.
RELATED: How to use a pocket hole jig
TIP: Make sure the tapered legs are at the front and both panels are flush to the inside edge of the legs.
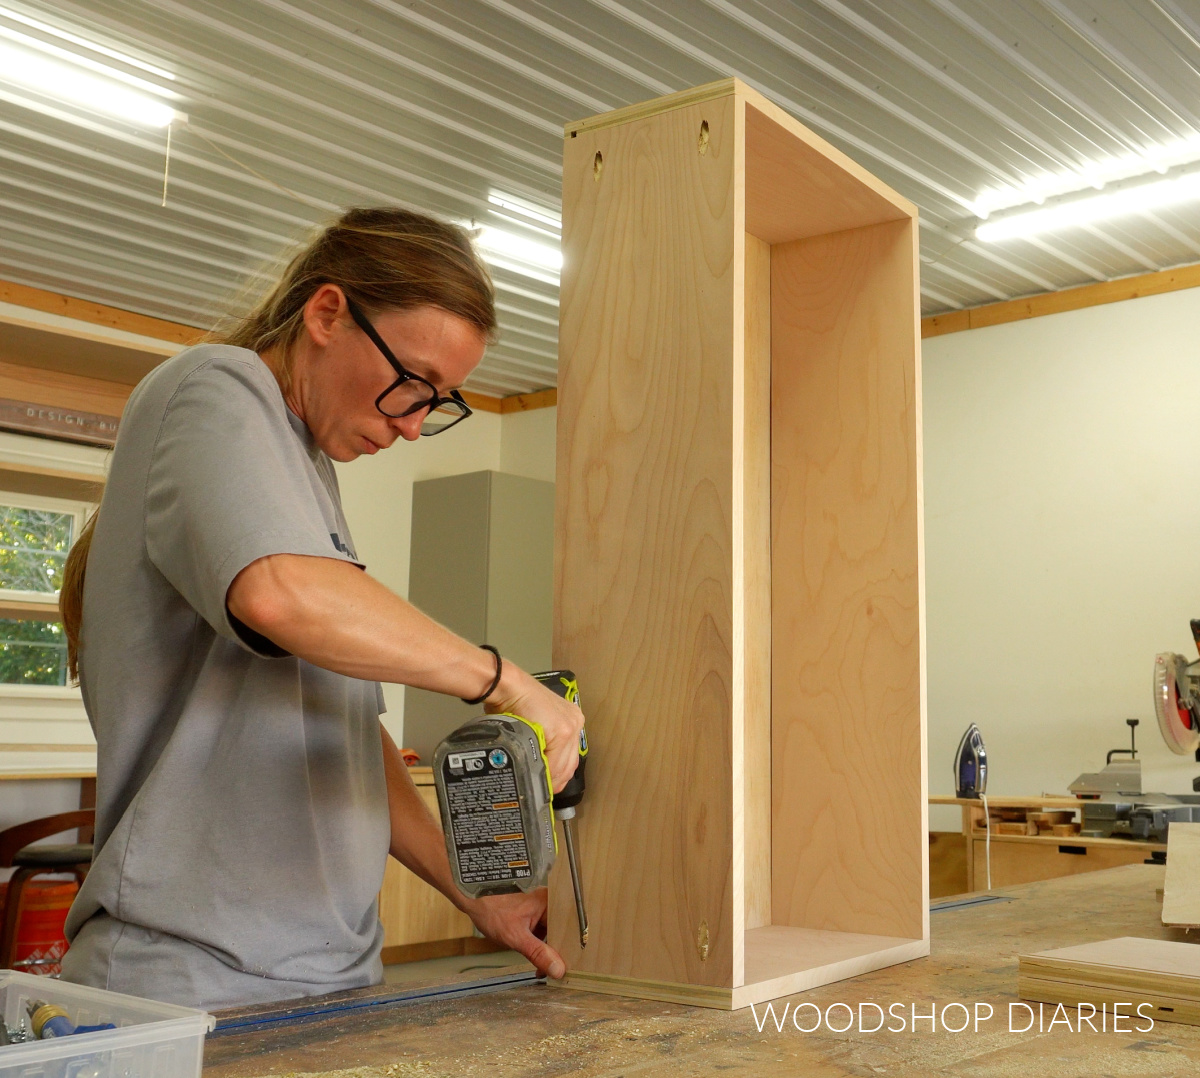
Then, I cut a ¾″ plywood strip for the back support, 2 pieces of 1×2 for the front supports and a ¾″ plywood piece for the bottom panel.
I secured all of these pieces between the two side panels with pocket holes and screws to complete the frame. Again, make sure the tapered legs are toward the front.
TIP: The front edge of the bottom panel will be exposed in the finished project, so if desired, consider applying edge banding to it to cover the plies. Learn how to apply iron on edge banding here.
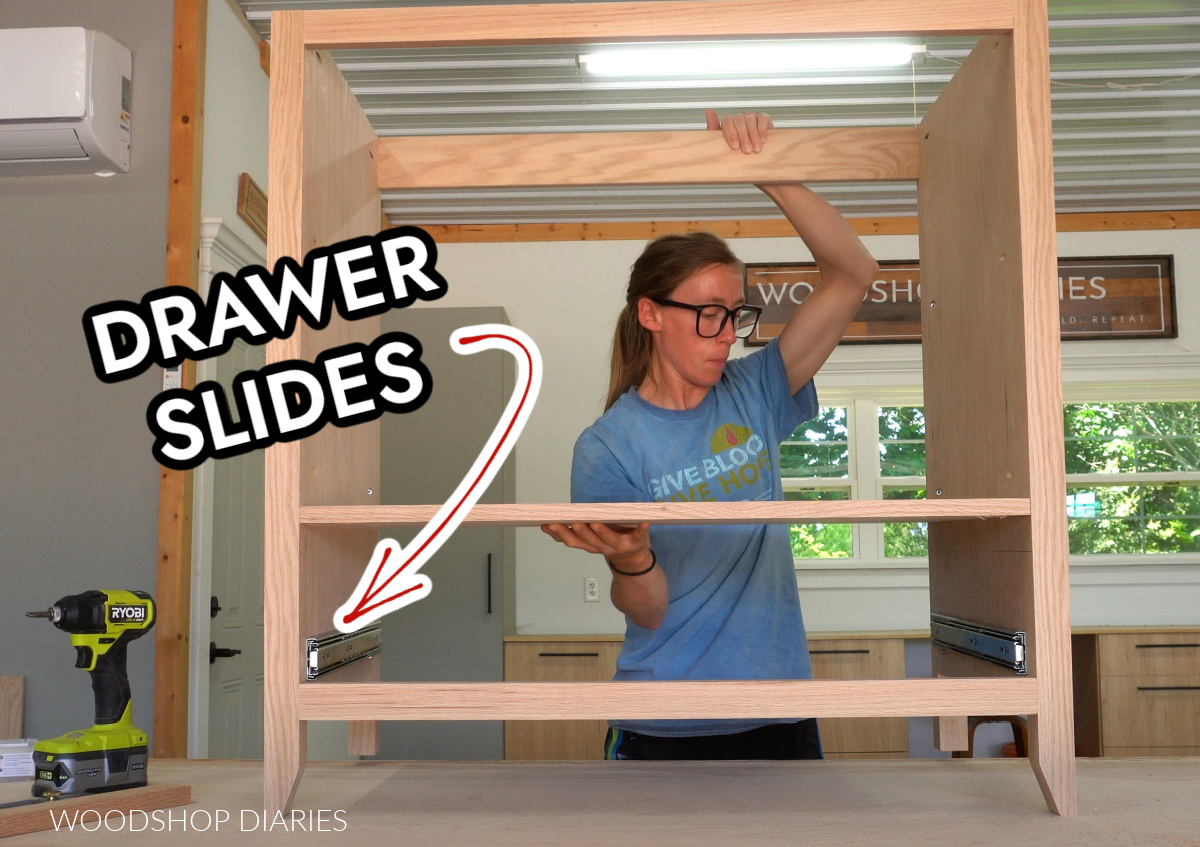
Then, I went ahead and installed a pair of 18″ ball bearing drawer slides into the vanity in the bottom section. I installed these about 1 ¼″ inset from the front edge.
RELATED: How to install drawer slides
Prefer to print? All dimensions, diagrams, and cut lists can be found in the printable plans.
Step 2: Assemble the Drawer Front
This was my favorite step! I cut ¾″ plywood to use as the drawer front that will go into this bottom section.
RELATED: How to size drawer fronts
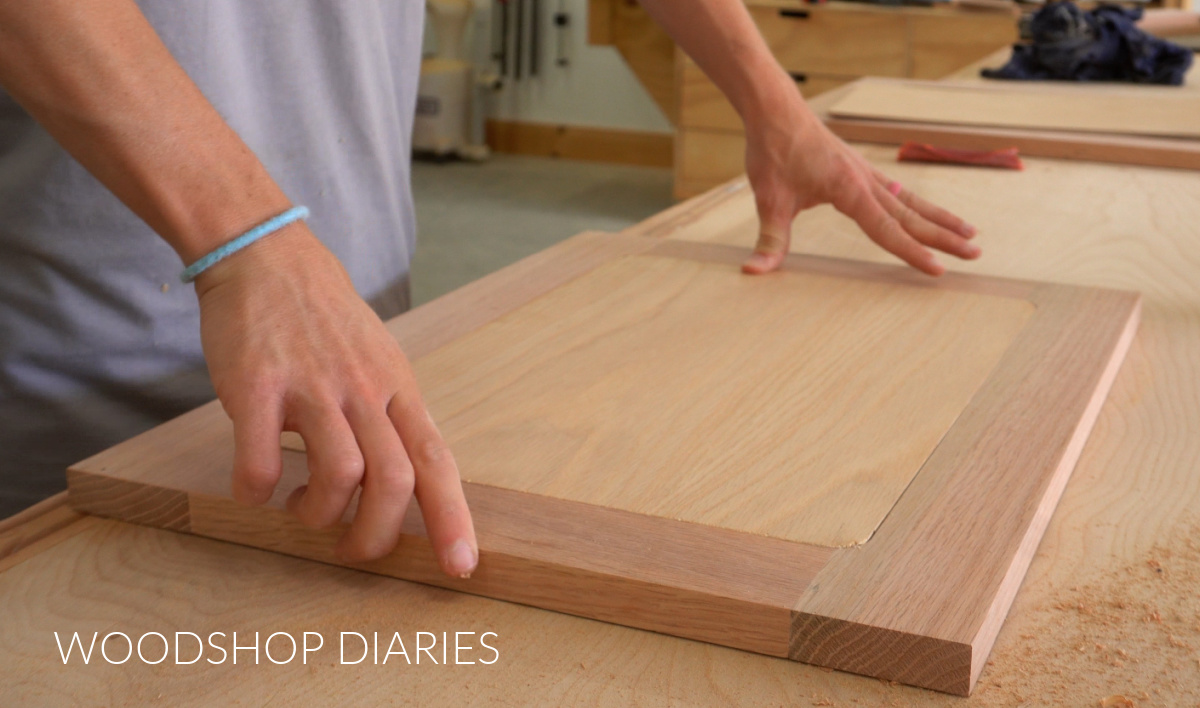
For the fluted trim detail, I used these red oak casing boards. They come with this profile–notice the fluting in the middle, but the flat pieces on each side.
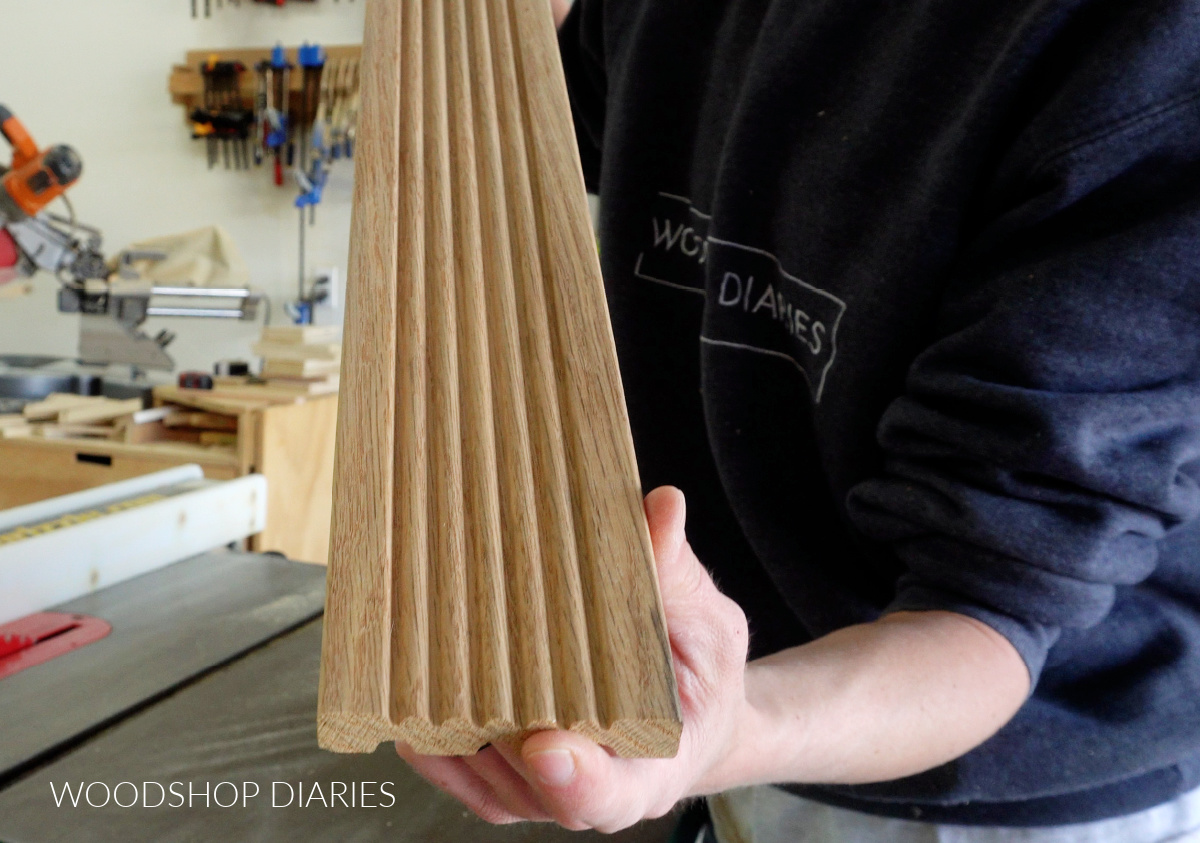
To make this work, I ripped the flat pieces off each side of the board using my table saw–these made strips almost like square dowels.
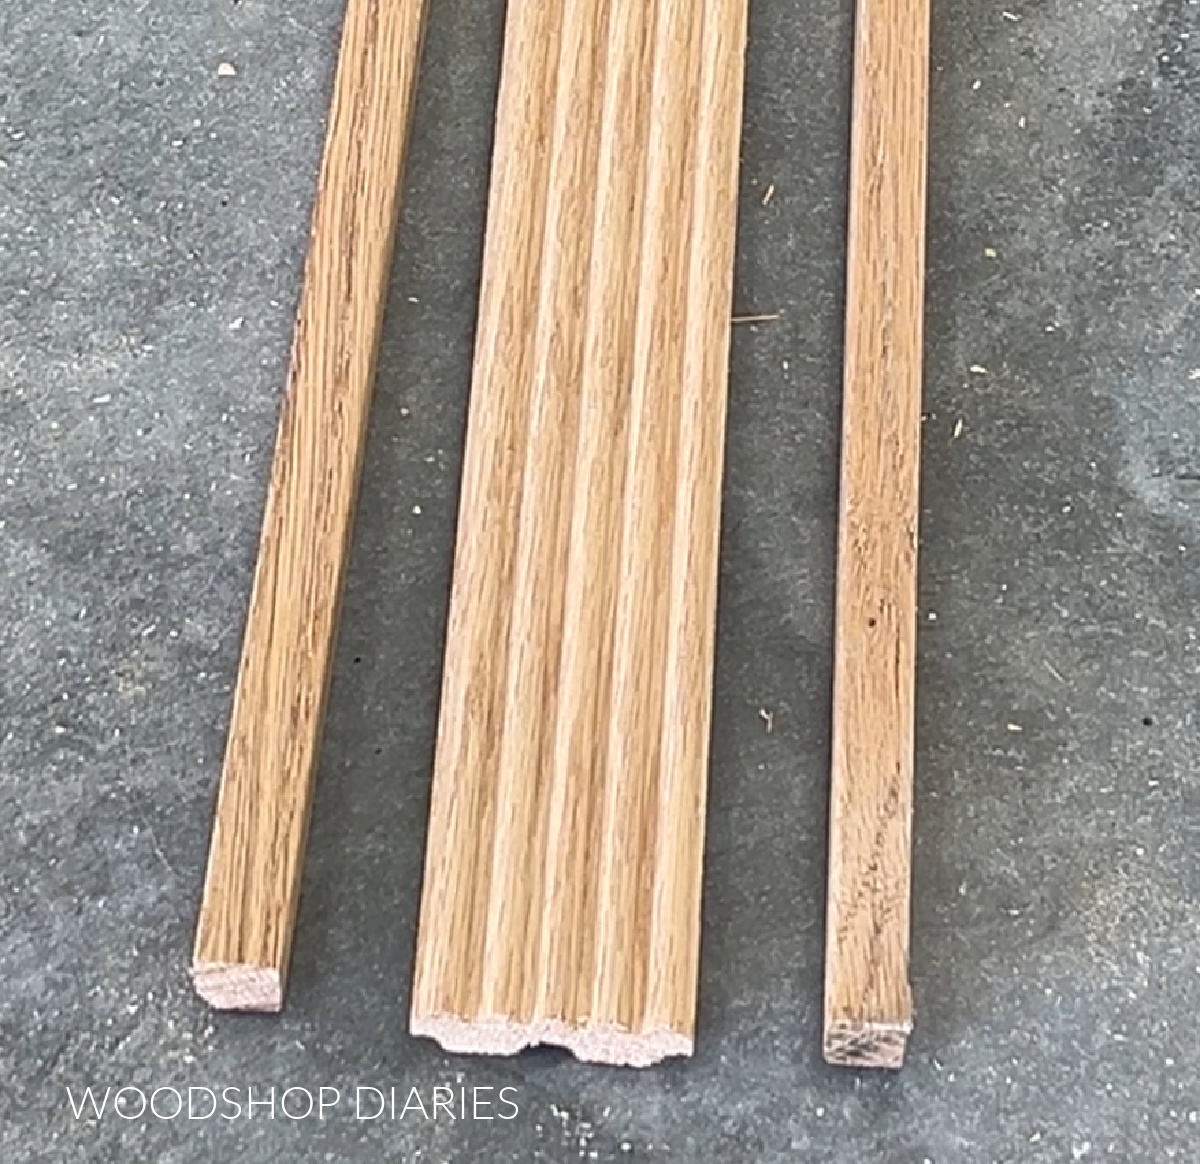
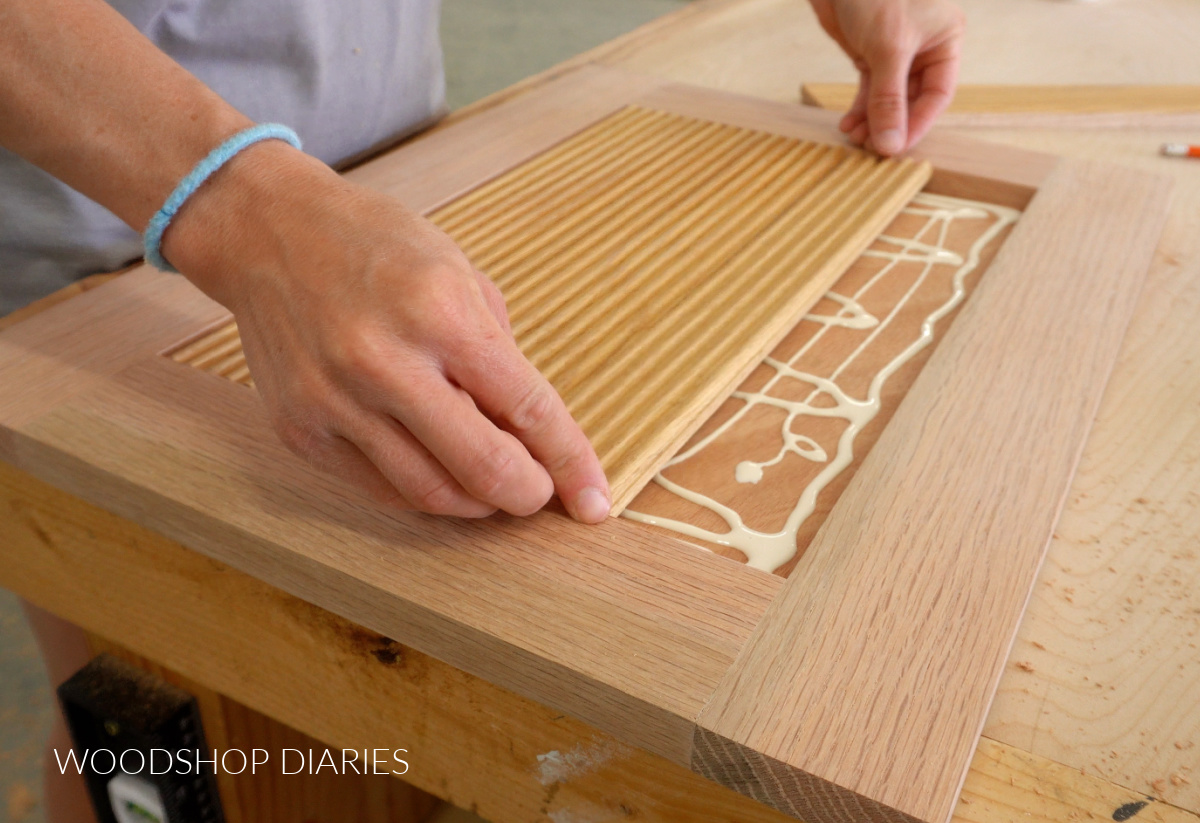
I cut these square pieces with mitered ends to go on the plywood drawer front flush to the edges to kind of frame it out.
Then, I cut the middle fluted section of the board down into small pieces to fill inside the frame.
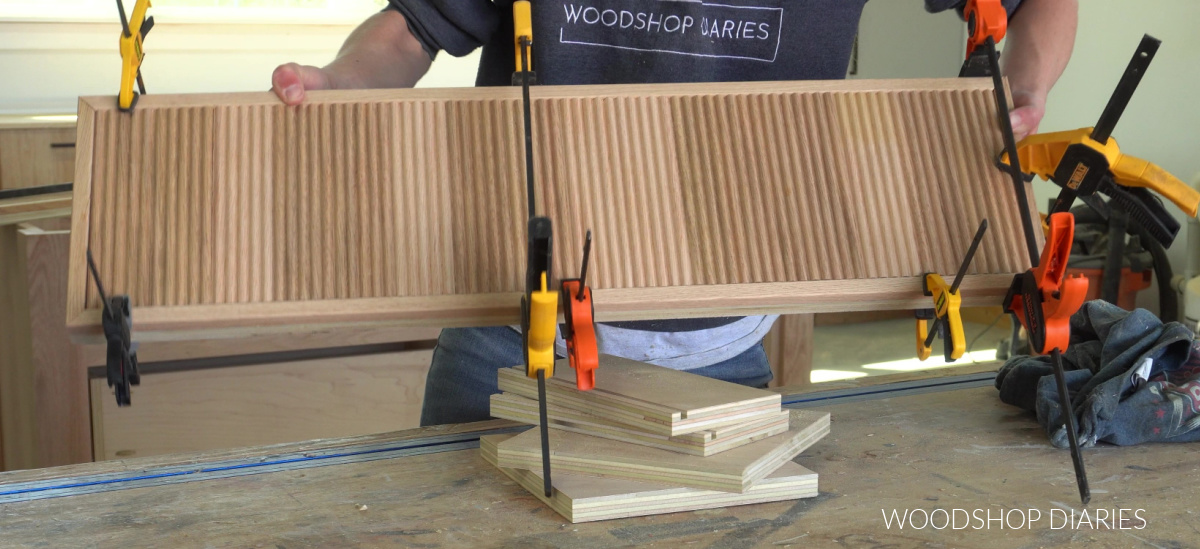
After making sure the pieces all fit together well, I glued and clamped them on the plywood drawer front and allowed to dry.
Step 3: Add Optional Trim
While this was drying, I cut to fit 1×2 pieces to trim both side panels. I added one at the top, one at the bottom, and one centered with the bottom panel on the front.
I glued and clamped these pieces and allowed them to dry. If you’re impatient, you could glue and brad nail these instead.

Then, I used some of that square edge ripped from the fluted trim in step 2 to kind of “wrap around” the vanity sides and front to add some extra detail and dimension.
This is totally optional (and you could also opt for a completely different kind of molding if you’d like!), but I just cut to fit these pieces with mitered front corners and glued onto the vanity frame.
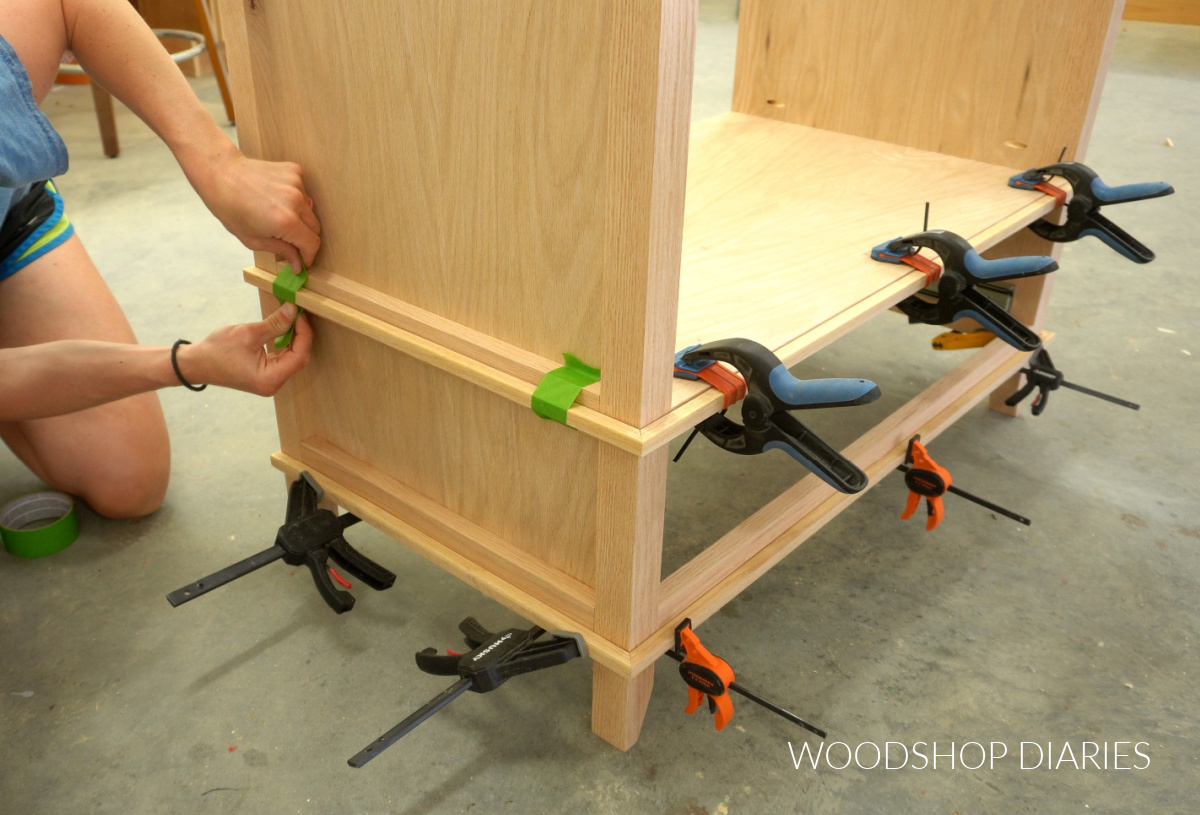
Feel free to customize your trim details, but I added one strip of trim flush to the bottom edge and the other centered on the bottom panel and side trim.
TIP: For places where it’s difficult to clamp, try painters tape to hold pieces while glue dries!
Step 4: Build and Install Drawer Box
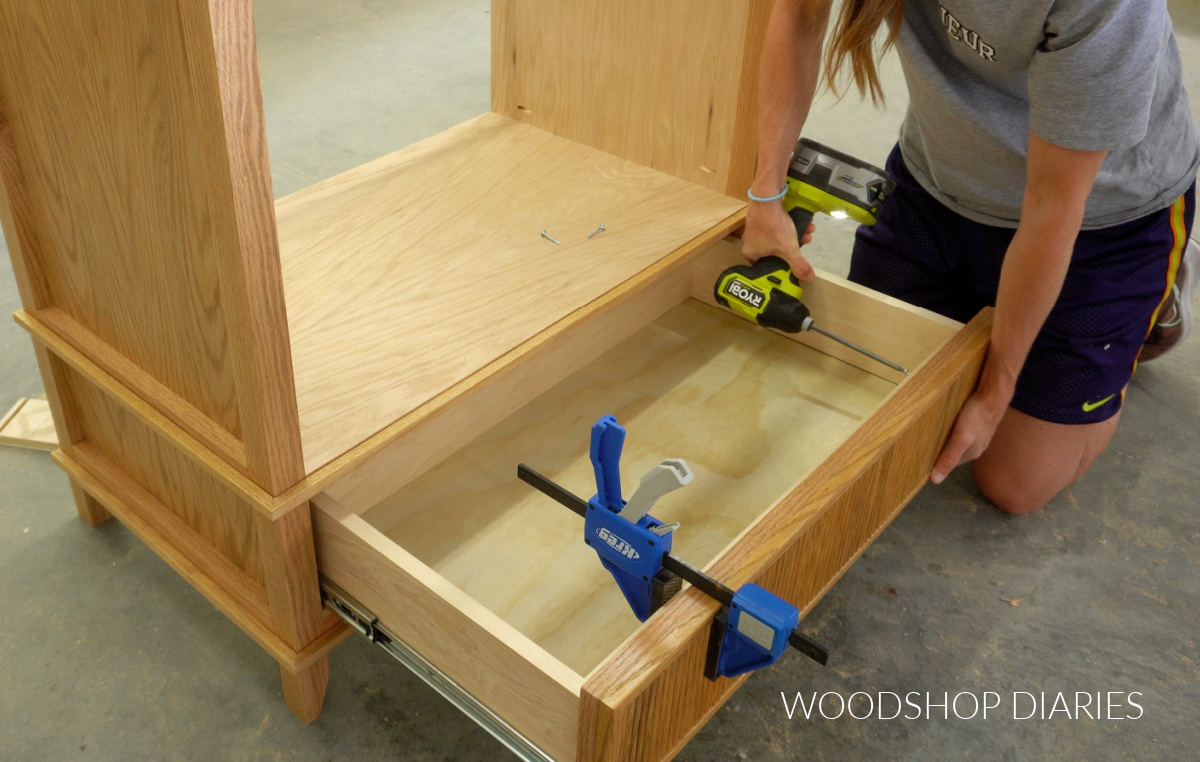
Next, I assembled a basic drawer box to go into the bottom section of this vanity.
To build my drawer box, I cut four pieces of ¾″ plywood for my drawer box sides and cut a ¼″ dado into them to slide the ¼″ plywood bottom into.
Then, I screwed the box together (sliding the bottom into the dadoes before adding the last piece) using pocket holes and screws.
RELATED: How to build a drawer box
Once the box was assembled, I installed it onto the slides in the bottom section of the vanity. I’ll attach the drawer front in a later step after everything is stained.
Step 5: Build Fluted Doors
I cut 1x3s to assemble two door frames for the vanity. I used wood glue and dowels to glue the frames together. Learn how to use a dowel jig here.
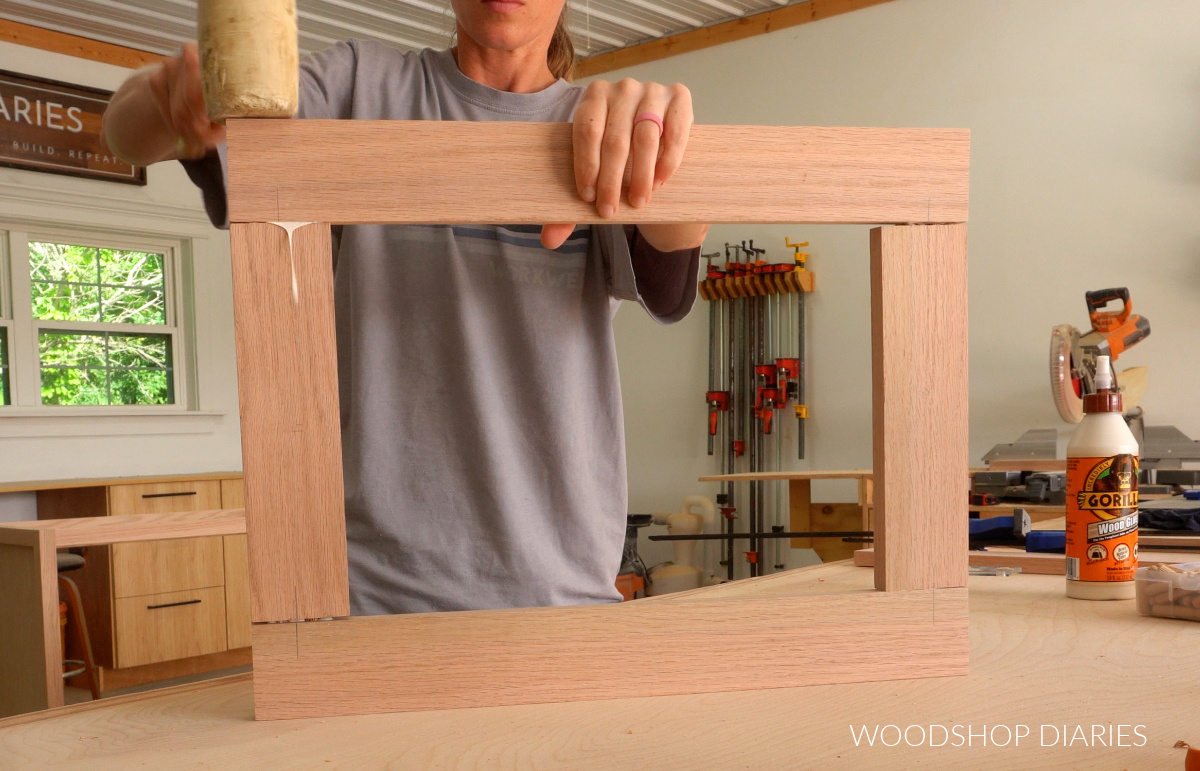
Then, after the glue dried, I routed a ⅜″ wide x ¼″ deep rabbet on the back side to install a ¼″ plywood panel into. Learn 7 ways to build a cabinet door here.
After gluing the plywood panel into the rabbet, I added the fluted trim onto the front.
Just like with the drawer fronts, I ripped the flat parts off the oak casing molding and cut the fluted pieces to fit inside my door frames on the front.
After making sure everything fit well, I glued and clamped all the fluted trim pieces on both doors.
After this had dried, I drilled concealed hinge cup holes on the back side of both of my doors using my Kreg Concealed Hinge Jig. I’ll install the hinges into these holes in the next step.
RELATED: How to install concealed hinges
NOTE: I didn’t love how the seam looked between the door frame and the plywood panel on the back side. So I cut and glued some thin lattice trim around the edges as you can see in the image below. This is completely optional.

Prefer to print? Grab the printable bathroom vanity building plans here.
Step 6: Finish Vanity & Install
Now that the vanity frame, drawer front, and doors are all assembled, I stained these pieces separately with Minwax Weathered Oak stain. Then, I sealed it with a few coats of Minwax Polycrylic.
It’s usually it much easier to stain and seal the pieces separately, then once everything is dry, install the drawer front and the doors.
RELATED: How to stain wood furniture
I attached the drawer front with screws from inside the drawer box.
Then, I installed the doors into the top section of the cabinet using frameless inset concealed hinges. I had already drilled the hinge cup holes, so I simply attached the hinges to the door, then screwed the doors onto the cabinet.
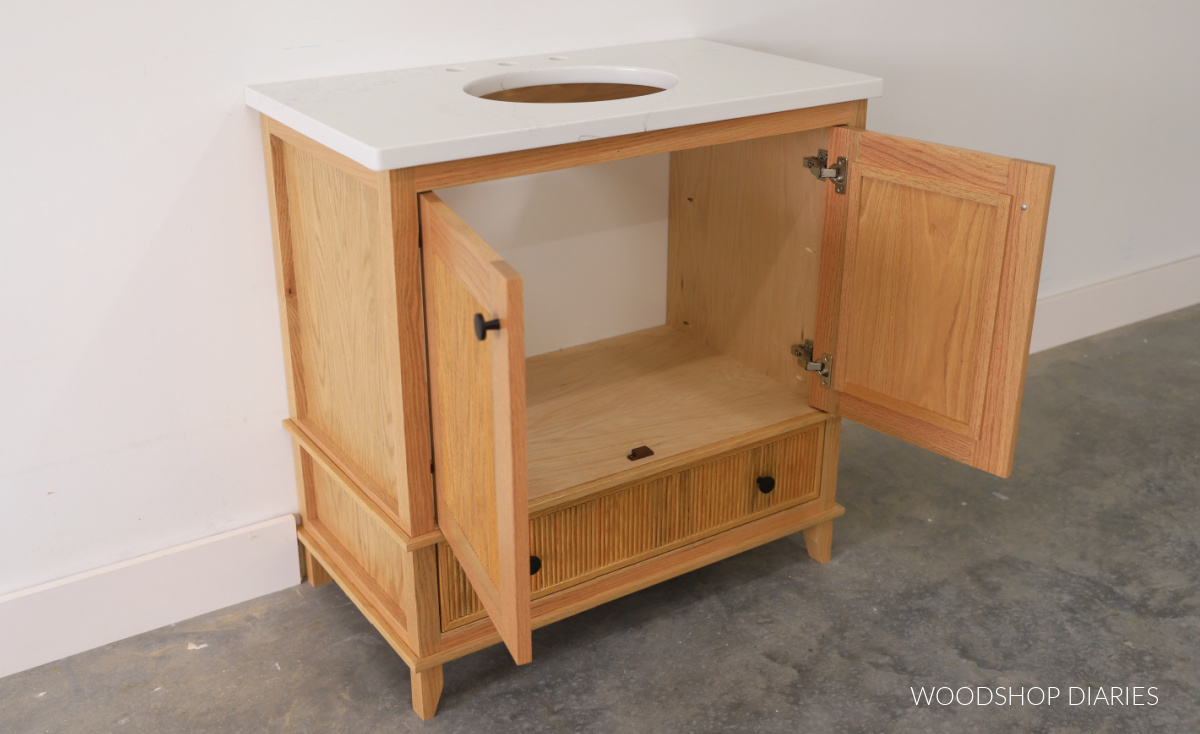
Because inset doors tend to close too far inward, I added a simple catch on the bottom to stop the doors and I added some simple black knobs to finish this project up.
And with that, this vanity is ready to install! Unfortunately, like I mentioned earlier, our bathroom isn’t ready for it just yet.
But, when we get ready to install it, we will secure the vanity base to the wall studs through the back support. Then, we can install the countertop, and hook up the sink and the plumbing.
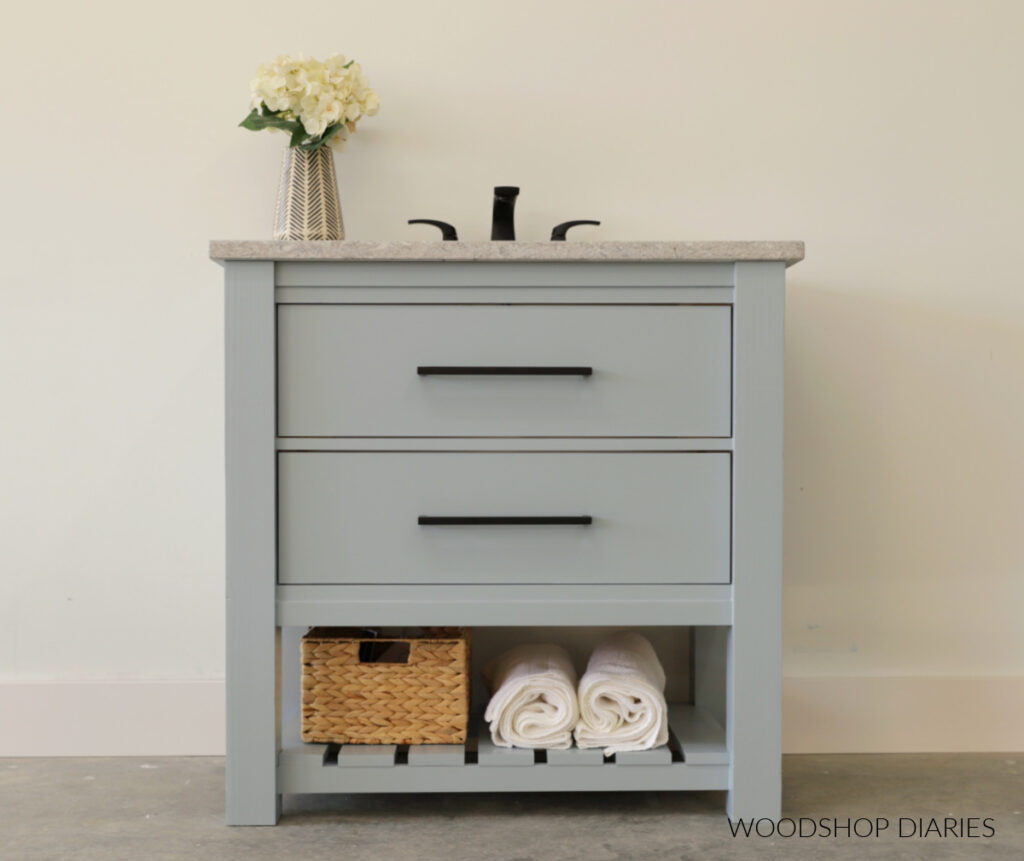
Even if you didn’t want to use this in an actual bathroom, the design would be perfect for a little dresser, accent cabinet, or entryway table.
If you want to build your own, grab the printable building plans here!
Looking for more Bathroom Vanity Ideas?
If you enjoyed this post, but are looking for more bathroom DIY projects and inspiration, check out these fun builds:
If you’d like to save this project for later, don’t forget to pin it or share it to your favorite social channel!
Until next time, friends, happy building!