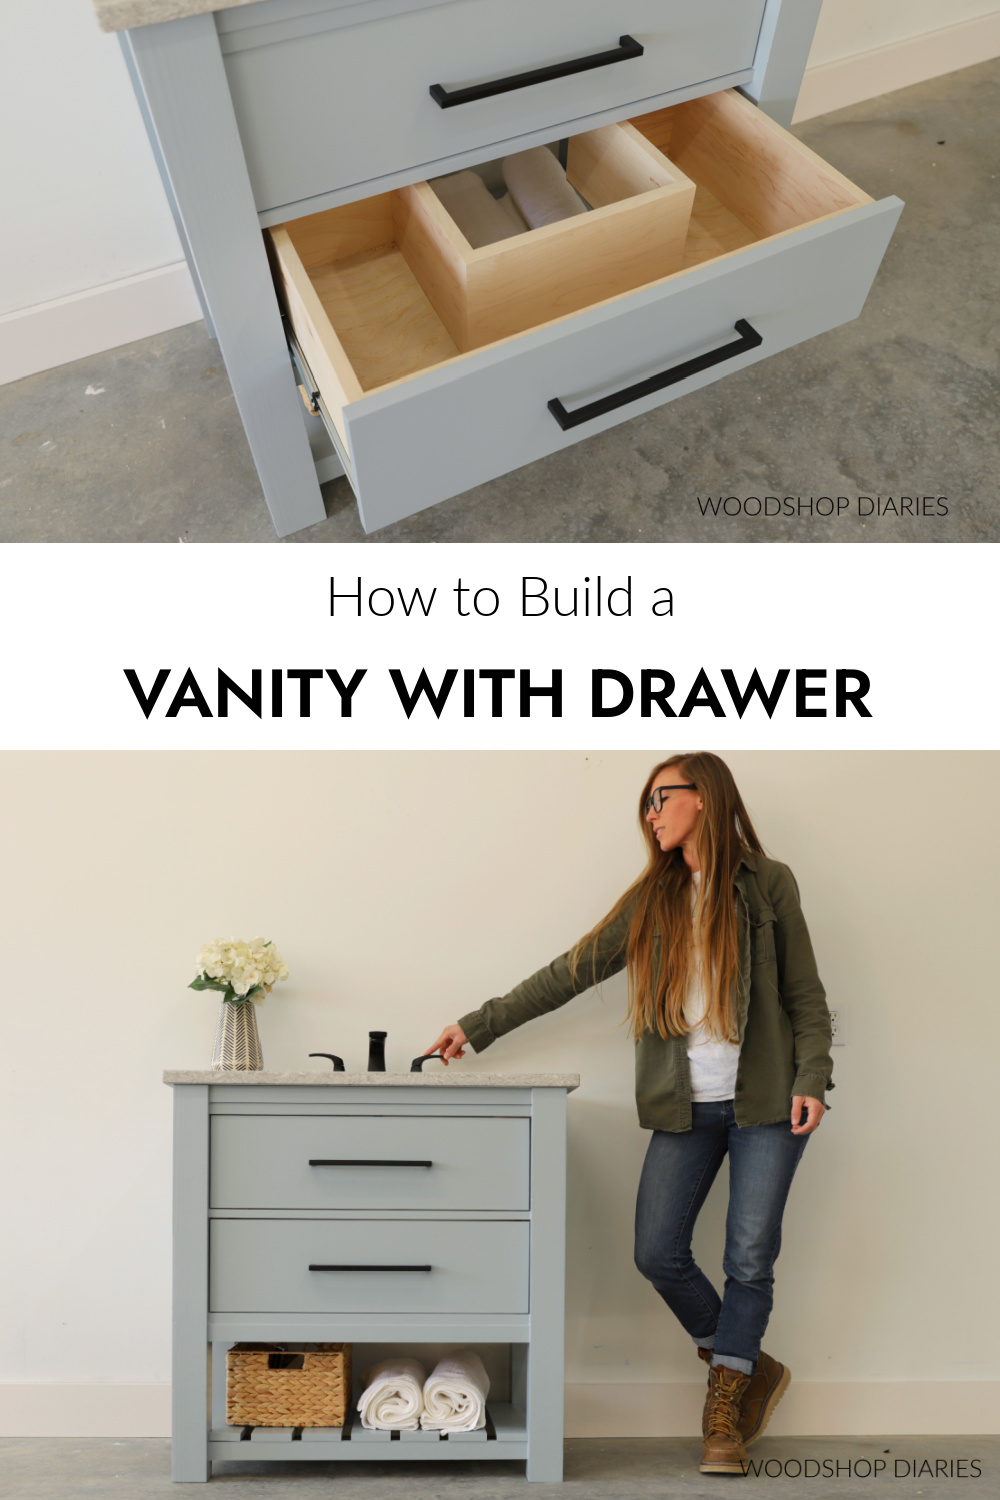
In this post, I’m sharing how to build a simple DIY single sink vanity with a large storage drawer and open shelving!
I built this adorable vanity for my parents’ powder room, so it needed to be small, but still have plenty of storage.
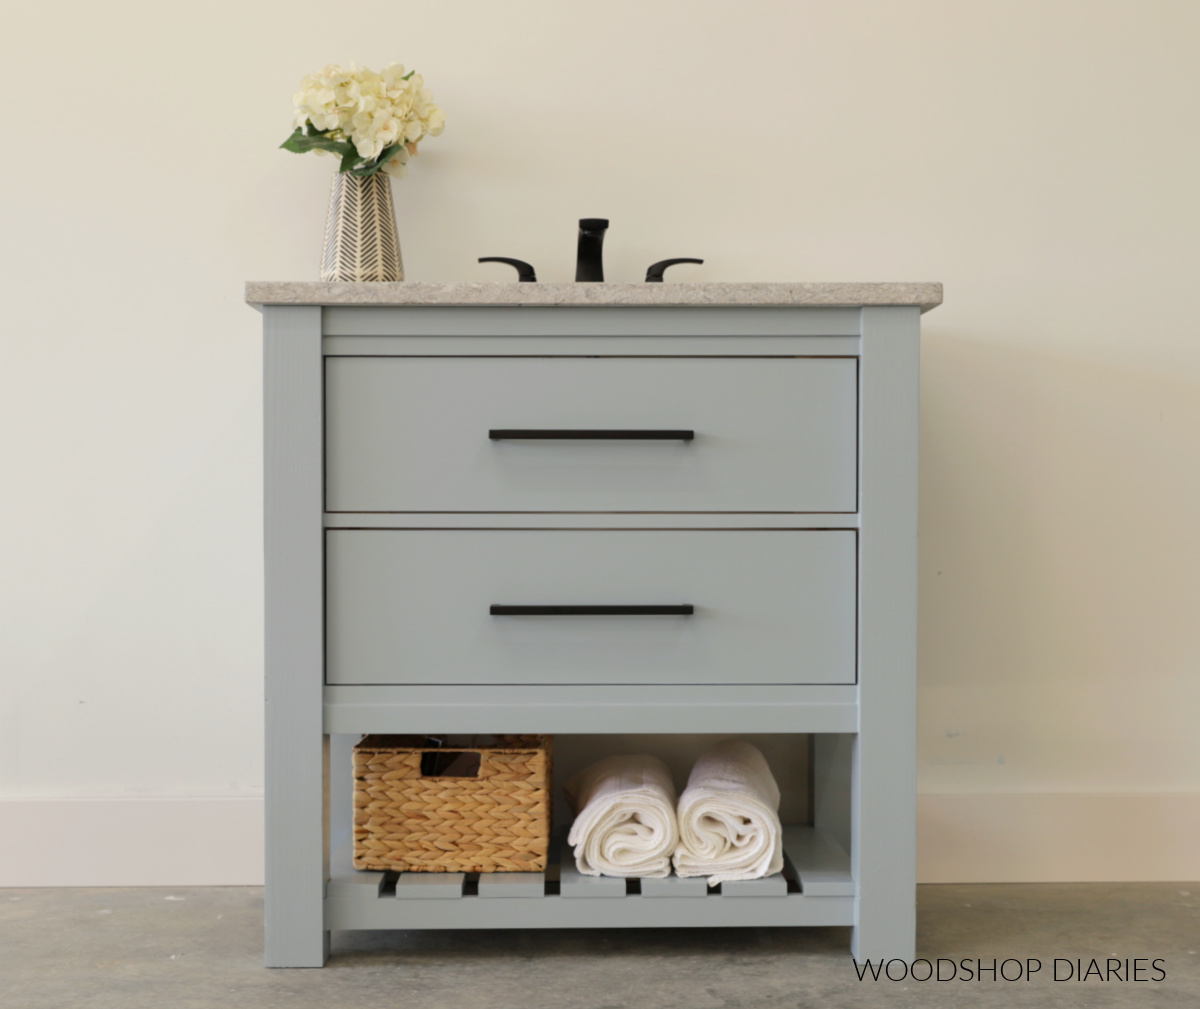
And it needed to be extra cute since this is going in the main guest bathroom of the home. Priorities, you know? *WINK WINK*
So if you’ve got a small bathroom you’d like to spruce up with a new vanity, I’m sharing how to build this one below.
*This post contains affiliate links. See website policies.
What to know before building
After building the vanity, we added a granite top and undermount sink to complete it.
Many home improvement and big box stores (like Lowe’s or Home Depot) have off-the-shelf countertop and sink combos you can purchase to use with this build.
However, I recommend checking with your local granite countertop suppliers as they usually have leftovers or “remnants” they can custom cut a small vanity top from for cheaper.
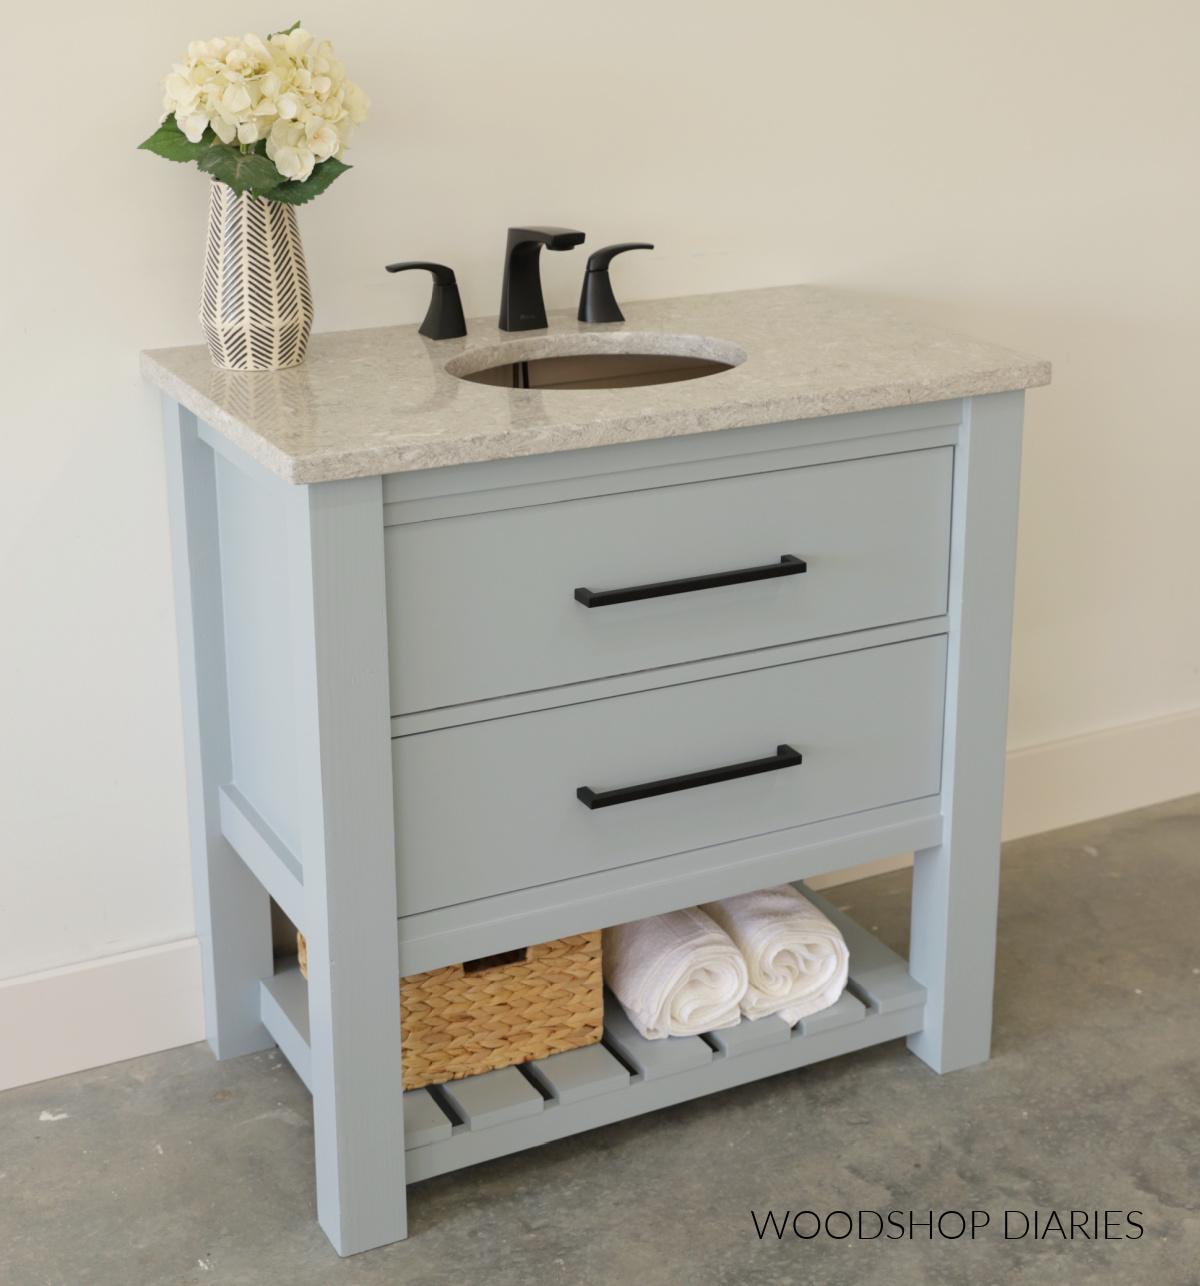
Our granite supplier also included the undermount sink to go with the countertop.
*Double check that your countertop, sink, and existing plumbing will work or can be modified to work with the vanity dimensions before building!
Overall dimensions
The overall dimensions of this vanity (not including countertop) are 35″ wide x 34″ tall x 21″ deep.
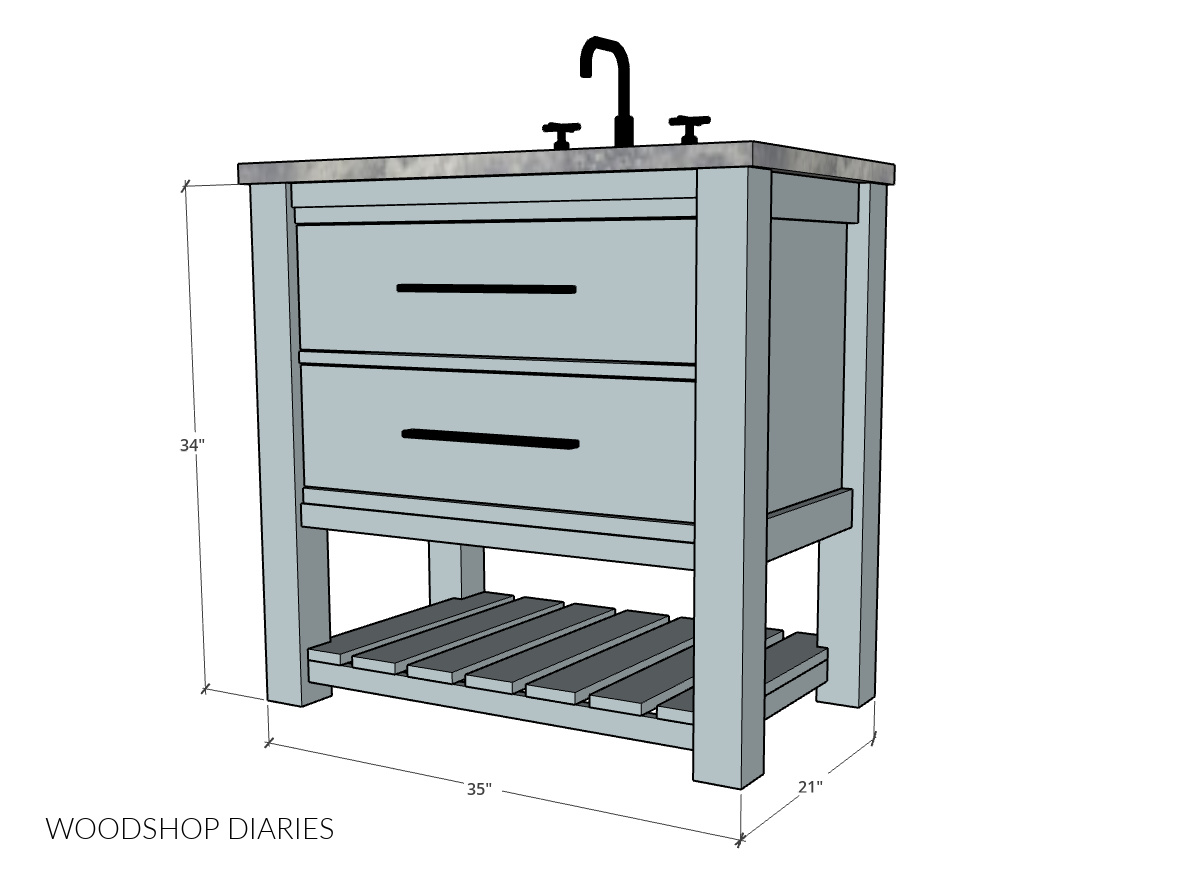
The countertop we used was 22″ deep x 36″ wide x 1 ¼″ thick.
Helpful resources
You may find these additional resources helpful as you build:
Are DIY projects your thing? Sign up for our newsletter for priority access to the latest projects and build plans!
How to Build a Simple Single Sink Vanity with Drawer
This is a great weekend project that you can build with basic construction lumber and materials.
If you prefer to watch, check out the full build video on my YouTube Channel here:

Love watching how-to videos? Subscribe to my YouTube channel for plenty more where that came from!
Prefer to print? Grab the printable bathroom vanity building plans available here:
Tools & Materials
Tools:
- Circular Saw
- Cutting Guides: Kreg Rip Cut & Kreg AccuCut
- Table Saw
- Miter Saw
- Jig Saw
- Drill/Driver
- Pocket Hole Jig
- Brad Nailer
Materials:
- (1) 2’x8′ (½ sheet) ¾″ plywood (birch plywood used here)
- (1) 2’x4′ (¼ sheet) ¼″ plywood
- (3) 2x4x10 boards OR (2) 4x4x8 boards (see step 1)
- (2) 1x4x8 boards
- (3) 1x3x8 boards
- (1) 1x2x8 board
- (1) 8′ long piece ¼″ x 1 ½″ lattice trim (optional)
- 1 ¼″ pocket hole screws
- 1 ¼″ & 2 ½″ wood screws
- 1 ¼″ brad nails
- (1) pair 16″ ball bearing side mount drawer slides
- Edge Banding (optional)
- Wood Glue
Step 1: Assemble Vanity Frame
I started the build by making the legs. These legs were 3″ x 3″ square posts and I made them by gluing up two pieces of 2×4, then ripping the edges down on the table saw to square them off.
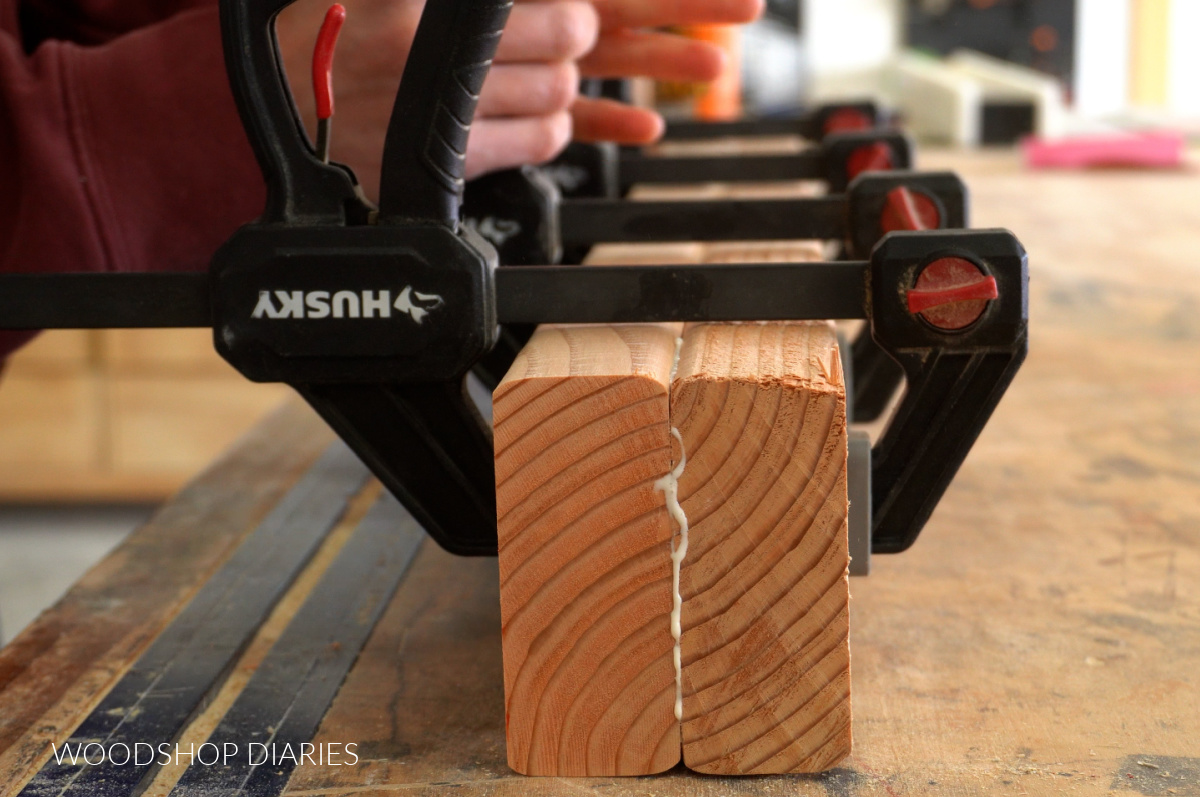
If you don’t have a table saw or don’t want to mess with gluing up 2x4s, you can use a 4×4 post instead. Often people ask why I don’t do that and it’s because where I live, you can’t find untreated 4x4s off the shelf.
If I want an untreated 4×4 post, I have to special order it, it’s expensive, and it usually comes in looking pretty…beat up. So I prefer to just glue up 2x4s and make my own thick posts.
Once the posts were trimmed down, I cut two ¾″ plywood side panels and some 1x3s and 1x2s to make the vanity frame.
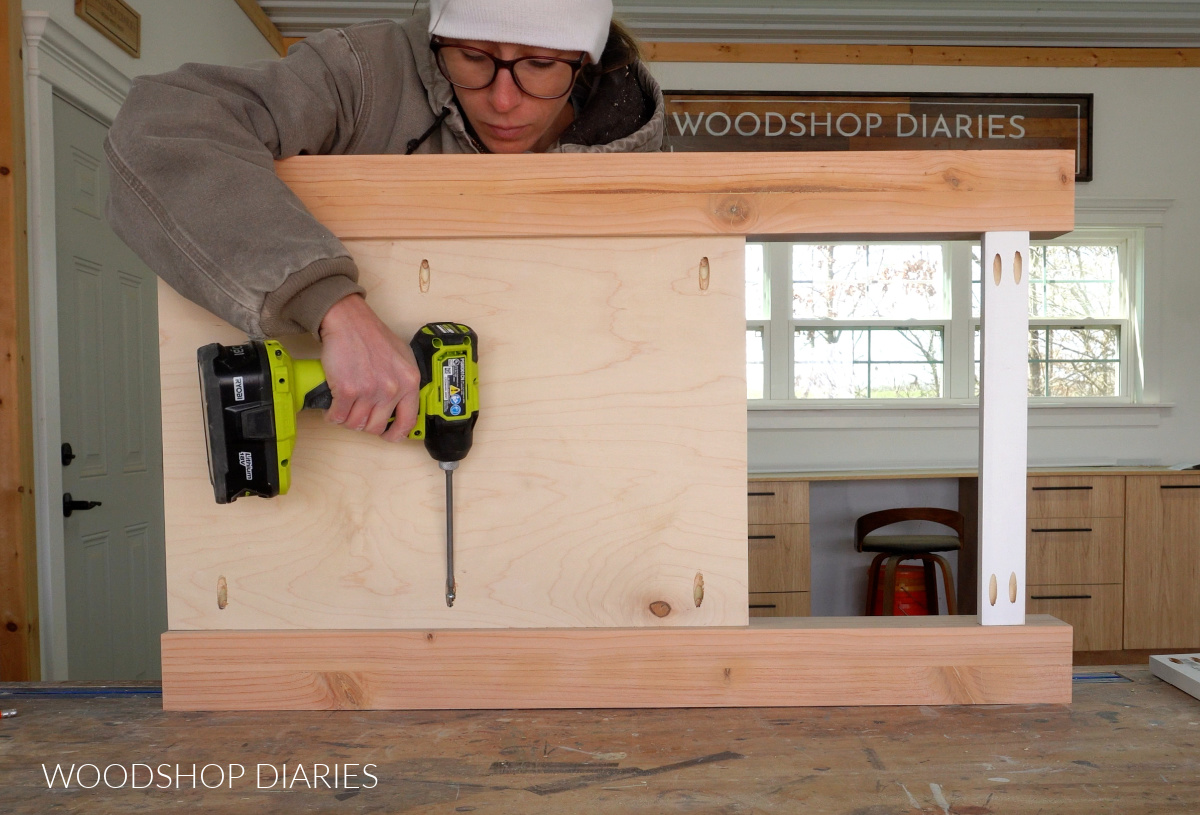
I assembled the frame using pocket holes and screws, so I drilled ¾″ pocket holes into the edges of the plywood panel and into the ends of the 1x pieces.
Then, I built two sides using the plywood panels and 1x2s, securing with pocket hole screws.
RELATED: How to use pocket holes in DIY furniture projects
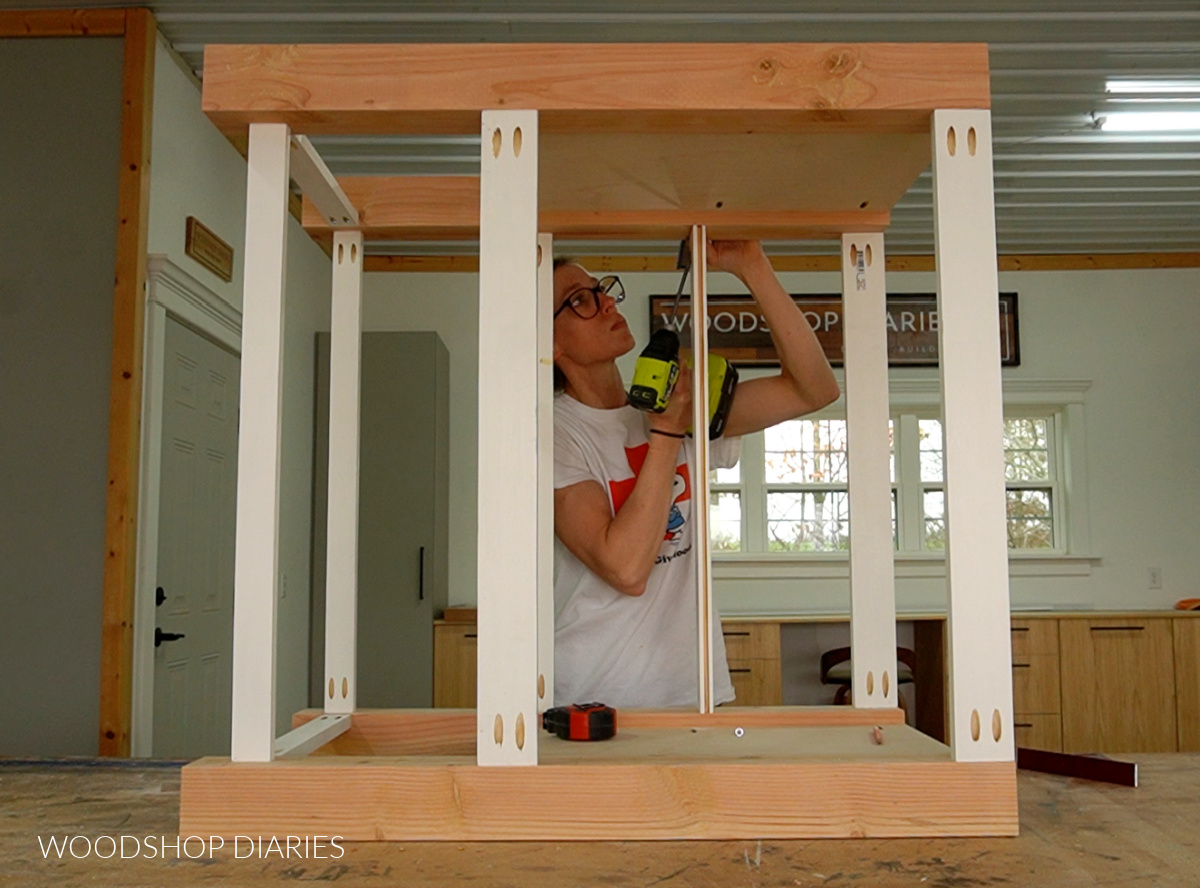
Then, I installed the 1x3s and 1x2s between the sides to make the whole frame. Note that the 1x3s frame out the top section where the drawers will go and 1x2s make the shelf supports toward the bottom of the vanity.
Prefer to print? Grab the printable plans with all the dimensions, diagrams, and cut list here.
Step 2: Install Drawer Supports and Spacer Blocks
This vanity has two “drawers.” The top one is fake–that’s where the sink will be. But the bottom one is functional.
In order to install the fake drawer front for the top, I needed to add some kind of supports to screw it to. So I cut some scrap plywood blocks to install between the top 1×3 framing piece and the drawer divider below it.
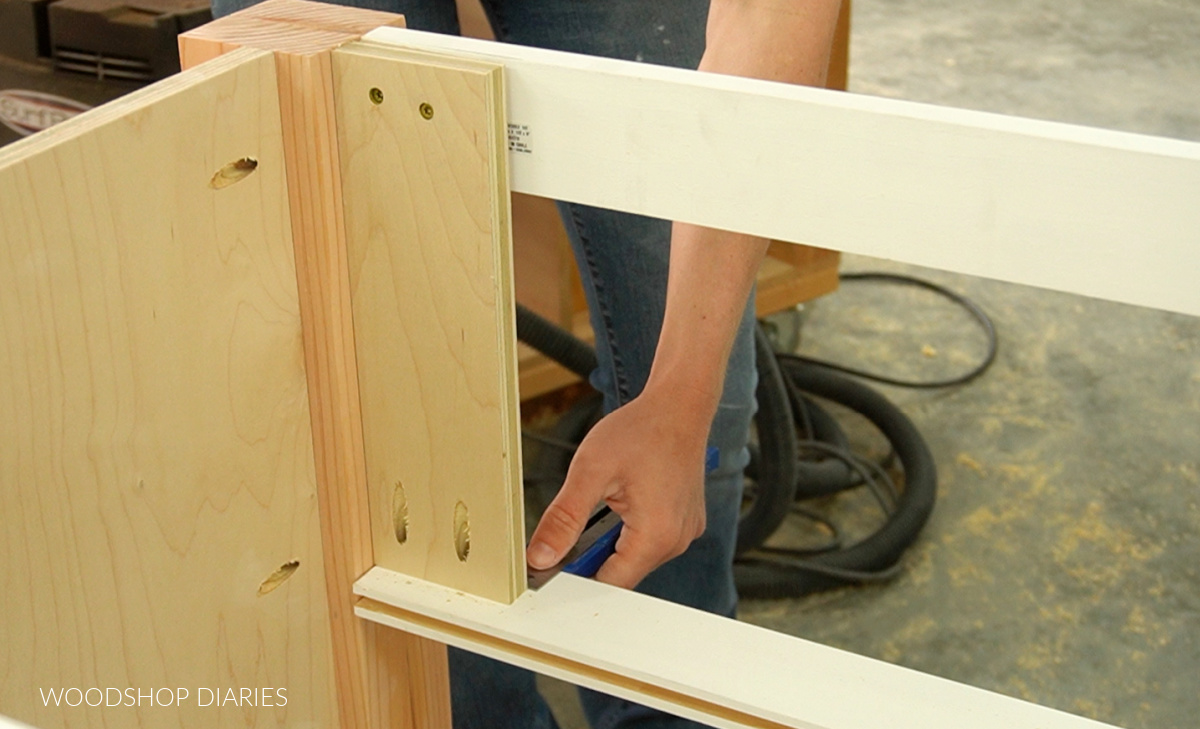
This will give me something to attach the fake drawer front to later.
For the bottom drawer, I installed the plywood side panels ¾″ inset from the inside of the legs, so I first needed to install a scrap wood spacer block onto the side panel to be able to mount the 16″ side mount drawer slide to.
RELATED: How to install drawer slides
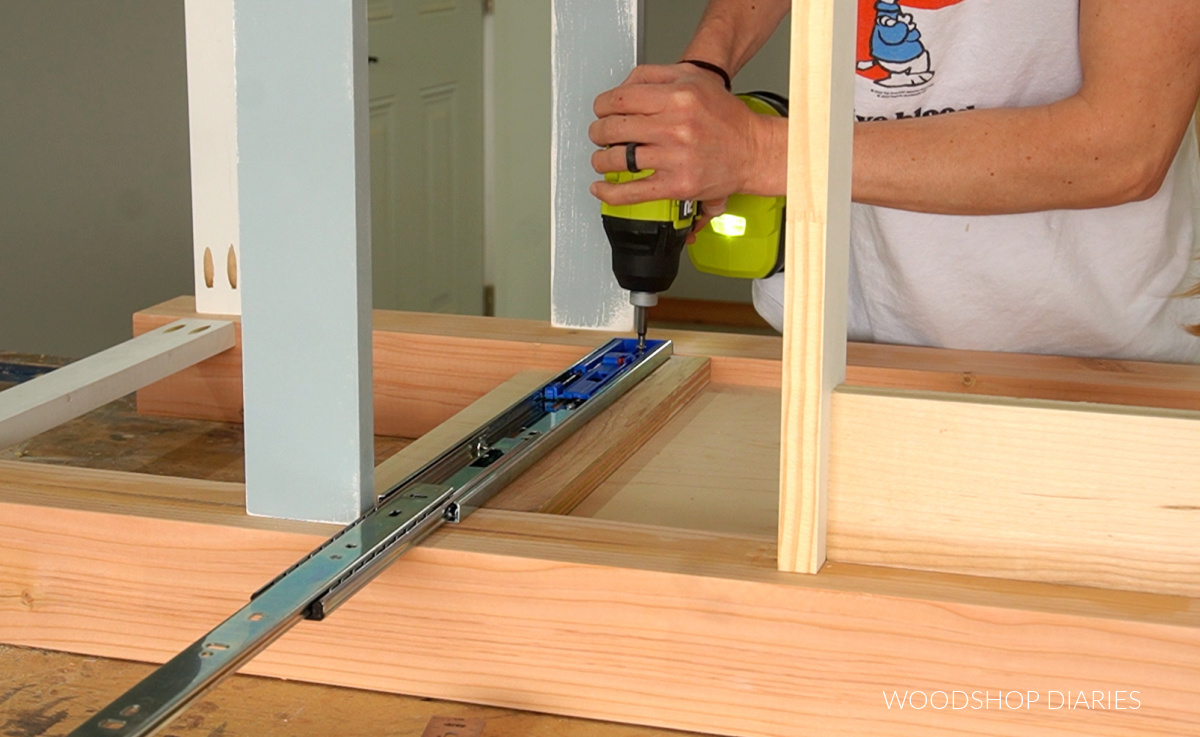
I installed the slides 1 ½″ inset from the front edge of the vanity. Once the supports and slides were in, I could move on to adding the drawer(s).
Step 3: Assemble Bathroom Vanity Drawer Box
Adding drawers under a sink can be tricky because you have to make sure the drawer won’t interfere with the plumbing and pipes.
I took a look at the existing plumbing in the bathroom this was going into and thankfully, it was all pretty close together and centered, so I could build a drawer box to kind of fit around it.
I cut ¾″ plywood to make a “U shaped” drawer box. I carefully laid out my pieces and marked where to drill the pocket holes so I didn’t get confused.
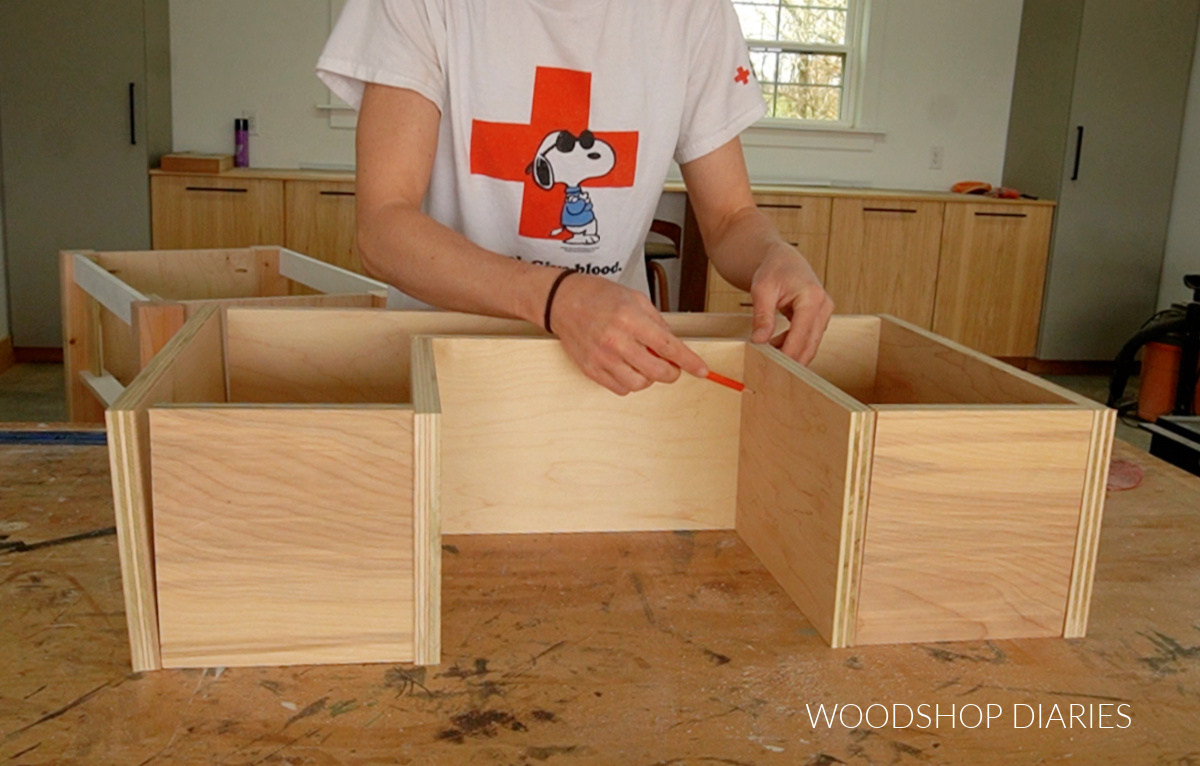
After drilling the pocket holes, I assembled this box using pocket hole screws, then cut a piece of ¼″ plywood the overall size of the box.
I laid the drawer on top of it and traced out the shape. Then, I used a jig saw to cut out the opening.
Then, I glued and nailed this plywood piece onto the bottom of the drawer box.
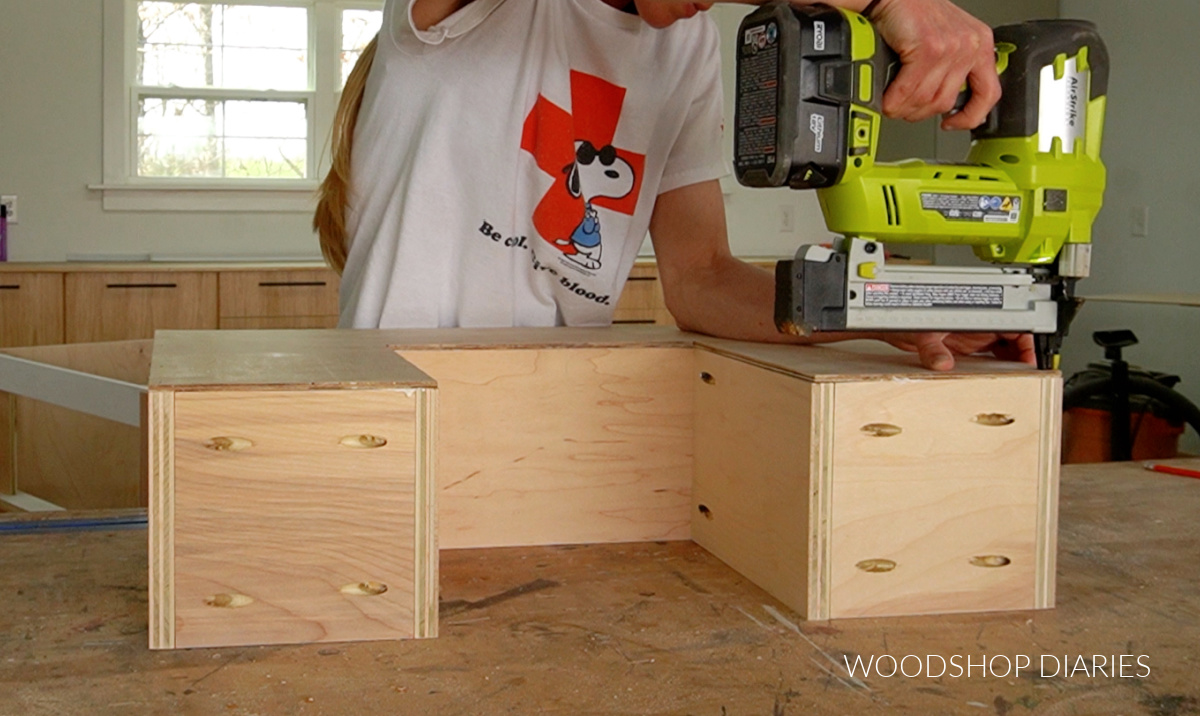
TIP: Check your plumbing set up to determine how much space you need behind the drawer box for the drain and water lines before building your drawer.
Step 4: Install Drawer & Drawer Fronts
After the drawer was assembled, I installed it into the vanity. I removed the part of the slides that mounts to the drawer and screwed it into each side of the drawer.
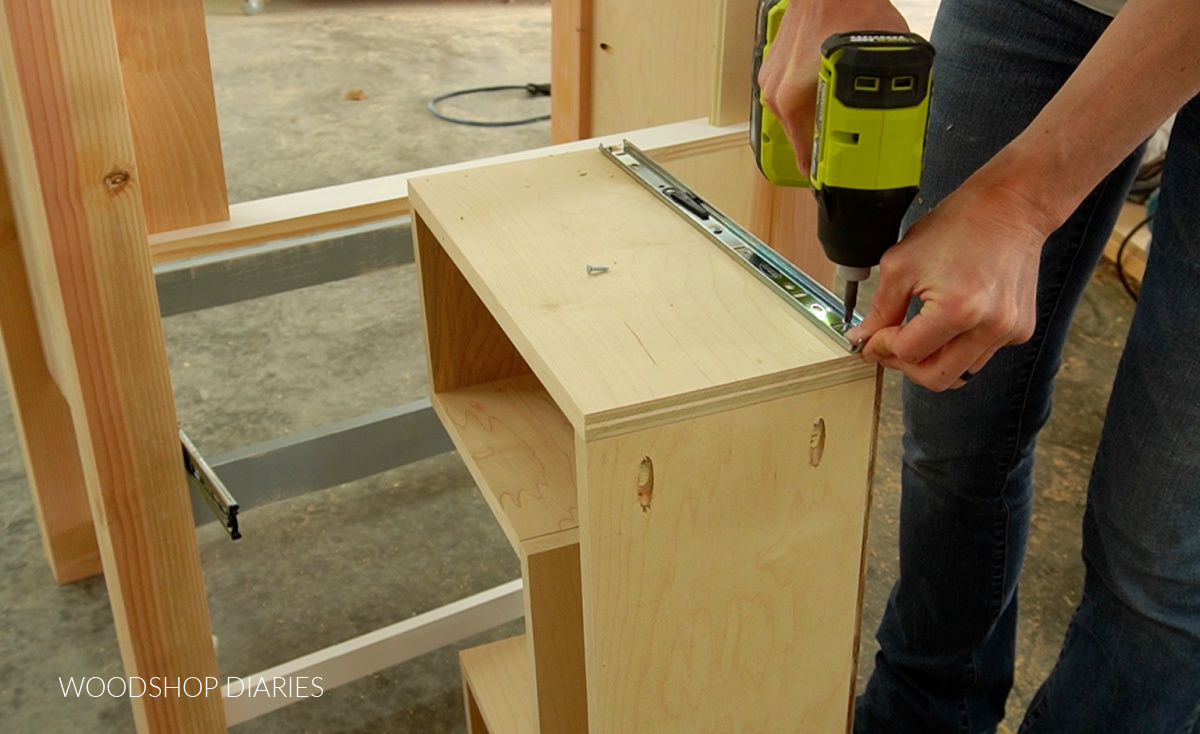
But there are also other ways to install a drawer box. Check out how to install drawer boxes onto drawer slides here.
Then, I slid the drawer box into the vanity and it was ready for the drawer fronts.
These drawer fronts were cut from ¾″ plywood. I cut them ¼″ smaller in height and width than the opening so they’d have ⅛″ gap around all sides once installed.
Apply iron on edge banding if you’d like–it makes the plywood edges look nice and clean! Learn how to apply edge banding here.
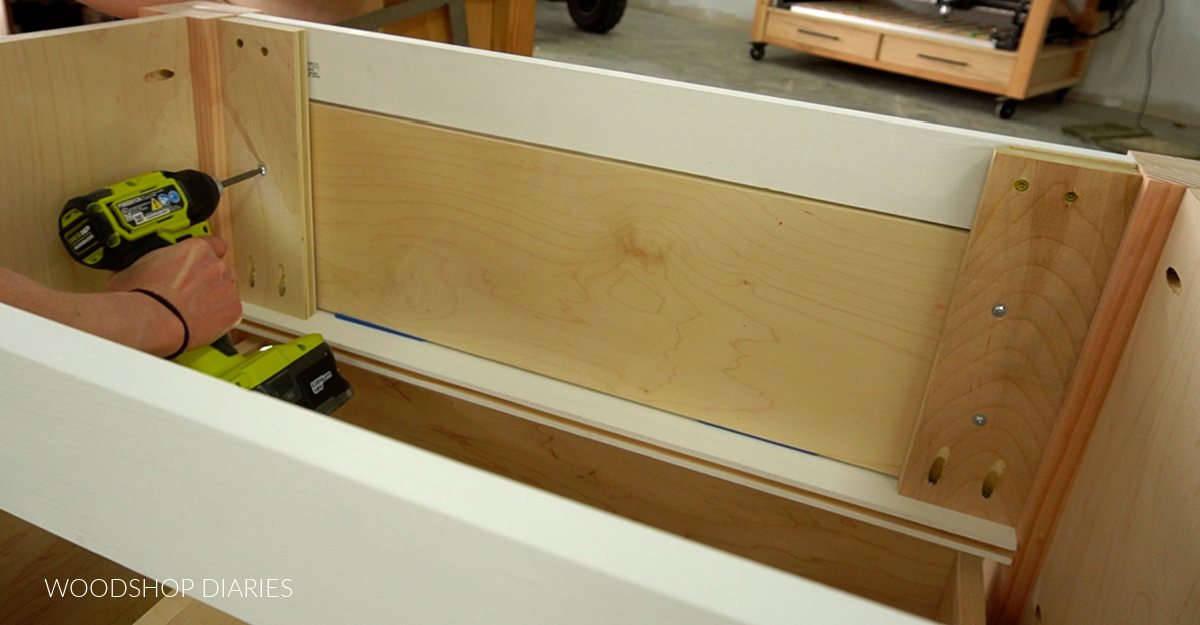
Then, I installed the top drawer front to the supports from step 2 using 1 ¼″ screws from the inside (make sure to leave ⅛″ gaps on all sides!)
I secured the bottom drawer front to the drawer box using 1 ¼″ screws from the inside making sure to leave ⅛″ gaps around all sides.
Step 5: Add Trim
Adding some extra trim is completely optional, but it dresses it up a little. I glued some ¼″ thick x 1 ½″ wide lattice trim along the front 1x3s–above and below the drawers.
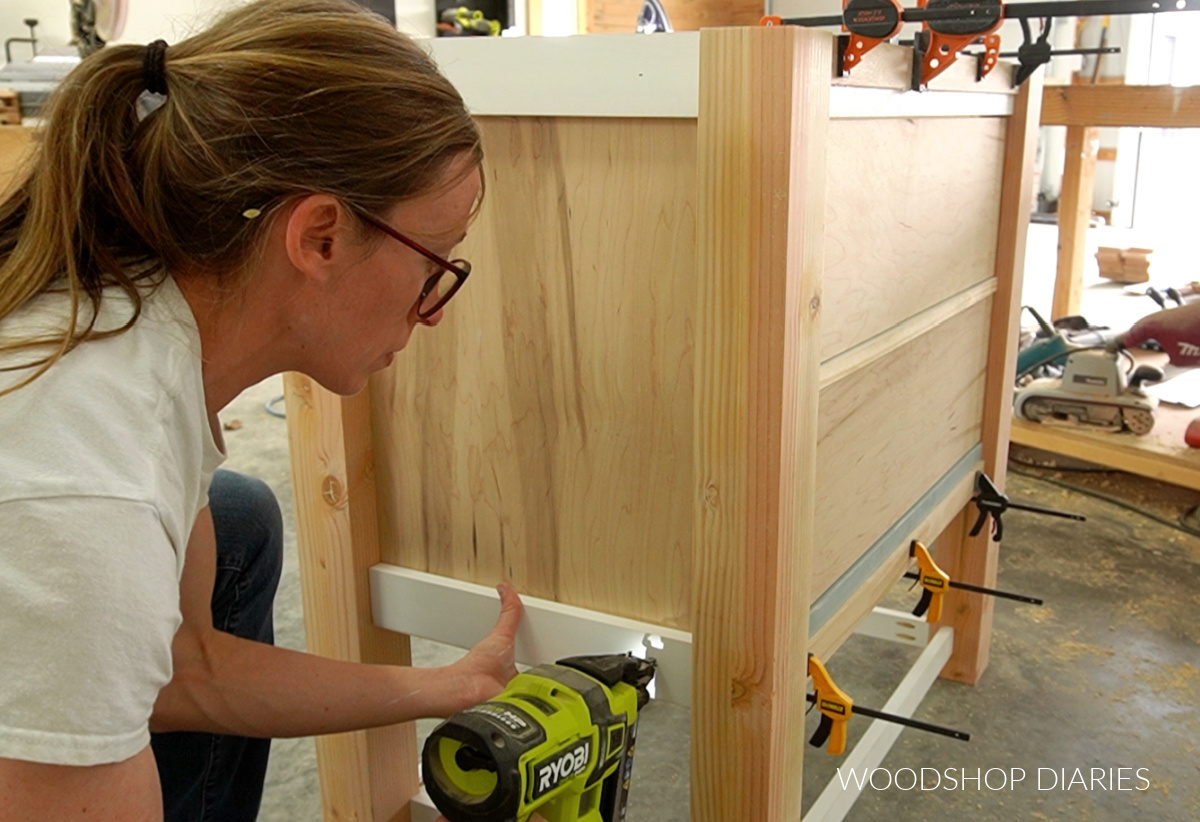
Then, I cut some 1×3 boards to line the top and bottom of the side panels on each side. I glued and brad nailed these pieces in place and allowed to dry.
Step 6: Cut & Install Shelf Slats
The last part of the project was adding the shelf slats! If you wanted a solid shelf, you could cut and install a piece of plywood in here instead, but I opted for slats.
I cut 7 pieces of 1×4 to line the 1×2 supports at the bottom. But I notched out the far left and right pieces on the front and back so they fit around the legs a little.
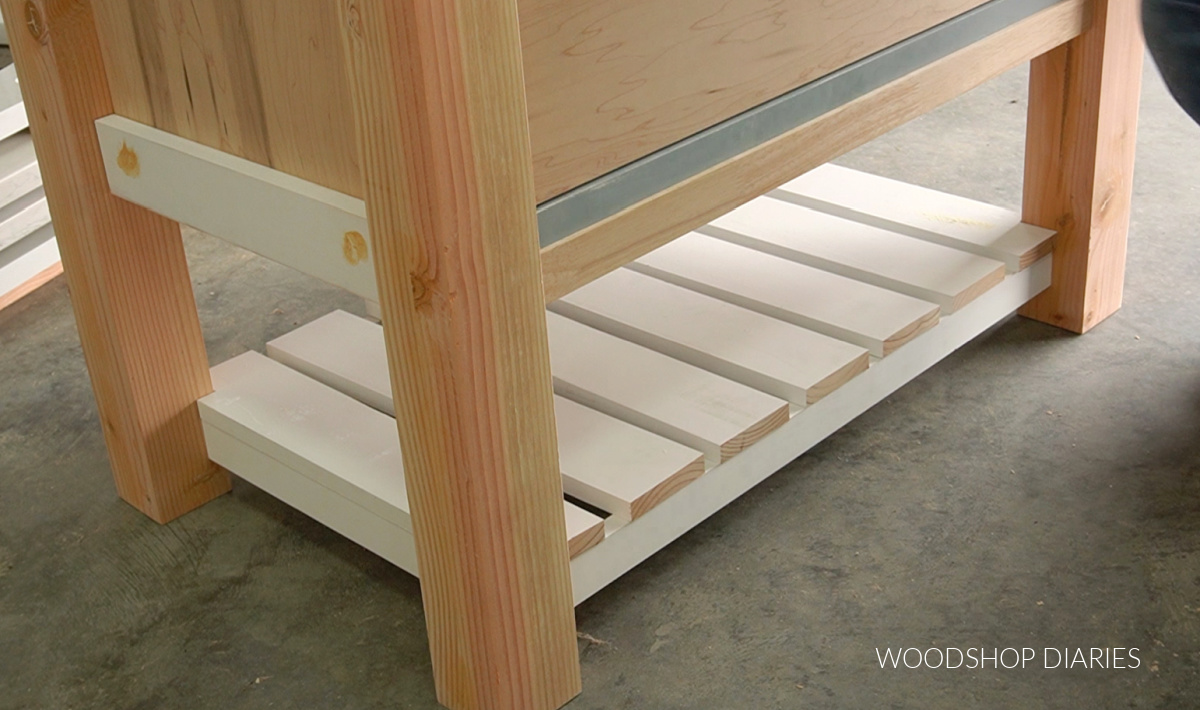
After making sure everything fit, I went ahead and painted these slats and the vanity separately. I figured it would be a PAIN to try and paint between all the slats after they were attached.
RELATED: How to paint DIY furniture
I primed and painted the vanity and the slats in SW Stardew and allowed to dry overnight.
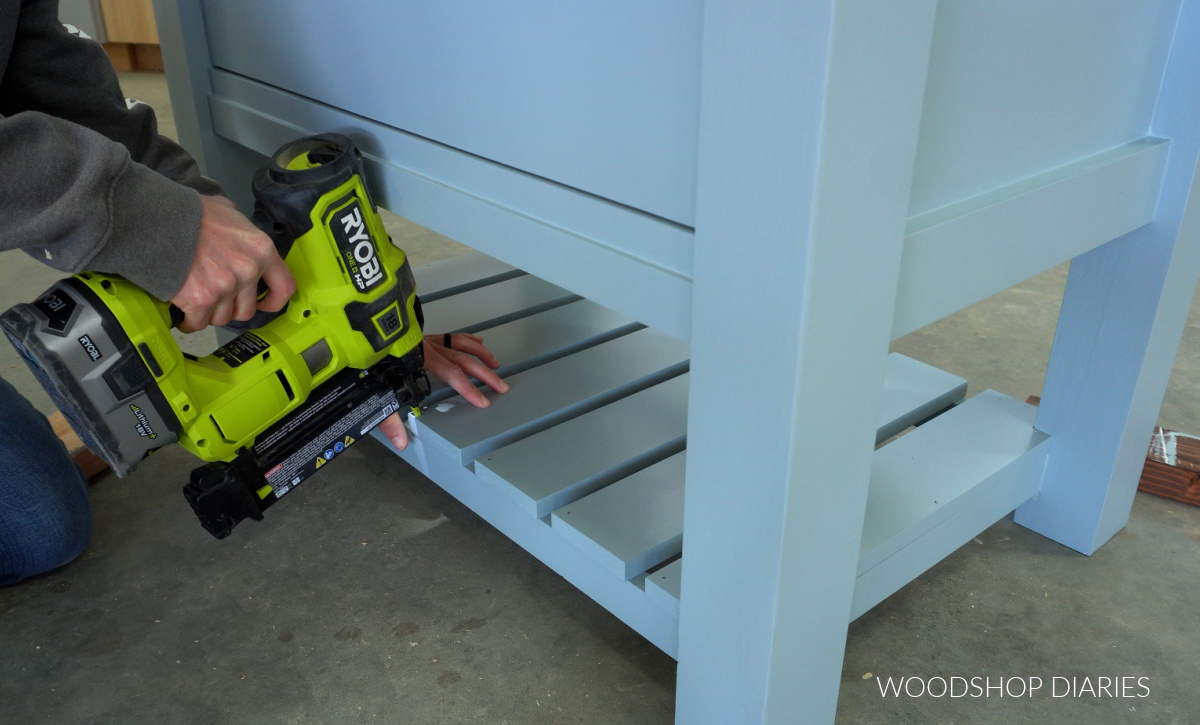
After it was painted, I spaced out the slats out and brad nailed them in place.
Prefer to print? Grab the printable plans with all the dimensions, diagrams, and cut list here.
Step 7: Finish & Install Vanity
To finish up, I added drawer pulls to the drawers, and now it’s ready to install!
This obviously isn’t shown in the actual bathroom–it’s so small, it was hard to photograph.
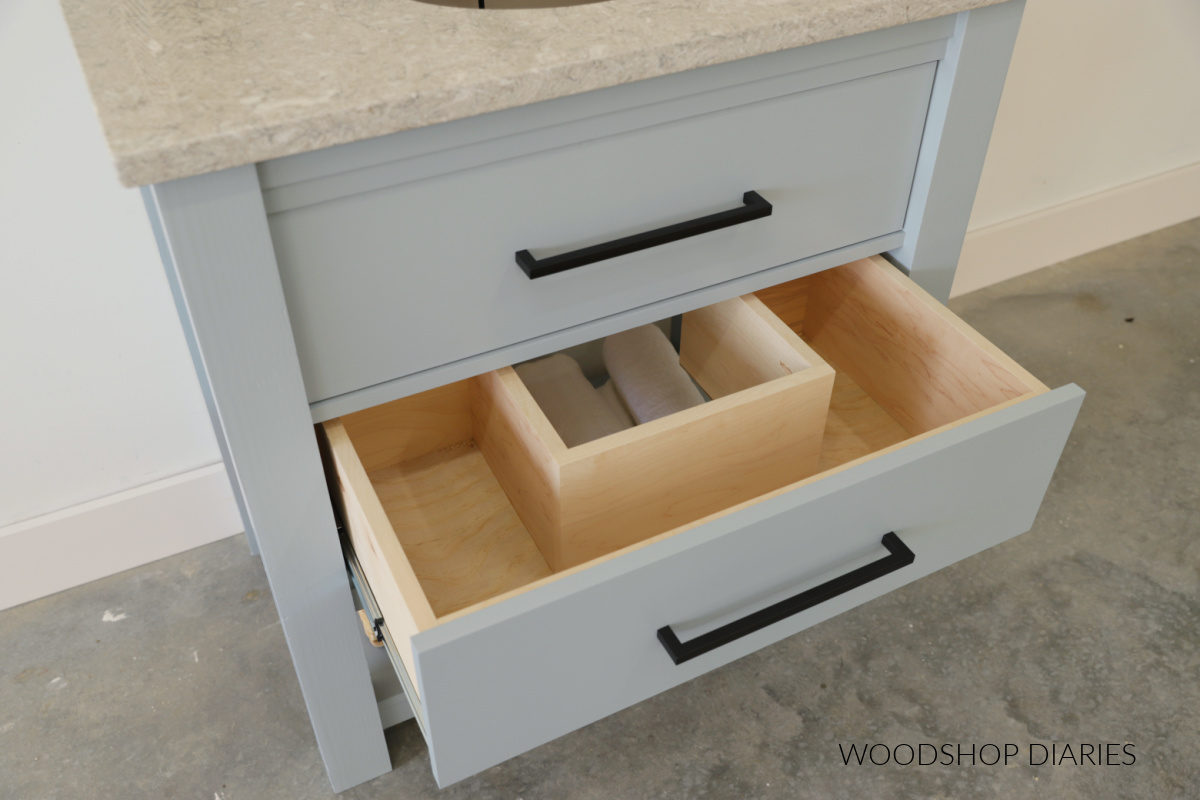
But, once we are ready to install, I’ll place the vanity where it’s going, level it with shims, then use 2 ½″ long screws through the back 1×3 supports and into the wall studs.

Then we can add the granite top, sink, and faucet and it’ll be ready to use!
Tips on vanity installation
Make sure to secure the vanity into at least two wall studs. Be careful when driving screws into the wall studs as there will be plumbing behind the walls and you don’t want to nick anything.
Make sure the vanity is level before attaching the countertop. Follow manufacturer’s instructions for installing countertop, sink and faucet to vanity.
Learn how we installed a granite top to a previous vanity build here.
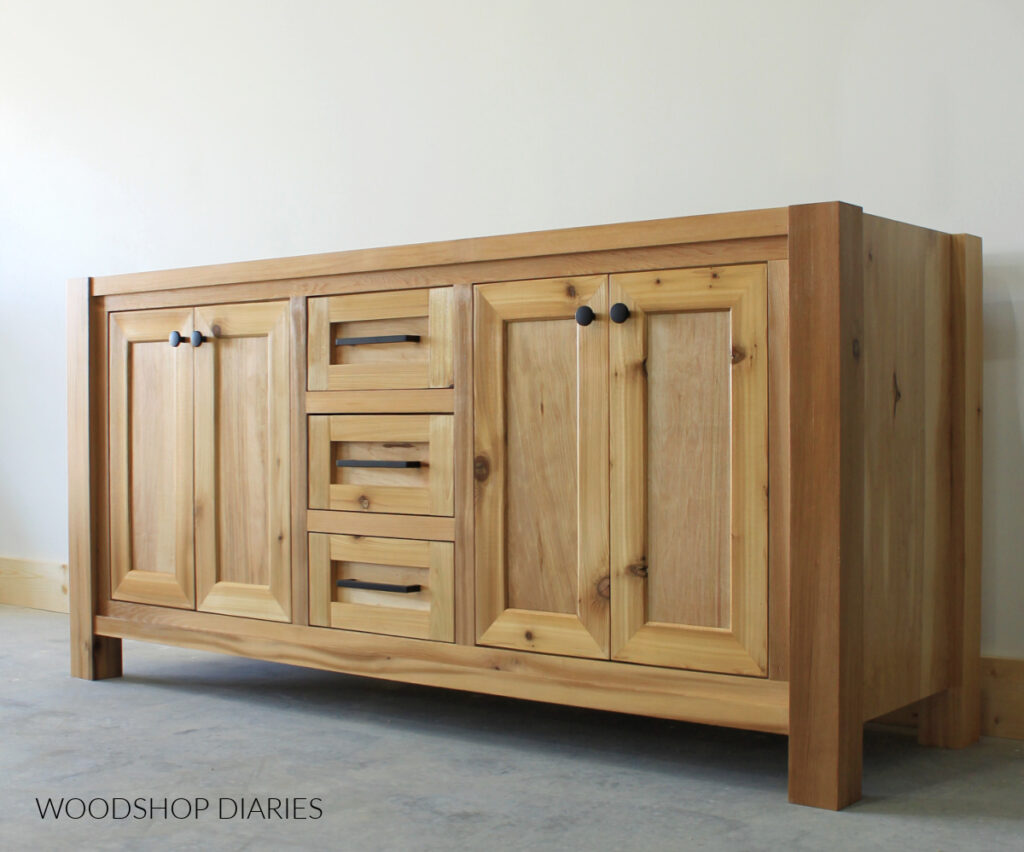
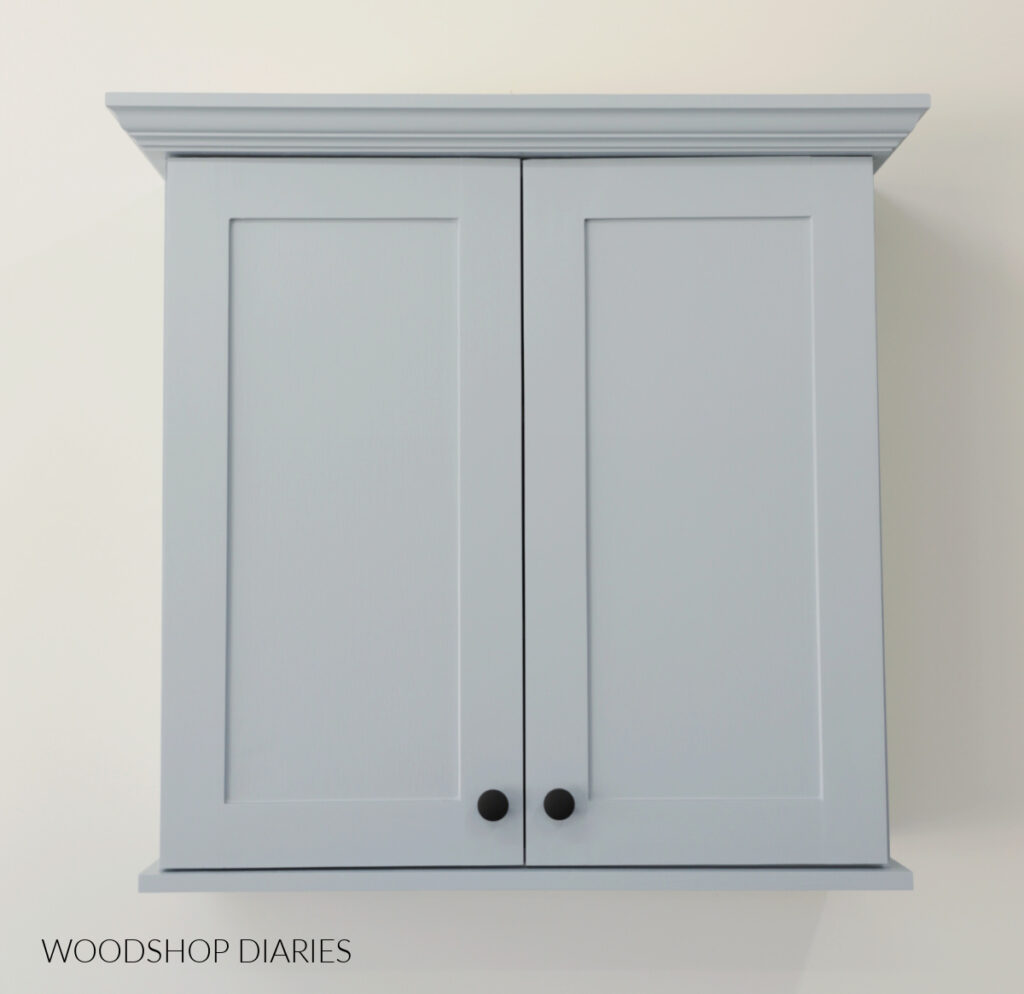
More Bathroom Project Inspiration
Looking for more bathroom project ideas? Here are a few you might enjoy!

Enjoyed this project and want to save it for later? Don’t forget to pin it or share to your favorite social channel!
Until next time, friend, happy building!


