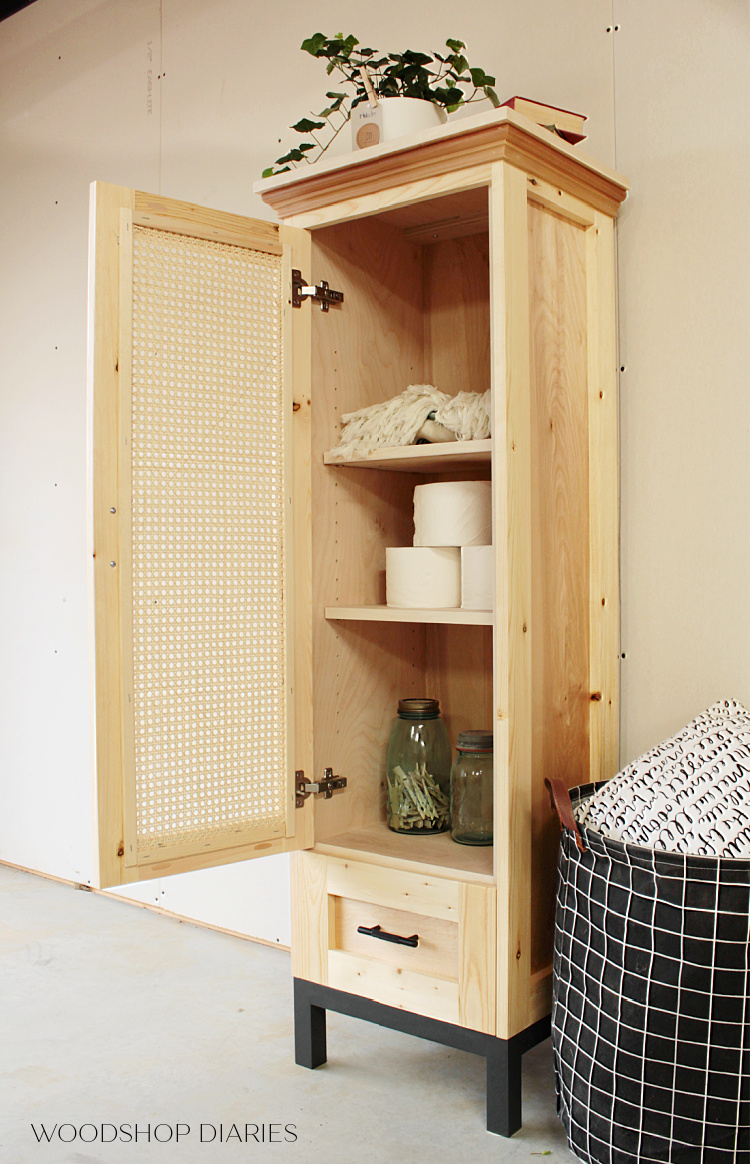
In this post, I’ll show you how to build this DIY cane linen cabinet!
This post is sponsored by Kreg Tool and contains affiliate links. See policies.
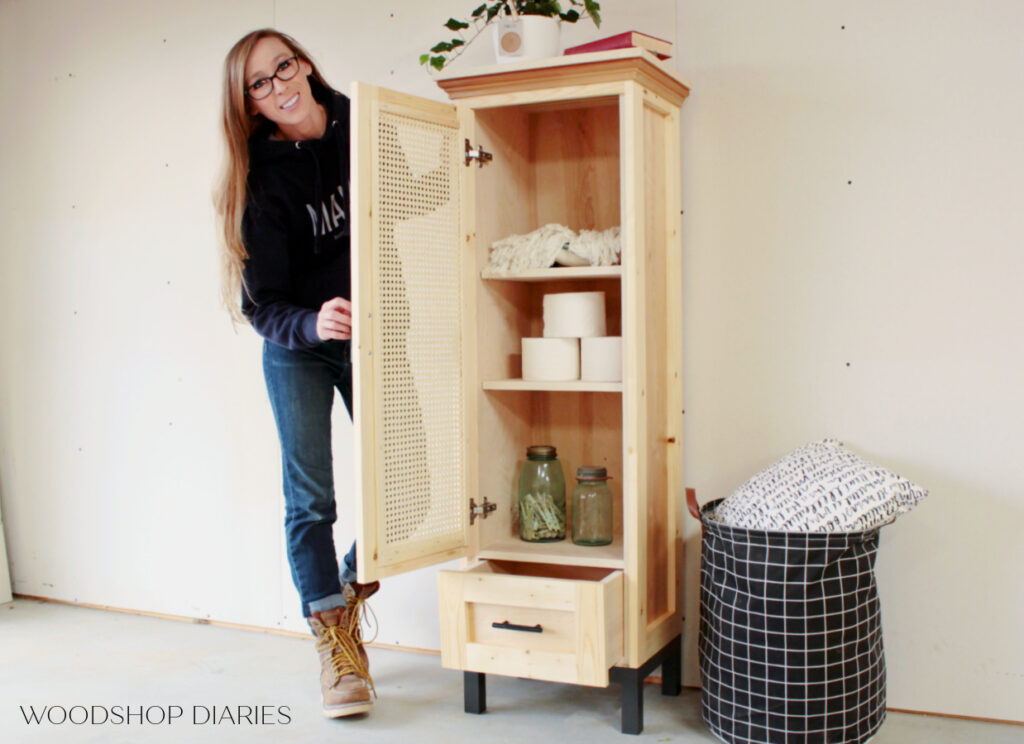
For whatever reason, I’ve been obsessed lately with tall, skinny cabinet designs. Nothing fancy, just simple storage cabinets that don’t take up a large footprint.
.
I’ve built a few before, but they were all on the larger scale. And while I had a break between some bigger projects I’m working on, I thought this smaller version would be a fun build I could enjoy making for myself.
.
Plus, I’ve had this cane webbing in a drawer in my shop for well over a year just waiting for a project to use it on.
So clearly, this seemed like the perfect project to tackle this week 😊
.
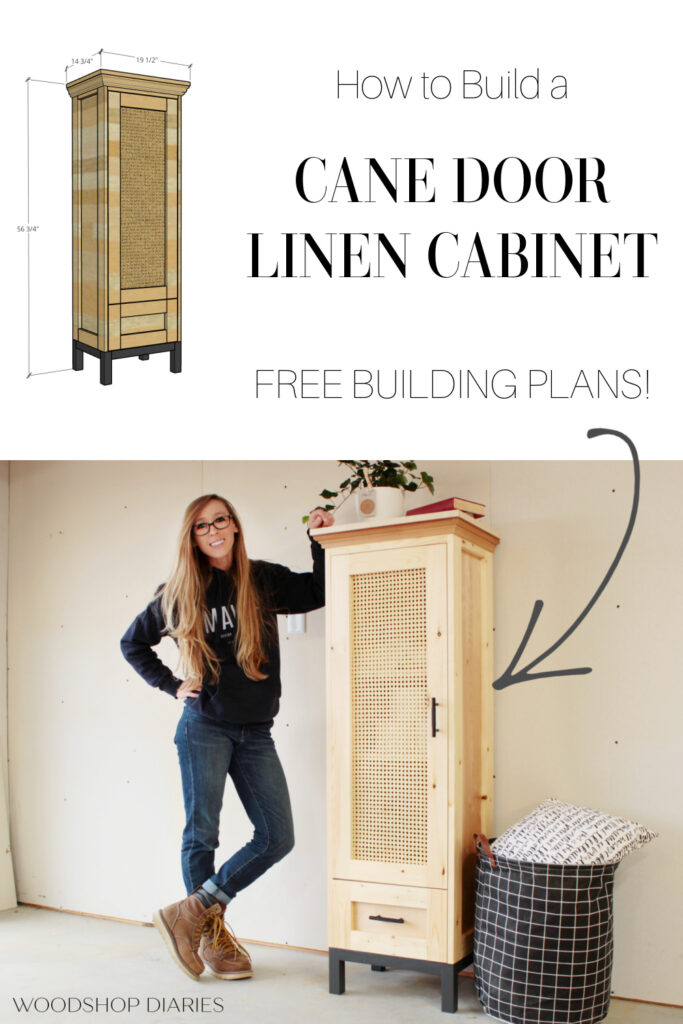
I’ve partnered with my friends at Kreg Tool to provide the building plans for free here if you’d like to build one, too and I’ve got the video and additional info on it below:
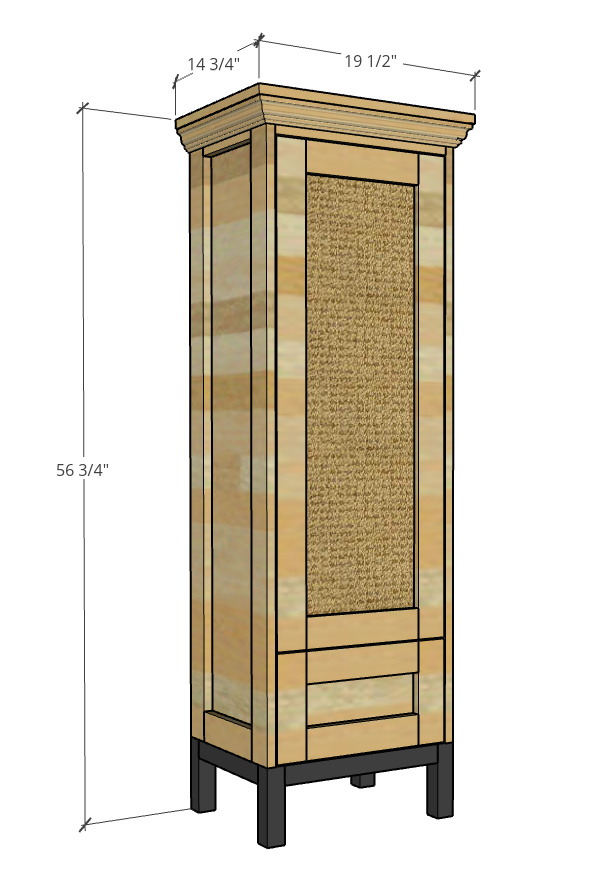
Overall Dimensions and Additional Info:
If you’ve seen many of my projects or videos, you probably notice that I use a lot of plywood. Since this was a fairly small project, I was able to utilize several of my scraps.
.
However, if you don’t have a shop full of scraps, I have provided a cut diagram in the plans for how to cut these pieces from a full sheet.
For this Linen Cabinet Build, You Will Need:
Materials:
- (1) 2x2x8 board
- (1) Full sheet ¾” plywood
- (1) Full sheet ¼” plywood
- (5) 1x3x8 boards
- 4 ‘ piece small crown molding
- APPOX 18” x 36″ piece cane webbing (trim to fit)
- (1) ¼” x ¾” x 8′ lattice trim (optional)
- (1) pair full overlay concealed hinges for frameless cabinets
- 2″ wood screws
- 1 ¼″ pocket hole screws
- 2 ½″ pocket hole screws
- Shelf Pins
- Edge Banding (optional)
Tools:
- Circular Saw
- Kreg Rip Cut (optional)
- Miter Saw
- Kreg 720 Pocket Hole Jig
- Kreg Shelf Pin Jig
- Kreg Concealed Hinge Jig
- Drill
- Staple gun
- Nail gun
Step 1: Assemble Linen Cabinet Box
I used my circular saw to cut down my plywood pieces to build the main box of the cabinet.
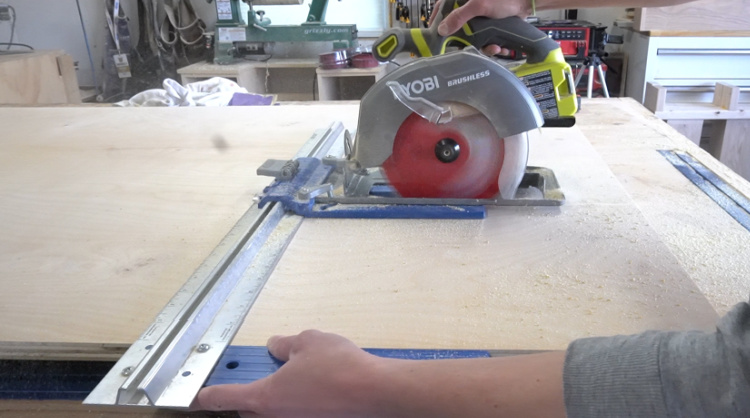
RELATED: Check out this post for how to cut plywood accurately with a circular saw!
.
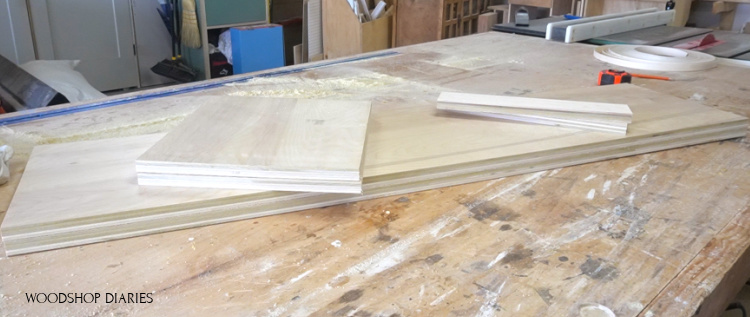
I cut two long side panels, two small middle panels and two scrap plywood strips to build the cabinet carcass.
Before assembling anything, I applied iron on edge banding to the front edge of the sides and middle panels as these edges will be exposed in the finished project.
.
Edge banding is always an optional step, but does look a little cleaner, so I like to add it.
RELATED: Check out this post for how to apply iron on edge banding!
.
Once the edge banding was on and the pieces were sanded smooth, I brought out my Kreg 720 pocket hole jig to drill pocket holes to assemble the cabinet.
RELATED: Check out this post to help you decide which pocket hole jig is best for your shop!
I drilled holes along the edges of the two middle panels and into the ends of the two plywood strips as well.
RELATED: Learn how to use a pocket hole jig in this post!
.
Then, I assembled the cabinet carcass using pocket hole screws. You can use glue here as well if you want.
.
I put the thin strips at the top, and the solid panels at the bottom. Just a note: you could use a solid piece for the top, I was just saving wood.
I installed my second middle panel 7 ½” up from the bottom.
Once the cabinet was together, I went ahead and used my shelf pin jig to drill shelf pin holes along the cabinet sides to install adjustable shelves later.
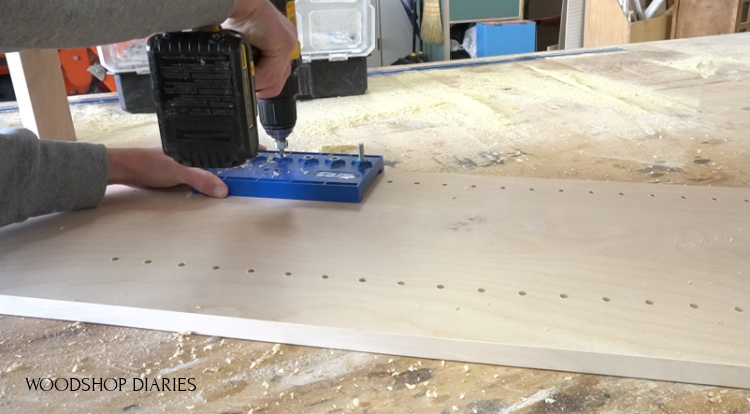
RELATED: Check out the shelf pin jig in this list of 10 must have tools for cabinet building!
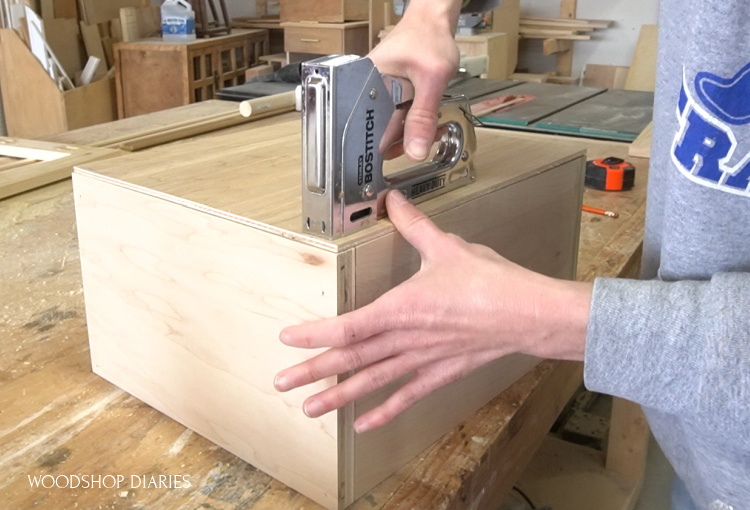
Step 2: Add Back Panel to Linen Cabinet
Then, I cut a ¼″ plywood panel to fit over the back and stapled it in place.
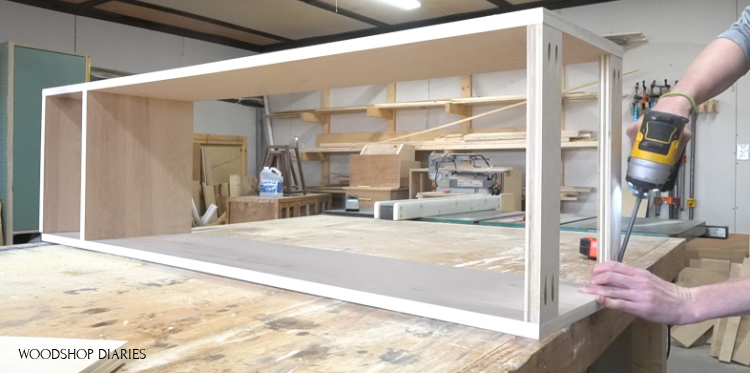
Step 3: Trim Out the Sides
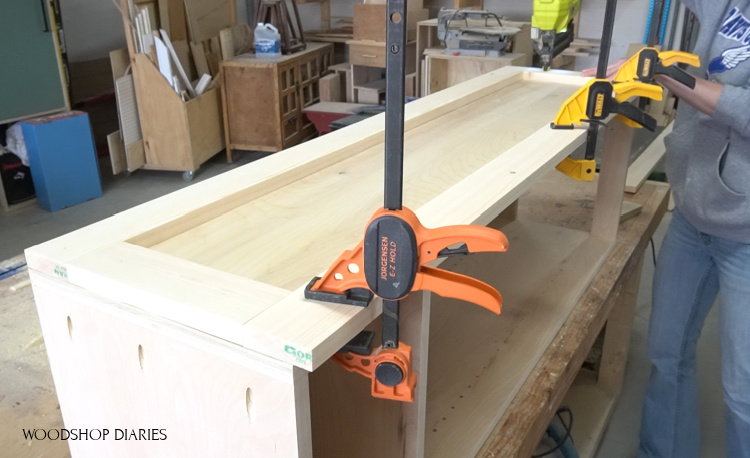
Now it was time to dress the cabinet up a bit. I trimmed out the side panels with 1×3 boards just to add some detail.
.
I applied some glue and clamped the piece onto the front first. I wanted these pieces to hang over the front edge of the cabinet ¾” so that the door would sit inside this section flush across the front.
.
I used a scrap piece of wood to get this piece positioned correctly and clamped in place. Once it was in place, I could use brad nails to secure it.
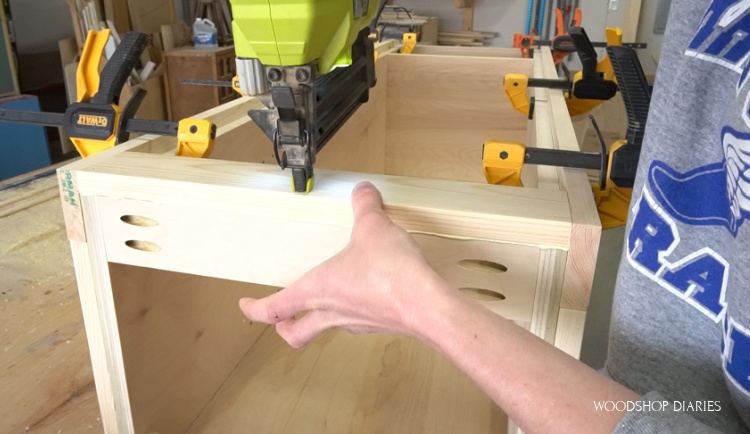
Then I glued and nailed in the rest of the pieces on the back edge, top and bottom.
.
I did this on both sides and then added one more piece at the top on the front side as well.
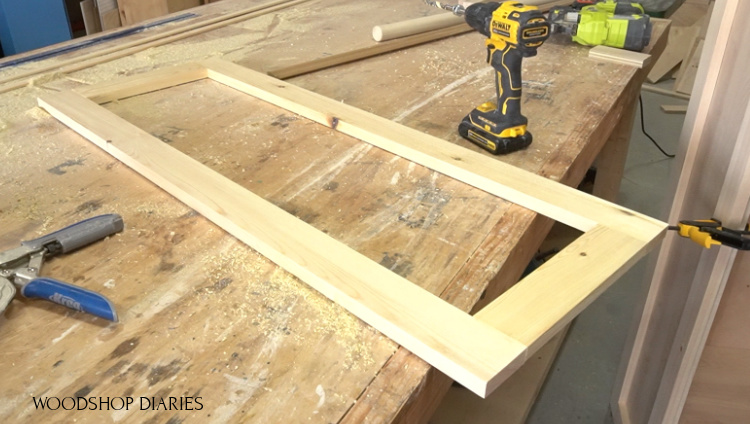
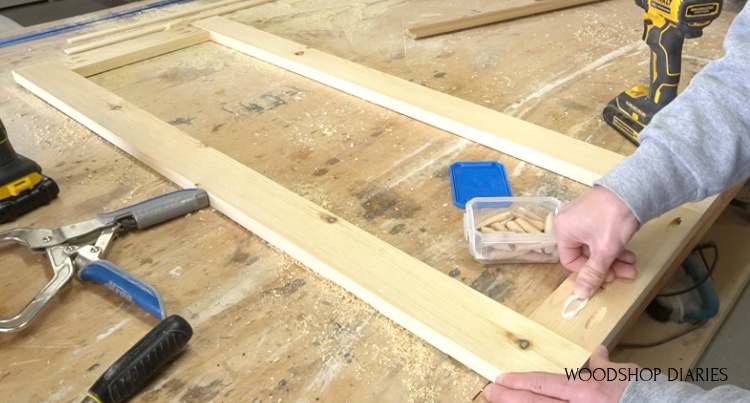
Step 4: Build Cabinet Door Frame
Next, I cut the 1×3 pieces to make the door frame. Don’t forget…All the measurements for this door and the entire build can be found in the plans here.
.
I used wood glue and pocket hole screws to assemble the door frame.
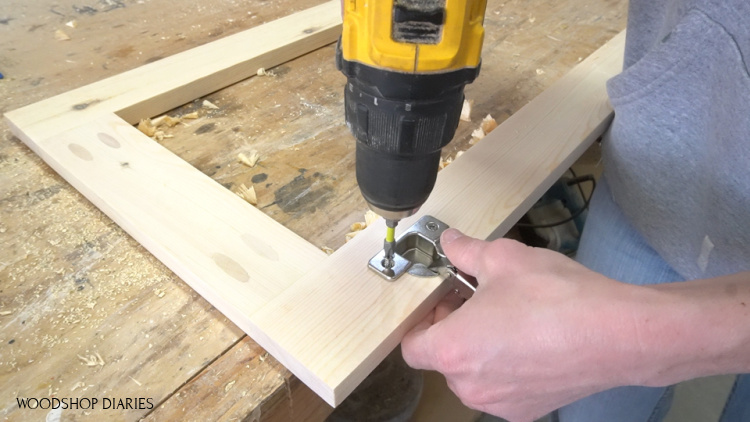
You don’t have to do this step, but I wanted to hide the holes, so I used some wood glue to glue pocket hole plugs into the holes on the frame.
RELATED: Check out this post for 4 ways to fill a pocket hole!
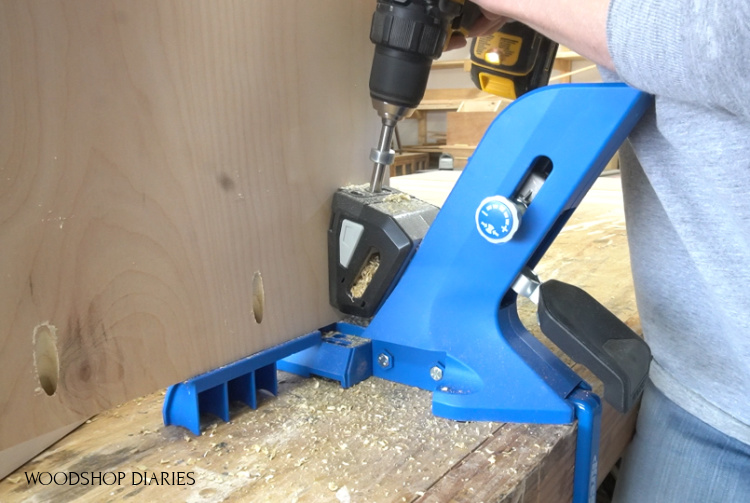
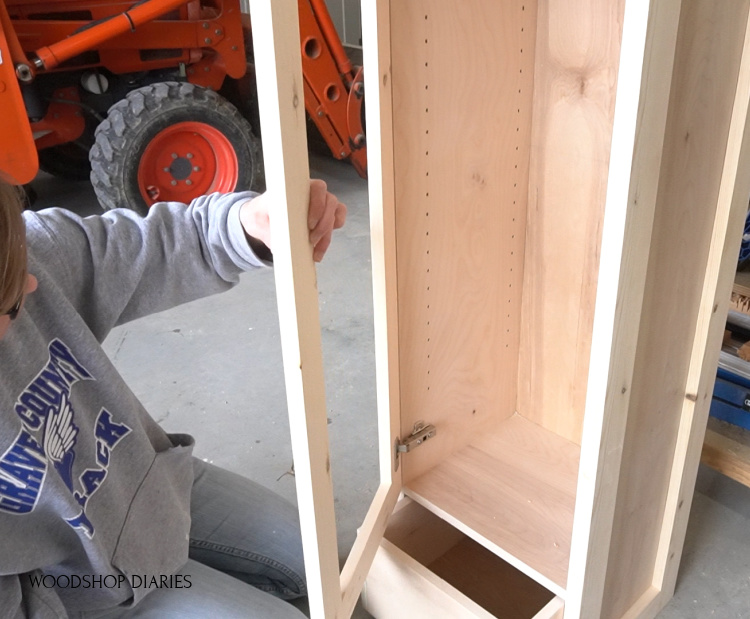
After the glue dried on the plugs, I gave it a good sanding and used my concealed hinge jig to drill cup holes for full overlay hinges for frameless cabinets.
I screwed the hinges in place on the door, then installed it onto the cabinet. I removed the door later to install the cane panel, but for now, I moved on to the rest of the build.
.
RELATED: Check out this post for how to install and adjust concealed cabinet hinges!
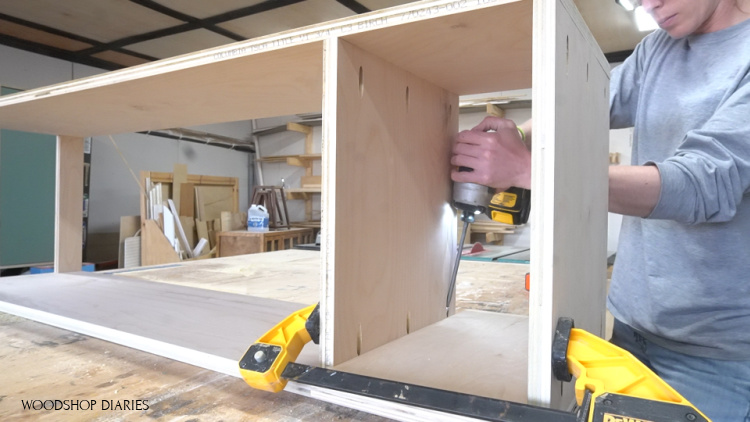
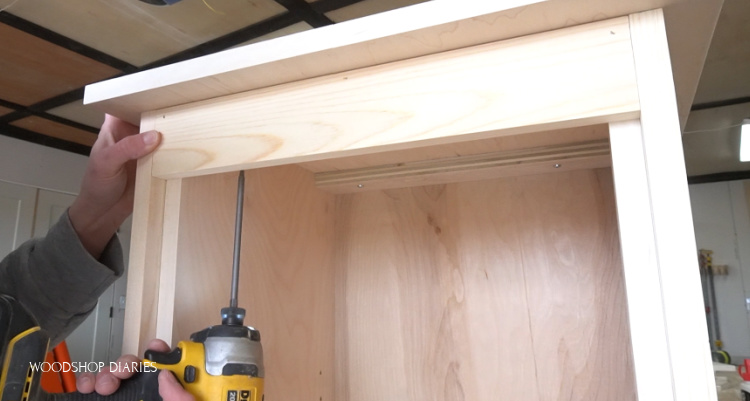
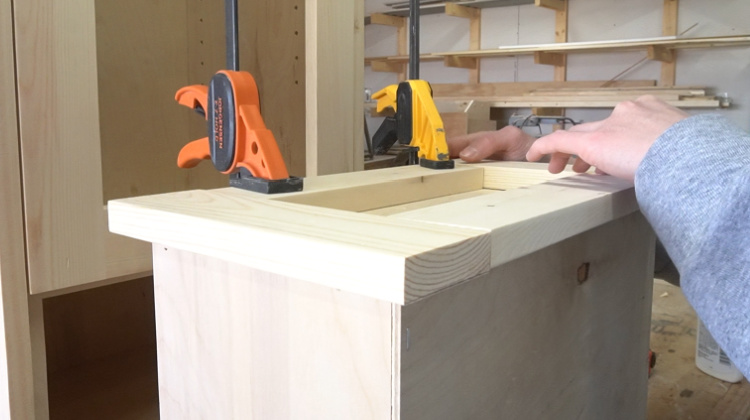
Step 5: Attach Top Panel to Linen Cabinet
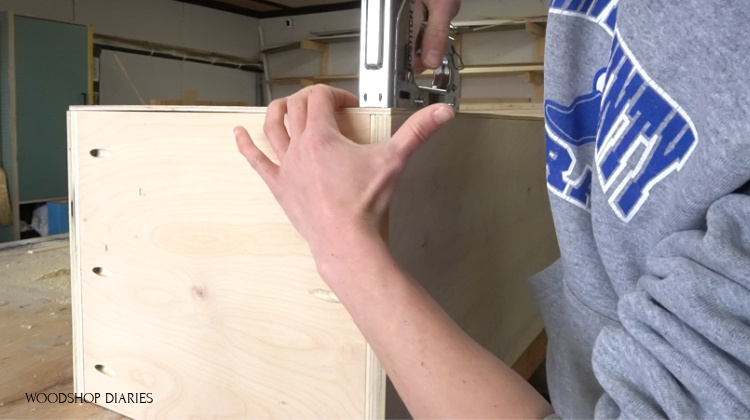
I cut my top panel from ¾″ plywood so that it would overhang both sides and the front about 1 ¼″ to give me room to attach the crown molding later.
.
To cover the edges, I applied edge banding around the front and sides, then I centered it in place and used wood screws through the top supports to secure it.
Step 6: Build and Install Drawer Box
I cut the pieces to assemble the drawer box and applied edge banding to the top edges to cover the plys. Again, this is optional, I just think it looks cleaner.
.
Now, this is a tiny drawer and I felt that using regular drawer slides was a little overkill. So I literally just made this a box that slides into the cubby. Of course, if you prefer, you can definitely add slides.

That said, since this is such a small drawer, instead of my usual dadoes and pocket hole method, I just used wood glue and brad nails to assemble the box, then cut and stapled a ¼” plywood panel onto the bottom.
You can build them however you prefer, but whatever you do, leave a little wiggle room (about ¼″) on the sides to slide in and out. I learned that lesson the hard way 🙂 ha.
.
Just like for the door frame, I cut the 1x3s to use for the drawer front.
.
You’ll see in the video, I glued these pieces onto the drawer individually, but in hindsight, it would have been much easier to pocket hole join the frame together just like I did with the door and glue/nail it in place as one piece–so that’s what I recommend in the plans.
Step 7: Add Crown Molding
To give it a little decorative detail, I cut to fit crown molding along the top of the cabinet. I was at the mercy of whatever the lumber yard happened to have that wasn’t already primed, so I ended up with this poplar trim.
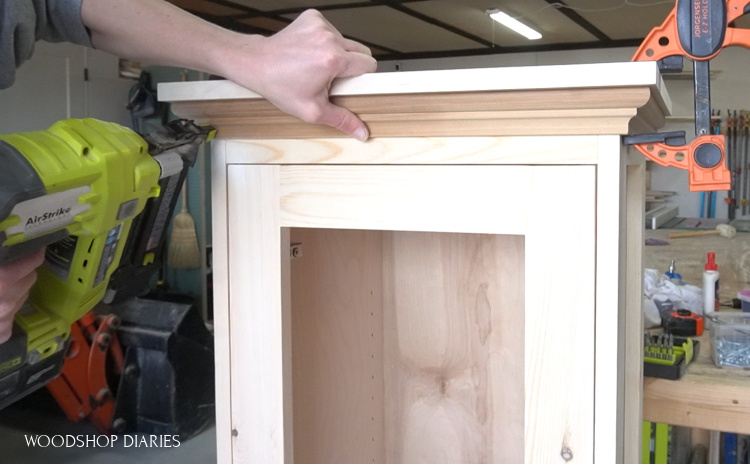
It’s a little darker than the rest of the cabinet, but it is what it is ha.
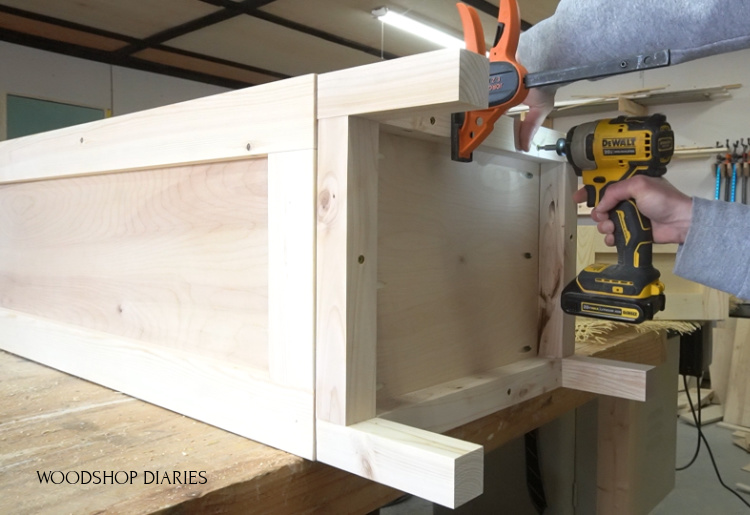
Step 8: Build and Attach the Base
I built the cabinet base from 2x2s and used pocket holes and screws to assemble it. I made this so that it fit the exact size of the bottom of the cabinet.
.
Then, I screwed it in from the bottom side.
Step 9: Finish and Install Cane Door Panel
Before applying any finish, I puttied all the nail holes and sanded well. Now, if you plan to stain or paint the door, it’s best to do so before attaching the cane.
.
I just gave my top cabinet a couple coats of clear poly and painted the base SW Iron Ore.
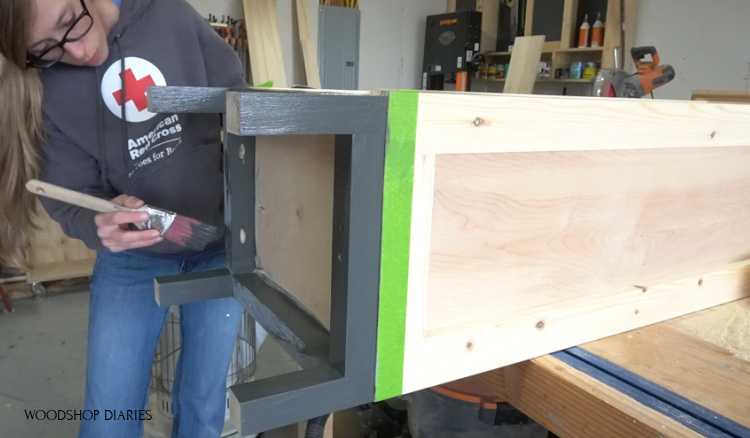
Before I painted the base, I removed the door from the hinges on the cabinet so between coats of paint, I could install the cane panel.
.
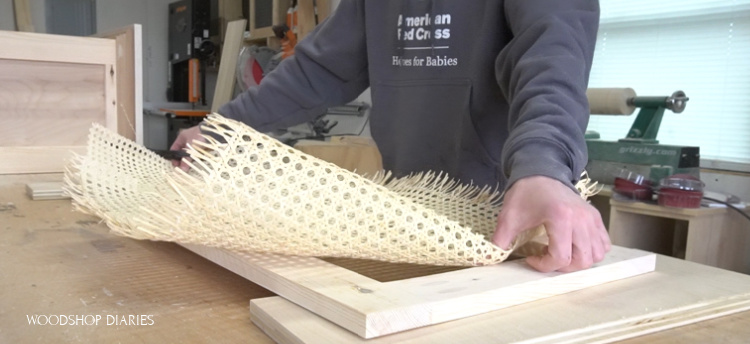
There are a lot of different ways to attach this cane and I tested out a few different methods on some test pieces before deciding to just keep it really simple and use staples.
.
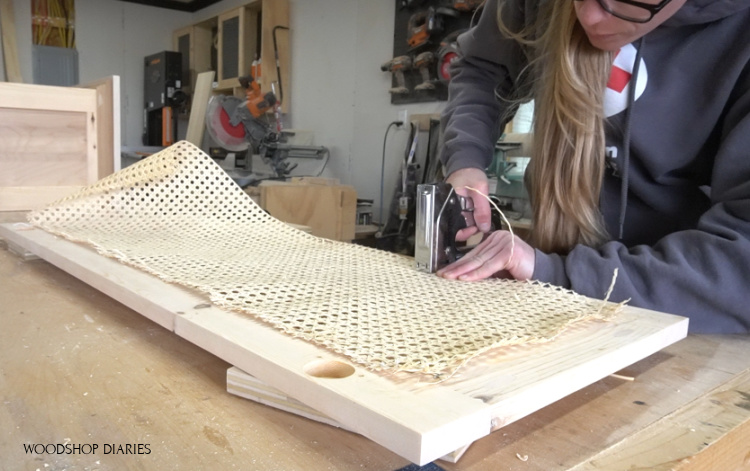
I bought my roll of cane webbing 18″ x 36″. So I centered the cane over the door opening and trimmed it down with scissors (regular general purpose scissors work fine) so there was about 1” overhang on each side of the opening.
Then, I used staples to secure it, slowly working my way down and pulling as tight as I could.
.
NOTE: Pulling as tight as I could still left some “waves” in the cane material. Nothing major, BUT…
.
If you want a tighter panel, you can try soaking your cane in water for an hour or so, then install it while it’s wet. Pull tight and staple, then as it dries, it will shrink some and pull itself tighter. This might help give you a tighter cane surface.
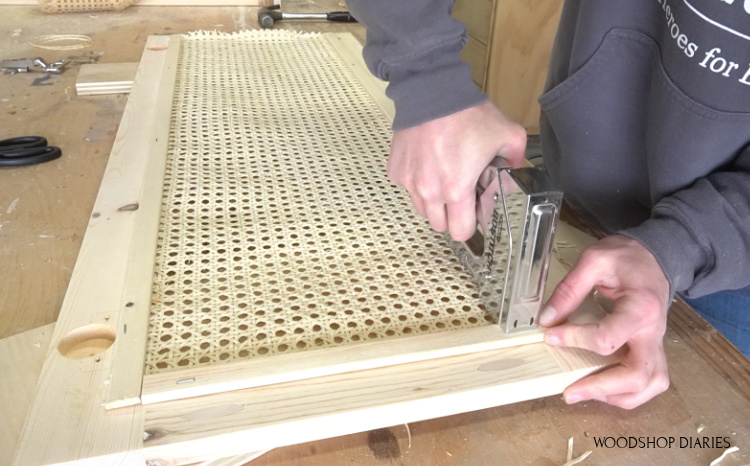
Once the cane was secure, I used some thin scrap strips (or you could also use lattice strips) to just cover the edges to help protect it from unraveling and just trim out the rough edges.
.
I just stapled these in place making sure not to place them where they will interfere with the hinges.
I installed the door back in place, gave the cabinet a few coats of poly, added some handles, and finally cut a couple plywood shelves to fit inside on shelf pins.
.
And it was finished.
If you wanted to add a small stop block to the piece above the drawer, you could, but I just left it as is.
.
This simple cabinet will be great for a small bathroom for a little extra towel storage or I could use it in an entryway to keep dog leashes, gloves, whatever.
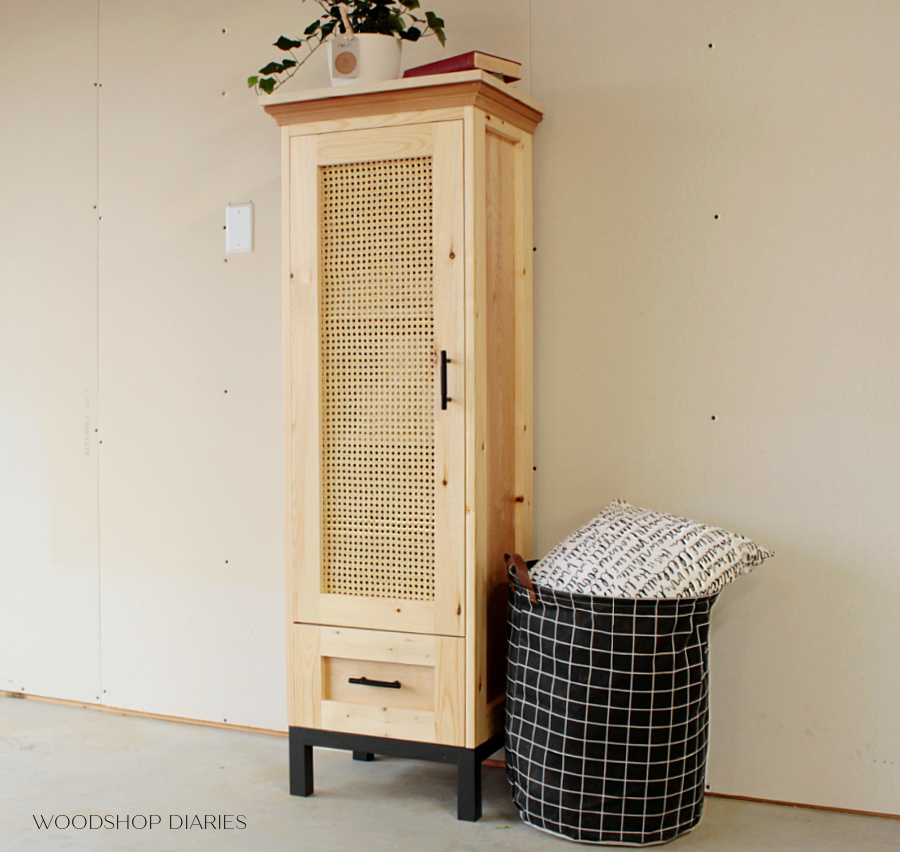
Honestly, I’m still deciding how I want to use it—I just build it first, and find a place for it later haha.
.
So I hope you’ve enjoyed watching this project as much as I enjoyed making it. And if you’d like to make your own, don’t forget to check out the free plans here.
.
Also, don’t forget to pin it!
And if you aren’t already subscribed to my newsletter, I’d love if you’d join along so you don’t miss out on all the projects coming next!
Until next time, friends, happy building 😊