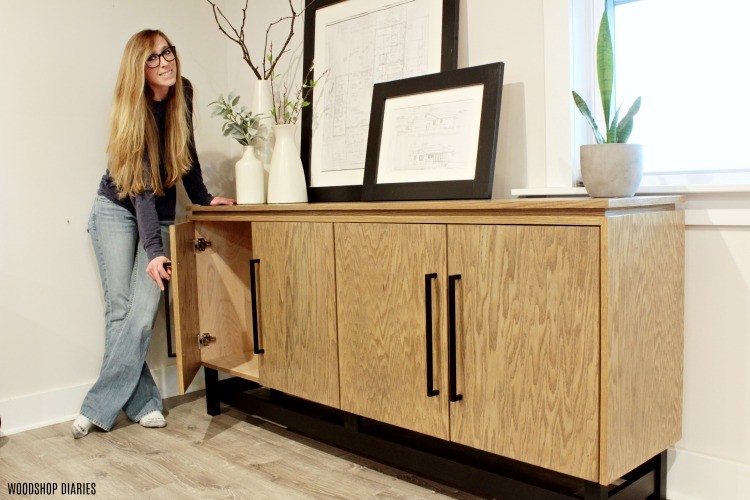
In this post, I’m sharing how to install concealed hinges to hang cabinet doors or add hinged elements to your projects!
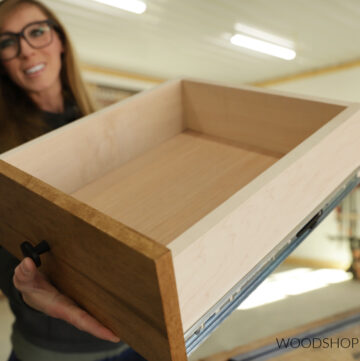
Doors and drawers are two of the most common elements to add into your cabinets and furniture projects.
Unfortunately, they’re also two of the most intimidating elements to add.
A lot of people will shy away from tackling a project that involves doors or drawers because they are not sure how to install them.
But installing cabinet doors is SUPER simple, especially when using concealed hinges (also referred to as European hinges).
Concealed hinges are my personal favorite to use for installing doors onto furniture and cabinets because they are hidden in the finished project, they’re inexpensive, and they’re easy to adjust for a perfect fit.
If you’re ready to learn how to install concealed hinges on your project, I’ll show you how below.
*This post contains affiliate links. See policies page for details.
What Tools Do You Need to Install Concealed Hinges?
Once the door is assembled–which is a whole other tutorial in itself–you only need a few basic tools to install the hinges and attach the door to the cabinet.
RELATED: How to build cabinet doors
To install the hinges and the door, you will need:
- Concealed hinge jig
- Clamp
- Drill/Driver
- Screwdriver
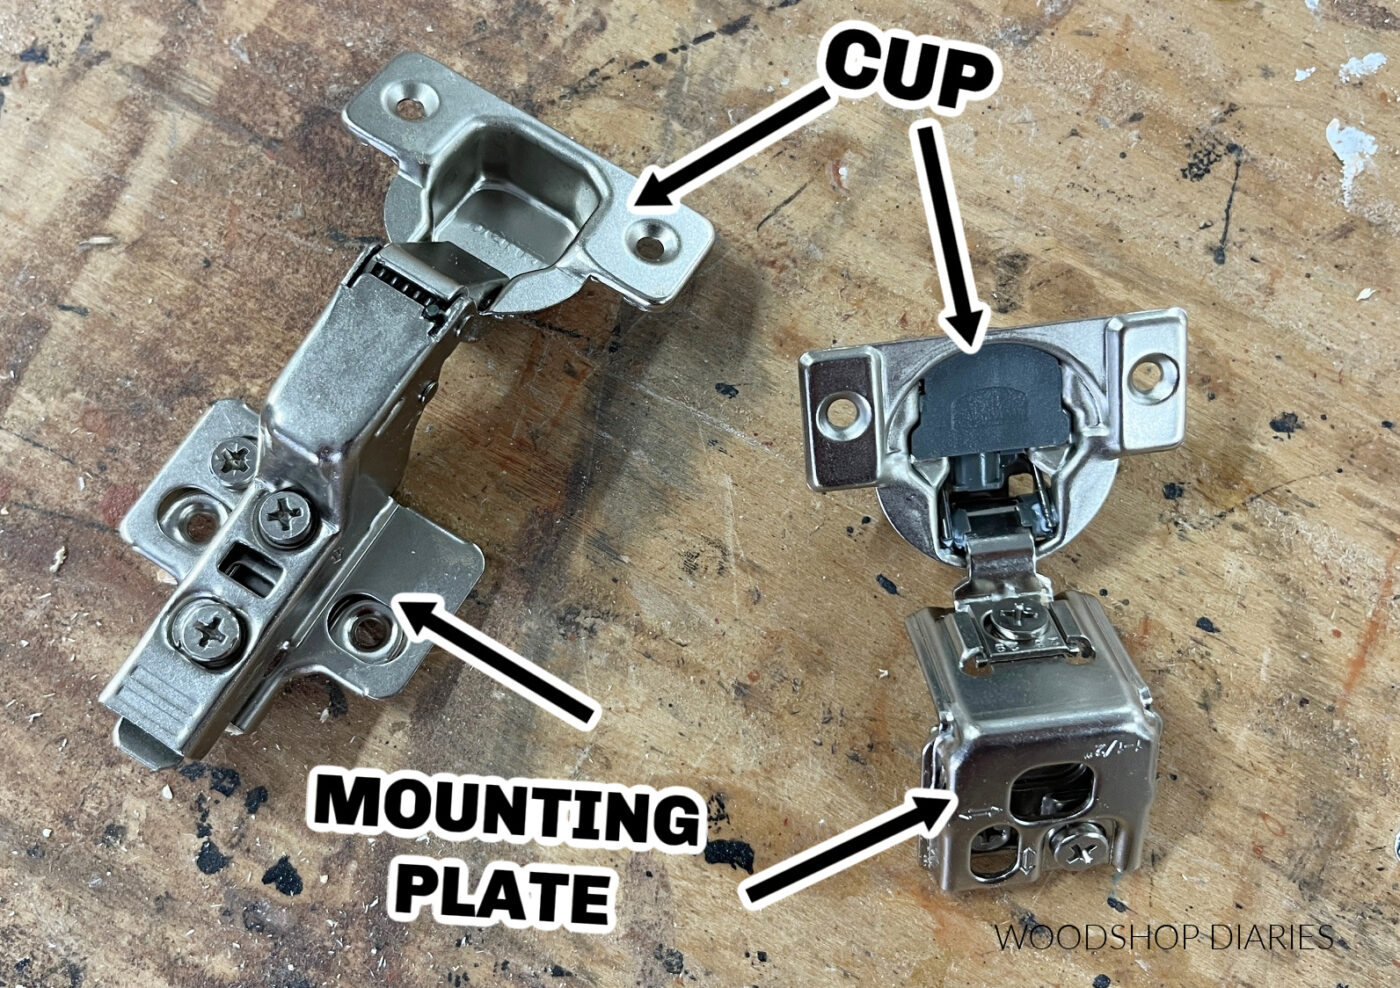
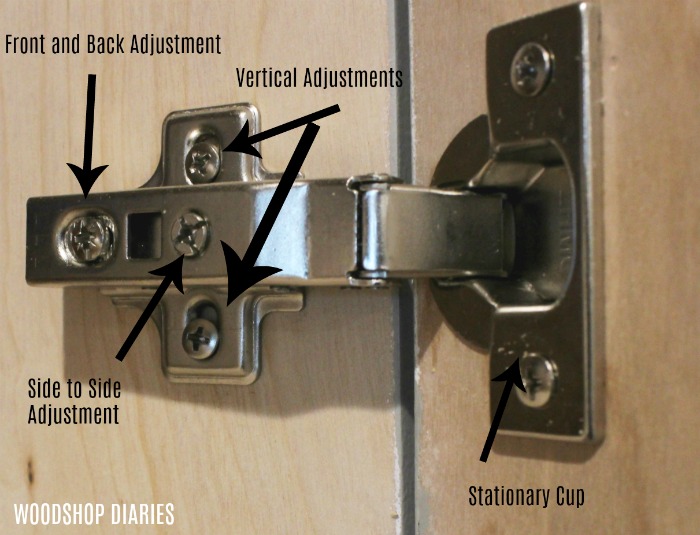
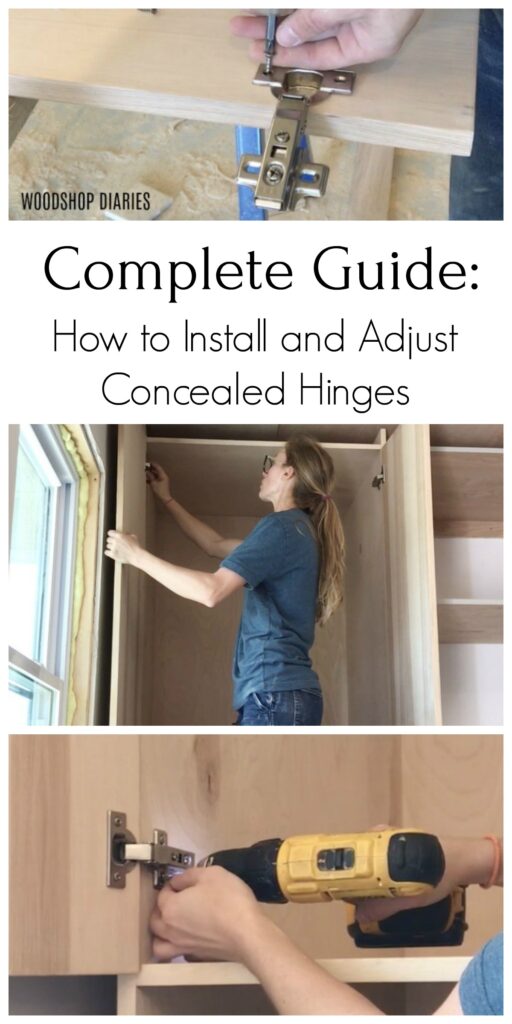
Concealed hinges have a “hinge cup” that gets installed onto the door and a mounting plate that mounts the hinge to the cabinet.
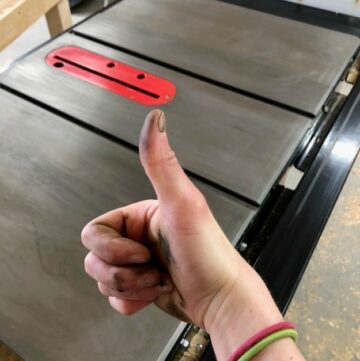
The cup requires a hole to be drilled into the back side of the cabinet door for it to fit into. I use the Kreg Concealed Hinge Jig to easily locate and drill these holes. The clamp holds the jig in place while drilling.
The drill and/or driver is used to screw the hinge into the door and onto the cabinet and the screwdriver is used to make adjustments on the hinges.
RELATED: Check out this list of my Top 10 Must Have Tools for Cabinet Building
What to Consider Before Installing Concealed Hinges
Concealed or European hinges come in a wide variety of style options. So before installing them, you need to ask yourself a few questions.
What type of concealed hinge do you need?
There are different types of doors and cabinets, so it makes sense that there are different types of hinges to accommodate each application. First, you need to determine the type of hinge that will fit your specific application.
RELATED: How to choose the correct cabinet door hinges for your project
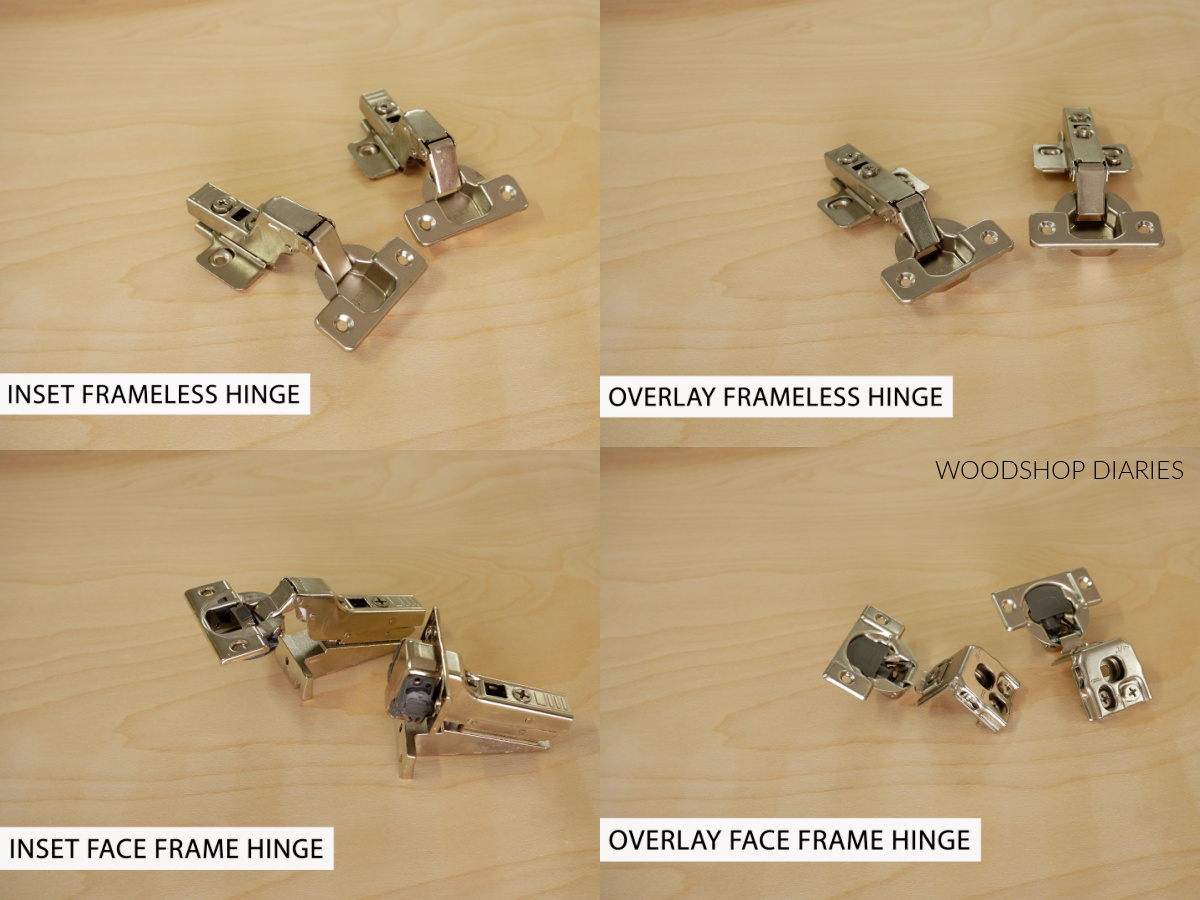
To decide which one you need, first, determine whether your cabinet is frameless or does it have a face frame? Concealed hinges will mount differently for frameless cabinets vs those with a face frame so it’s important to know which you’re working with.
Second, are you installing inset or overlay doors?
Concealed hinges will specify the type of cabinet (frameless vs face frame) and the type of door (inset vs overlay) they are designed to work with, so once you’ve answered those two questions, you can determine which type of hinge you need.
NOTE: There are specialty hinges to fit all kinds of odd situations, BUT below are the four most common, basic cases you’ll run into.
The 4 main types of concealed hinges:
Take note that with frameless cabinets, the overlay is almost always considered a “full overlay” and with face frame cabinets, there are several different options for overlay.
The overlay is how much of the frame is covered by the door, so the hinges come in varying overlay amounts that you can choose from.
How Thick Should the Door Be?
The general “rule of thumb” with concealed hinges is that the door should be approximately ¾″ thick.
This works great for basic ¾″ plywood solid panel doors, or shaker style doors built using 1x material (which is actually ¾″ thick) for the door frame.
However, in special cases, the hinges may allow for thicker doors if needed. If you’re building thicker doors, be sure to check the hinge specifications to ensure they will work.
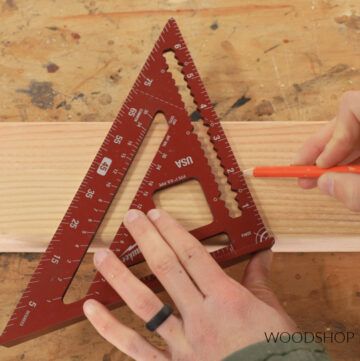
How Far From the Door Edge Should the Hinge Be Installed?
Different styles, brands, and types of hinges may vary as far as how far from the edge of the door they should be placed.
The installation instructions included with the hinge should specify this distance. It will be somewhere between 3-6mm–this is the distance between the edge of the door and the edge of the cup hole drilled out for the hinge to sit into.
The concealed hinge jig has little knobs along the bottom that allows you to easily adjust this setting as needed so that you drill your cup holes the correct distance every time.
That said, I’m a bit of a rebel and I rarely follow the instructions included with the hinges. I install 99% of my concealed hinges with my jig set at 5mm. There is enough adjustment in the hinges (which we will discuss below) that I’ve found this works well in most cases.
But of course, do as I say and not as I do haha. If the instructions specify something different, always follow the manufacturer’s instructions for spacing.
Where Should Concealed Hinges Be Placed?
There isn’t really a right or wrong answer for this. Personally, in normal circumstances for average size cabinet doors, I center my hinge cup holes about 4″ from the top and bottom edges of the door.
My reasoning is simply because that means I can just line the edge of my concealed hinge jig with the edge of the door.
Or, for smaller doors, I may install them closer to the edge–more like 2″ or so. This is just so that they are closer to the edge than the middle of the door. There really isn’t a “rule” here.
There may be special circumstances that require you to space them differently.
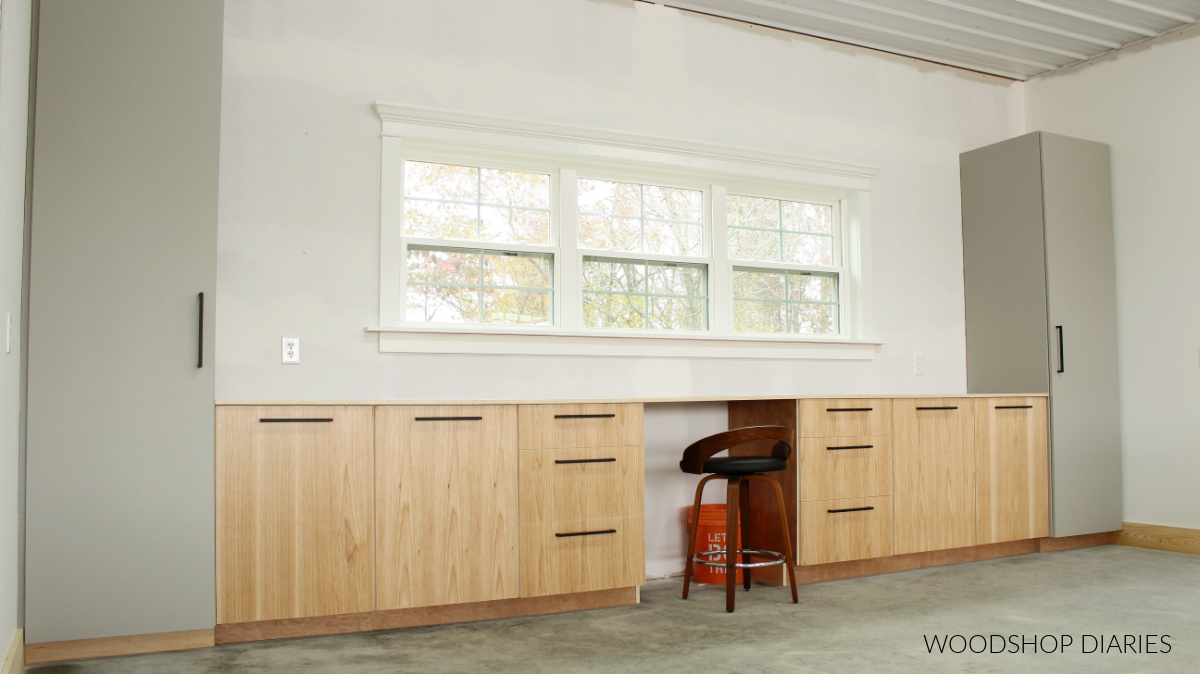
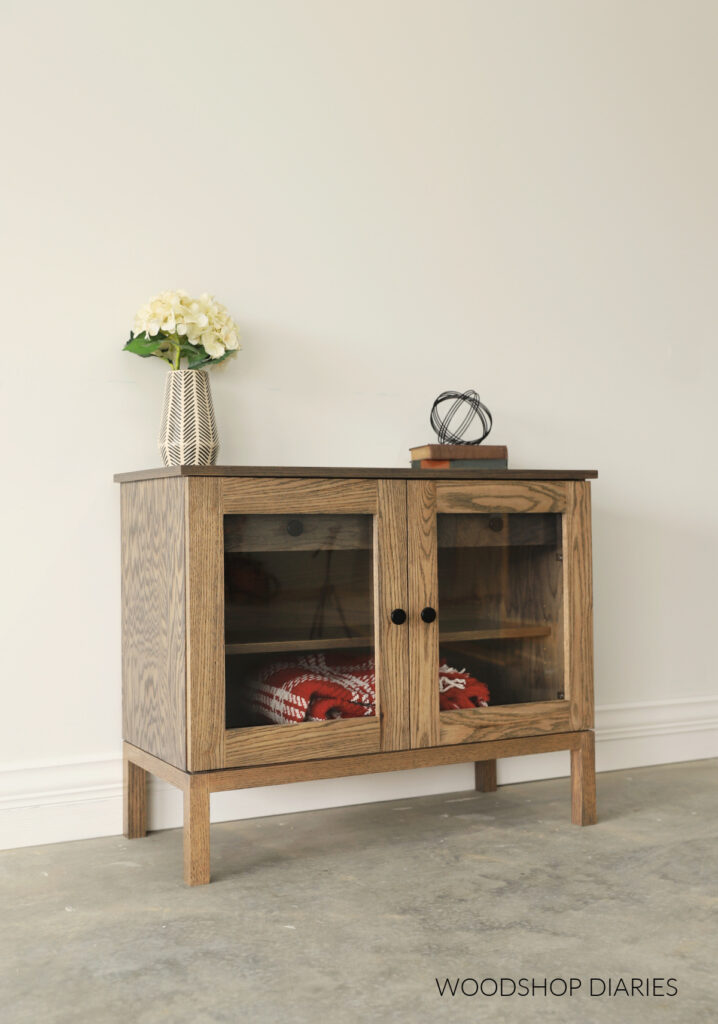
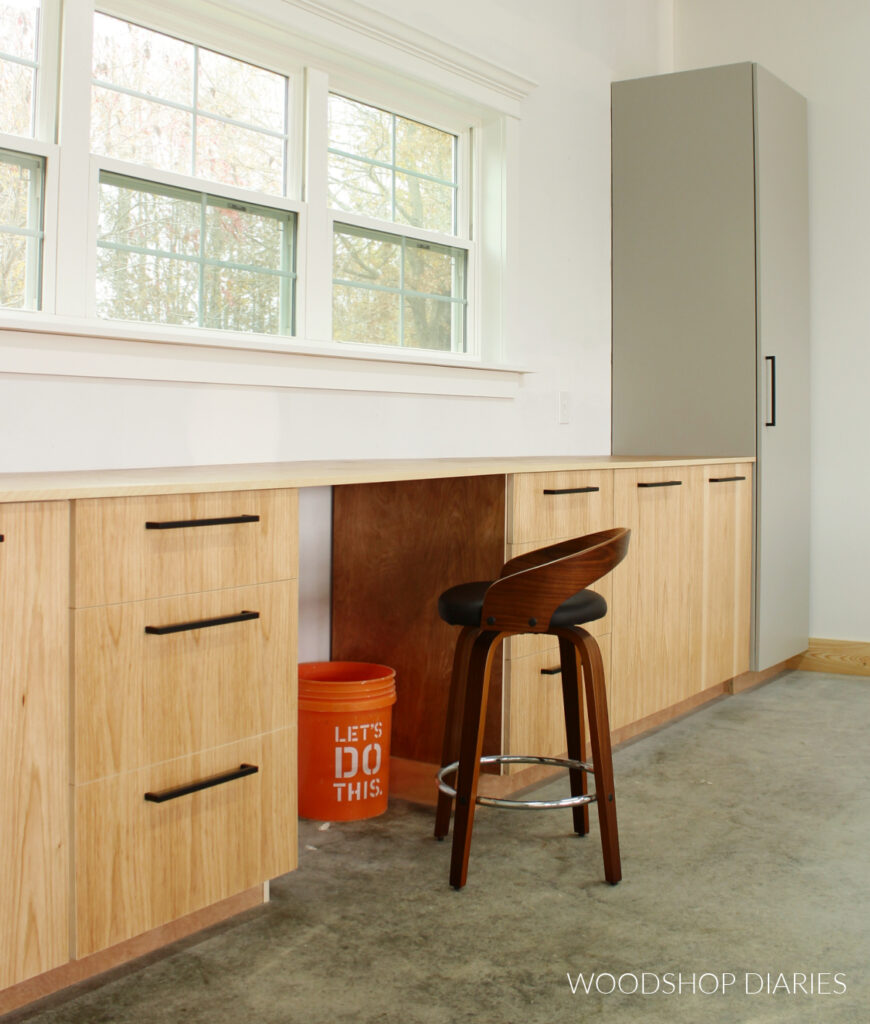
In this DIY display cabinet project, I placed the top hinges further down from the edge so the drawer wouldn’t hit them as it opened.
Basically, you just want to install one hinge toward the top and one toward the bottom of the door. Exact placement isn’t critical as long as it doesn’t interfere with other elements–like drawers, shelves, frames, etc.
In some cases, with large or abnormally heavy doors, more than two hinges may be required. Refer to manufacturer’s specs for weight limits on the hinges.
If you need to add more than two hinges to your door, try to evenly space them out along the edge.
Again, exact placement isn’t critical, so if you can’t space them exactly even (like in the case below because the shelf is in the way), that’s okay. Just get them close.

New vs Existing Cabinet Doors
Since I am typically building furniture and cabinet projects from scratch, most of my examples I have to share are installing brand new doors on brand new cabinets.
However, if you are just wanting to replace your hinges (maybe you want to swap from regular to soft close) or swap out your existing doors, the same process applies here.
The only difference would be that you may or may not need to drill out your cup holes for the hinges. If they’re already there, simply skip step 2 below.
How to Install Concealed Hinges & Cabinet Doors
Once your doors are assembled, installing them is the easy part. Below, I’ll walk you through the simple process to using concealed hinges to install cabinet doors.
If you’d like more information on building the doors first, check out how to build cabinet doors here.
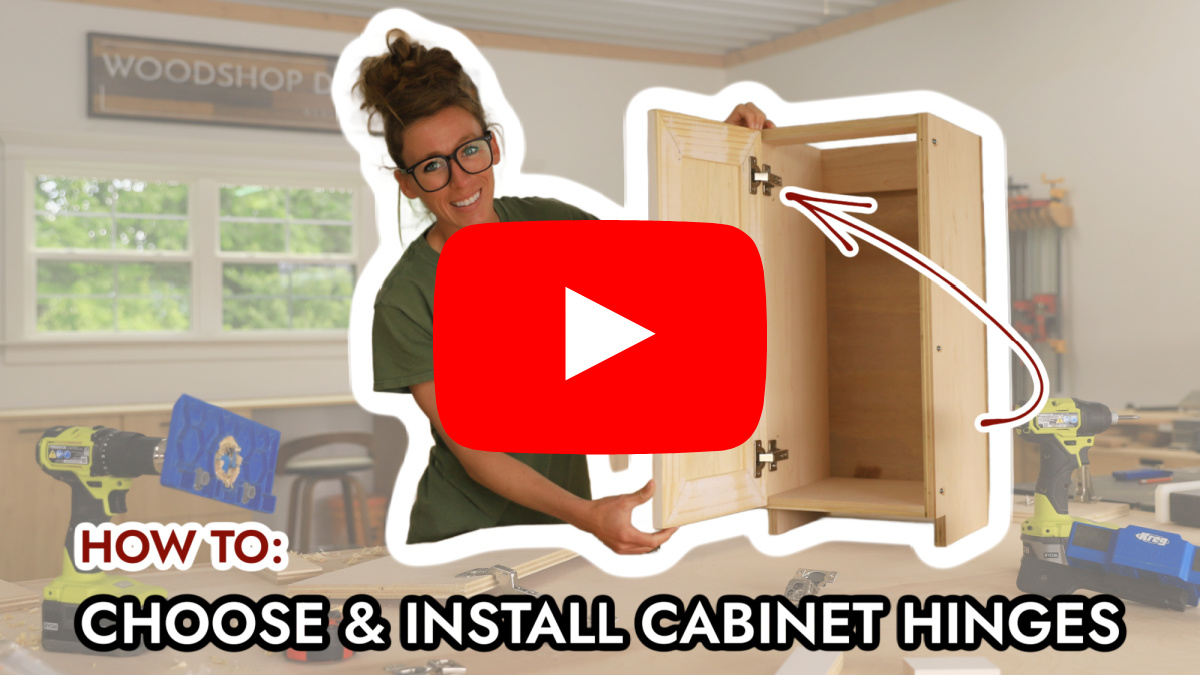
If you prefer to watch, I’ve shared a detailed video with tons of tips, behind the scenes, and additional details on my YouTube Channel here.
1. Determine Hinge Type and Locations
First, determine the type/style/number of hinges you need for your application. See notes earlier in this post.
Then, determine where you need to install them. Again, reference the notes above.
Take note which edge of the door the hinges need to be installed closest to and which way the door will need to swing open.
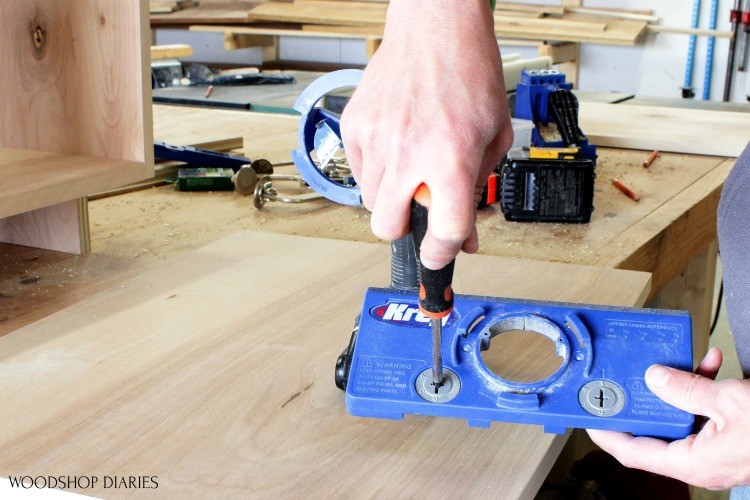
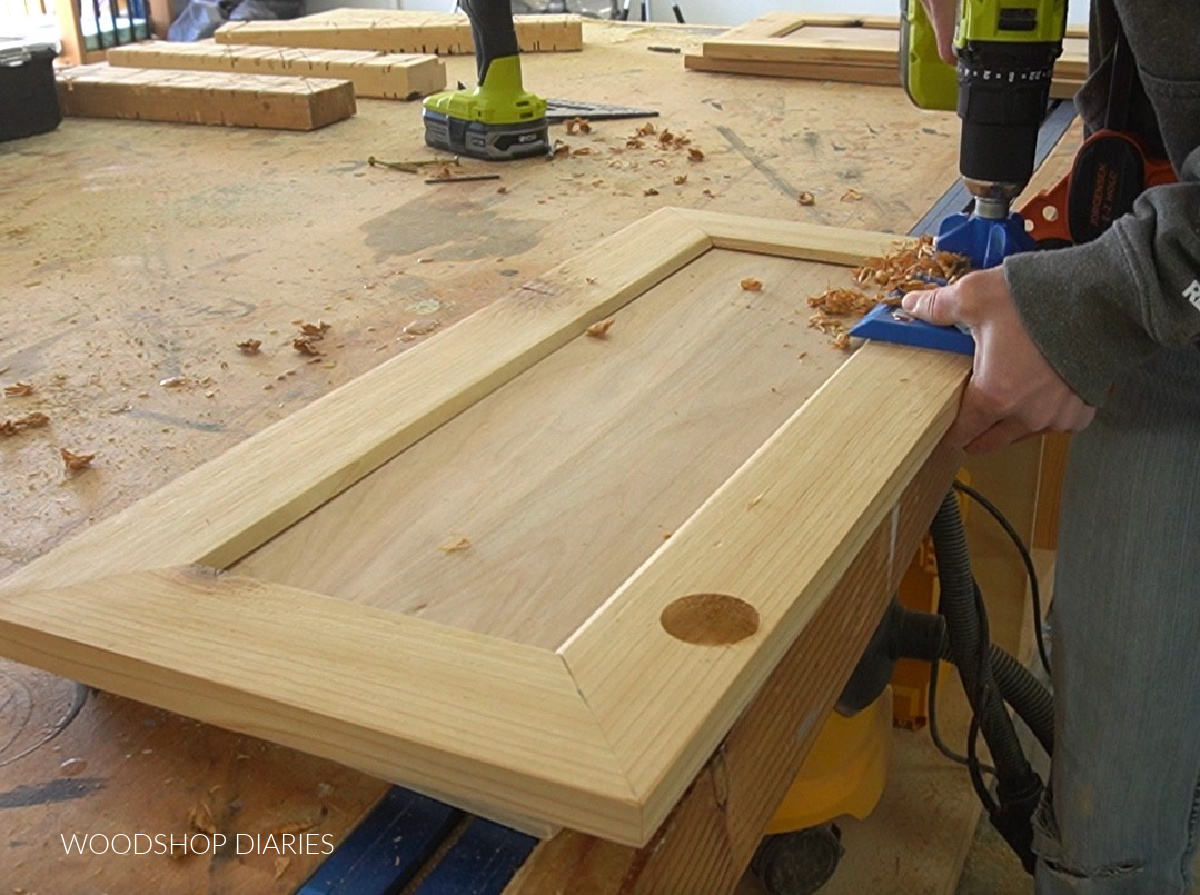
2. Drill Hinge Cup Holes
Concealed hinges have two main parts–the cabinet mounting plate that attaches to the cabinet or face frame, and the hinge cup that installs onto the door.
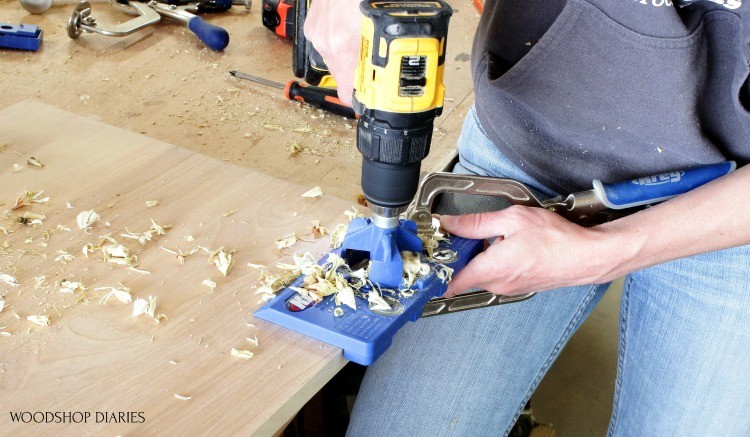
In order to install these hinges onto the door, you will need to drill out a “cup hole” using a forstner bit on the back side of each door. This is made easy using a simple concealed hinge jig.
Set the correct spacing using the adjustments on the jig (see notes above regarding how far from the edge the hinges should be installed). Then, clamp the jig onto the back side of the door.
Make sure the edge of the door is pushed flat against the spacers and that the center of the hinge is where you want it. Then, drill out the hole.
NOTE: The bit that comes with the jig has a stop collar on it to help prevent you from drilling the hole too deep. Make sure to drill the hole deep enough that the hinge cup sits fully into it, but not so deep that you drill completely through the door.
Repeat for the other hinge(s), making sure to install them at the locations you decided on from step 1.
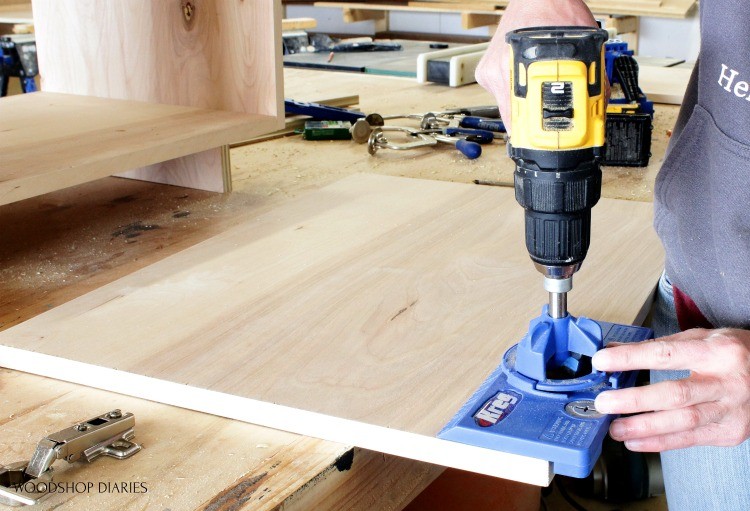
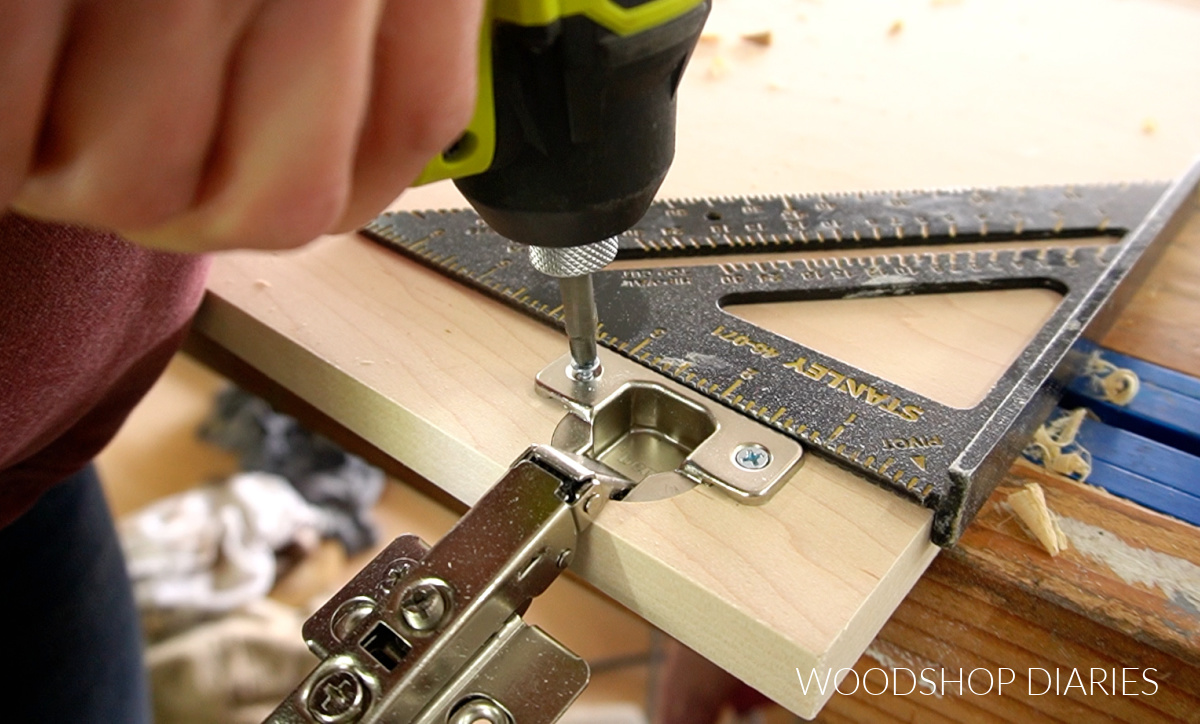
3. Install Hinges to Cabinet Door
The jig has holes to drill pilot holes for where the screws will go to install the hinges as well, but I never use them. Feel free to use them if you’d like. See video.
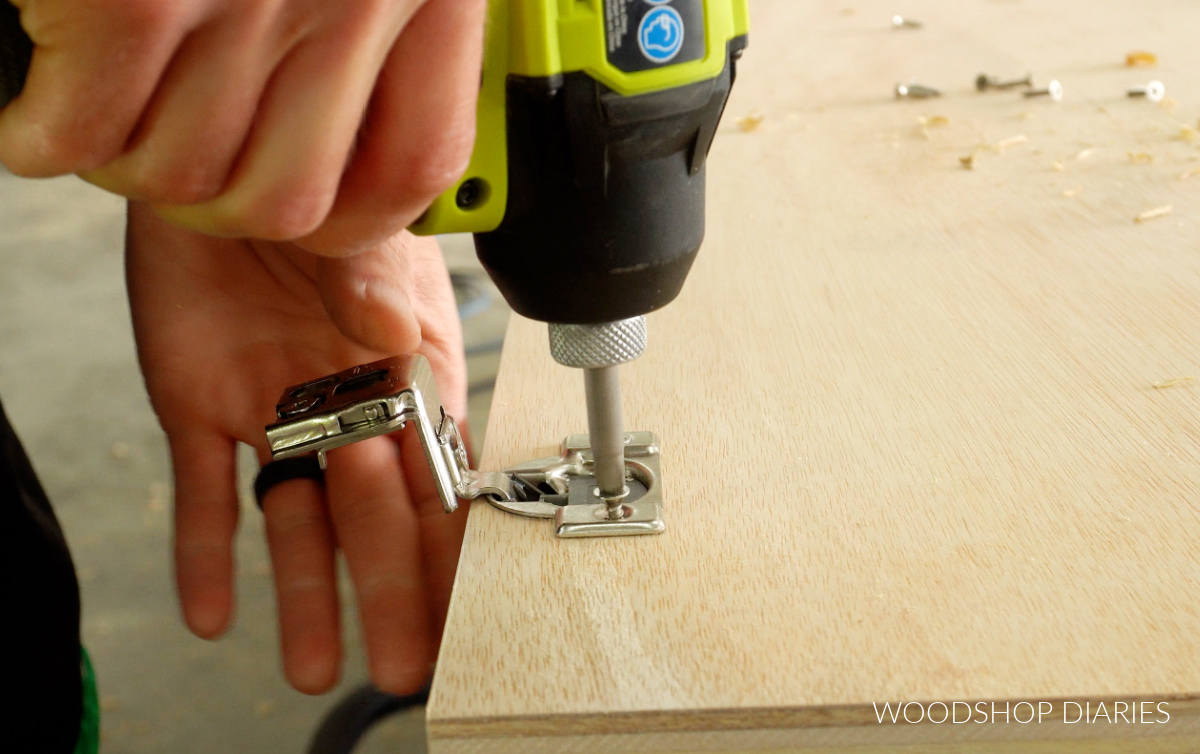
Once the cup holes are drilled out, place the hinges into the holes so that the mounting plate hangs off the edge.
Use a square (or just eye ball it) to ensure they are straight, then drive the screws (usually included with the hinges) through the holes on the cup plate to secure them in place.
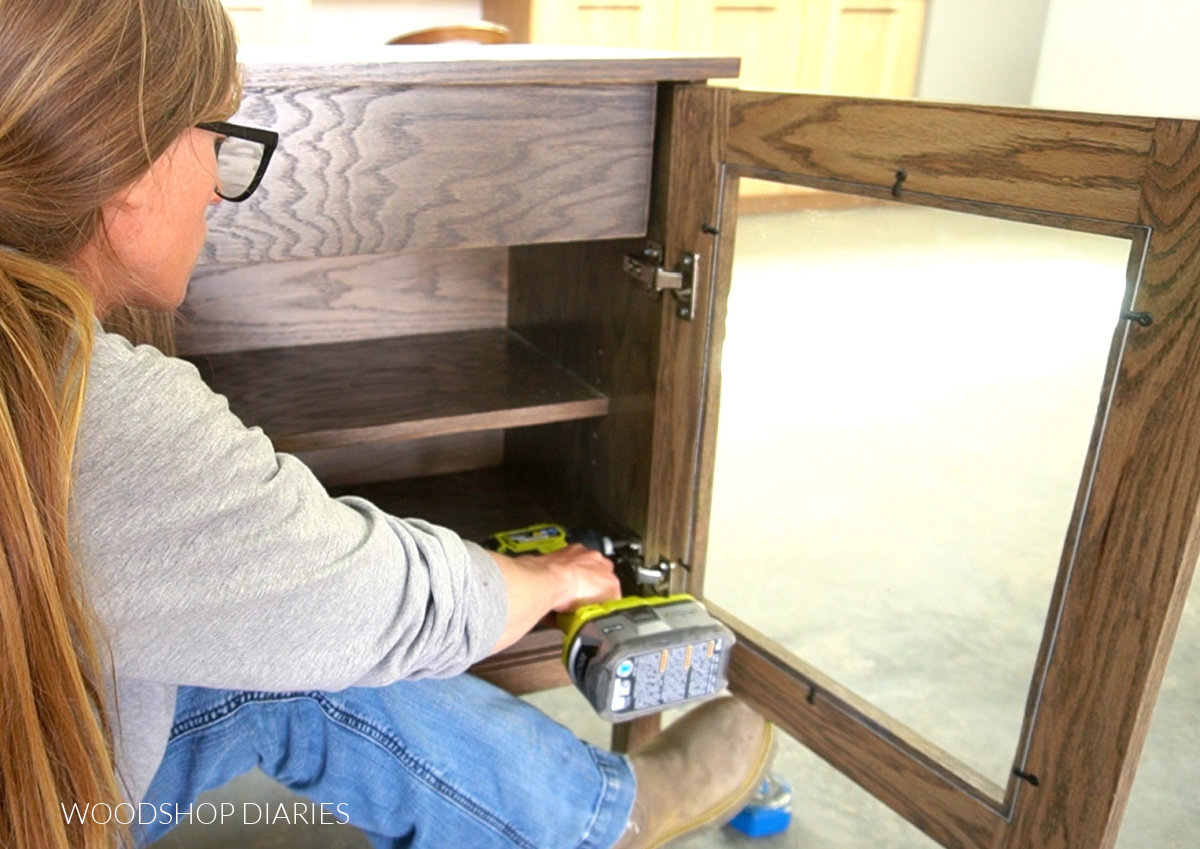
4. Attach Doors onto Cabinet
Once the hinges are installed onto the doors, all that’s left is installing the doors onto the cabinet.
To install overlay doors, I usually butt them up to the front of the cabinet, then, I simply hold my door as close as possible to its correct vertical location. Sometimes a foot (shown below), some scrap blocks or an extra set of hands can help.
Kreg also makes a cabinet door mounting jig that clamps to the bottom of your project to rest your door on–you know, if you don’t want to use your foot haha.
Then, I use the screws that came with the hinges to secure them onto the cabinet or face frame at this location.
Inset doors are installed similarly, except that they sit inside the opening of the cabinet (they don’t butt up to the front like overlay doors) about ¾″.
Inset doors should also be up off the bottom of the cabinet about ⅛″ so that there’s an ⅛″ gap at the top and the bottom (a thin shim or some playing cards work well here to help with spacing).
TIP: First, I add one screw in each hinge to make sure it’s a close fit (minor adjustments are covered in the next step).
Once I have one screw in each hinge, I close the door to see how it fits. If it’s way off, I remove the screws and try again adjusting as needed. If it’s pretty close, I add the second screw in each hinge.
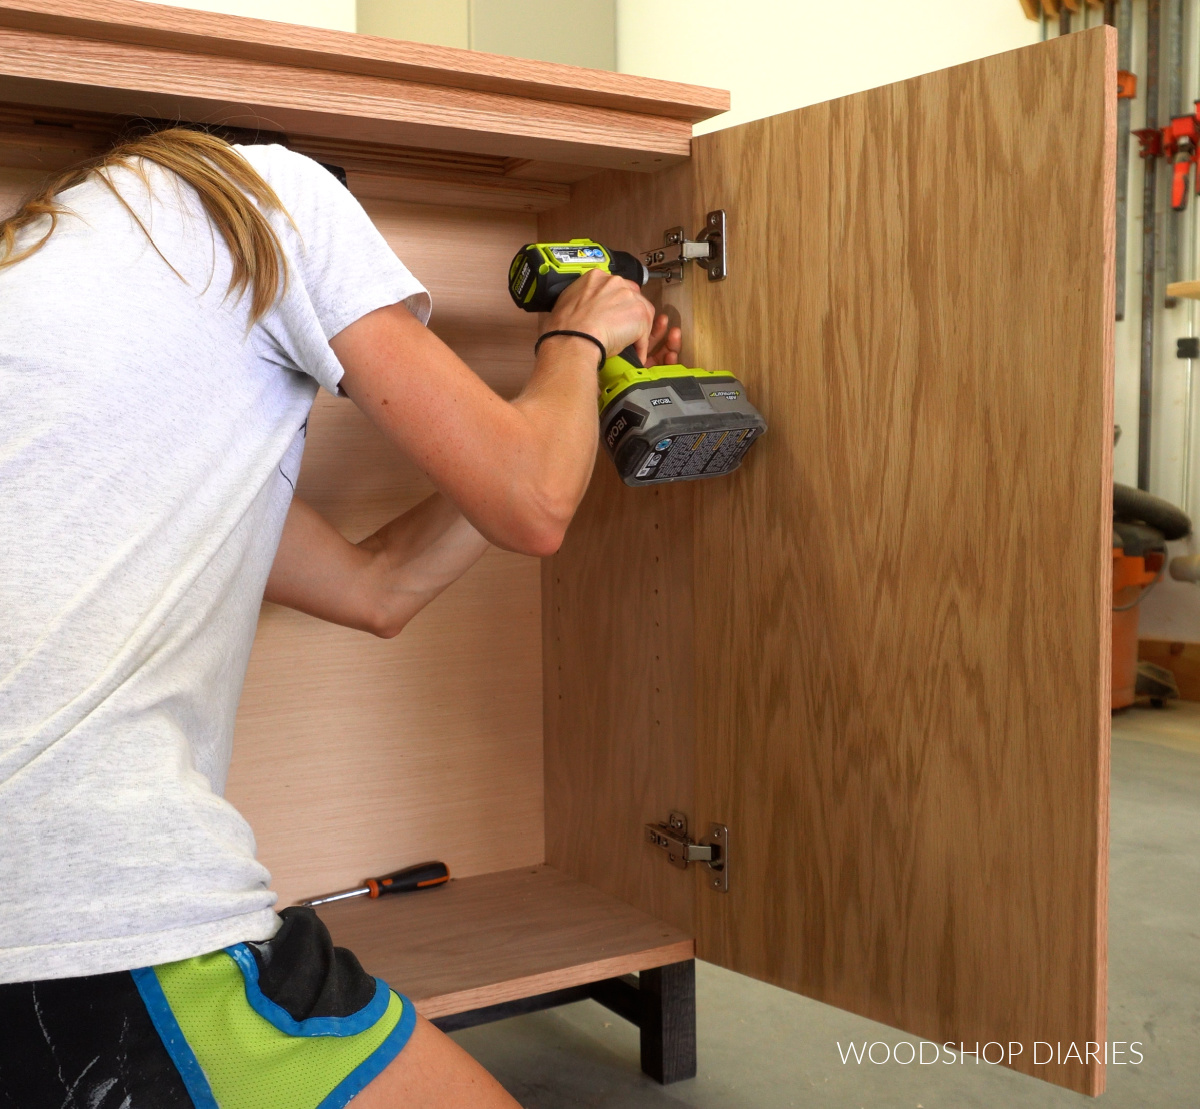
5. Adjust Hinges
The great thing about concealed hinges is that they have plenty of adjustment options to get the perfect fit.
The bad thing about concealed hinges is that although they each have adjustment options, they will all vary a little by type and brand. I go into detail on installing and adjusting each type of hinge in this video.
So what’s shown below may not look EXACTLY the same as what you’re working with. But, in all cases, you will find a few screws and/or slotted holes on the mounting plate that allow for adjustments in all three directions.
Be sure to check your specific hinges installation instructions for tips and guidance. But, if you’re like me and just learn by playing around with it, you can just use a screwdriver and turn each screw a little to see how the door moves.
Here is a quick video showing how to make these hinges adjustments.
There will be adjustment screws to move the door vertically, side to side, and front to back. For slotted holes, loosen the screws, adjust, and retighten. For screw adjustments, just turn the screws–counterclockwise will adjust one way and clockwise will adjust the opposite way.
Adjust all hinges as needed so that gaps/overlays are even and the door opens without rubbing on anything.
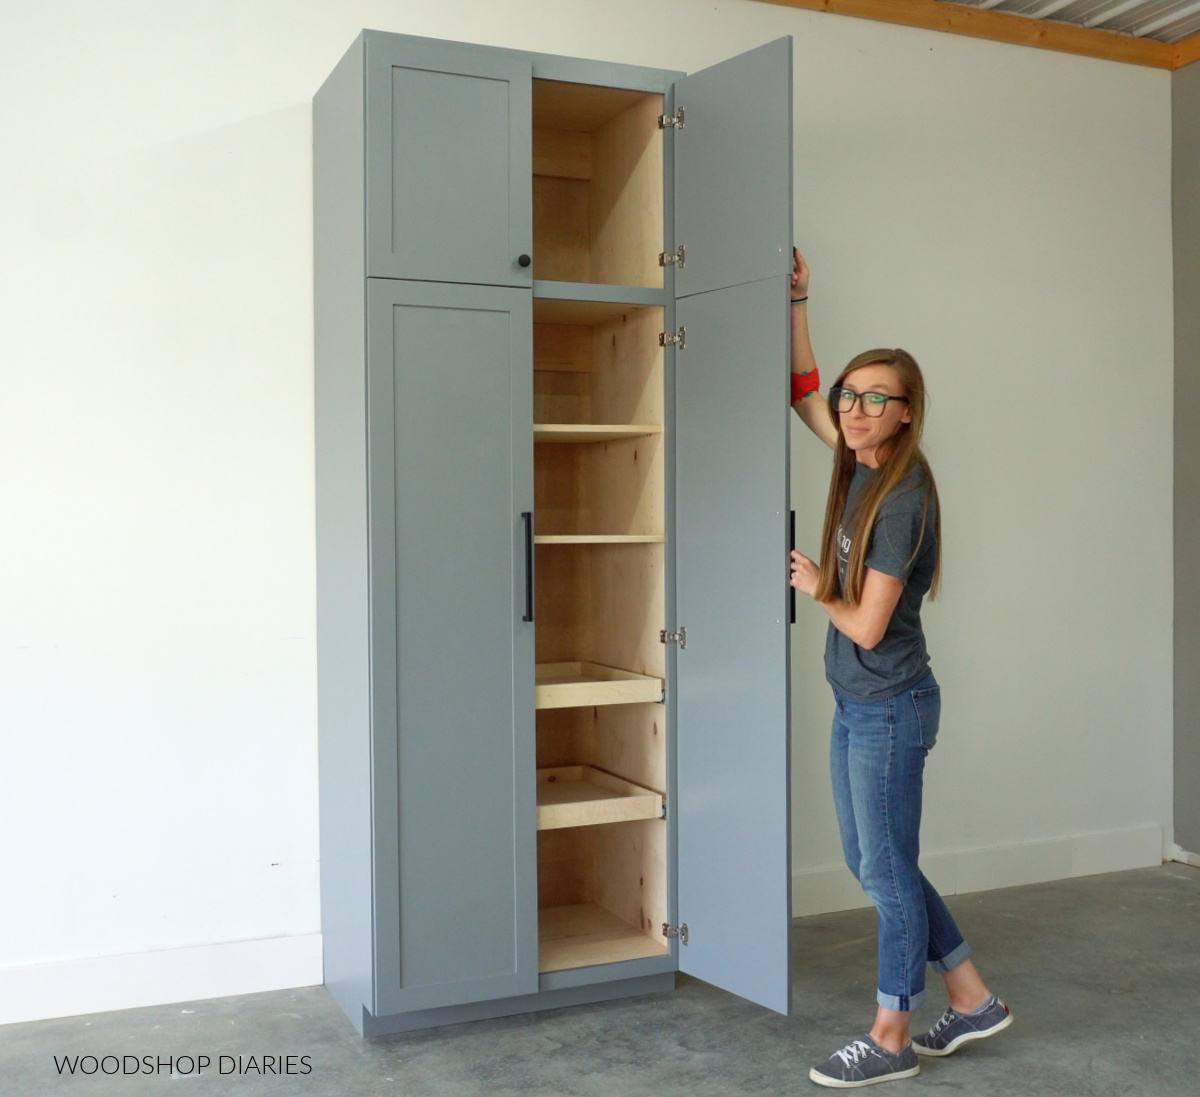
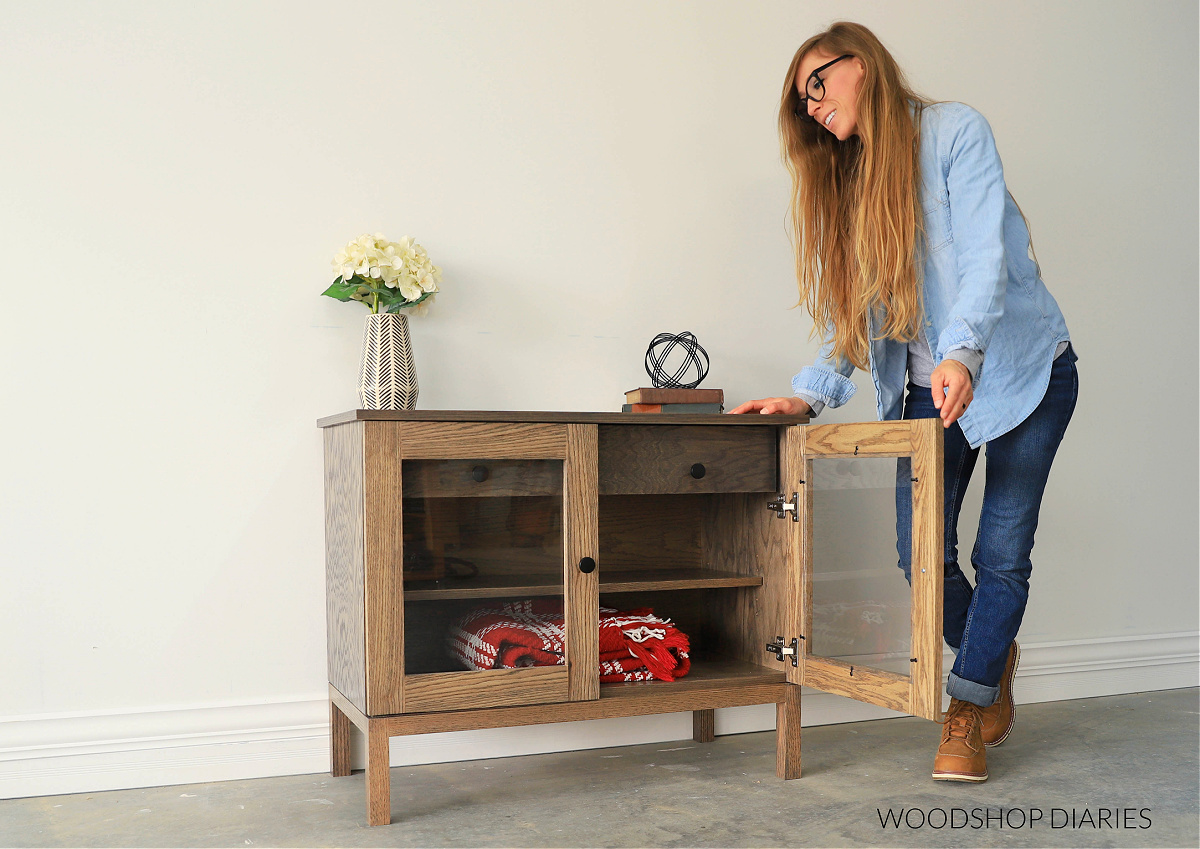
Once you are happy with your adjustments, take a step back and admire your beautifully installed cabinet doors!
I hope this helps you be a little less intimidated by installing doors onto your projects. I promise after you do a couple, it’s really simple.
Concealed hinges make life a lot easier since the adjustment options allow you to dial in your spacing after installation vs installing them perfect the first time.
Looking for Projects with Doors to Practice on?
Here are some fun DIY projects with doors to give you some practice now that you know how to install them!


If you enjoyed this tutorial and want to be the first to know when new projects, plans, and how tos are live, be sure to subscribe to the free newsletter below!
Don’t forget to save this for later by pinning or sharing to your favorite social platform!
Until next time, friends, happy building!