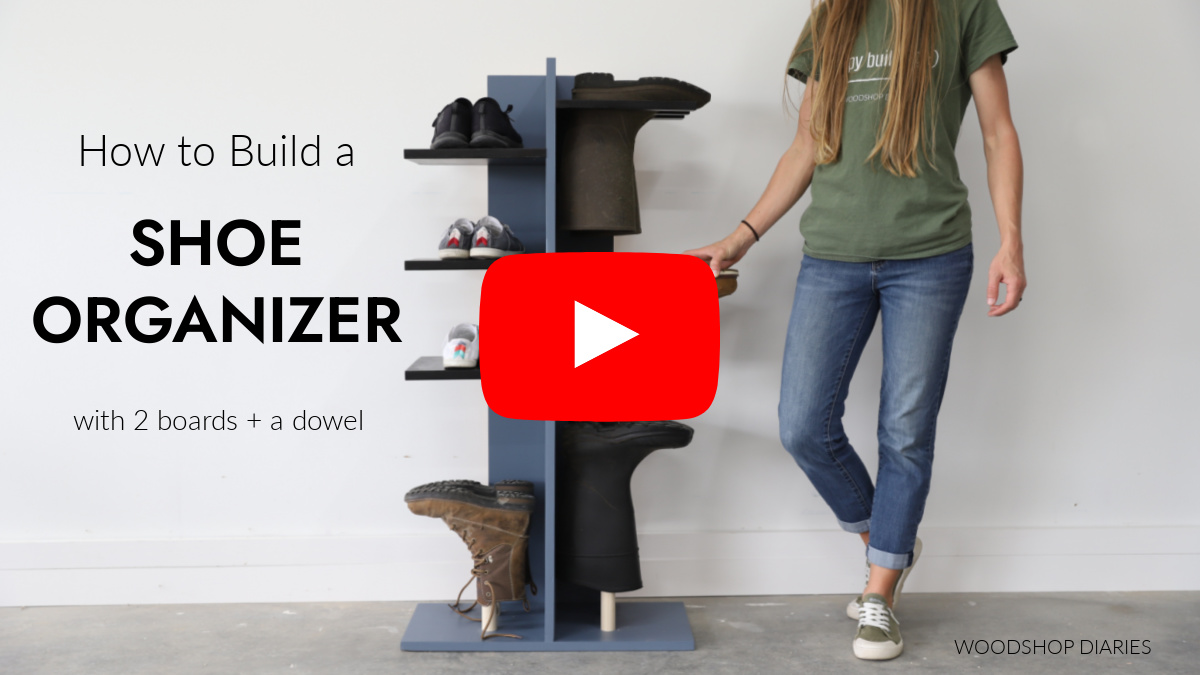
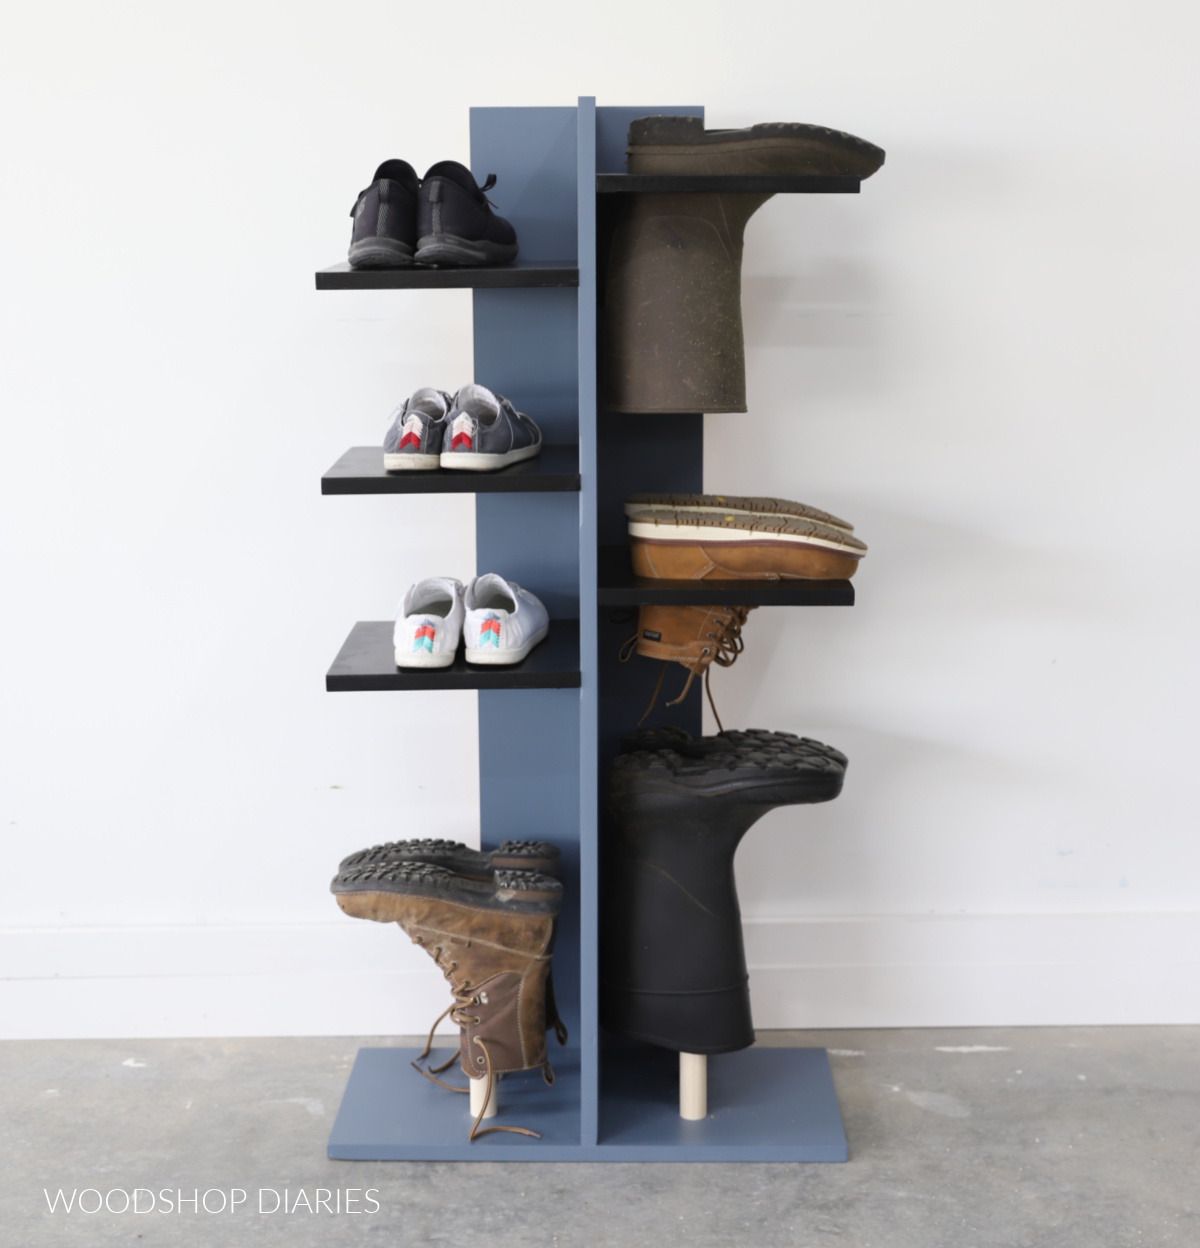
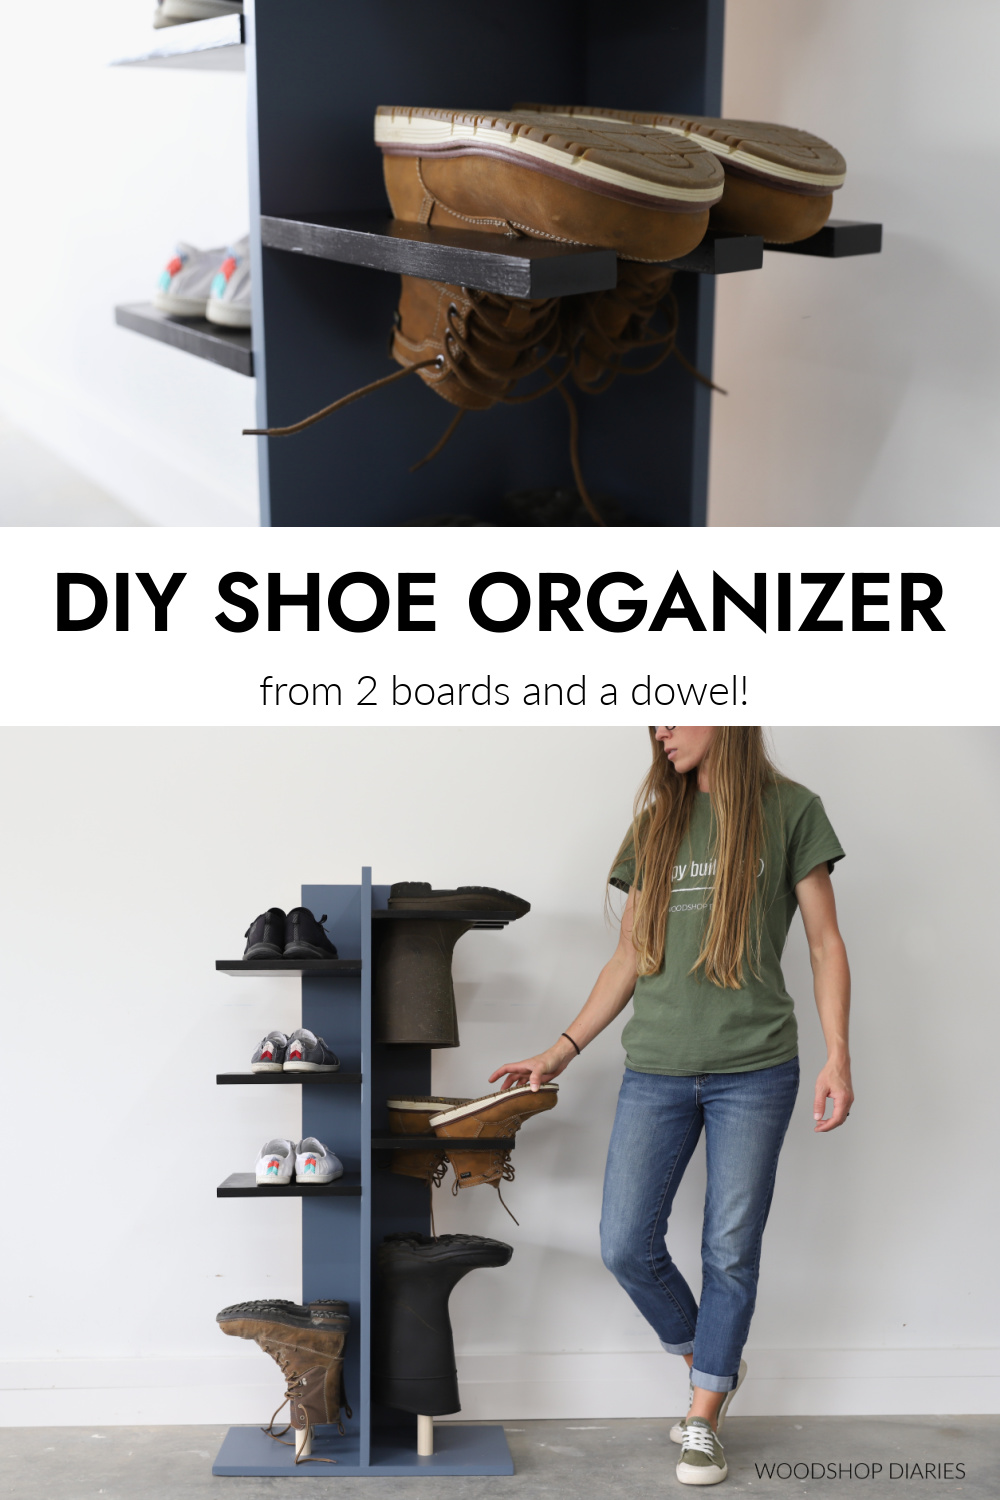
In this post, I’m sharing how to build this versatile freestanding DIY shoe organizer shelf with just 2 boards and a dowel rod!
You can easily customize to fit your own shoes and boots, but this design incorporates posts for rainboots, slotted shelves for work boots, and solid shelves for sneakers.
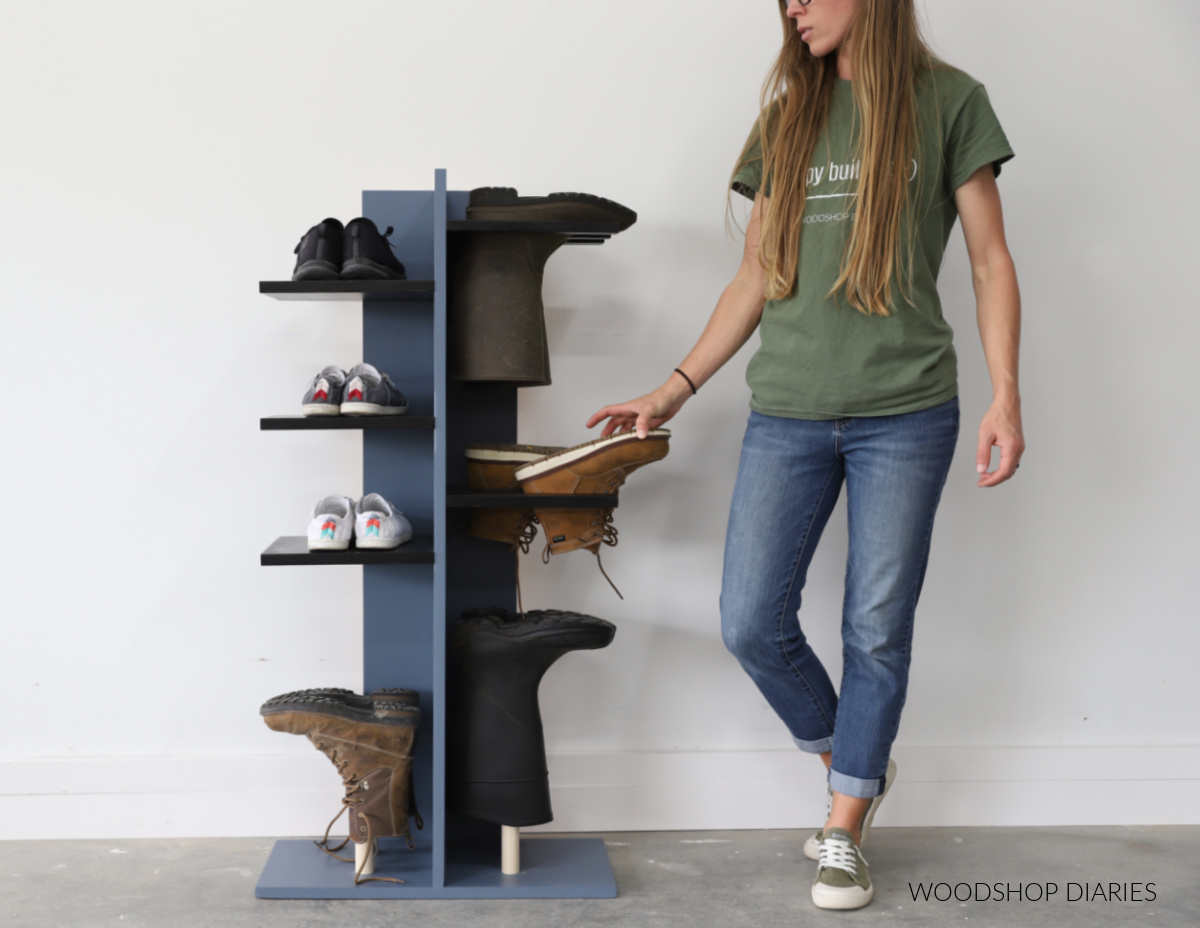
And the best part? It’s perfect for small spaces since it has a very small footprint. Vertical shoe storage for the win!
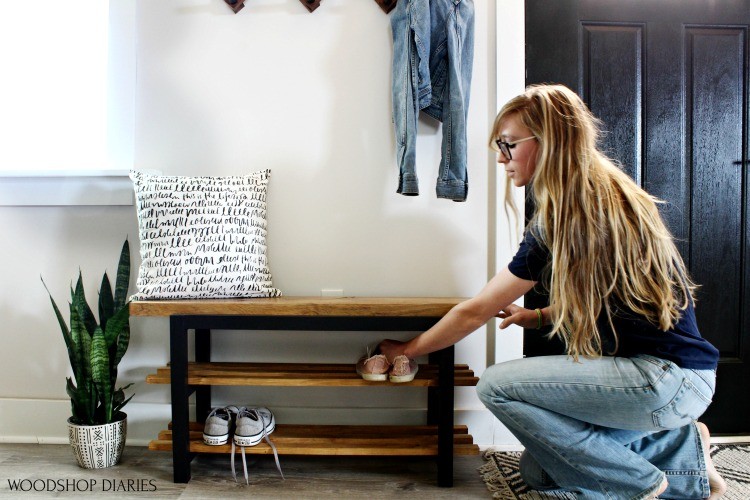
This simple shelf would work great in a mudroom, garage, or small entryway and can store boots and shoes of all shaped and sizes.
If you’d like to see how to build one of your own, I’ve got the plans below!
*This post contains affiliate links. See website policies.
What to know before building
This project is SO simple and (besides the painting part) can easily be assembled in about an hour. It took me about a day to complete since I had to paint the pieces separately and allow to dry before putting it all together.
So it’s a great weekend woodworking project if you’ve got a little time to spare.
This vertical shoe shelf organizer is very similar to this plant shelf I shared earlier this year. The concept is exactly the same only this one uses wider boards to accommodate larger shoes.
Material Choices
To keep things simple and inexpensive, I used basic 1×12 construction lumber from the big box store for this build. Standard 1×12 boards are 11 ¼″ wide, which is a good size to fit most adult shoes.
RELATED: Understanding lumber sizing
In addition to the 1×12 lumber, I also used a 1 ¼″ diameter dowel rod (6 ft long) to make the boot posts on the bottom.
Two 1x12x8 boards is enough to build the shelf body plus 6 shelves. I only used 5 shelves, but there will be enough material to add a 6th one if you wanted.
Keep in mind that 1x12s are generally not the best looking boards and are almost always a little warped or twisted. So take your time to look for the straightest ones, and remember–you’re building a shoe shelf, so this doesn’t have to be perfect.
If you wanted, you can swap the 1×12 material for ¾″ cabinet grade plywood, instead. This will be more expensive and you’ll have a lot leftover if you buy a whole sheet. But it will likely be flatter, straighter and have fewer imperfections.
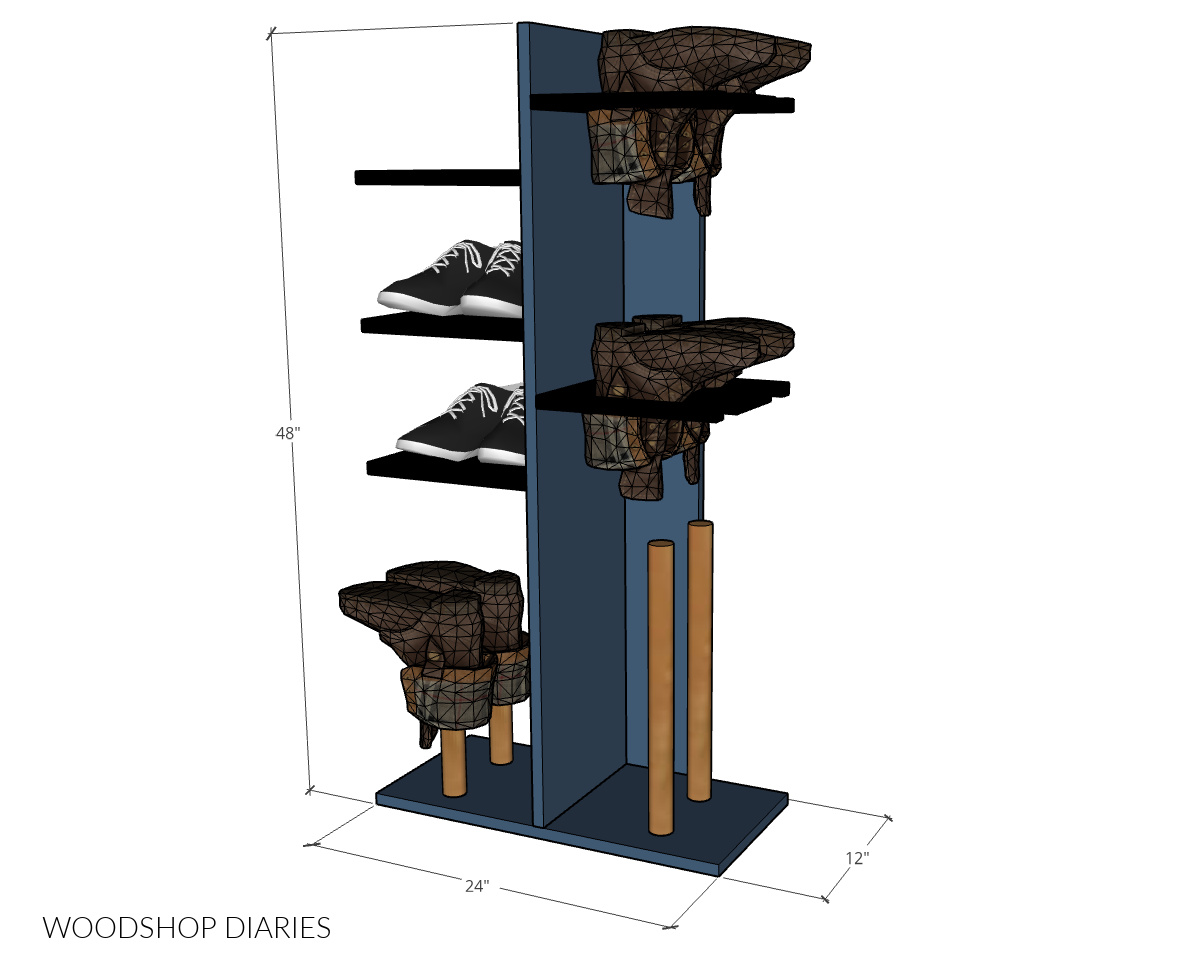
Overall dimensions
The overall dimensions of this simple shoe shelf are 12″ deep x 24″ wide x 48″ tall.
Customizing your shoe organizer
I mentioned earlier that I used two 1x12x8 boards for this build, which will give you the main body plus 6 shelves.
If you wanted to purchase more material, you can make this shoe shelf taller and add even more shelves as needed. This is so easy to customize, so feel free to get creative.
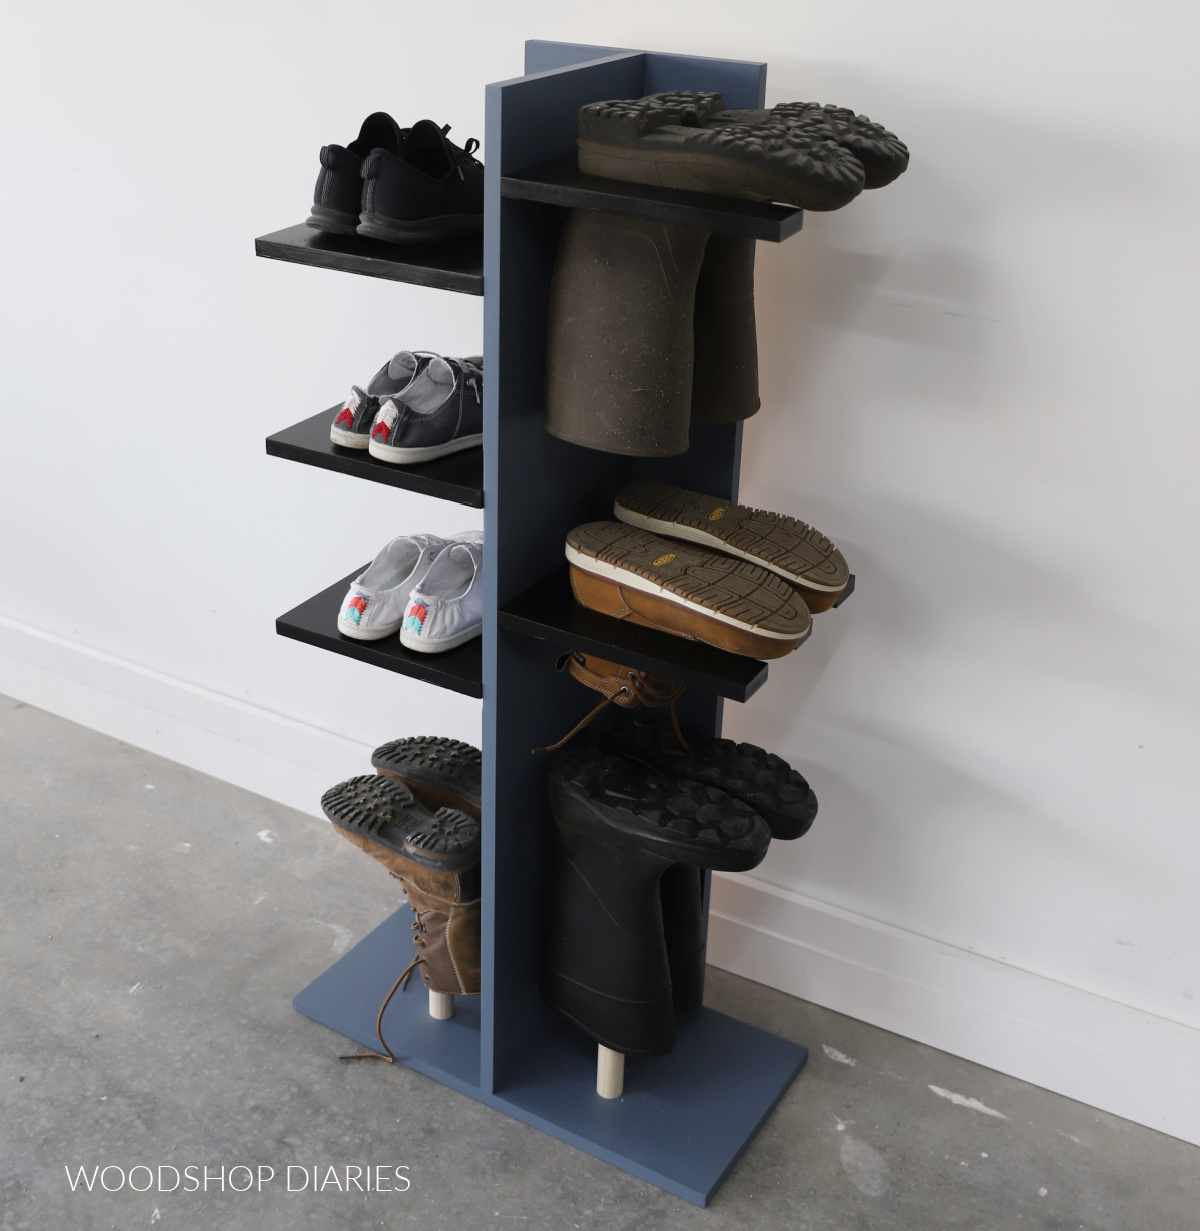
I cut slots in the shelves on the right side to store boots upside down and left the shelves on the left side solid for sneakers. But, depending on the types of footwear you have, you could cut slots in all of them, leave them all solid, or do without the boot posts on the bottom.
Also, feel free to space out your shelves differently as well. You can install them closer together, further apart–whatever you need for your particular shoes.
Are DIY projects your thing? Sign up for our newsletter for priority access to the latest projects and build plans!
How to build a shoe and boot organizer
I’ve sharing the plans below, but if you prefer to watch, I’ve also got a video here on my YouTube channel.
Love watching how-to videos? Subscribe to my YouTube channel for plenty more where that came from!
Tools & Materials
Tools:
- Miter saw (or any saw to cut straight lines)
- Drill/Driver
- Pocket Hole Jig
- Countersinking Bit (I used a Kreg Quick Flip)
- Clamps (optional, but helpful)
- Jig Saw
Materials:
- (2) 1x12x8 boards
- (1) 1 ¼″ diameter x 6 ft dowel rod
- 1 ¼″ pocket hole screws
- 2 ½″ wood screws
- Wood glue
- Paint or stain (as desired)
Step 1: Assemble Back and Divider
First, I cut one of my 1×12 boards into a 48″ long piece and a 47 ¼″ long piece. The longer piece will be for the back and the shorter piece will be the divider.
These 1x12s are usually pretty rough, so I sanded them well before moving on.
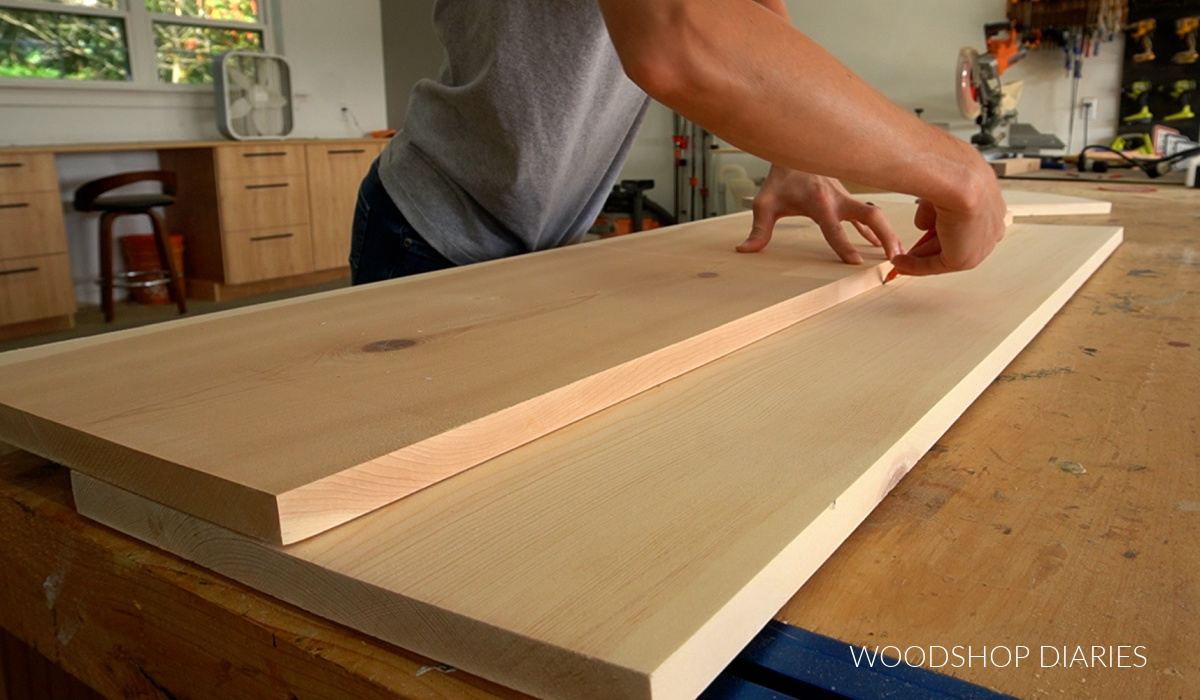
I laid the 48″ long piece on the workbench and marked the center at the top and the bottom (the center should be about 5 ⅝″ from the edge).
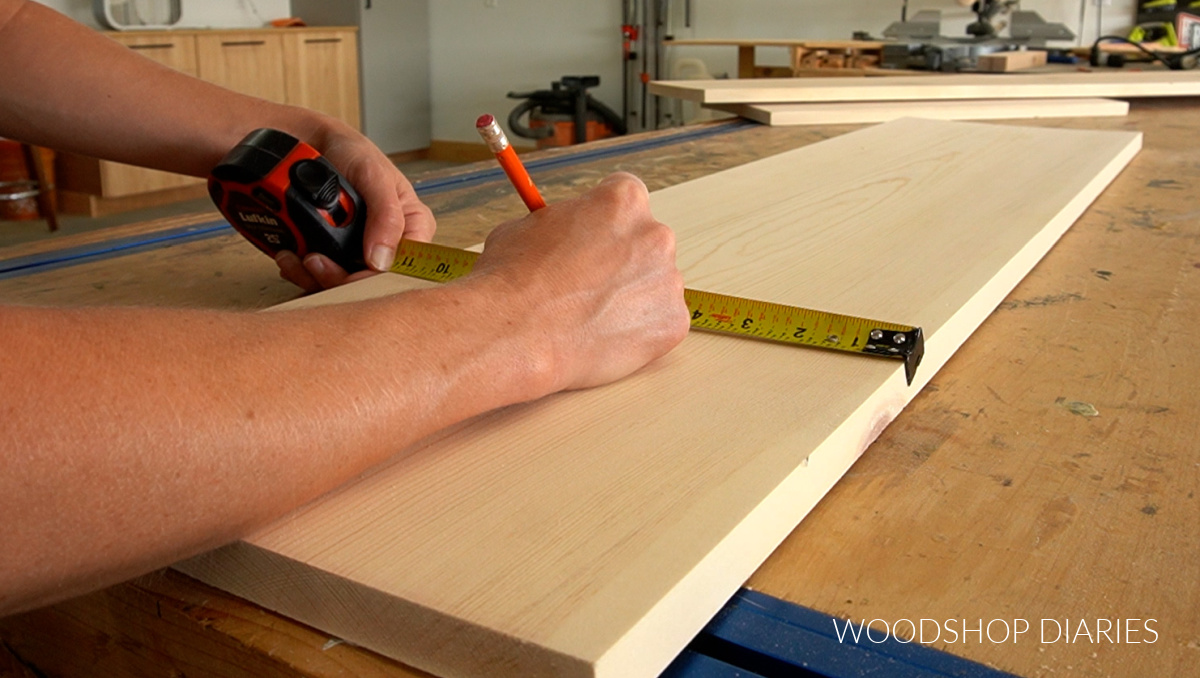
Then, I marked a straight line along these marks from top to bottom. This is my centerline.
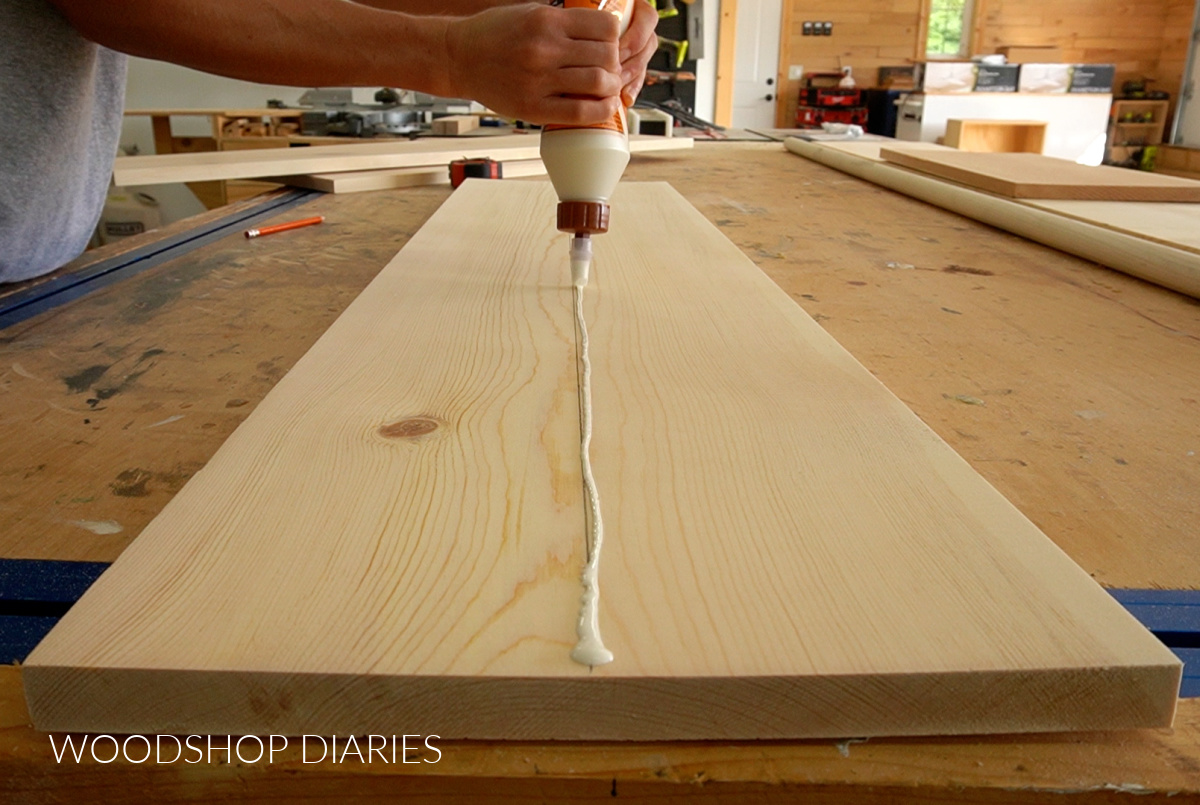
I applied wood glue along this line, then placed my 47 ¼″ long board on it and clamped it in place. Note that the middle board should be flush to the top edge, but will be ¾″ up from the bottom edge.
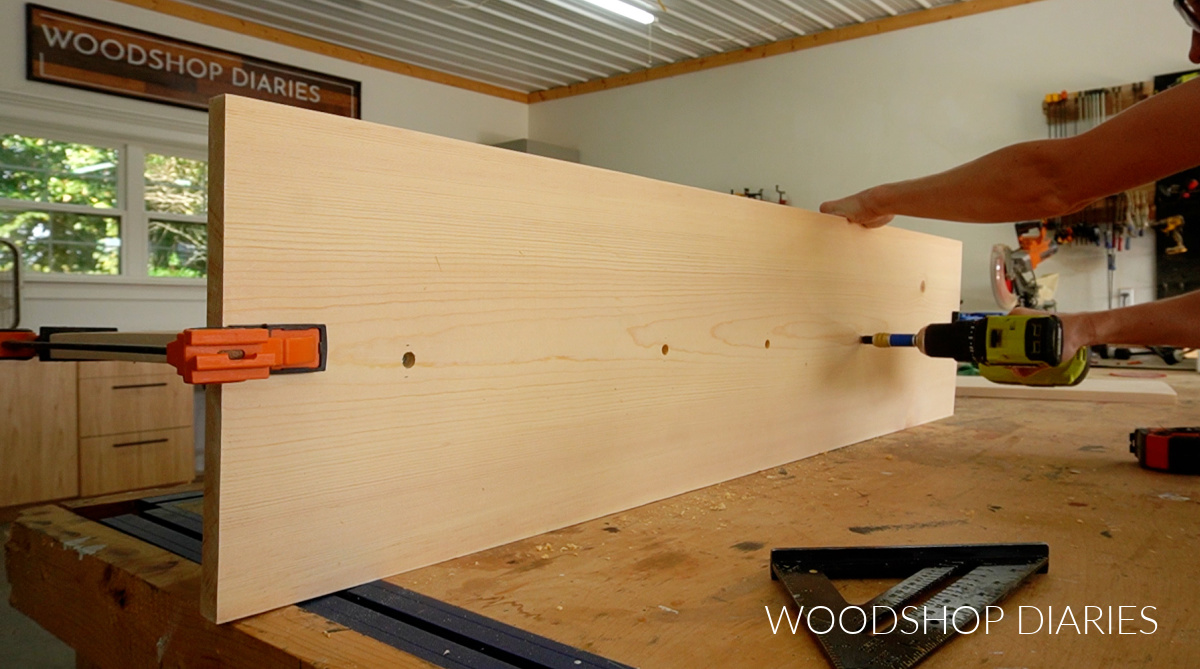
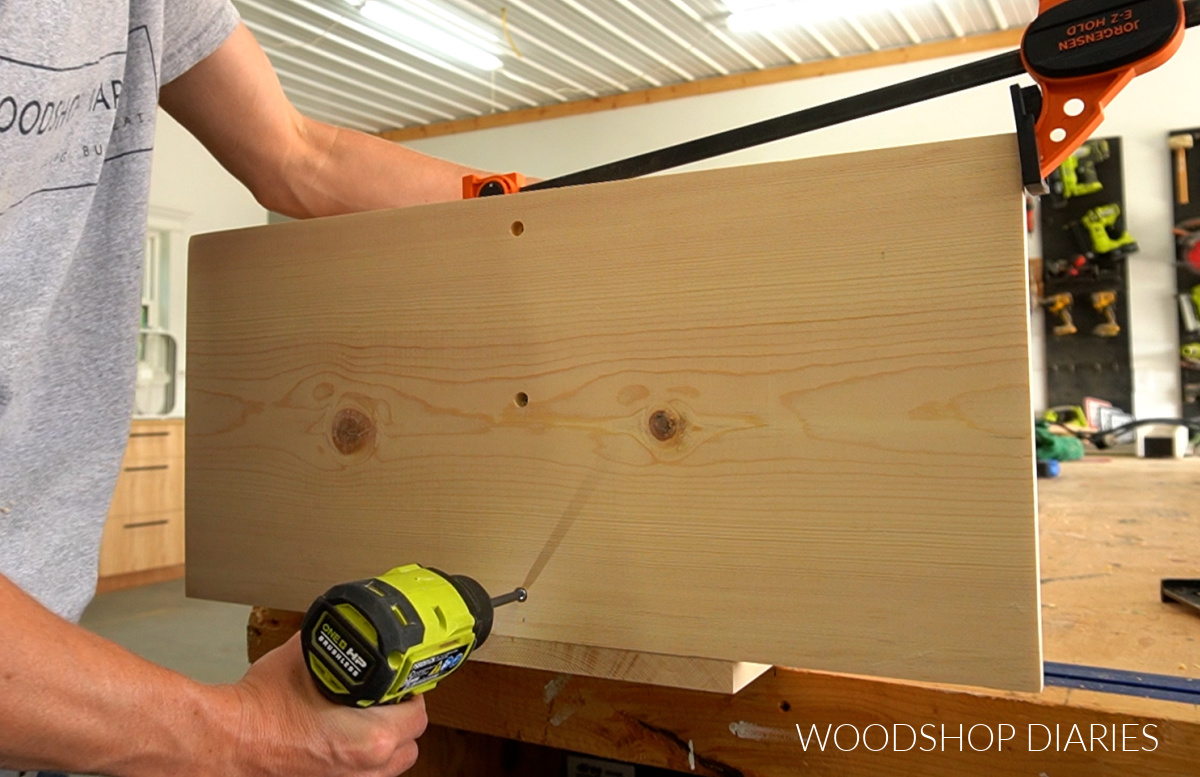
I flipped this on its side and predrilled 5 holes along the back in the center. I countersunk these holes with my Kreg Quick Flip. Then I secured with 1 ¼″ screws through the holes.
Step 2: Add Bottom
For the bottom, I cut another piece of 1×12 to 24″ long and centered it on the bottom of the piece from step 1. I clamped it in place, then flipped it on its side and secured through the back panel with 1 ¼″ screws.
Once it was secured to the back, I flipped it back over and screwed it in through the bottom into the divider as well. Note that these screws need to be countersunk so it’ll sit flat on the ground.
With that, the shelf body is complete and if you want to go ahead and paint it, now is a great time. I painted mine with Dwil Blue Grey furniture paint.
Step 3: Cut Shoe Shelves
From the remaining 1×12, I cut 5 shelves to 11 ¼″ long–that way, they are squares. I left three of my shelves solid, but I cut slots for boots in two of them.
This is totally optional, but if you want to cut slots, here’s how I did it. First, I measured my boots to see how wide they were. I figured that 2 ¾″ slots would be good to fit my boots.
You want the slots to be small enough so that the sole won’t fall through, but large enough so that the ankle part will easily slide in. You may need to make yours wider or narrower depending on your boot style.
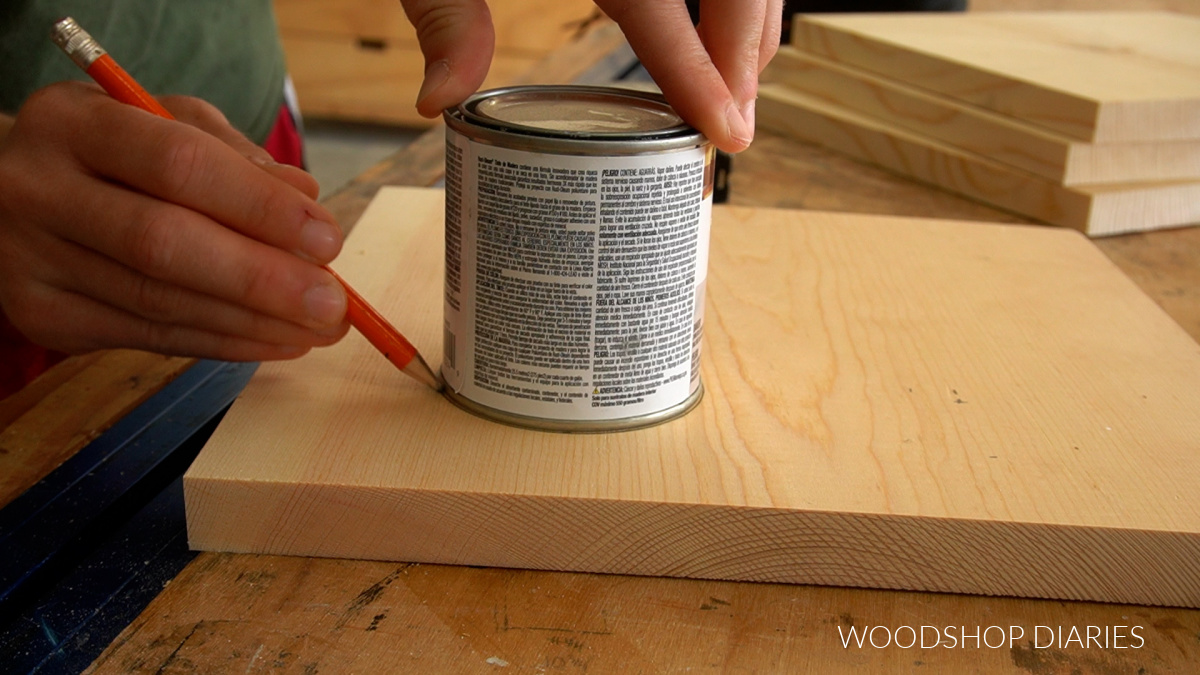
I found a small stain can was just about 2 ¾″ diameter, so I used it to trace two half circles on two of my shelves for the slots.
Then I used a straight edge to draw straight lines down the board to make 2 “U” shapes.
Once I drew out my slots, I cut them with a jig saw.

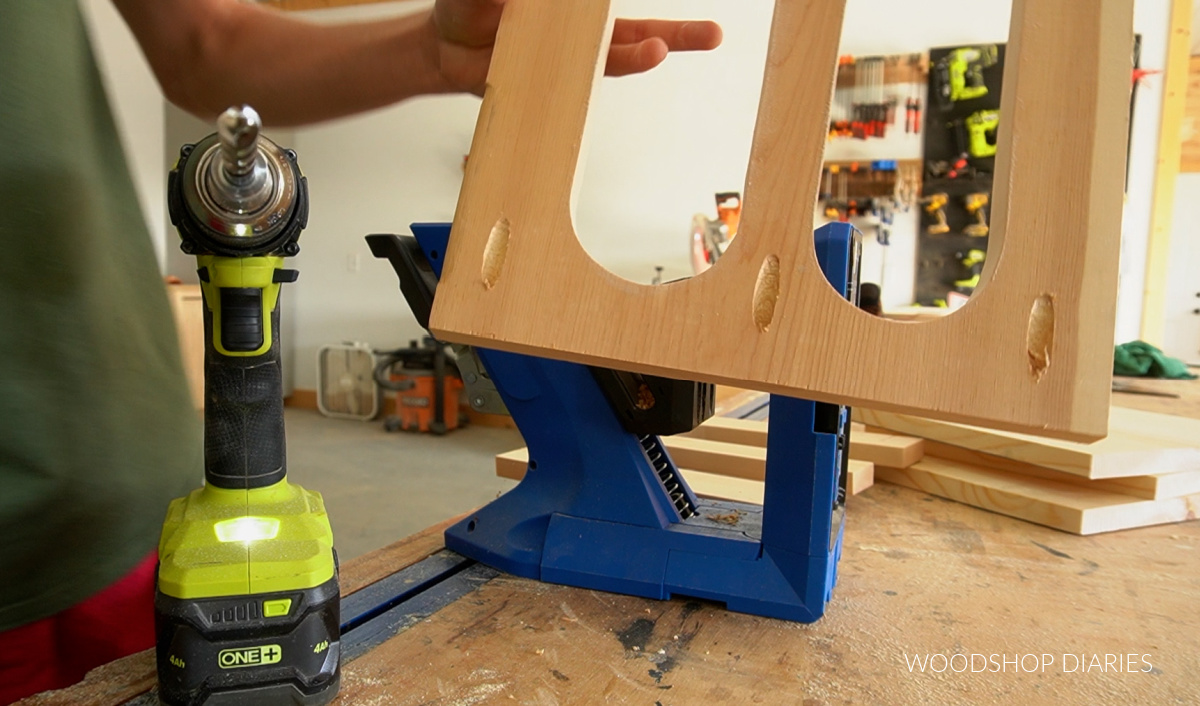
Then, I drilled ¾″ pocket holes into one end of each shelf. For the slotted shelves, I drilled them like shown below between the slots. For the solid shelves, I just drilled two pocket holes along one edge.
At this point, I recommend finishing the shelves if desired. I painted mine with Dwil Black Furniture Paint.
Step 4: Install Shelves
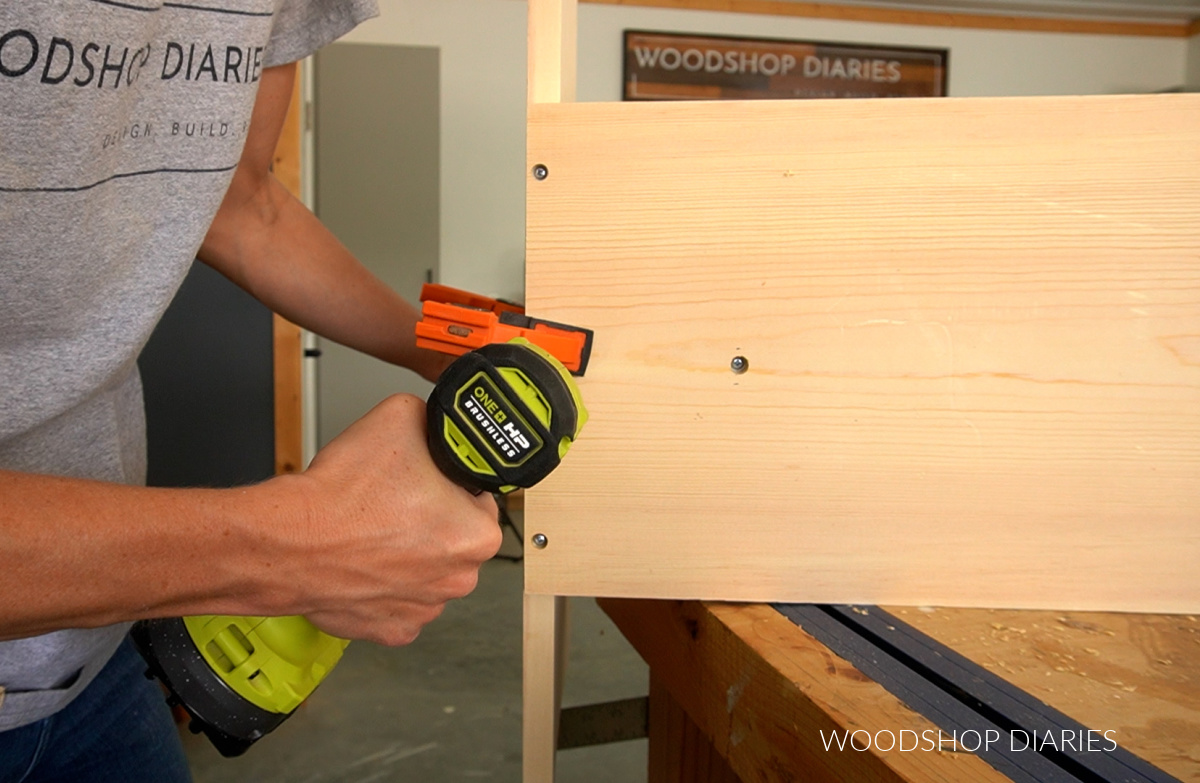
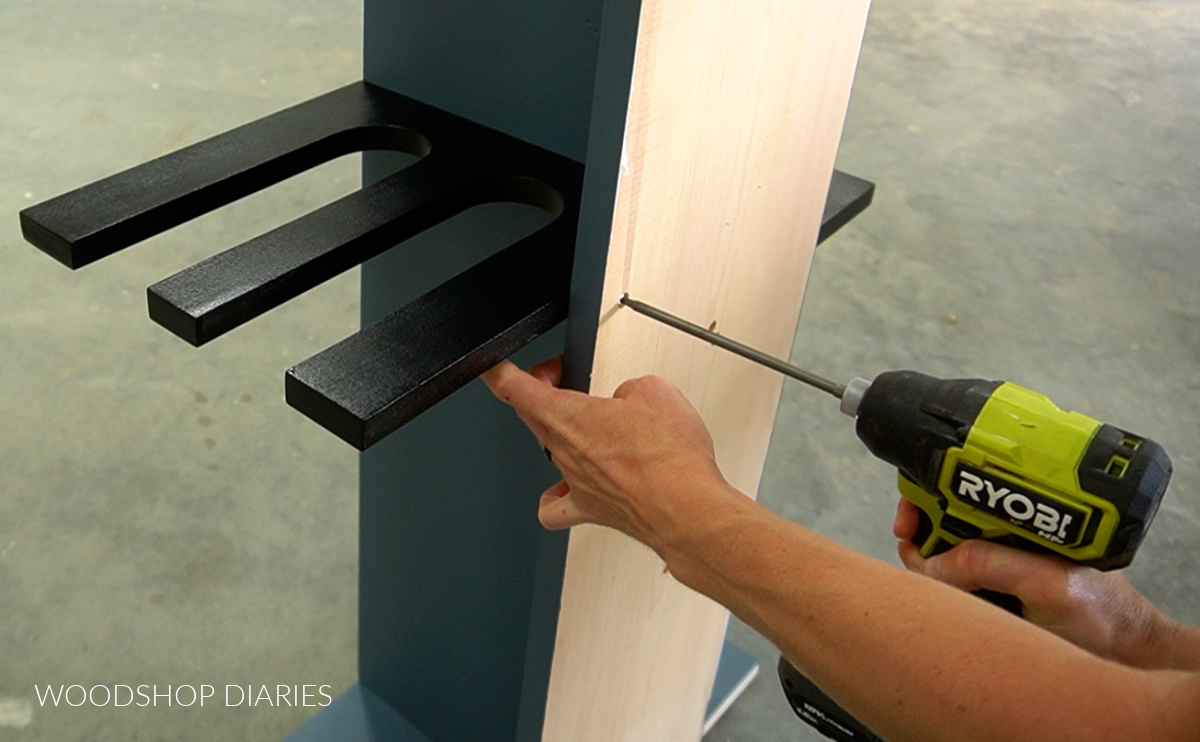
Once the finish on the main body and the shelves is dry, it’s time to screw them in. Feel free to customize your spacing to fit your own boots, but I installed my solid shelves on the left side spaced about 8″ apart.
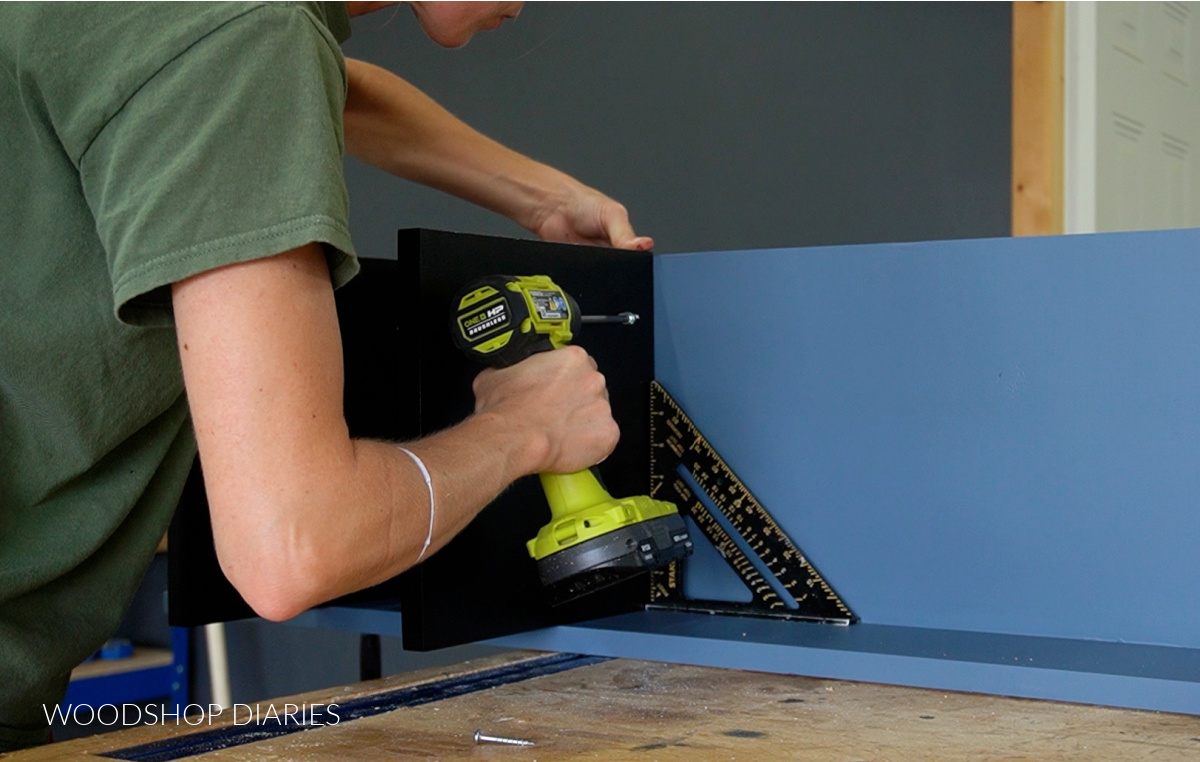
I used a speed square to help keep these square as I drove the 1 ¼″ pocket hole screws.
After I had the solid shelves installed on the left, I installed the slotted shelves on the right. The top shelf was installed 3″ down from the top of the back panel. And I installed the next shelf about 16″ down from it.
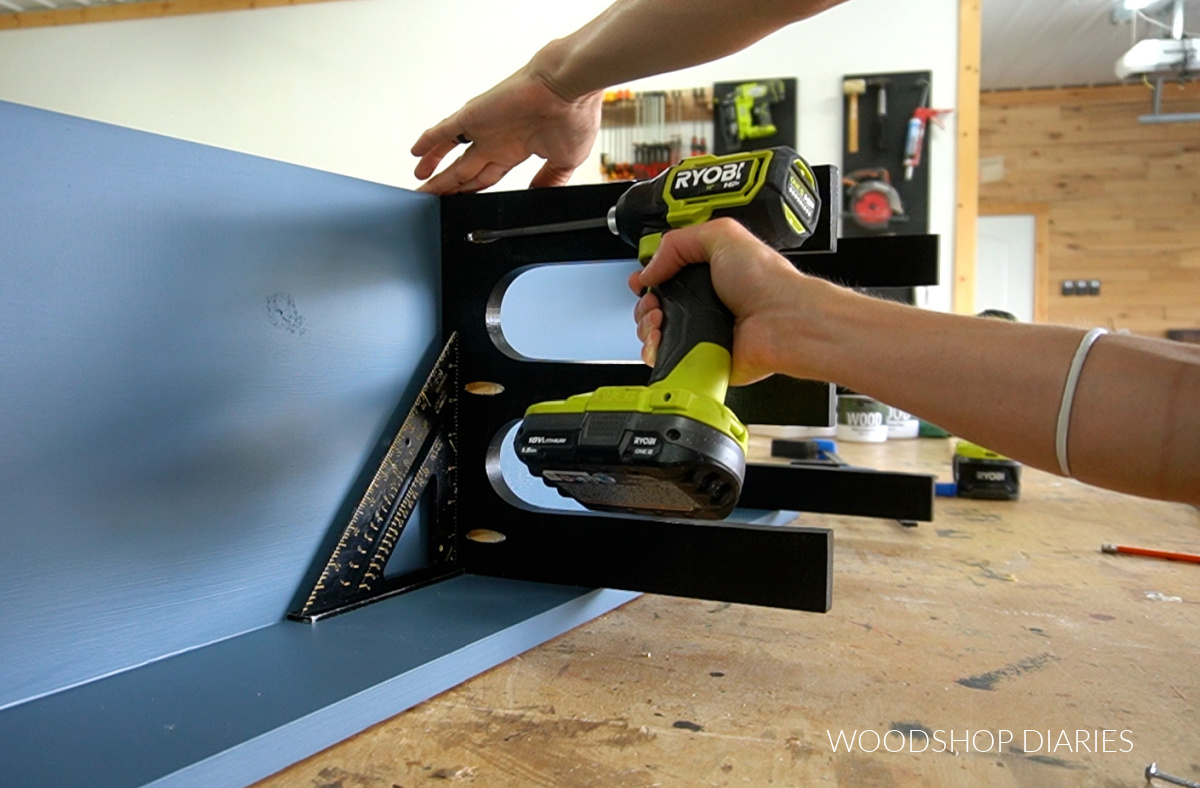
Again, feel free to adjust yours as you’d like. Once the shelves were attached to the middle divider, I used the speed square to make sure they were square and not tilted, then secured with 1 ¼″ screws through the back panel.
Step 5: Install Boot Posts
The very last part was adding these optional boot posts. I cut my dowel rod into two pieces about 16″ tall and two more pieces about 12″ tall.
Then, I flipped the shelf on it’s back and measured and marked along the bottom panel about 6″ from the edge on the left and right side. I predrilled 2 holes along this line about 4″ apart and installed my posts with 2 ½″ screws through those holes.
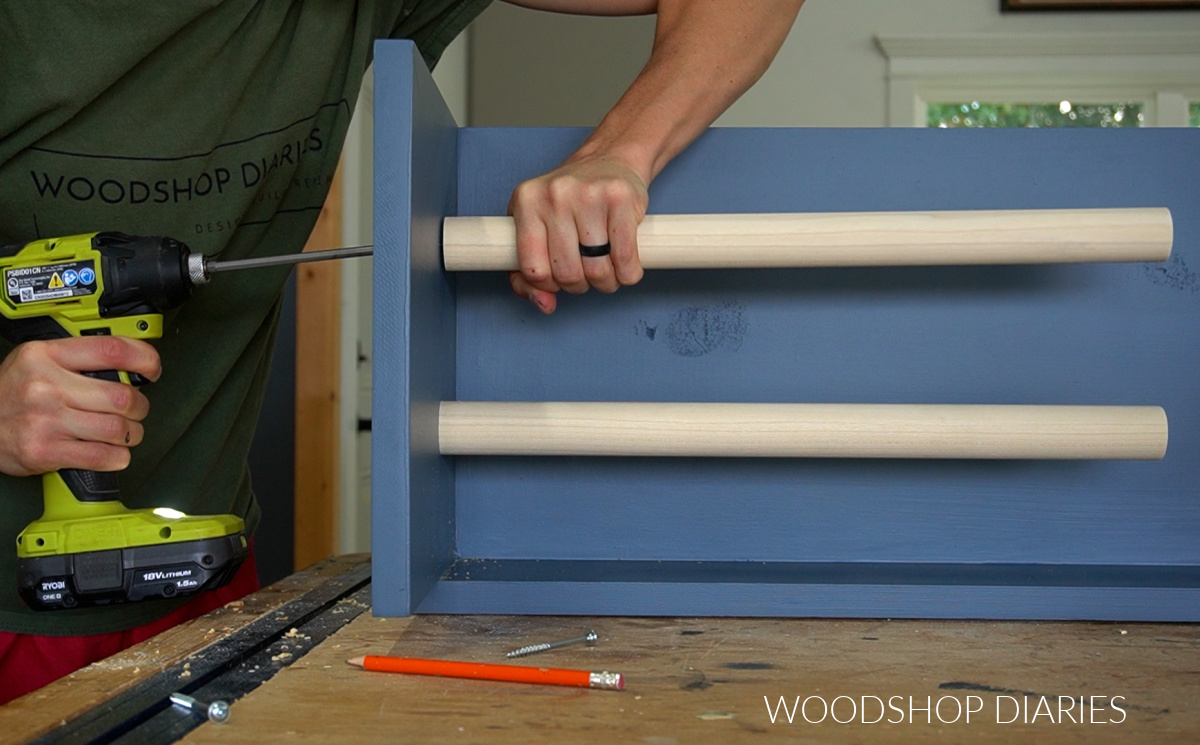
I put the longer posts on the right side and the shorter posts on the left. The exact placement of these isn’t critical as long as you can easily stick two boots or shoes on them.
And with that, this simple shoe shelf is complete and ready to load up!
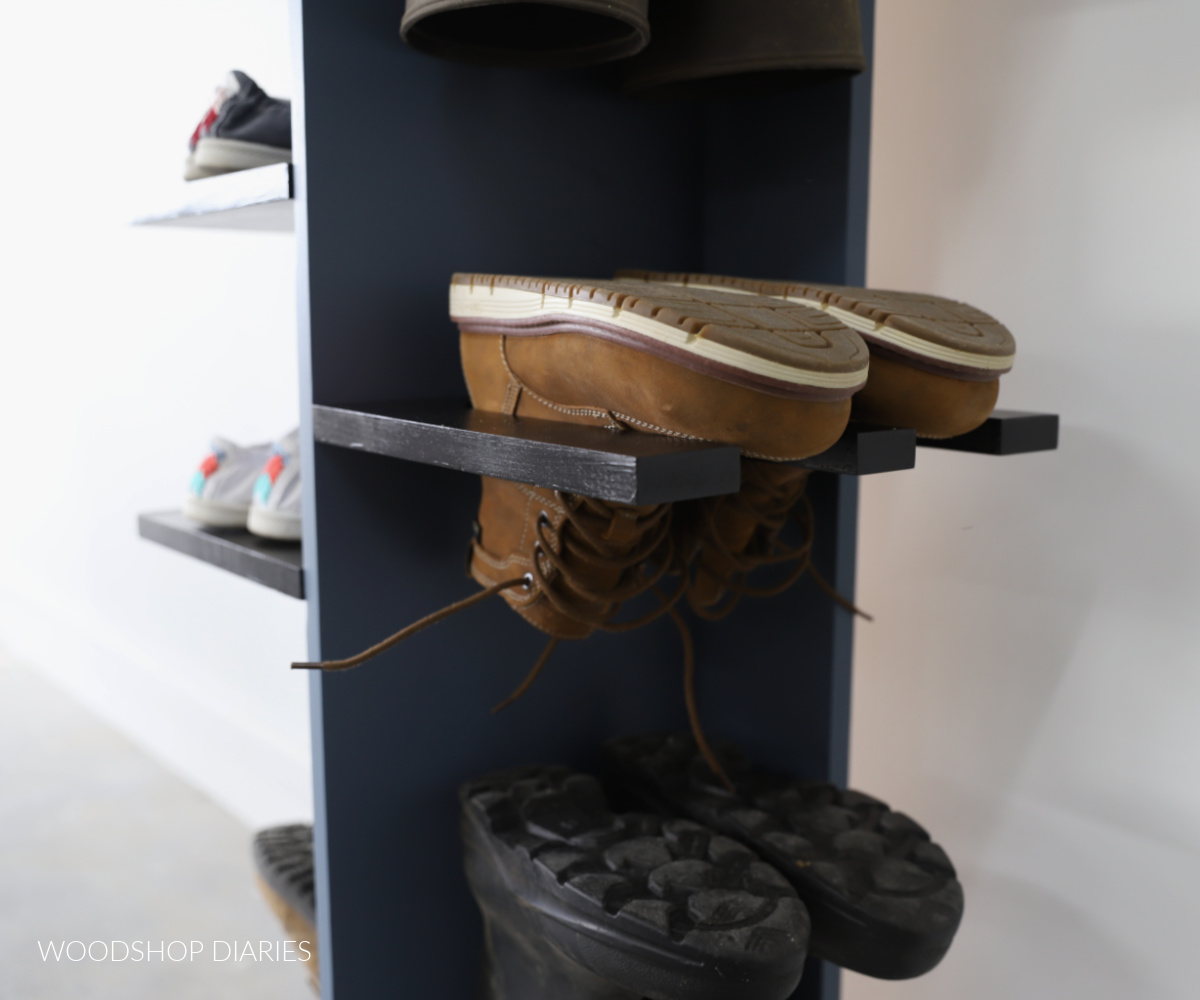
I actually made this for my parent’s garage so they have a place to store their boots and shoes that have piled up by the steps. Being able to get their shoes off the ground will help keep critters from crawling inside, too!
This is a great space saving way to store and organize shoes of all shapes and sizes.
Looking for more shoe storage ideas?
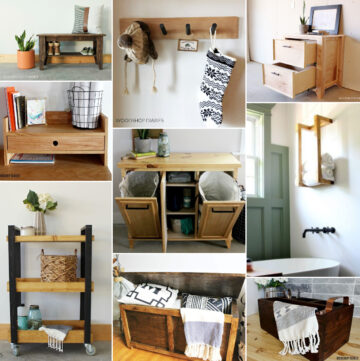
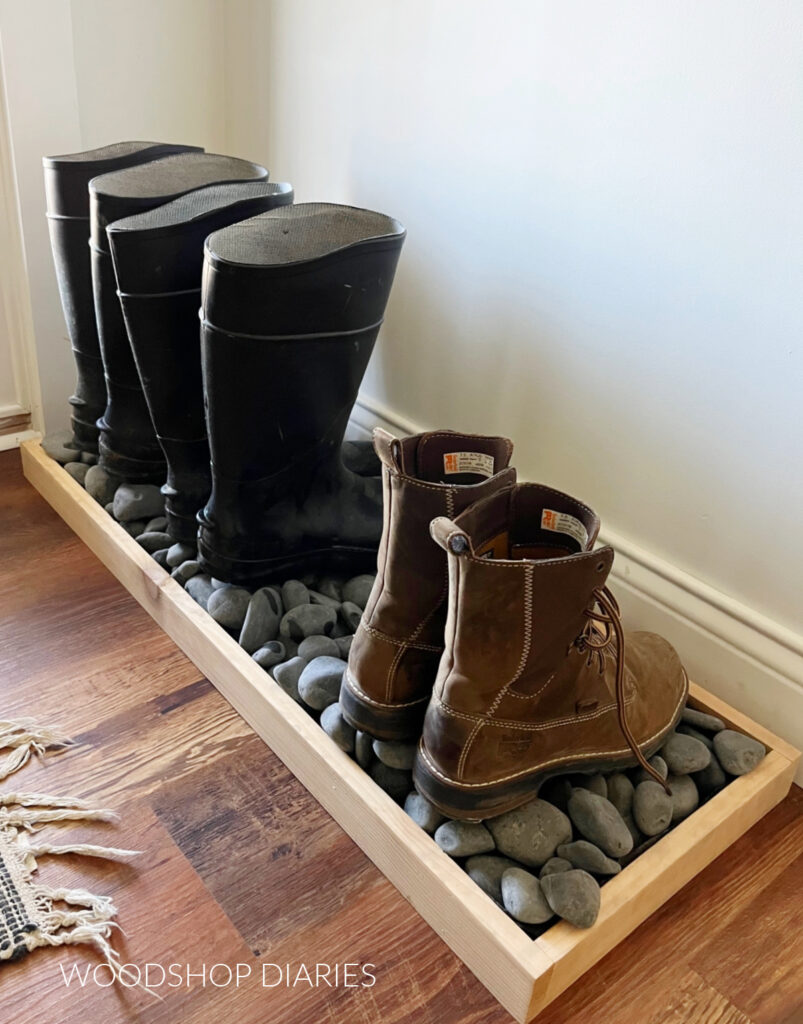
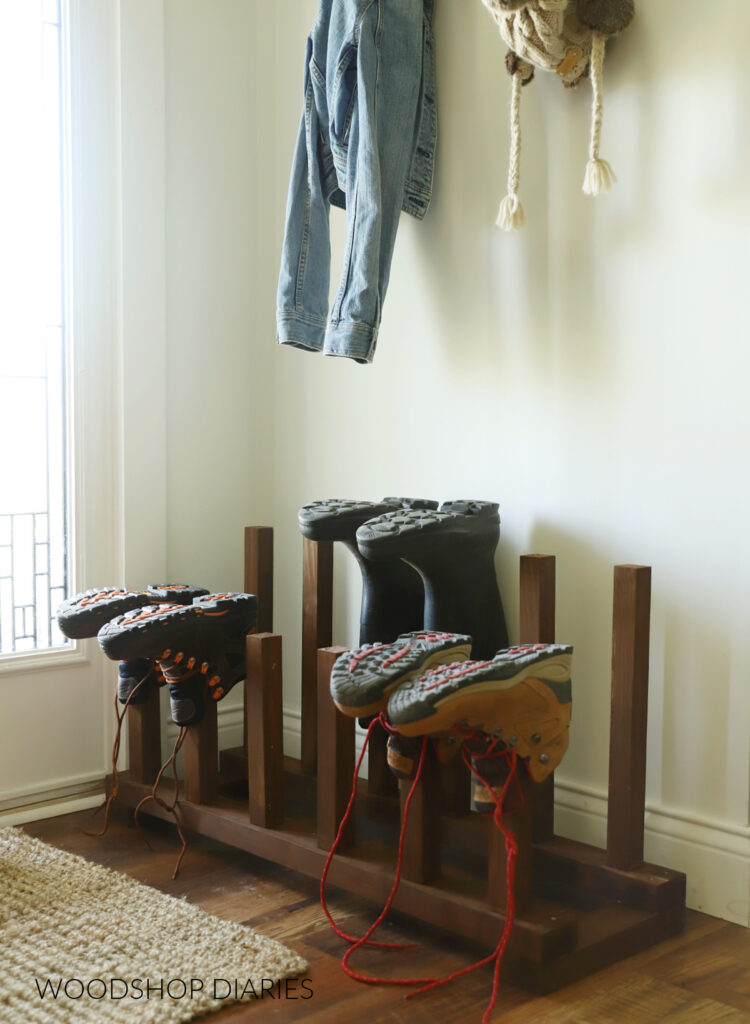
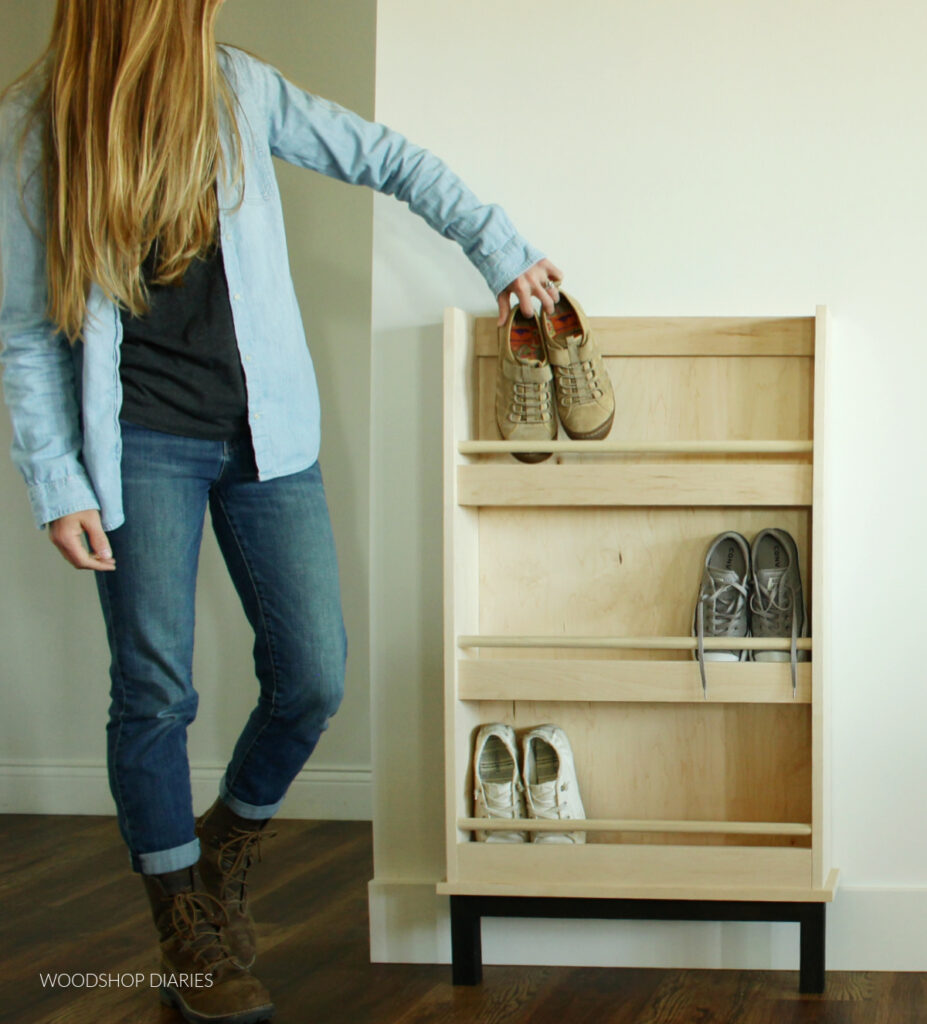
Love this idea but looking for more? These shoe storage projects are some of my favorites!

If you want to save this DIY shoe organizer project for later, be sure to pin it or share to your favorite social platform!
Until next time, friends, happy building!