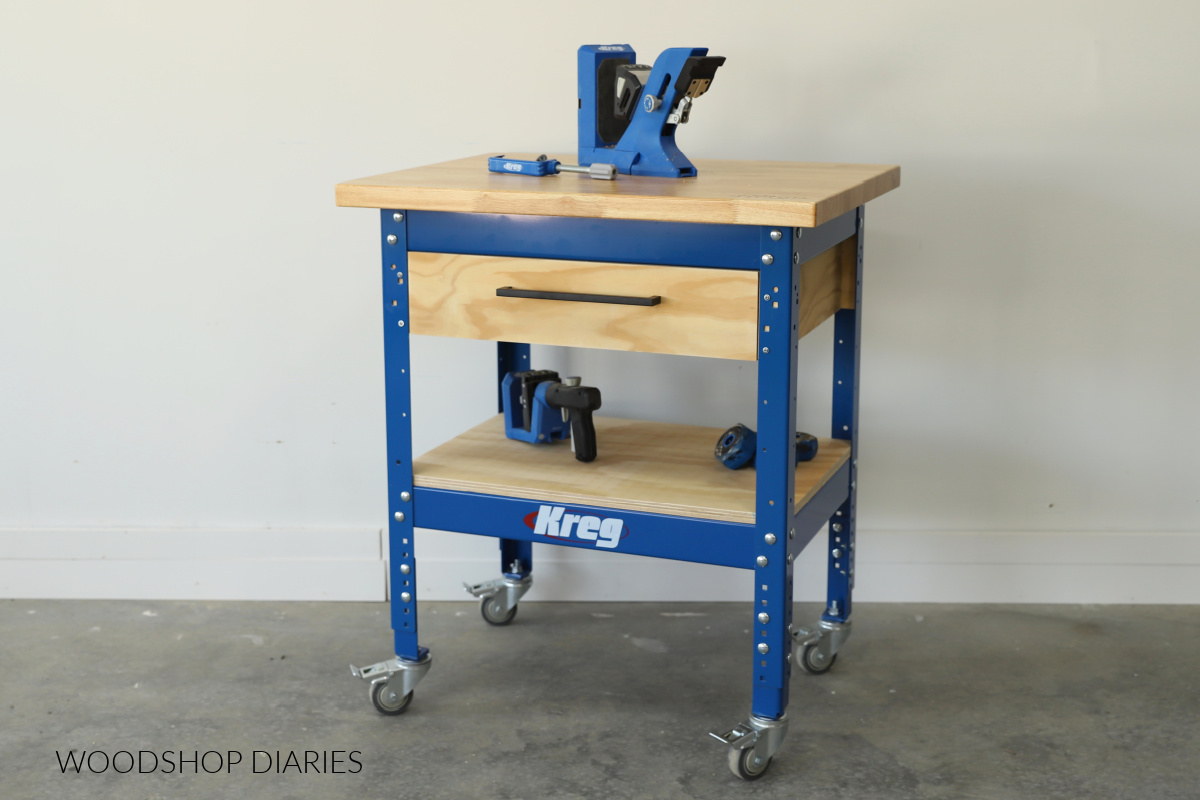
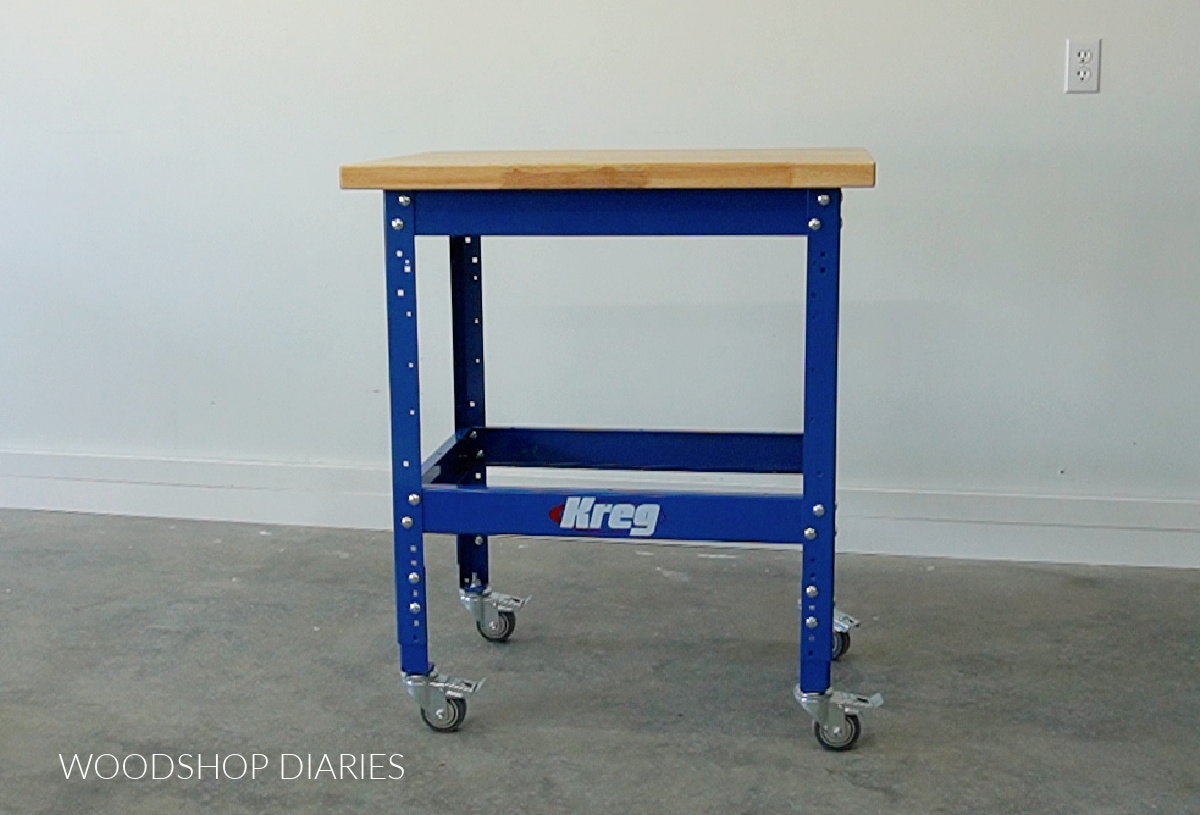
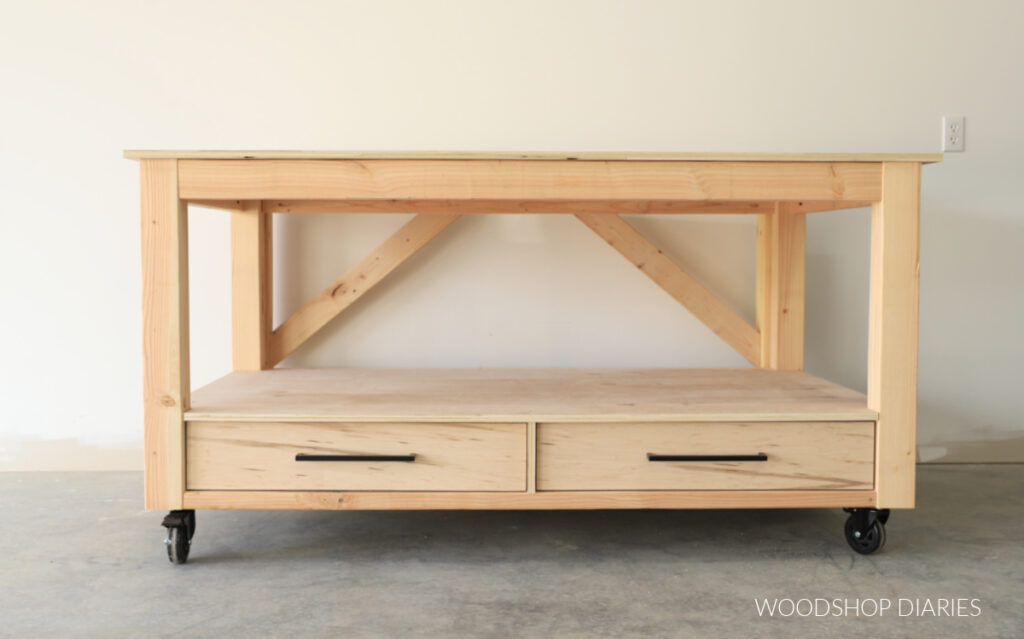
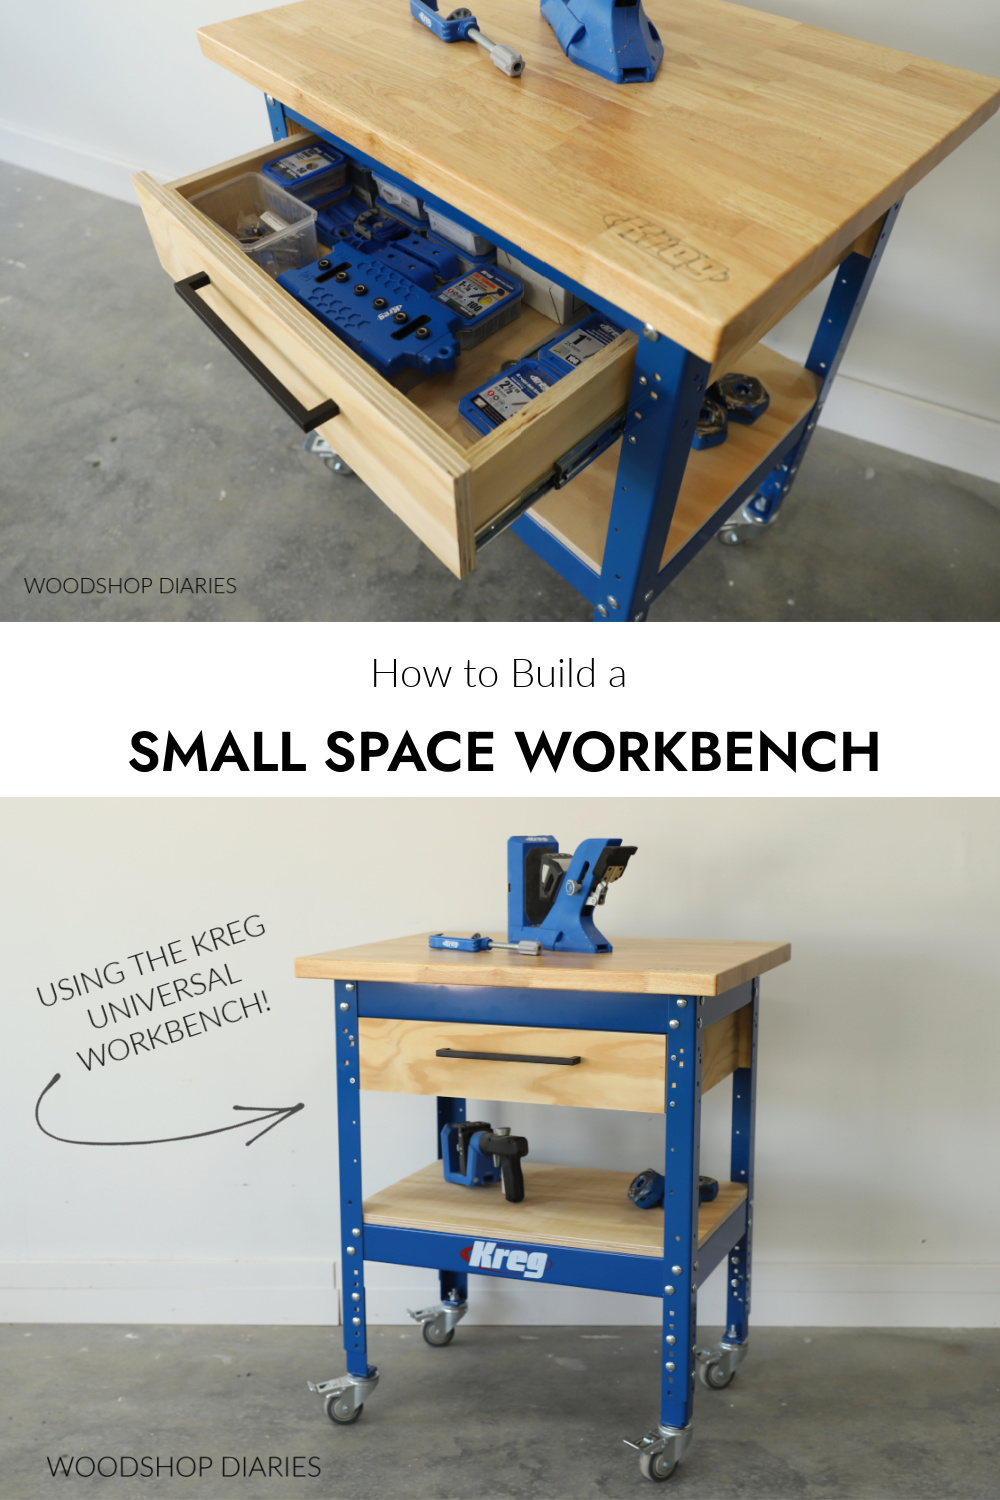
In this post, I’m sharing how to build a DIY workbench for a small shop or garage!
This steel frame workbench takes up a small footprint, but has plenty of open space below to add your own customizations–like a drawer and open shelving.
*This post was sponsored by Kreg Tool and contains affiliate links. See website policies.
Finding great options for a workstation in a small shop can be challenging. You want something sturdy, versatile, and as practical as possible while still being minimal in size.
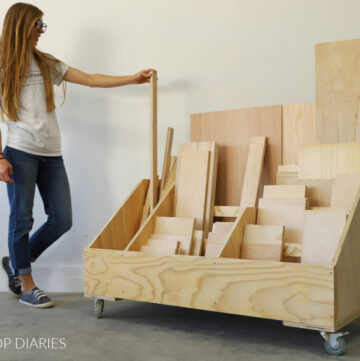
This simple design allows for storage of larger, bulkier items (like a circular saw, drill, some jigs) on the bottom shelf, while offering storage for smaller parts (like screws and accessories) in the drawer at the top.
Optional casters provide mobility–which is always a plus, in my opinion! And you can grab this metal workbench frame in a variety of sizes if you have room for something a little bigger.
This same concept can be adapted to fit any size Kreg Universal Workbench frame, but I’m showing the smallest size in this post.
What to consider before building a metal frame workbench
This workbench set up was built on the Kreg Universal Workbench frame. These come in a variety of sizes, but are just a simple frame–4 legs with top and bottom braces.
The downside is that, on its own, it’s pretty basic. But the upside is that it allows for endless customizations to suit your own needs. In this example, I added a drawer and open shelf.
However, I hope this serves as kind of a “starting point” to give you just one idea of how this could be built out.
Project cost
Full disclosure–this is not the most budget friendly workbench option. The steel frame plus butcherblock work top will run you about $380 (as of Oct. 2023). And the caster wheels will add an additional $70 if you’d like it mobile.
You can certainly build your own wooden workbench frame and add casters for less. But, the Kreg Universal Workbench frame and hardwood top do offer some pretty nice advantages to consider:
- It’s a SUPER quick assembly. All pieces are already cut to exact lengths and ready to simply bolt together. It took about 10 minutes to assemble mine and it’s incredibly sturdy.
- It’s got adjustable height legs. Adjust bench height from 32 ½″ – 40 ½″ (not including casters).
- The hardwood top comes prefinished with a stain and glue resistant coating. You can get this solid or with predrilled dog holes.
Plus, a steel workbench frame can last for decades while a wood one will eventually get beat up and worn out (if it’s anything like the ones I have already) and need to be replaced.
In addition to the cost of the workbench frame, for this particular project, you’ll also need to factor in the other materials from the materials list below.
This will be the plywood, screws, and drawer slides you’ll need to add the shelf and drawer into the frame once assembled. The rest of the materials should only run about $60 or so and you likely have many of these items already in your shop or scrap pile.
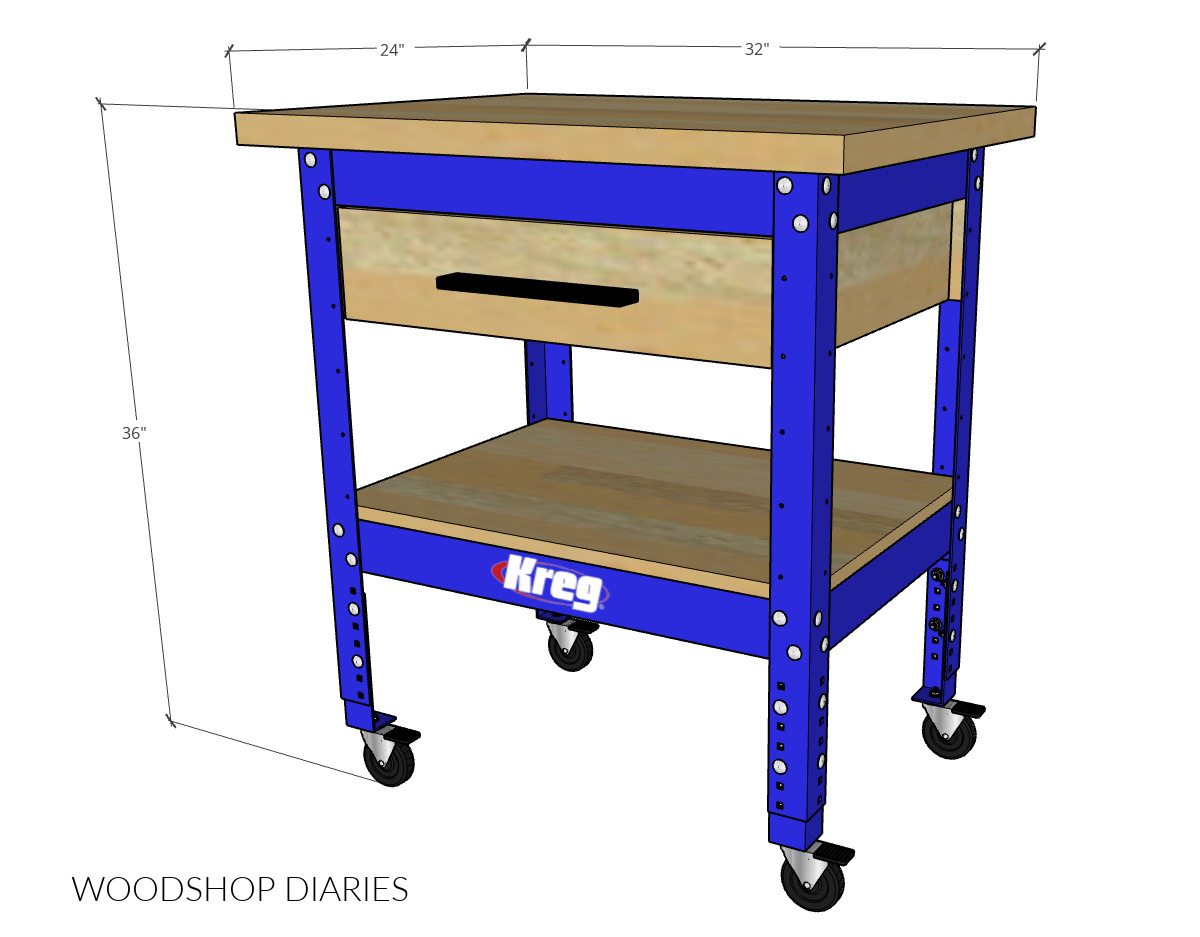
Overall dimensions of workbench
The overall dimensions of this small space workbench are 24″ deep x 32″ wide x 36″ tall. Keep in mind that the height is adjustable on this frame so you can change that.
The Kreg Universal workbench frame comes in various sizes, so you can apply this same concept to any of them if you’d prefer another size. I’m showing this project on their smallest size bench.
Helpful resources to use during this build
- How to cut plywood
- How to use a pocket hole jig
- How to build a drawer box
- How to install drawer slides
- How to choose the right plywood for your projects
Are DIY projects your thing? Sign up for our newsletter for priority access to the latest projects and build plans!
How to build a small mobile workbench with metal frame
This workbench build only takes a few hours to assemble and since you don’t need to worry with finishing (unless you want to), there’s no need to spend time edge banding, staining, or painting.
Below I’m sharing how to build out the smallest of the Kreg Workbench frames, but this same concept can be applied to any of the other sizes. You’ll just need to modify the dimensions accordingly.
I’m sharing the step by step and building plans below, but if you prefer watching, I’ve also got a video tutorial on my YouTube channel with additional tips and resources.
Love watching how-to videos? Subscribe to my YouTube channel for plenty more where that came from!
Tools & Materials
Tools:
- Circular Saw
- Kreg Rip Cut & AccuCut (optional cutting guides)
- Pocket Hole Jig
- Drill/Driver
Materials:
- Kreg Universal Workbench Frame
- Kreg Butcherblock Work Top
- Kreg Workbench Caster Wheels
- 4’x4′ (½ sheet) ¾″ plywood
- 2’x2′ (⅛ sheet) ¼″ plywood
- ¾″ pocket hole screws
- 1 ¼″ pocket hole screws
- (1) pair 16″ ball bearing drawer slides
- (1) drawer pull
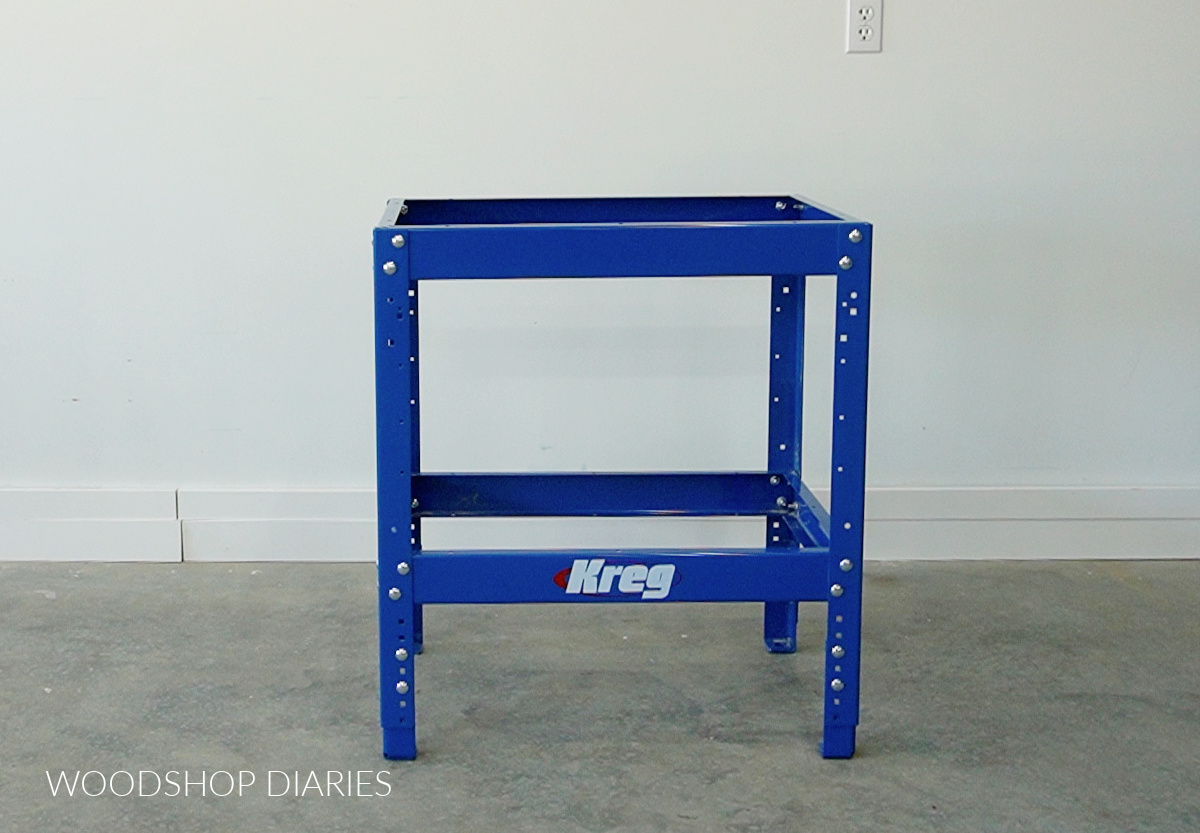
Step 1: Assemble Metal Workbench Frame
Since this workbench is built onto the Kreg Universal Workbench frame, the first step was simply assembling that frame together.
The workbench frame comes as 4 adjustable legs and you simply use the included nuts and bolts (per the instructions) to assemble the braces between them–4 at the top and 4 toward the bottom.
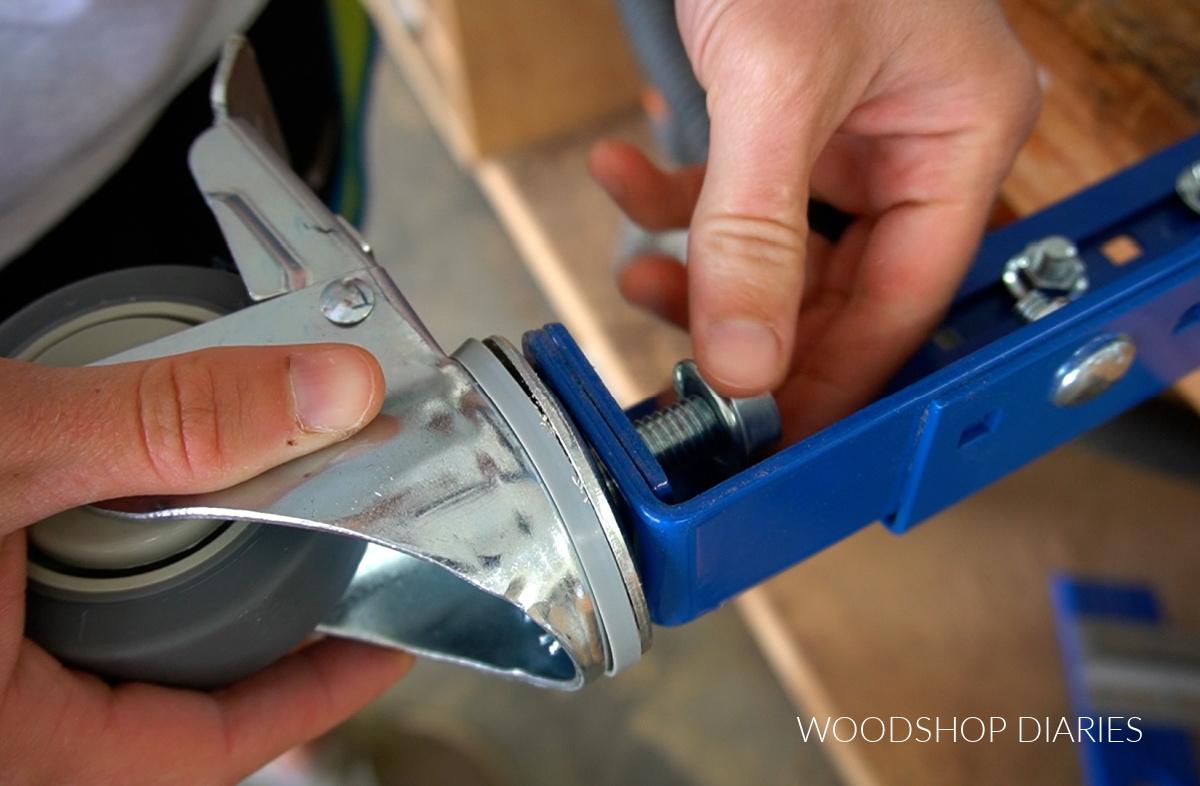
The bench comes with adjustable feet that you can add to the bottom of each leg, but if you prefer this workbench to be mobile, you can add caster wheels instead.
These wheels have a threaded rod that goes through the hole on the bottom of each leg and tighten with a nut.
Step 2: Add Work Surface
Once the workbench frame was together, I added a hardwood worktop to it. Kreg offers these prefinished, precut bench tops with or without dog holes. They come in different sizes to fit whichever size bench frame you have.
Now, you can certainly glue up your own top, purchase a hardwood top of your own, or simply use a piece of plywood for your work top if you wanted something different. These would all work fine on this frame.
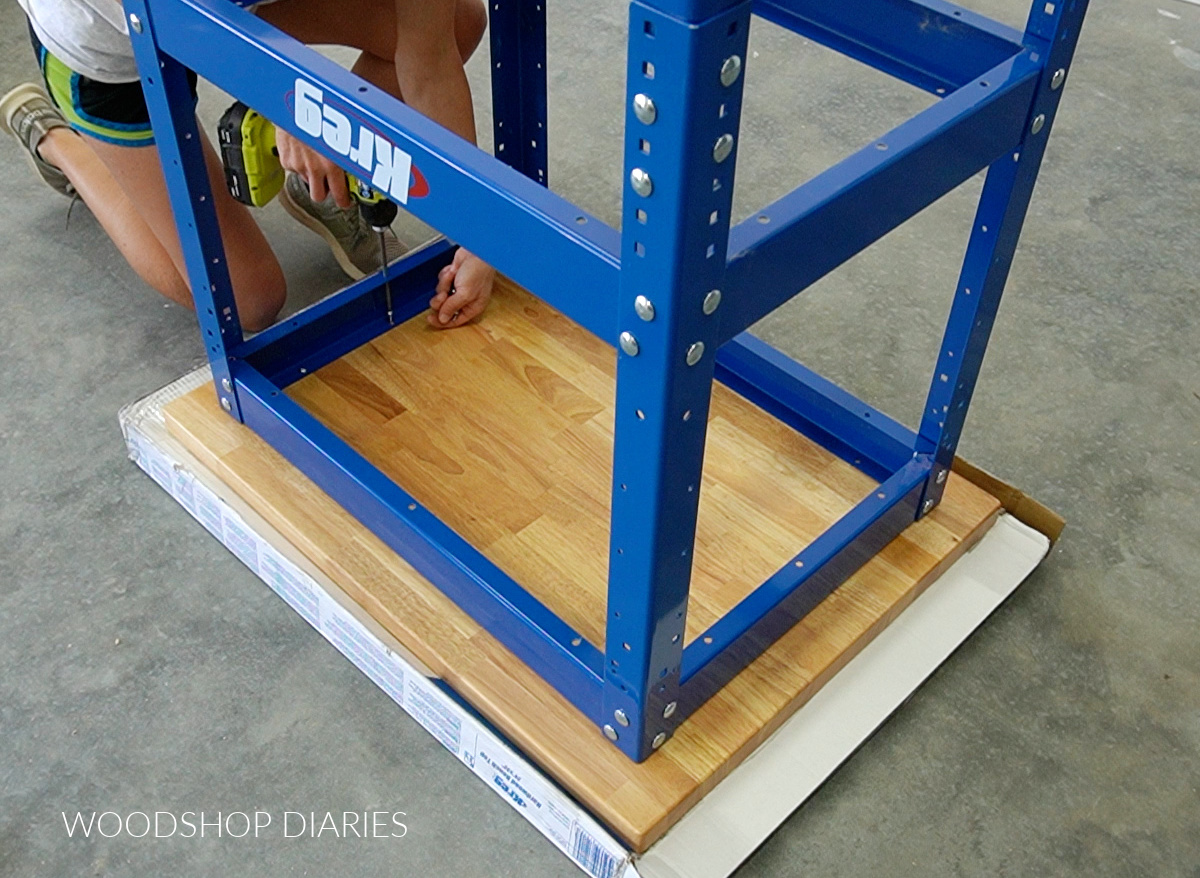
I flipped my worktop upside down and flipped the workbench frame upside down on top of it, making sure it was centered. Then, I used ¾″ pocket hole screws through the holes in the frame to attach.
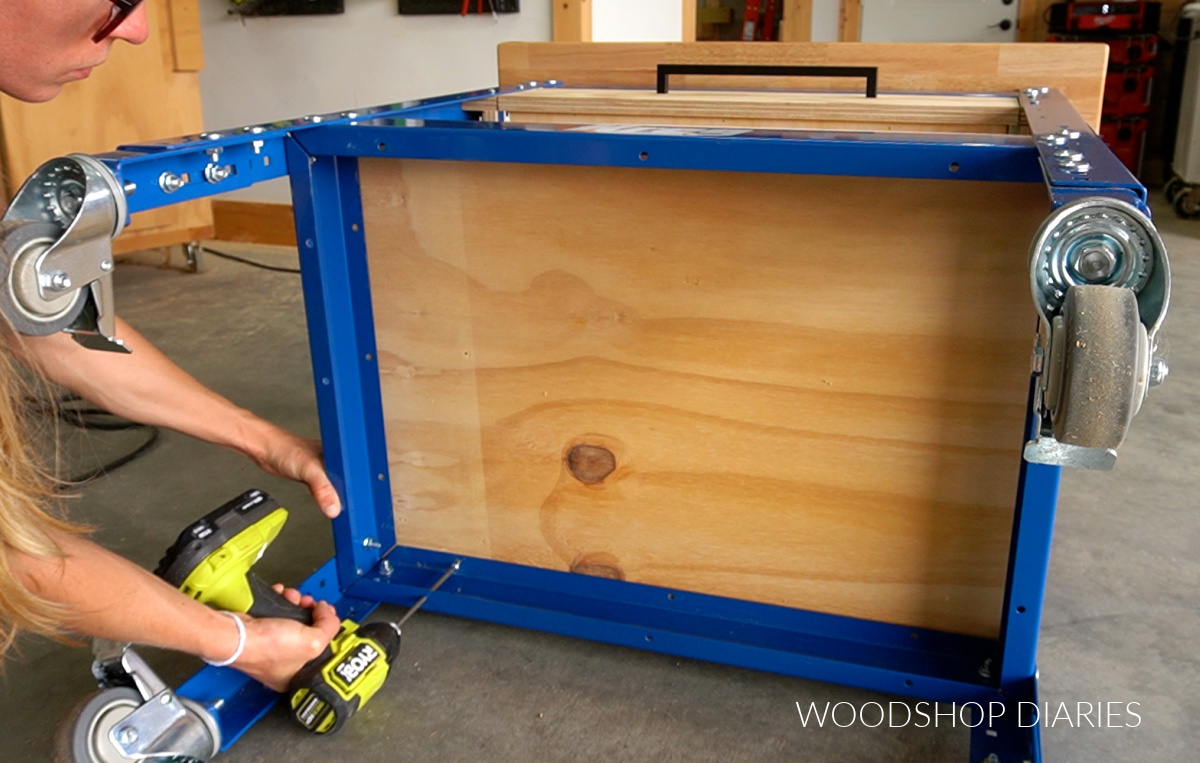
Step 3: Install Bottom Shelf
Here’s where I recommend doing as I say and not as I did. When I was building this, I did steps 4, 5 & 6 before doing this step. But when when I went to install the shelf, it wouldn’t fit.
So I suggest installing the shelf first, then adding the top drawer. I cut a piece of ¾″ plywood to install along the bottom braces in the workbench frame.
RELATED: How to cut plywood sheets
Once it was cut to fit, I placed it in the frame and used ¾″ pocket hole screws through the holes in the bottom braces to secure it in place.
Step 4: Install Bracing For Drawers
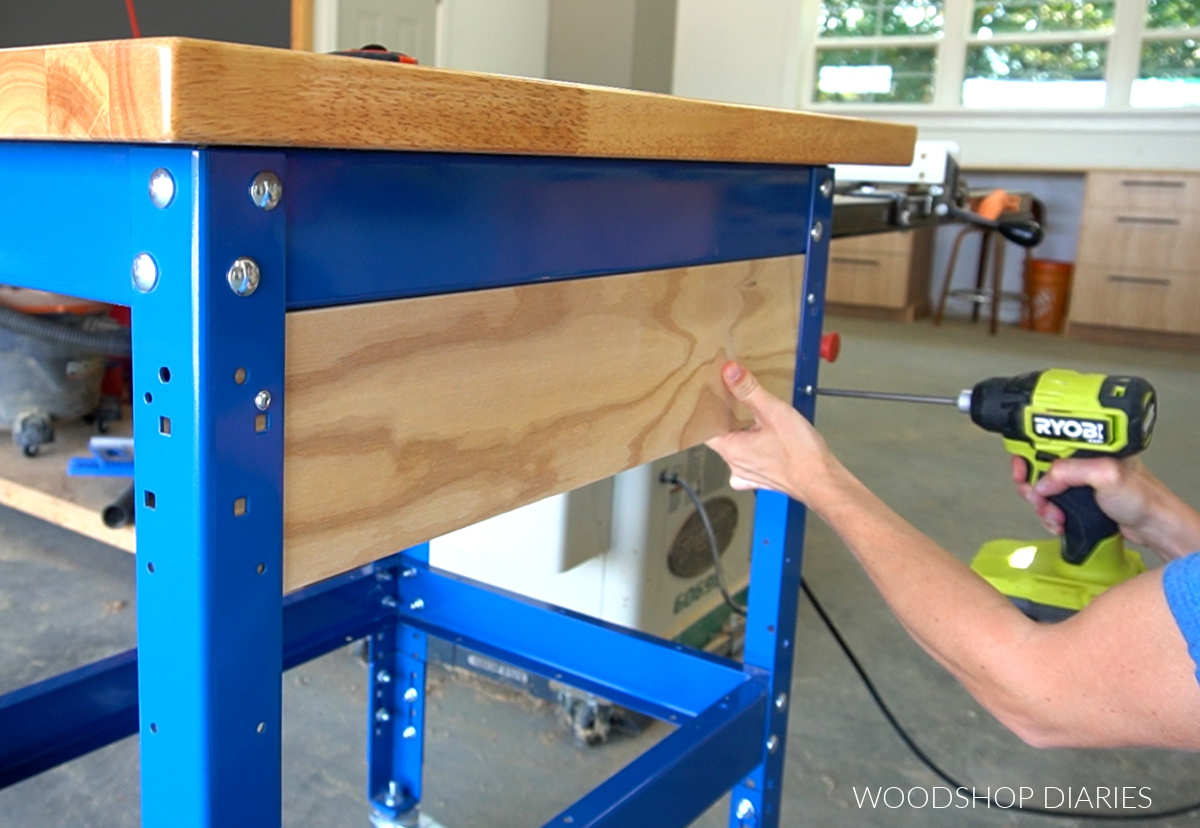
In order to install a drawer, I had to add some wood bracing to the workbench. First, I cut a piece of ¾″ plywood to run between the back legs.
I made this 5 ½″ tall, but if you wanted to deeper or shallower drawer, simply adjust the height however you’d like. I placed this on the INSIDE of the back legs flush against the top brace and used ¾″ pocket holes through the holes in the legs to secure.
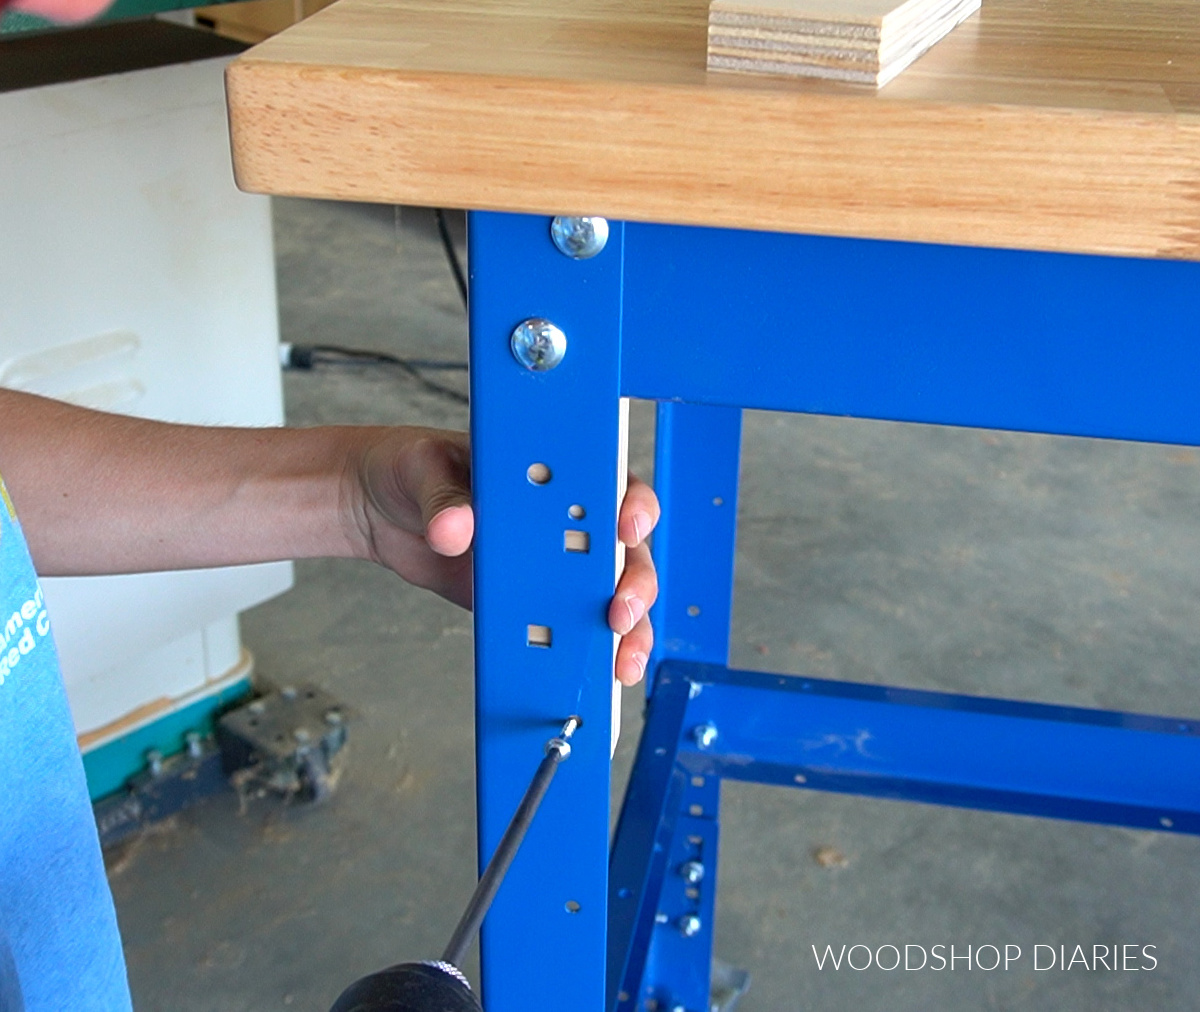
Then, I cut two spacer blocks approximately 1 ⅞″ wide x 5 ½″ tall to screw onto the inside of each leg at the front the same way. These are simply here to give me something to screw the side braces into next.
Then, I cut two pieces of ¾″ plywood to run between the front and back pieces in the frame. This will give me something to mount the drawer slides onto.
I cut these 5 ½″ tall (to match the height of the front and back pieces I already added) and about 18 ¼″ long. It’s best to measure between the front and back braces and cut these to fit that distance.
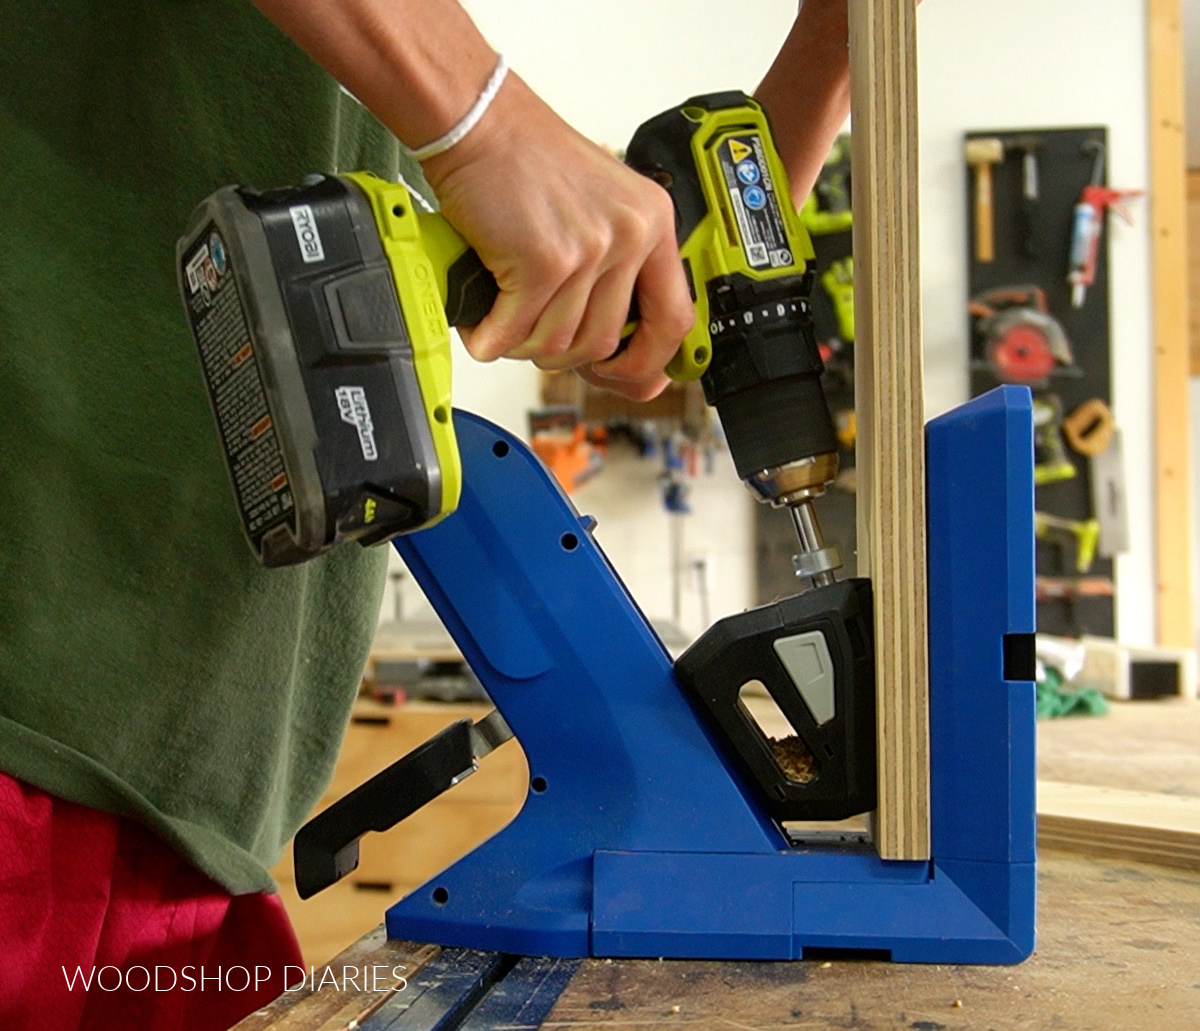
Once I made sure they’d fit, I drilled ¾″ pocket holes into the ends of each piece.
RELATED: How to use a pocket hole jig
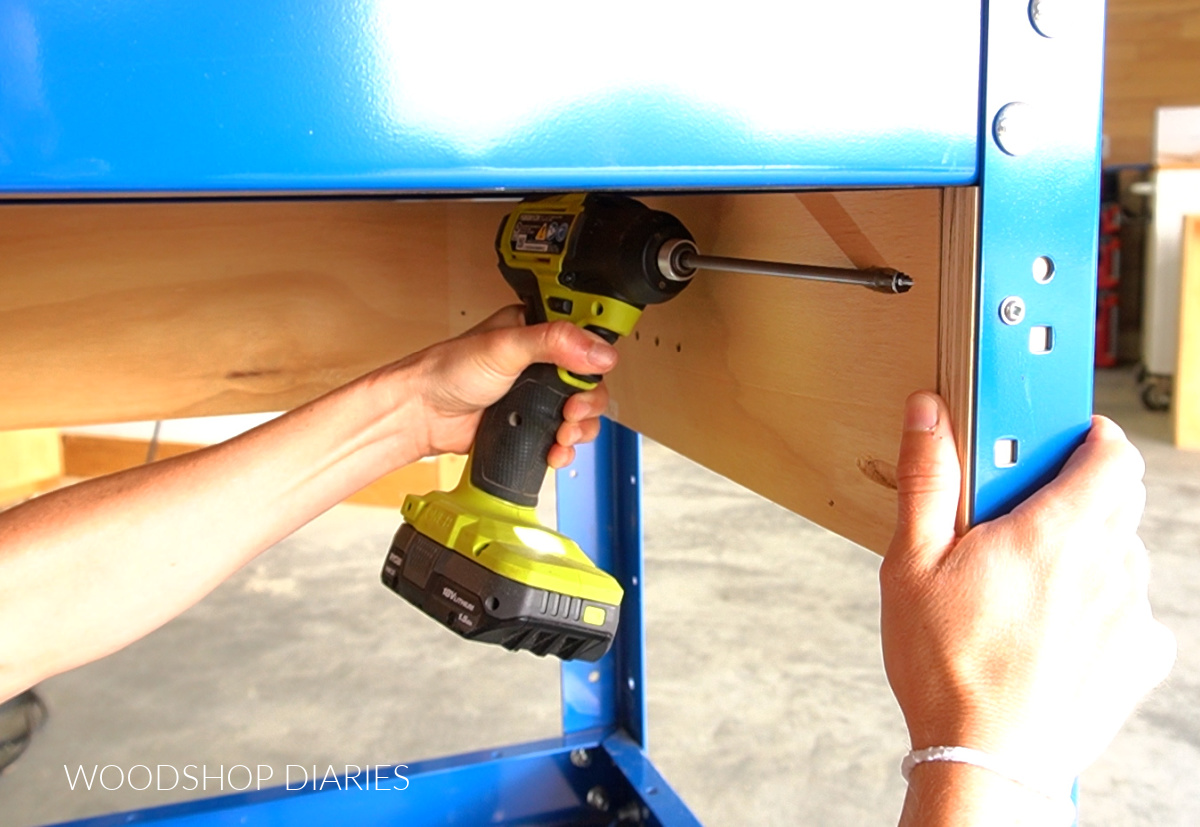
I installed these between the front and back pieces–one on each side–using 1 ¼″ pocket hole screws.
These should be flush to the INSIDE edge of the front spacer blocks and should be square to the back piece. Please ignore the shelf pin holes already drilled into these pieces. I reused this wood from an old project I took apart.
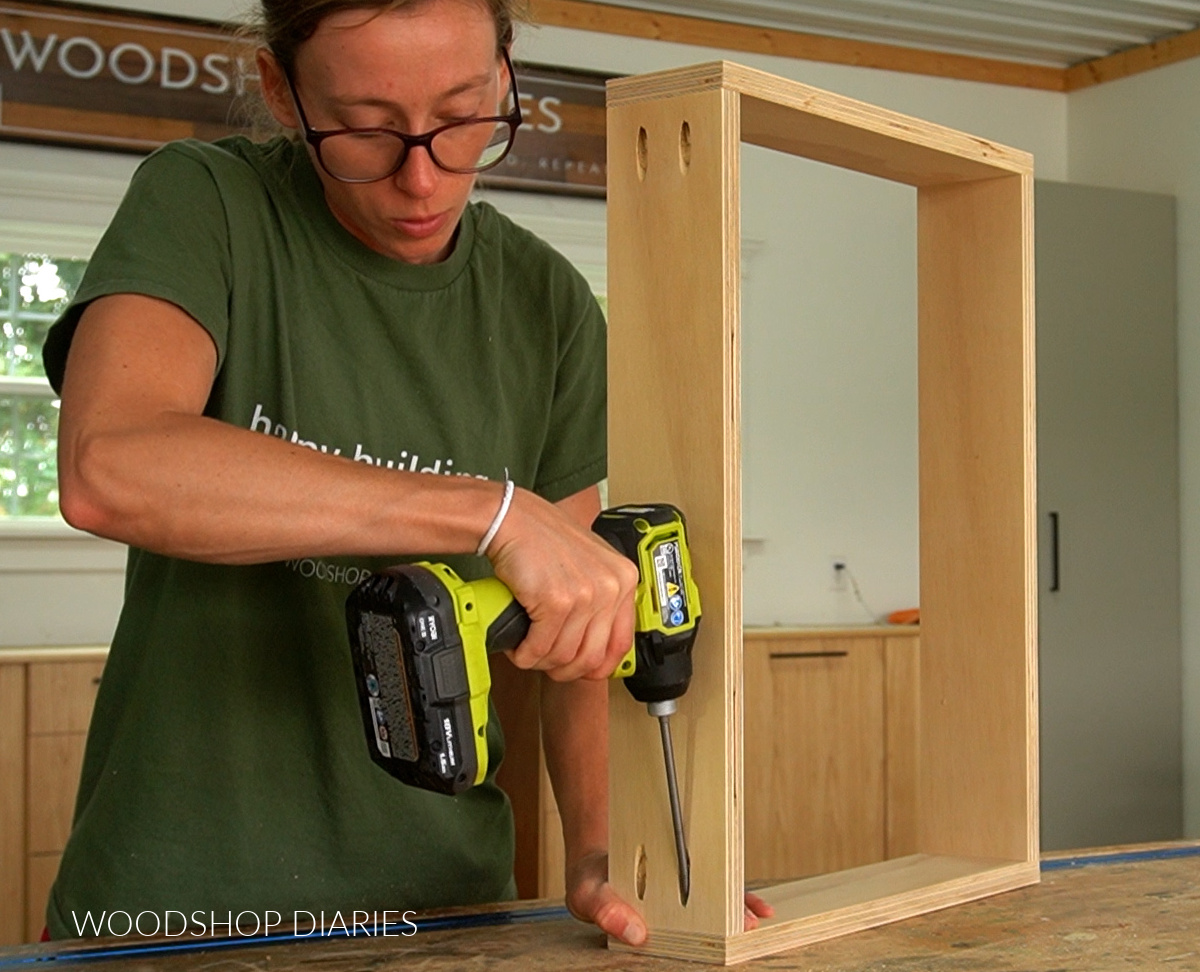
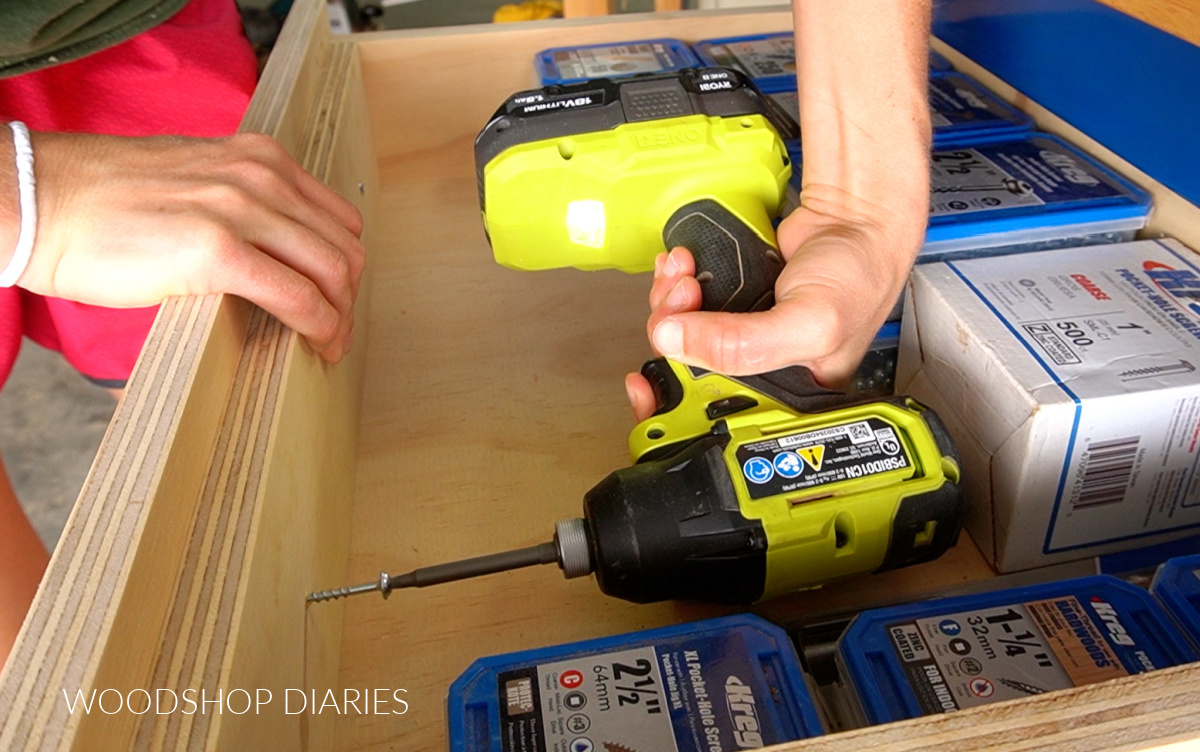
Step 5: Build Drawer Box
Once the framing for the drawer was added to the workbench, it was time to build the drawer box. I built this box using ¾″ plywood for the four sides and used pocket holes and screws to assemble.
Check out the FREE printable building plans here for exact dimensions.
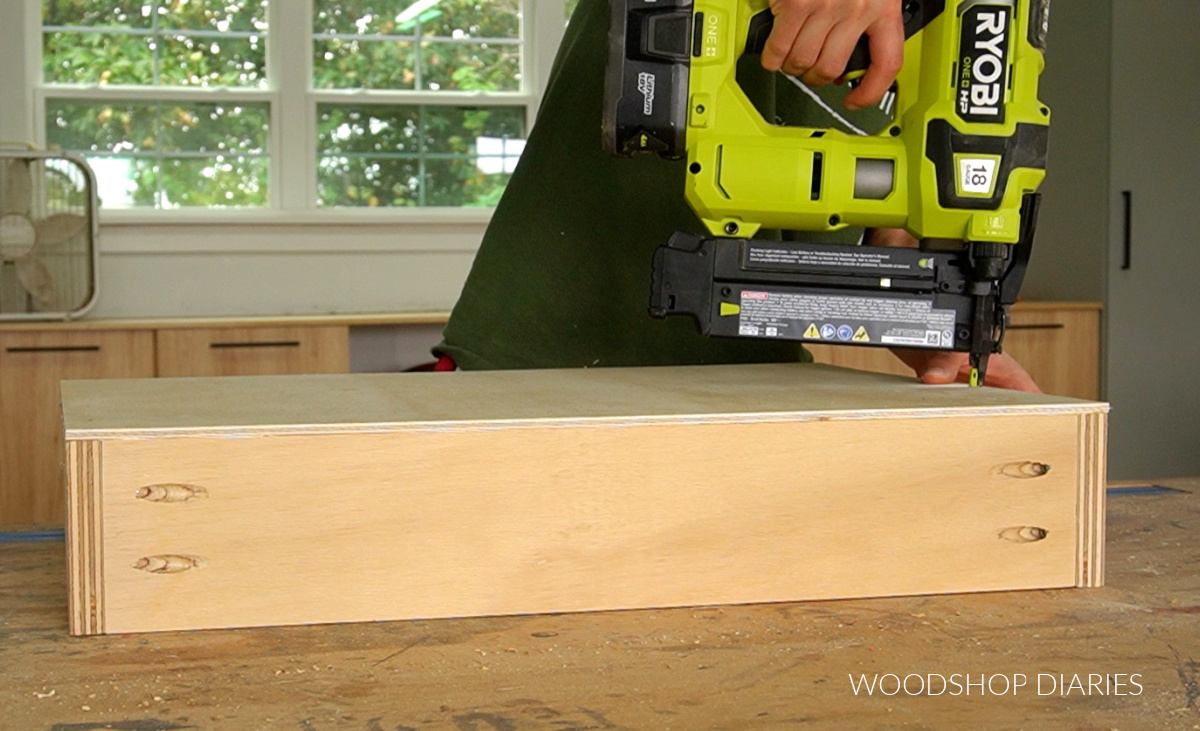
Once the box was together, I glued and nailed ¼″ plywood onto the bottom. Check out this post for more information on how to build a drawer box.
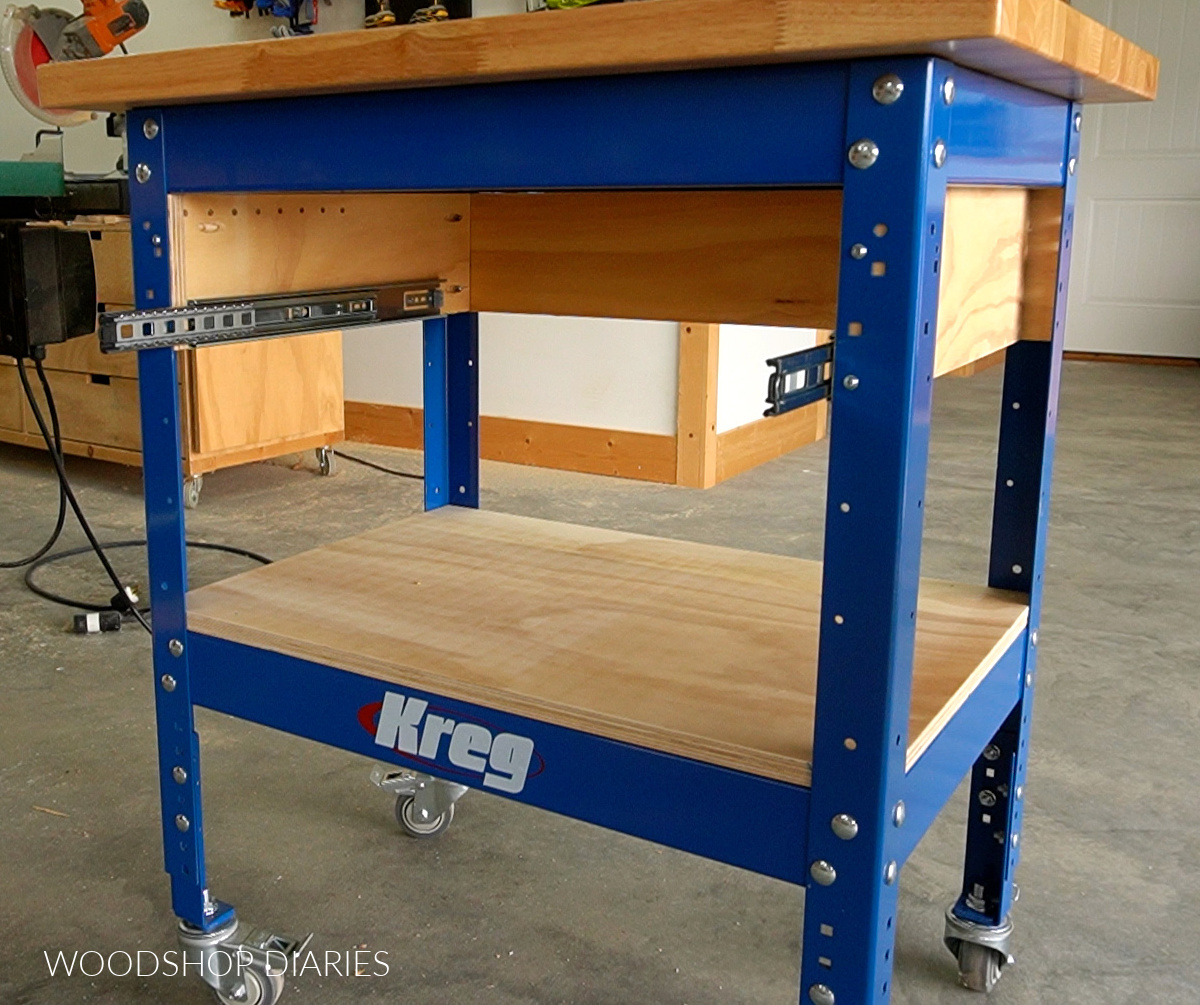
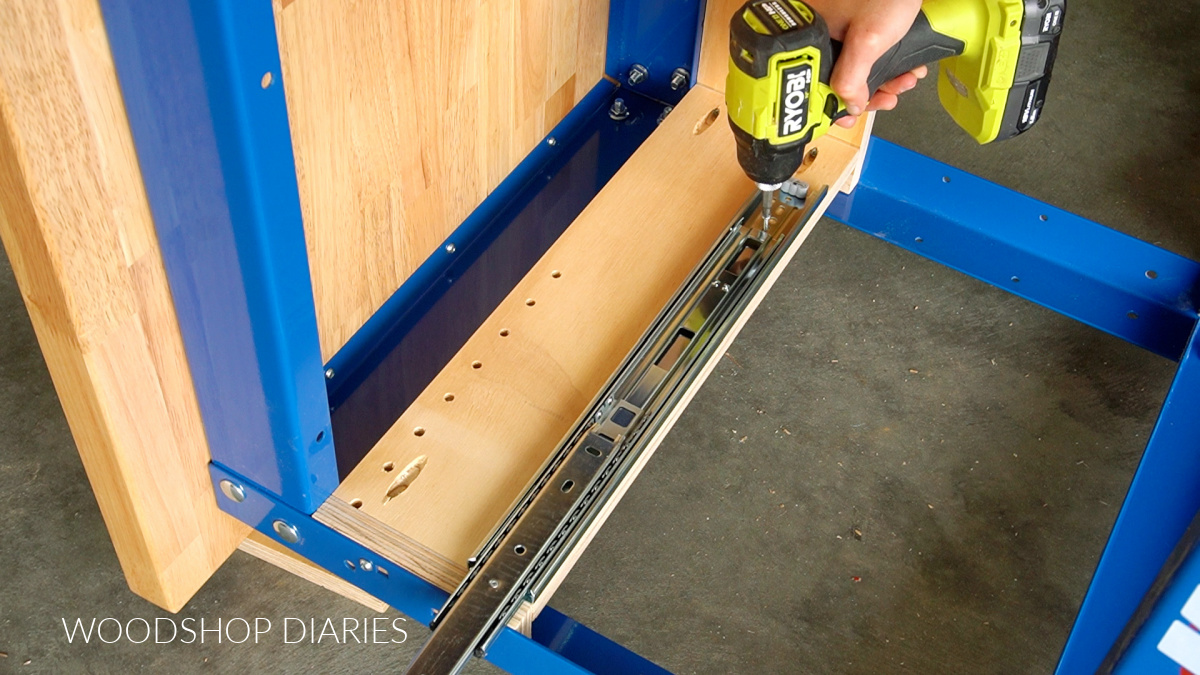
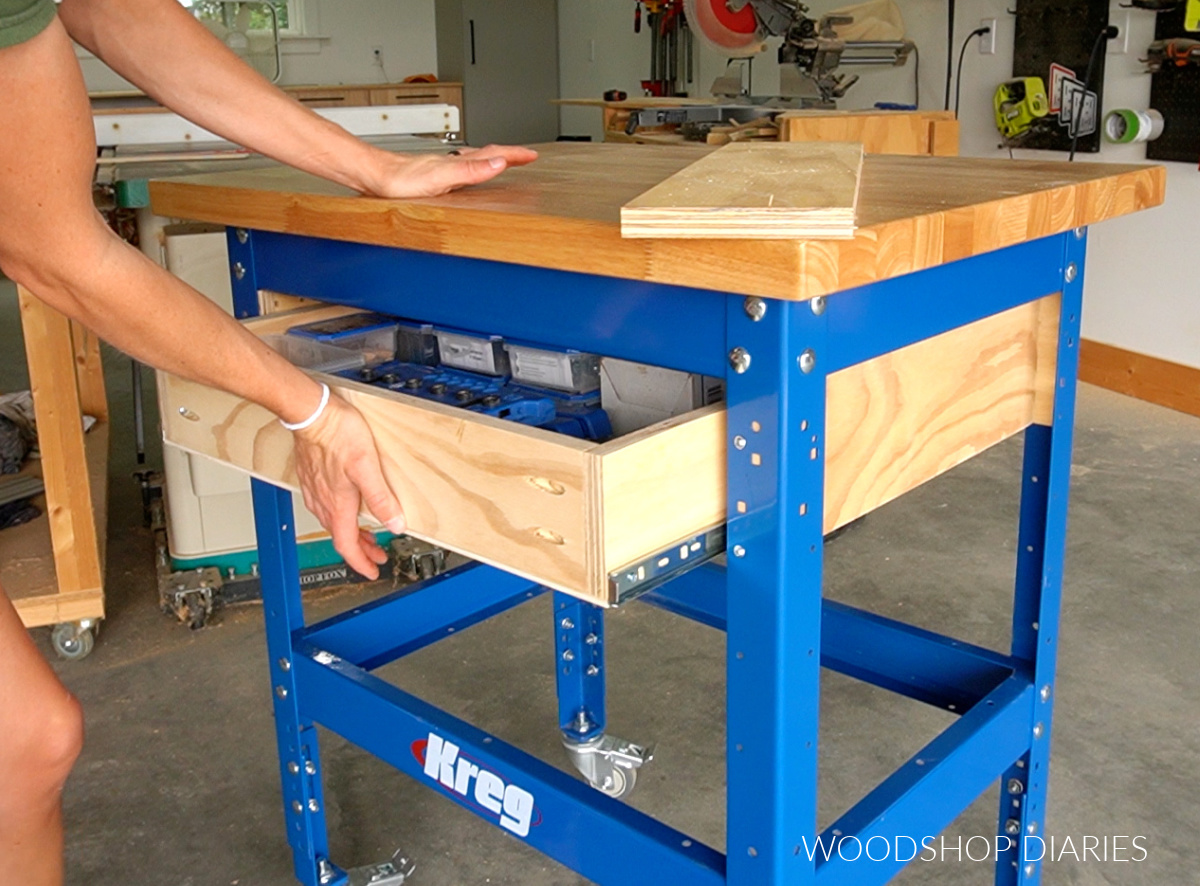
Step 6: Install Drawer into Workbench
I installed 16″ ball bearing drawer slides onto the side braces so that they were flush to the bottom edge and ¾″ inset from the front.
Check out this post to learn more about how to install drawer slides.
Ball bearing drawer slides have a small plastic tab on the sides that allow you to lift up and detach the part of the slide that mounts to the drawer box.
I removed this section from the slides, and mounted them on each side of the drawer box so that they were flush to the bottom edge.
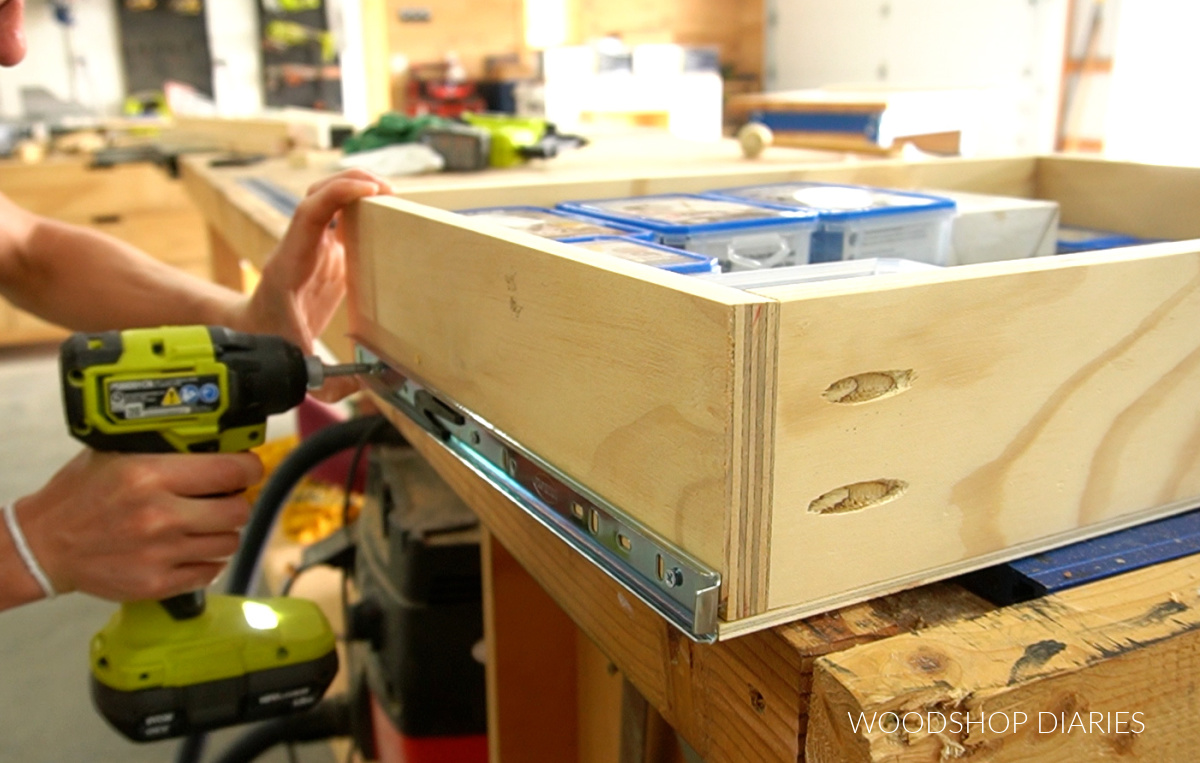
Then, I slid the rails on the side of the drawer back onto the slides in the workbench to install. The front of the drawer box should be ¾″ inset from the front of the bench frame once pushed closed all the way.
Then, I cut a piece of ¾″ plywood to add as the drawer front. This piece is 5 ½″ tall and ¼″ smaller than the opening the drawer fits into.
I used 1 ¼″ pocket hole screws from the inside to attach this drawer front so that there is ⅛″ gap between it and the frame on the sides and top.
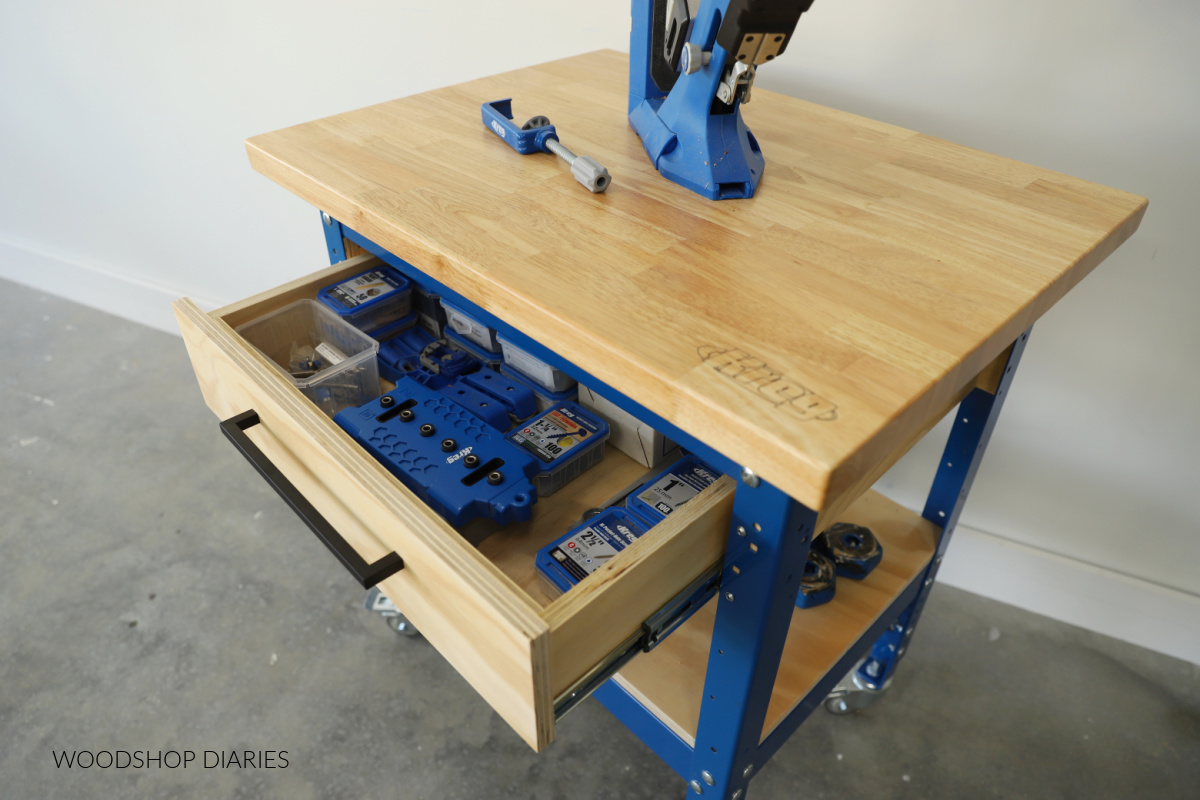
Then, I added a simple modern drawer pull and that completed the build! You can certainly finish this project however you’d like, but since this is a shop project, I left it as is.
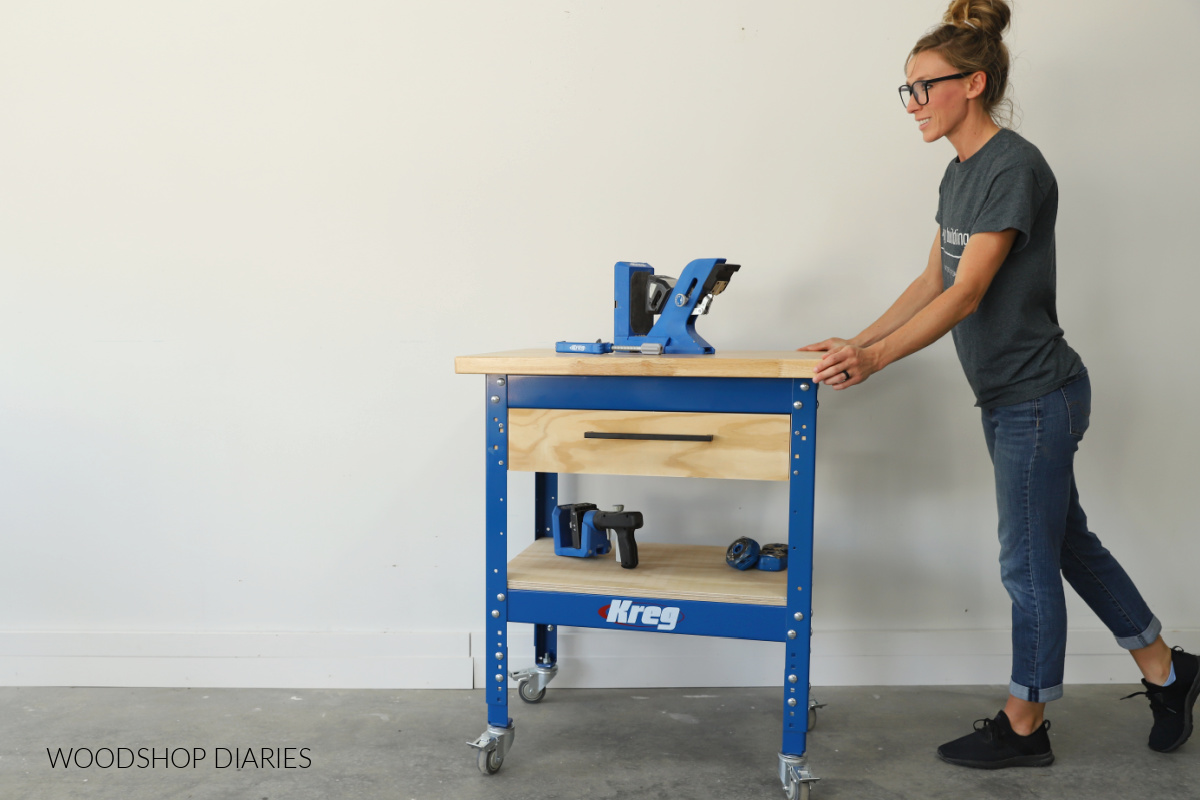
And now you can load up the drawer with accessories, screws, and all those small pieces you want to keep track of!
And load up the bottom shelf with tools you want to keep readily available to grab and use. Roll this small space workbench in and out of the way as you need for a sturdy, durable workstation to build on.
If you prefer to print, grab these workbench building plans on KregTool.com here!
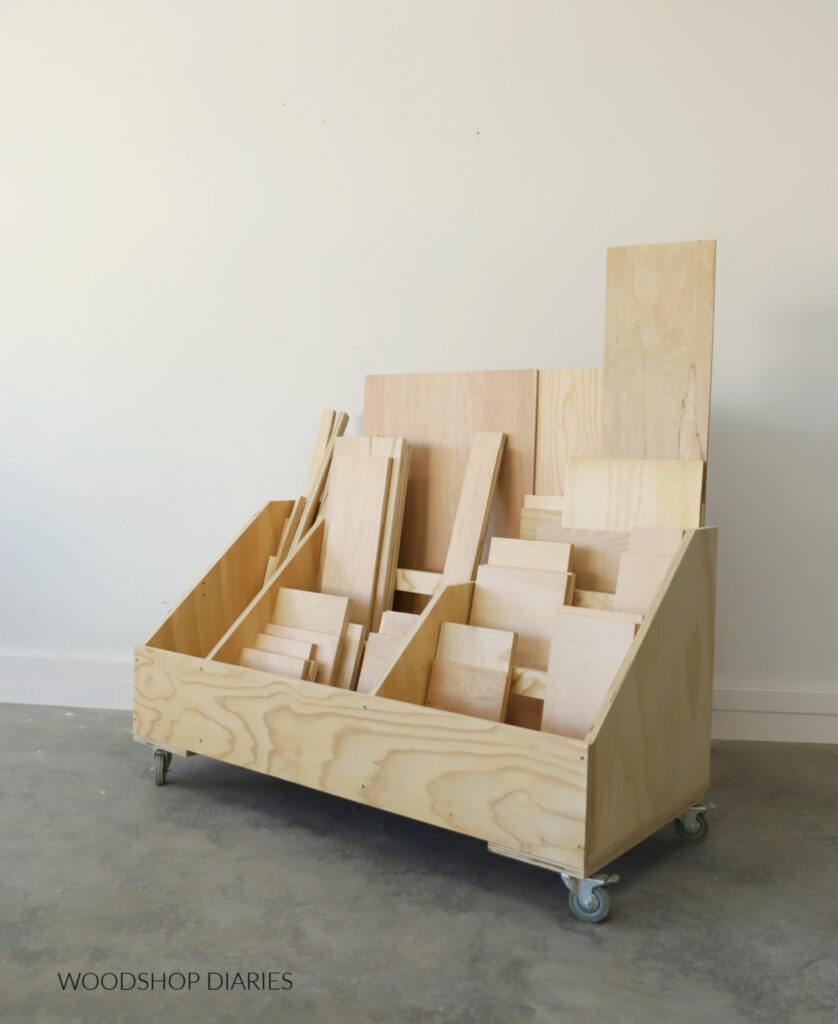
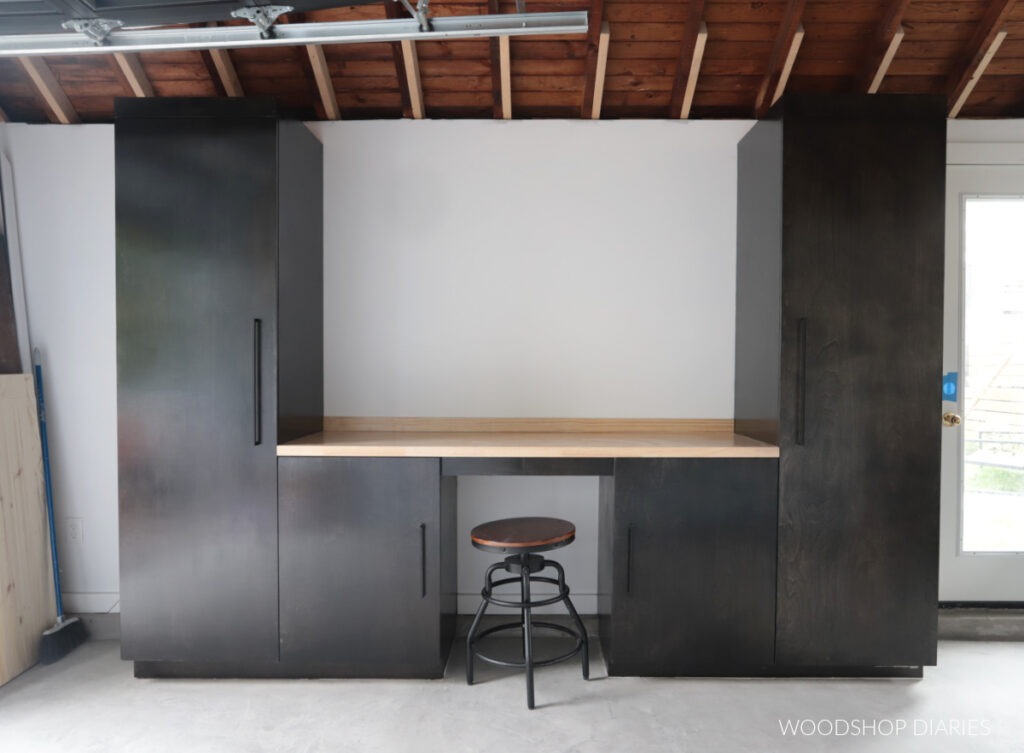
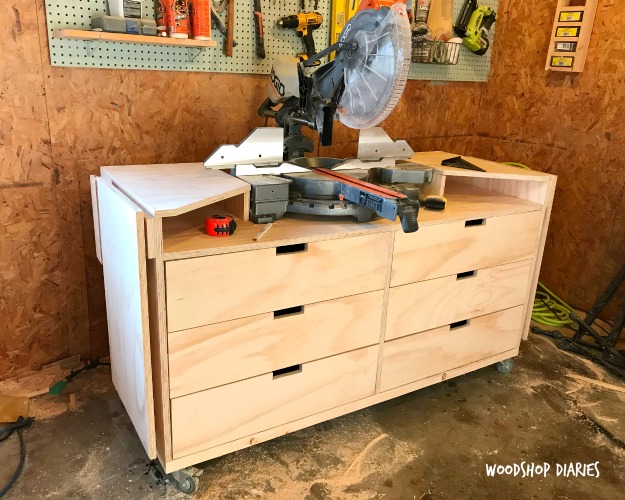
Looking for more workshop projects?
Want to check out some more workshop and garage organization projects? I’ve got a few favorites you might enjoy here! Click on the images below to check out the plans to build each one!
If you want to save this project for later, don’t forget to pin it or share to your favorite social channel!
Until next time, friends, happy building!