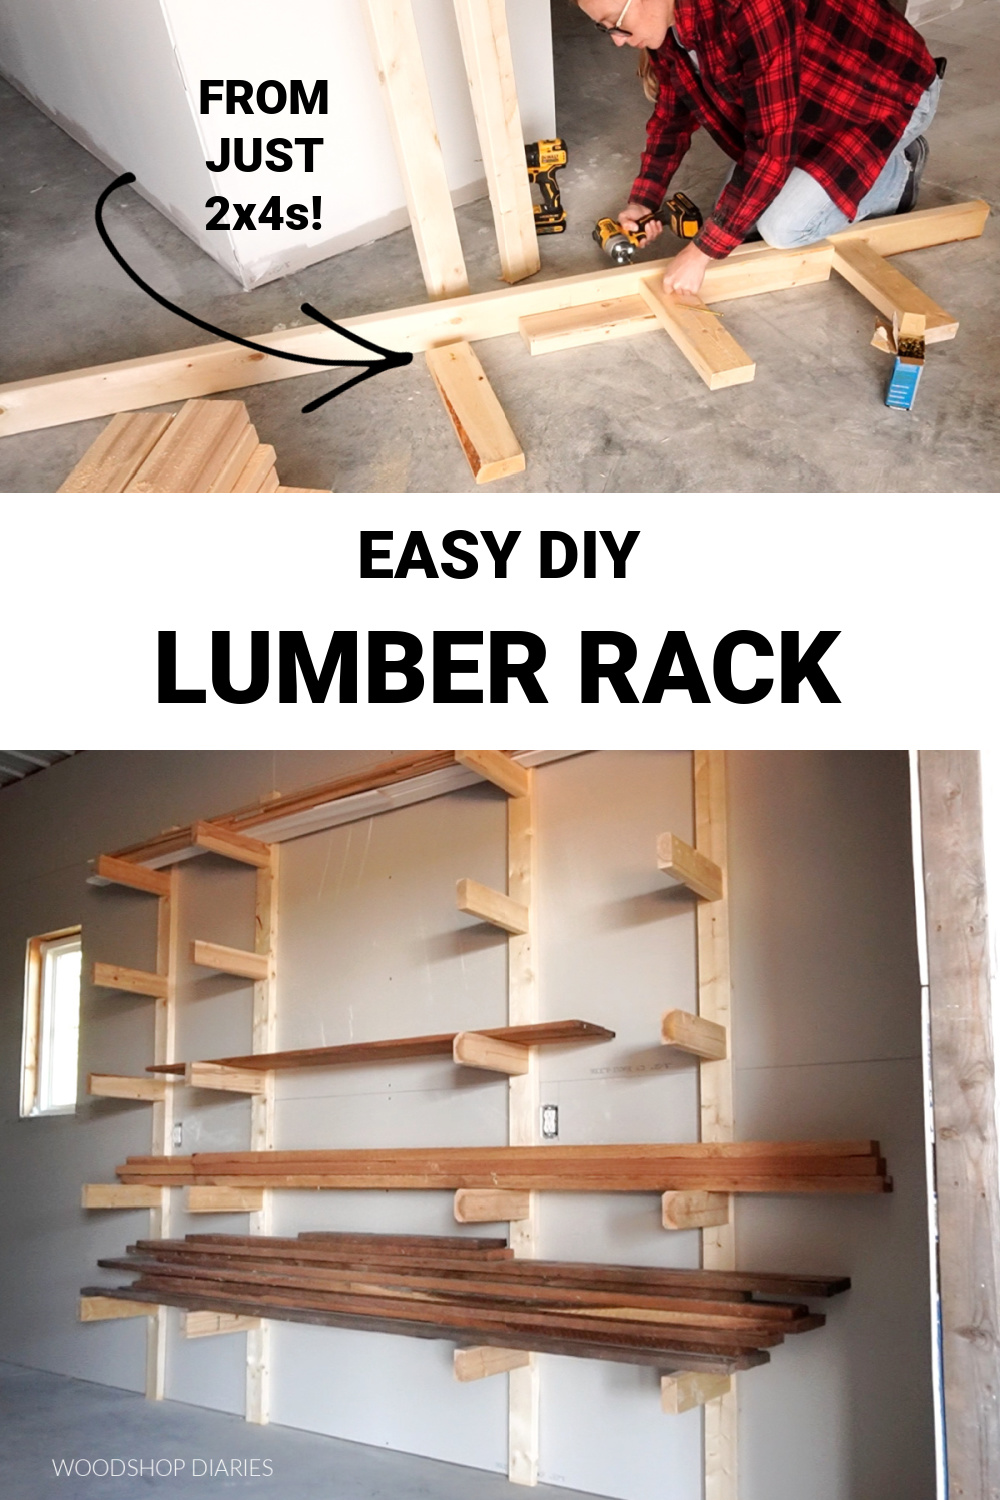
In this post, I’m sharing with you how to make the easiest DIY lumber rack storage shelves using just basic 2x4s and wood screws!
We recently moved into a new home and a new workshop! It’s been really exciting trying to situate and set up my new shop, but it’s also been a somewhat exhausting and stressful experience as well.
.
Isn’t moving always a mixed bag of emotions, though?? HA!
.
I left my old lumber rack in my old shop since it was already attached to the wall, so when I moved my wood pile to the new place, I had no where to put it but on the ground…right in front of the door…right in the way.
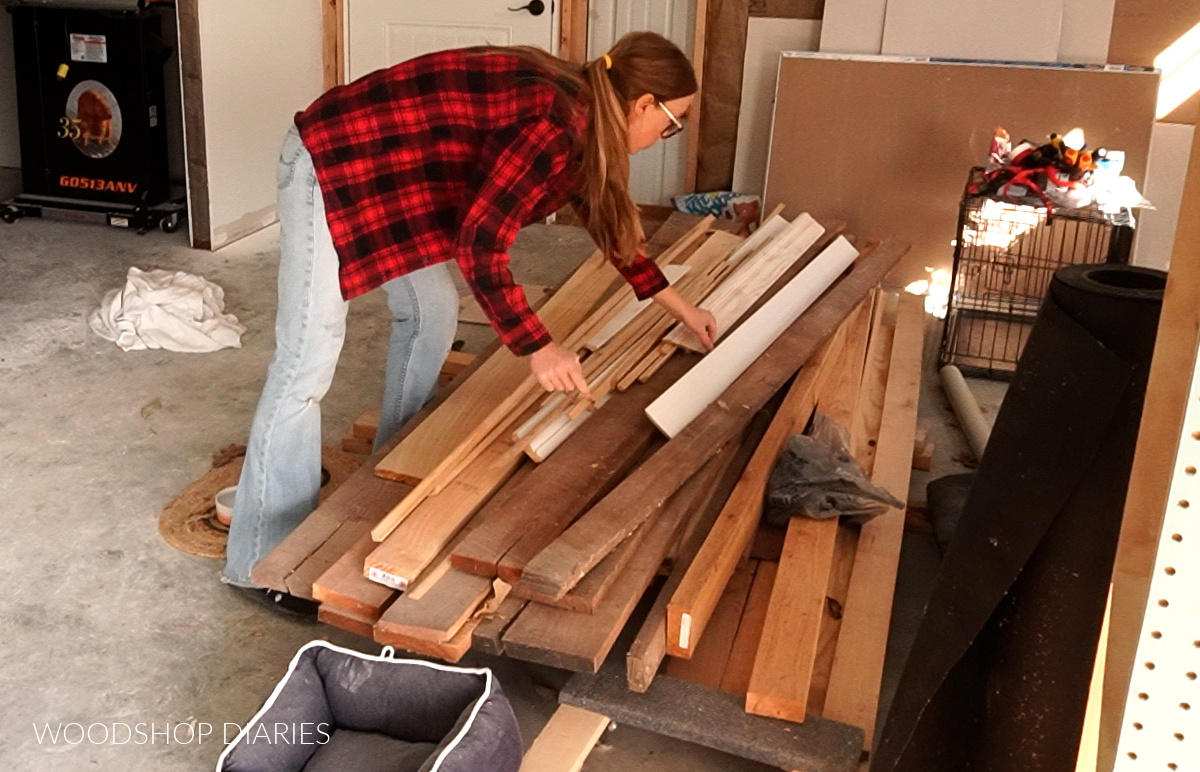
So I needed a quick and easy way to get my wood pile out of the walkway here and this easy DIY lumber rack was the perfect solution.
.
This is actually the third time I built this exact rack design–so you know it’s good because if it didn’t work, I wouldn’t keep using it.
.
I had this in my last two shops (and left them when I moved) so hopefully the third time is the charm and I’ll not be moving again any time soon haha!
.
If you want to see all the details on moving and workshop updates, along with a video tutorial for this lumber rack, check out my video here. But if you just want to see how to build the DIY lumber rack, I’ve got the steps below.
*This post contains affiliate links. See policies page.
What You’ll Need to Build This DIY Lumber Rack:
Tools:
- Saw (you can use miter, circular, jig, any saw that can cut straight lines on a 2×4)
- Drill/Driver (you can use just a drill, but it’s quicker to have both a drill and a driver handy so you can predrill with one and drive with the other)
- Level
- Stud Finder
- Measuring tape
Materials:
- (8) 2x4x8 boards
- 4″ Wood Screws (a 1 lb box was JUST ENOUGH to build this one)
Step 1: Determine Lumber Rack Height
My new shop has ten foot high ceilings, so I used full 8 foot boards for the FOUR backer (vertical) pieces of my lumber rack.
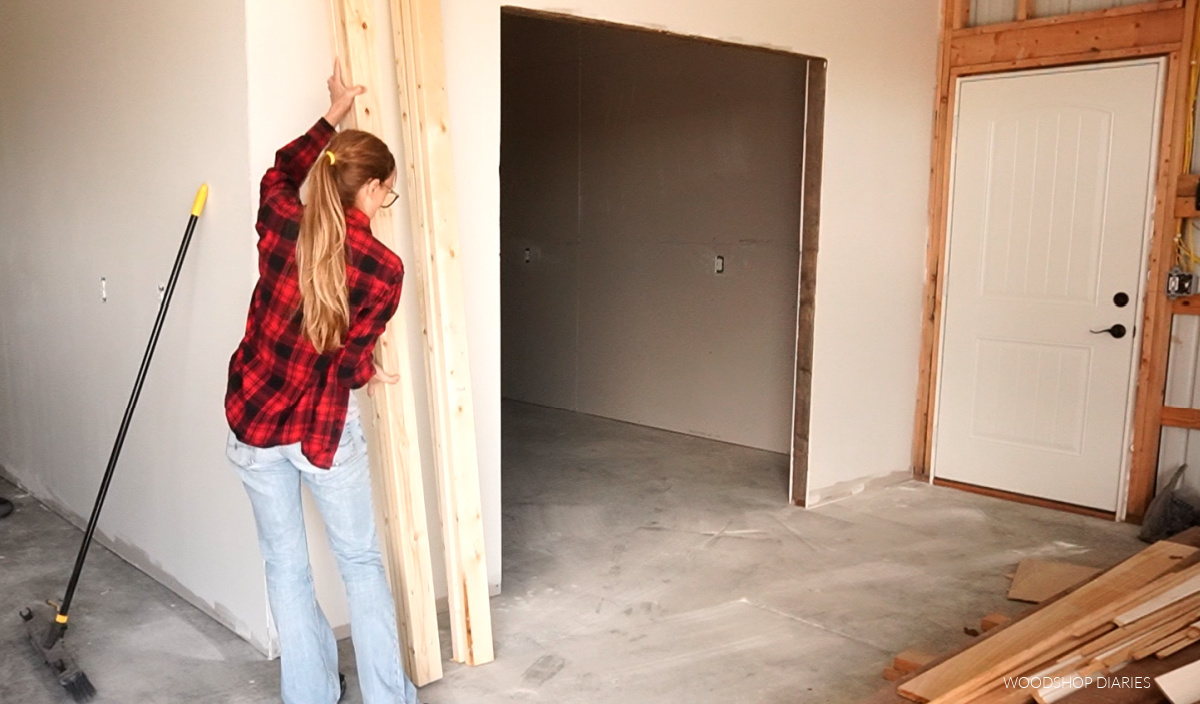
I didn’t want to have to pull out a ladder every time I wanted to reach the wood at the top, so I didn’t bother making it any taller than 8 foot. But if you have tall ceilings and you wanted to, you could use longer 2x4s and make it taller.
.
If your ceilings are only 8 foot, measure the height from floor to ceiling and cut FOUR 2x4s an inch or so shorter than this measurement. That will give you a little wiggle room to install these onto the wall.
.
Set these backer board pieces to the side for now.
Step 2: Cut Lumber Rack Rungs
From the remaining 2×4 boards, cut twenty 14″ long pieces (five per back board from step 1) to use as the rungs.
.
Then, cut one extra to use as a “spacer block” to help install these rungs evenly.
.
If you’re wondering where 14″ came from, I just picked a number. You can make these longer or shorter, but I’ve always used 14″ and it’s worked well for me.
.
But, I don’t recommend going much longer as the longer they are, the weaker they will be.
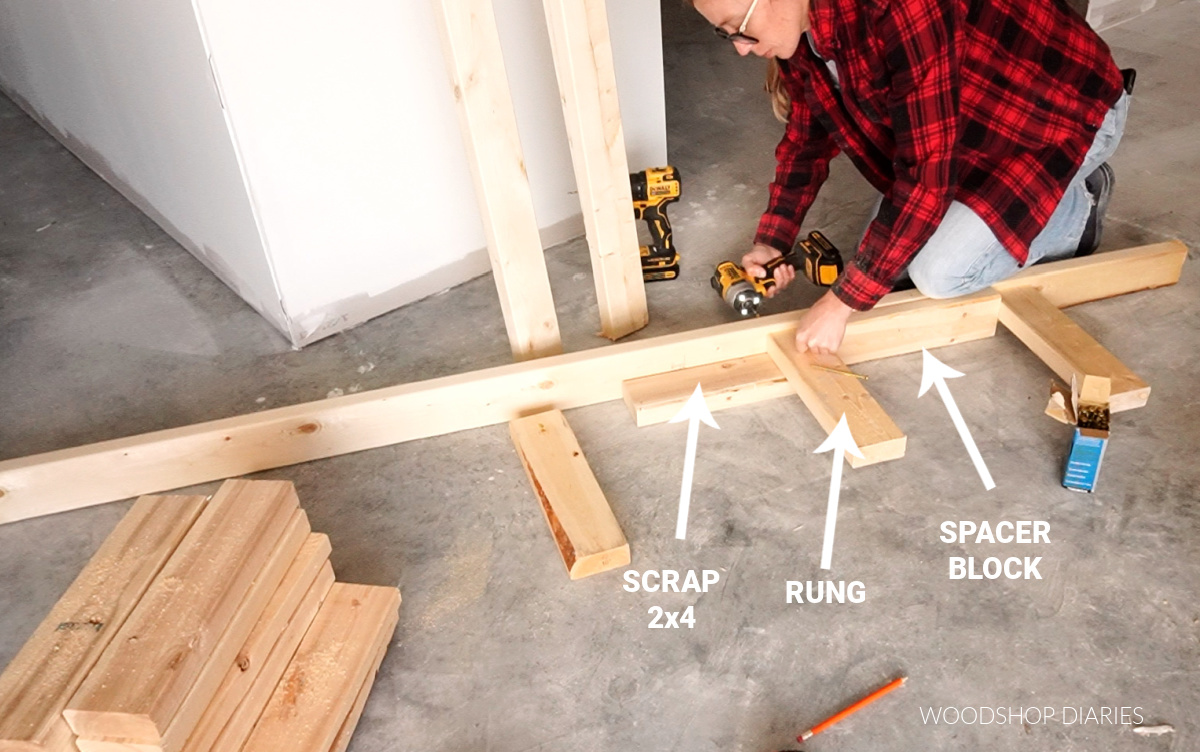
Step 3: Install Rungs onto Backer Boards
Use the 14″ long spacer block to install the first rung on the backer board (the long boards from step 1) 14″ from the bottom. Use a scrap piece of 2×4 underneath the rung so it’s closer to the center of the back board.
.
Predrill two holes and drive two 4″ long wood screws through the back side of the backer board to secure the rungs.
Once the first one is installed, move the spacer block to install the next and work your way up until you have 5 rungs installed on the backer board.
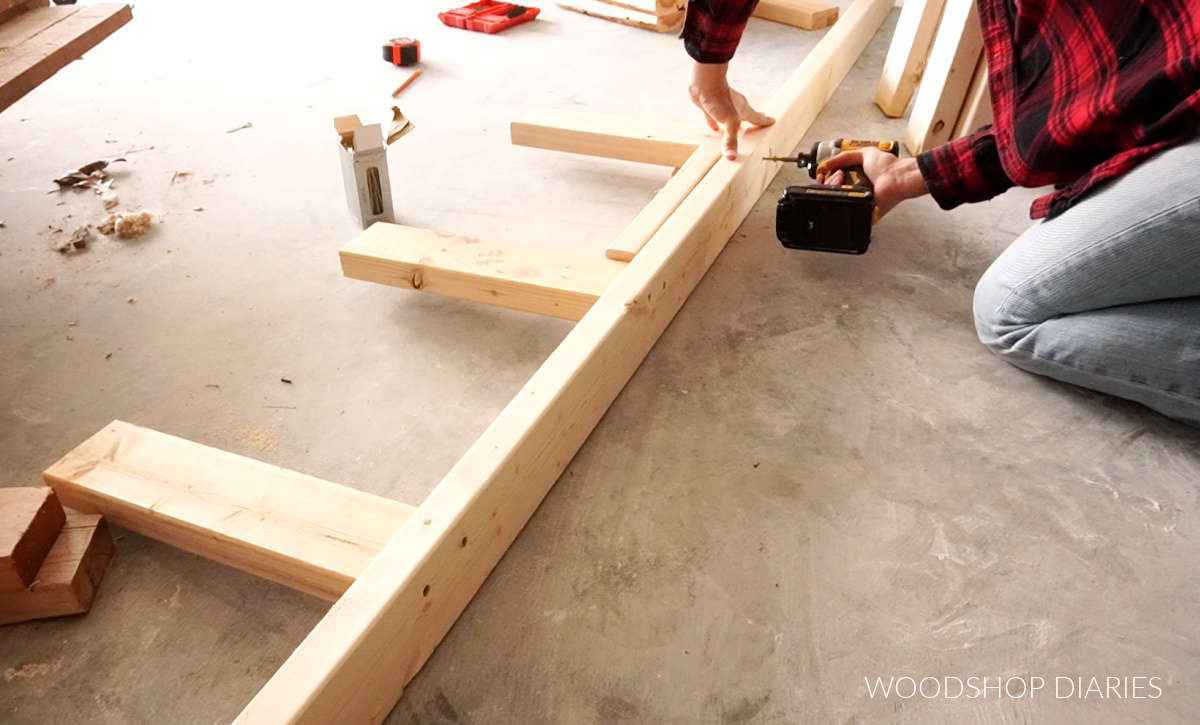
Repeat this until you have five rungs installed on all four backer boards.
.
Side note: If you wanted a longer, stronger, heavier duty lumber rack, you can do more than 4.
Step 4: Secure Lumber Rack to Wall Studs
NOTE: MAKE SURE YOU SECURE RACK TO STUDS–DO NOT USE ANCHORS.
.
Use a stud finder to find and mark your wall studs where you want your rack to go. I spanned mine across several studs and made it about 12 ft wide overall. If you wanted longer, I’d recommend making more than just 4 rung assemblies.
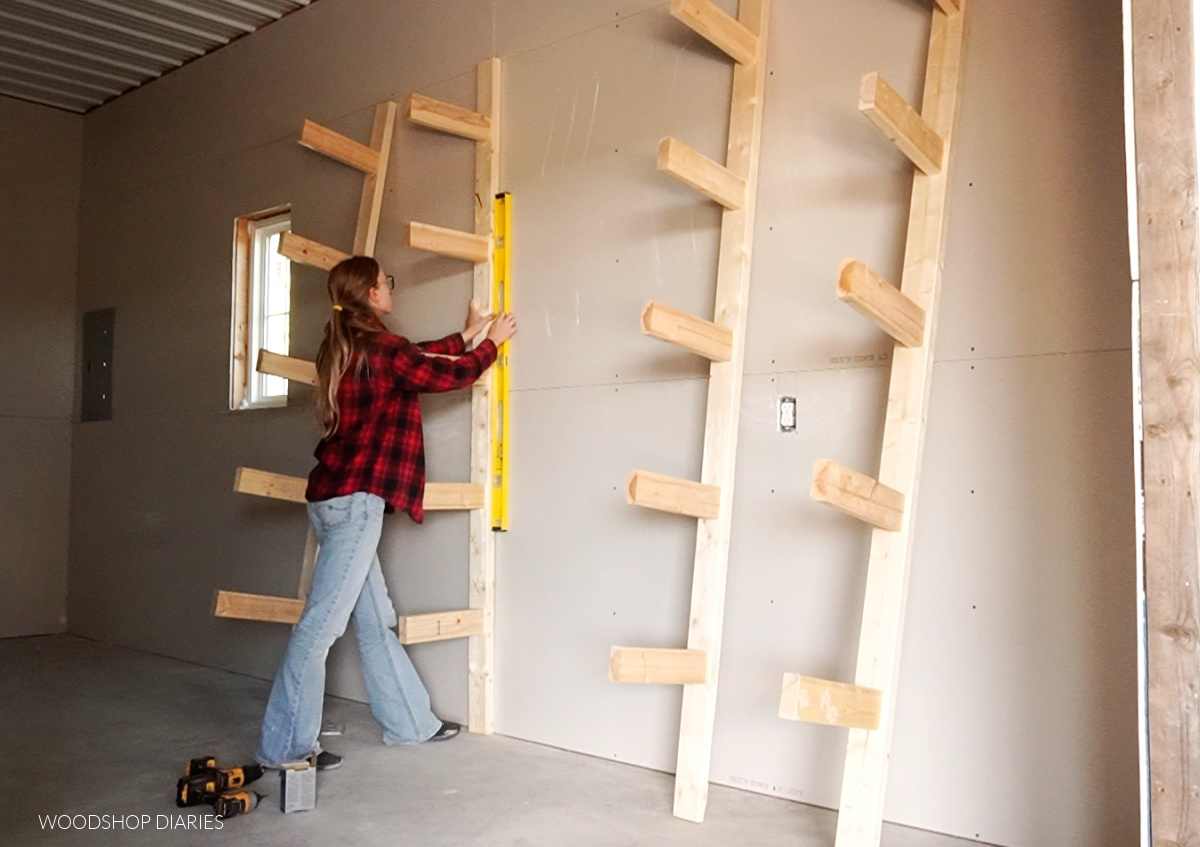
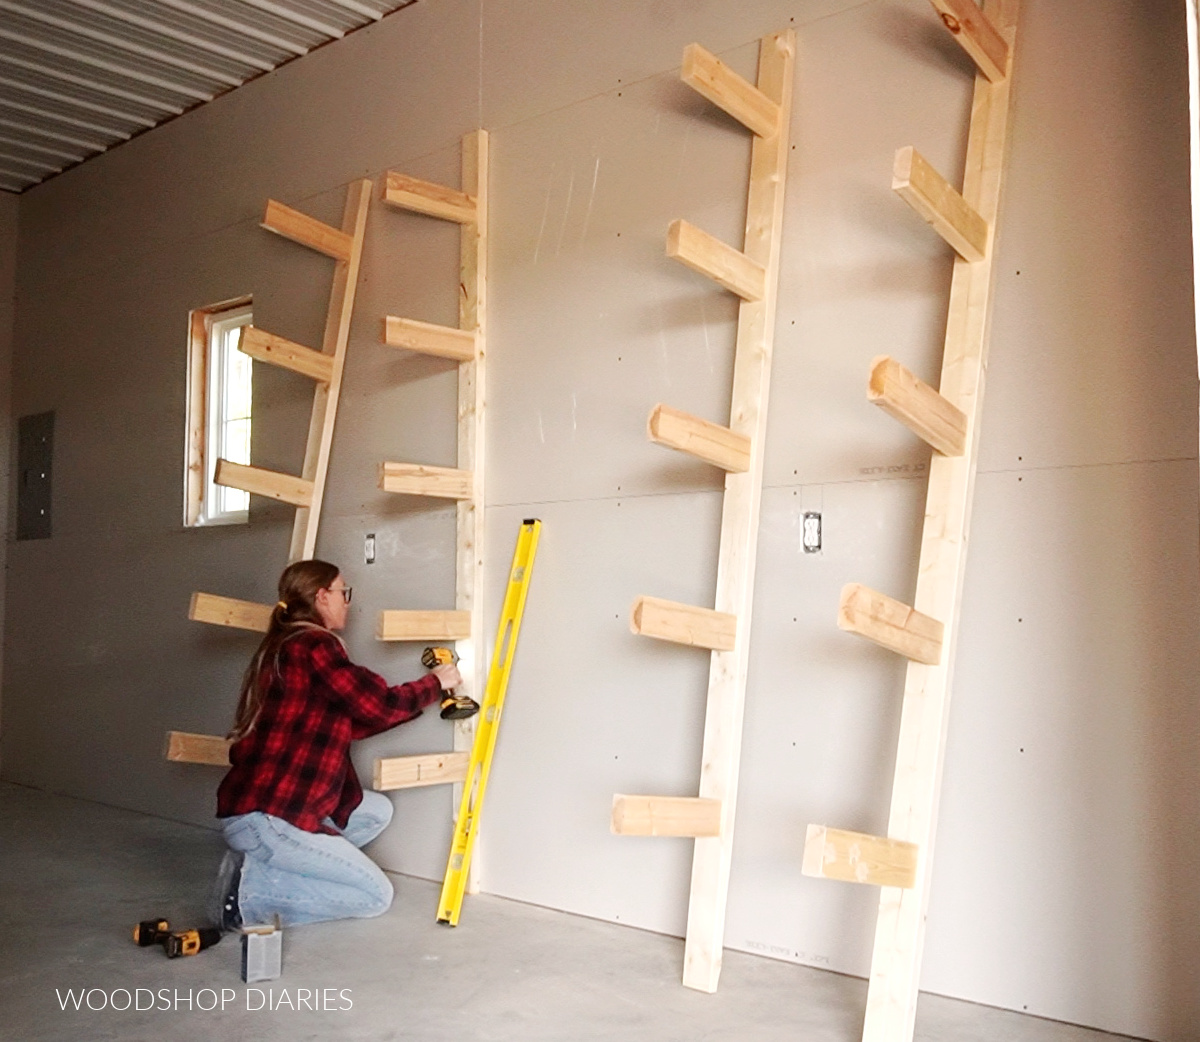
Use a level to make sure the backer board is straight up and down, then secure the backer board into the wall studs using at least three 4″ wood screws per back board.
.
I put one in the top, toward the middle and at the bottom.
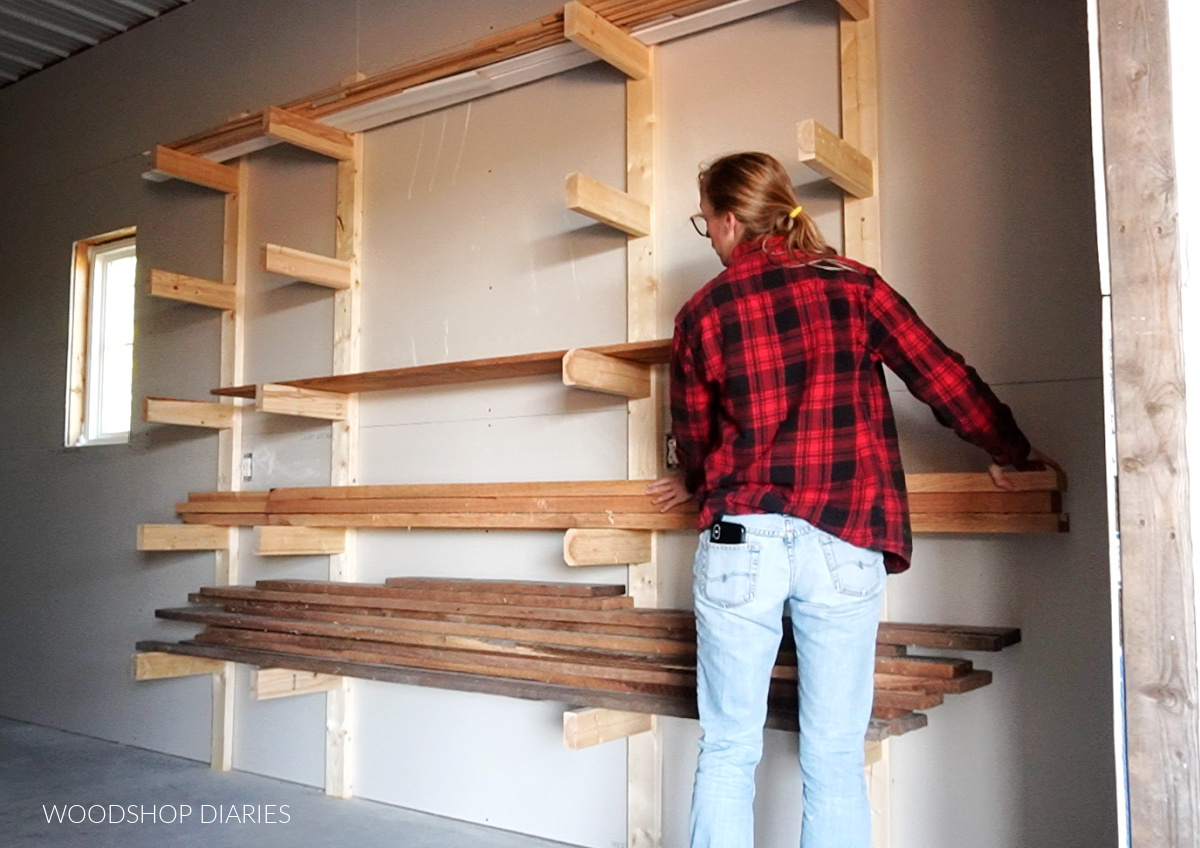
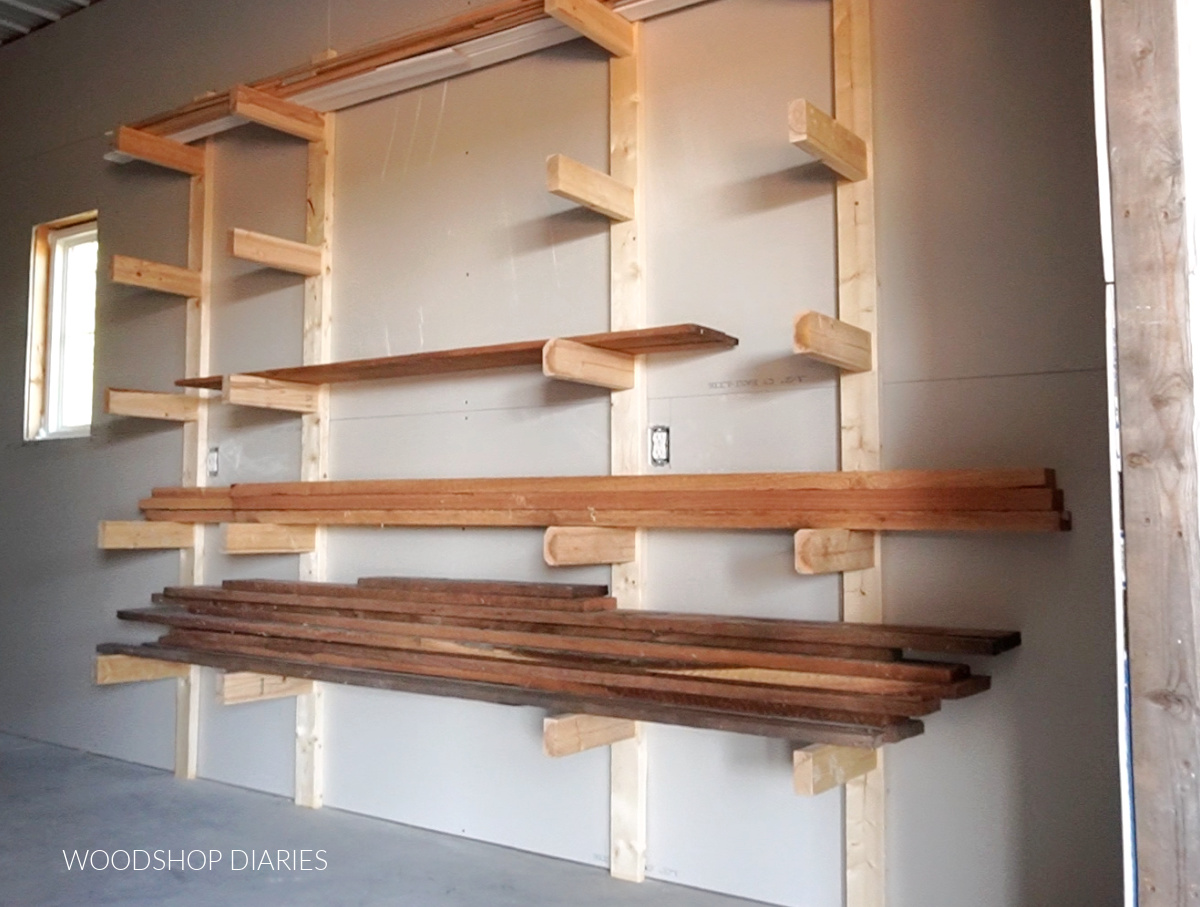
Step 5: Load It Up!
Now, I can’t tell you how much weight overall these will hold–there are a lot of potential factors to consider.
.
However, I have used this exact design three times now and haven’t had any issues with failure and I’ve loaded them down pretty good in the past. (Although, based on this picture, it’s pretty empty at this point–I need to restock!)
I climbed all over mine to test it out (you can see in the video) and it didn’t budge. However, if you miss a stud or your 2×4 is cracked and weak, failure can occur.
.
I recommend thoroughly testing yours before loading it down too much–just in case.
.
But, once it’s loaded up, that’s it–an easy and inexpensive way to store your lumber up off the floor and use your wall space instead!
.
I hope you enjoyed this quick and easy project and I hope it helps you get your workshop more organized and efficient.
.
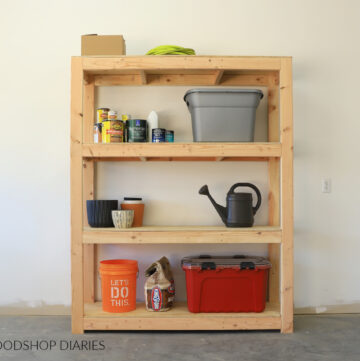
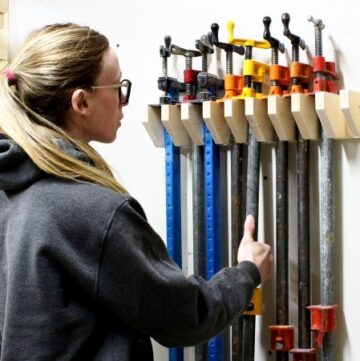
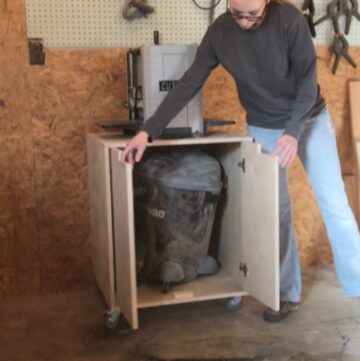
If you want to check out other workshop ideas, be sure to head over to this page!
.
Be sure to subscribe to the newsletter to stay up to date on the latest happenings and projects.
And if you want to save this for later, don’t forget to pin it or share it on your favorite social channel!
Until next time, friends, happy building! 🙂