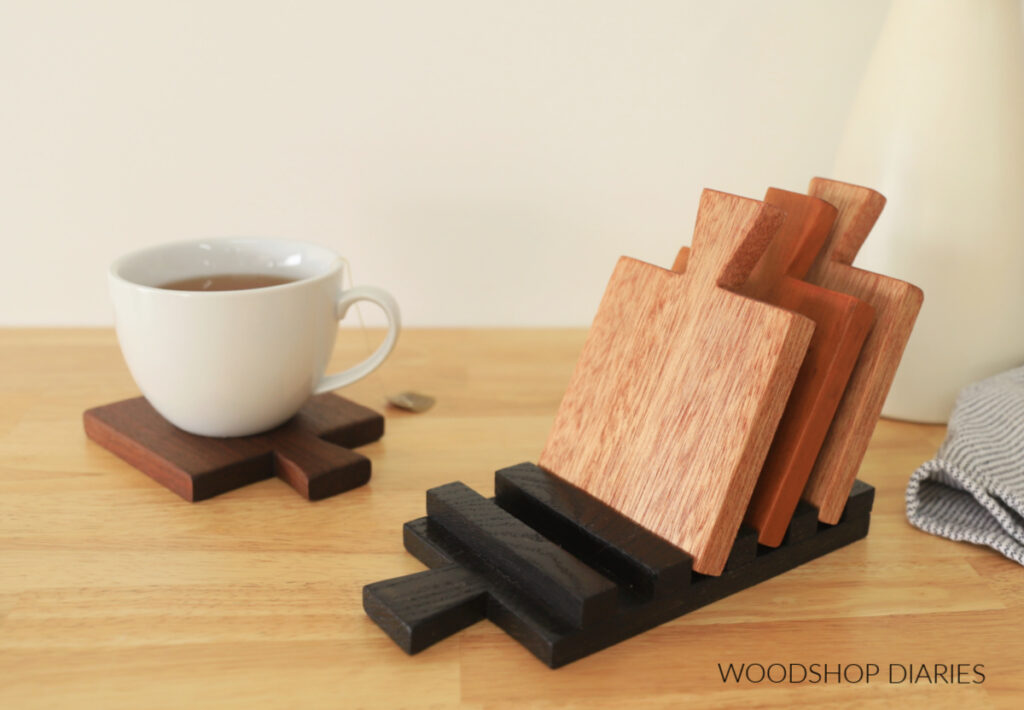
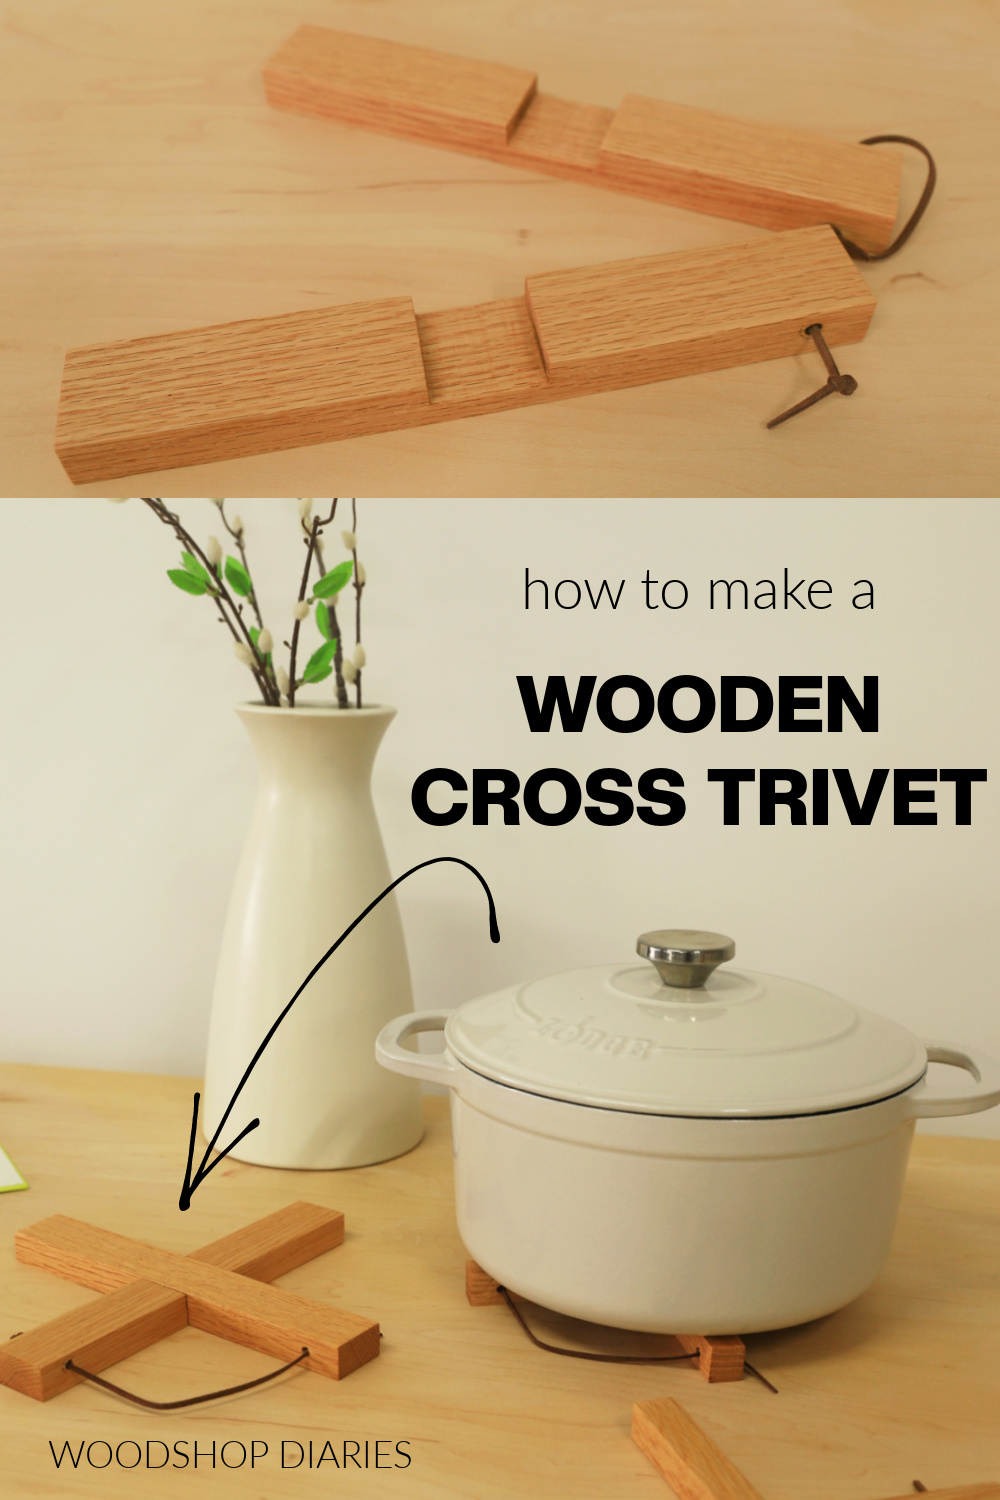
In this post, I’m sharing how to make your own DIY wooden cross trivets!
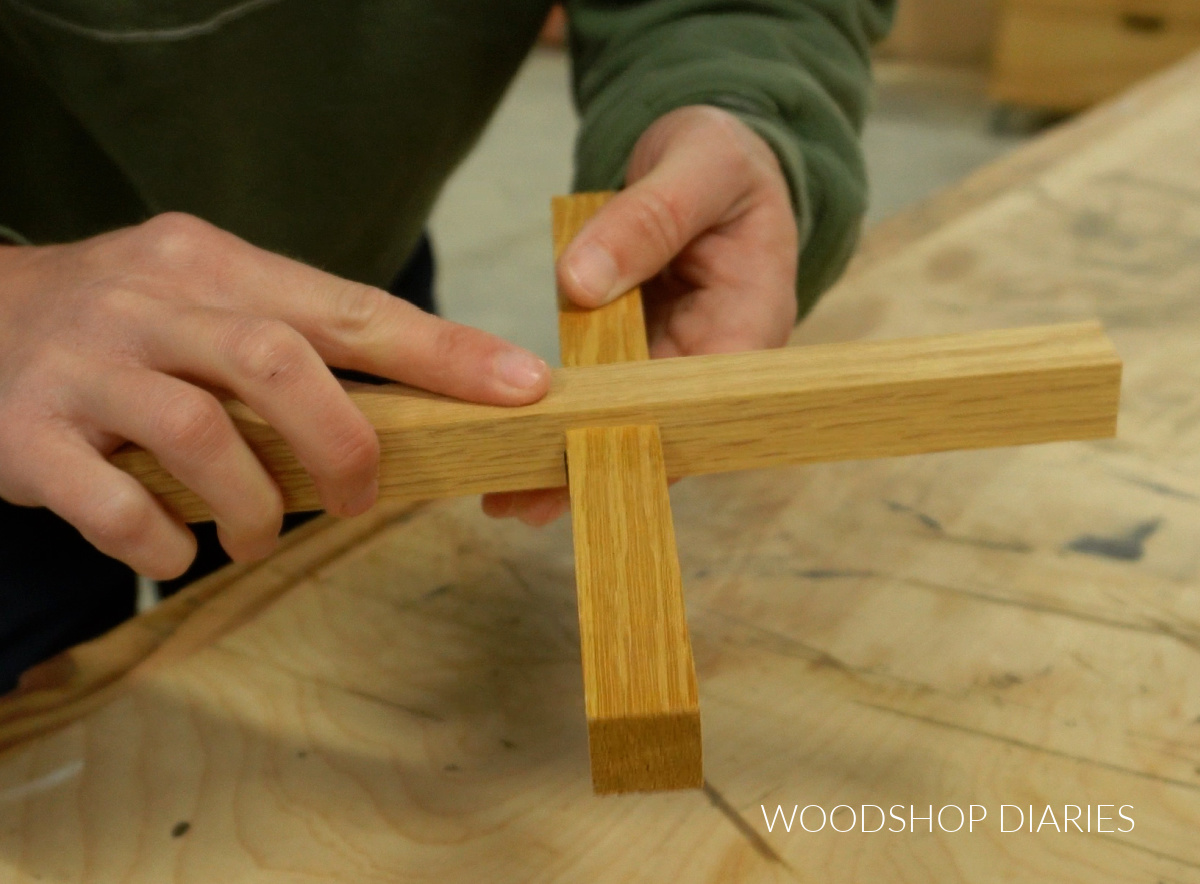
These trivets are essentially two wooden blocks that interlock in a criss cross design to form an X.
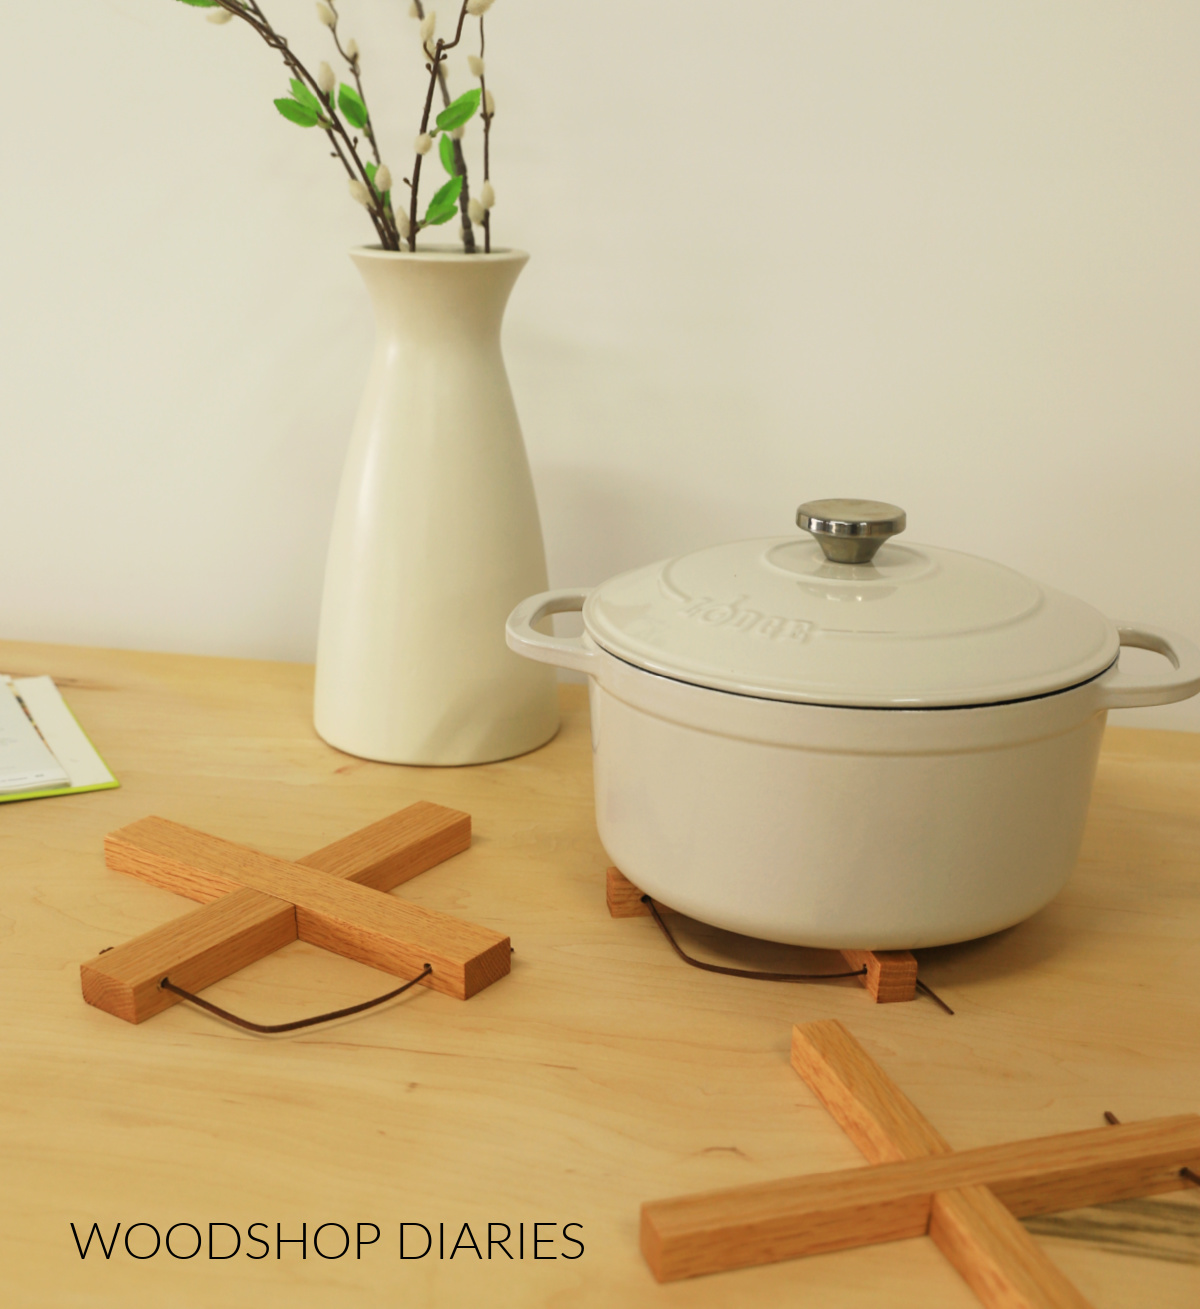
They’re unique in that they require very little wood to make, can be customized to just about any size, and when not in use, you can simply hang them up or toss them in a drawer for easy storage.
There are TONS of ways to make them, but I kept it simple by just using a miter saw (no table saw or router required!) and a little sandpaper.
So if you’re ready to build your own, I’ll show you how below.
*This post contains affiliate links. See website policies.
What to consider before building
This project is simple and easy to customize to just about any size you’d like. You can also use just about any wood type you’d like but a solid hardwood is best. I used red oak for these.
Because these pieces interlock, a precise fit is important. So I recommend having some scrap wood handy to make a few test cuts, first, to make sure everything fits well.
You can cut these notches using a router or table saw, but I kept things simple and used a miter saw since it’s a bit more common and less intimidating.
A simple scrap wood jig helps tremendously–see step 2.
These trivets can be made from almost any size material, but ¾″ square dowel, 1×2, or even 1x3s work really well. I show using ¾″ dowel in the steps below, but I also made some using 1×2.
The process is the same, the measurements just change a little to accommodate the difference in board width. I highly recommend watching the video below for more details on making the jig.
Want to be the first to know about new projects and plans? Subscribe to the newsletter for priority access!
How to Make Wooden Cross Trivets
I’ve included the step by step instructions below. But, if you prefer to watch, I’ve also included a build video as well.
Love watching how-to videos? Subscribe to my YouTube channel for plenty more where that came from!
Tools & Materials
Tools:
- Miter Saw
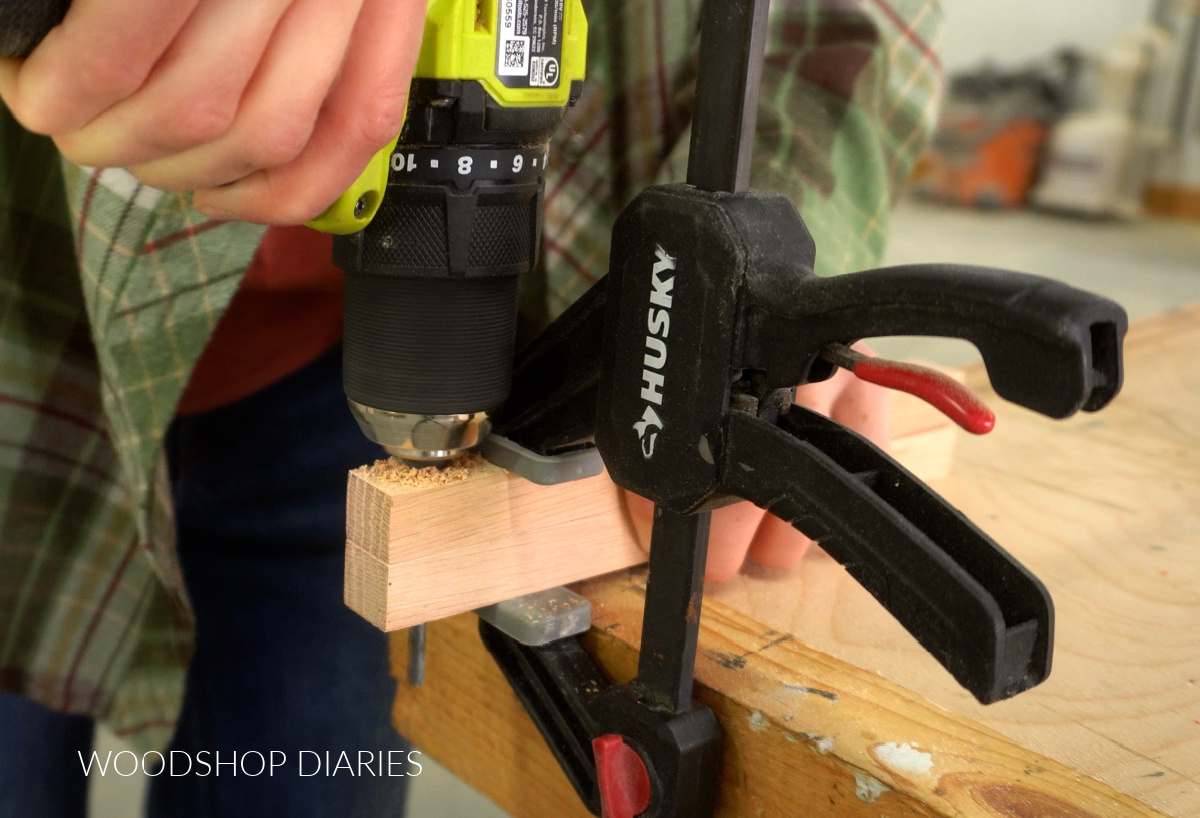
- Drill (optional)
Materials:
- Scrap wood, 1x2s, or square dowels (see notes)
- Scrap 1×4 for jig
- Sandpaper
- Leather cord (optional)
Step 1: Select Wood and Trivet Size
Like I mentioned in the notes above, these trivets can be made from many sizes of material, so first, I selected some small pieces from my scrap pile.
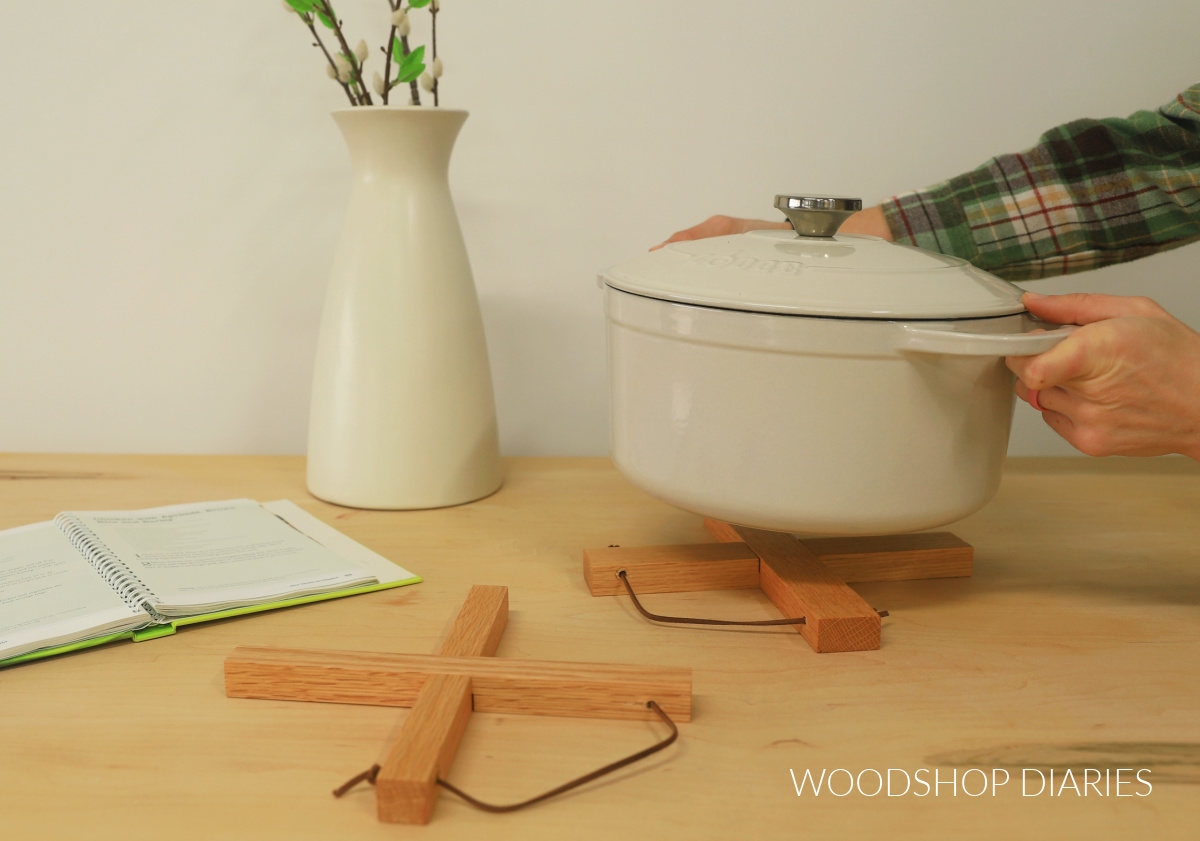
I ended up making a few different sizes, but I started with a ¾″ x ¾″ square dowel. I decided to make my trivets about 9″ long (this seemed to fit a dutch oven size pot about right), so I knew I needed at least 9″x2=18″ of board for each one.
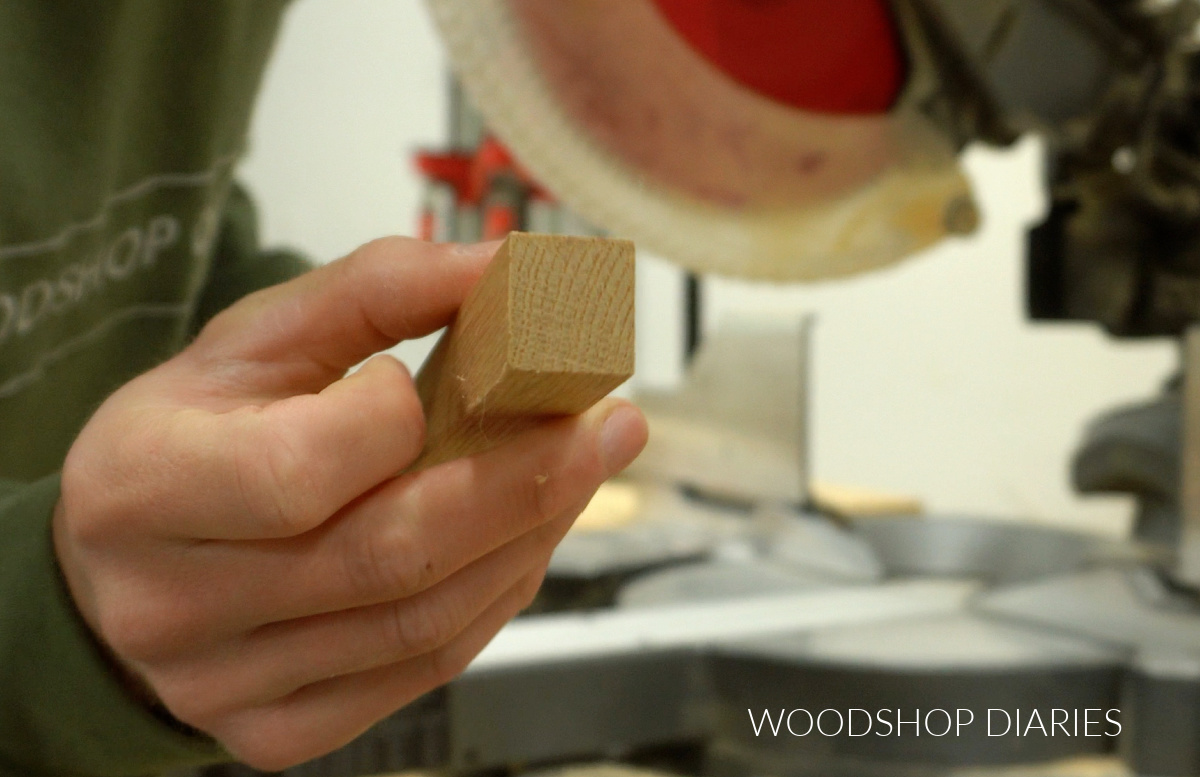
My piece was about 30″ long so I had plenty to work with. If you wanted to make your trivets bigger or smaller, you certainly can. This project is easy to customize.
Step 2: Make Jig for Miter Saw
To cut my notches, I used kind of a jig or a guide to help me. For this, I grabbed a piece of scrap 1×4 board.
Since I was making my trivets 9″ long, I want my notches where they intersect to be in the middle. So I marked 4 ½″ from the end of my 1×4 for the center. Then, I marked ⅜″ on each side of that and drew two lines.
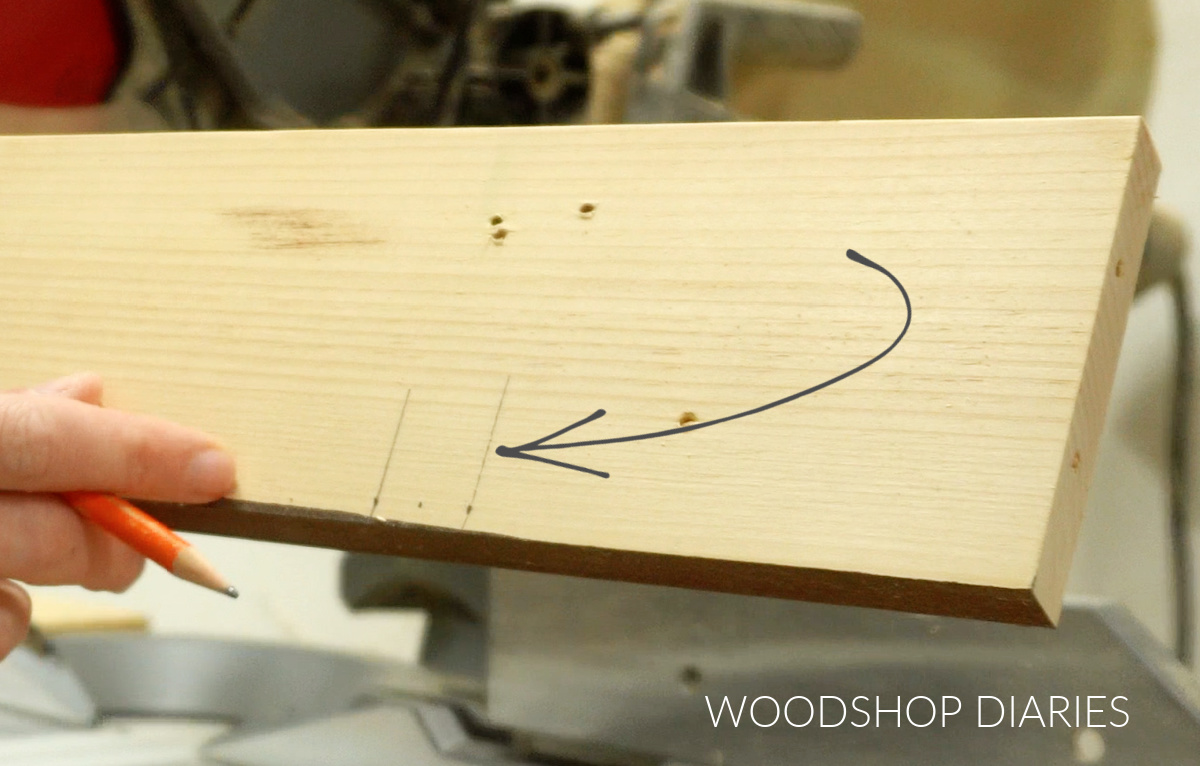
Why ⅜″? Because I was using a ¾″ wide piece of wood and ⅜″ is half of that. So my ¾″ piece should fit inside these lines I drew. If you were using a different size board, simply divide the width by 2 and mark that on each side of the centerline.
Then, I marked ⅜″ from the top of my piece–again, because it’s half the thickness. If your board is thicker or thinner, just mark half the thickness on the edge.
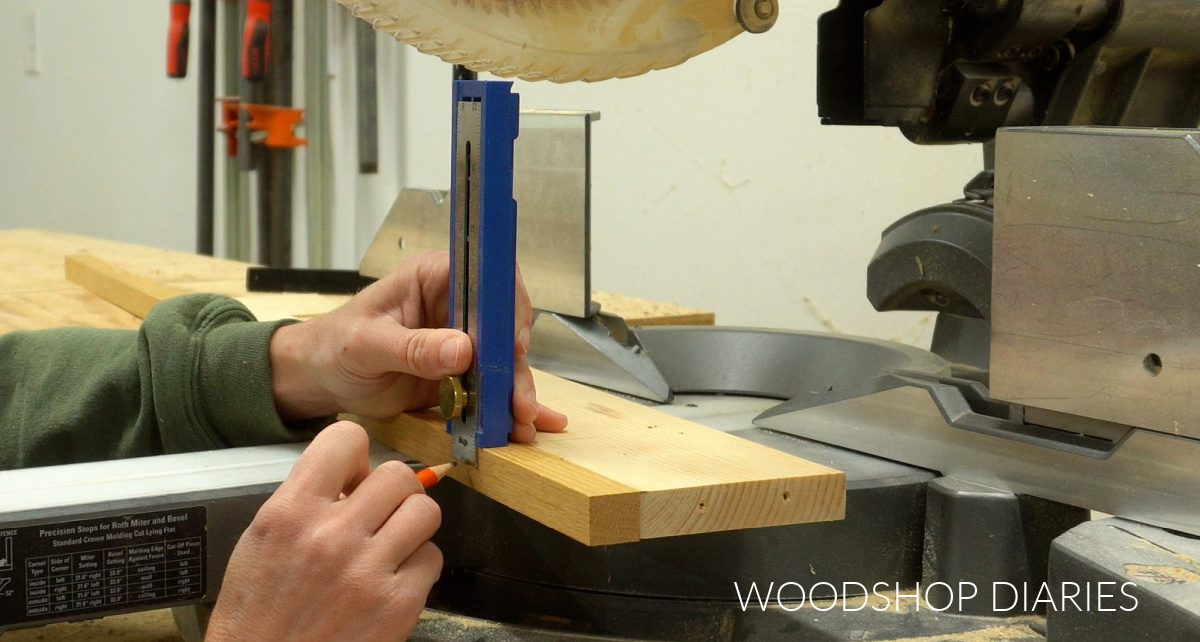
Then I adjusted my miter saw cut depth to ONLY CUT THIS DEEP. So in my case, I wanted it to only cut ⅜″ deep into my piece.
Once I had my miter saw set up, I started cutting into my 1×4 piece. I cut just inside the two lines I drew, then I cut out everything in between.
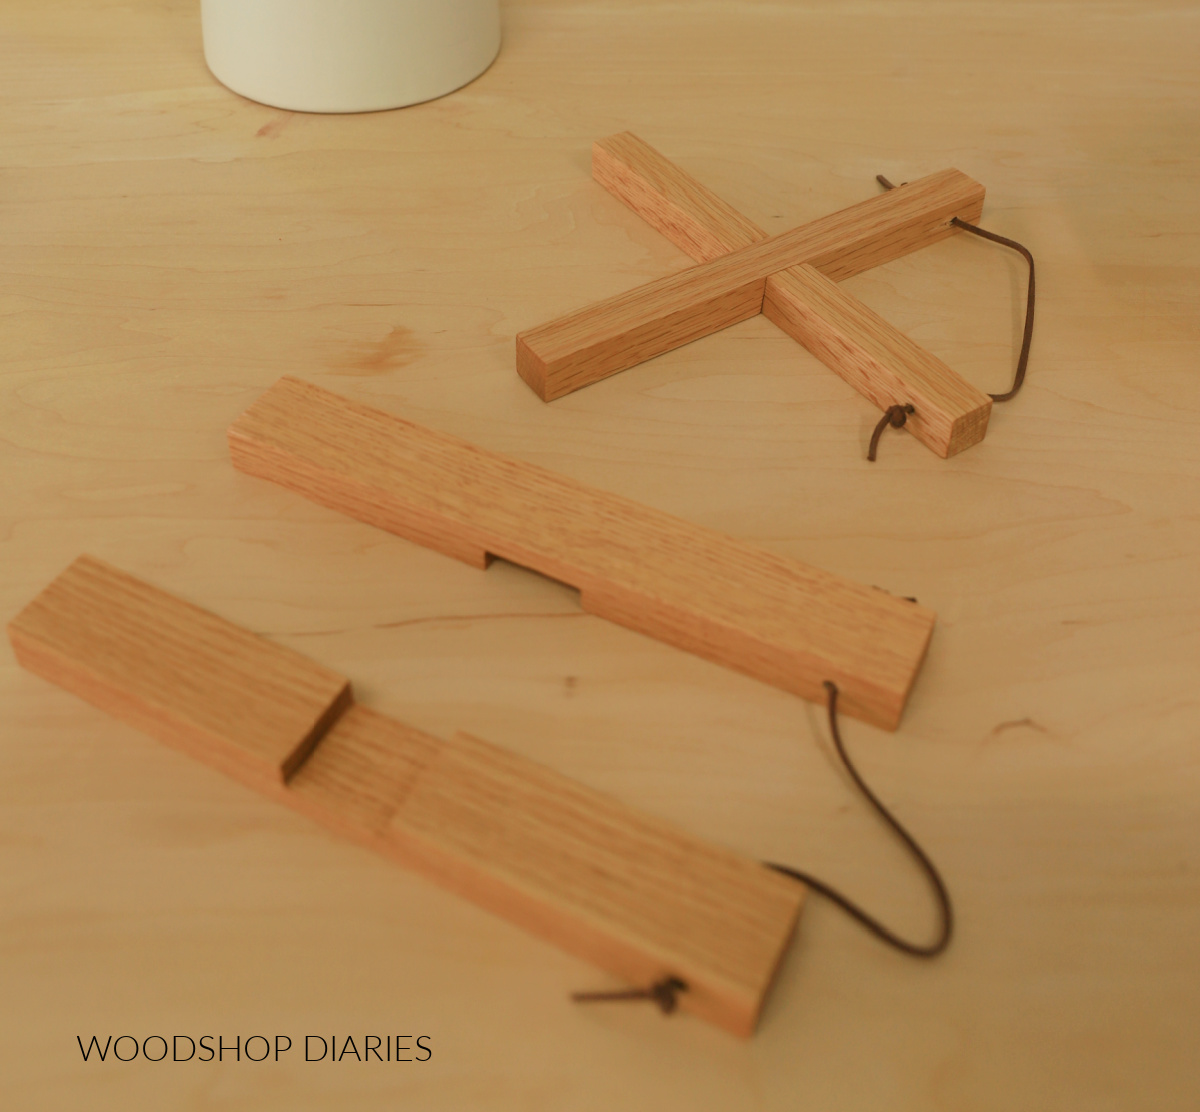
NOTE: Once cut, the trivet piece (in my case, the ¾″ square dowel) should fit snuggly into the notch.
Step 3: Cut Notches
Now, I could use the 1×4 as a jig. I aligned my blade with one edge of the already cut notch, then aligned the end of my square dowel with the jig and cut.
Then, I aligned my blade with the other edge of the notch on the jig and cut again on my square dowel. This “outlines” the notch I need to cut. I did this for both ends of my square dowel.
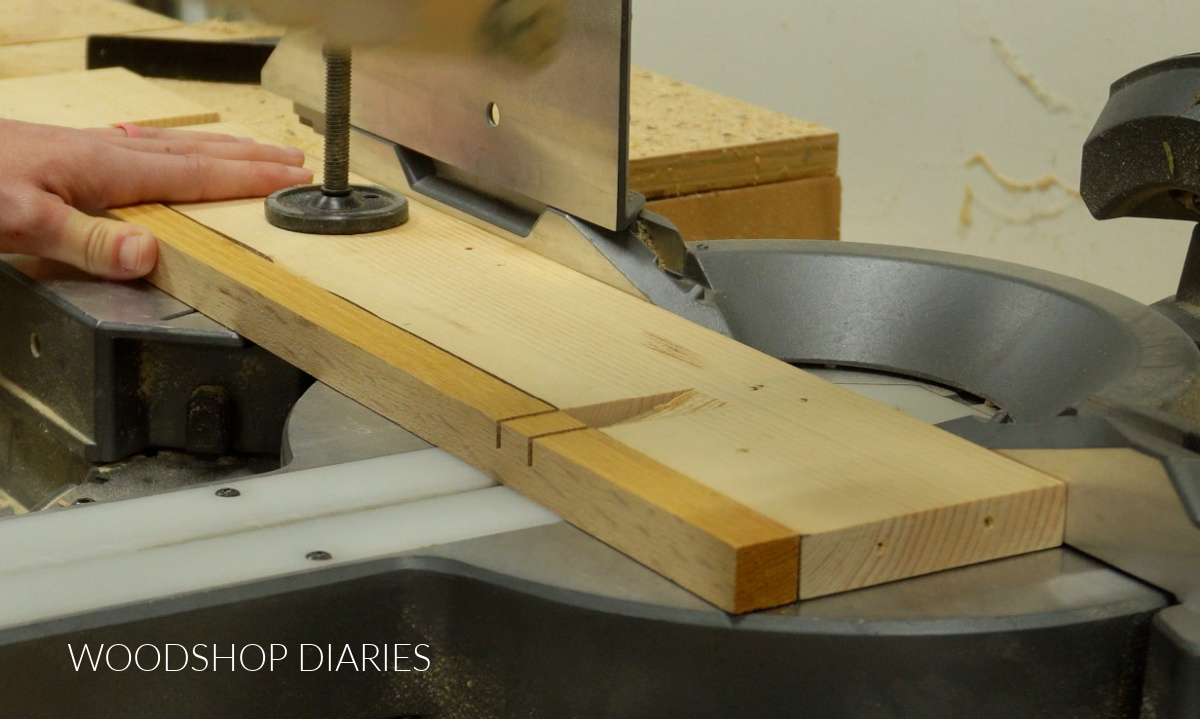
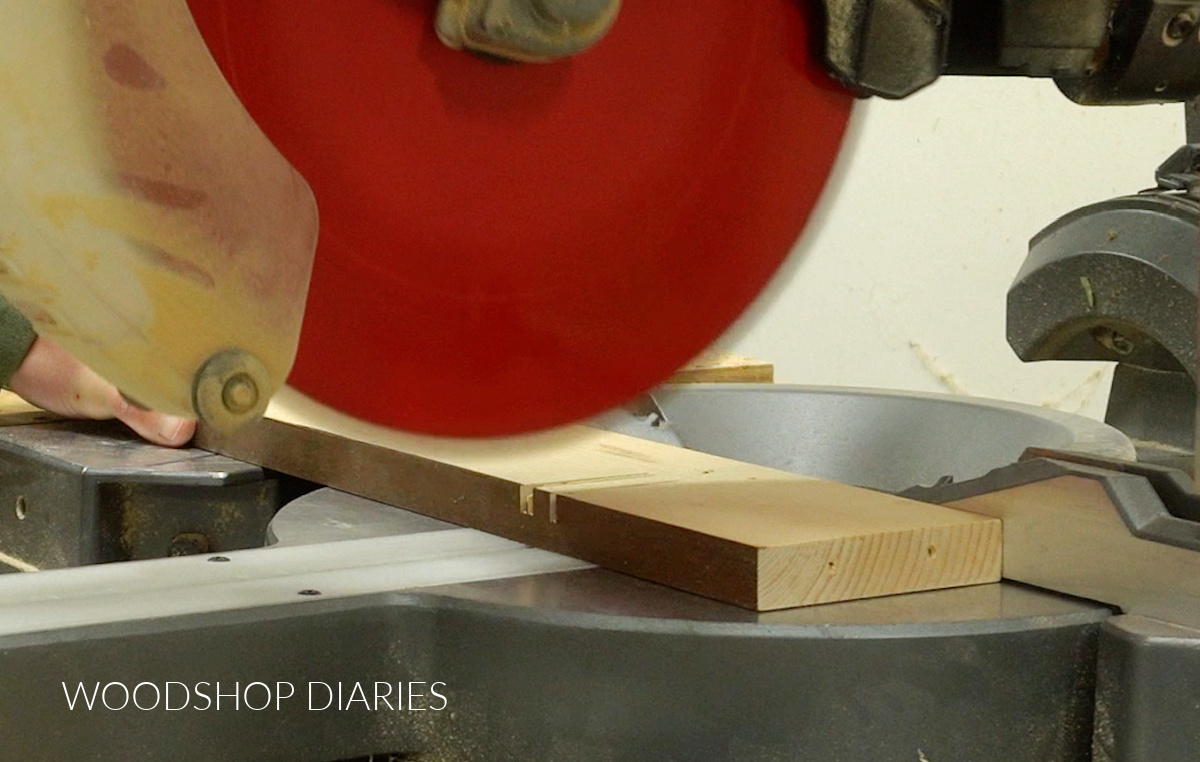
Then, I made multiple cuts to cut out everything in between these “outlines” on each end of the board. If the notches are a little rough on the bottom, that’s okay–we will fix that later.
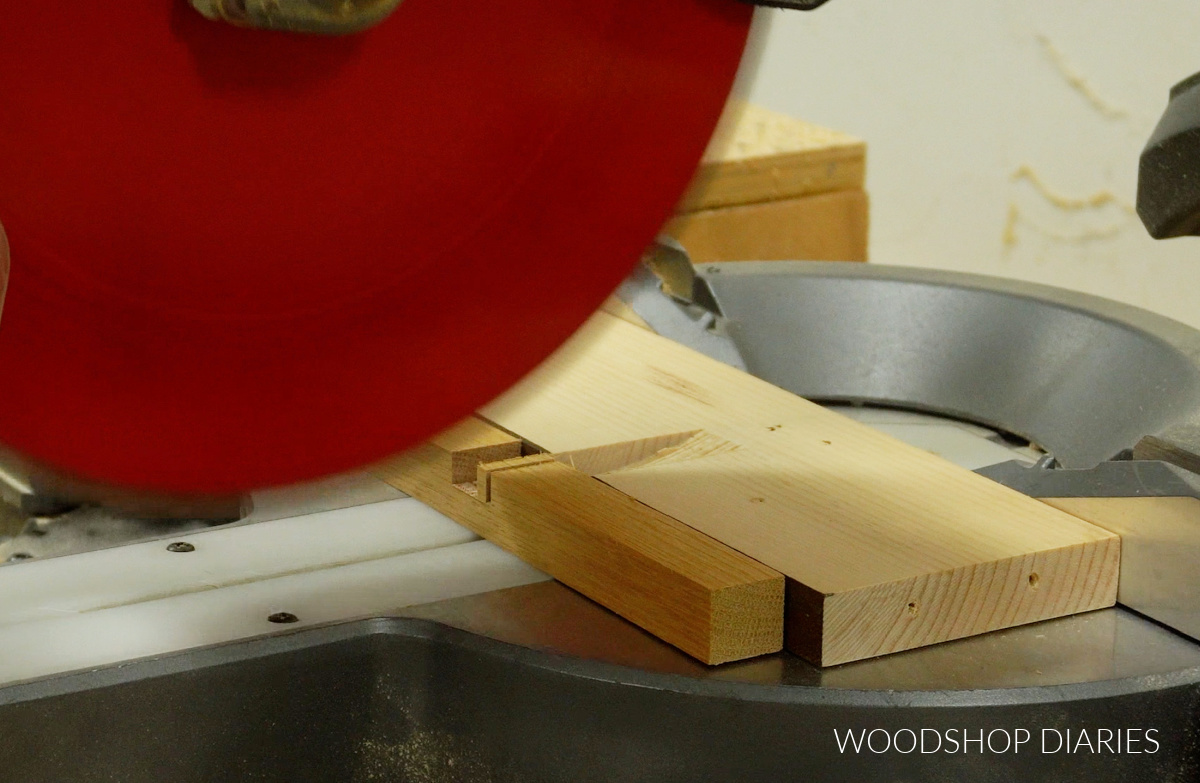
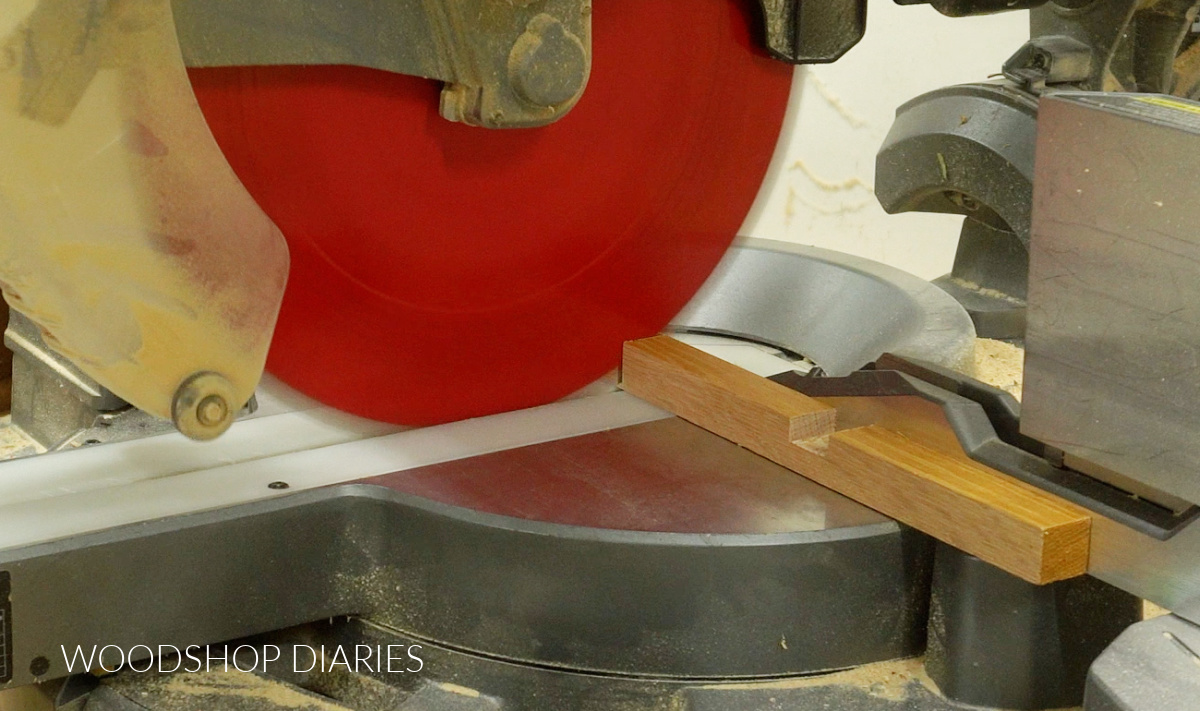
Step 4: Cut Trivet Boards to Length
Once I had my notches cut on both ends of my trivet board, I adjusted my miter saw cut depth again back to a full cut and cut 9″ off each end of my board to give me my two trivet pieces.
Step 5: Finish and Install Optional Rope
I used some 80 grit sand paper on a small scrap block and sanded the bottom of my notches on each piece nice and smooth.
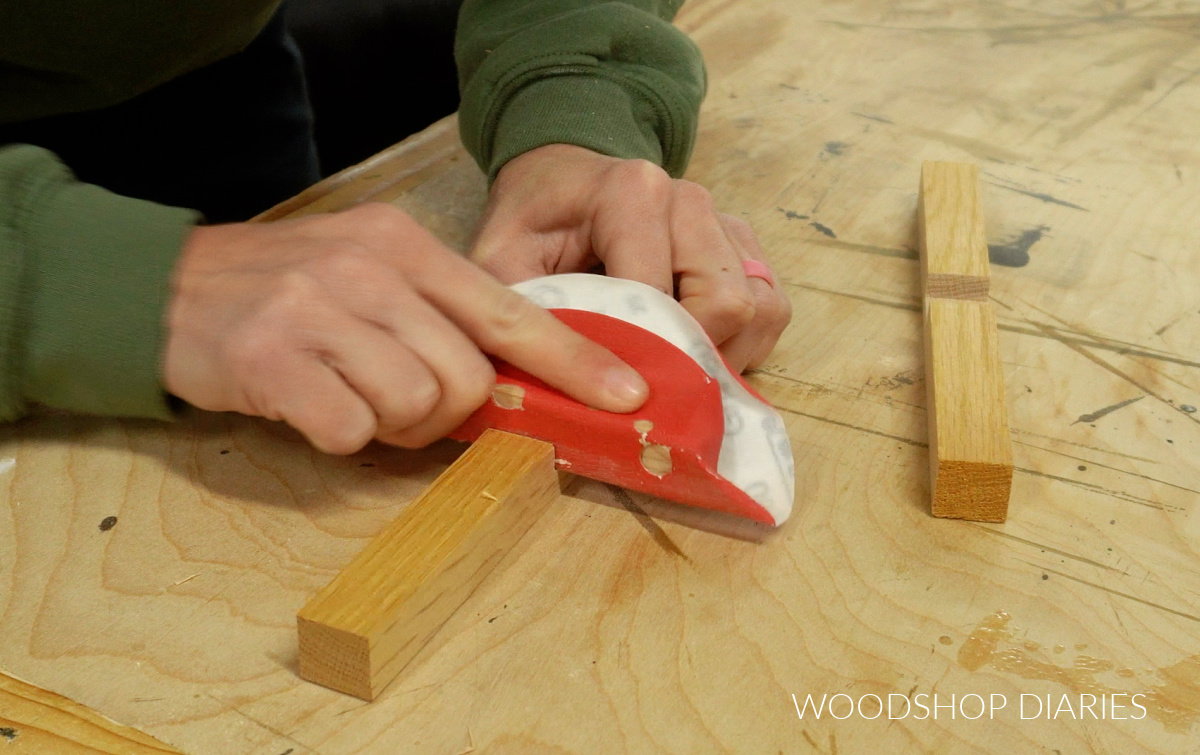
Then I made sure my pieces fit snuggly together, interlocking at the notches.
You can leave the trivet pieces as is, but I thought it would be neat to tie them together. So I clamped them together and drilled a hole through each on one end.
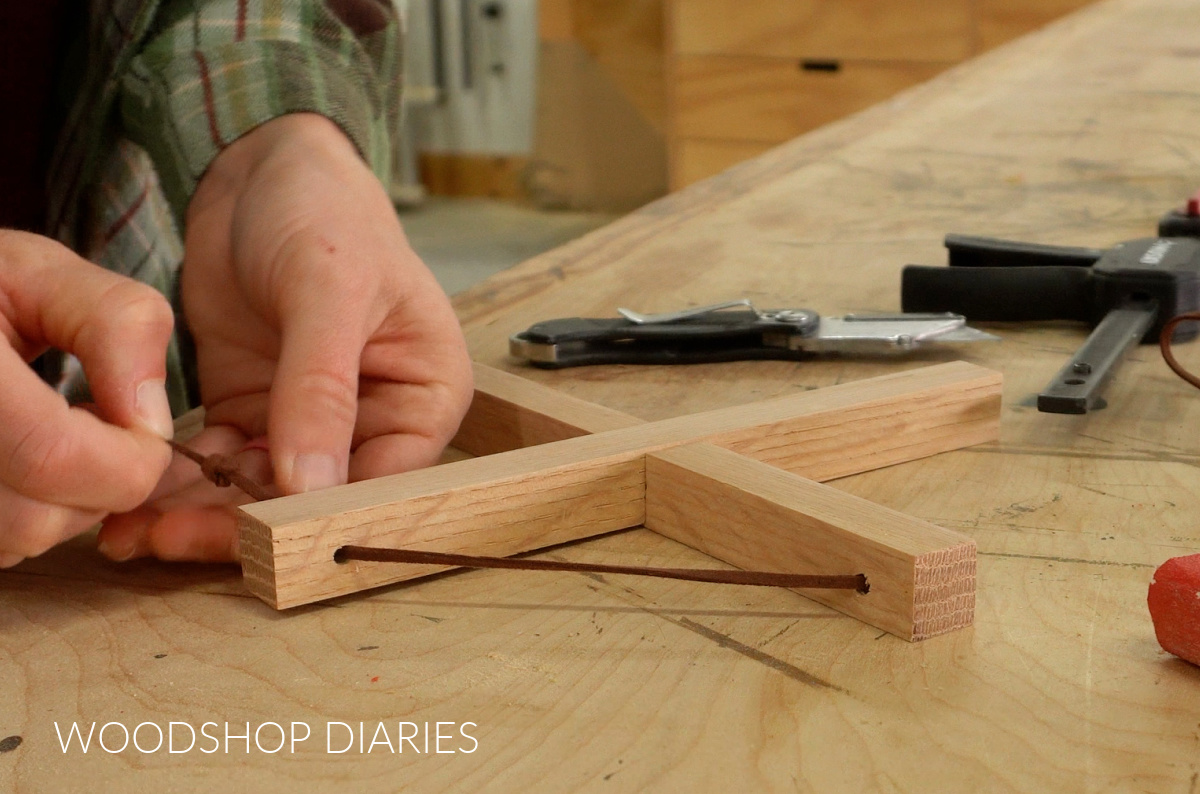
Then, I tied a knot and ran some small leather cord through the holes. Now the pieces can detach but stay together.
After sealing with some Walrus Oil Furniture Butter, these simple trivets were ready to use!
I ended up making a few sizes of these–the process was the same, just the measurements changed slightly to match the width of the pieces. Square dowels and 1x2s both worked great!

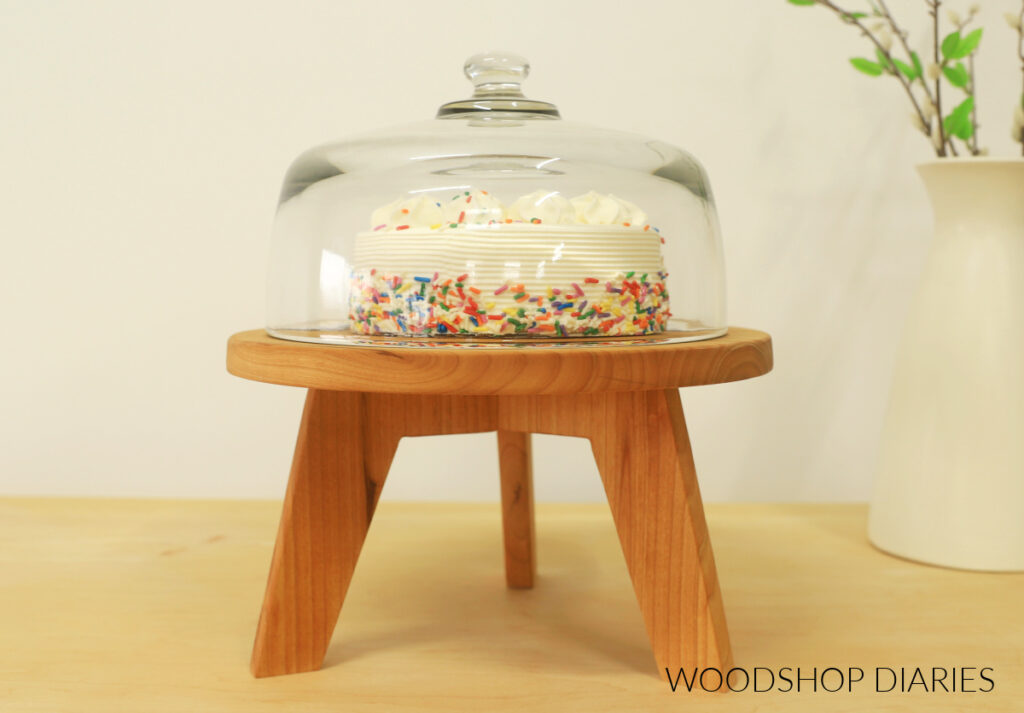
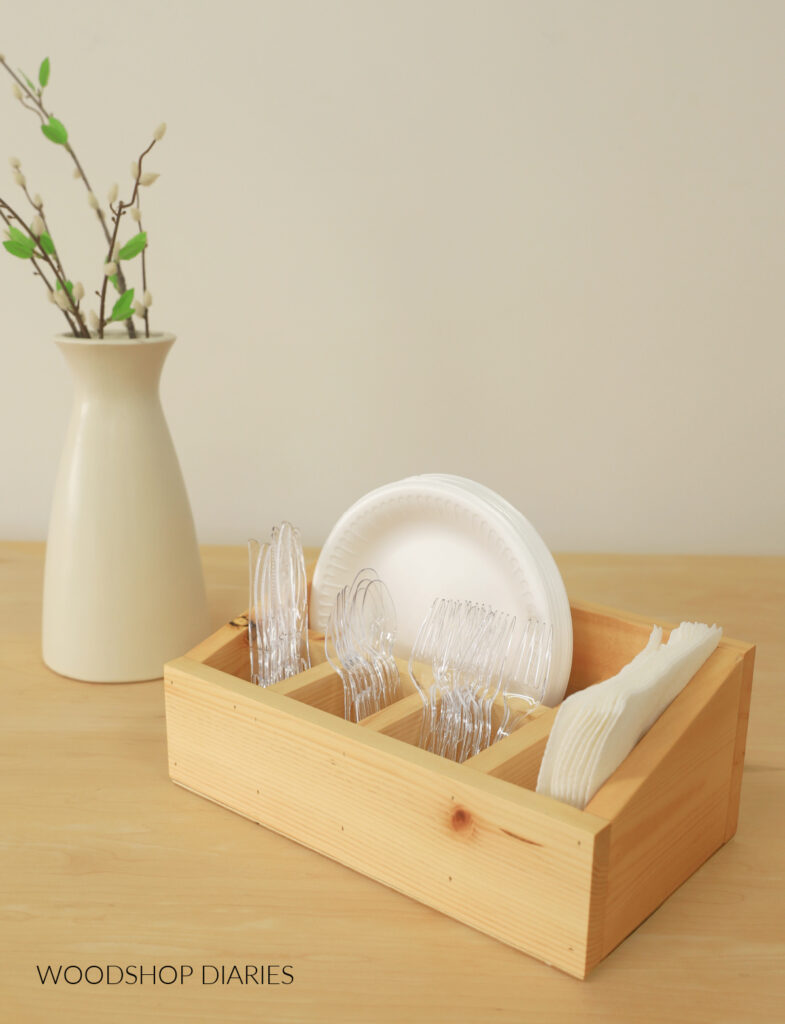
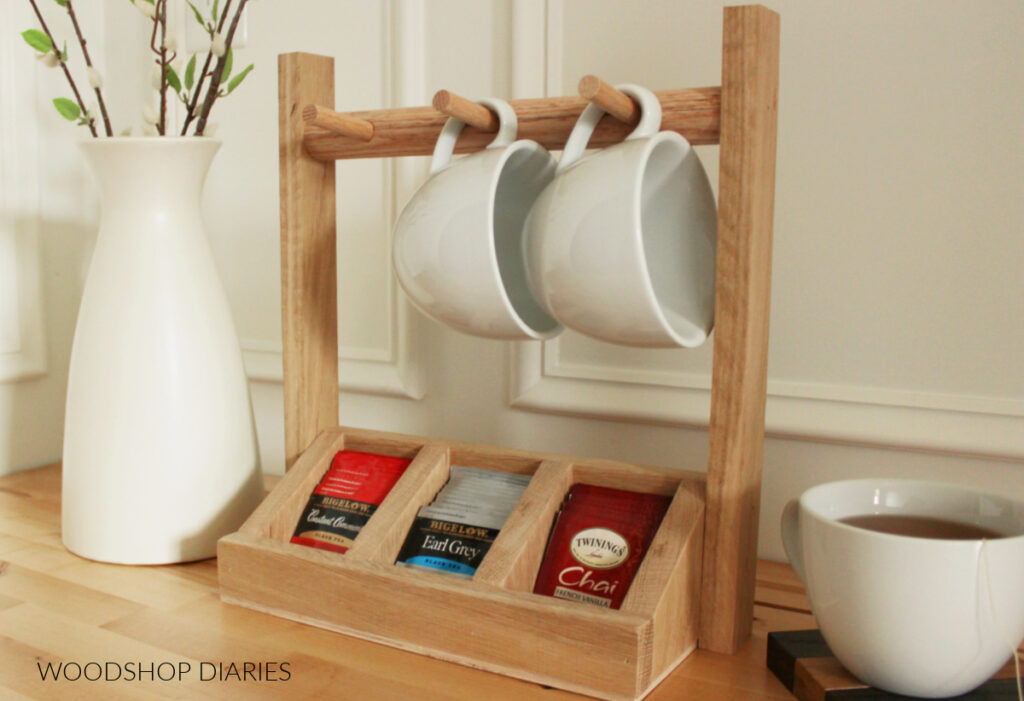
Looking for More DIY projects for your next Party?
Enjoyed this project and looking for more? Here are a few more fun projects that are easy to build and would work perfectly at your next gathering:
Enjoyed this project and want to save it for later? Be sure to pin it or share it to your favorite social channel!
Until next time, happy building 🙂