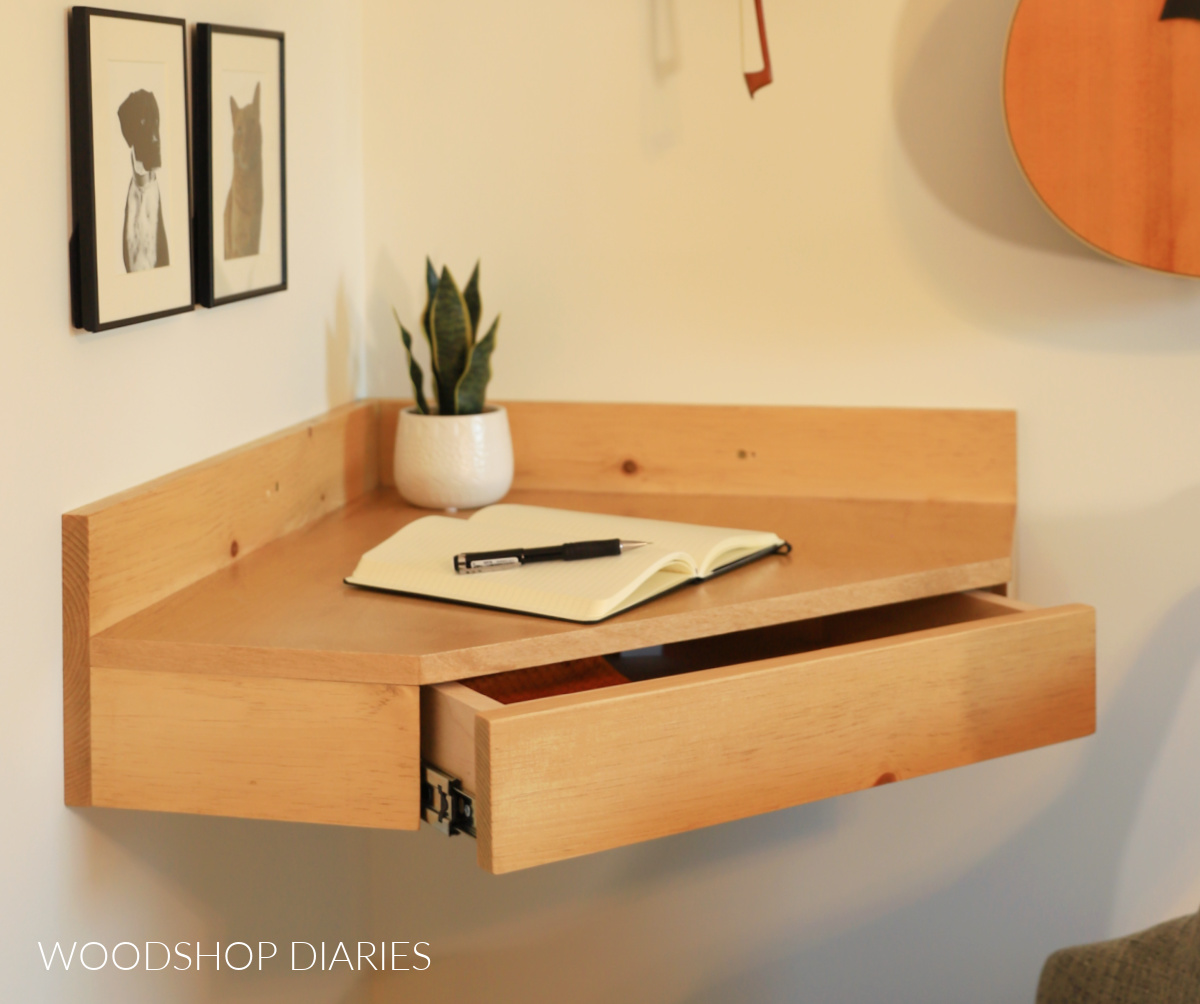
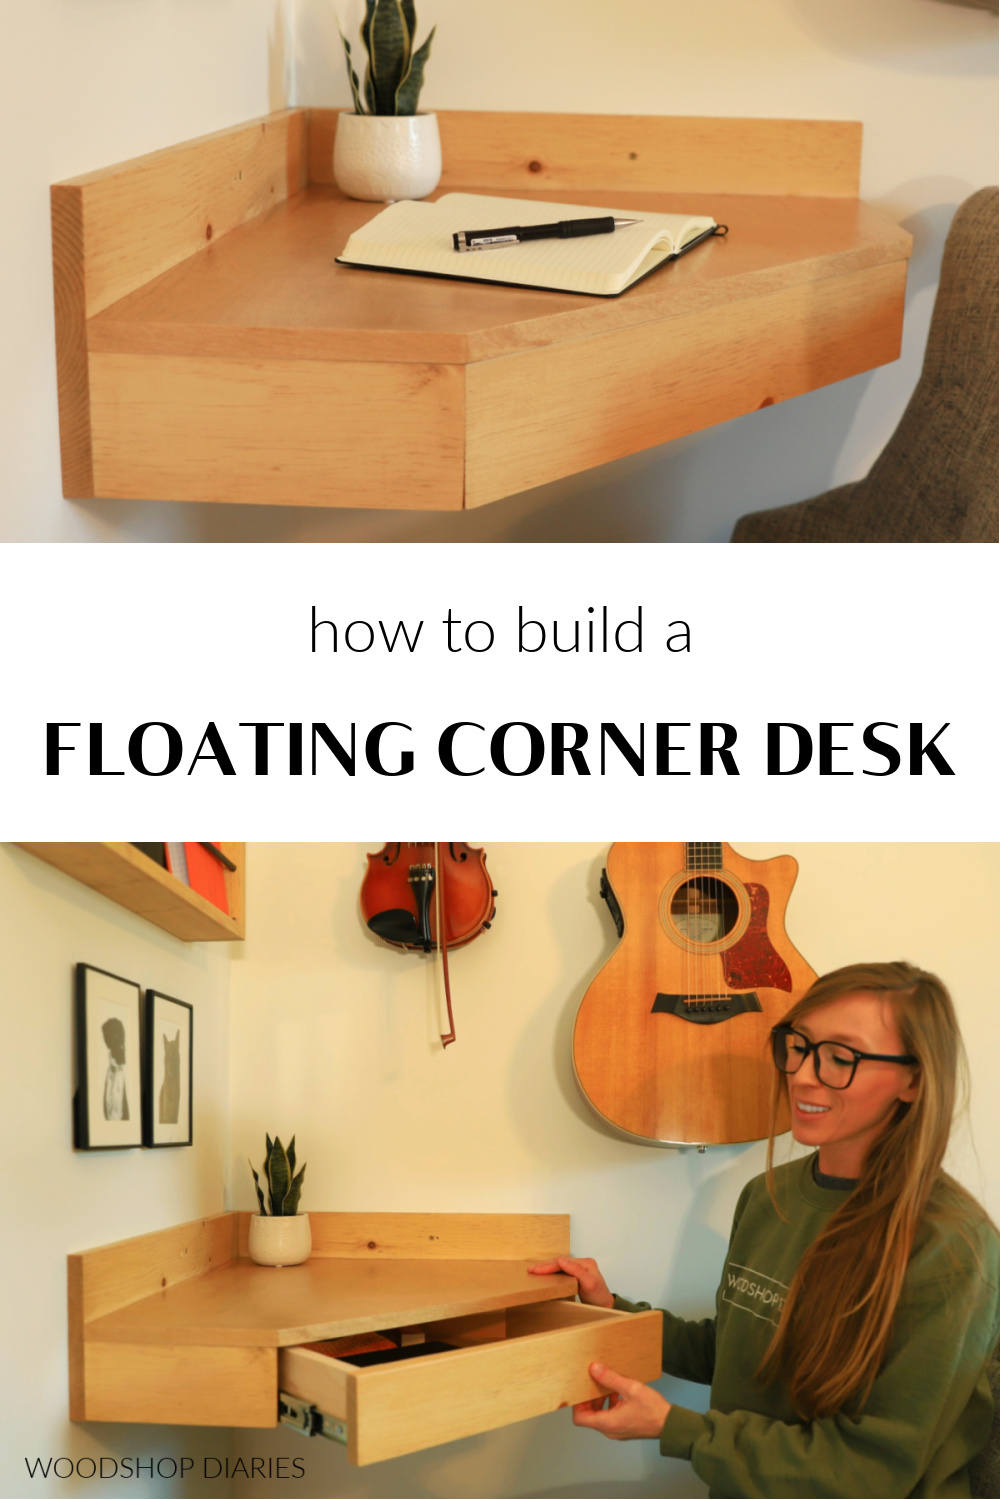
In this post, I’m sharing how to build a DIY floating corner desk that is perfect if you’re limited on space!
And since it’s “floating,” you can install it any height to make it work as a standing desk, a sitting desk, or a desk fit for a stool.
This would be such a great addition to a small kid’s room where you may not have space for a large desk. It could also work well in a kitchen if you just need a place to organize bills or work on your laptop.
Since it takes up so little space, this is a practical way to put your home office, command center, or homework station just about anywhere.
So, if you’re ready to build your own, I’ve got the details below!
*This post contains affiliate links. See website policies.
What to know before building
This is a simple project that you can easily complete in just a couple hours. I’d consider it an intermediate level project only because of the angles. The assembly itself is quite basic.
All angles used in this project are 45 degree bevels. Learn how to use a miter saw to cut angles here.
Overall dimensions
The overall dimensions of this project are 7 ¼″ tall x 22 ¾″ wide x 22 ¾″ deep.
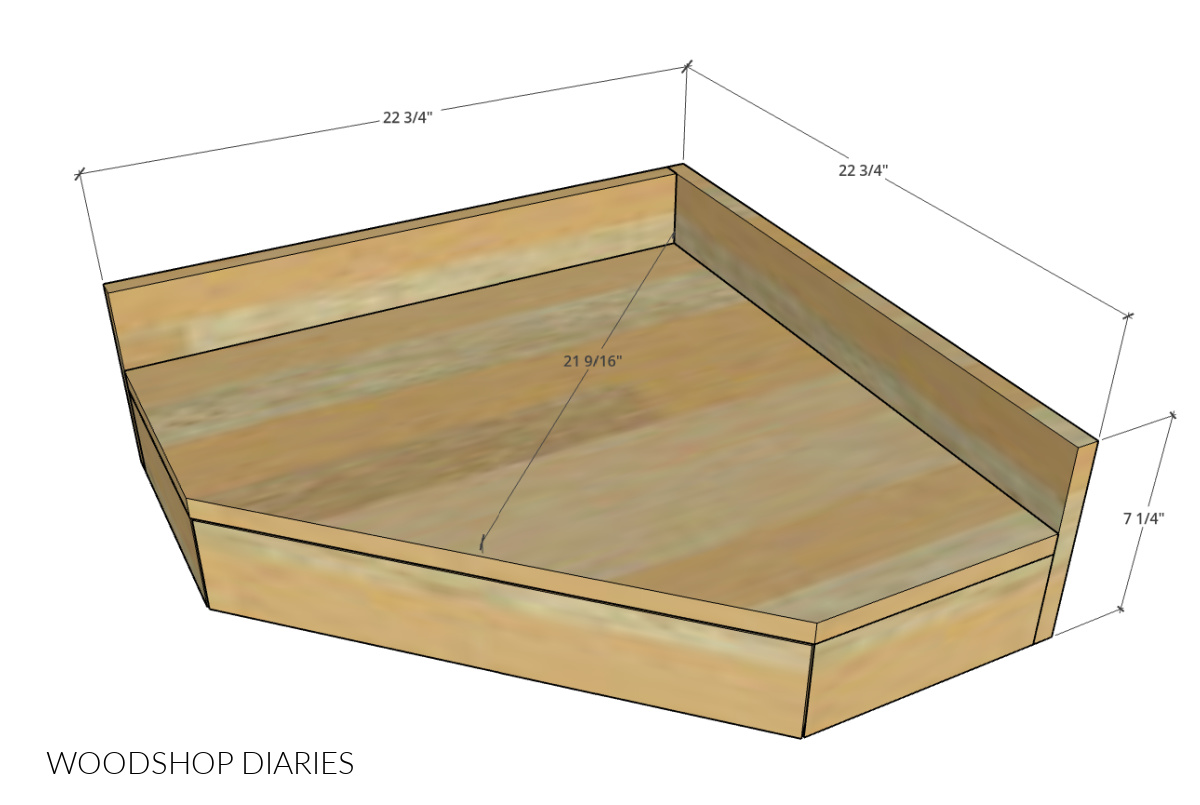
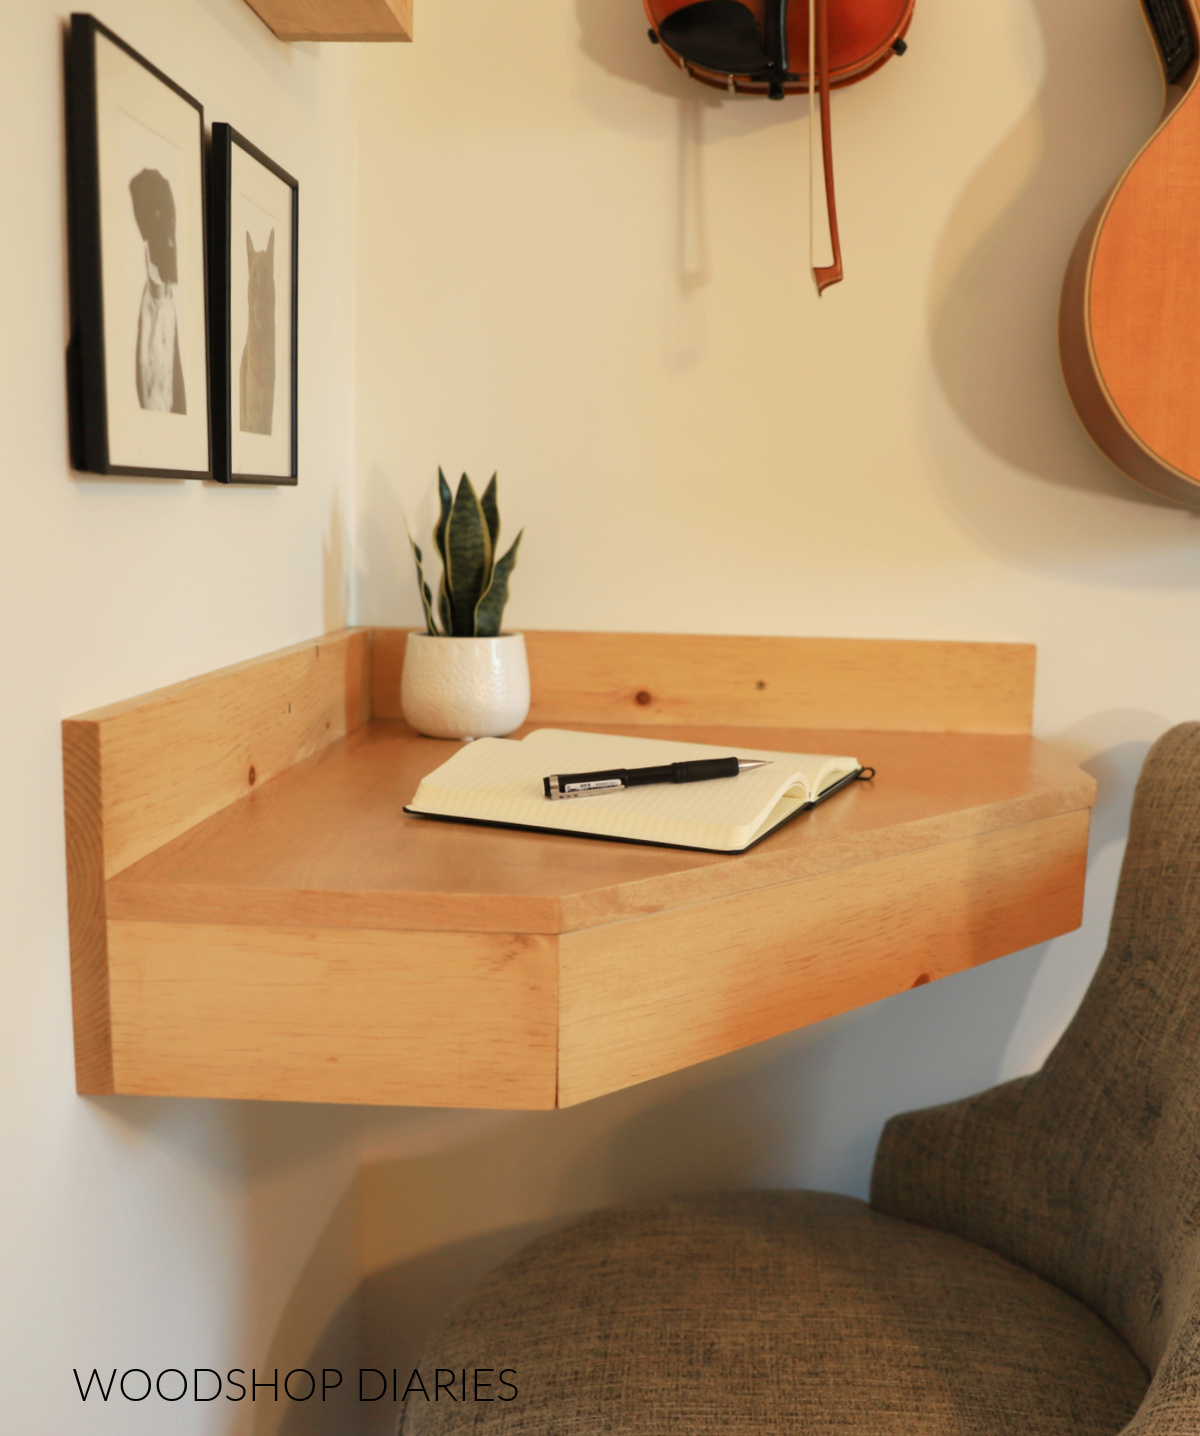
The desk top is large enough to fit a large laptop, a large book, or notebook. The distance from the front of the desk to the back corner is approximately 21 ½″.
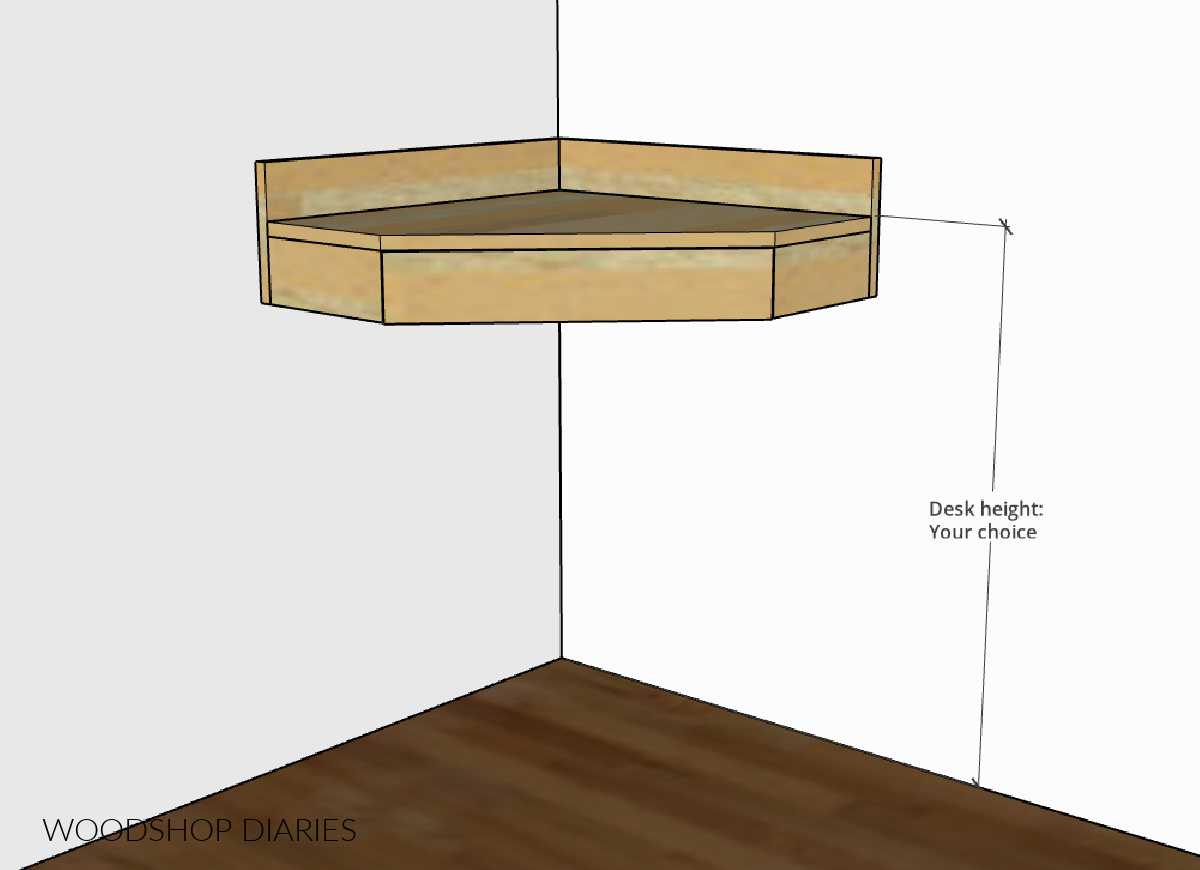
Floating Corner Desk Height
Since this desk is simply hung on the wall, it can be installed at any height depending on how you’d like to use it.
Common desk heights:
- Standard desk height is 30″. This is for use with a normal desk chair.
- Countertop desk height is 36″. This is for use with a stool or a high chair.
- Standing desk height varies between 38″ – 46″ depending on your height.
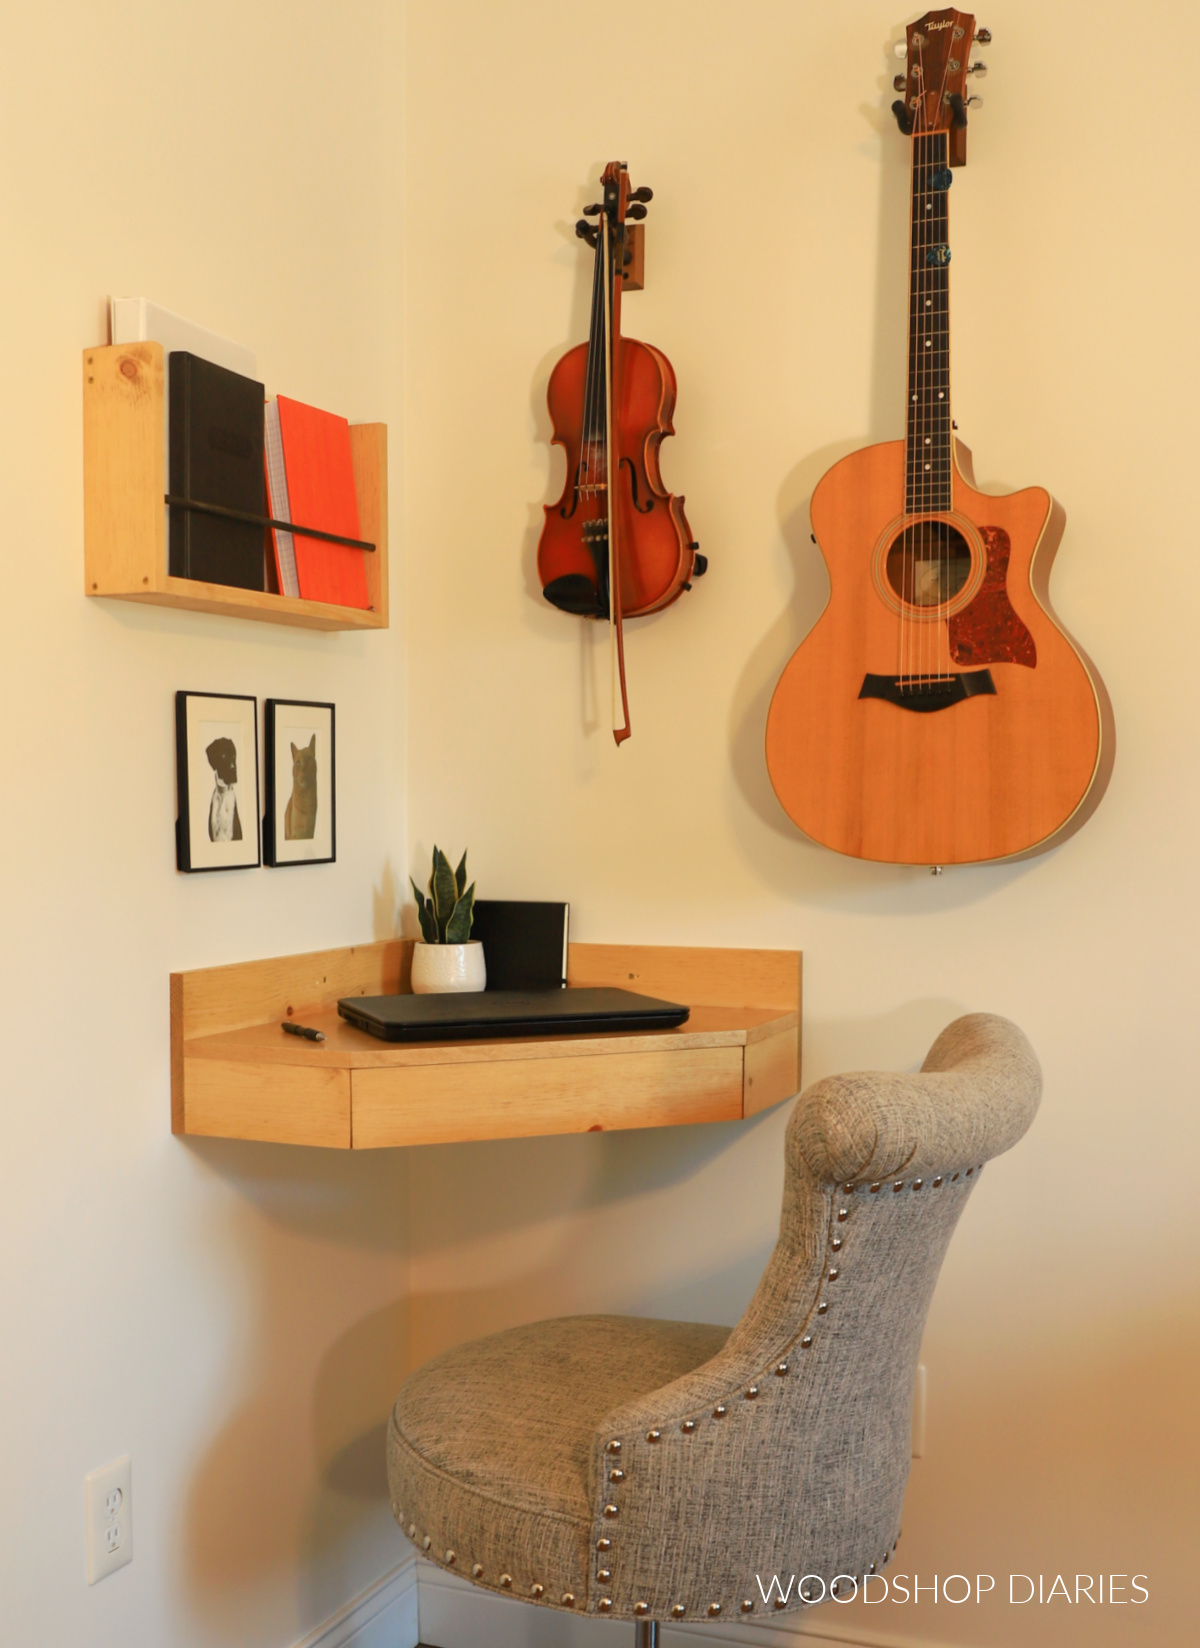
I planned to use this desk to practice my guitar and violin at. Sometimes I do this sitting on a stool and sometimes I’m standing up, so I opted to install mine about 40″ high.
Enjoy DIY projects and woodworking plans? Sign up for priority access for the latest posts on Woodshop Diaries!
How to build a DIY floating corner desk
If you prefer to watch, I’ve shared the full build video with tons of tips, behind the scenes, and additional details on my YouTube Channel here.
Love watching how-to videos? Subscribe to my YouTube channel for plenty more where that came from!
Prefer to print? Grab the printable floating corner desk building plans available here:
You may find these resources helpful throughout the build:
Tools & Materials
Tools:
- Drill/Driver
- Circular Saw
- Cutting Guides–Kreg Rip Cut & Kreg AccuCut (optional)
- Pocket Hole Jig
- Brad or finish nailer
- Miter Saw
Materials:
- (1) 2’x2′ sheet ¾″ plywood
- (1) 2’x2′ sheet ¼″ plywood
- (1) 1x4x8 board
- (1) 1x3x8 board
- (1) 1x8x8 board
- 1 ¼” pocket hole screws (100 count box)
- (10) 1 ¼” wood screws
- 1 ¼″ long Brad or finish nails
- (4) 2 ½″ or 3″ long wood screws (to install)
- Wood glue
- (1) pair 10″ ball bearing side mount drawer slides
- Edge banding (optional)
**If desired, you can substitute any or all of the 1x material used in this project for ¾″ plywood instead.
Please note that 1×3, 1×4, and 1×8 are nominal dimensions, not actual. So if you cut plywood to use for these, make sure to cut them to their actual dimensions. Learn more about nominal vs actual dimensions and understanding lumber sizing here.
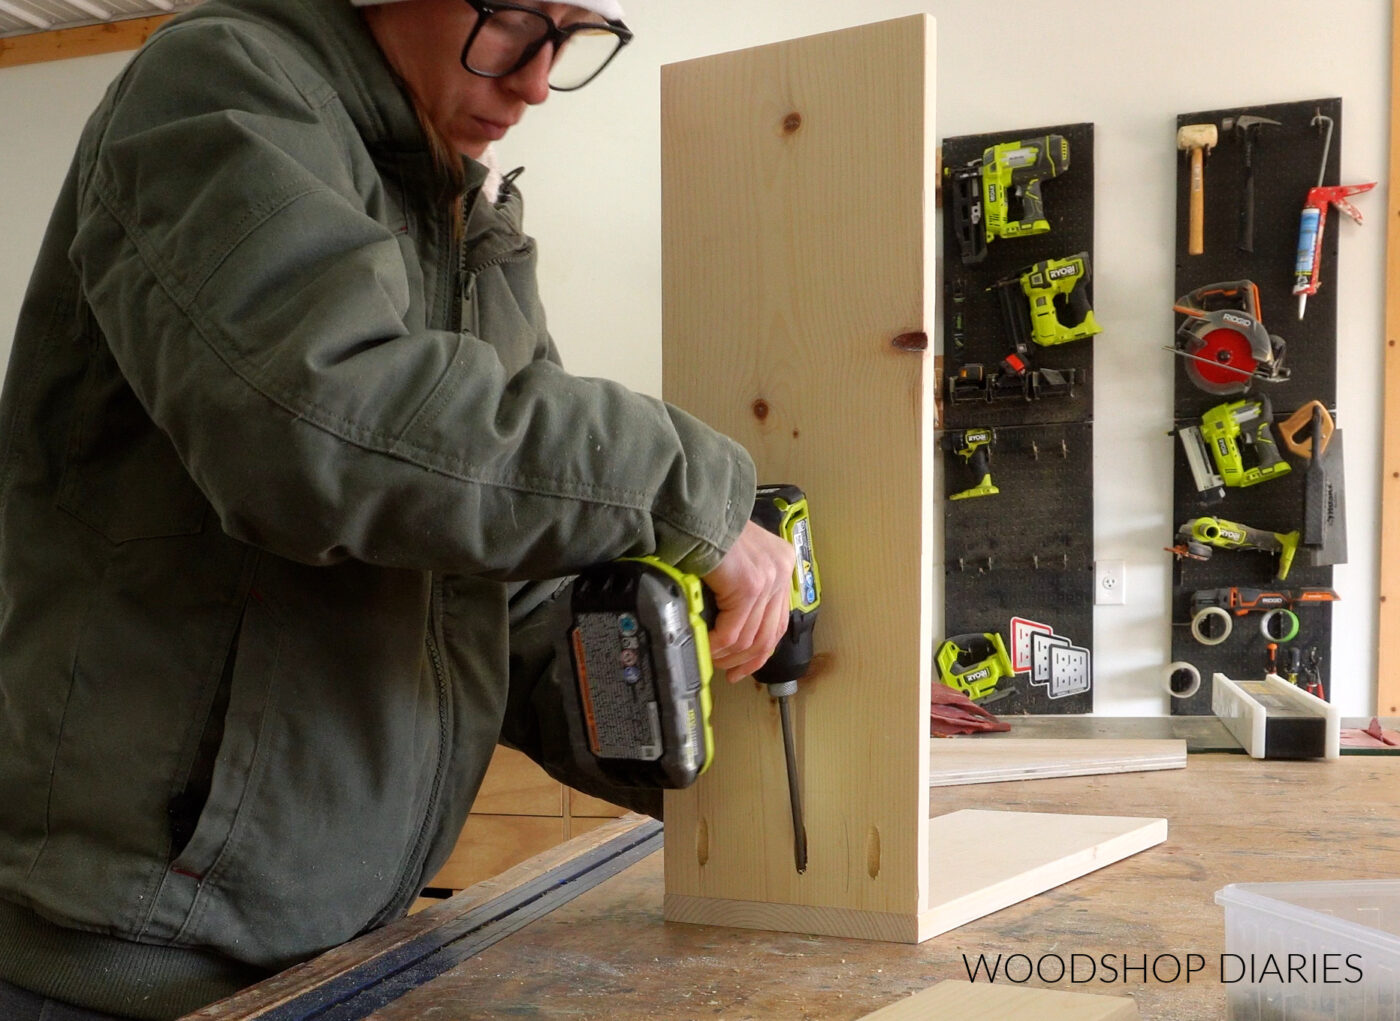
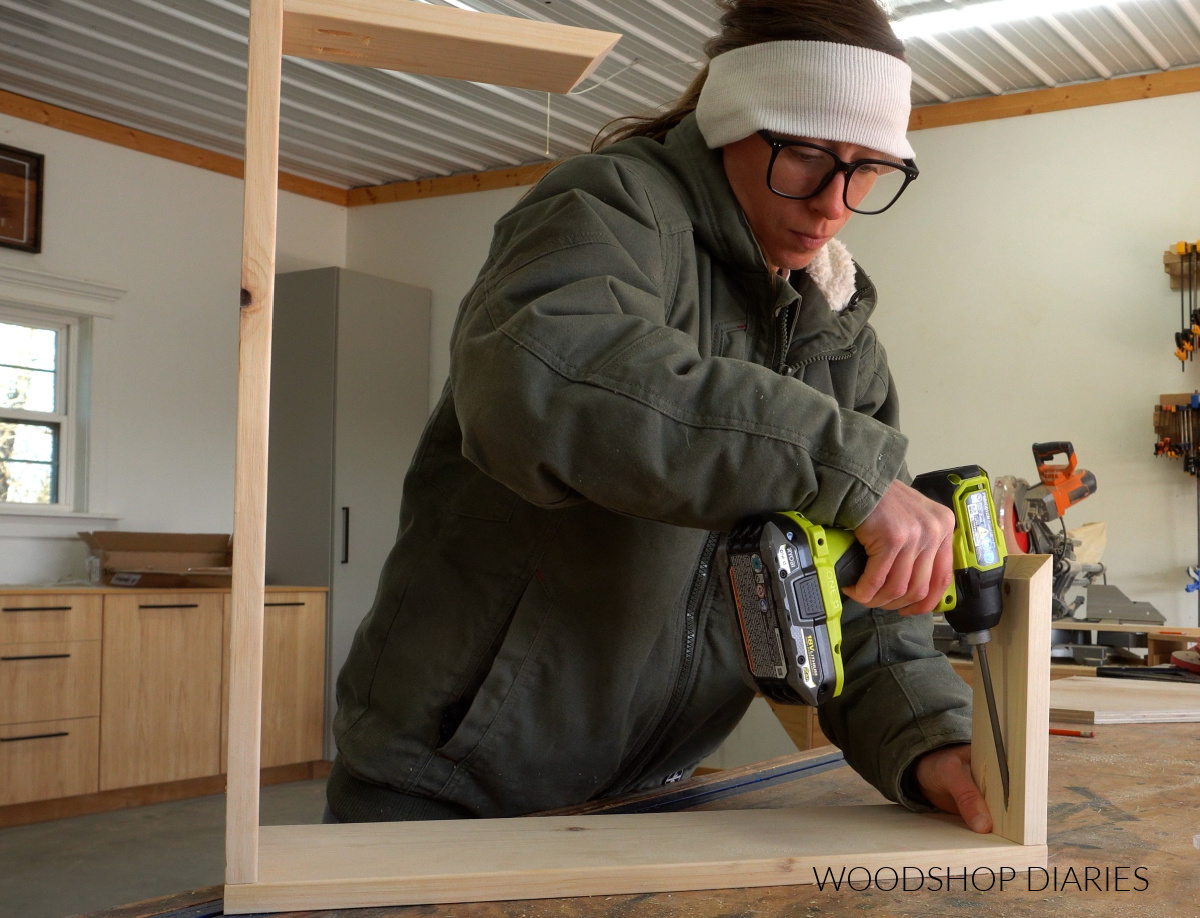
Step 1: Assemble Desk Frame
First, I cut two pieces of 1×8 board–one to 22″ long and the other 22 ¾″ long. These will form the back of the desk.
I drilled pocket holes into one end of the shorter board and attached these two pieces at the back corner with pocket hole screws.
RELATED: How to build with pocket holes
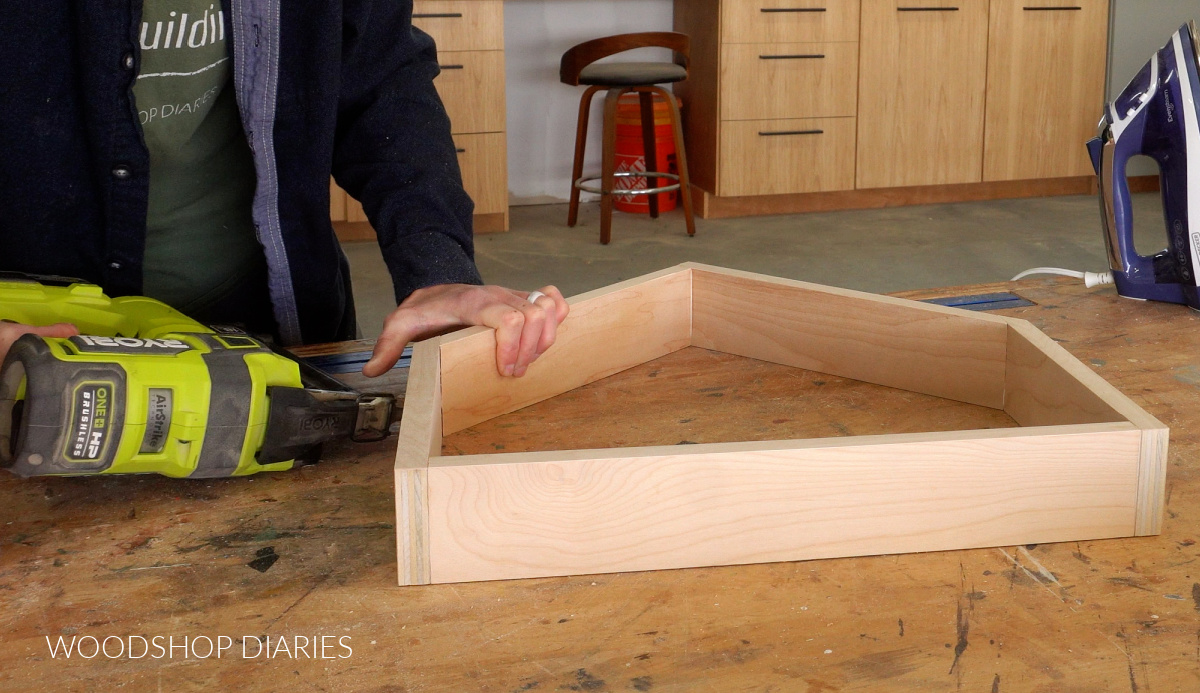
Then, I cut two pieces of 1×4 about 8 ½″ long with one end square and the other end beveled 45 degrees.
I drilled pocket holes into the square ends and attached one at each end of the 1×8 boards using pocket hole screws. TIP: Make sure the pocket holes face the inside and the long sides of the board are on the outside.
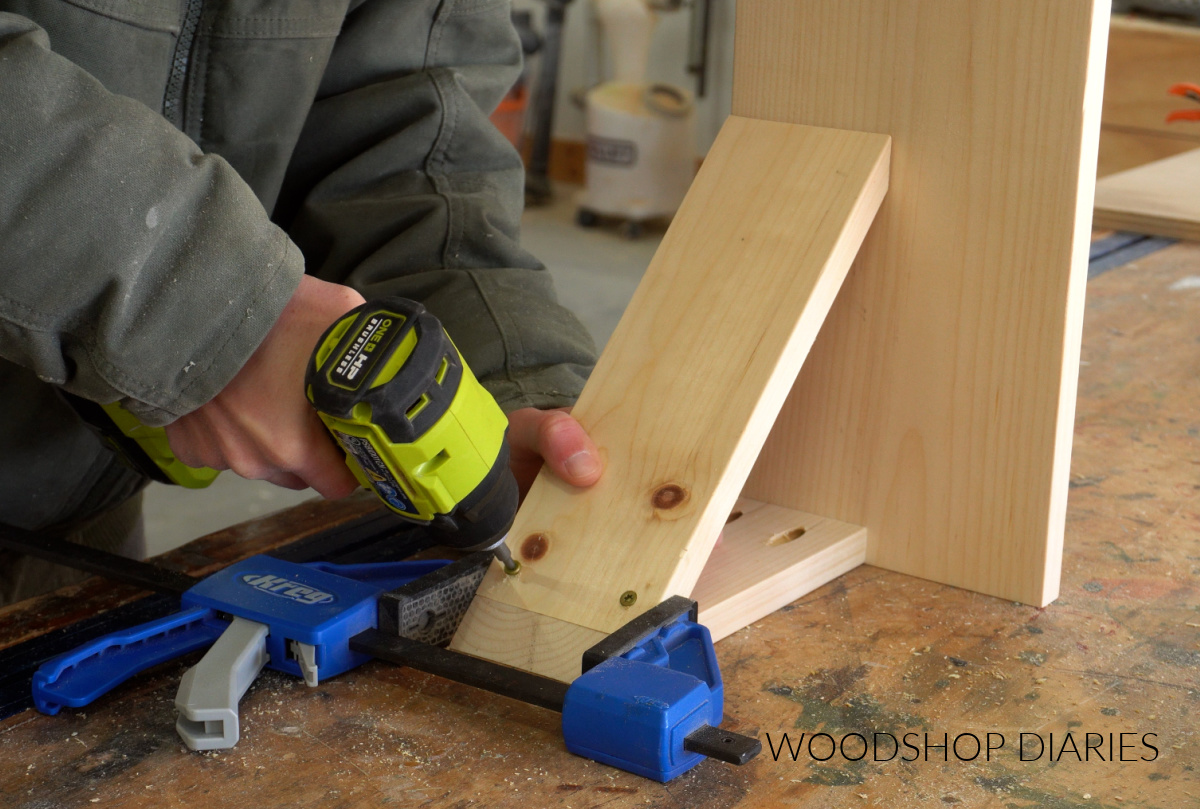
Then, I needed to add an additional brace that will be used to install the drawer slides onto later.
For this, I cut two more pieces of 1×4 with both ends beveled 45 degrees NOT parallel to each other. These pieces should fit snuggly between the back 1×8 and the side 1x4s.
I secured them at each end with wood screws. Learn how to decide which screw to use for your project here.
The diagrams and exact cut list can be found in the printable plans.
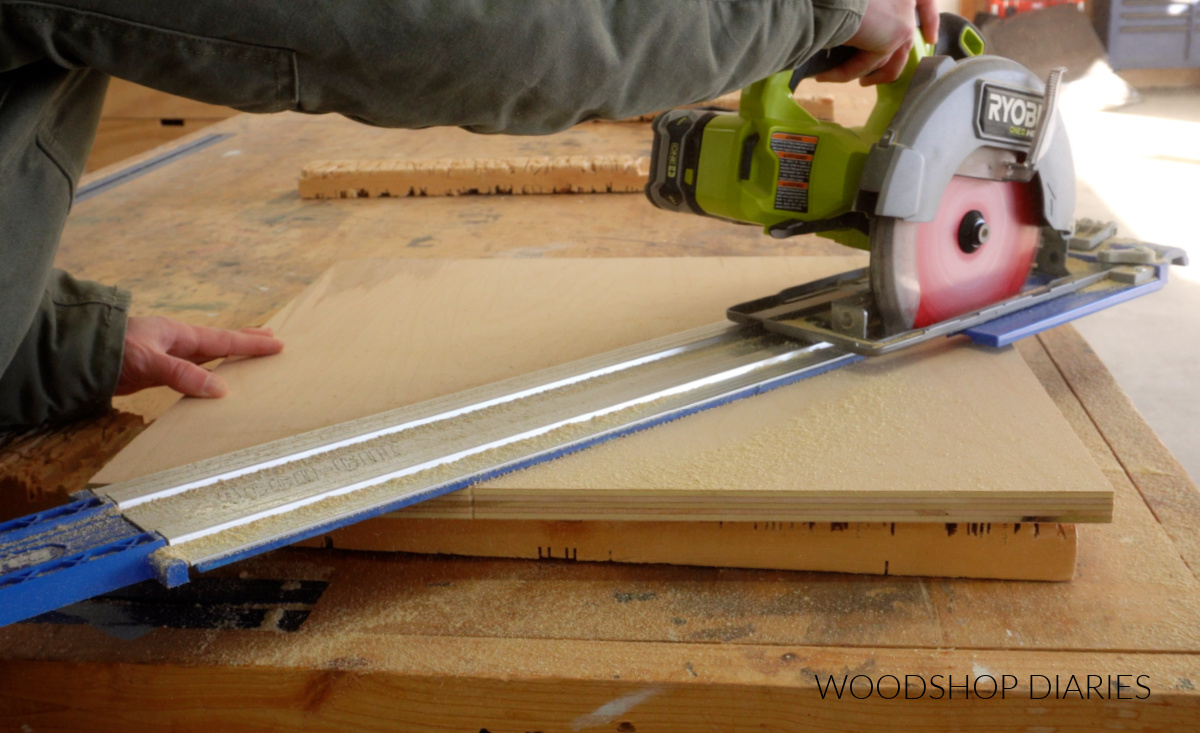
Step 2: Attach Desk Top
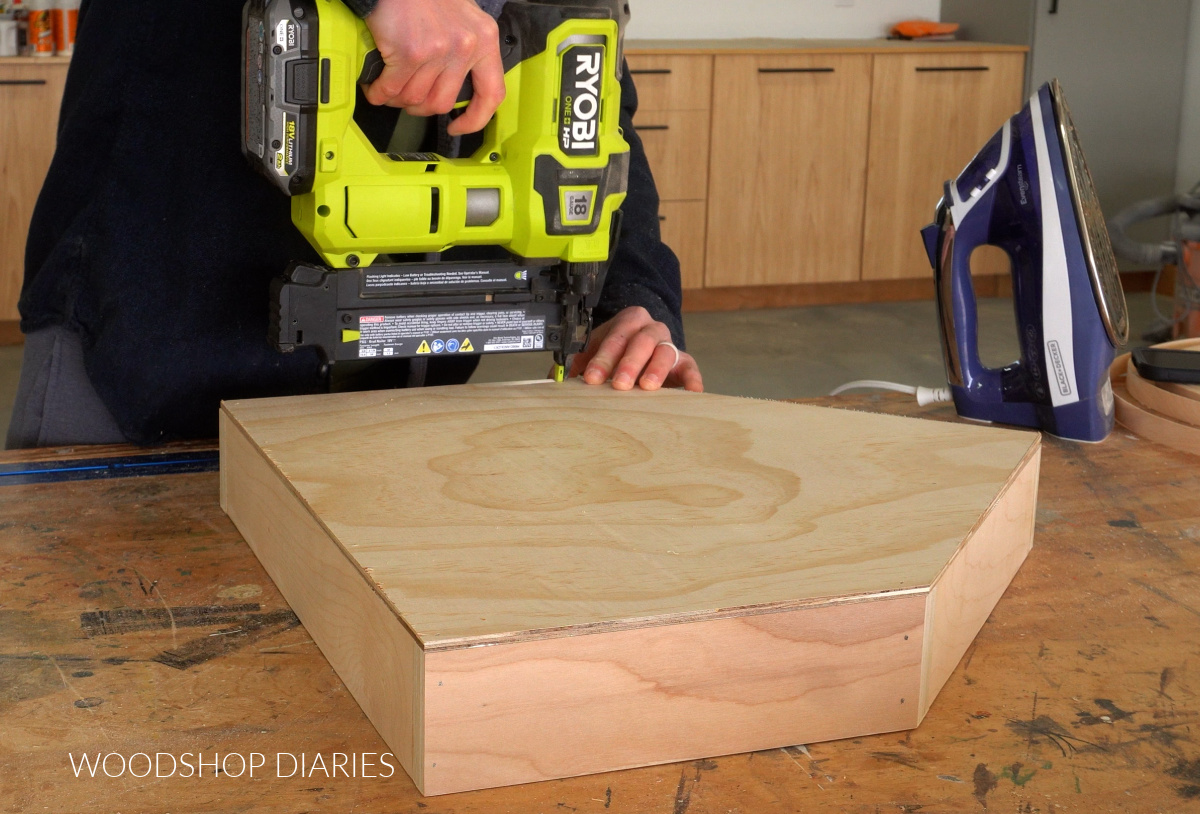
Next, I cut a piece of ¾″ plywood to 22″ square for the desk top. I measured in 8 ½″ from two opposite corners and drew a line between these marks.
Then I cut along this diagonal line to make the front edge of the desk.
I applied iron on edge banding to the short sides and front edges of this piece. Edge banding is optional, but it covers the plies to make it look like a solid piece.
Learn how to apply iron on edge banding here.
Then, I drilled pocket holes along the back edges of the plywood and also drilled a couple along the top edges of the 1x4s.
This allowed me to install the desk top into the frame like shown below using pocket hole screws.
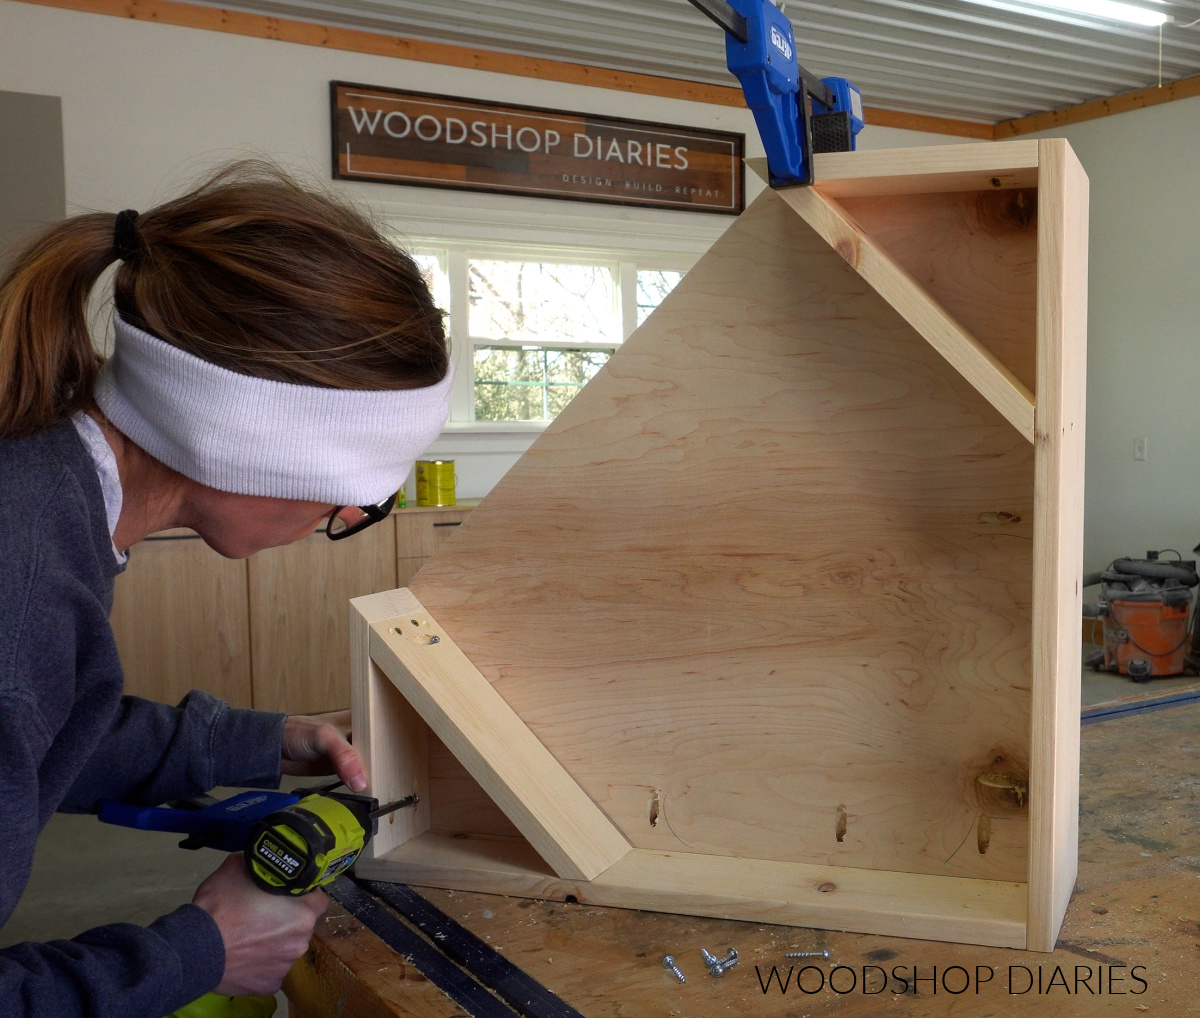
The pocket holes in the plywood help secure the back and the pocket holes in the 1x4s help secure the sides/front.
Step 3: Build and Install Drawer
Next, I installed a pair of 10″ drawer slides into the desk frame on each side. These should be installed ¾″ inset from the front edge and flush along the bottom.
RELATED: How to install side mount drawer slides

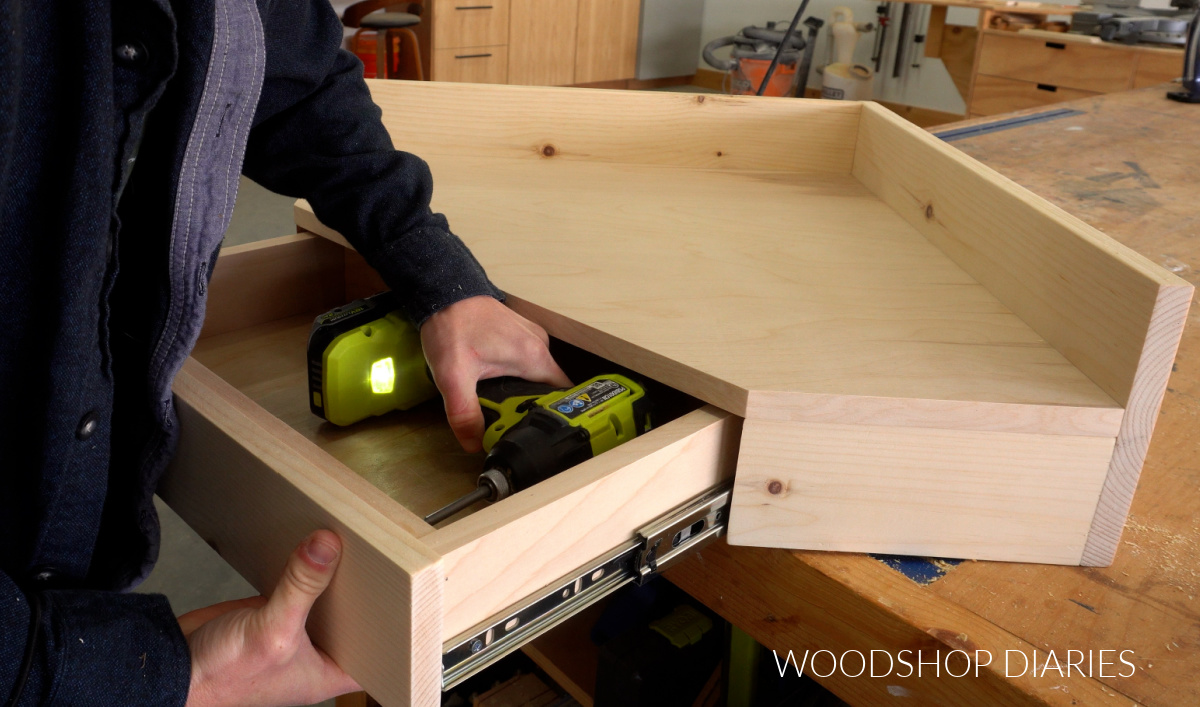
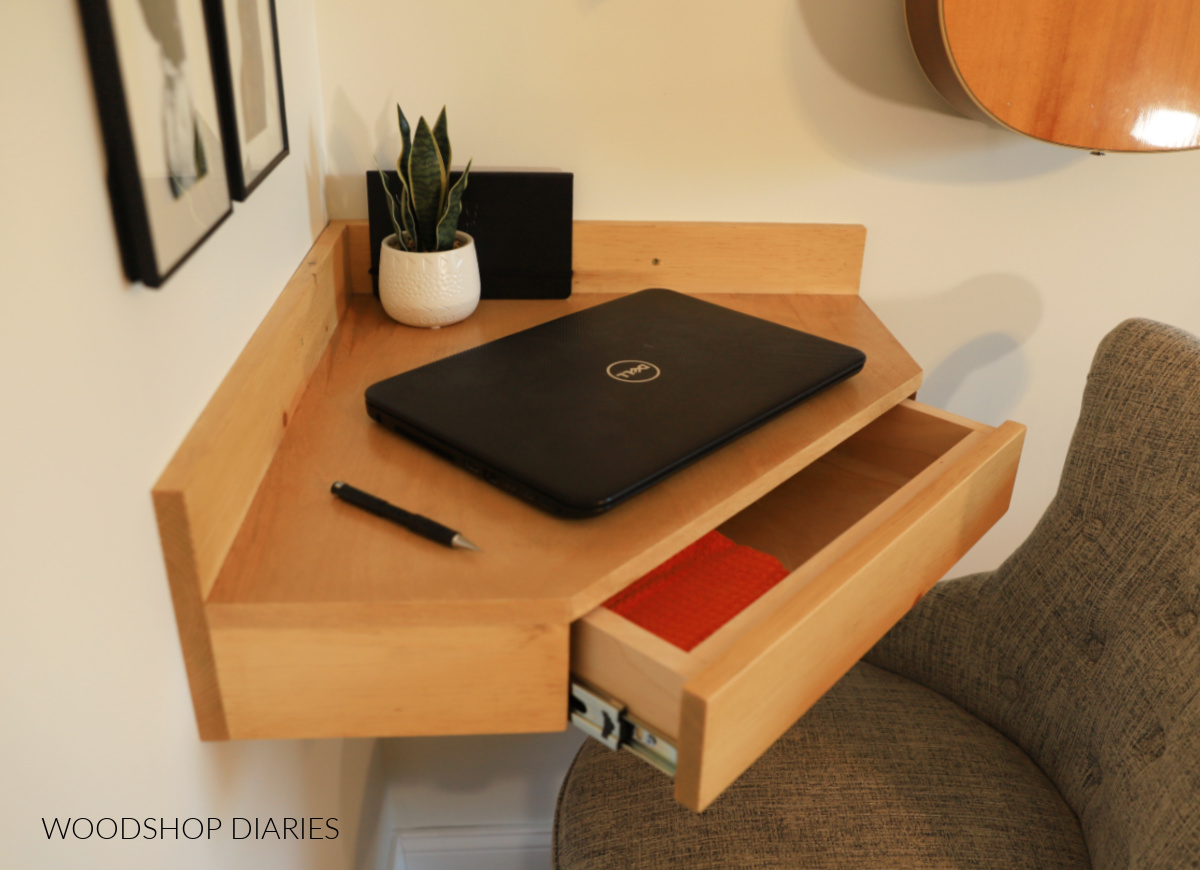
Next, I assembled the drawer box. To better utilize some of this empty space in the back corner, instead of building a basic rectangle shaped drawer, I made it “house shaped.”
I cut plywood strips to build the drawer with, but 1x3s would work fine, too. I cut these pieces so that the sides and back meet together with 45 degree beveled ends. Then I glued and brad nailed the drawer box together.
Prefer to print? Grab the printable building plans for this project here.
Next, I traced the drawer box shape onto a piece of ¼″ plywood, and after cutting it to fit, glued and nailed it along the bottom.
Then, I installed the drawer box onto the slides in the desk and cut a piece of 1×4 to use as the drawer front. I secured this to the drawer box using screws from the inside as you can see below.
Step 4: Finish and Install
Now the desk is fully assembled and ready for finish. You can stain or paint your desk however you’d like. I gave this desk a light coat of Minwax Golden Oak and sealed it with Minwax Polycrylic.
Then, I installed it on the wall. This desk was intended for use in a corner. I marked my desired desk height on the wall (see notes above) and located the wall studs.
I removed the drawer from the desk, held it in place at my desired height, and secured it using 2 ½″ screws through the back on each side–4 screws total.
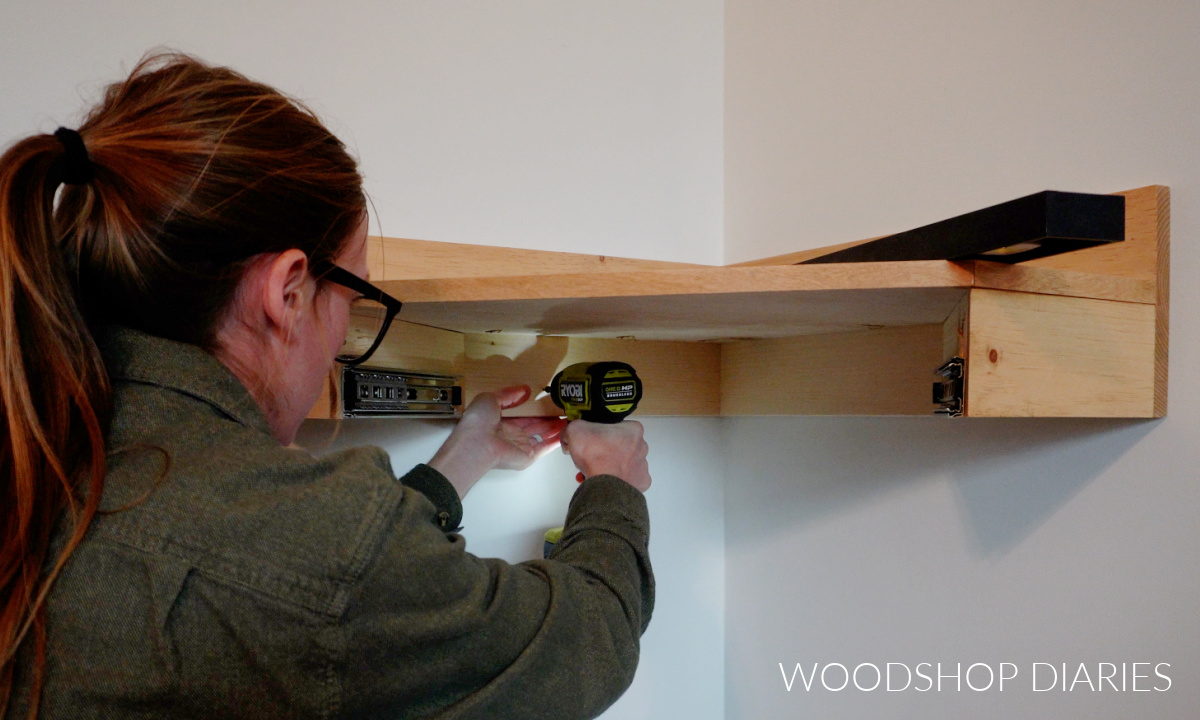
I replaced the drawer back into the desk and now it’s ready to use. This is such a fun little desk if you don’t have a lot of space or don’t need anything huge to work at.
It would make a great place to sit down and do some sketching, homework, or write a few bills. Or even use it as catch all in the foyer for a place to drop keys and mail.
I’m using it to practice my instruments. It’s the perfect place to rest my music books while I play or set my laptop while watching tutorials.
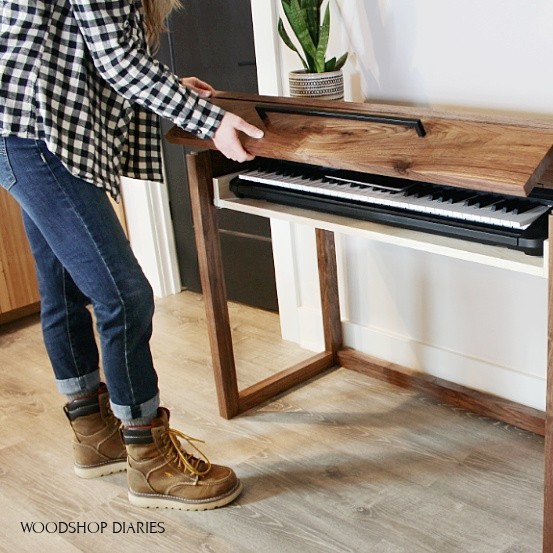
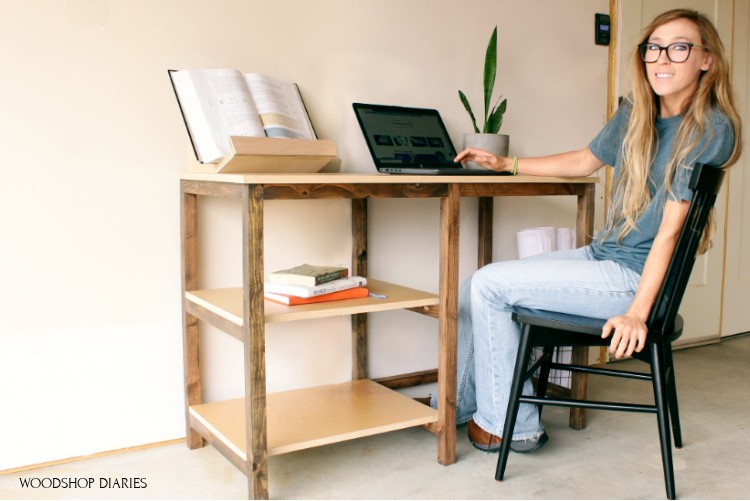
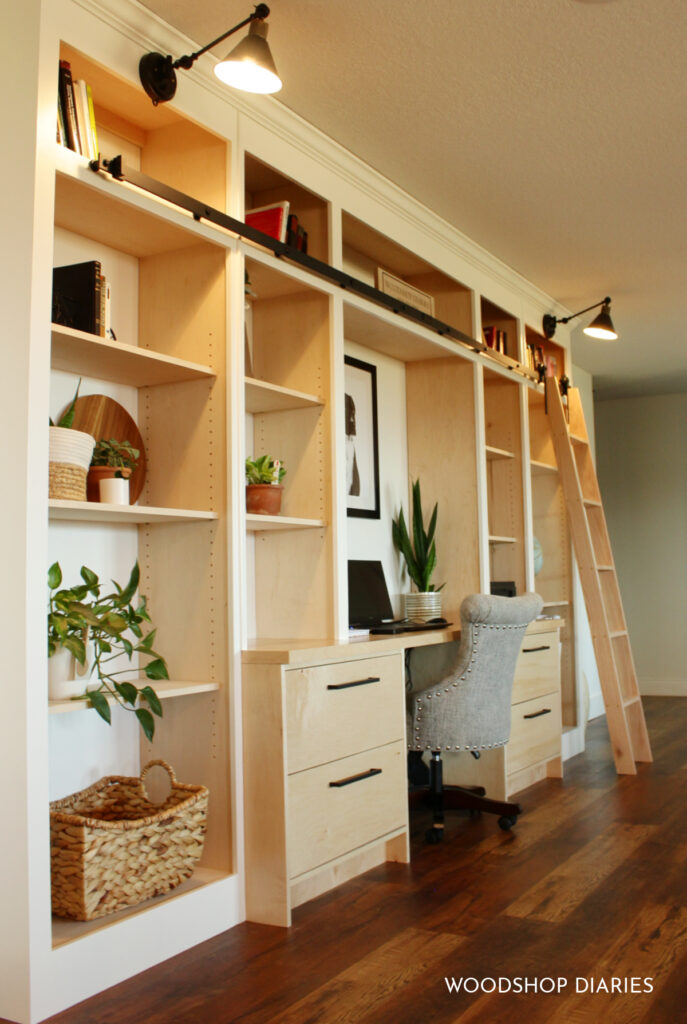
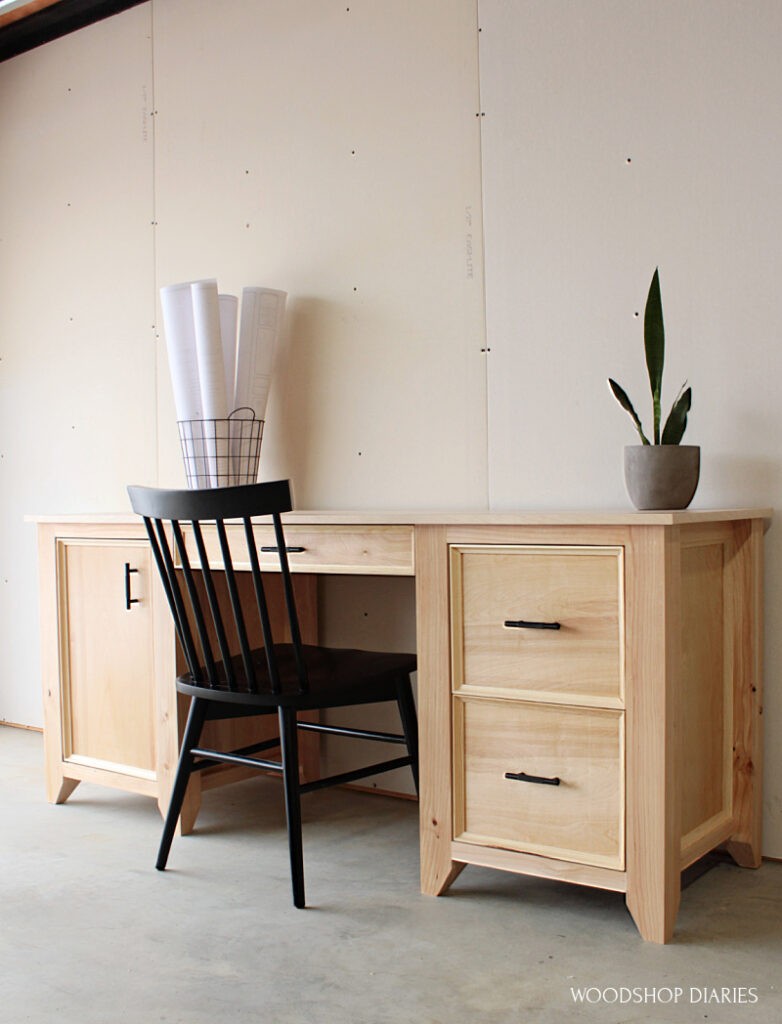
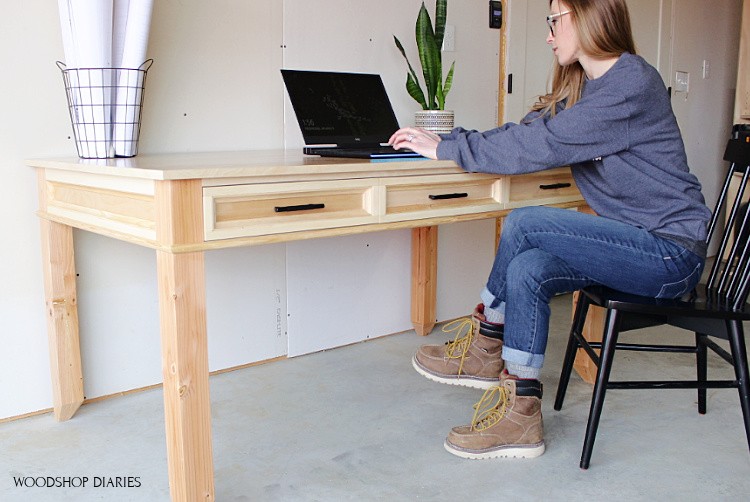
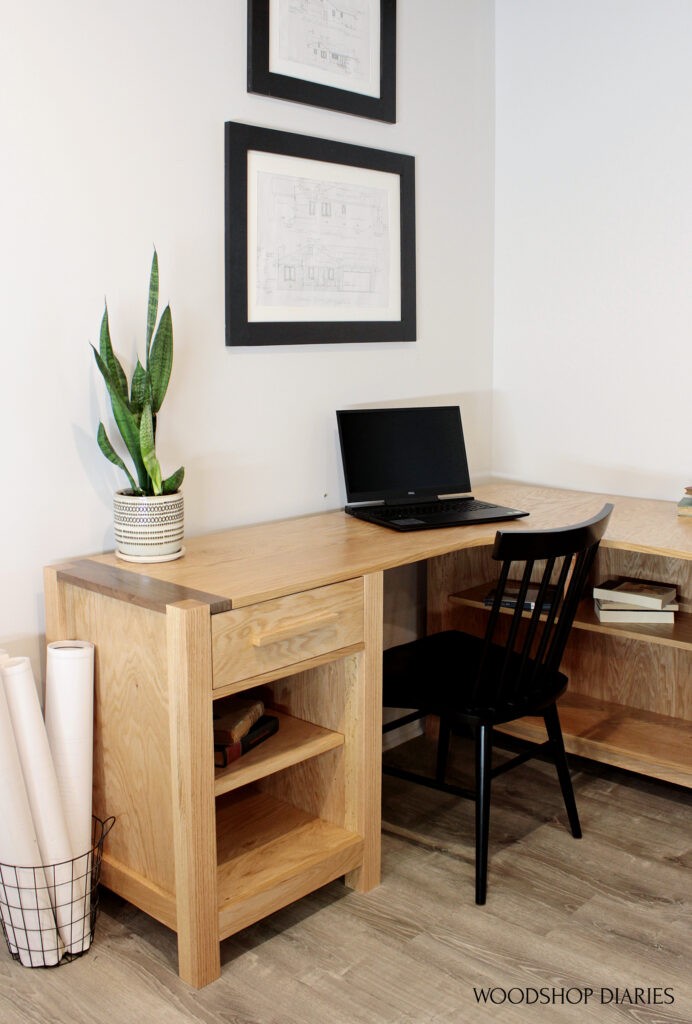
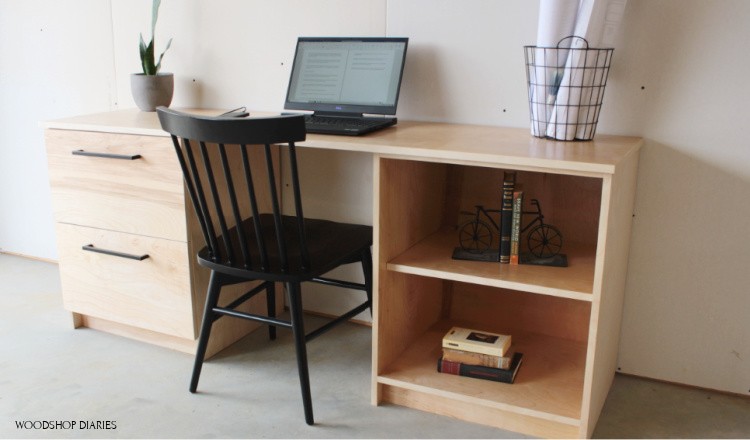
Looking for more DIY Desk ideas?
Looking for more desk ideas? Here are a few ideas to fit any space–small or large. Click on the images below to see how to build each one:
Enjoyed this project and want to save it for later? Be sure to pin it or share to your favorite social platform!
Until next time, friends, happy building!