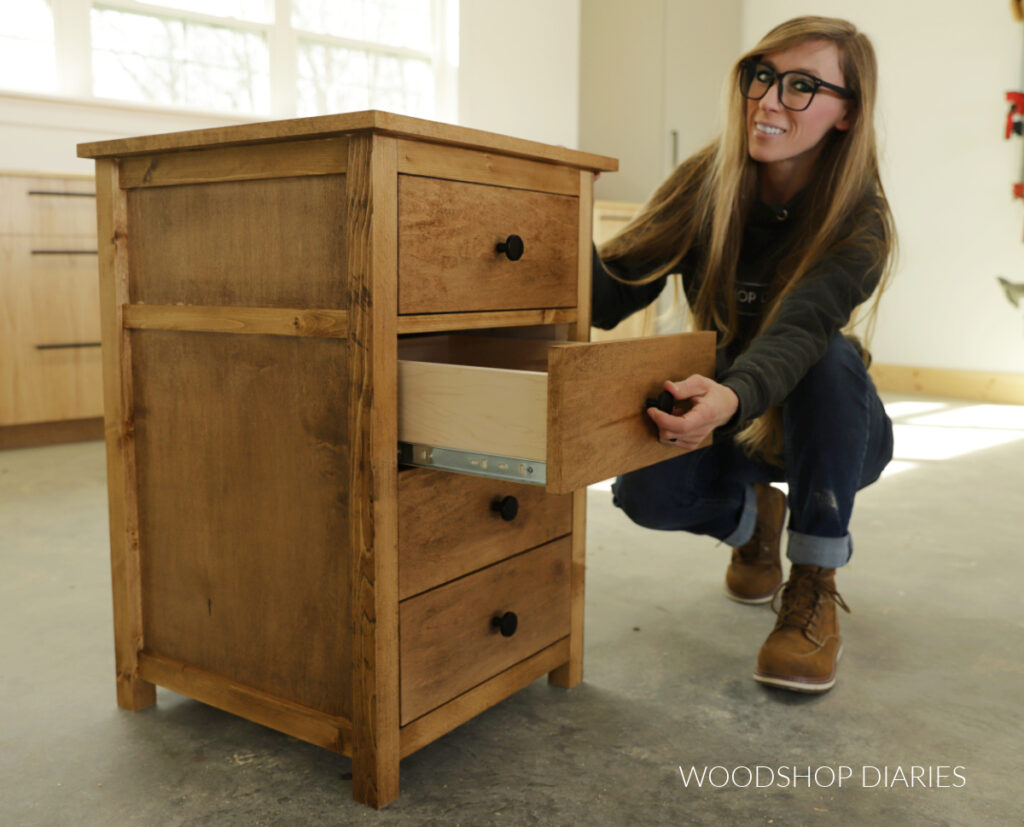
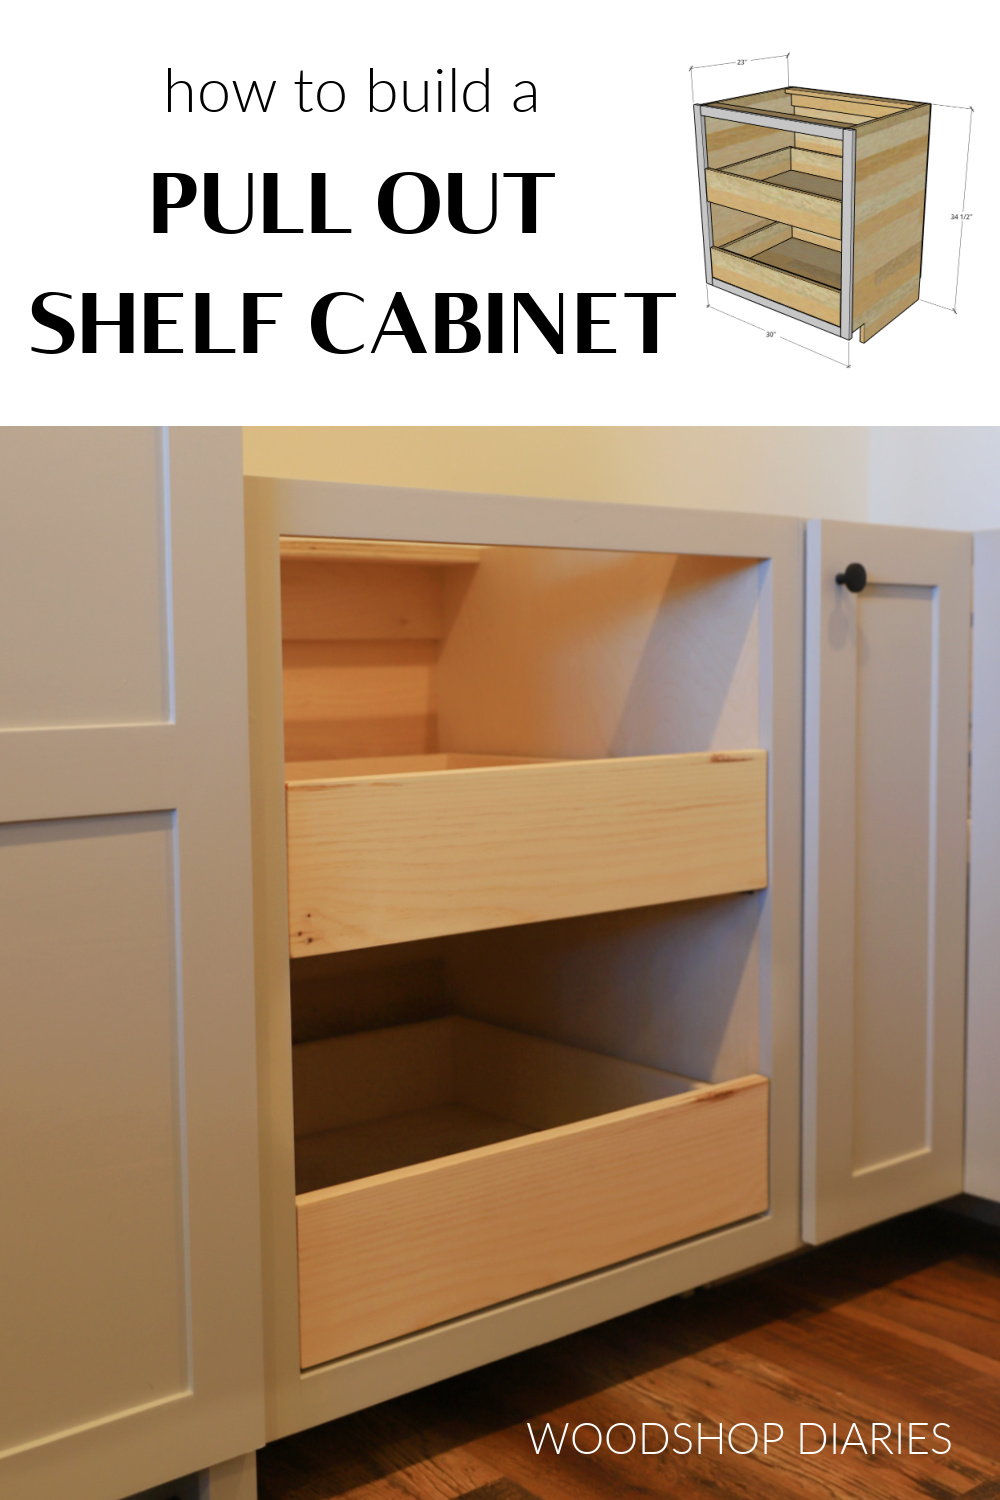
In this post, I’m sharing how to build a simple base cabinet with pull out shelves.
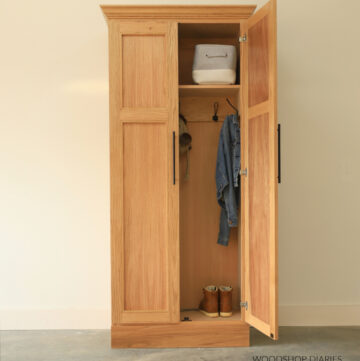
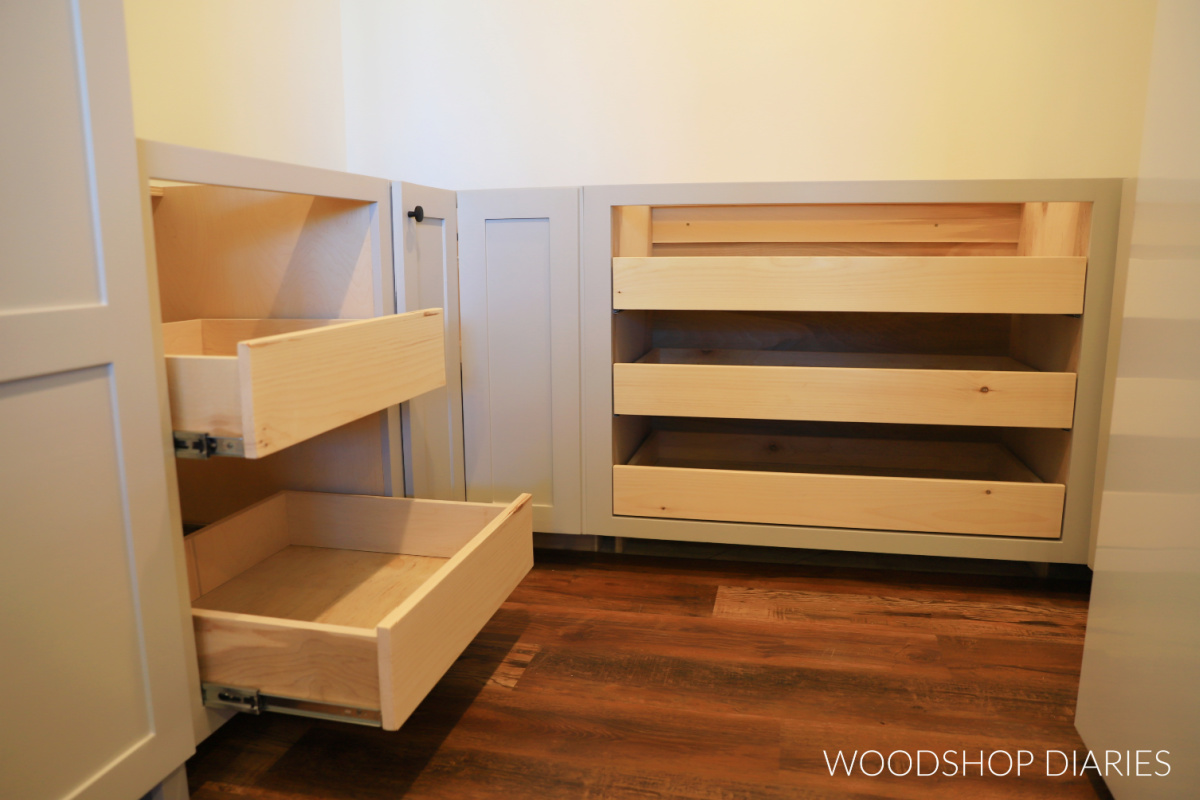
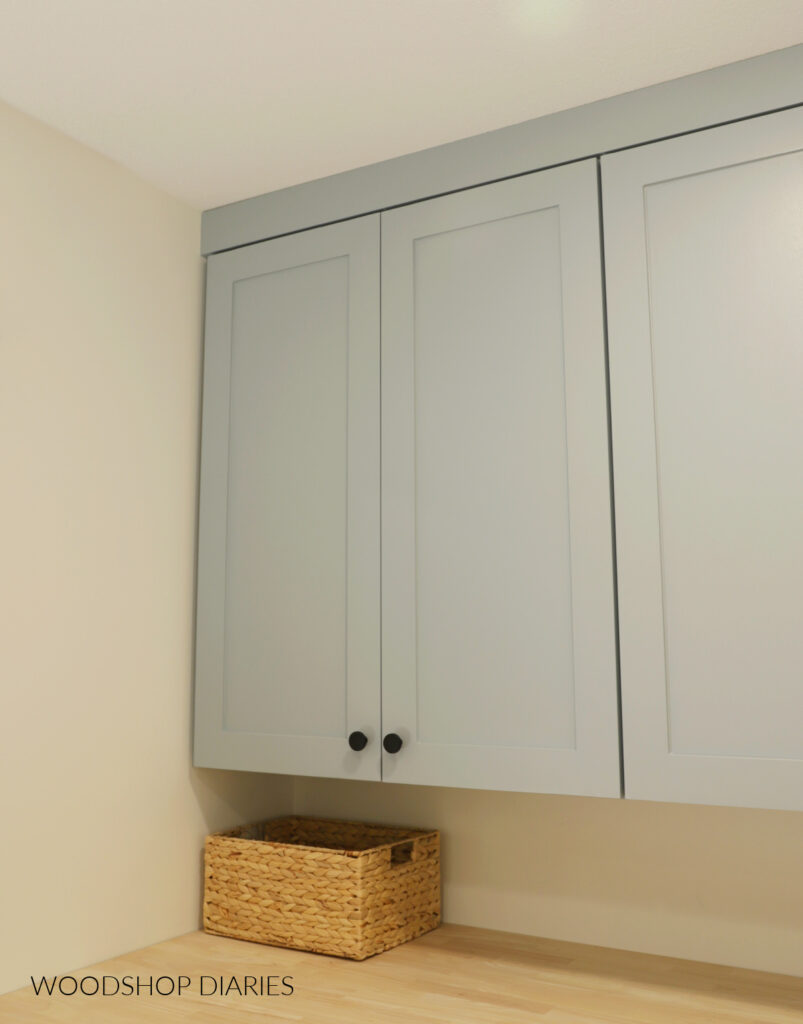
I put two of these in my walk in pantry (I’m currently remodeling it) and instead of covering them with cabinet doors, I plan to leave them uncovered for easy access and viewability for what’s inside.
I’ll probably grab some organization baskets or bins to add into each drawer to help keep things neat and organized.
But, if you wanted to hide everything behind doors, that’s an easy addition to this cabinet and I’ll show you how to do that at the end of this post.
For now, if you’re ready to to build your own pull out shelf cabinet, let’s dive in and I’ll show you how below!
*This post contains affiliate links. See website policies.
What to consider before building
Since this is just a variation of a basic cabinet and cabinets are essentially just plywood boxes, this is a fairly simple build that you can easily complete in a weekend.
Before building, I encourage you to consider what you want to store inside so that you can customize your cabinet size and drawer spacing to fit your needs.
Overall size
The overall size of the cabinet shown in the plans below is 23″ deep x 30″ wide x 34 ½″ tall.
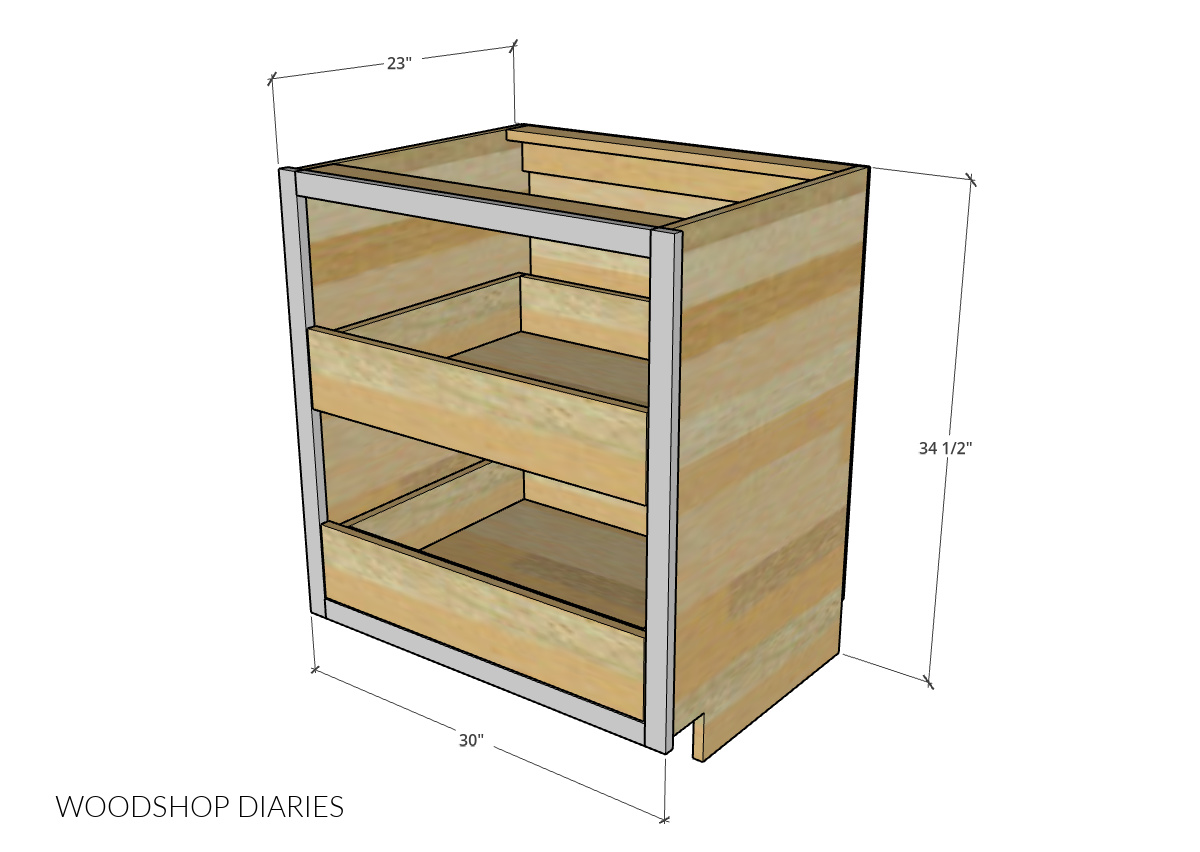
Note that the cabinet BOX is 28 ½″ wide, but the face frame is built so that it overhangs the left and right sides ¾″.
Depending on where you’re putting your cabinet, you may want to modify the size. Feel free to customize however you’d like.
Installation Tips
This cabinet is built for installation EITHER between two cabinets, between two walls, or between a cabinet and a wall. It is not intended for use where the side(s) will be exposed.
The reason is because the face frame is built so that it overhangs both sides of the cabinet ¾″ to make installing the drawer slides easier.
If you intend to install this where one or both of the sides will be exposed, you can remedy this one of two ways:
- Build the cabinet as shown in the plans and install an end cap panel (essentially a cabinet door) on the exposed side. This will make the side panel even to the face frame overhang.
- Modify the width of the face frame so that it is flush to the outside of the cabinet box. This will mean that the face frame will now overhang the INSIDE of the cabinet. So you’ll need to install ¾″ plywood strips behind the drawer slides to bring them even with the face frame opening.
Enjoy DIY projects and woodworking plans? Sign up for priority access for the latest posts on Woodshop Diaries!
How to build a pull out shelf cabinet
This cabinet is essentially a basic base cabinet with drawers. If you prefer to watch, check out this detailed video on building base cabinets. I didn’t create another video for these cabinets since they’re so similar.
But, if you’d like to see them being installed, head over toward the end of this video to see how they were customized and installed into my pantry.
Love watching how-to videos? Subscribe to my YouTube channel for plenty more where that came from!
Prefer to print? Grab the printable pull out drawer cabinet building plans available here:
Helpful resources for this project:
Tools & Materials
Tools:
Check out this post for the top ten tools I recommend for cabinet building
- Drill/Driver
- Circular Saw
- Cutting Guides–Kreg Rip Cut & Kreg AccuCut (optional)
- Pocket Hole Jig
- Jig Saw
- Miter Saw (optional)
- Table Saw (optional)
Materials:
- (1) 4’x8′ sheet ¾″ plywood
- (1) 4’x8′ sheet ¼″ plywood
- (2) 1x2x8 boards
- (1) 1x6x8 board (optional for drawer fronts–OR just use ¾″ plywood)
- 1 ¼” pocket hole screws (100 count box)
- (4-6) 1 ¼” wood screws
- (2-3) 2 ½″ wood screws (to install)
- Wood glue
- (2) pair 20″ ball bearing side mount drawer slides
- Edge banding (optional)
Not sure what type of lumber to use for this project?
- PLYWOOD: I recommend using cabinet grade hardwood plywood (like birch, maple, oak, etc). Check out this post to learn how to choose the right plywood for your project.
- 1x LUMBER: If painting, preprimed pine, spruce, or poplar are great budget friendly options. And if staining, usually, you want to use the same wood type as your plywood so that they match once stained. Check out this post to learn how to shop for and purchase lumber for your project.
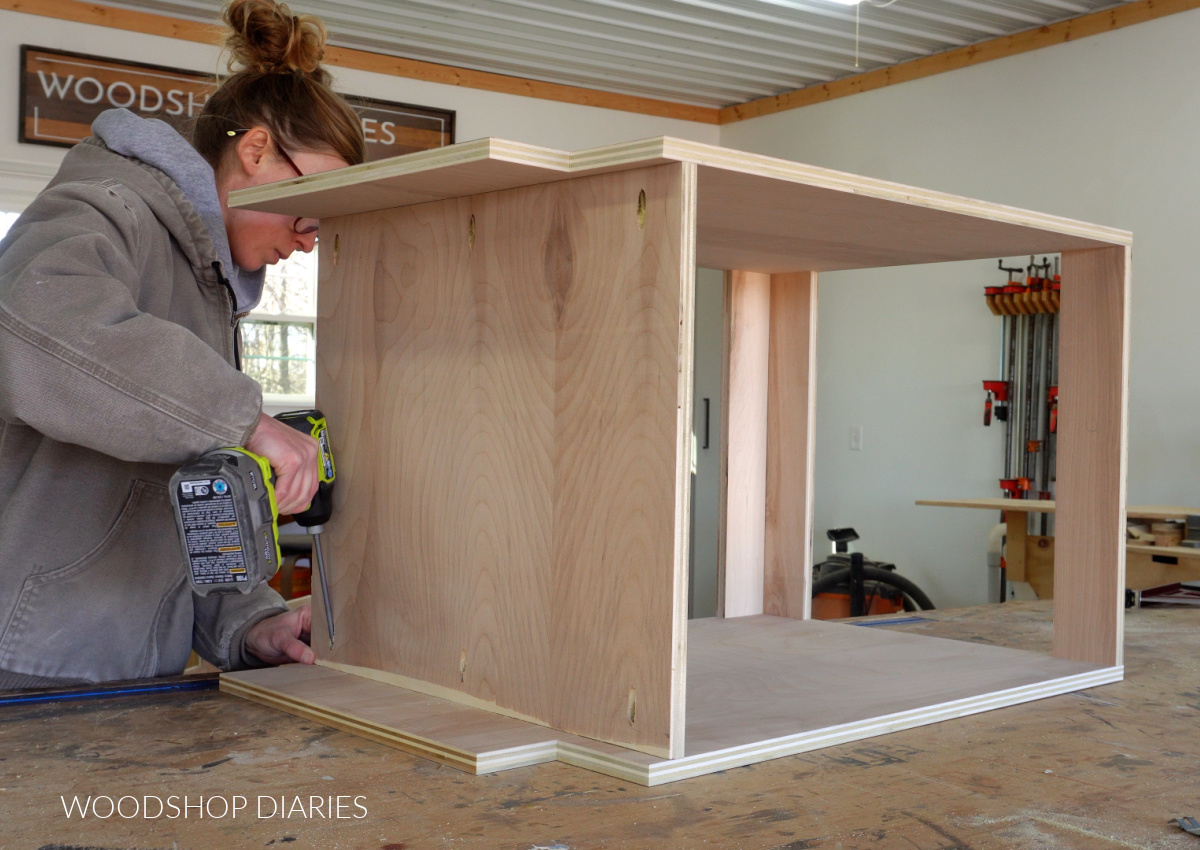
Step 1: Assemble the Base Cabinet Box
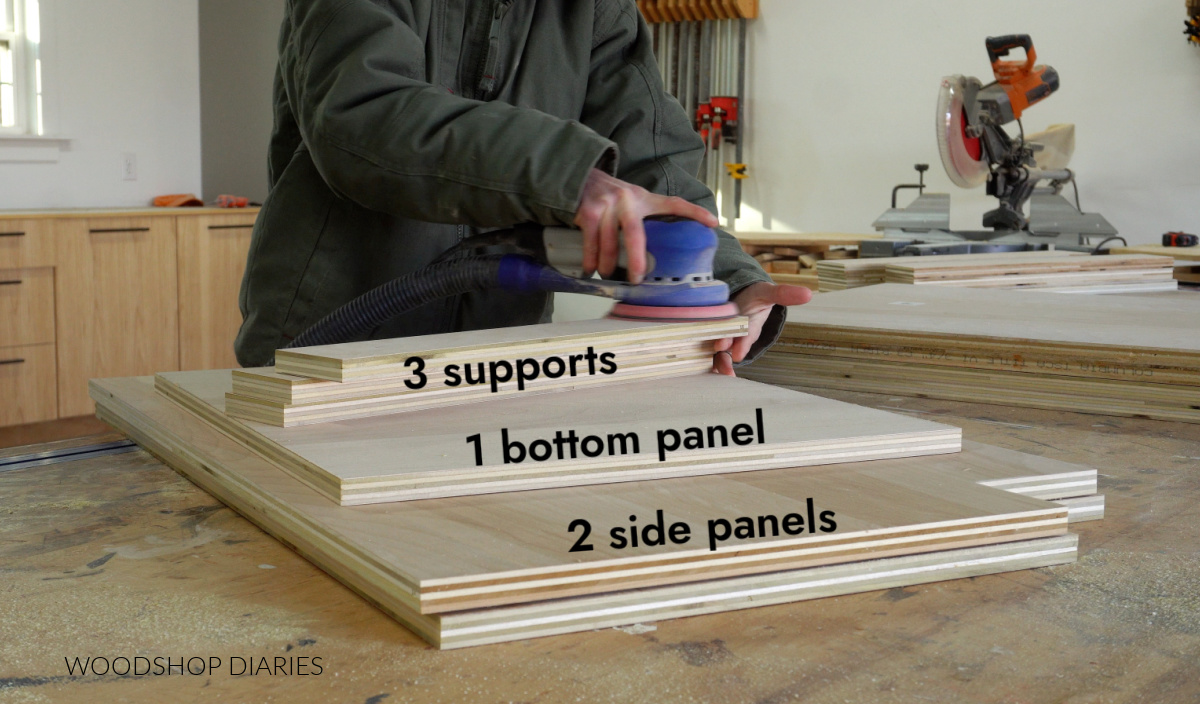
First, I assembled the main cabinet box. This box is made from ¾″ plywood, so I cut my sheet into:
- (2) side panels
- (1) bottom panel
- (3) support strips
The cut diagrams and exact cut list can be found in the printable plans.
Learn how to cut down plywood sheets here.
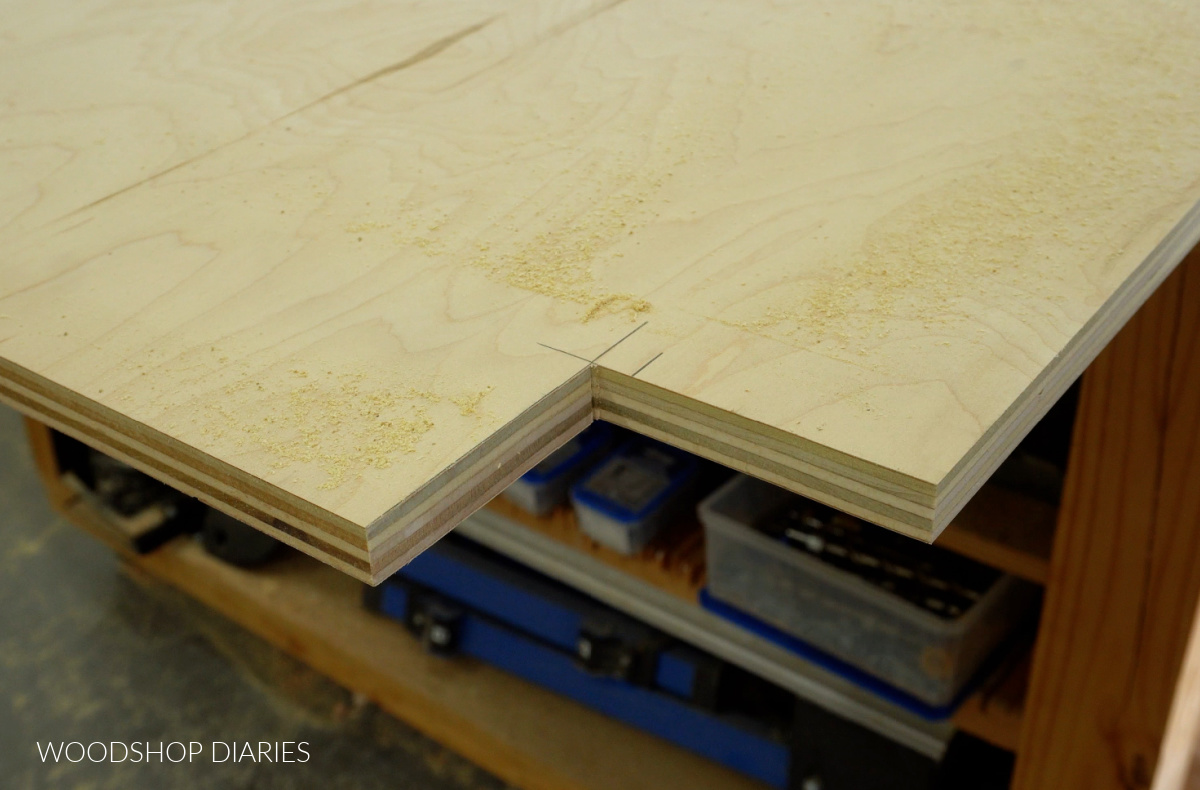
Most base cabinets have what’s called a “toe kick.” This is basically a notch out of the front corner to prevent your feet from kicking the cabinet when you’re standing at it.
I marked 3 ½″ up and 4 ½″ in on the front bottom corners of each cabinet side panel and cut these out with a jig saw.
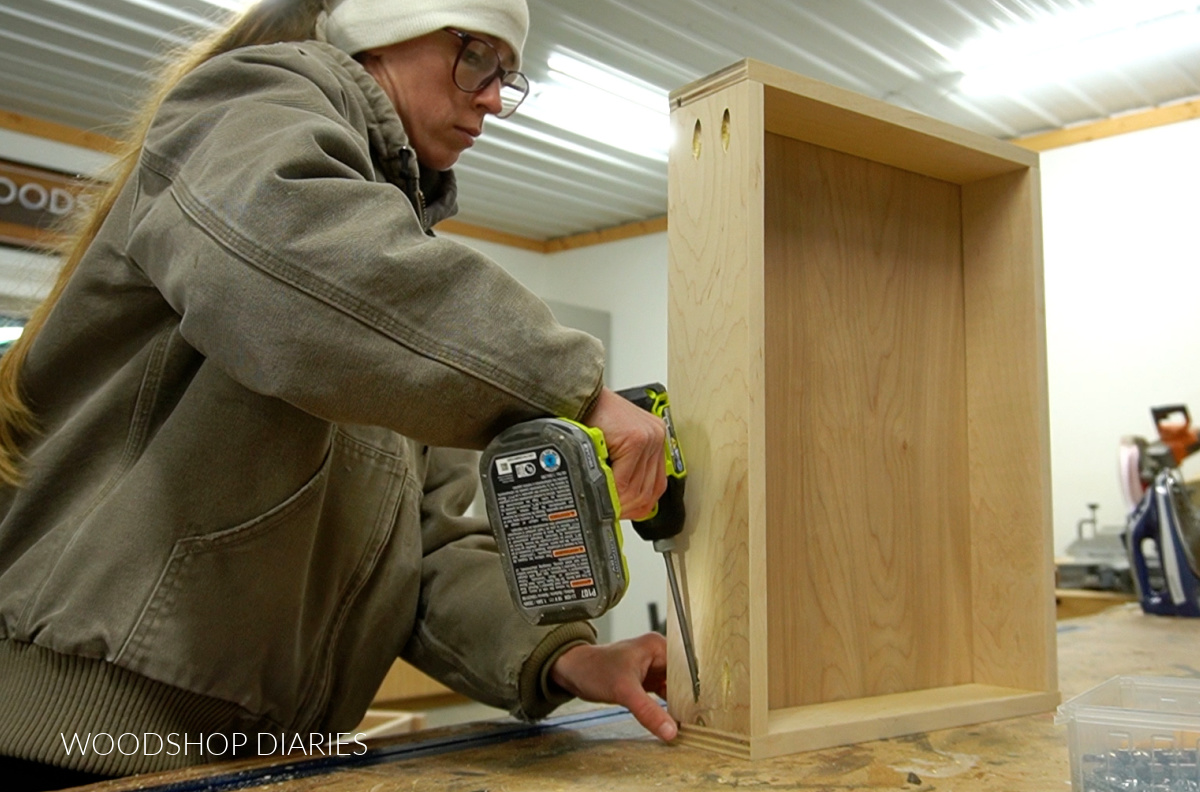
Then I assembled the cabinet box using ¾″ pocket holes and 1 ¼″ pocket hole screws.
See this detailed guide for more information on assembling base cabinet boxes.
Step 2: Add the Face Frame & Back Panel
Next, I assembled a face frame to cover the front of the cabinet box, so that the INSIDE opening of the frame was the same width as the inside opening of my cabinet box.
Since I was painting my face frame, I opted to use pre-primed 1×2 pine lumber for this.
I assembled my face frame using pocket holes and screws. Note that this thin material can split pretty easily.
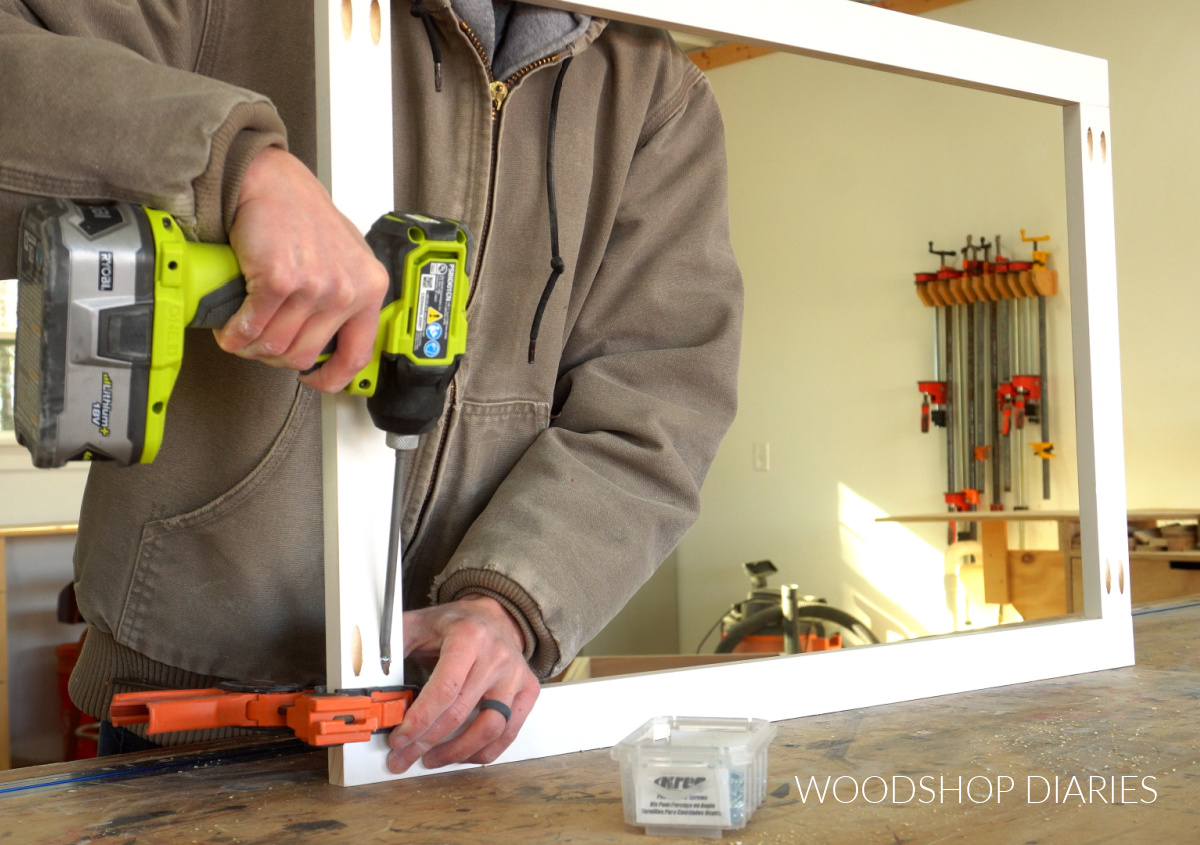
A standard size pocket hole jig can work if you’re careful, but I recommend using a Kreg Micro Jig for these thin pieces with pan head pocket hole screws. The smaller holes and screws are less likely to cause splits.
Learn more about how, when, and why to use the Kreg Micro Jig here.
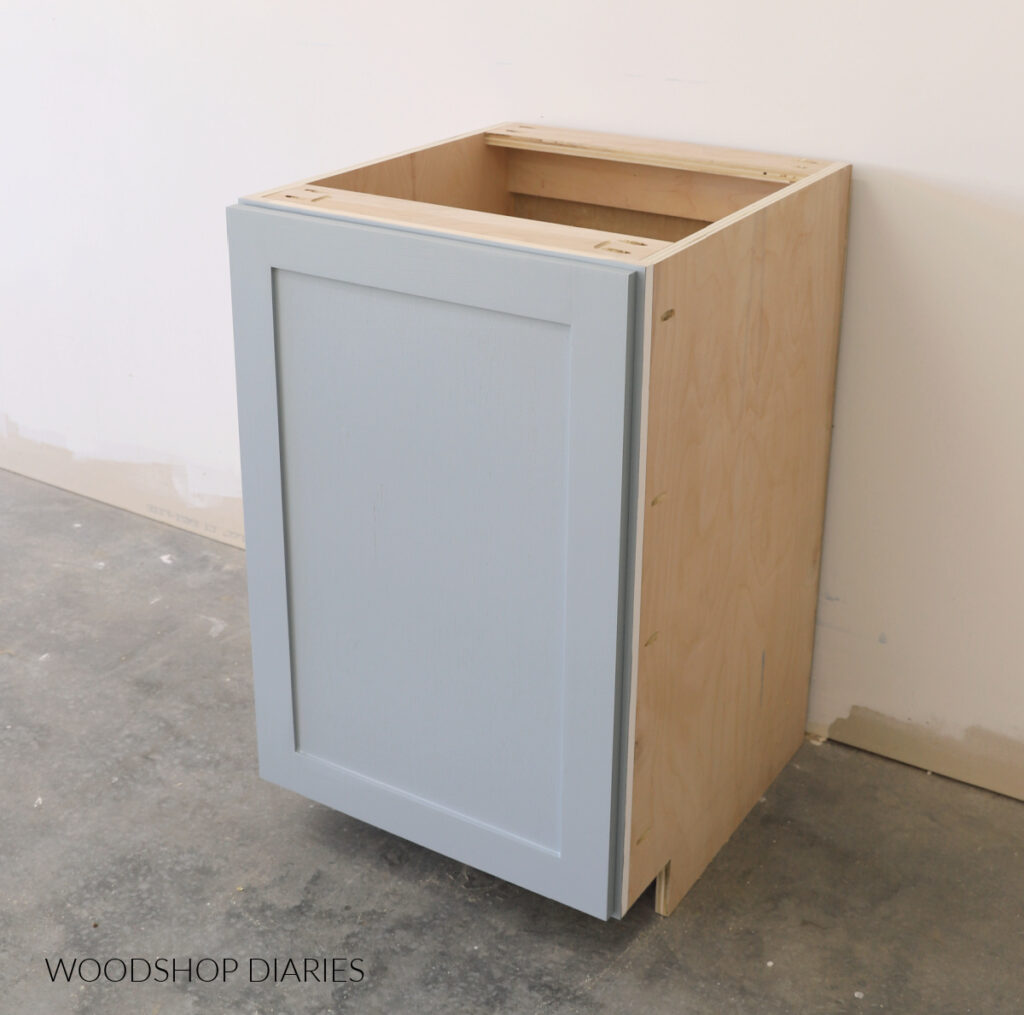
Once I made sure the frame would fit, I attached it to the front of my cabinet box using wood glue and pocket hole screws.
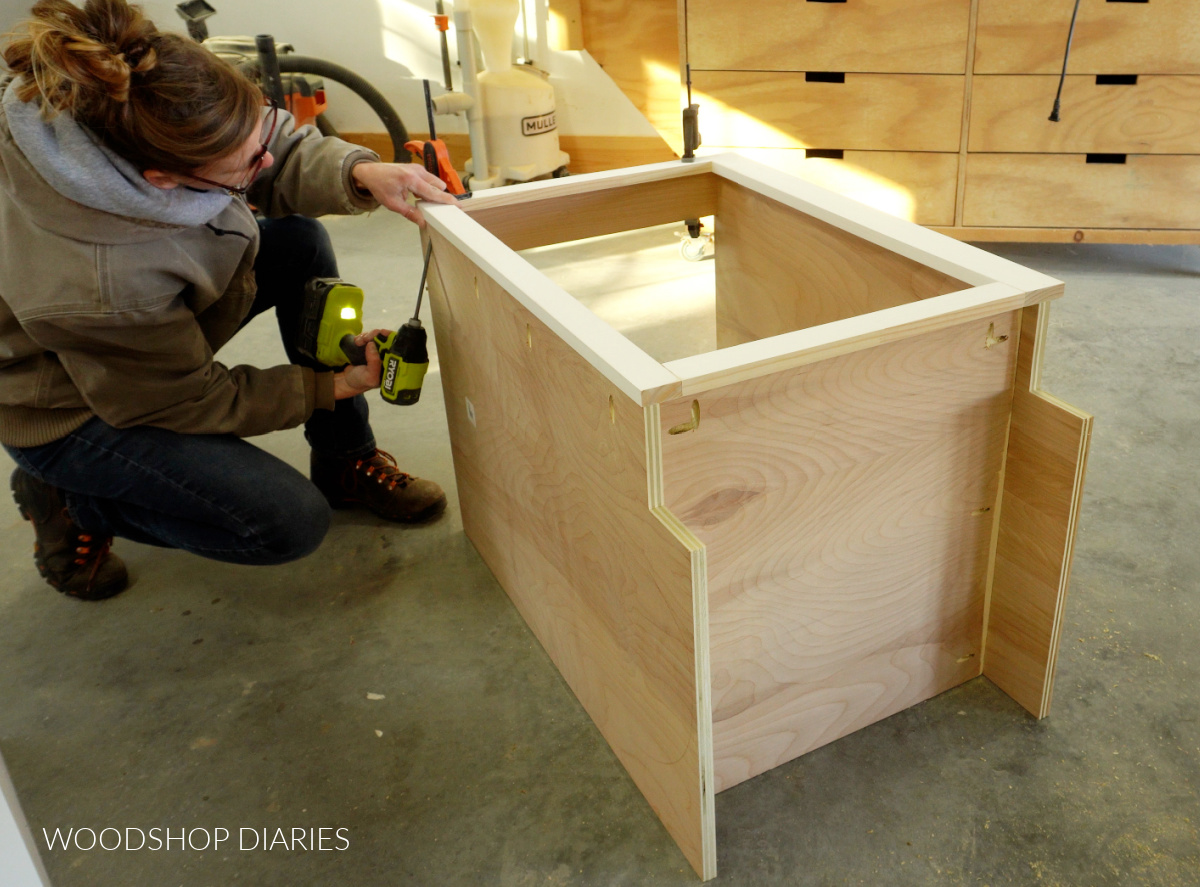
Keep in mind that the face frame should be flush to the inside of the side panels.
Then I cut a piece of ¼″ plywood to cover the back of the cabinet and tacked it in place with staples.
Prefer to print? Grab the printable building plans for this project here.
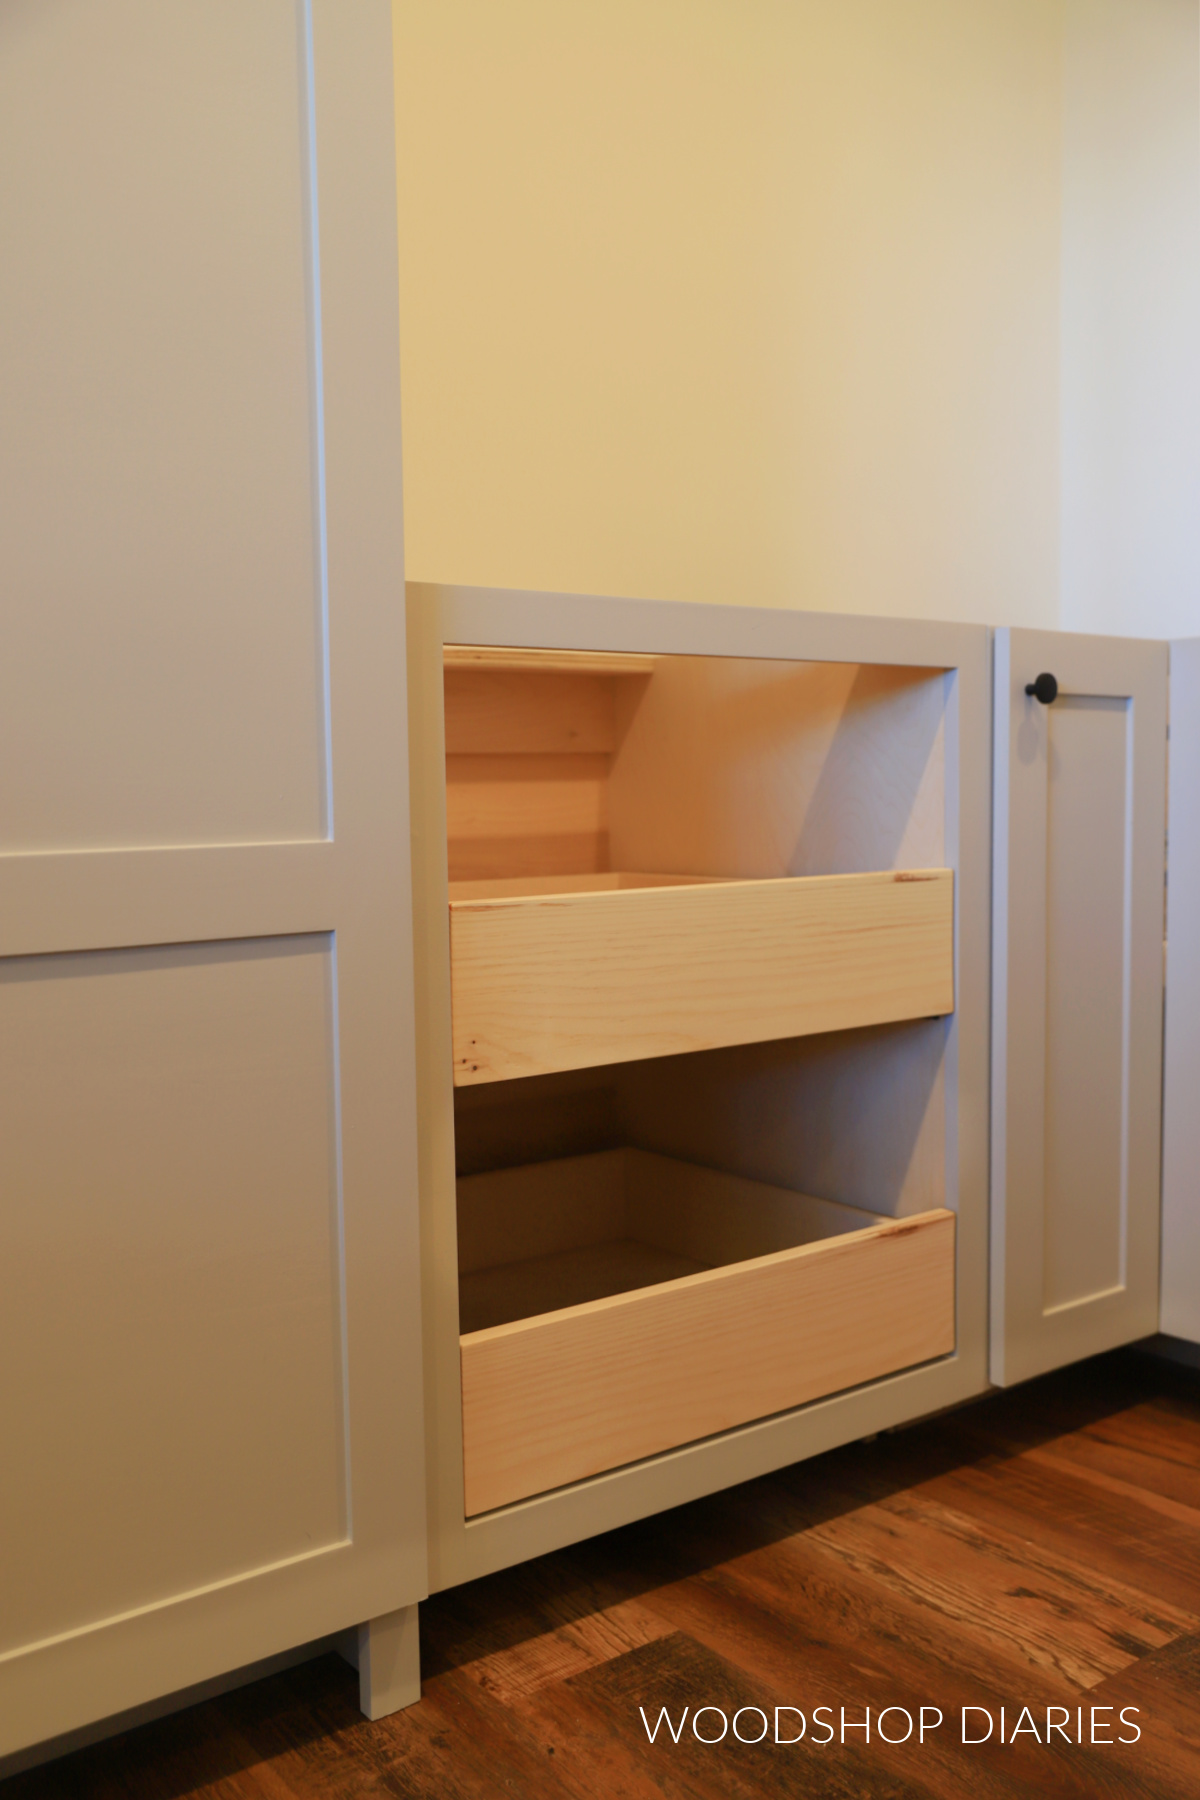
Step 3: Install the Pull Out Shelves
Next, I added two pair of 20″ ball bearing side mount drawer slides into the cabinet so that they were ¾″ inset from the front of the face frame.
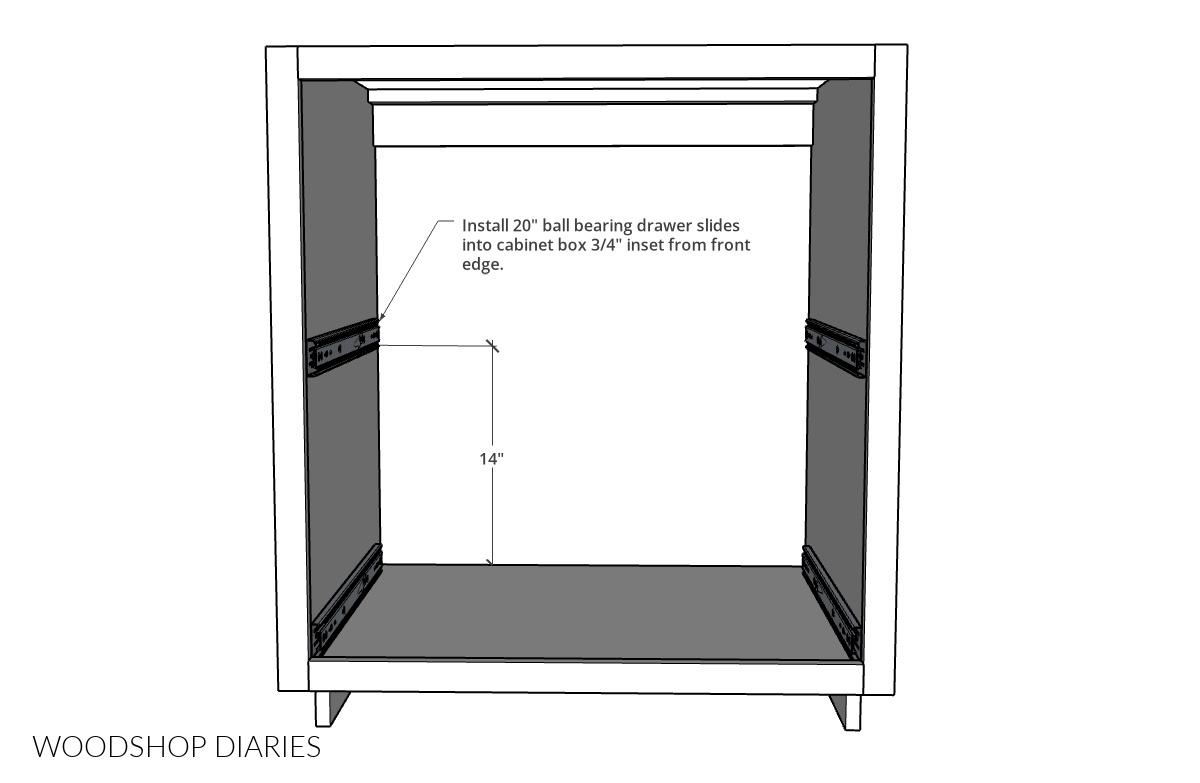
You can space these however you’d like, but I installed my bottom slides flush to the bottom panel and my top slides about 14″ up from the bottom.
RELATED: How to install drawer slides into any project
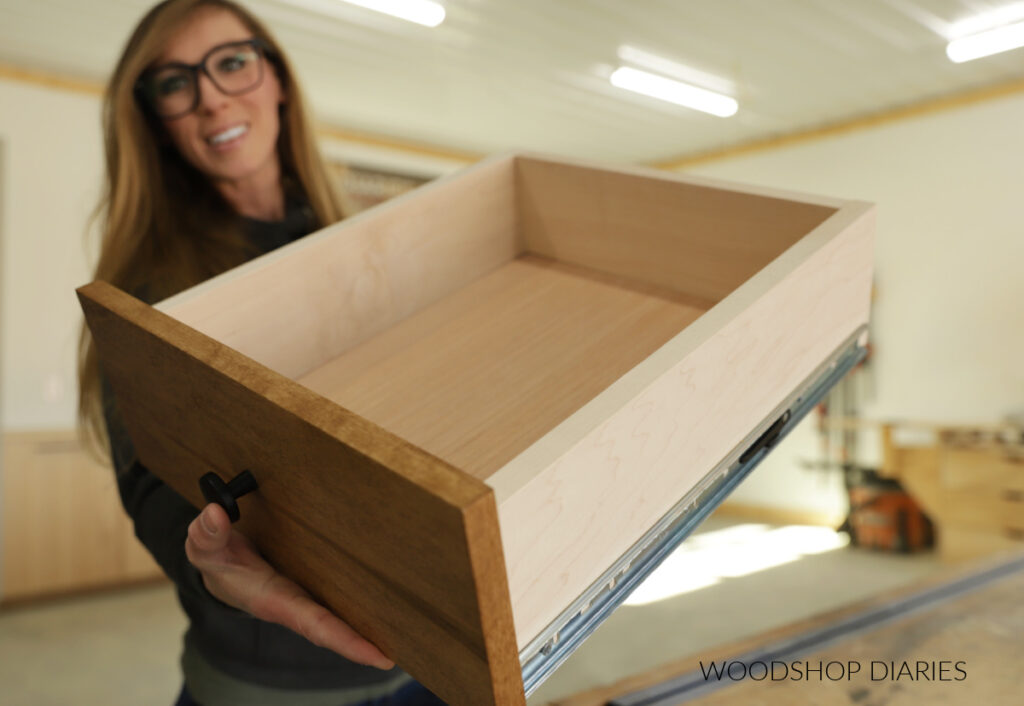
Then, I assembled two shallow drawer boxes to fit inside. I like to build my drawer boxes with ¾″ plywood for the sides and ¼″ plywood for the bottoms.
Learn more about how to build drawer boxes here.
I assembled these using pocket holes and screws, but if you wanted, you could just use wood screws through the sides.
Then I installed these drawer boxes onto the slides in the cabinet.

Once they were installed, I cut two pieces of 1×6 to use for the drawer fronts.
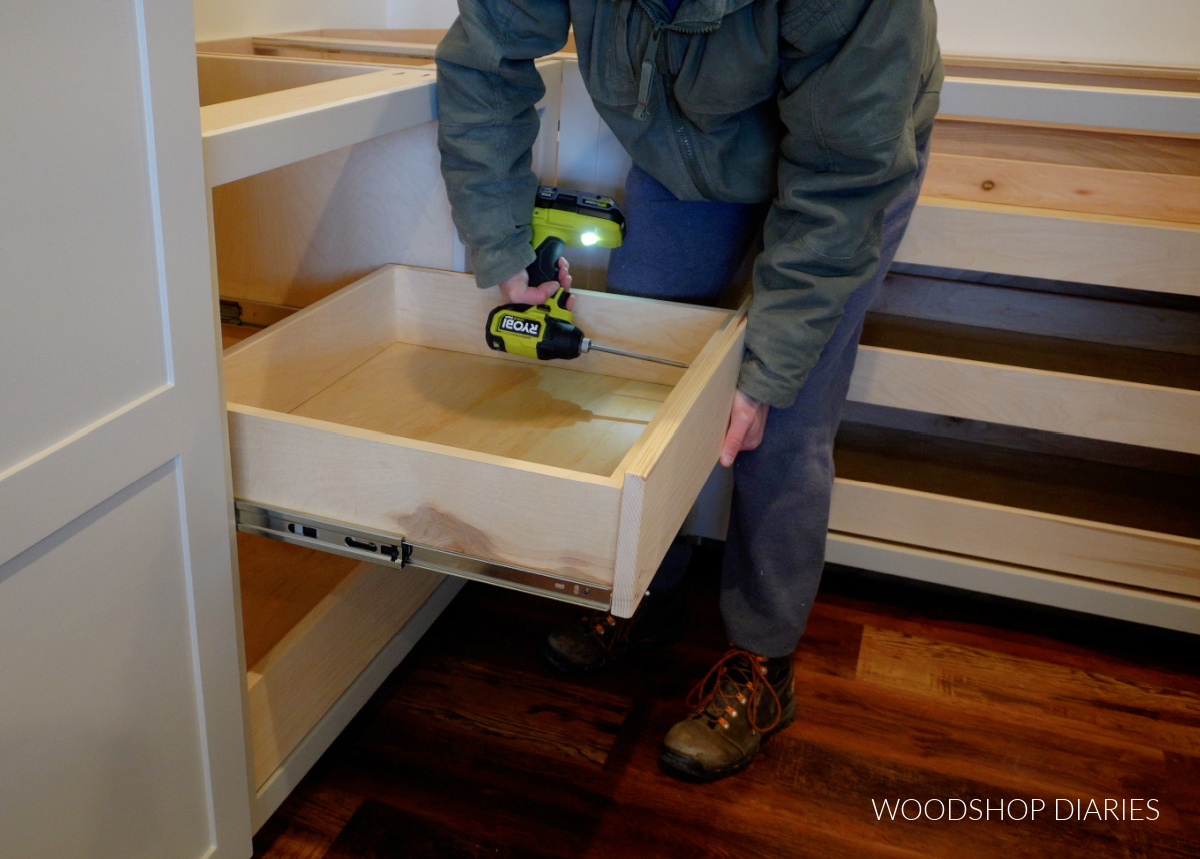
By the way–as you can see in the image above, I waited until after the cabinets were installed to add the drawer fronts. You can do many of these steps in almost any order.
If you’re adding a door to your cabinet, skip the drawer fronts. See step 5.
Step 4: Install Cabinet
Once you’re finished assembling everything, putty and sand all nail holes and joints smooth, then prime, caulk, and paint/stain as desired.
Here are some tips for making your DIY cabinets look their best:
Level cabinets in their desired location using shims as needed, then secure through the back supports into wall studs to install. Also secure to any adjacent cabinets through the face frames.
Once all cabinets are installed in place, cut to fit a piece of ¾″ plywood strip (or 1×4) to go across the front of the toe kick notches. Paint or stain to match the cabinets, then nail or screw in place.
Add desired countertop and secure through top supports. You could install granite, quartz, laminate, etc. I’m still deciding what countertop I want, so I currently don’t have one as you can see above.
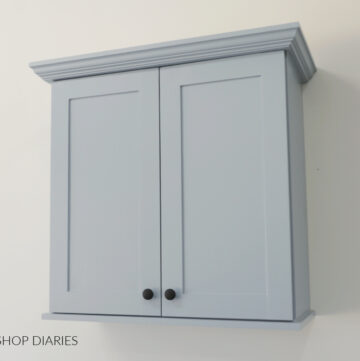
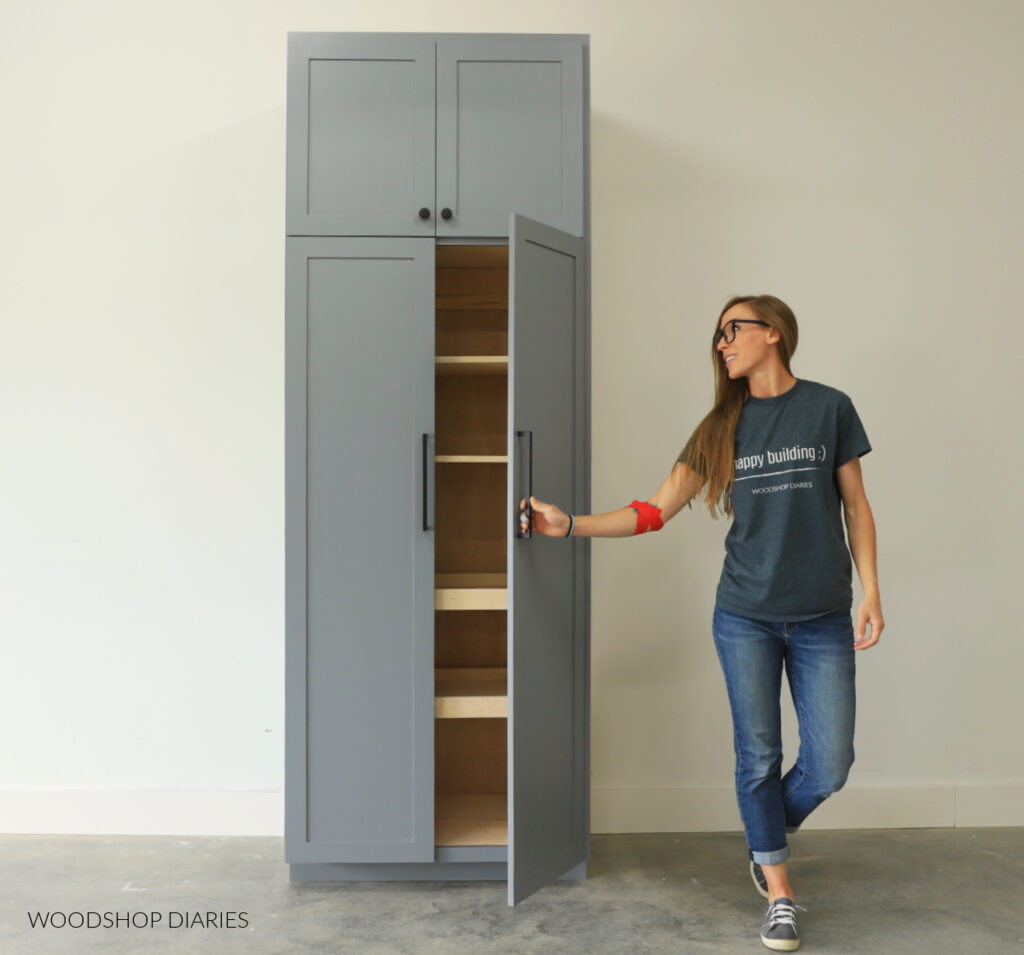
Step 5: OPTIONAL Add Door
If you prefer to hide your pull out shelves and what’s inside them behind a door or doors, you can totally do that.
Here are a few tips for doing so:
- If you plan to add a door or doors to this cabinet, do not add the drawer fronts from step 3.
- For cosmetic reasons, you may also consider assembling your drawer boxes just using wood screws at the corners instead of pocket holes since they won’t be hidden by the drawer fronts.
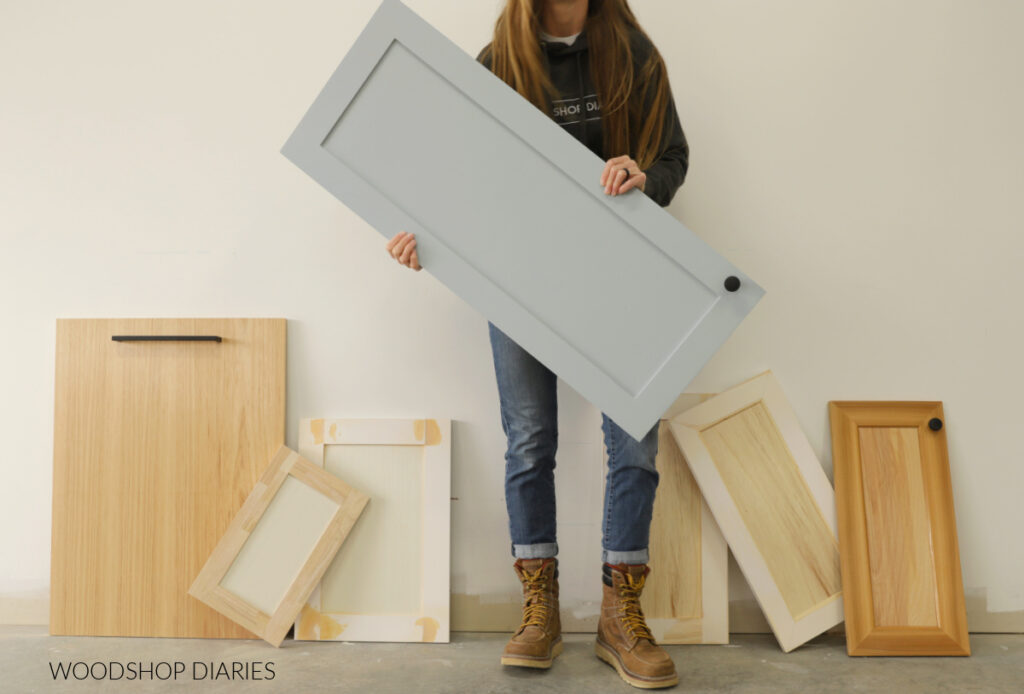
- Size and assemble your door(s) as desired (check out this post to learn how to size cabinet doors and this post on 7 ways to build a cabinet door).
- When you’re ready to install them, make sure to place hinges where they won’t interfere with the drawer slides. Learn how to install concealed hinges here.
I had to deal with placing the hinges where they wouldn’t interfere with drawer slides when I built my blind corner cabinet. If you’d like to see that process, you can watch it toward the end of this video.
Looking for More Cabinet Building Ideas?
I love building cabinets and showing you how simple it can be–they’re basically just customizable boxes!
If you’re looking for resources, ideas or inspiration to build your own, here are a few of my most helpful articles to help you get started:

If you’d like to save this post for later, be sure to pin it or share to your favorite social channel!
Until next time, friends, happy building!