In this post, I’m sharing how, why, and when to use the Kreg Micro Pocket Hole Jig!
The Micro size is a fairly new addition to the Kreg line up of pocket hole jigs. And as you may have guessed by the name, it’s designed to drill “micro” holes 33% smaller than standard size.
When this tiny pocket hole jig first came on the market, I honestly thought, “why would anyone need this?” It seemed like a specialty size I’d rarely ever use. But I got one, anyway…just to see.
I’m not lying when I tell you that I’ve used it SO MANY TIMES since then and it’s truly been a game changer. (I’ll give you a list of projects I’ve used it on later in this post.)
So, I thought it would be helpful to explain why, when, and how to use this tiny jig so you can see if it might be a useful addition to your own toolbox.
*This post contains affiliate links. See website policies.
Parts of the Micro Pocket Hole Jig
Before we dive into how the micro pocket hole jig works, let’s first discuss the various parts and some terminology.
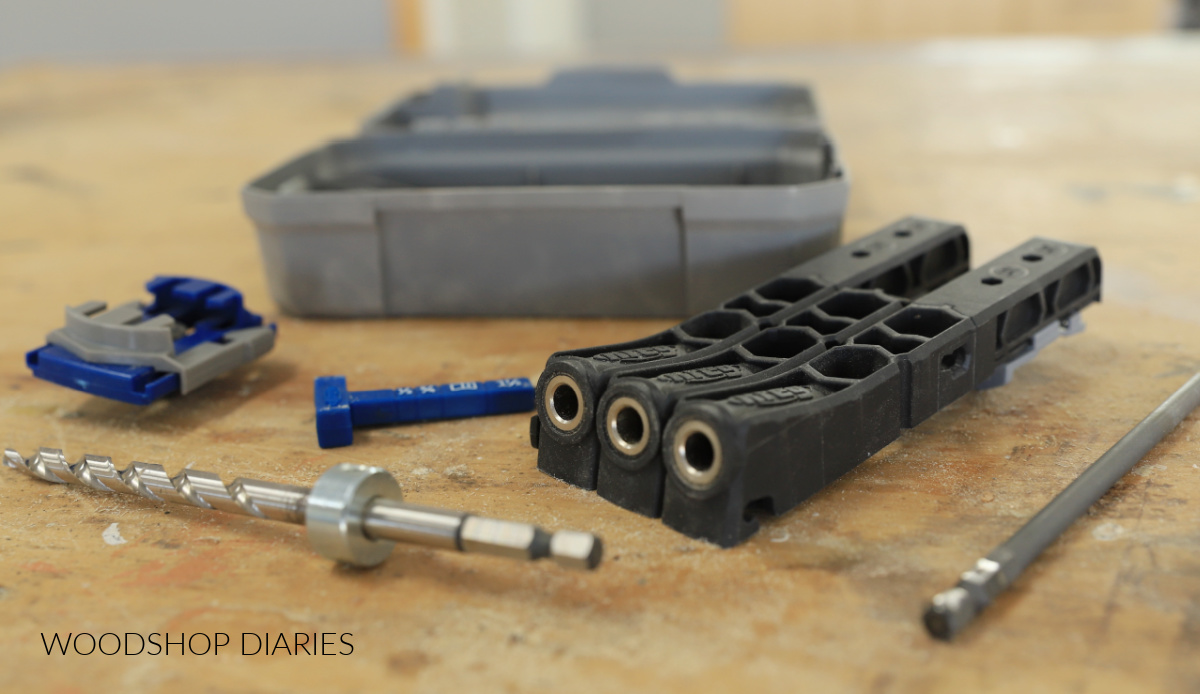
The Kreg Micro Pocket Hole Jig comes with a jig, a drill bit, stop collar, driving bit, and a hex wrench.

It also comes with a little attachment that fits on the top for clamping (I don’t really use this piece, but it’s included in the package).
The jig itself is in three sections that snap and lock together. So, you can snap them apart and rearrange if desired. For example, I usually remove the center piece when drilling into 1x2s.

Are DIY projects your thing? Sign up for our newsletter for priority access to the latest projects and build plans!
What makes this jig Different?
If you’re familiar with the Kreg line of pocket hole jigs, you may notice the micro looks very similar to the Kreg 320.
They are practically the same jig except for two things:
- The Micro Pocket Hole jig’s drill guide is smaller than the standard drill guide
- The Micro Pocket Hole jig is only designed for use in ½″ and ¾″ thick materials
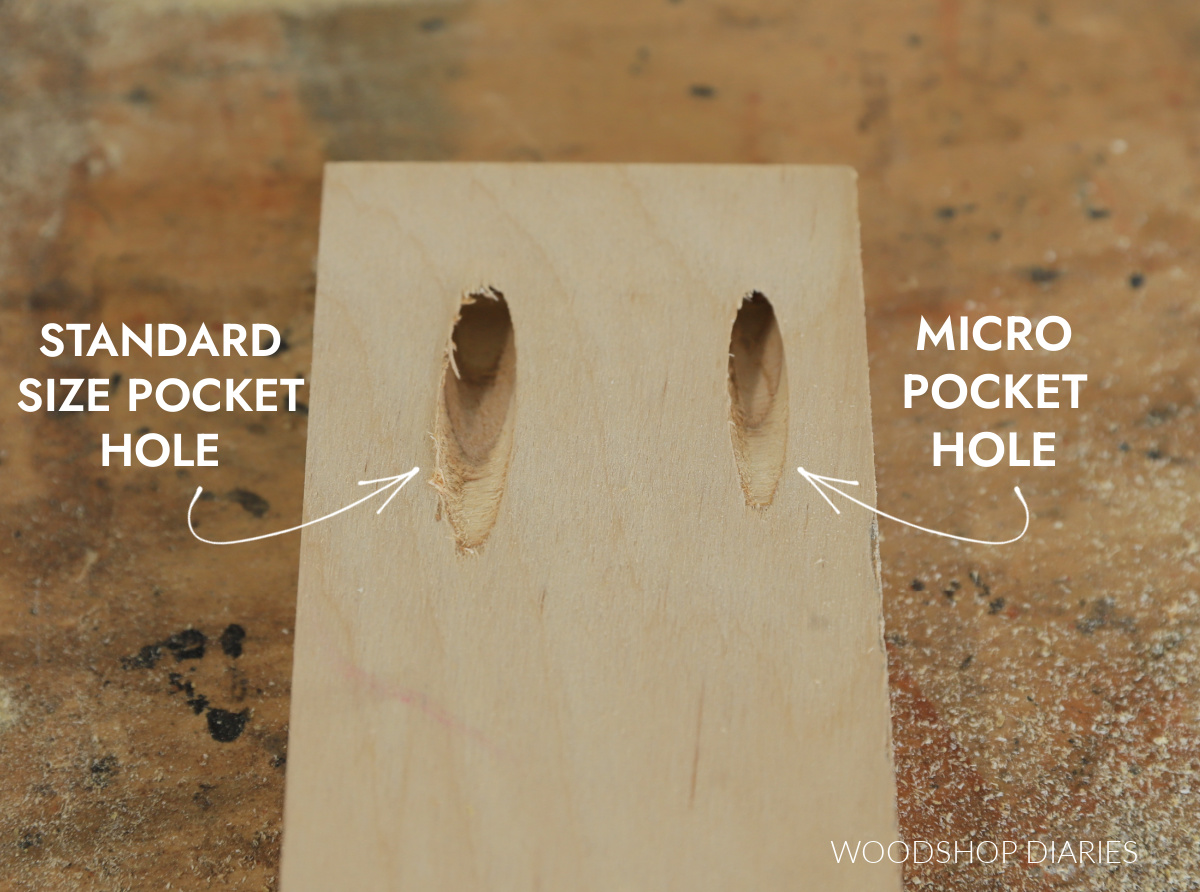
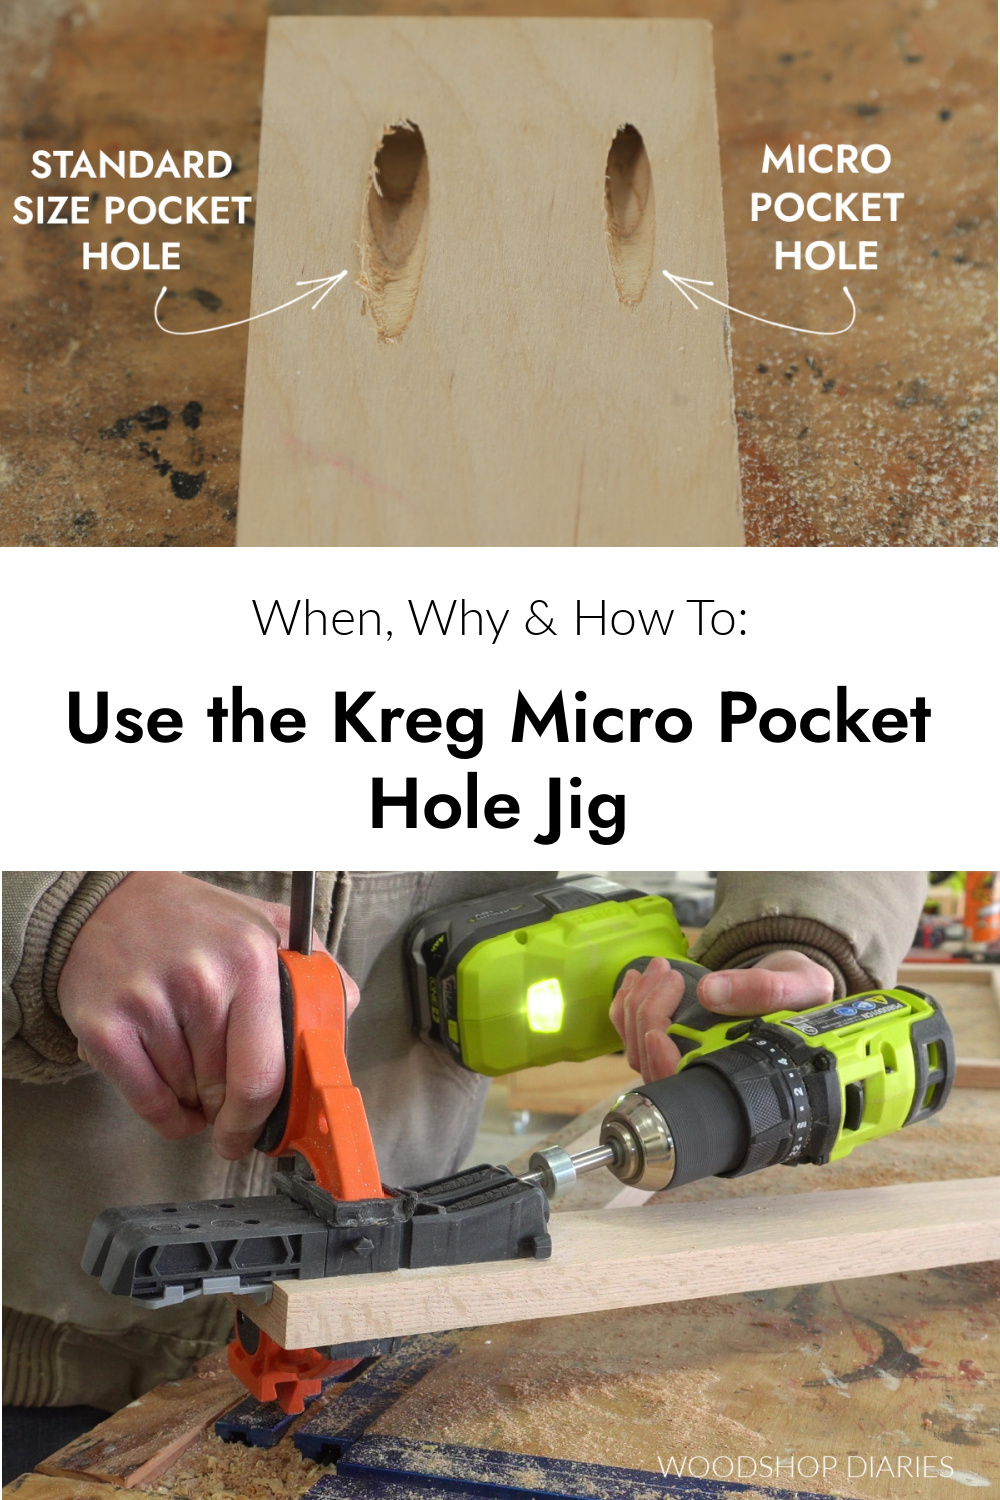
Pocket Hole Size
Standard size pocket hole jigs have a ⅜″ diameter drill guide hole and use a ⅜″ diameter drilling bit. But the micro pocket hole jig has a 19/64″ diameter drill guide hole and uses a 19/64″ diameter drilling bit.
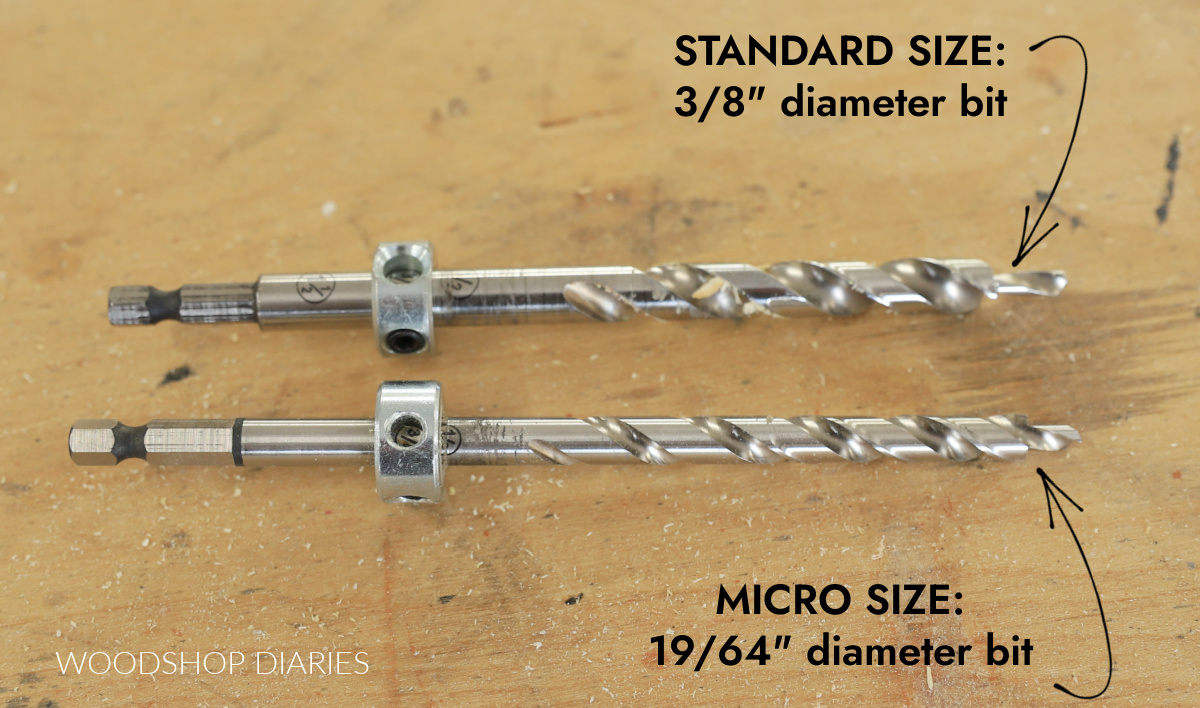
It doesn’t look a whole lot different from the photos, but if you look close, you’ll definitely see the bottom (micro) drill bit is smaller than the top (standard) drill bit.
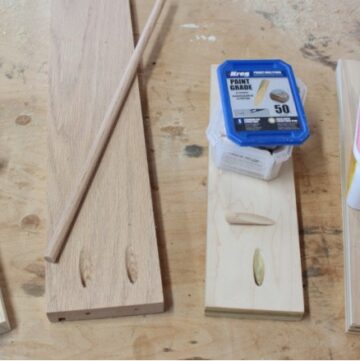
That means the diameter of the pocket holes are different. Micro pocket holes are smaller.
NOTE: It’s important to remember that you cannot use the the standard size drilling bit with the micro jig–it has it’s own micro drilling bit (it comes with the jig when purchased).
Be sure not to mix these up if you have both standard and micro jigs in your shop.
FYI: You can purchase replacement (or spare) Micro drill bits here.
Screw Style
Because of the difference in pocket hole size, this also means, you’ll need to use a pocket hole screw with a smaller head.
With standard size pocket holes, you want to use washer head screws. But with the micro, you need to use pan head screws.
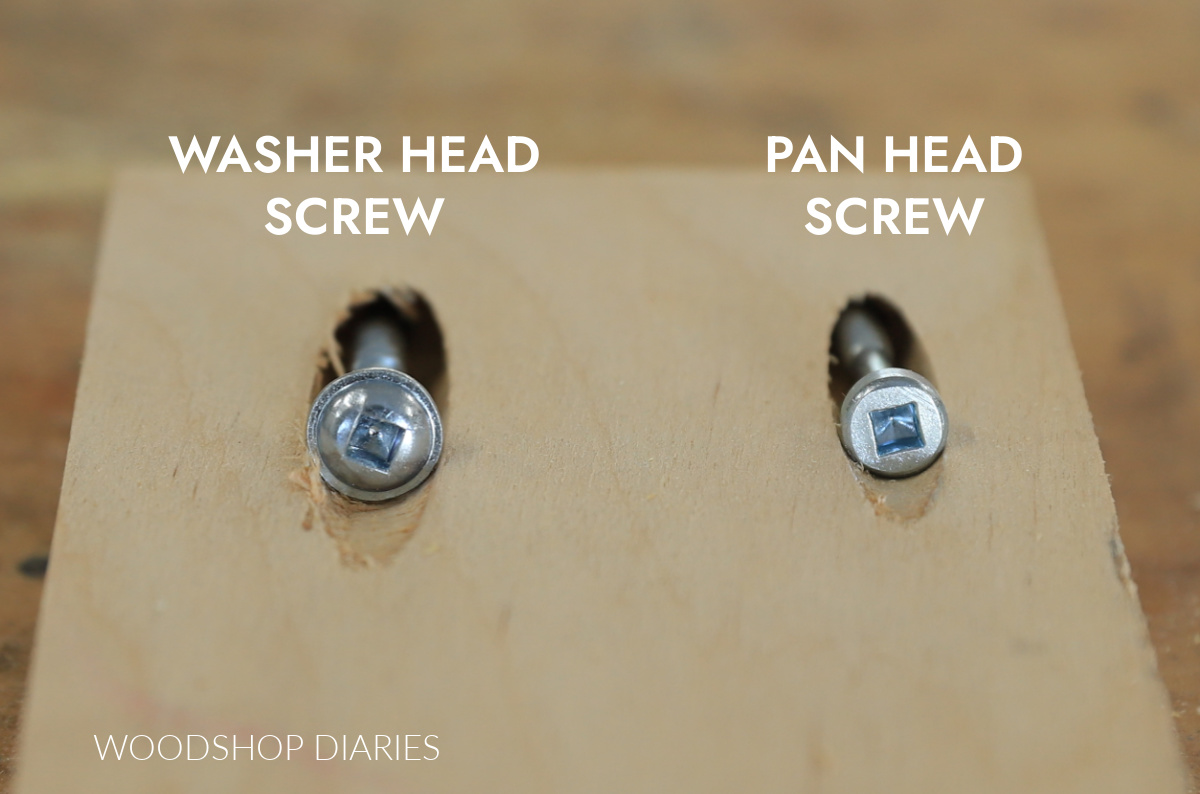
Pan head screws have a smaller head that fits into the smaller pocket holes. Screw length is based on material thickness and is discussed more later.
Material Thickness
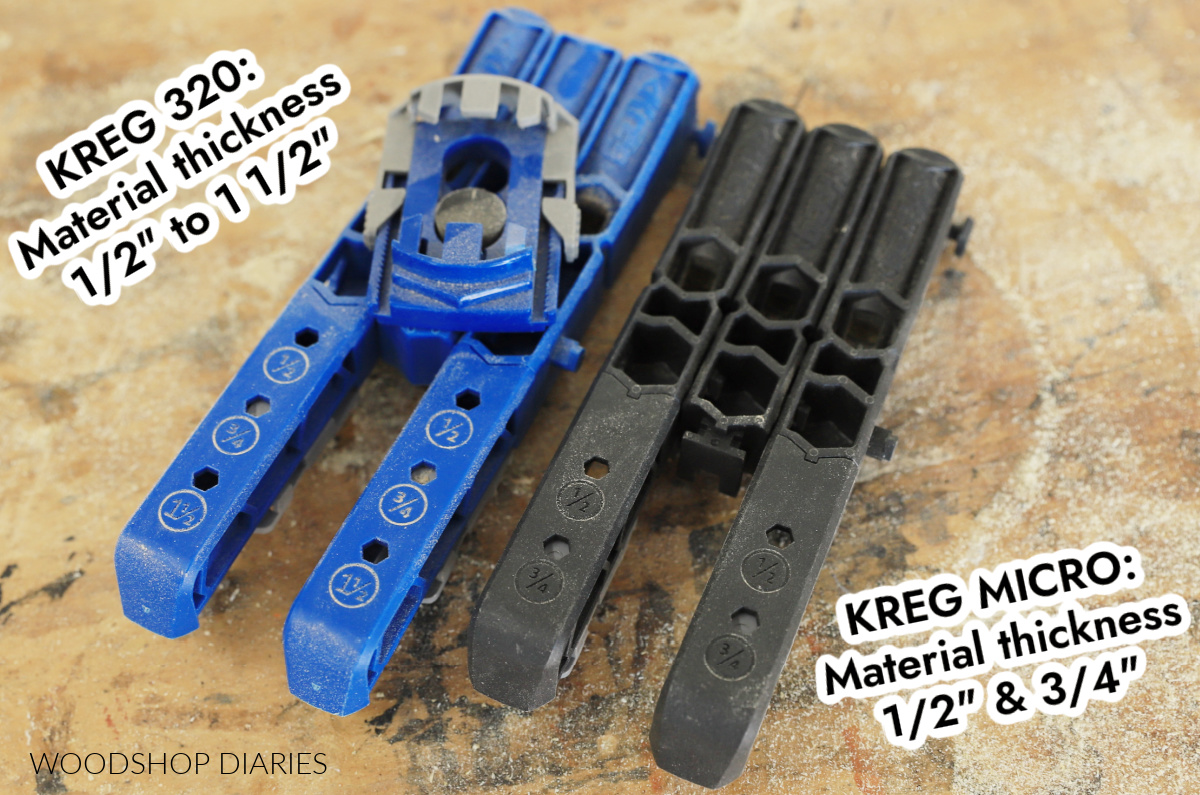
The other main difference with the micro jig is that it’s only designed for use with ½″ and ¾″ thick materials.
The standard size pocket hole jigs (like the Kreg 320, 520, and 720) work with materials up to 1 ½″ thick.
When & Why to use the Kreg Micro Jig
The Kreg Micro jig can be used in any material ½″ or ¾″ thick. Keep in mind that nominal 1x lumber is actually ¾″ thick, so this is perfect for use in 1x material.
RELATED: Understanding lumber sizing
I recommend using the micro pocket hole jig when drilling pocket holes into:
- 1x2s, 1x3s and 1x4s
- Hardwoods
- ½″ thick material
The micro jig is ideal when working with thin and narrow boards because the smaller pocket holes and smaller screws are less likely to split the wood.
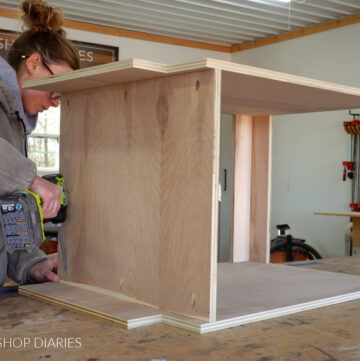
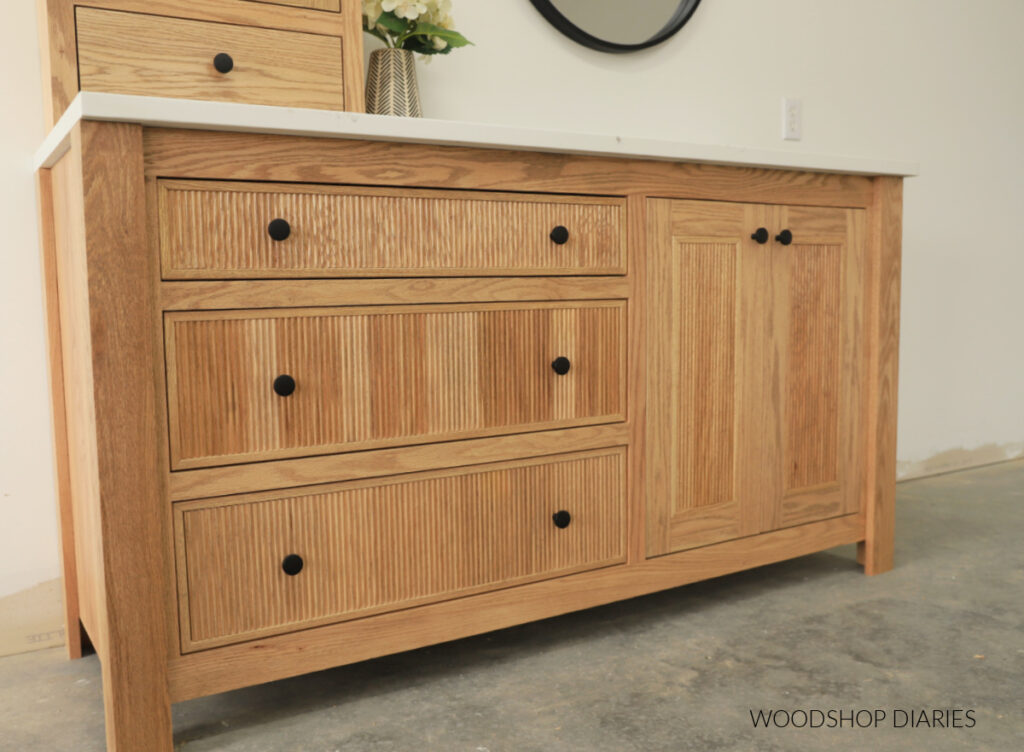
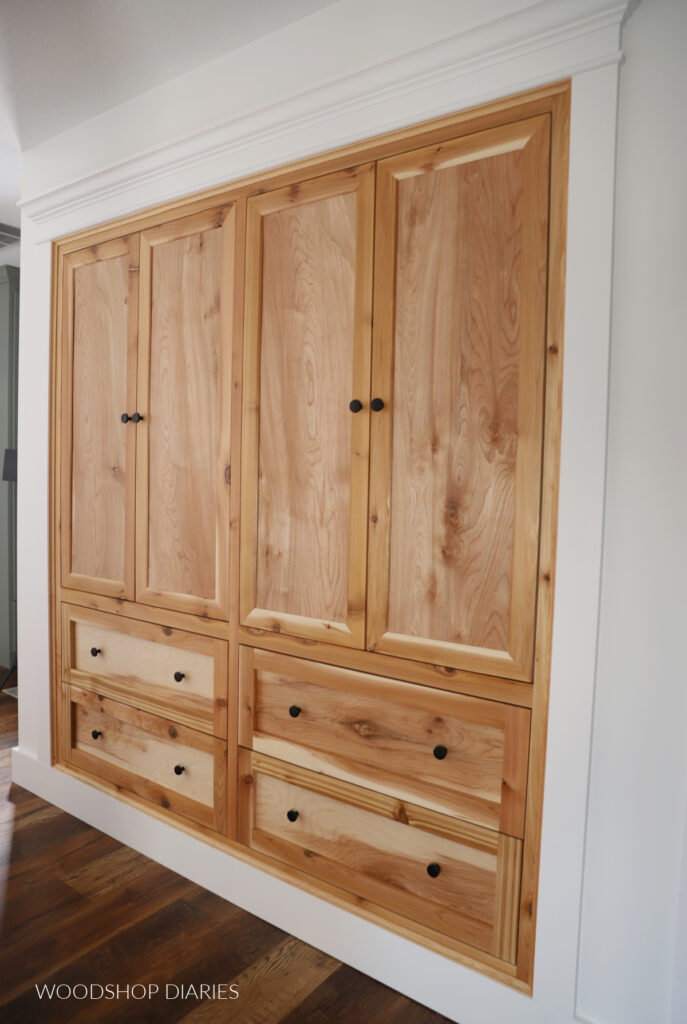
One situation this is really useful with is assembling face frames or thin cabinet door frames since these are usually made from 1x2s and 1x3s.
Similarly, hardwoods (especially woods like oak) are often somewhat brittle and prone to splitting. So using smaller pocket holes and screws can help prevent the wood from cracks or splits when driving the screws.
The smaller pocket holes and screws also seat better in ½″ thick material making them much easier to fill and sand smooth. Washer head screws can sometimes “stick out” in ½″ thick wood even after they’re fully driven.
How to Set Up and Use the Micro Pocket Hole Jig
Setting up and using the Kreg Micro pocket hole jig is quick and easy. I’ve got a quick video here if you prefer to watch:
And I’m explaining the steps below if you prefer to read.
Step 1: Set Jig for Board Thickness
First, decide where/what pieces you’re drilling your pocket holes in. Set the pocket hole jig for the thickness of the board(s) you’ll be drilling the pocket holes into.
To set material thickness on the jig, slide the grey tabs on the back up or down until they click. There are two settings they’ll click into–½″ or ¾″.
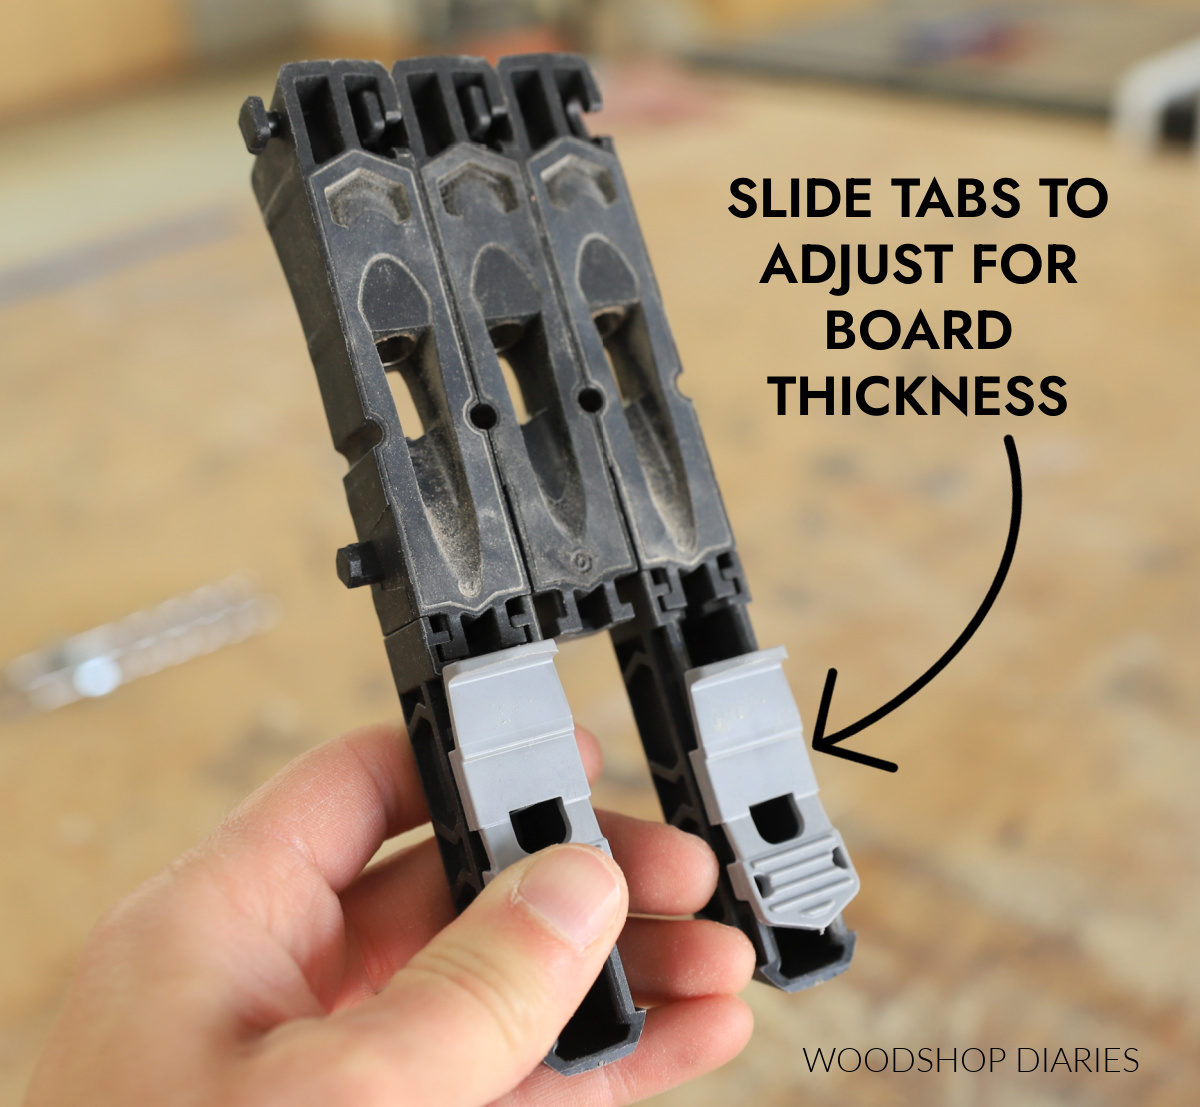
When you adjust, make sure both tabs are on the same setting.
When the jig is set for ½″, the holes on the front next to the ½″ mark will be grey.
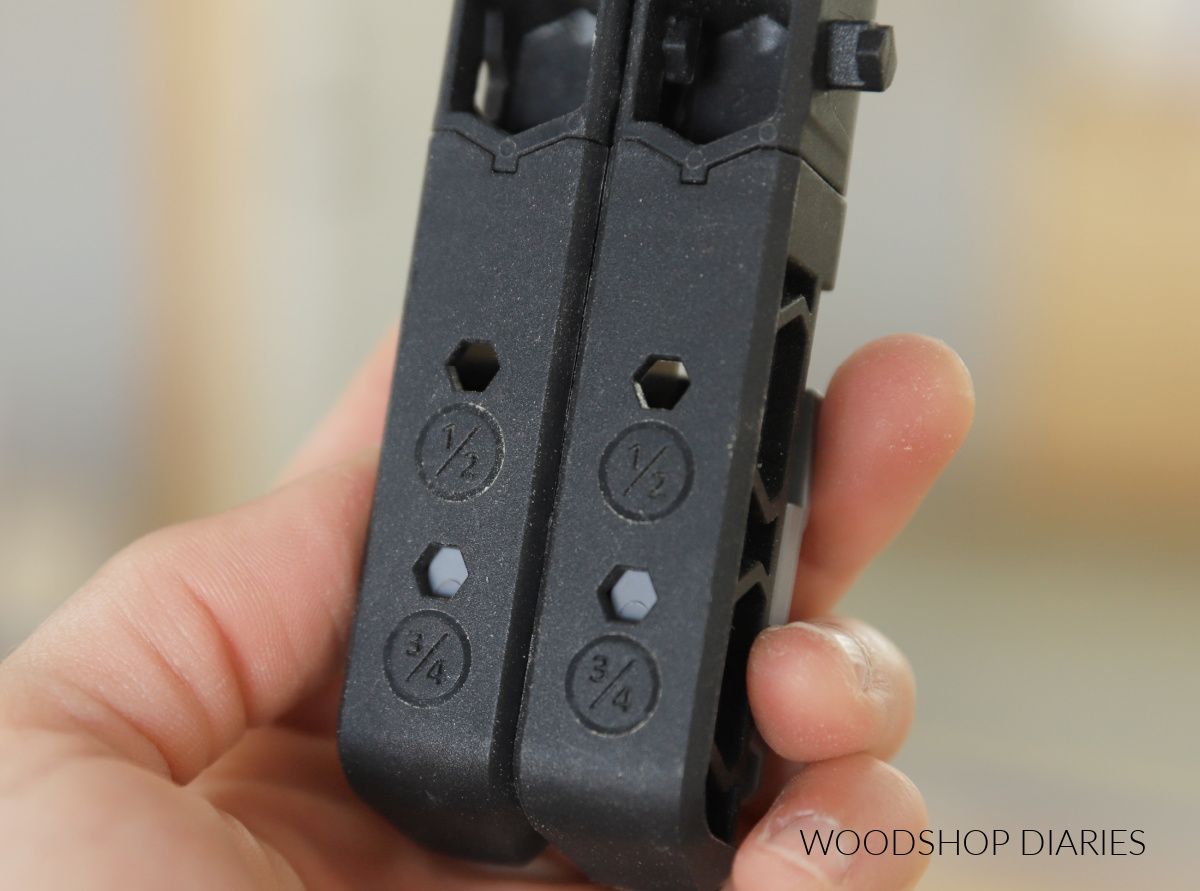
When the jig is set for ¾″, the holes on the front next to the ¾″ mark will be grey.
Step 2: Set Bit for Board Thickness
Once the jig is set for the correct material thickness, you’ll need to set the drill bit for the correct thickness.
The drill bit has a stop collar with a set screw. When you tighten the set screw with the hex wrench, it locks it in place. This stop collar helps give you the correct drilling depth.
The drill bit has two markings–one for ½″ and one for ¾″.
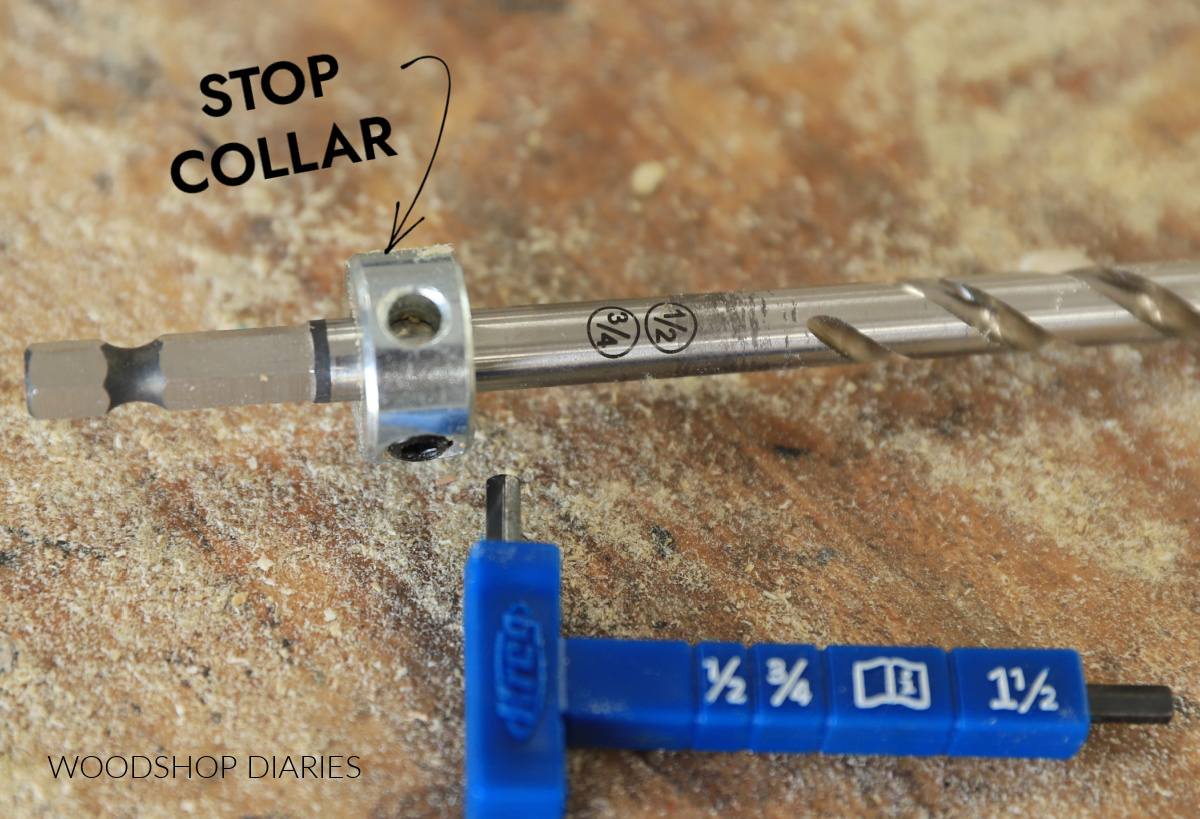
To set the drill bit on the correct thickness, loosen the set screw on the stop collar.
Slide the stop collar up or down on the bit so that the window in the collar is lined up with the correct thickness marked on the bit.
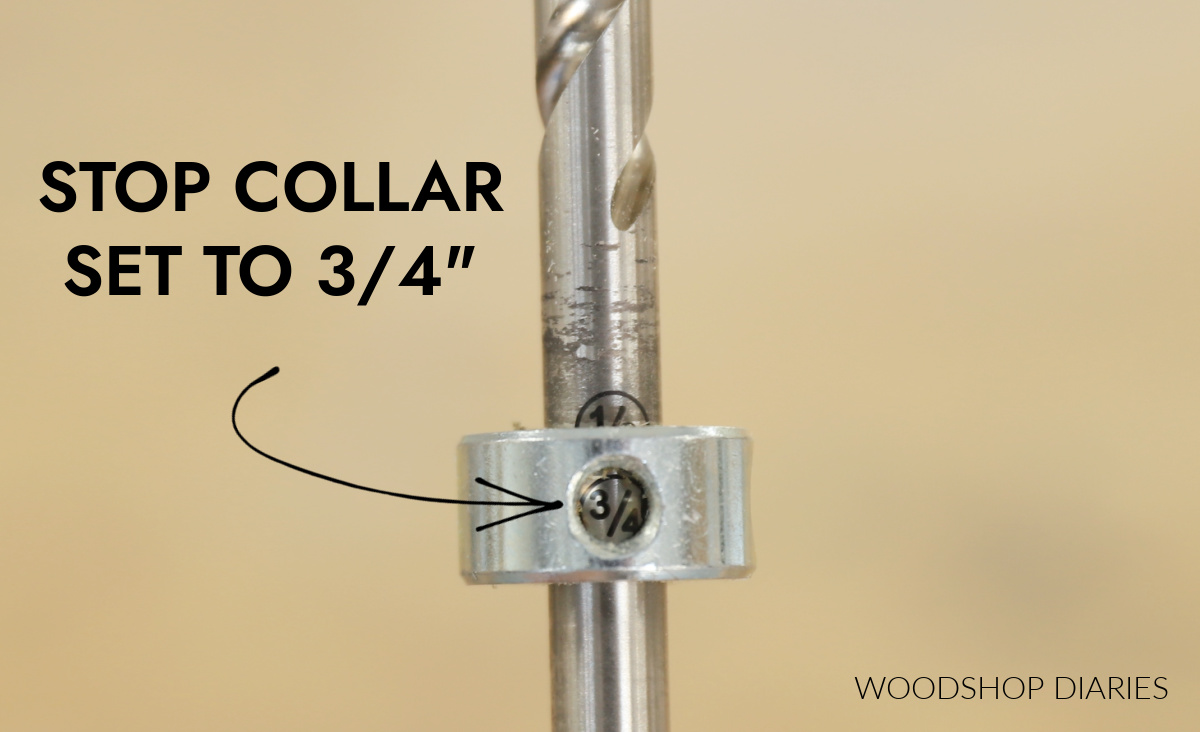
THE DRILL BIT SETTING SHOULD MATCH THE JIG SETTING FROM STEP 1. For example, if the jig is set for ¾″ material, the drill bit should also be set for ¾″ material.
Set both the jig and the drill bit to the thickness of the material the pocket holes will be drilled in.
FYI: You can purchase replacement (or spare) Micro drill bits here.
Step 3: Drill Pocket Holes
Once the jig and drill bit are set, insert the drill bit into your drill. Place the jig onto the end of the board so that the grey tabs are firmly against the edge and clamp tight.
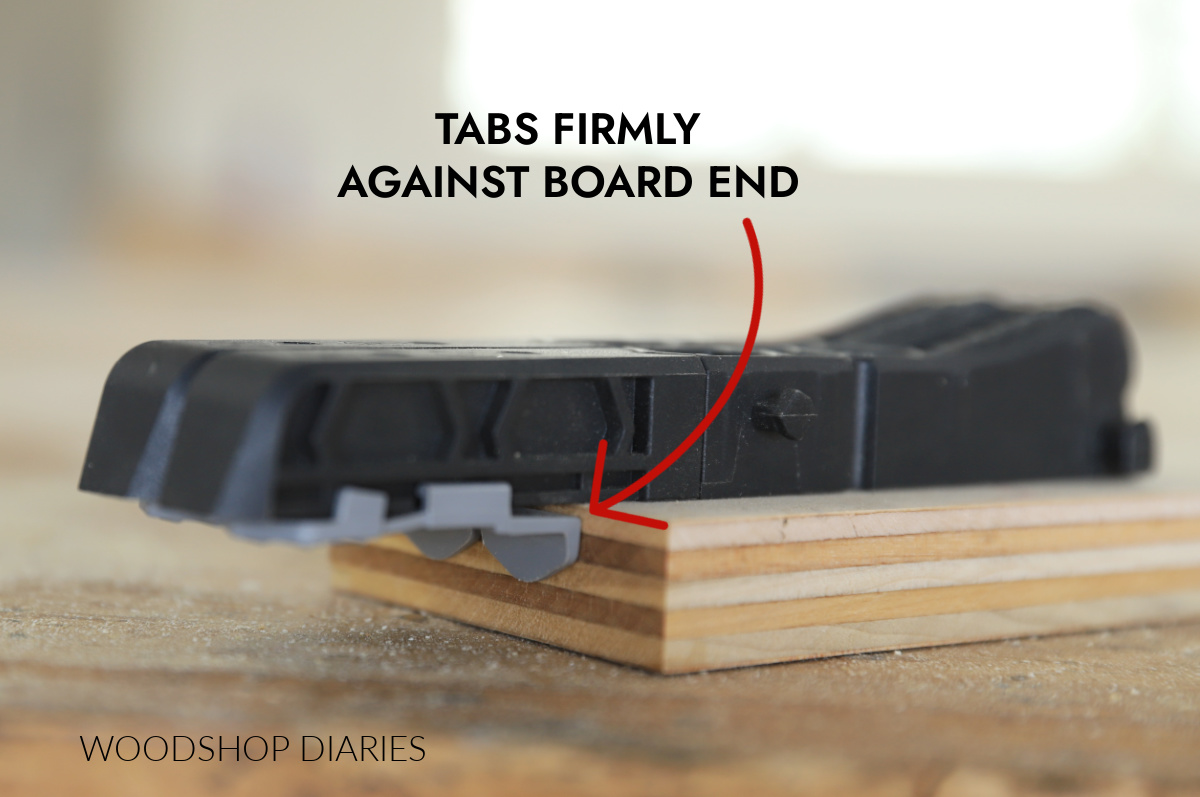
Drill into the drill guides of the jig to drill pocket holes where desired. Make sure to drill until the stop collar makes contact with the jig.
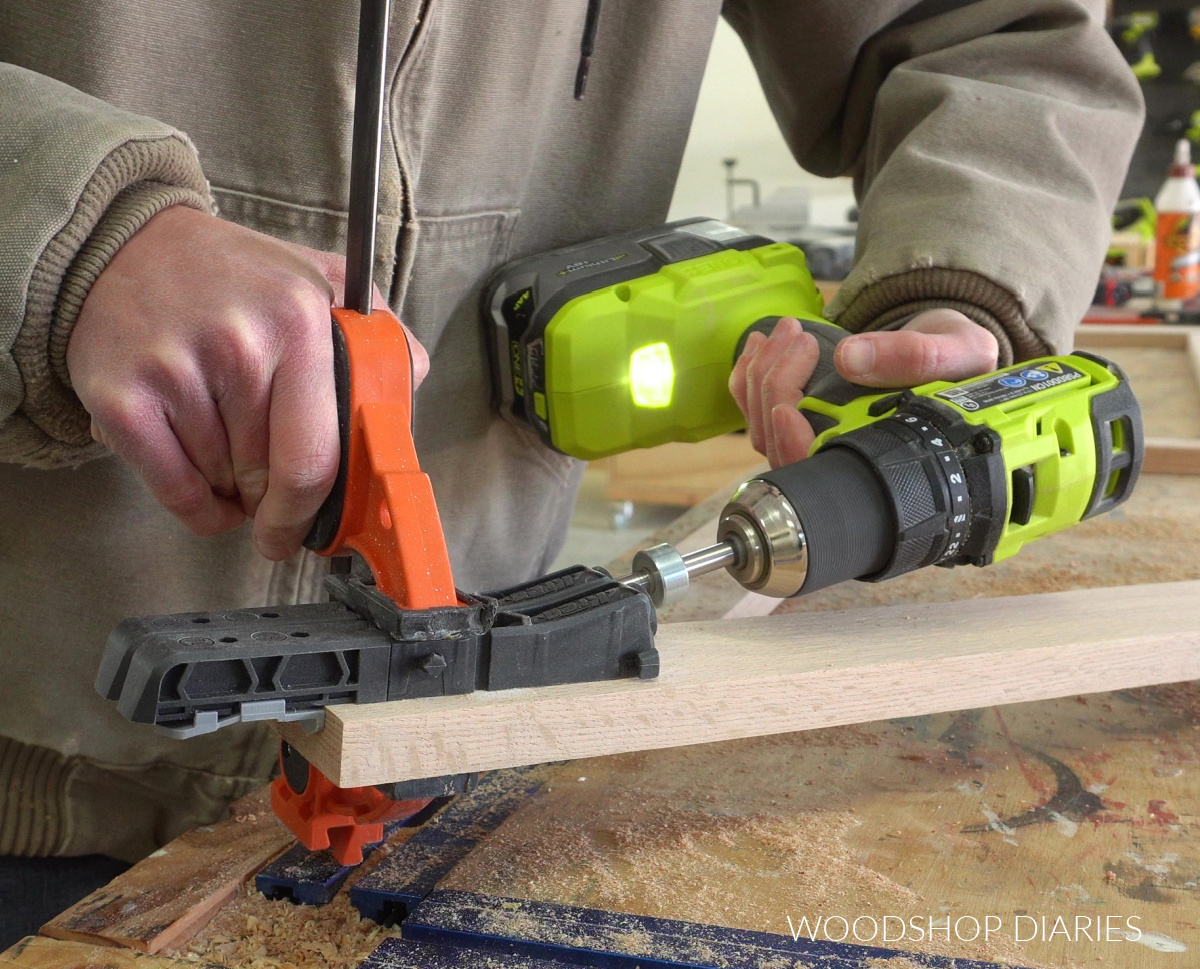
Unclamp the jig from the board.
Step 4: Drive Pocket Hole Screws
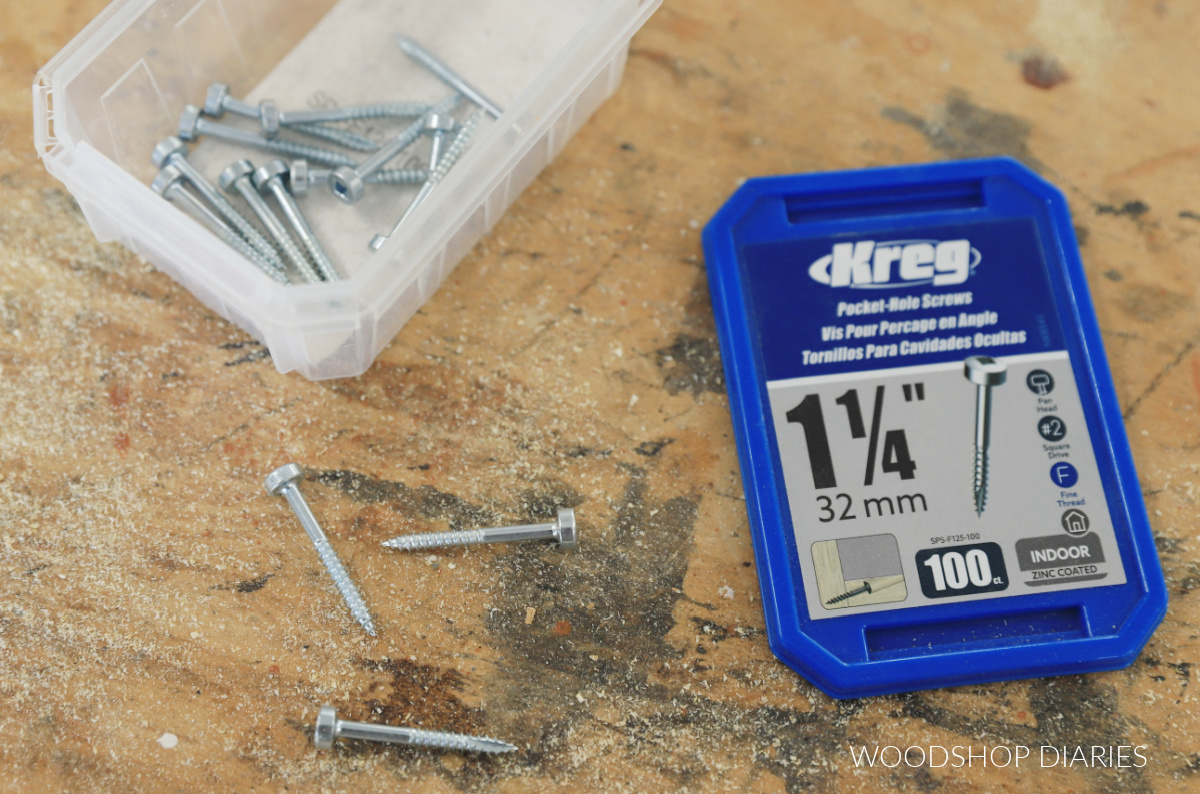
Now that the pocket holes are drilled, you can begin assembling your pieces. Remember to use PAN HEAD pocket hole screws with micro pocket holes.
Screw length:
- When attaching ¾″ thick to ¾″ thick material, use 1 ¼″ long pocket hole screws.
- When attaching ½″ thick to ½″ thick material, use 1″ long pocket hole screws.
- When attaching ½″ thick to ¾″ thick material, use 1″ long pocket hole screws.
Basically, if ½″ material is involved, use 1″ long screws. If not, use 1 ¼″ screws.
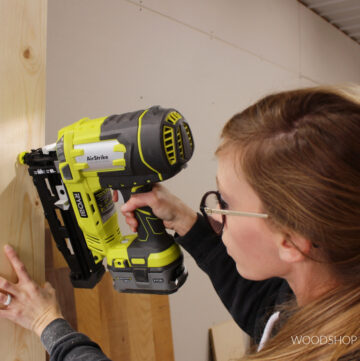
Clamp your pieces as needed and use the square driving bit included with the jig to drive the pocket hole screws through the pocket holes and into the adjoining board.
You can use EITHER a drill or a driver to drive the screws, but be careful to drive slowly and not overtighten.
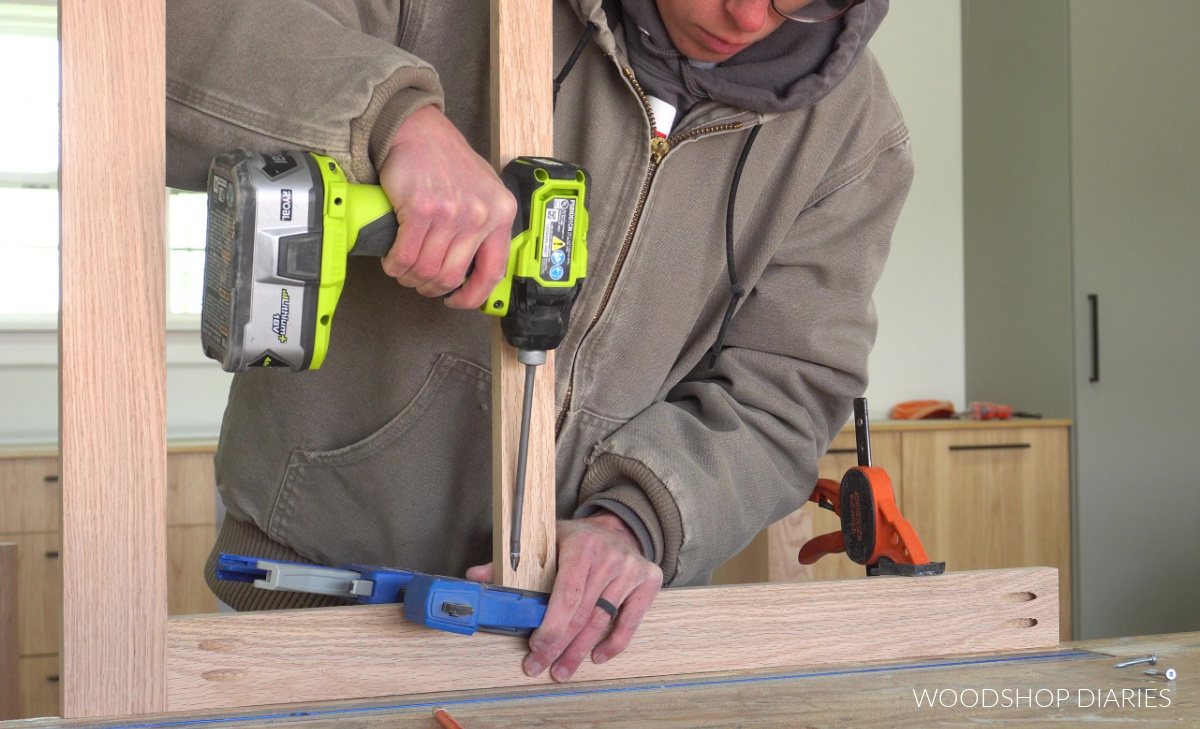
Cranking down on the screws can cause splits or misalignment. Tighten until the screw is firmly seated, then stop.
And now you’ve joined boards using a micro pocket hole jig! It’s as simple as drill, drive, and done.
For more information on pocket holes and how to use them in DIY furniture projects, see this post on how to use pocket holes.
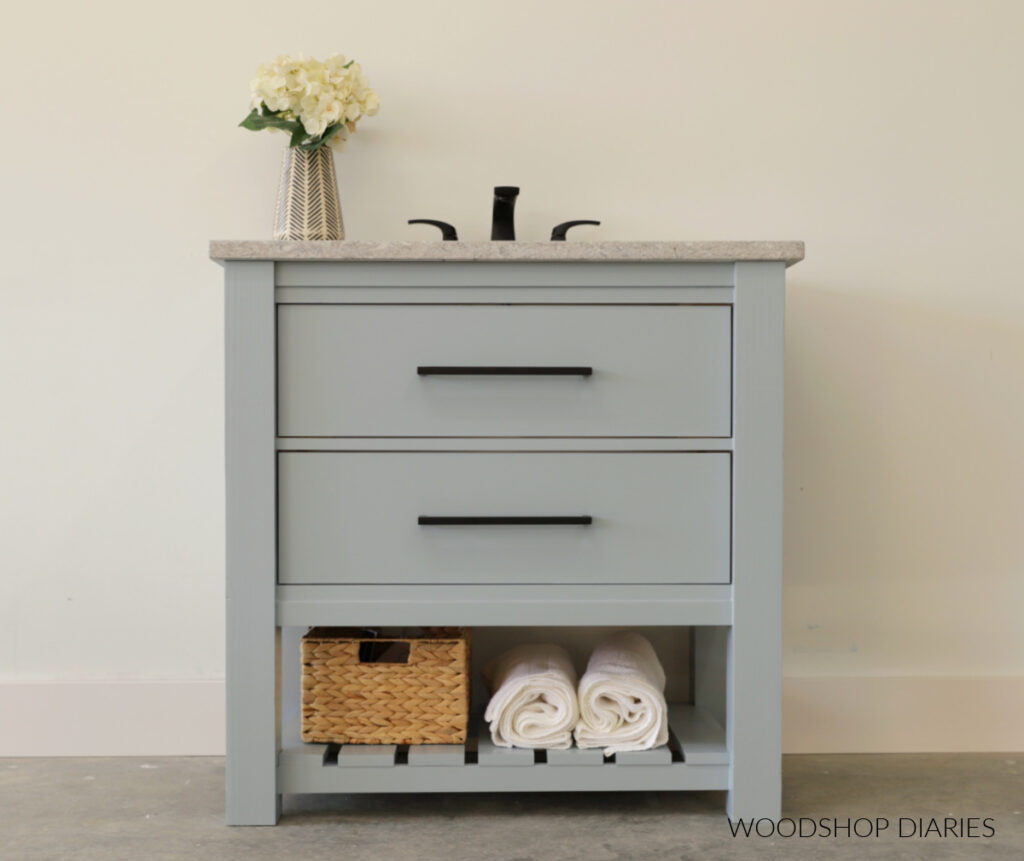
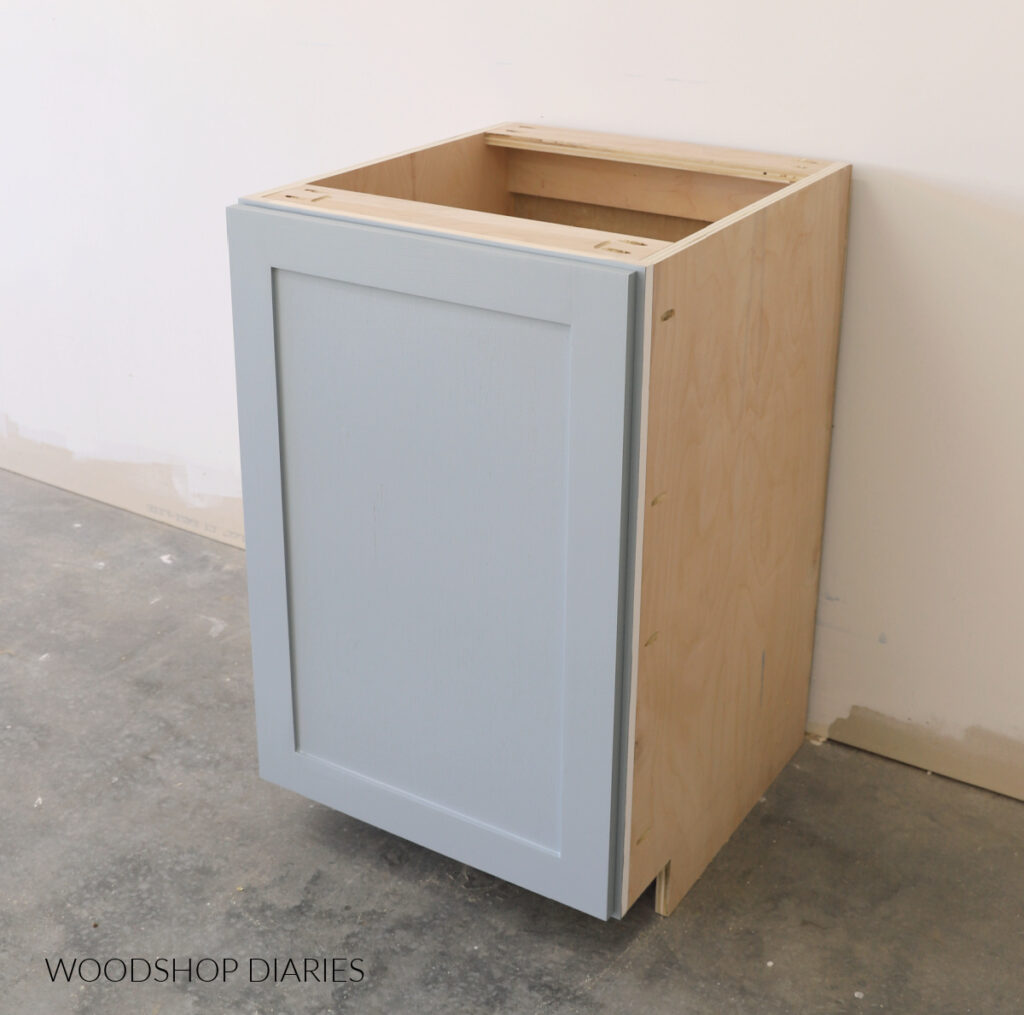
Projects I used the Kreg Micro Jig With
If you’re interested to see this jig in action, below is a list of project I’ve used the Kreg Micro Jig with recently:
If you found this post helpful and want to save it for later, don’t forget to pin it or share to your favorite social channel!
Until next time, friends, happy building!