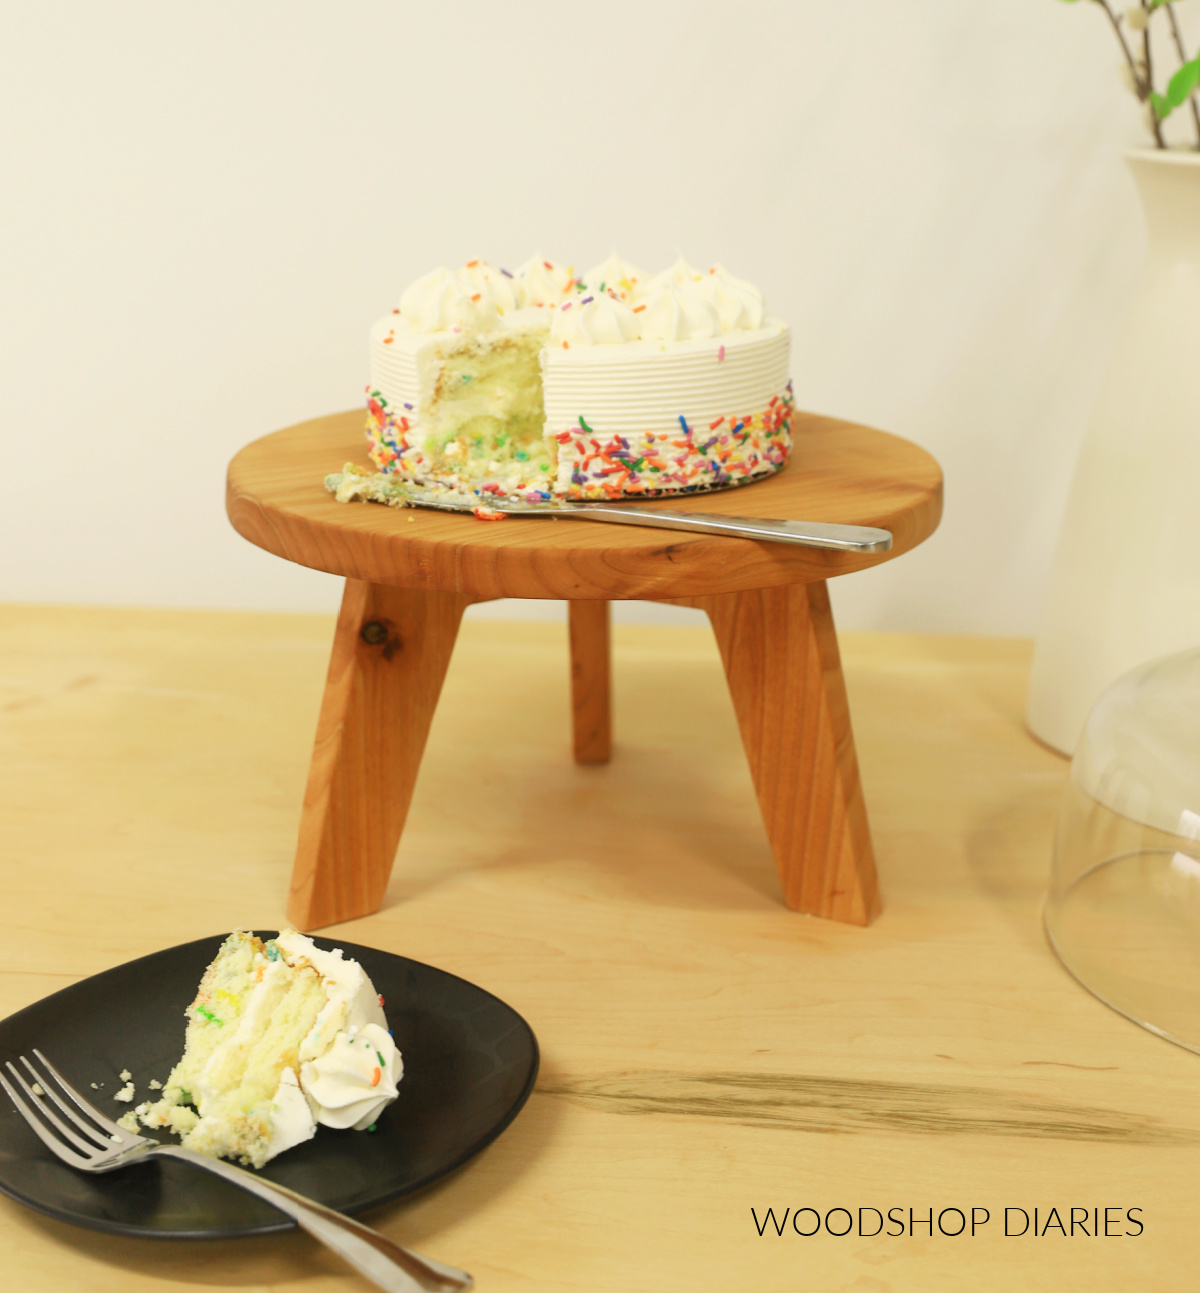
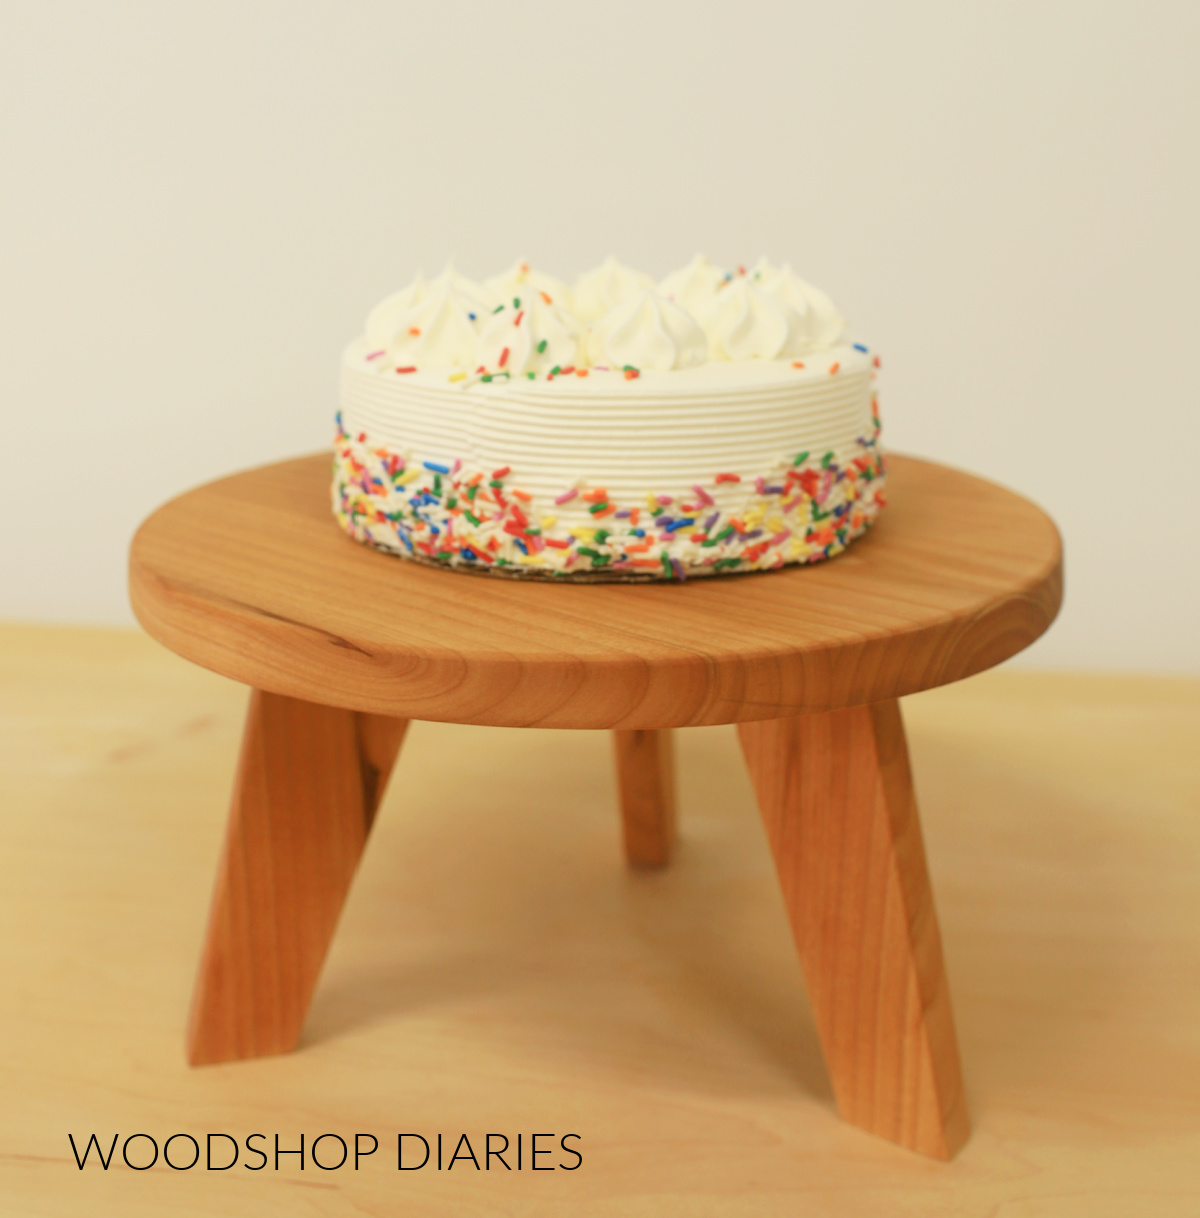
In this post, I’m sharing how to build an easy wooden cake stand with modern legs.
This can work well in place of a traditional pedestal style cake stand but can also make a simple riser or serving platter, too!

I actually used the same leg design that I’ve used on several mid century modern style furniture pieces in the past, but if you like a more traditional look, feel free to shape the legs a little more decorative.
Once it’s built, if you want to be extra fancy (well, I guess it’s not really THAT fancy, but it does dress it up a bit!), you can buy a simple glass dome to add on top!
This is a quick and easy project and I’m sharing exactly how to make it below. So let’s dive in and get building.
*This post contains affiliate links. See website policies.
What to consider before building
Cake stands come in various sizes, so before building your own, I’d recommend considering how large you’d like yours to be.
First, think about the usual size of the cakes you make or buy–are they typically 10″, 12″, maybe even 16″ diameter?
I built this cake stand to be about 12 ¼″ diameter so it fits a 10″ diameter cake really well with enough room for a glass dome on top. It could fit a 12″ cake, too, but there wouldn’t be enough room for the glass dome.
So consider what size makes most sense for you and adjust as needed.
One other thing to consider is that the larger you go, the more stability you’ll need. So if you go larger, you may need to space the legs out a little more.
In this case, I used three legs, but you can absolutely add four legs if you’d like. It doesn’t require any additional material to add an extra leg to the stand. See step 2.
Want to be the first to know about new projects and plans? Subscribe to the newsletter for priority access!
How to Build a Modern Wooden Cake Stand
I’ve included the step by step instructions below. But, if you prefer to watch, I’ve also included a build video as well.
Love watching how-to videos? Subscribe to my YouTube channel for plenty more where that came from!
Tools & Materials:
Tools:
- Jig Saw
- Sander
- Clamps
Materials:
- (1) 1x6x6 board (or 1×6 scraps 17″ long)
- Wood Glue
- Food Safe Finish (cutting board oil works well)
Step 1: Glue up Wooden Panel
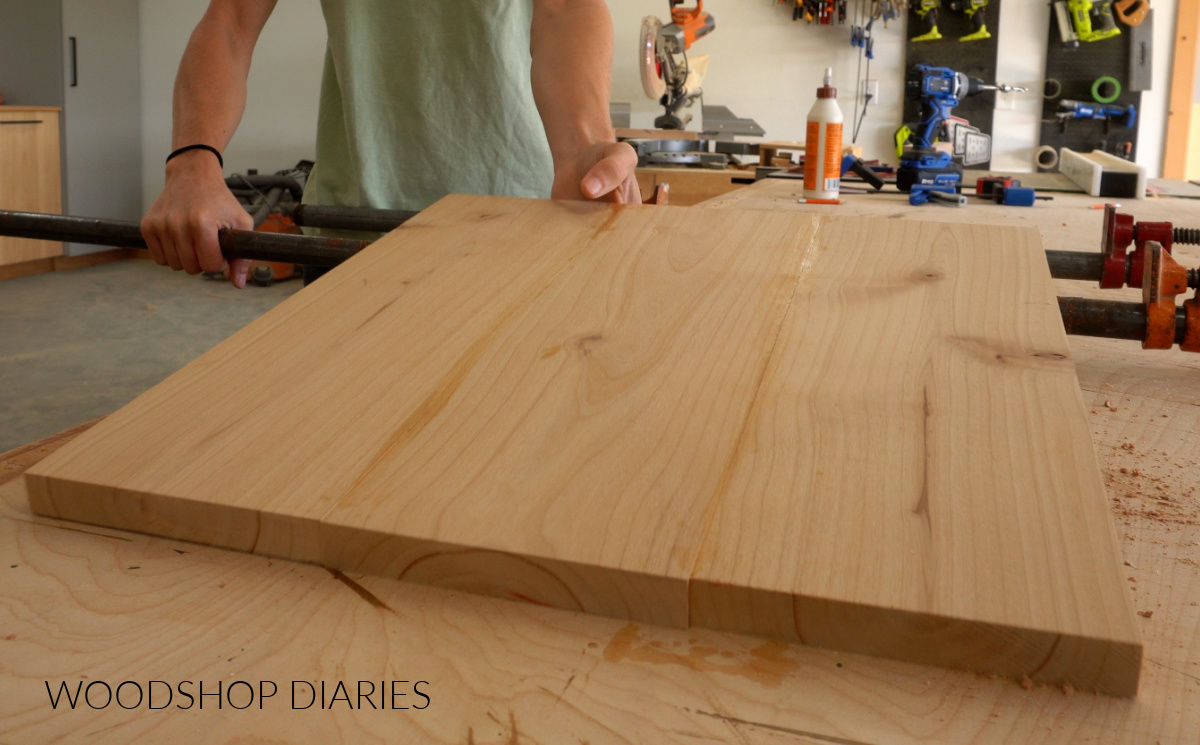
First, I cut three pieces of 1×6 to about 17″ long. I used alder wood for this cake stand, but any wood type you’d like to use would work fine.
Hardwoods like maple, walnut, and cherry are good options as that’s what many cutting boards are made with.
Once these pieces were cut, I glued and clamped them together into a solid panel.
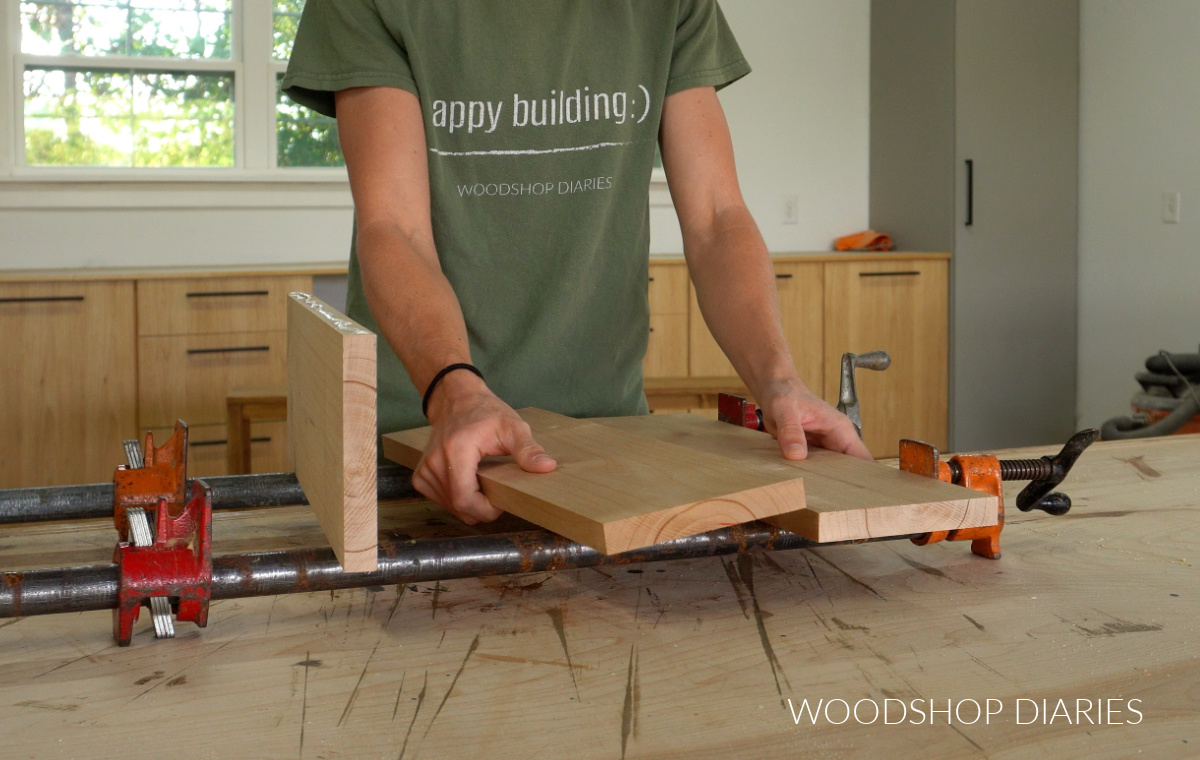
Learn how to glue up panels here. I allowed this to dry a few hours before removing them from the clamps.
Step 2: Sketch Top and Legs
I found the center of my panel and then searched the shop for a round object that was the size I wanted my cake stand top. I ended up finding that the top of a 5 gallon bucket lid was just about perfect, so I centered this on my panel and traced it.
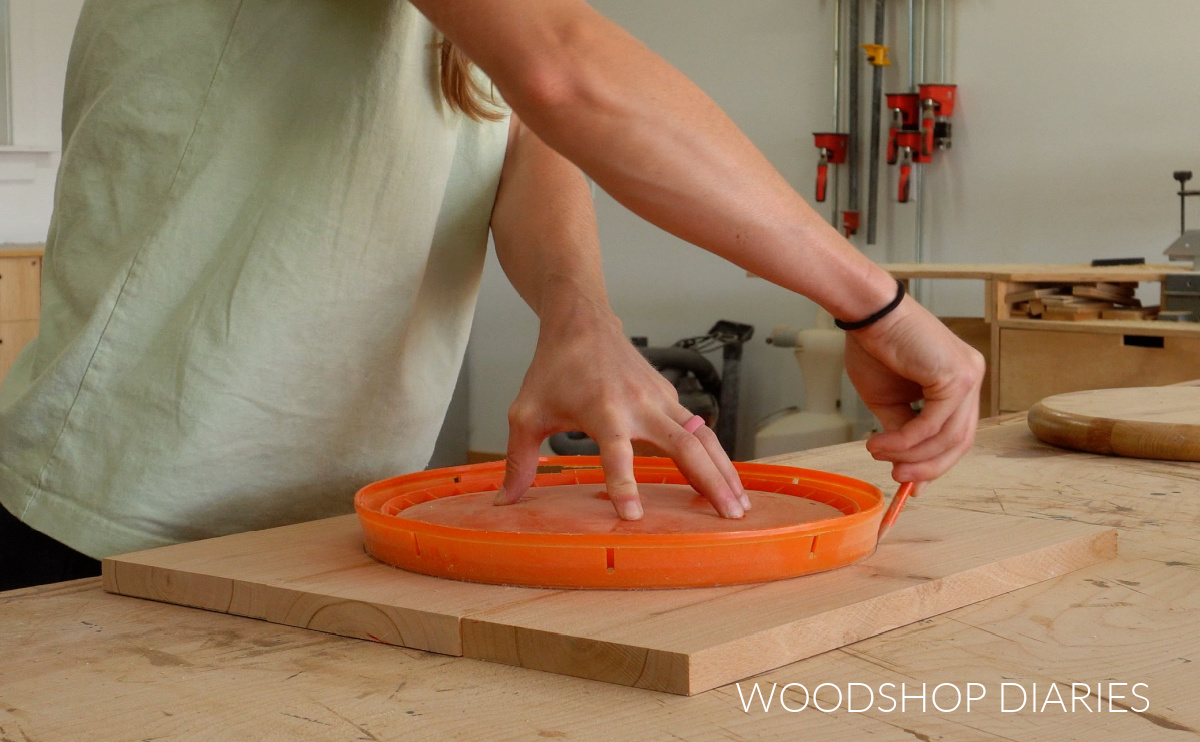
This gave me a 12 ¼″ diameter circle for my cake stand top. If you wanted bigger or smaller, you can look around for an object to trace OR check out this post to see how to draw a circle any size.
Then, on the corners of this panel, I drew out three mid century modern style legs like the diagram below.
I used these same legs on this dresser, this nightstand, this dog bed, and this bookshelf (plus some other projects, too!).
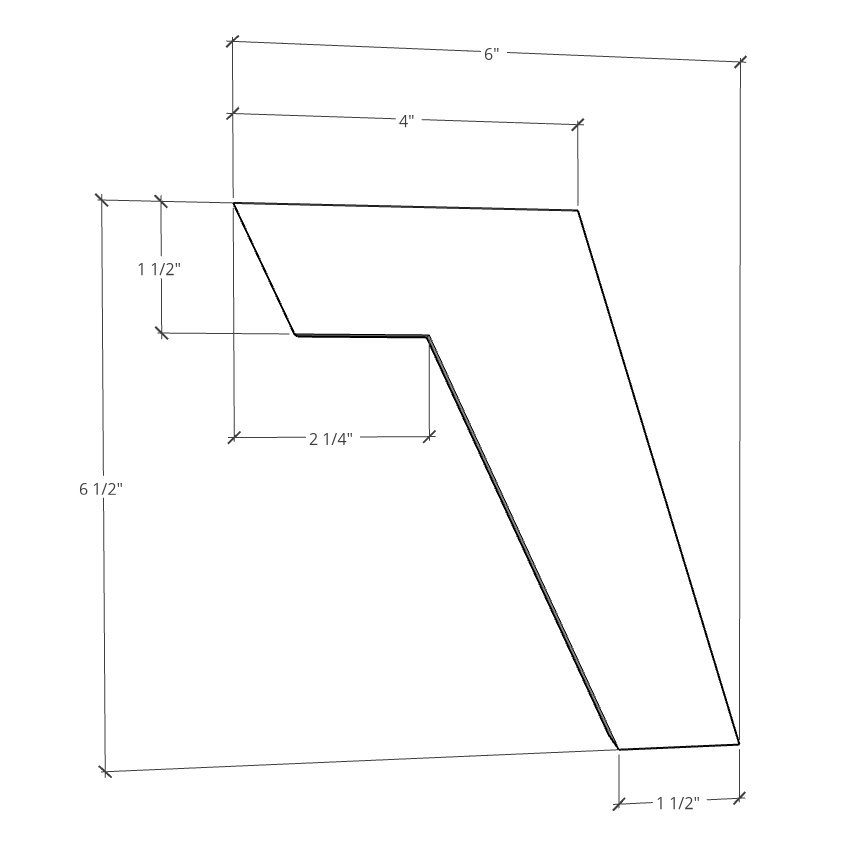
NOTE: Because I glued up 1x6s and 1x6s are 5 ½″, I adjusted the legs from the diagram above just slightly so that they were 5 ½″ wide total instead of 6″. That way, each leg could fit on a single board. This just made things easier if the glue up wasn’t perfectly aligned on the ends.

I only drew three legs, but there are four corners, so you can fit a fourth leg on the panel if you’d like. Three legs worked out fine, but a fourth leg can help add a little more stability to the stand.
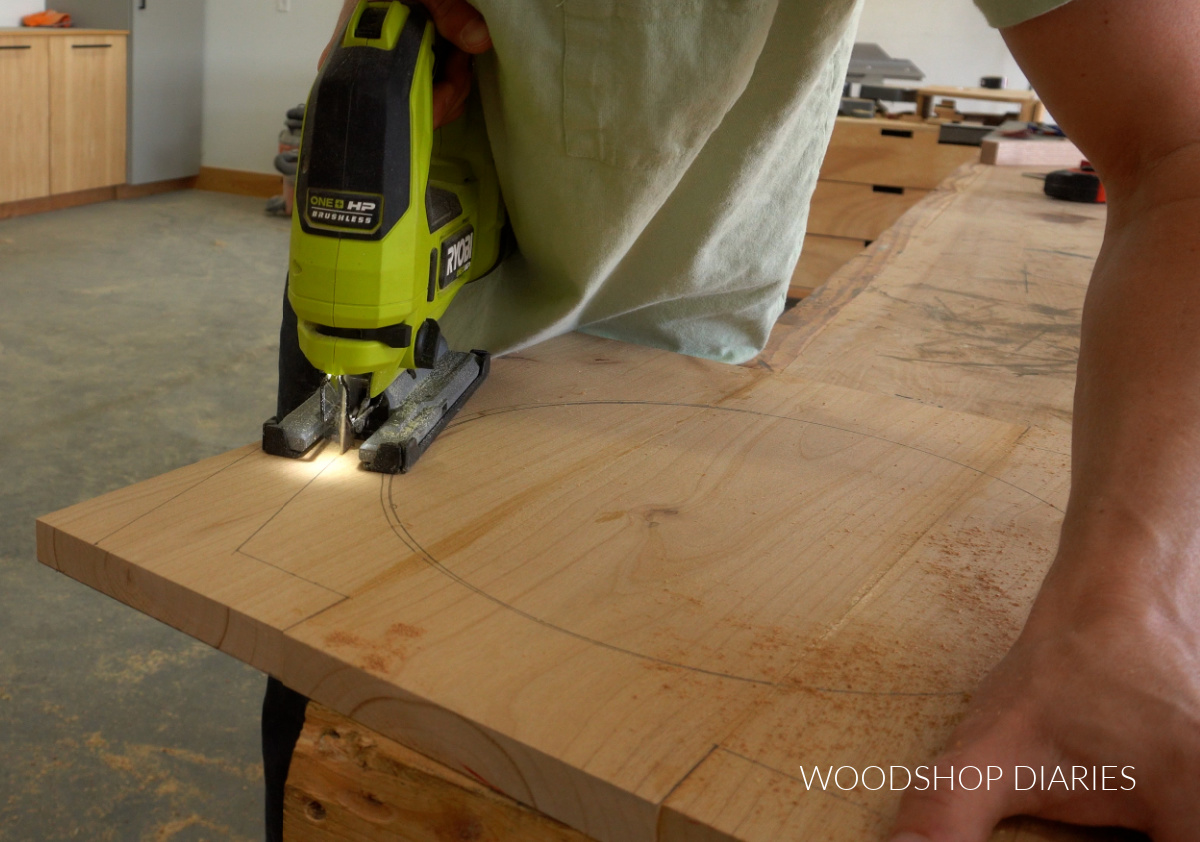
Step 3: Cut out Cake Stand Parts
Then, I used a jig saw to carefully cut out each leg. Make sure not to cut into the circle as you’re cutting on the corners.
After all three legs were cut out, then I cut out the circle from the middle of the panel.
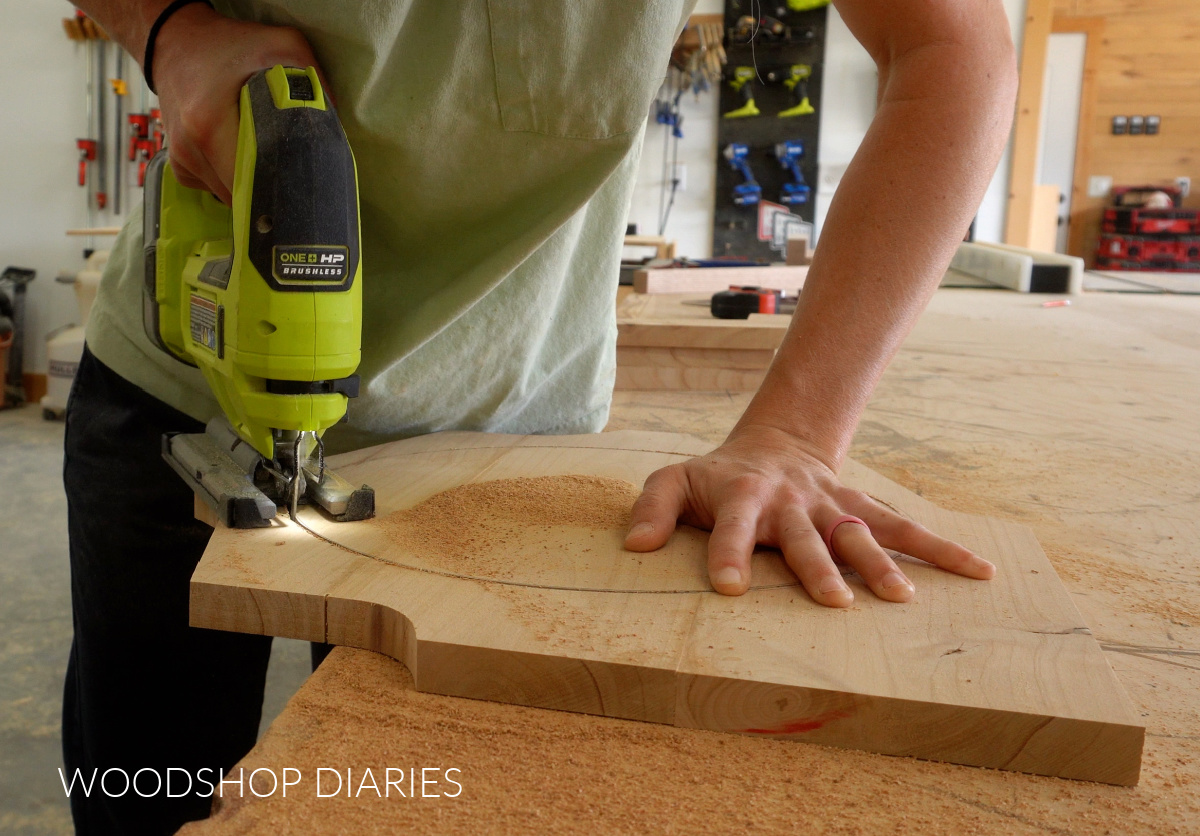
TIP: When cutting shapes like this with a jig saw, I recommend using a fine finish wood blade and turning your jig saw’s orbital settings off or very low for best results.
After the legs and the top were all cut out, I sanded each piece well. You can use a router to round over the cake stand top edges if you’d like, but I just rounded them over a bit using the sander.
RELATED: How to sand wood
Step 4: Glue Legs to Top Plate
Next, I flipped my cake stand top upside down on the workbench and carefully measured and marked the center.
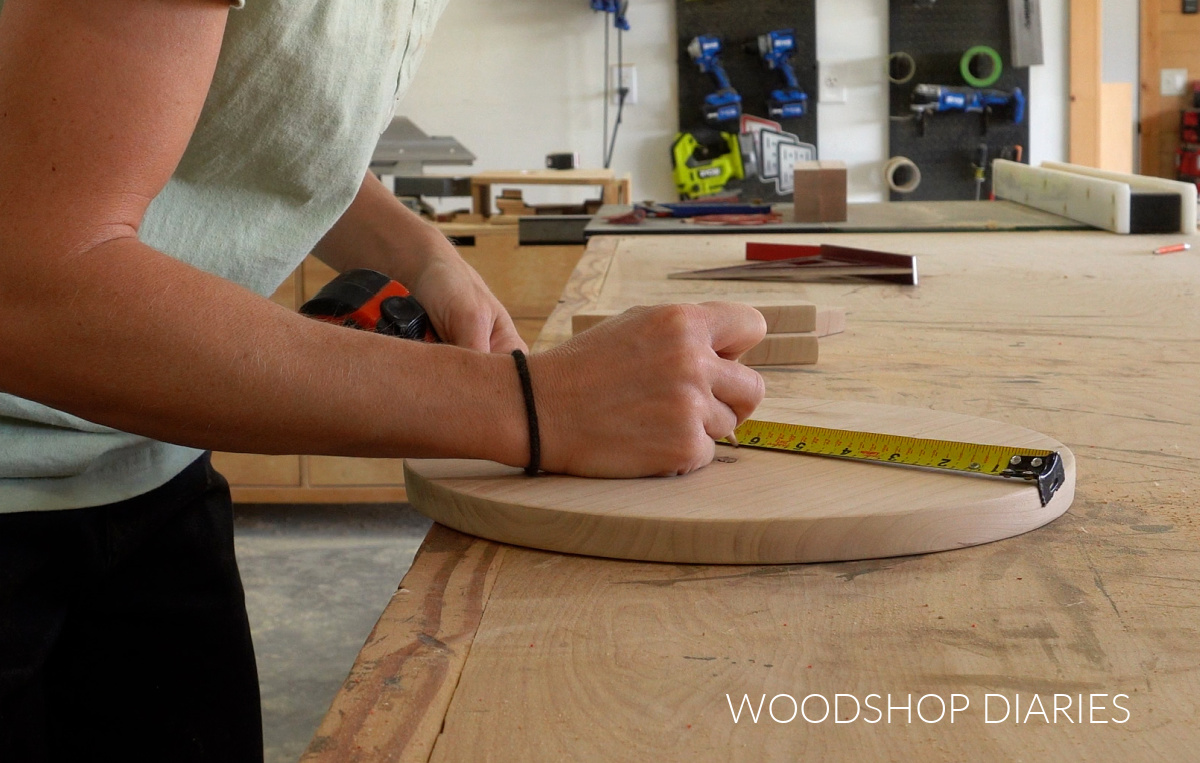
Then, I glued the three legs on so that they were evenly spaced. This doesn’t have to be PERFECTLY precise, but should be close.
Essentially, I just applied a bead of glue to the top of each leg and placed them onto the bottom side of the cake stand top so that the corners all touched and my center mark was roughly centered in the triangle shaped hole where the legs meet.
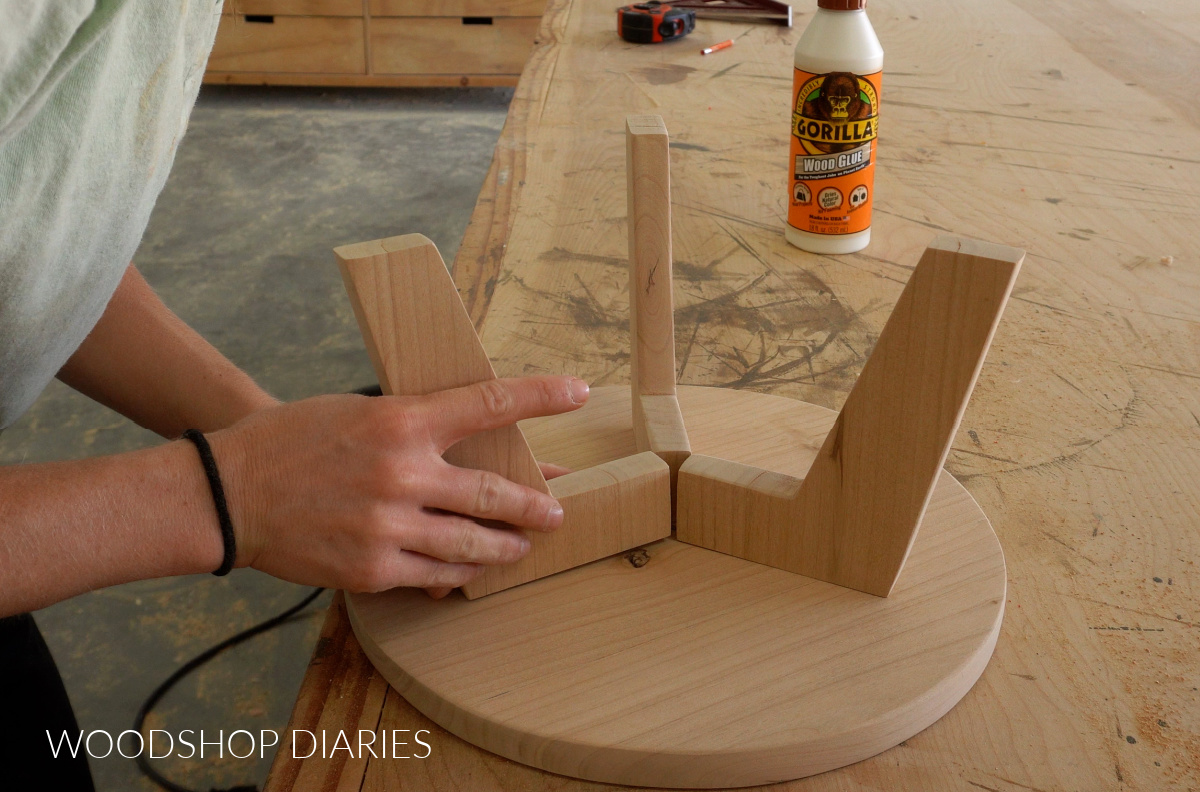
After I got them positioned where I wanted, I let the glue dry for an hour or two before moving on.
Step 5: Finish Cake Stand
To finish the cake stand, I applied some food safe oil (cutting board oil works great!) to seal it and now this simple cake stand is ready for the next celebration!
I used a glass dome from an old glass cake stand, but you can buy glass domes in various sizes new, sometimes you can find them at thrift stores, or you can even use a large glass mixing bowl.
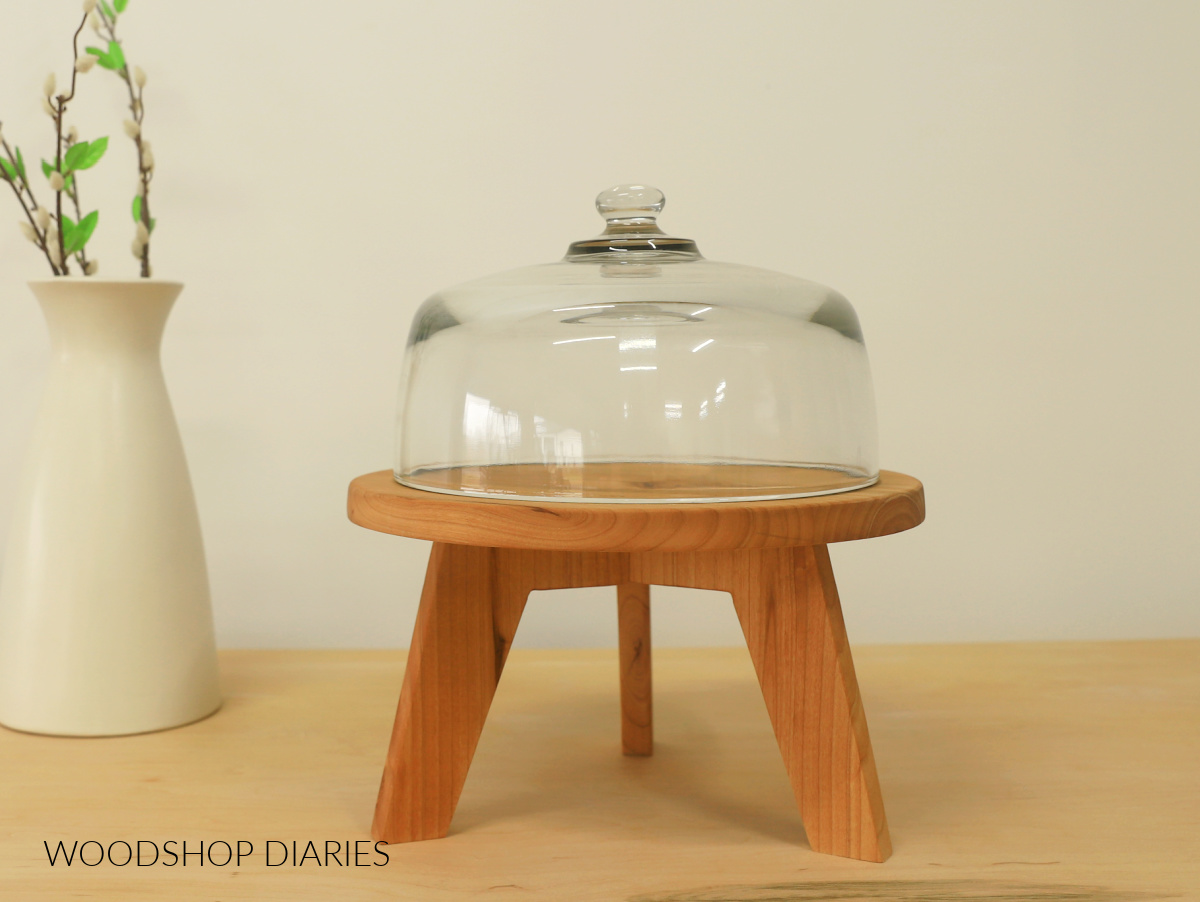
But even without the glass dome, this wooden cake stand makes the perfect pedestal to display cake, cookies, pie or whatever else you deem worthy of “rising above” on the dessert table. *wink wink*
Looking for More easy DIY projects?
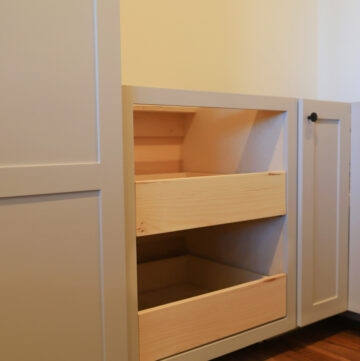
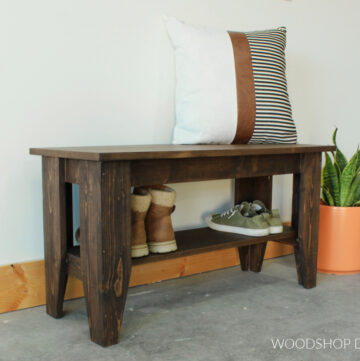
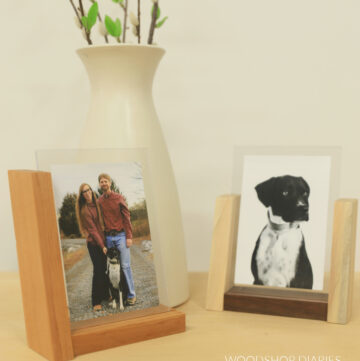
Enjoyed this project and looking for more? Here are a few more fun projects that are easy to build and would work perfectly at your next gathering:
Enjoyed this project and want to save it for later? Be sure to pin it or share it to your favorite social channel!

Until next time, happy building!