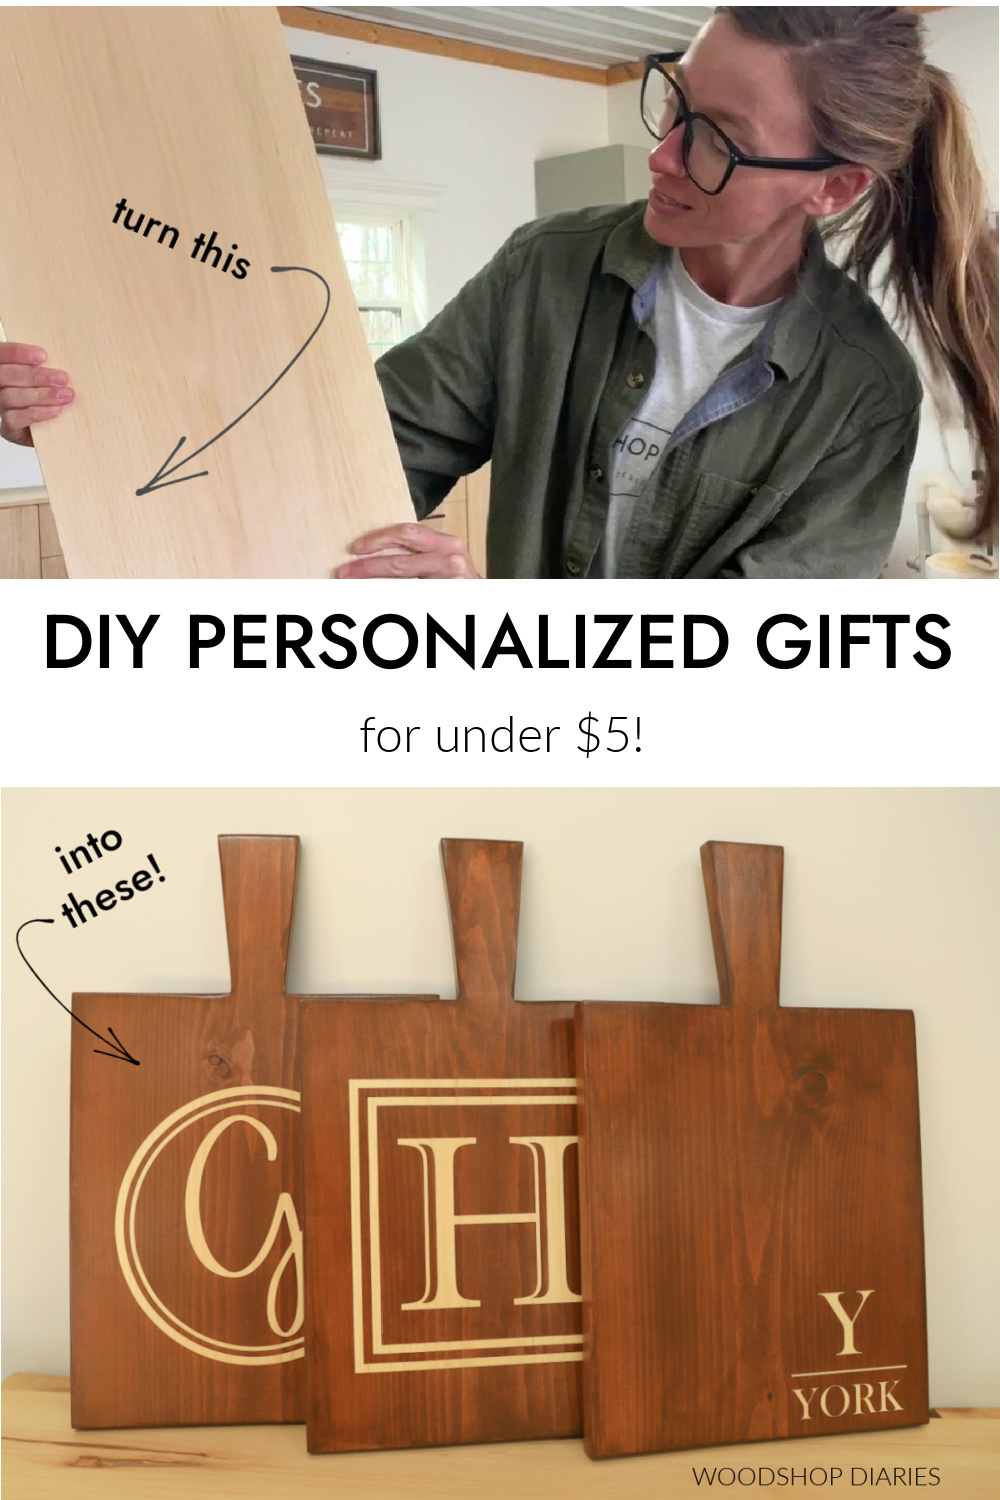
In this post, I’m sharing how to make easy personalized DIY serving boards (perfect for gifting) for less than $5 each!
These make the perfect thoughtful, yet budget friendly gifts for the holidays (or any time of the year!).
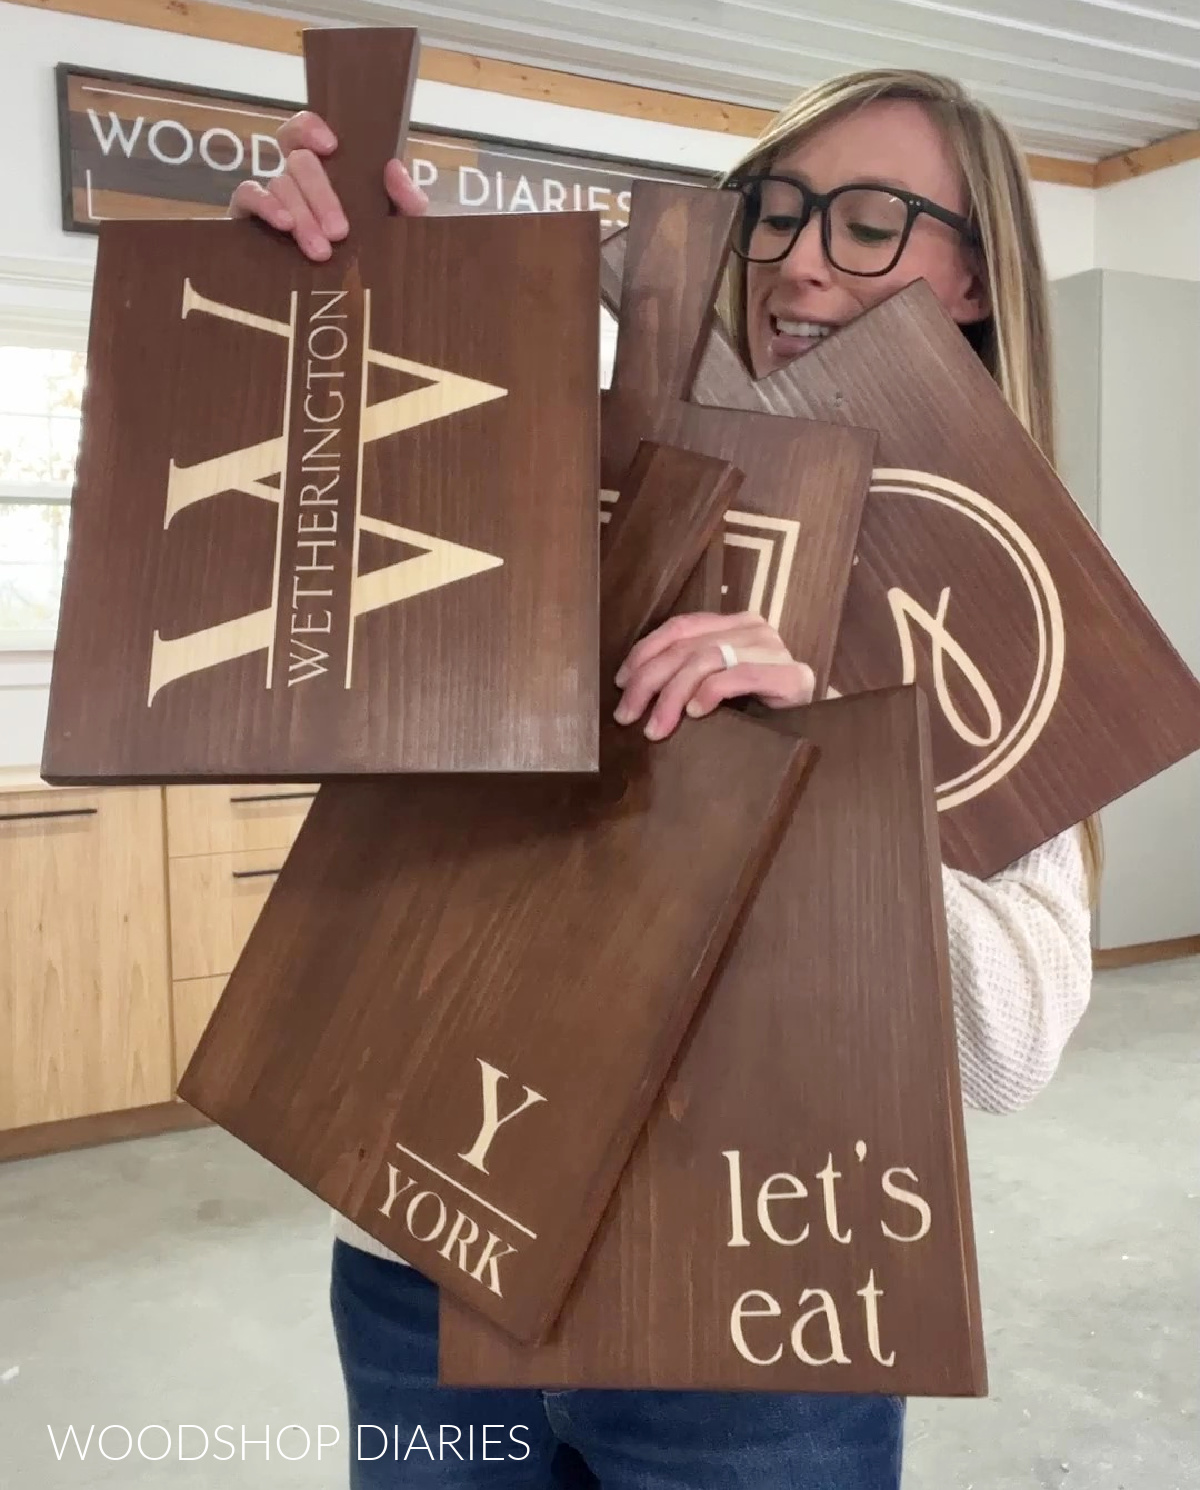
You can customize them with a monogram, a recipe, a handwritten note from a loved one, the shape of a beloved pet, or whatever else you can come up with.
And you can make 5 from a single 8′ board! I’m sharing all the details below, so if you’re ready to make them, let’s dive in.
*This post contains affiliate links. See website policies.
What to know before making a serving board
Making these personalized serving boards is quick and easy. But first, there are some important things to consider before building.
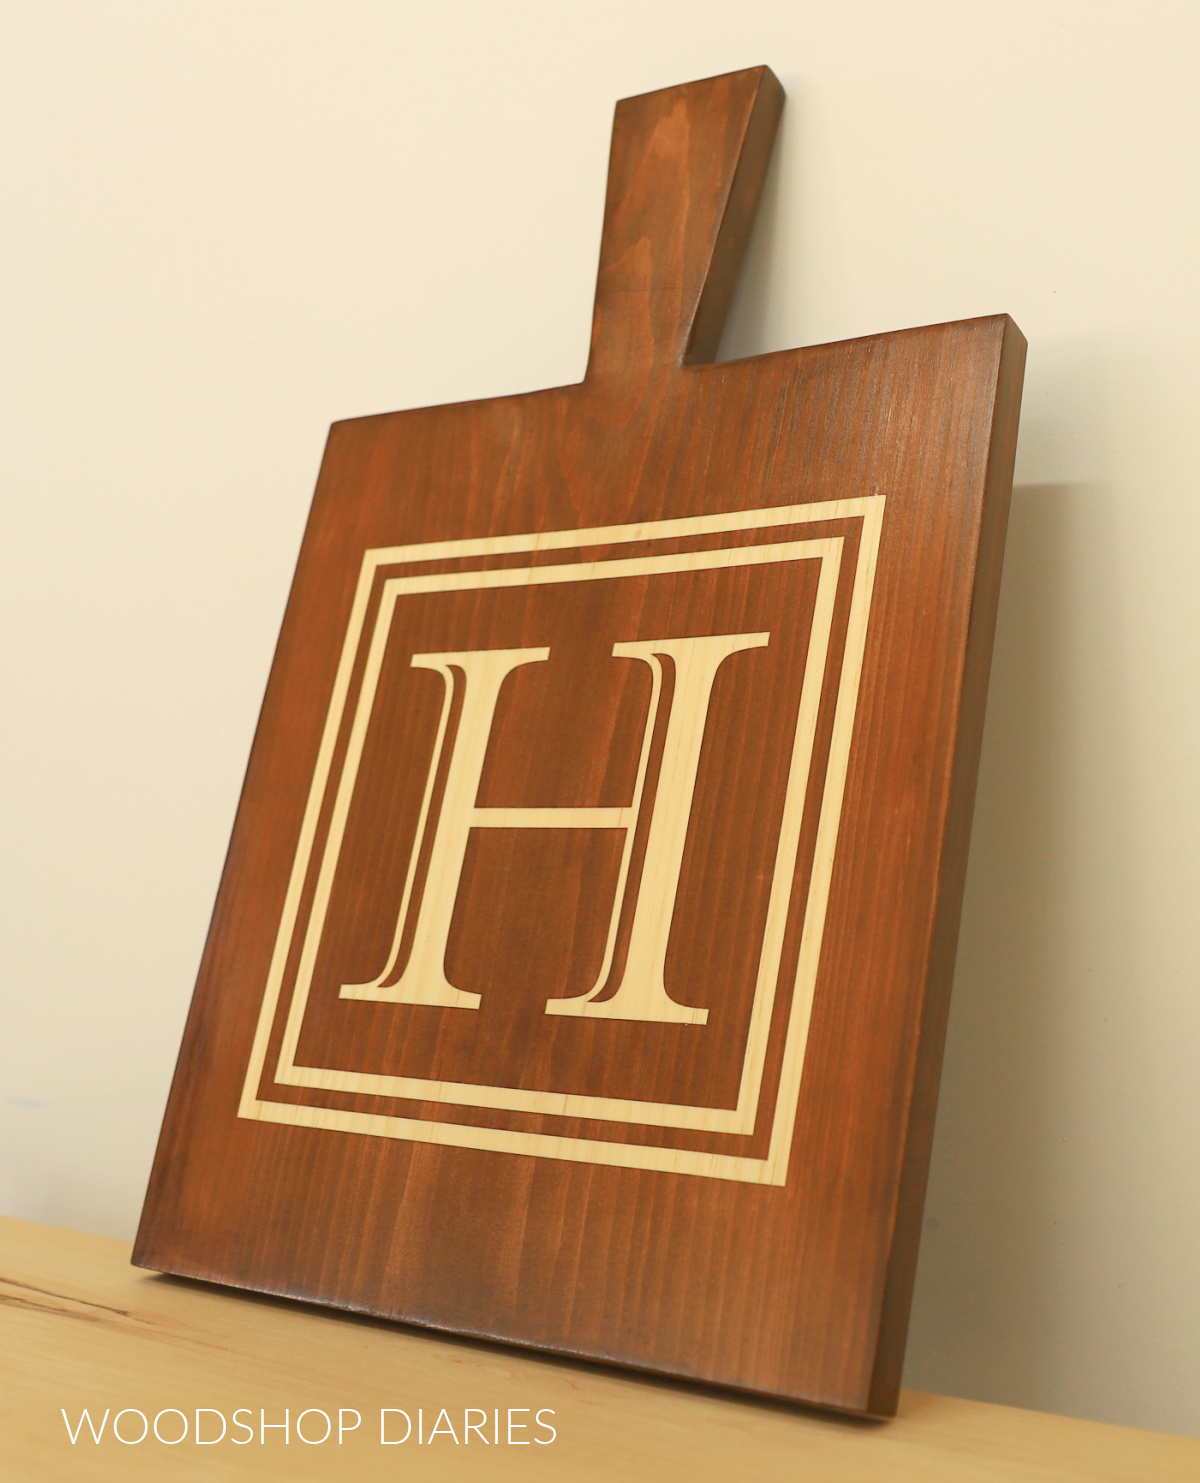
The personalization on these boards was done using a vinyl stencil and wood stain. Essentially, I cut and applied the stencils to the boards, stained the boards, then removed the stencil to reveal the design.
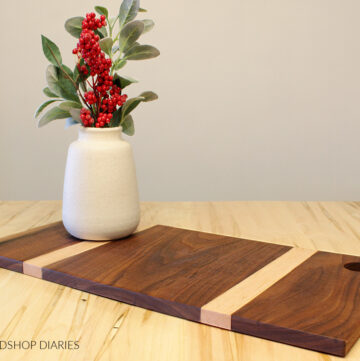
Keep in mind this is a SERVING BOARD. It is not a cutting board. It’s intended for serving things like cookies, candies, crackers, cheese, etc–like a charcuterie board. Or, it also makes a great decorative board for the kitchen, too.
What kind of wood to use for serving board
You can use just about any wood type you’d like for this serving board, but I recommend a smooth grain lumber for best results when stenciling.
I used a basic 1x12x8 whitewood board from my local big box store. “Whitewood” is what a lot of the big box stores call spruce.
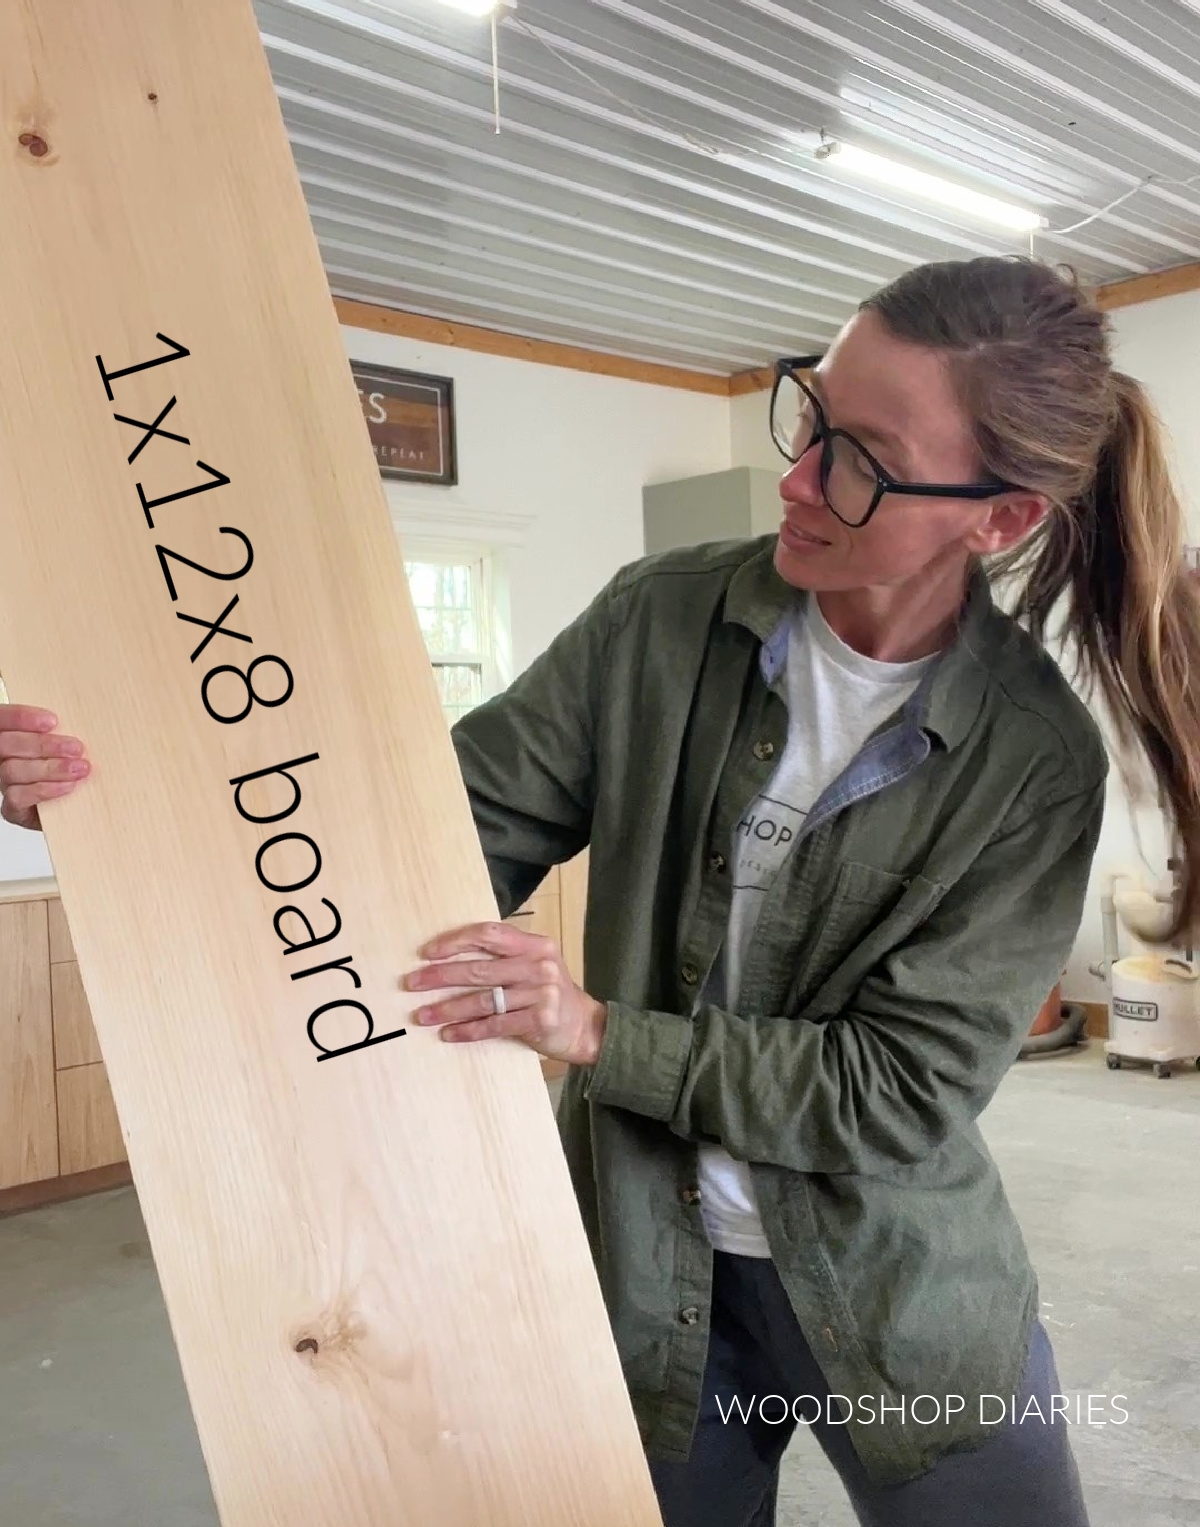
This is usually the most inexpensive and readily available wood option (at least where I live), and is a soft, very light colored wood.
BY THE WAY: Either a 1×12 or a 1×10 board would work great for this project!
It often has quite a few knots, so when selecting your board, be sure to dig around the pile and find one with the fewest (or at least the smallest) knots. Also, make sure to pick one that is as smooth as possible–without a lot of gouges, knicks, or dents.
Again, this is not a cutting board. You wouldn’t want to use a softwood for a cutting board.
If you wanted to use a hardwood for this serving board instead, you certainly can. However, the deeper grains in some hardwoods can cause your stain lines to bleed a bit so you may not get crisp lines with your stencil.
If you’d rather make a cutting board, check out this post instead.
What kind of finish to use
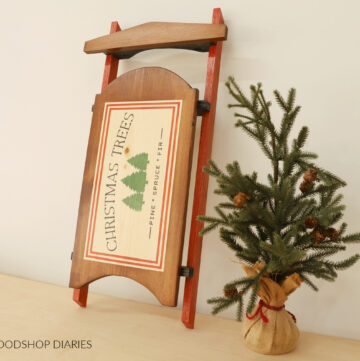
When staining around a stencil, I highly recommend using a water based stain as these give the crispest lines like you see below with my DIY Christmas Sled.
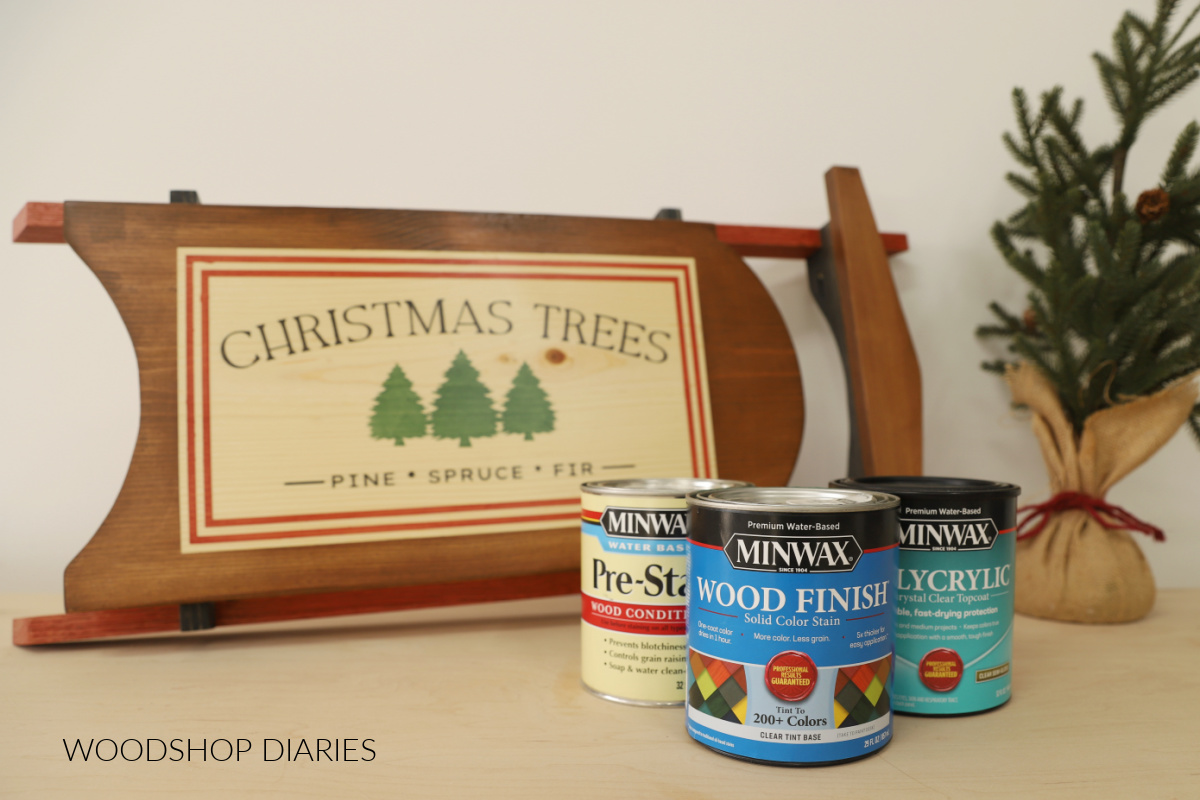
Personally, I use Minwax Water Based Stains. They come in either solid or semi transparent opacities and in hundreds of colors. For this project, I used Semi-Transparent in Pecan.
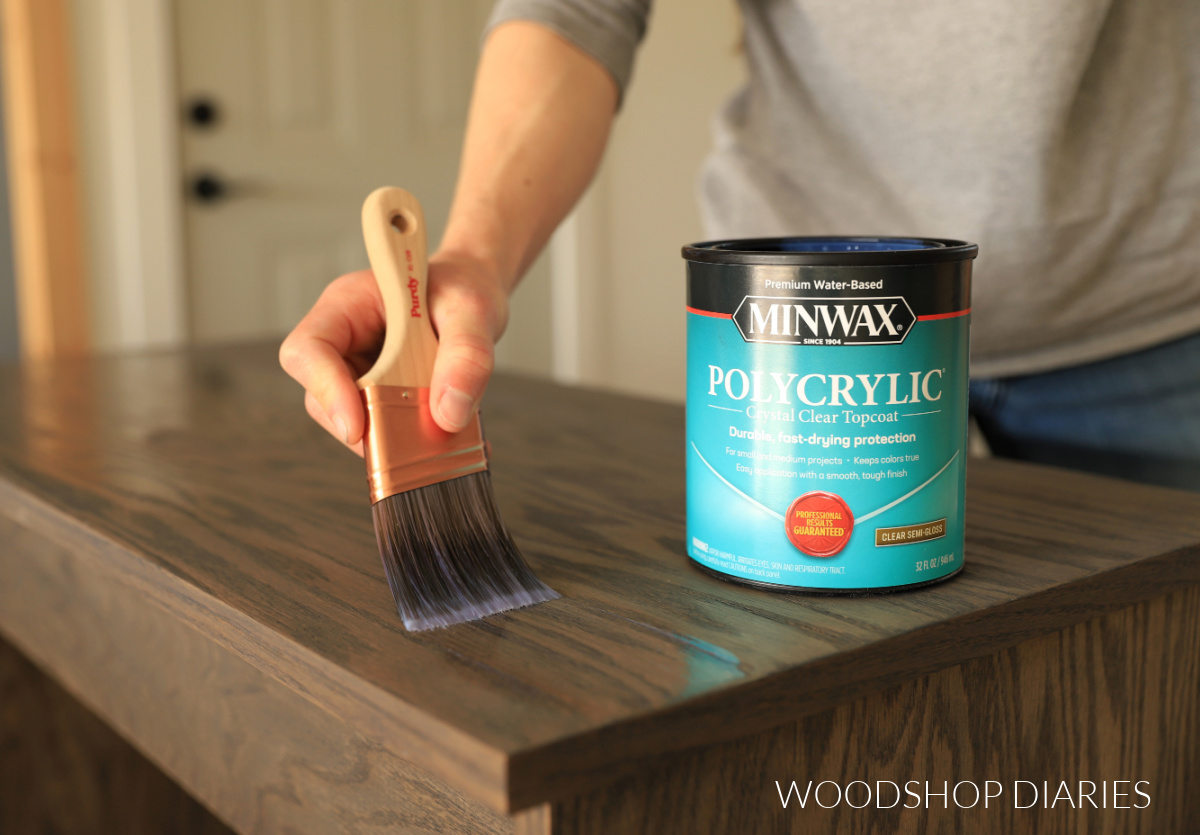
Once the stain is applied and the stencils removed, the boards should be properly sealed with a few coats of non-toxic finish that dries to a smooth, hard surface that is easy to clean. For this, I used Minwax Polycrylic in Semi-Gloss.
Polycrylic, (like many other paints and enamels) once it has fully cured and is wiped clean, is generally considered fine for serving dry goods on–like crackers, cookies, candies, etc. But it shouldn’t be cut on as this could chip the finish.
However, if you’re hesitant using it with food, do your own research and/or just use for decoration. For what it’s worth, I personally eat off of things I finish with Polycrylic all the time–dining tables, countertops, serving trays, etc.
How to use a this personalized Board
These serving boards can be used as a simple decoration on a kitchen countertop, hanging on the wall, on a shelf, as a trivet, etc.
It would also make a nice centerpiece, or a fun way to serve snacks and candies at the next get together.
You can use it a hundred ways, but it’s not intended for cutting on.
How to Clean serving board
Just like you’d wipe your dining table clean, you can simply wipe these boards clean with a damp dish rag and dry them with a clean towel.
They shouldn’t be soaked in water, though, as this can quickly damage the wood/finish.
Enjoy DIY projects and woodworking plans? Sign up for priority access for the latest posts on Woodshop Diaries!
How to Make a Personalized DIY Serving Board
If you prefer to watch, here’s a quick video showing how easy these DIY serving boards are to make.
Love watching how-to videos? Subscribe to my YouTube channel for plenty more where that came from!
Tools & Materials
Materials:
- (1) 1x12x8 board OR 1x10x8 board
- Water Based Wood Stain
- Minwax Polycrylic
For personalizations:
- Cricut Machine
- Cricut Vinyl (permanent OR removeable)
- Cricut Transfer Tape
Step 1: Cut Serving Boards to Size
First, I cut my 1x12x8 board down into five 18″ long pieces. But you can obviously cut yours differently if you wanted.
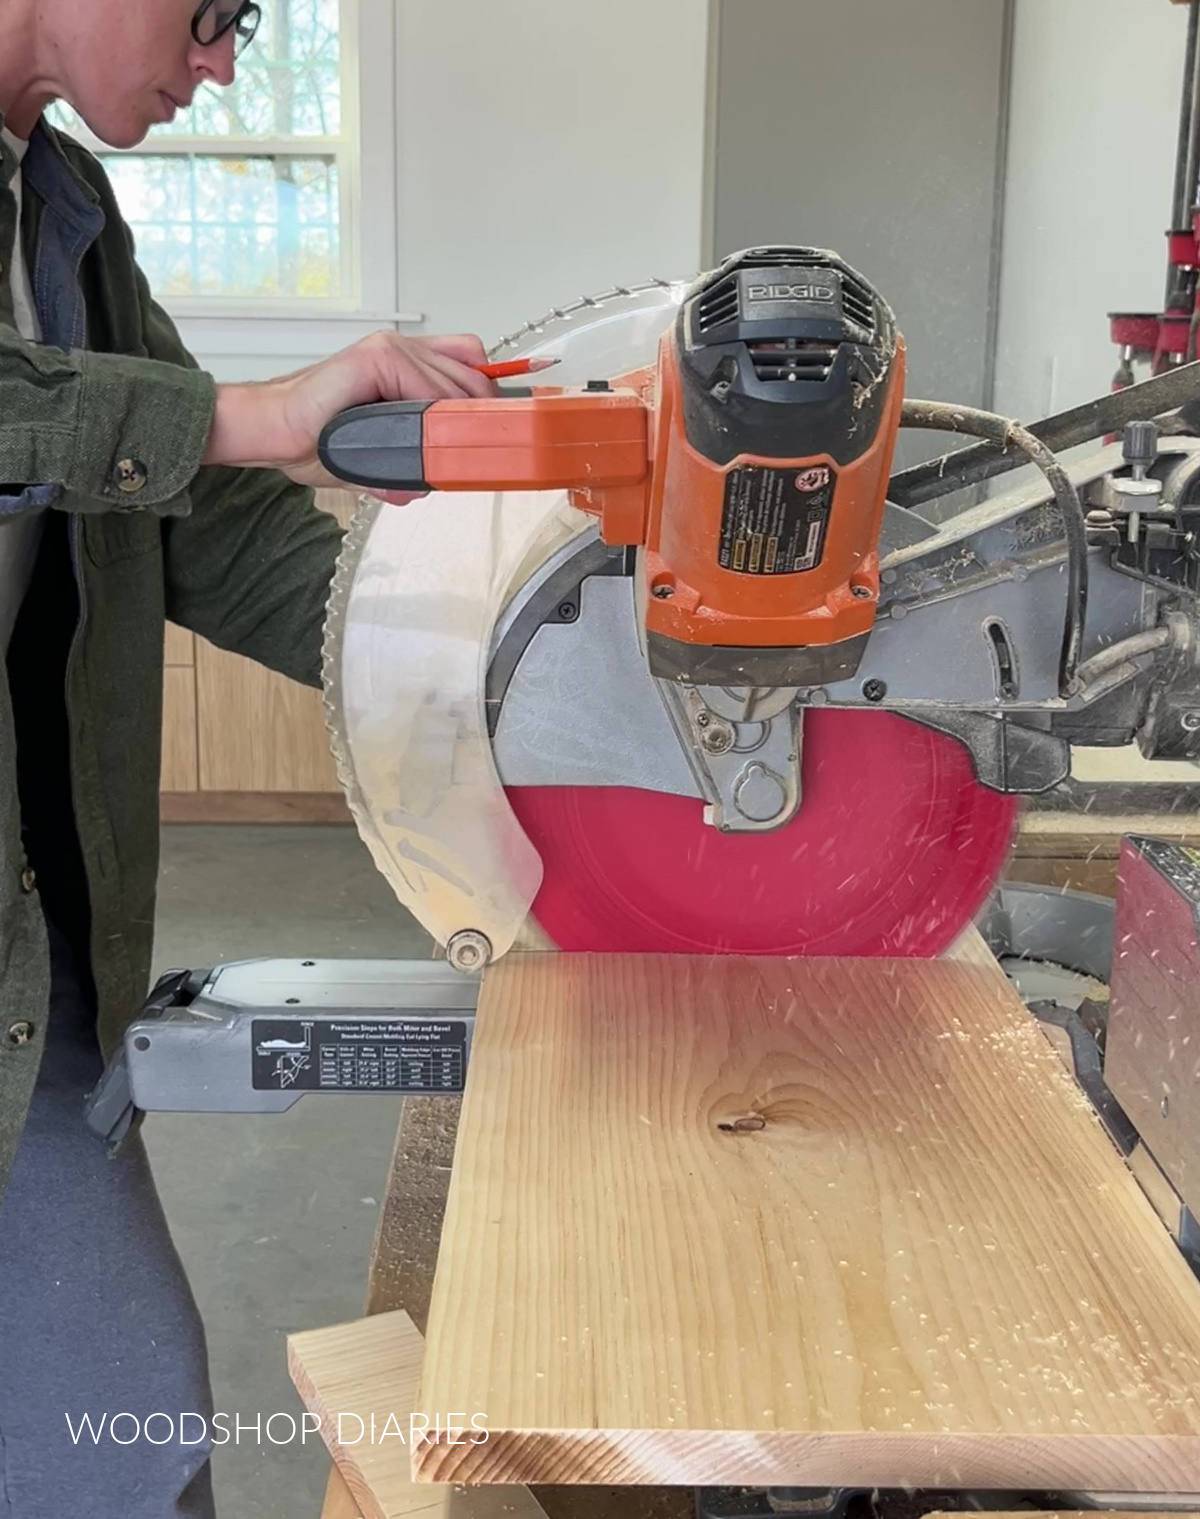
You can cut it into smaller pieces and make more, but smaller serving boards.
Or you could cut it into larger pieces and make fewer, but larger serving boards.
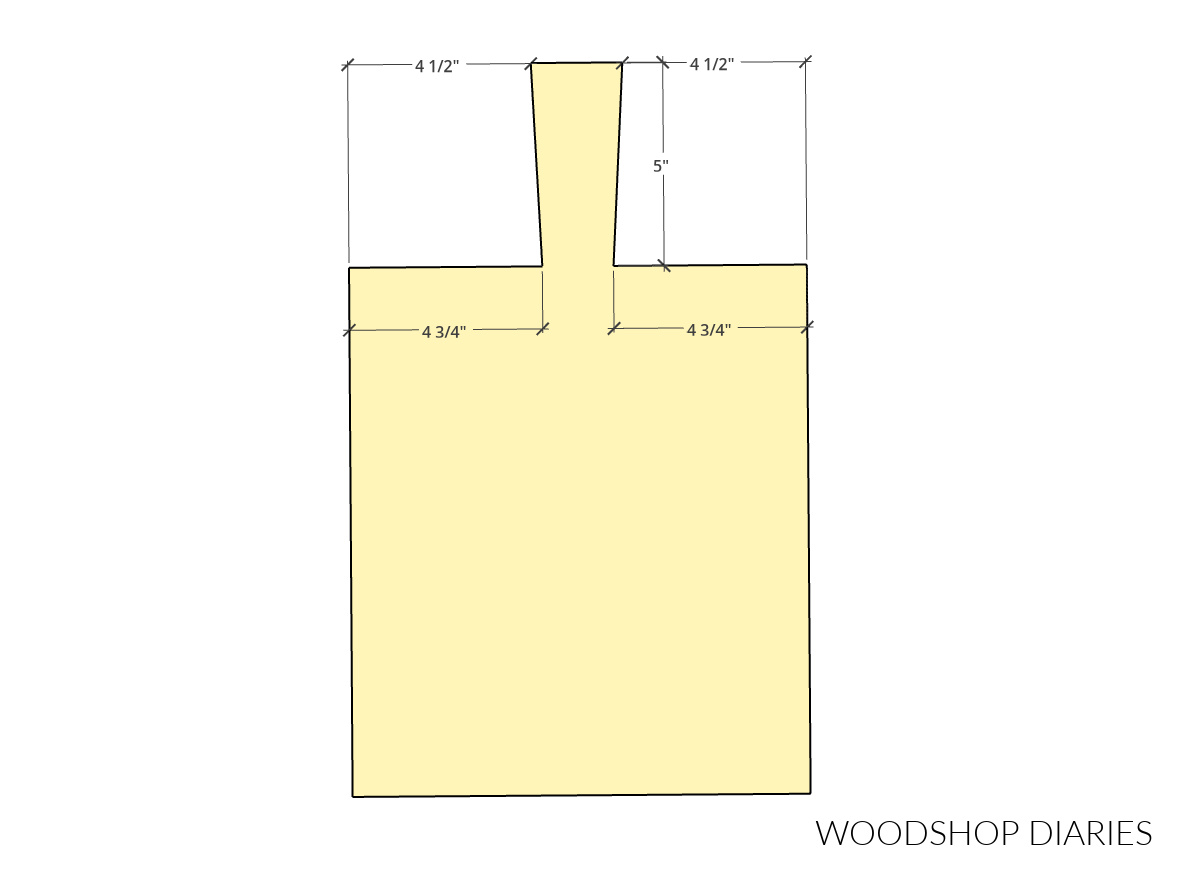
Step 2: Cut Handle
This step is optional, but I cut out a handle shape on the ends of my boards with a jig saw.

If you didn’t have a jig saw, but wanted a handle, you could also just drill a hole in one end and tie a rope, or add a knob or drawer pull as a handle as well.
You can obviously cut any shape and size handle you’d like, but there’s how I cut mine.
Once cut, I gave each board a good sanding with 220 grit sandpaper to prep it for staining and wiped away all the dust. You want it to be dust free when you apply the stencil in the next step.
Step 3: Cut and Apply Personalized Stencil
Once the boards were cut and sanded, I created my personalizations in Cricut Design Space. This part is completely up to you, so get creative.
You can use premade designs, or draw some of your own. Learn more about how to use Cricut Design Space here.
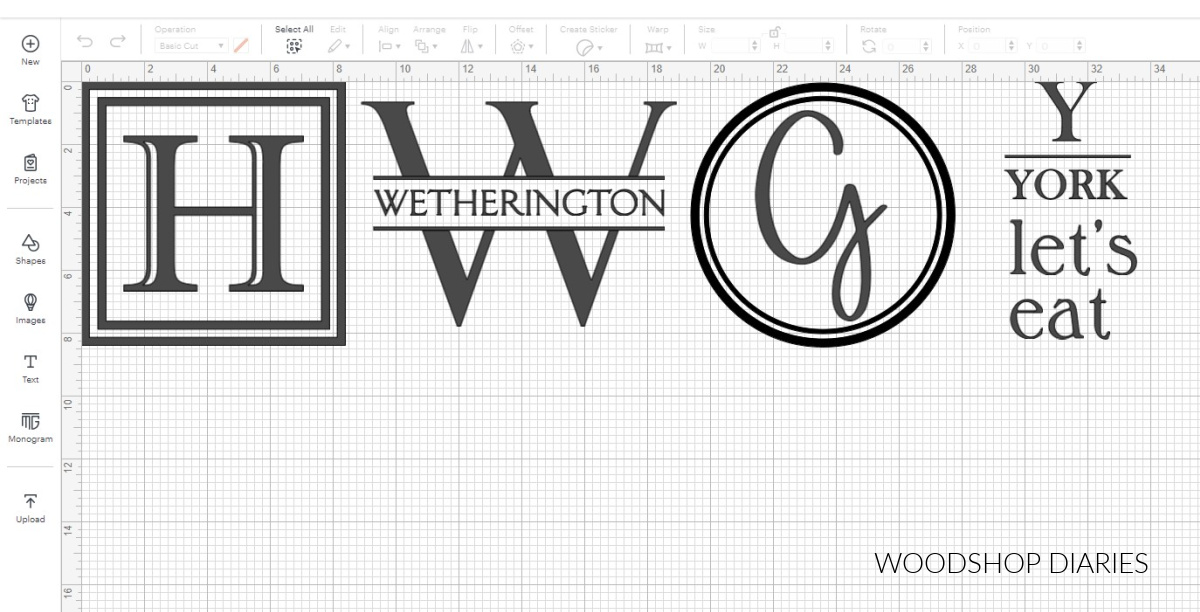
Since my Cricut Joy Xtra machine only cuts up to 8 ½″ wide, I made my designs no more than 8 ¼″ big. But if you have a different machine will cut larger, you can absolutely go bigger.
TIP: Since the Cricut Smart Vinyl comes in 3ft rolls, I arranged and sized my designs so that I could cut them out on one roll.
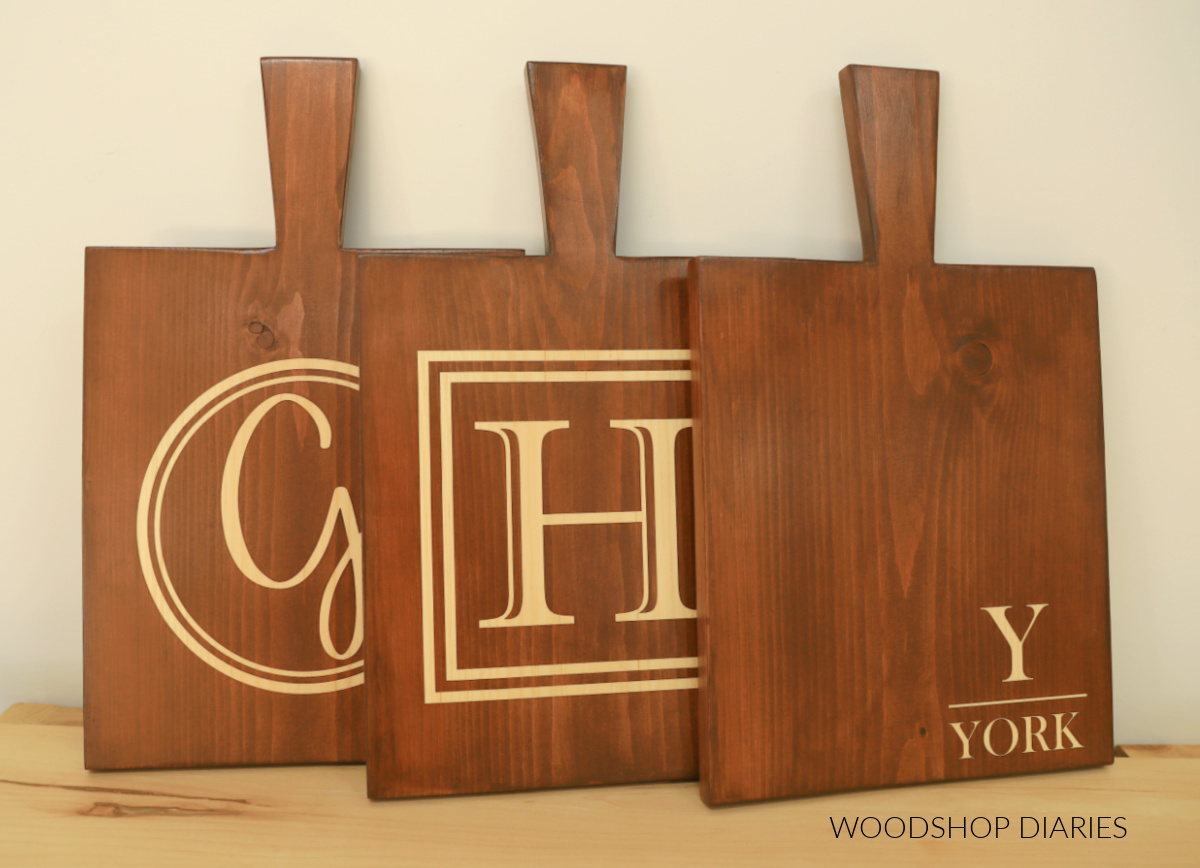
I made five different designs–three large and two small–to stencil onto my boards and once I laid them out in Design Space, I cut them out on my Cricut Joy Xtra on Permanent Smart Vinyl.
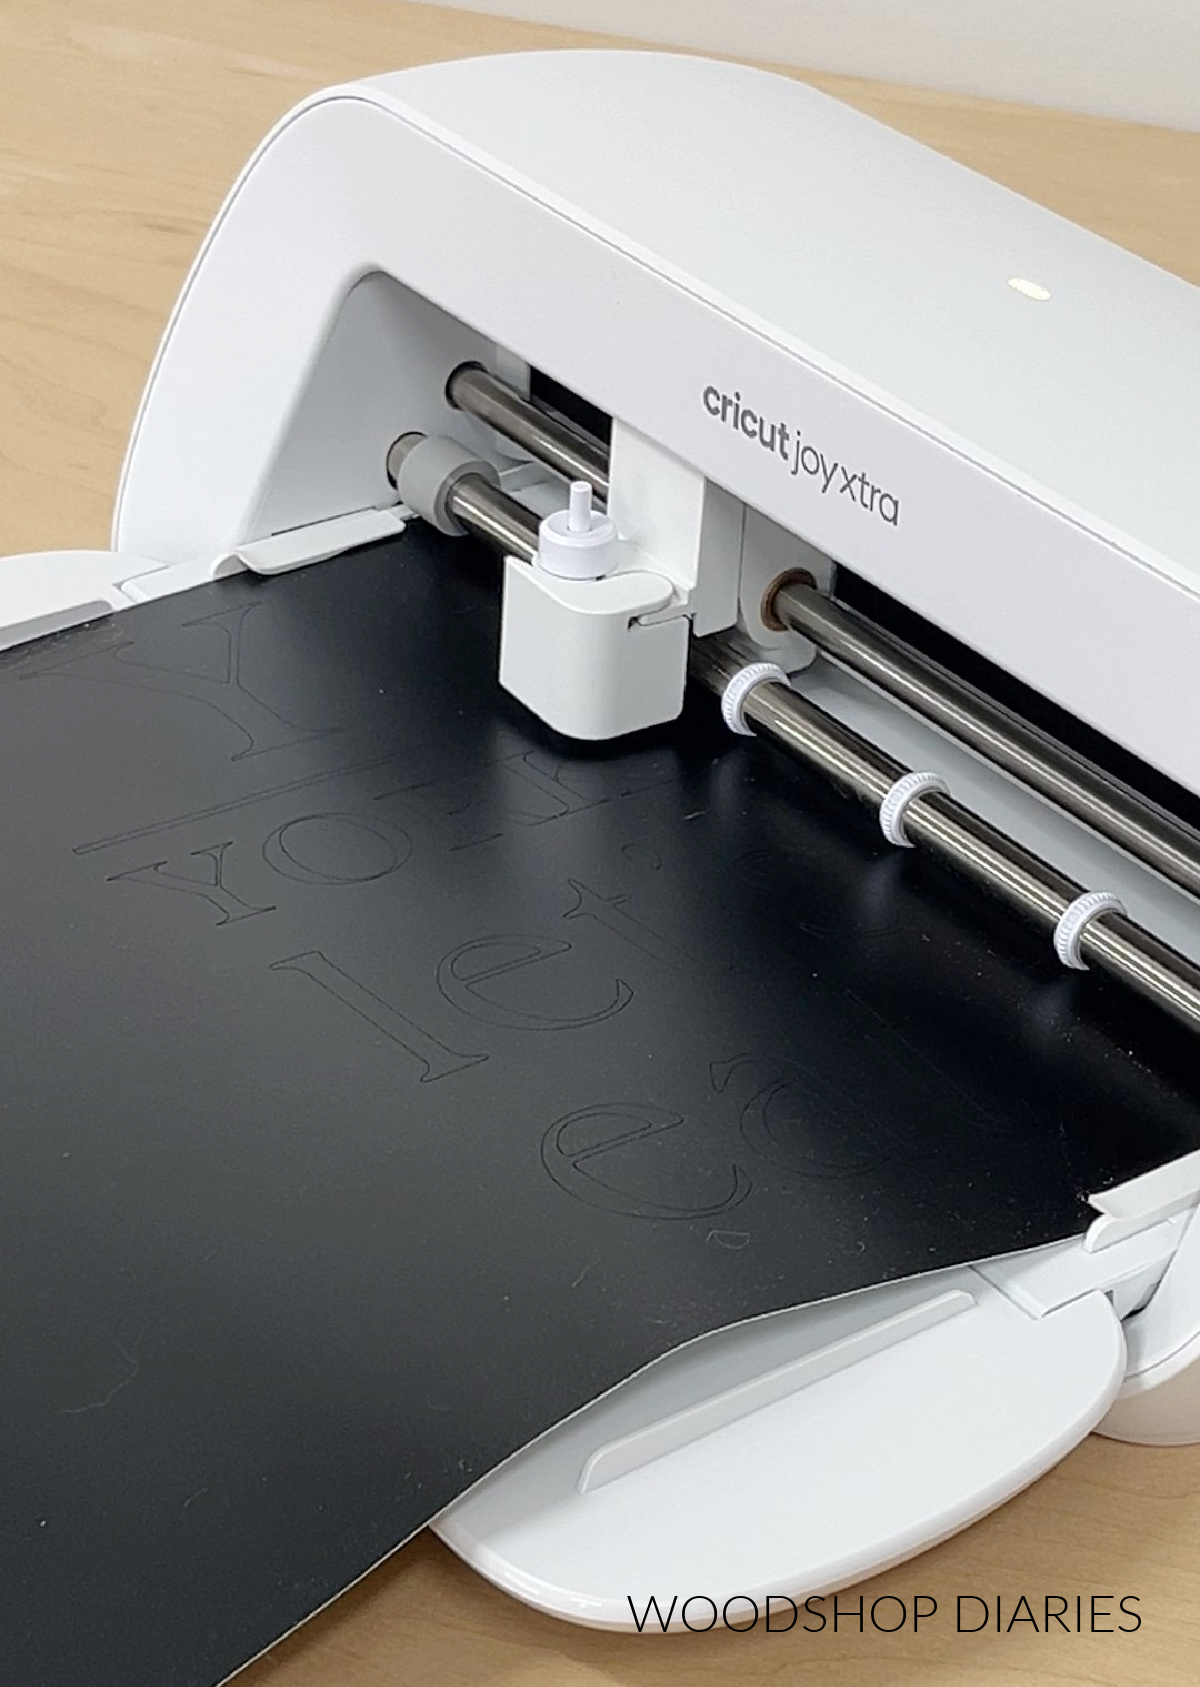
By the way, the color of your vinyl doesn’t matter since these will only be used for stenciling, then removed. Also, permanent OR removeable vinyl would work fine here.
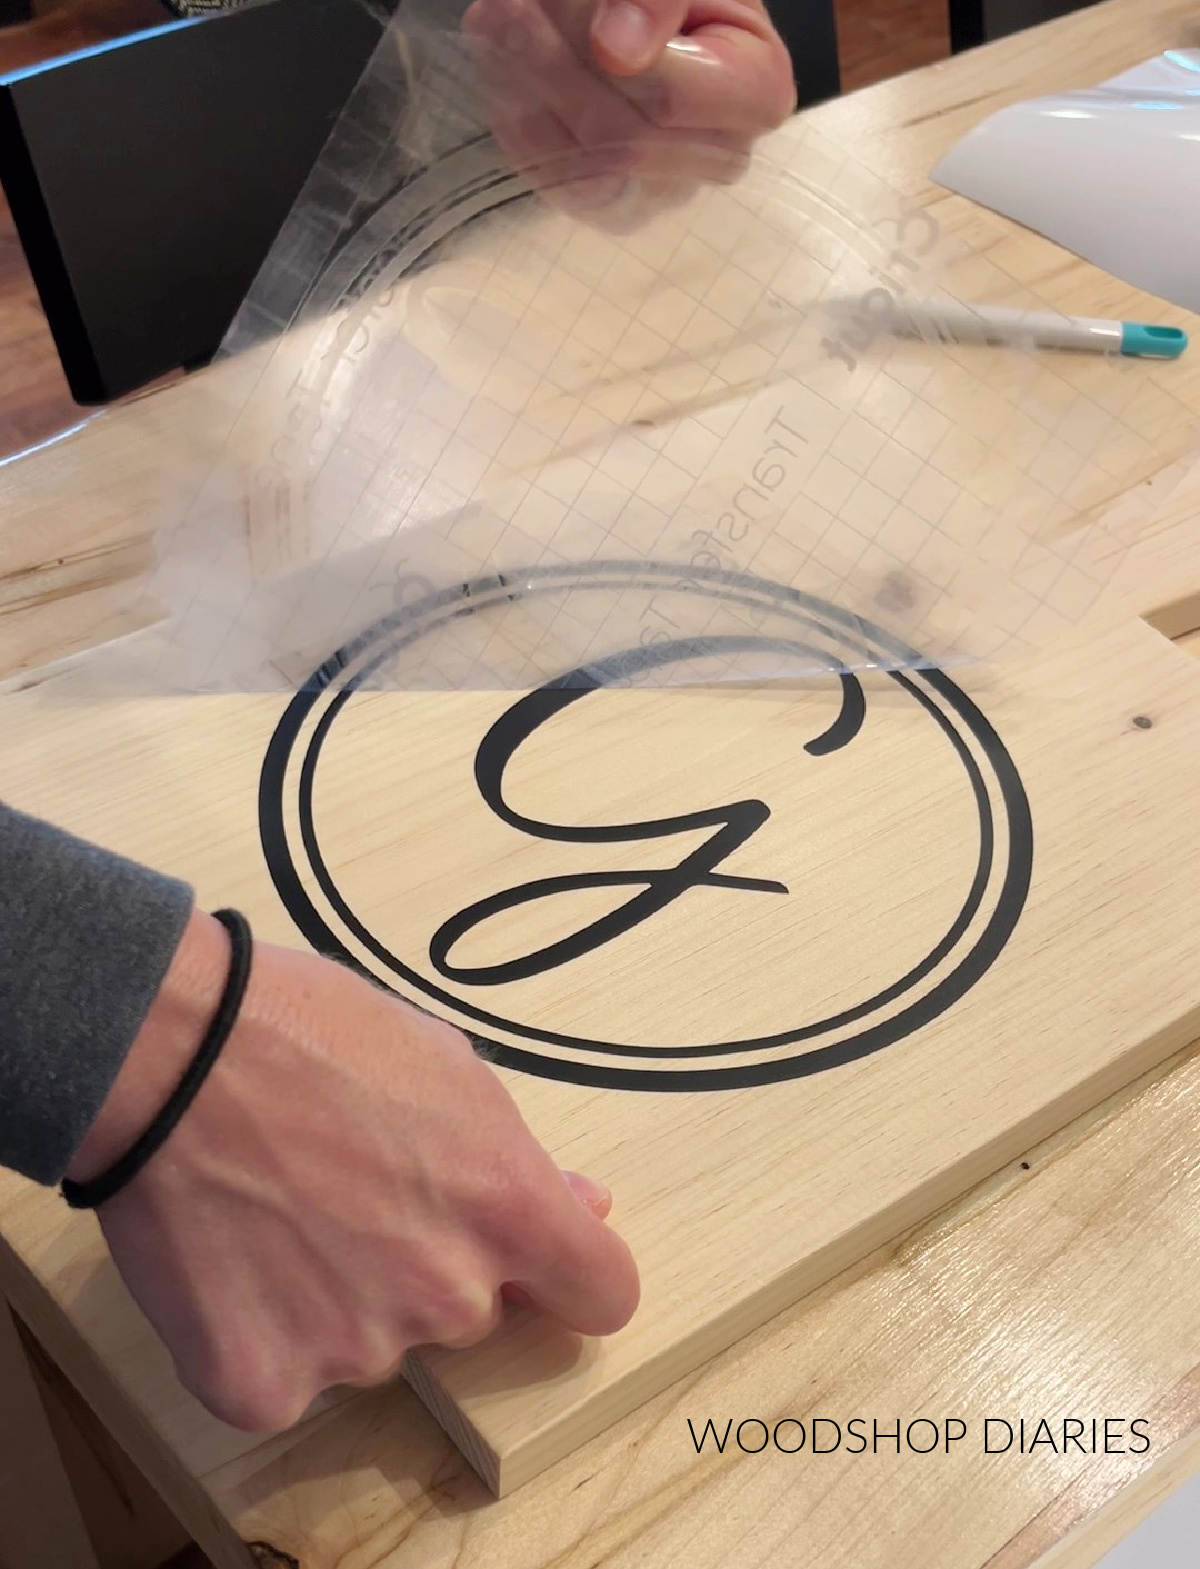
Then, I cut my vinyl to separate my 5 different designs, removed the material around the lettering and applied transfer tape to each one.
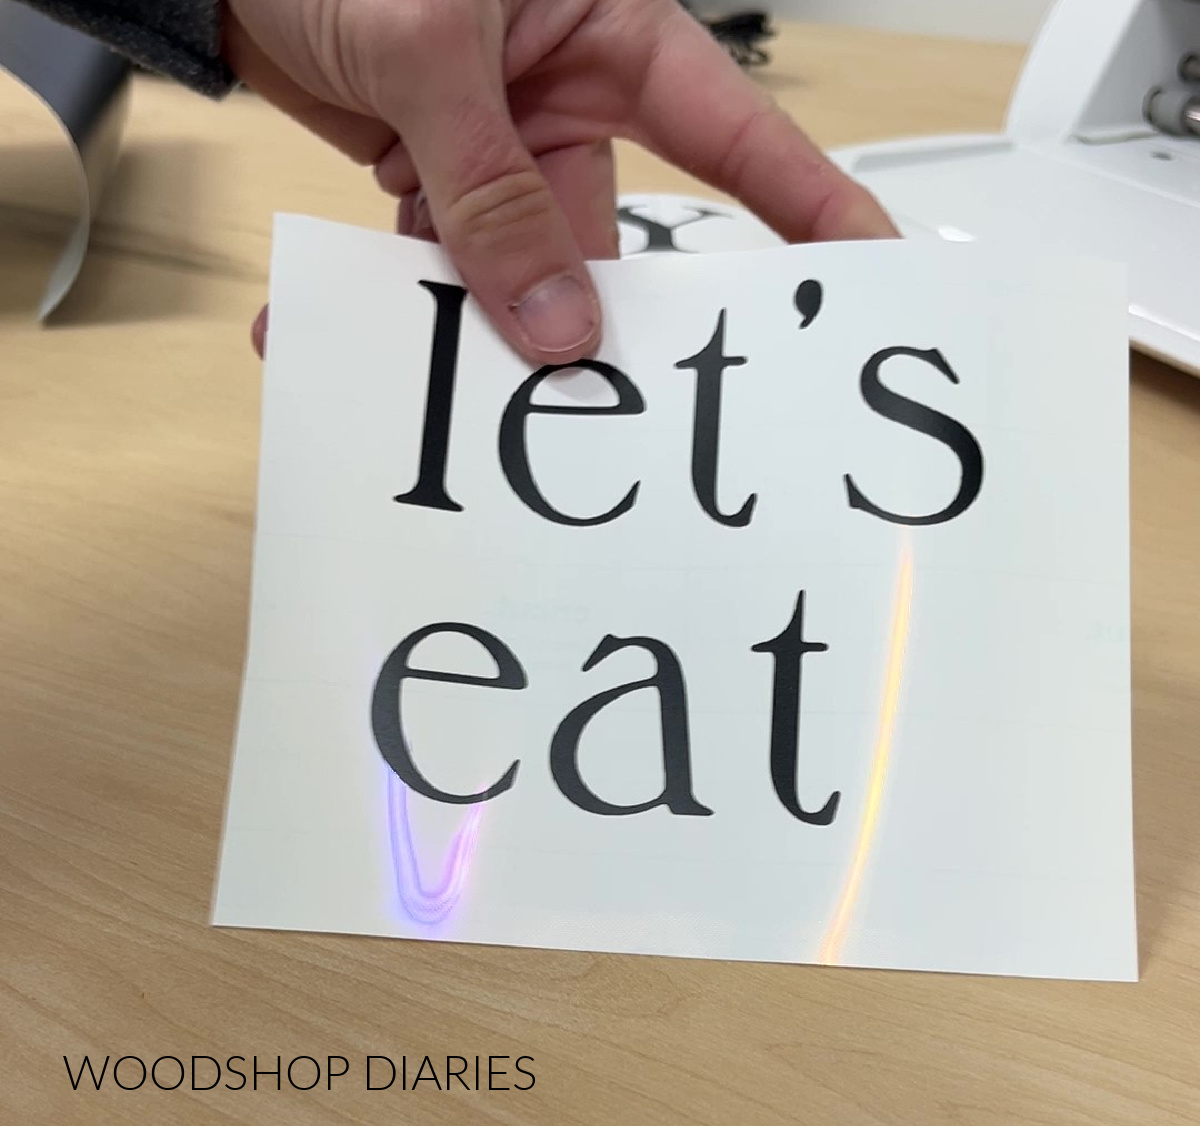
This allowed me to transfer the vinyl to my boards and remove the transfer tape to use it for a stencil.
Step 4: Stain and Seal Board
I ran my fingers over the vinyl to make sure it was all stuck down well, then stained the board with a foam brush.
RELATED: How to stain wood
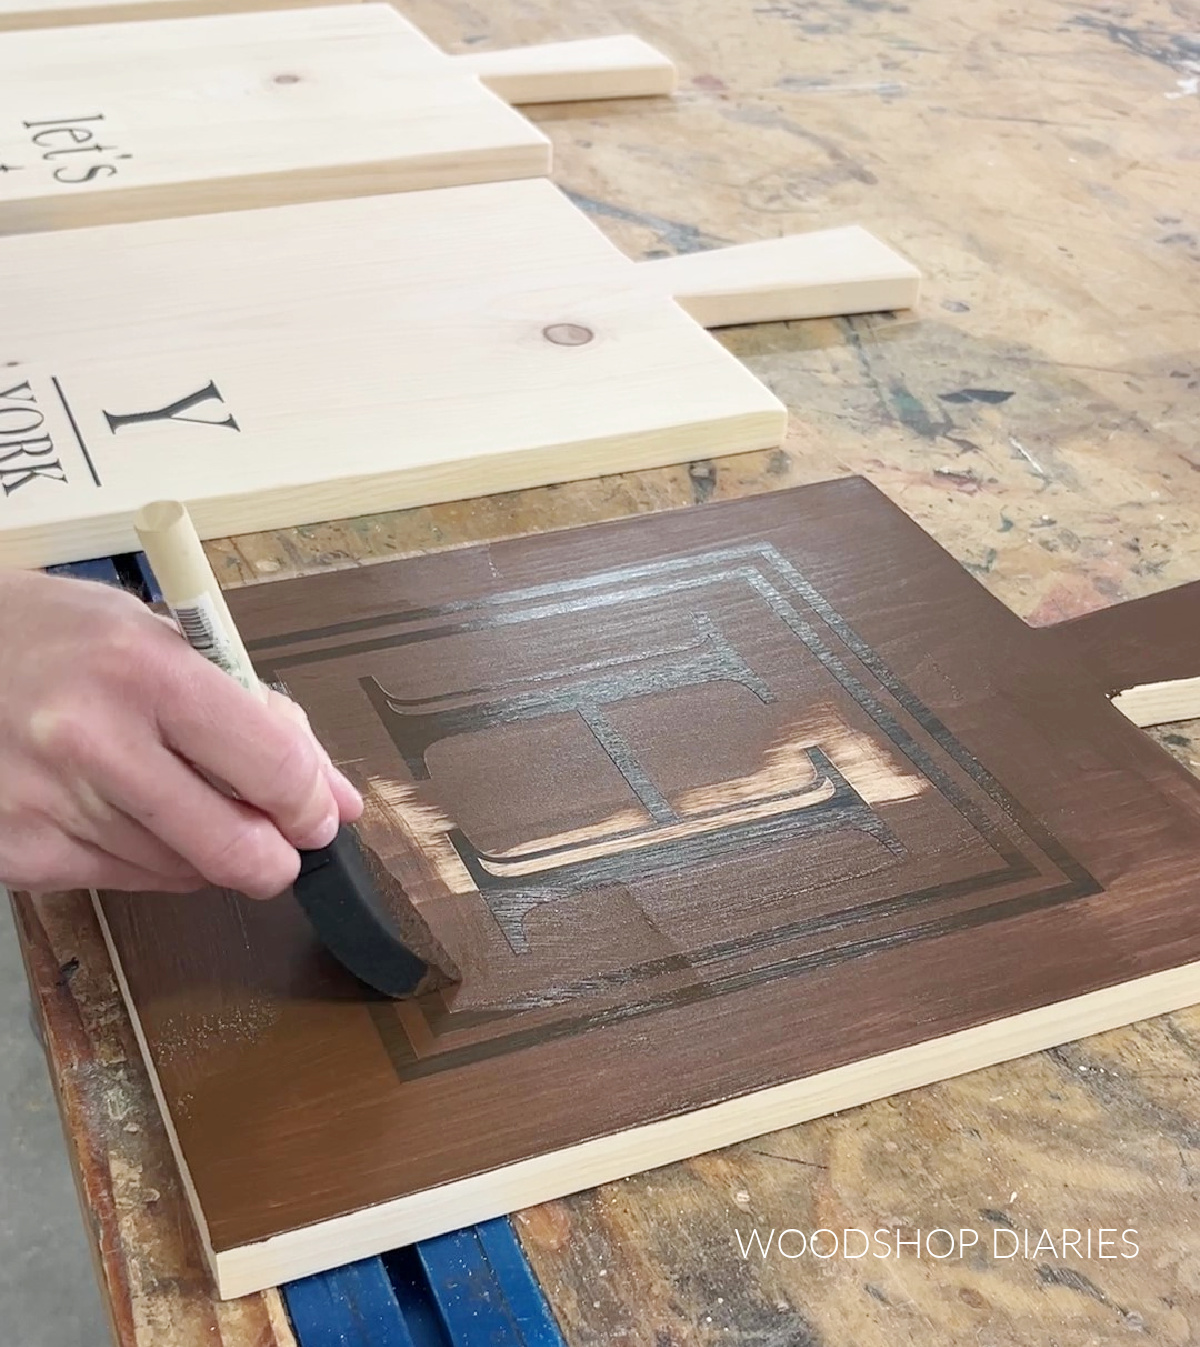
TIP: Water based stains work best to give you crisp lines on your stencil. But keep in mind they dry quick. I recommend staining the front side (where the stencil is) first and wiping away the excess before it dries. Then, stain the rest of the board the same way.
Once all excess stain was wiped away, I carefully removed the stencils.
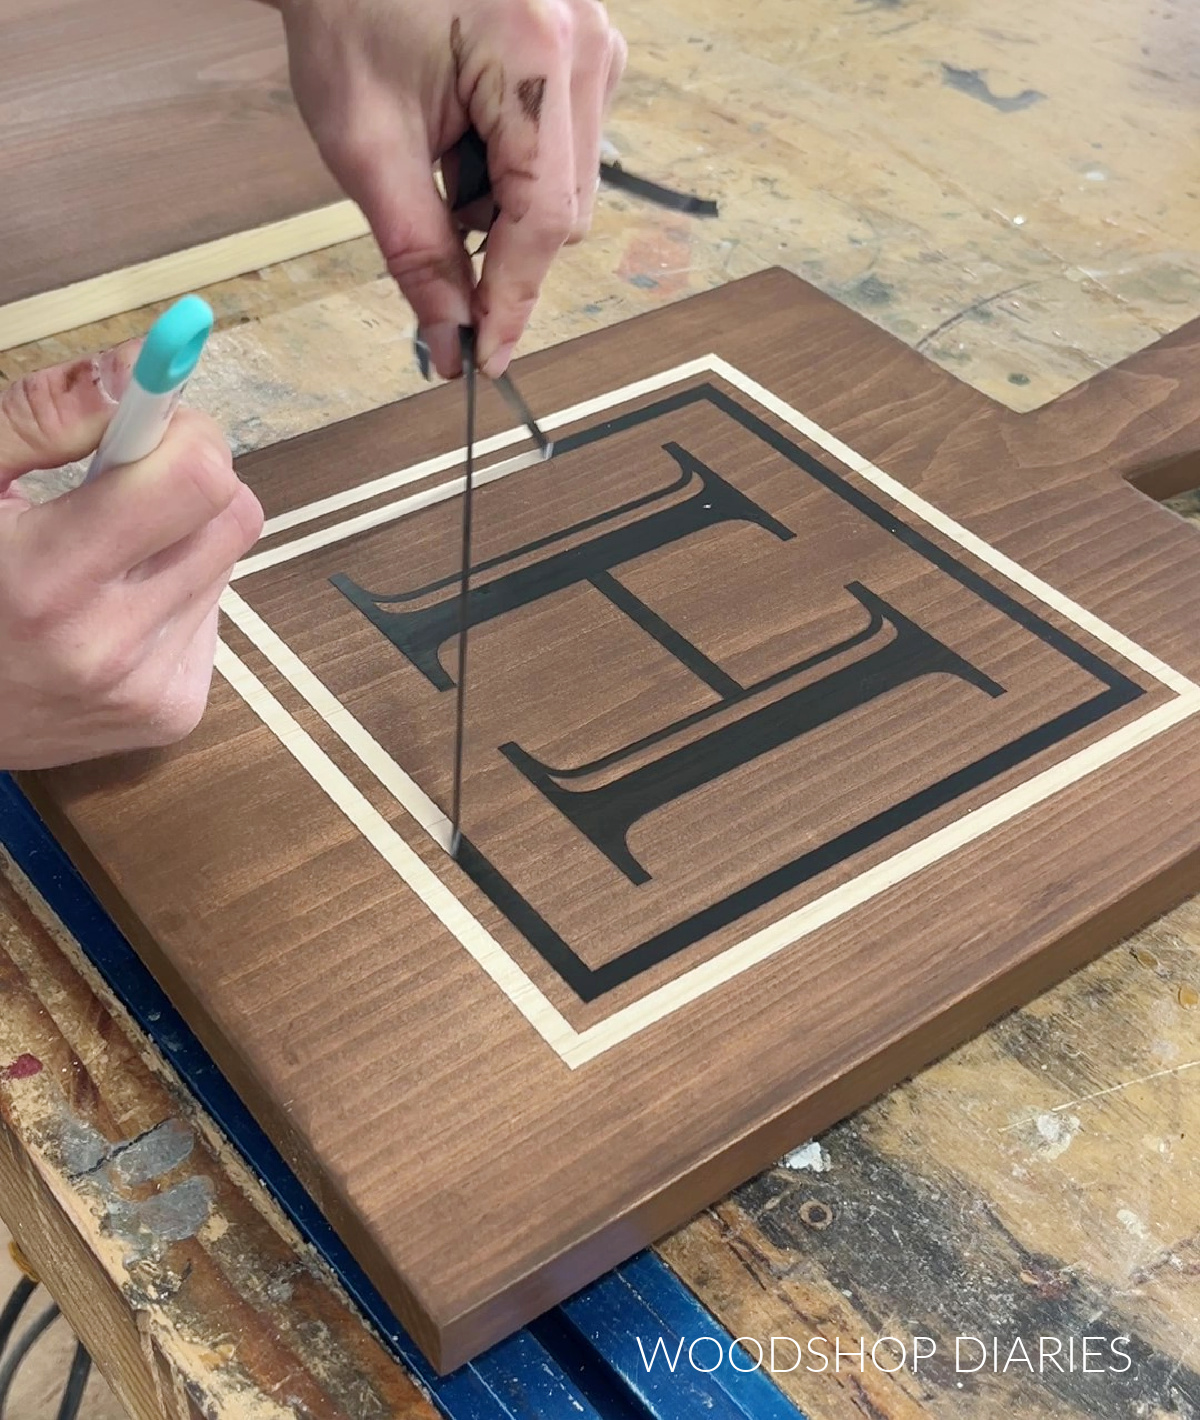
Then, I applied three coats of Minwax Polycrylic to all sides of the board to seal it.
RELATED: How to apply clear coat finish
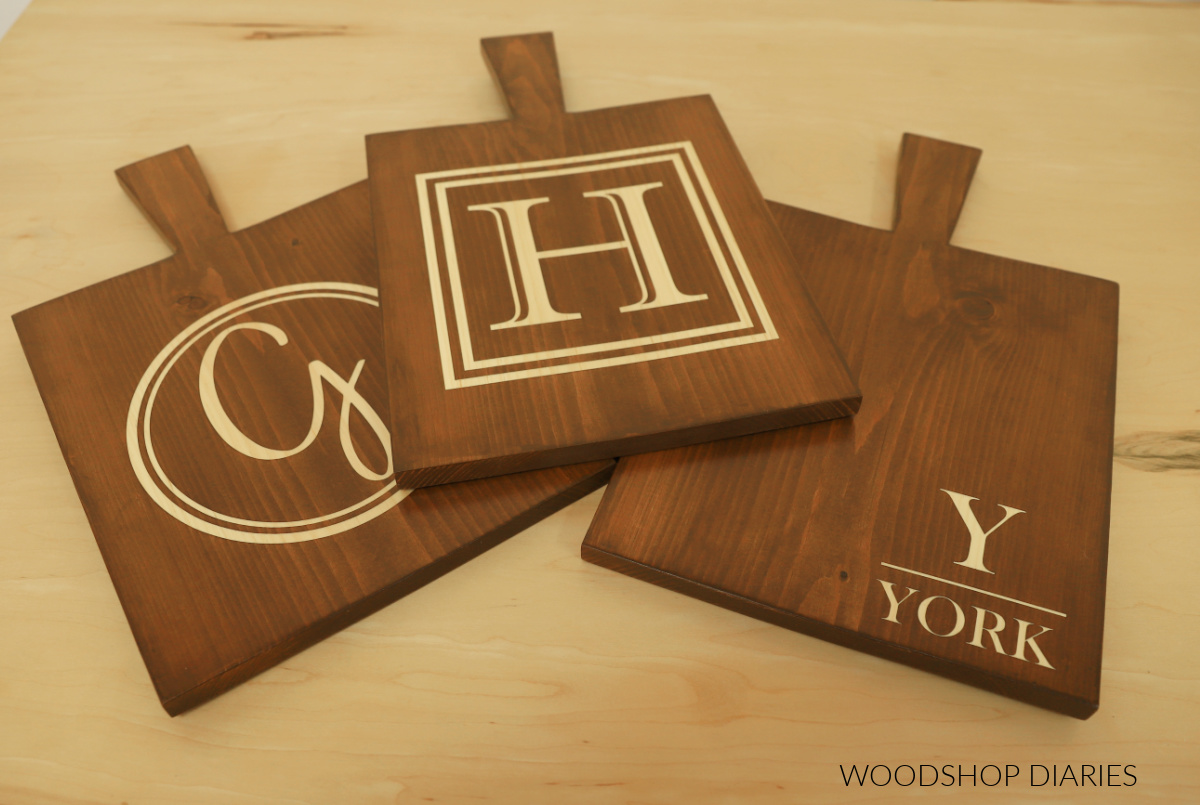
And with that, these simple customized boards are ready for gifting (or for keeps!). These would be so fun with a family recipe, or a handwritten note from a loved one if you didn’t want an initial.
The possibilities are endless!
By the way, let’s break down the cost for these. That’s 5 serving board gifts and I spent $15 on the board, $4 for the vinyl and $3.50 for the transfer tape. That comes to under $5 each!
Looking for more easy DIY gift ideas?
Enjoyed this project, but looking for more DIY gift ideas? Here are a few favorites:
If you’d like to save this project for later, be sure to pin it or share to your favorite social channel!
Until next time, happy building!