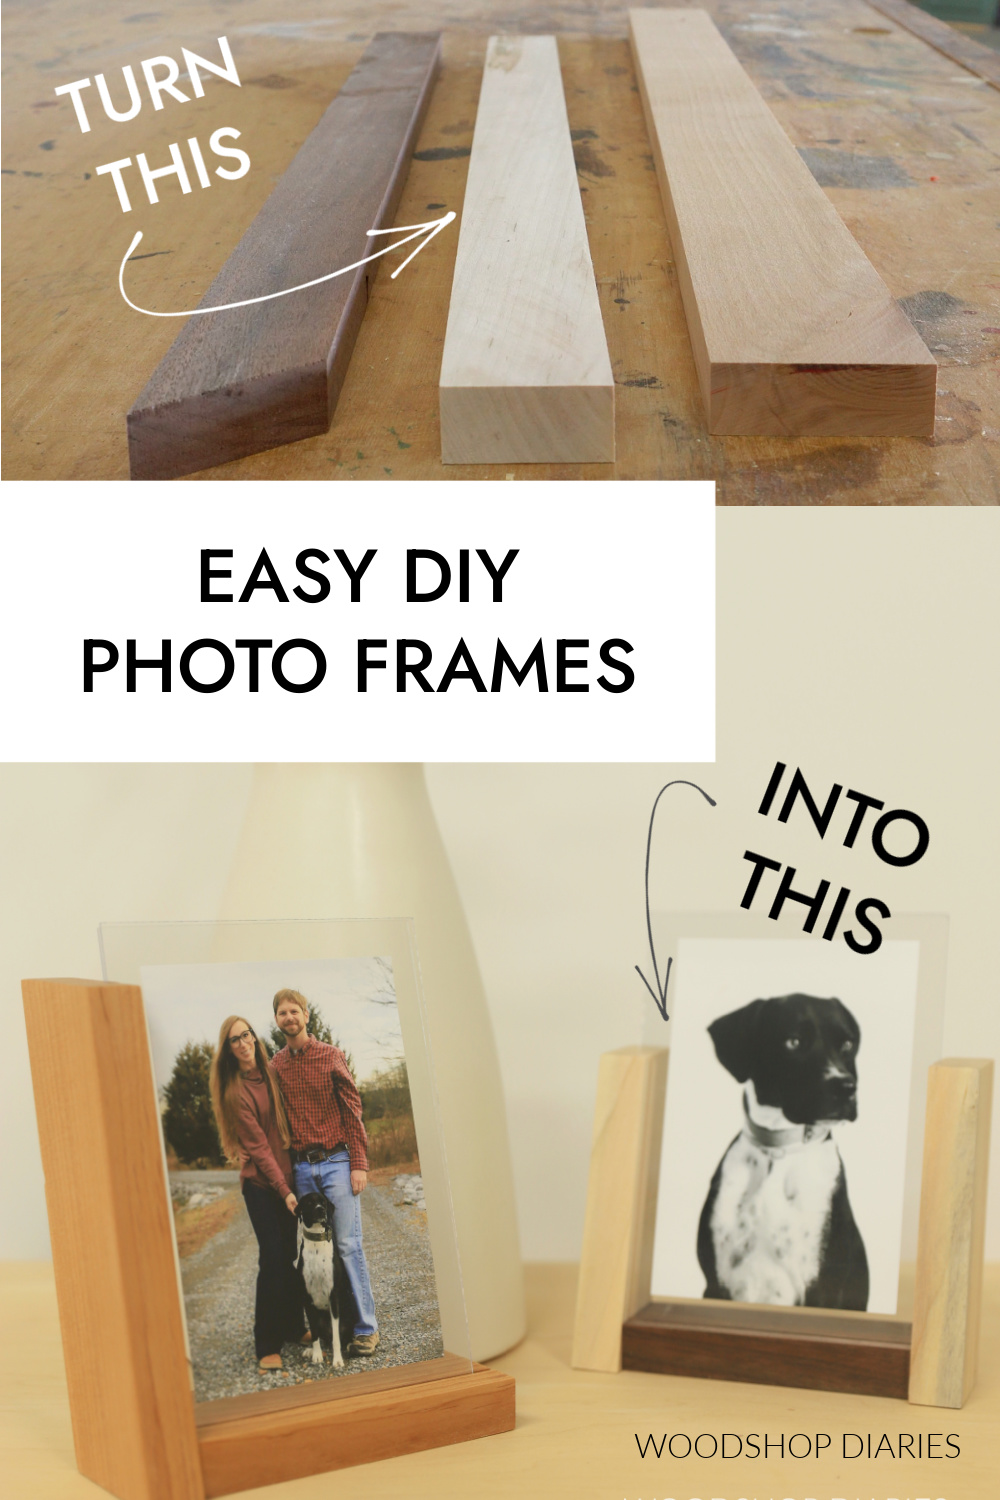
In this post, I’m sharing how to turn a few wood scraps into the easiest DIY desktop photo frame!
I love the modern, minimalist look of these simple frames and they make an excellent inexpensive DIY gift idea for just about any occasion.
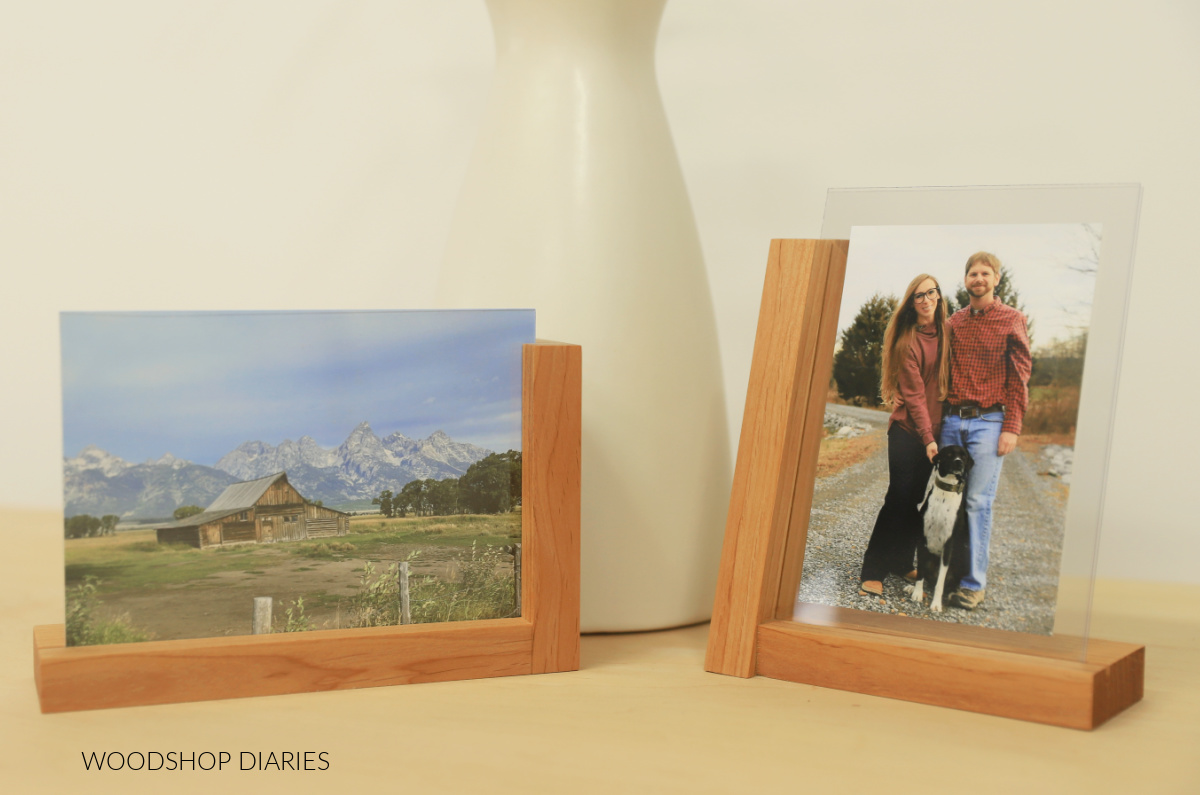
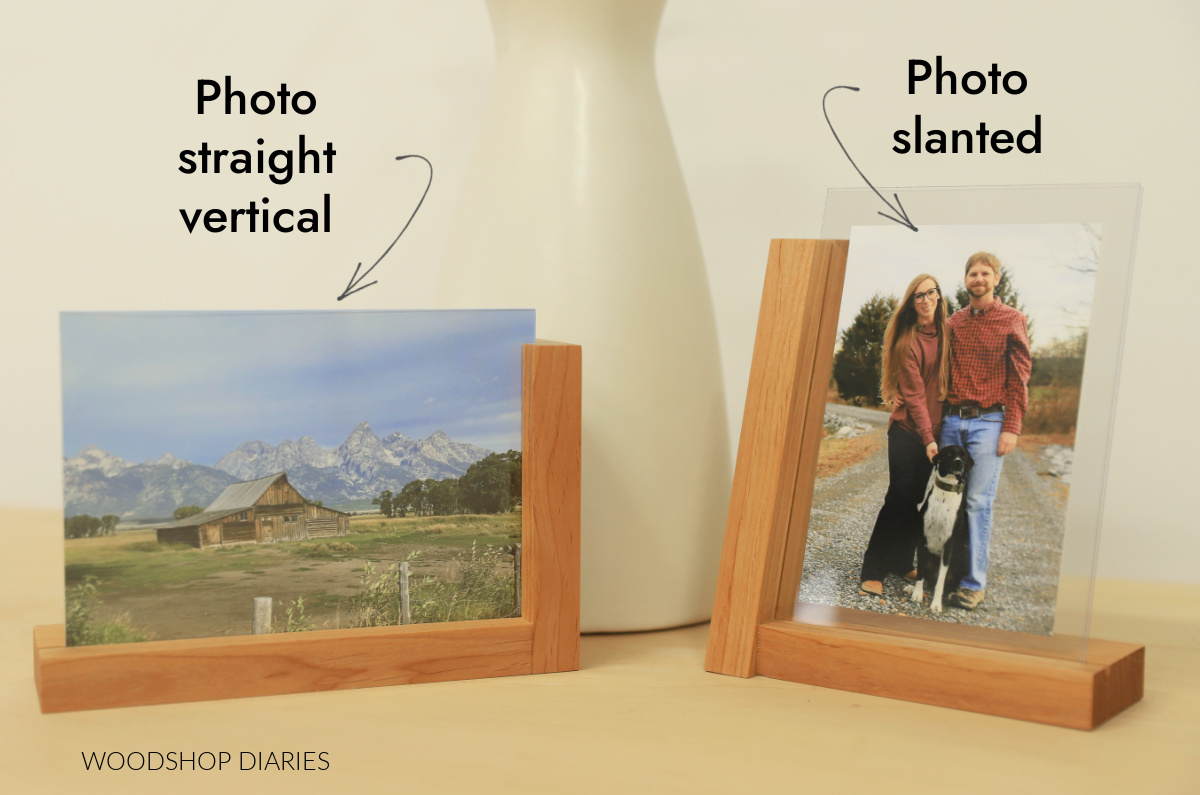
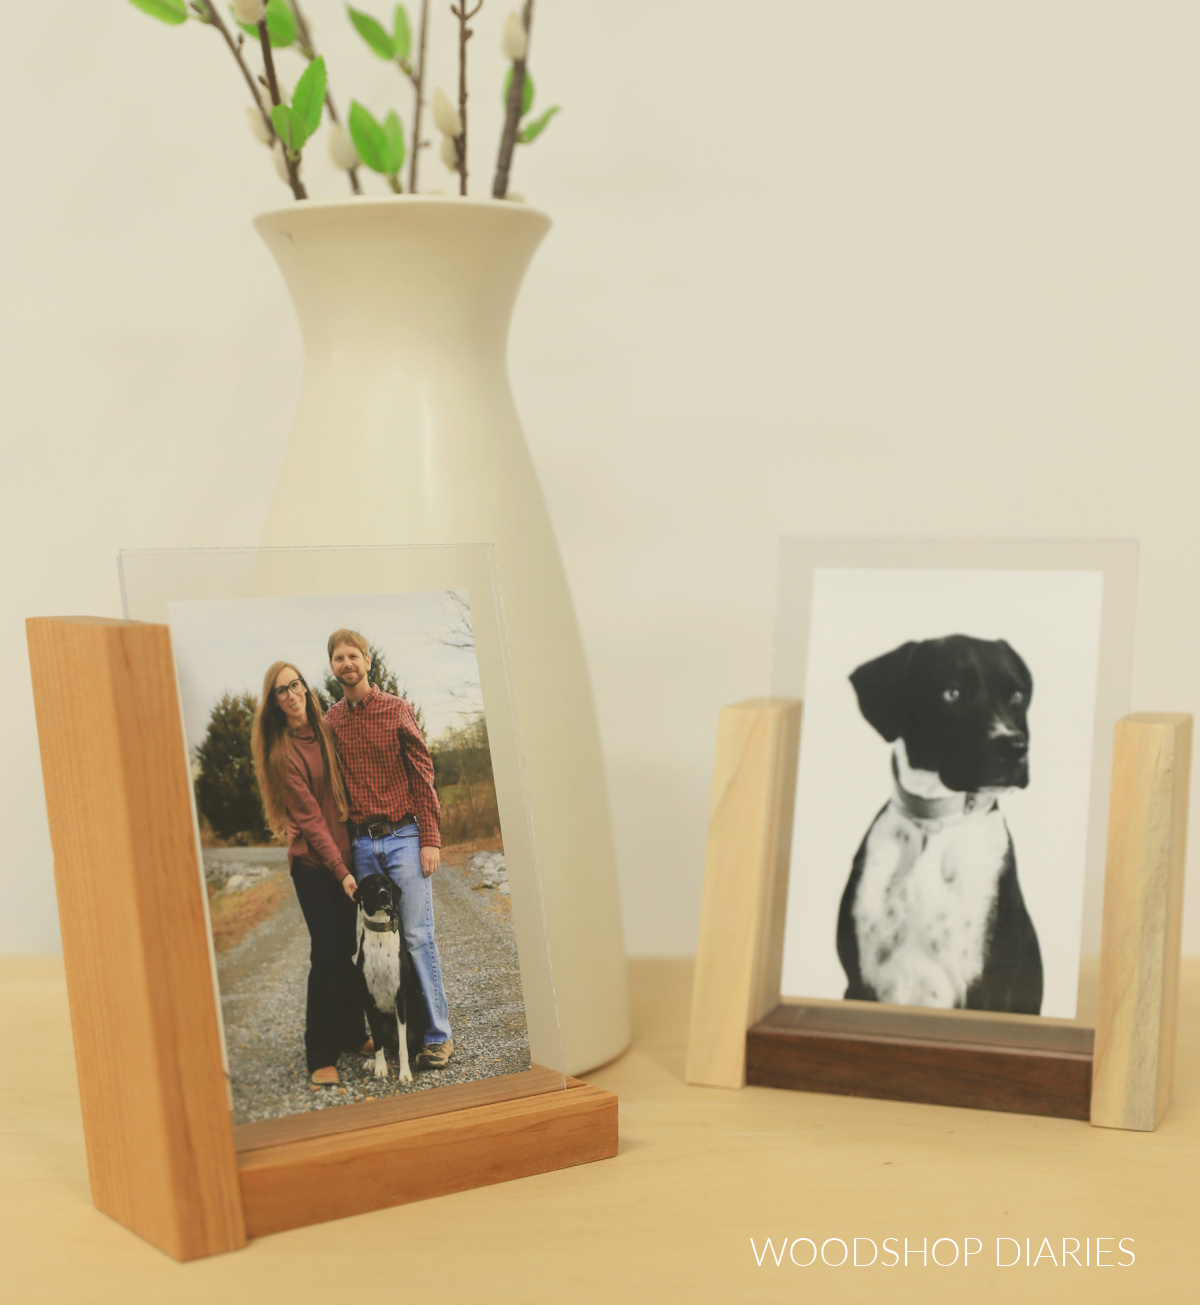
I made these to fit a 5×7 photo as you can see on the left in the image above. But you could also use a 4×6 and “float” the photo (like on the right in the image above) so there’s blank space around the edges.
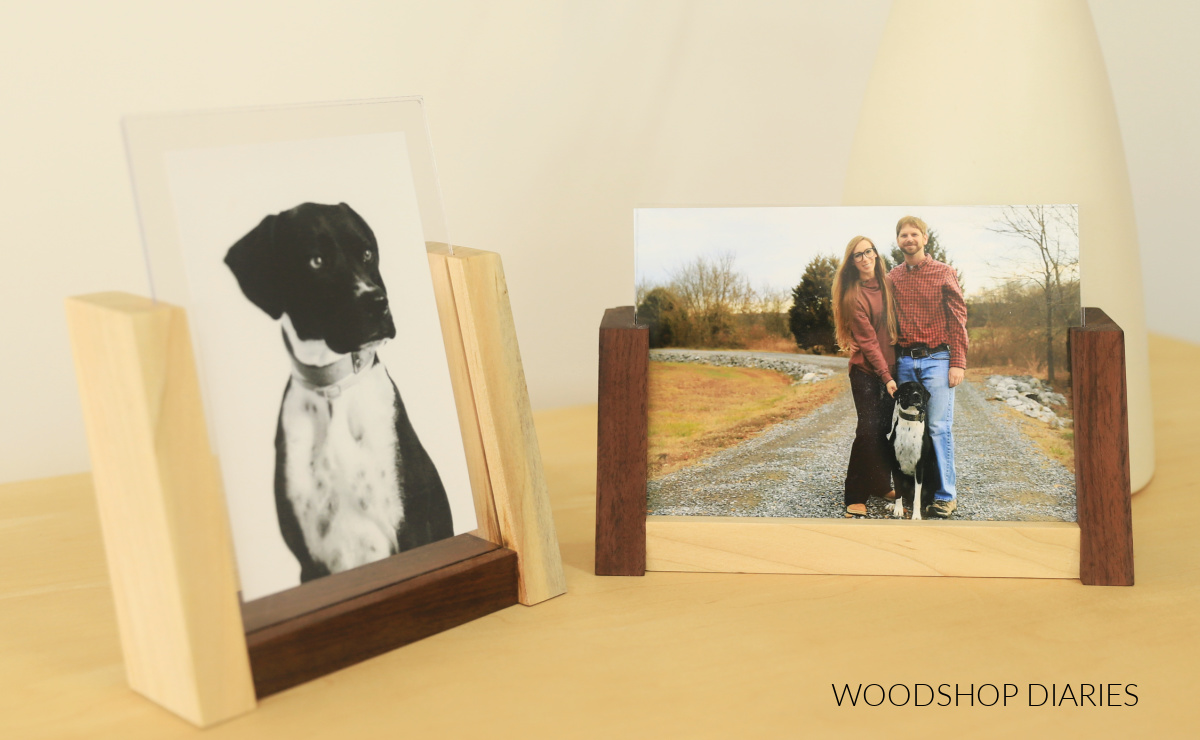
These simple frames are so easy to customize and I even made four different styles to show you a few different ways to make them.
You can see the two sided ones in the image above and the three sided ones in the image below.
If you’re ready to make your own, grab some scrap wood and let’s get building!
*This post contains affiliate links. See website policies.
What to know before building
These photo frames are a super quick project and can be completed in just a few minutes of working time.
The glue will take a bit longer to dry, so total project time is closer to an hour or so depending on temperature and what kind of wood glue you use. You can make this quicker by using a few brad or pin nails in addition to the glue.
Enjoy DIY projects and woodworking plans? Sign up for priority access for the latest posts on Woodshop Diaries!
Where to find “glass” for the frame?
I have built several different picture frames in the past and I often cut my own plexiglass/acrylic sheets for them, especially if they’re large.

But the edges don’t always look super clean. Now, that’s fine for a four sided frame where you won’t see them–like these giant DIY picture frames.
But, for these frames, where the edges are exposed, they really need to be smooth.
So I decided to purchase some precut acrylic sheets instead of cutting them myself. These come in various sizes and are pretty inexpensive.
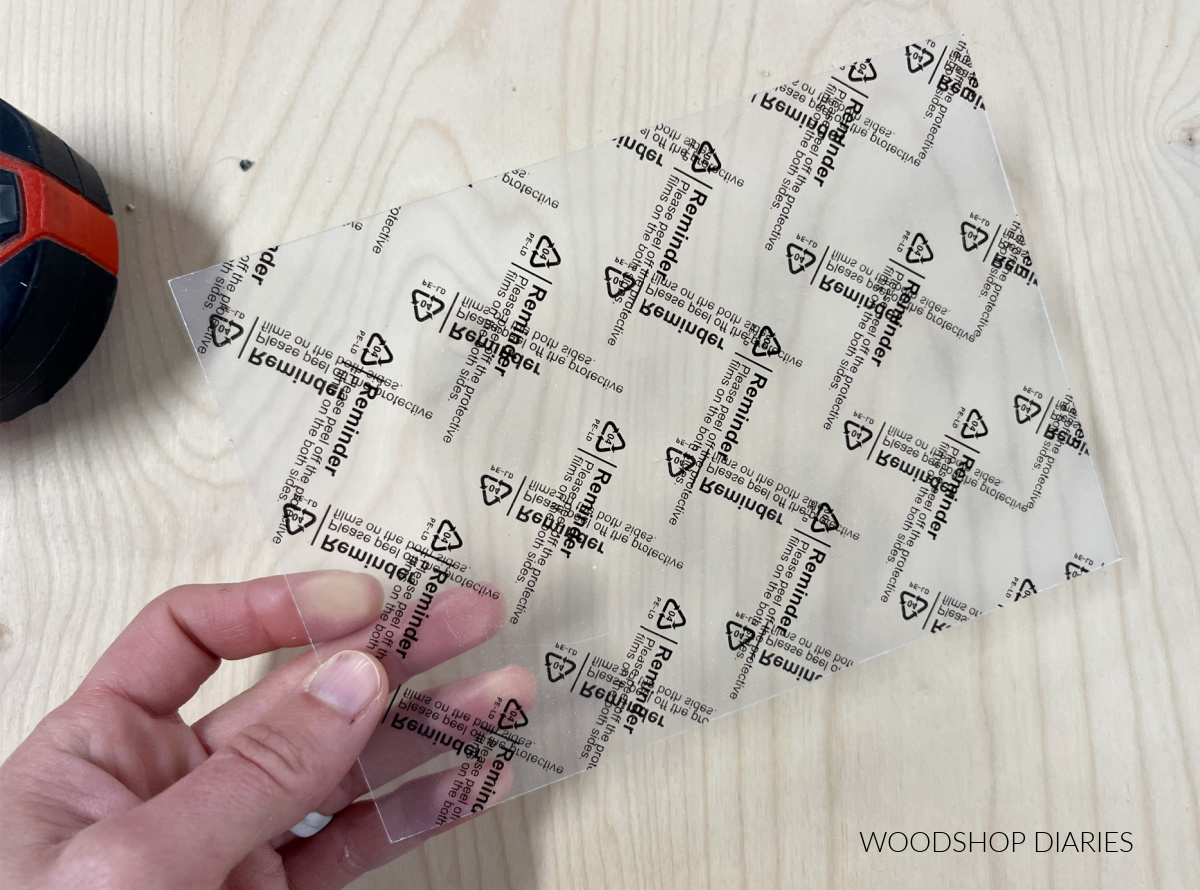
The ones I bought came in a pack of 12 and are exactly 5″ x 7″. They worked perfect for this project and saved me a ton of time not having to cut my own pieces.
What type of wood should you use?
You can use any wood species you’d like for this project. I used a combination of walnut, maple, and alder.

While you could make these from wider boards, I recommend using 1x2s and/or 1x3s to keep them slim and modern. Wider boards may look a little too chunky for these small frames.
Each frame only needs a couple small pieces, so I encourage you to “shop your scraps” and see if you can use those to make these.
How to make an easy DIY photo frame
If you prefer to watch, this quick video shows you how to make these simple photo frames so you can see it in action:
Love watching how-to videos? Subscribe to my YouTube channel for plenty more where that came from!
Tools & Materials
Tools:
- Table saw
- Miter Saw
- Clamp
Materials:
- Scrap 1×2 or 1×3 boards
- 5×7 acrylic sheets
- Wood Glue
- Wood Finish (I used Walrus Oil Furniture Finish)
Step 1: Cut Slot for Photo
The first step is cutting the slot for the acrylic and photo to slide into. Now, each frame needs two pieces of acrylic to sandwich the photo.
When I put two of my acrylic sheets together with a photo between them, the thickness was just a tiny bit less than the thickness of my table saw blade (which is a general purpose Diablo 10″ blade).
So I adjusted the table saw blade height to about ¼″, adjusted my rip fence, and ran my boards through.
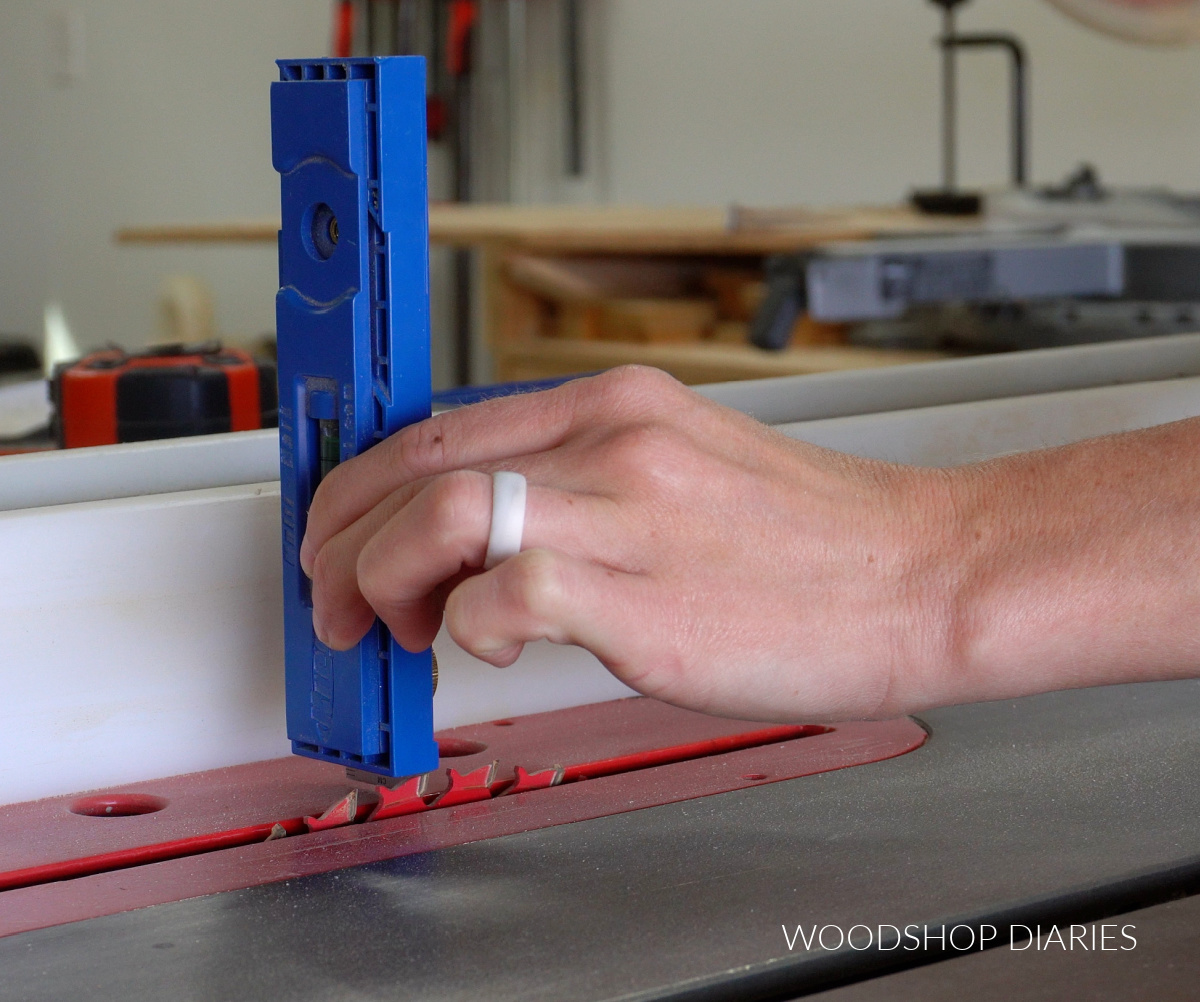
PS: If you’re curious what I’m using to adjust my blade height in the photo, it’s a Kreg MultiMark. Super handy little tool!
Since my blade was just a little bigger than my acrylic sheets and photo, one cut was the perfect size to slide these into. But if your blade is thinner or your acrylic is thicker, you may need to make another pass to widen your slot.
This slot doesn’t have to be in any specific location on the board. You can center it, or cut it off center. I preferred mine a little off center.

Step 2: Cut Bottom of Photo Frame
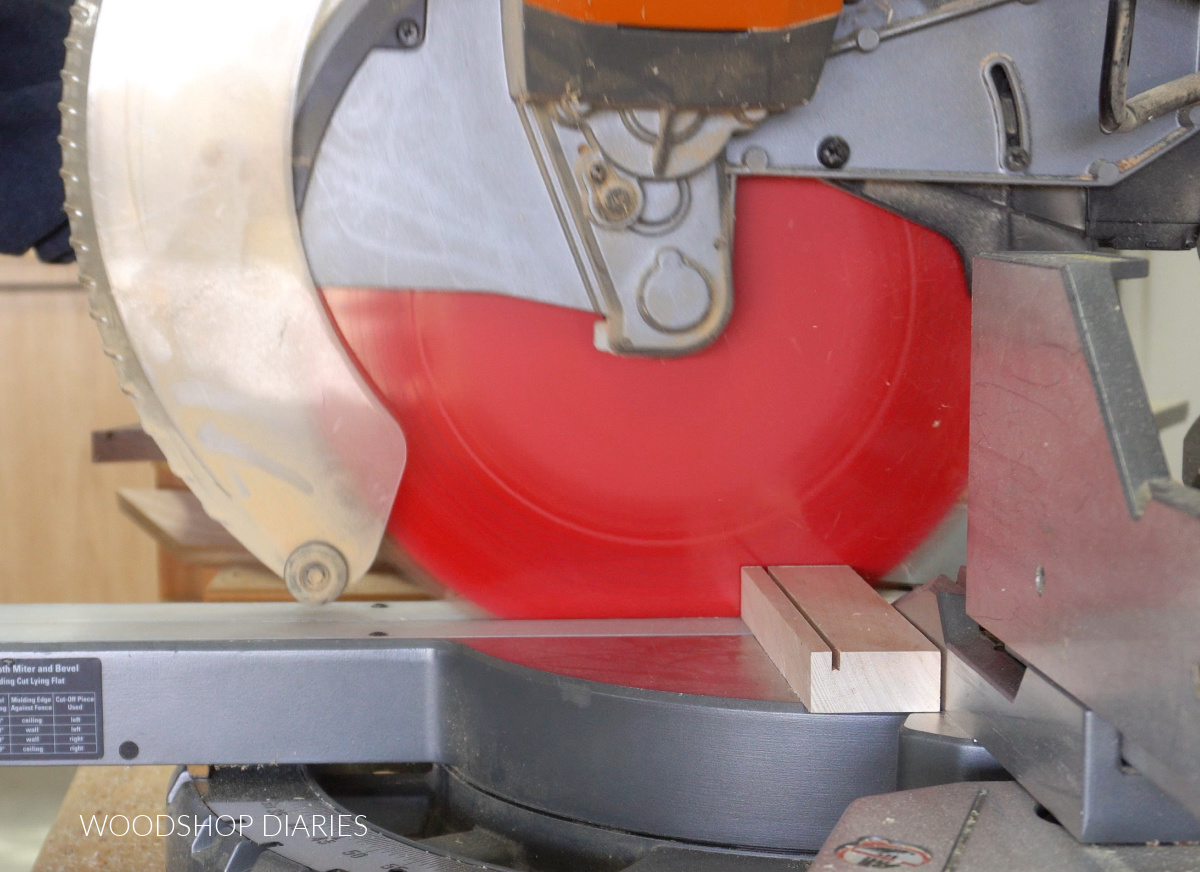
Once the slot was cut in the board(s), I cut my photo frame bottoms from them. I cut these on my miter saw with square ends–no bevel or miter angle.
For the three sided frames, I cut the bottoms about ⅜″ shorter than the width of my acrylic. (Since the slots are about ¼″ deep, this allows a little extra wiggle room once the sides are on in step 3.)
- For portrait orientation, the acrylic width is 5″, so I cut the bottom to 4 ⅝″ long
- For landscape orientation, the acrylic width is 7″, so I cut the bottom to 6 ⅝″ long
I mixed and matched the wood on my three sided frames and cut one from maple and one from walnut.
For the two sided frames, it doesn’t really matter exactly what length you cut the bottom piece.
I just cut mine a littler longer than the width of my acrylic (see photos below)–one for landscape and one for portrait orientation.
Step 3: Cut Side(s) of Photo Frame
Before cutting the sides, consider whether you prefer your photo to stand straight up and down, or slanted back a little.
For my slanted photo frames, I adjusted my miter angle to 15 degrees to cut the ends of my photo frame sides.
For my straight upright photo frame, I cut the side pieces with ends square.
Now the side pieces can be cut as tall or as short as you’d like. I cut mine short so that the acrylic was taller than my sides, but you could cut yours to go all the way up.
To be honest, I just held my sides in place and marked where I thought the height looked right and cut. I didn’t even measure anything.
Step 4: Glue Up Frame
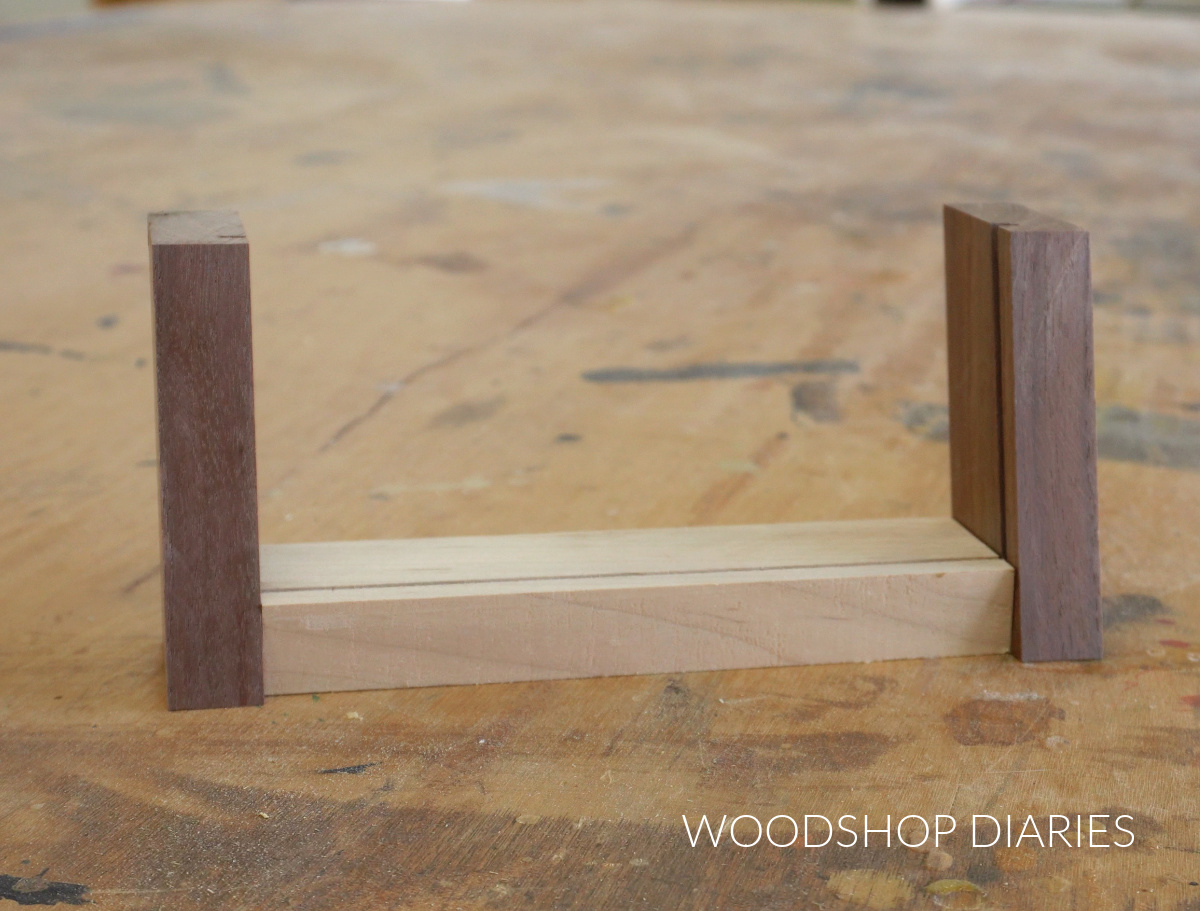
Before gluing, I test fit my acrylic sheets into these frames to make sure everything fit together well. Here are my four frames dry fit together.

Make sure the acrylic can slide in and out of the slots easily.
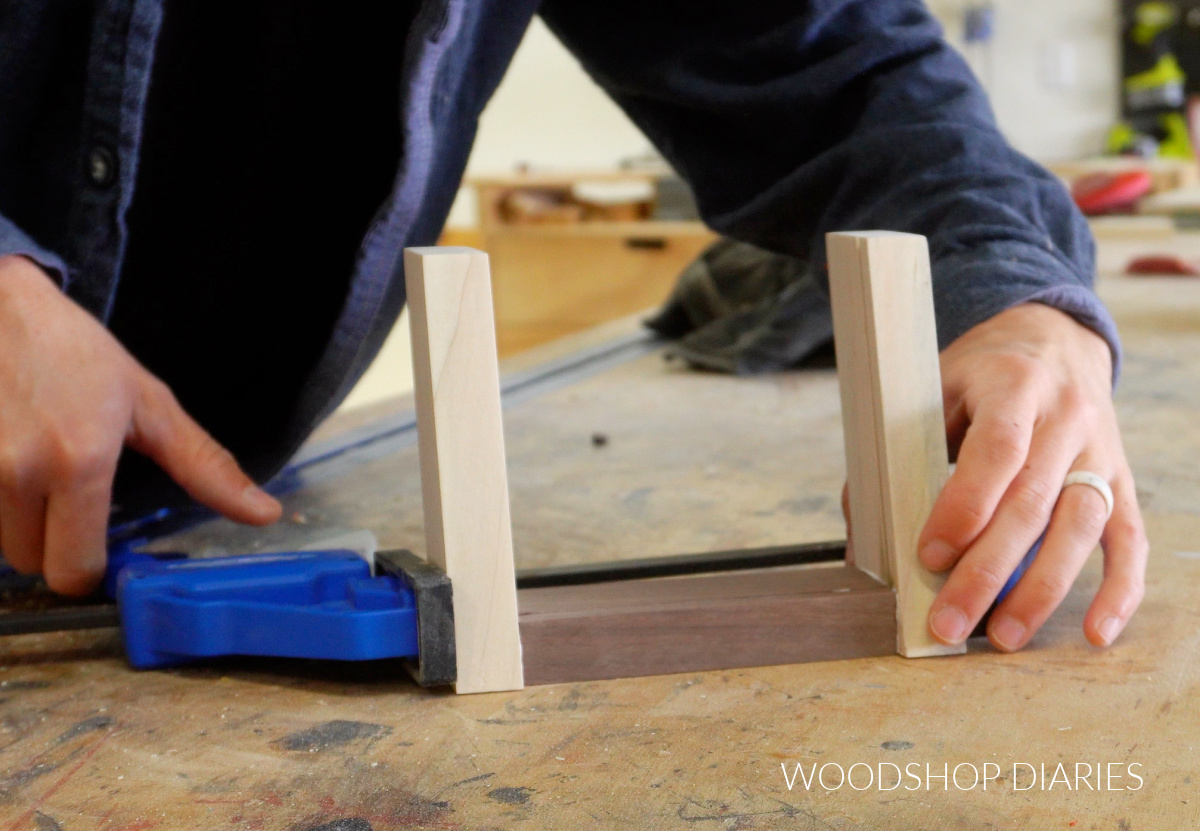
Then, I glued and clamped the sides to the bottoms of each frame making sure the slots stayed aligned once clamped.
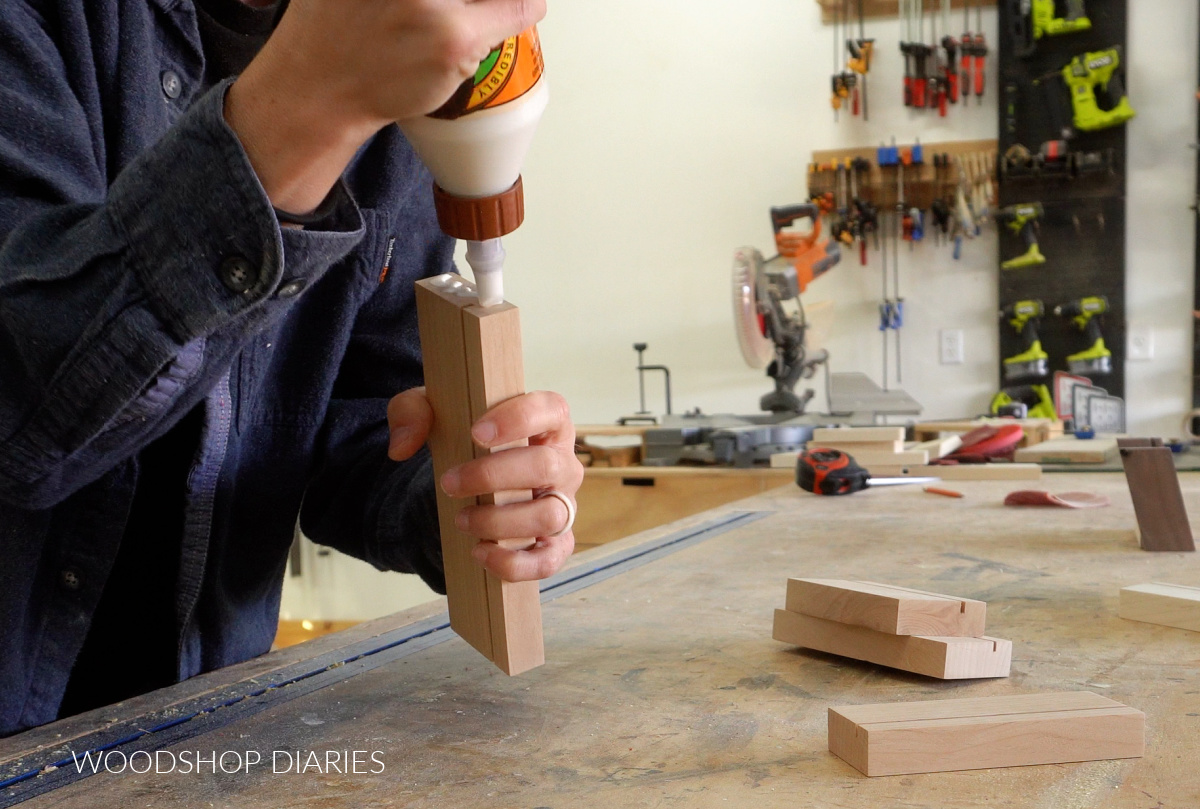

NOTE: It’s absolutely critical the slots stay lined up when these are glued together. If they’re off, the acrylic won’t fit properly into the frame.
Make sure to remove any glue that squeezes into the slots before it dries.
If you wanted to add a few brad or pin nails to help hold these, you certainly can, but I just used glue.
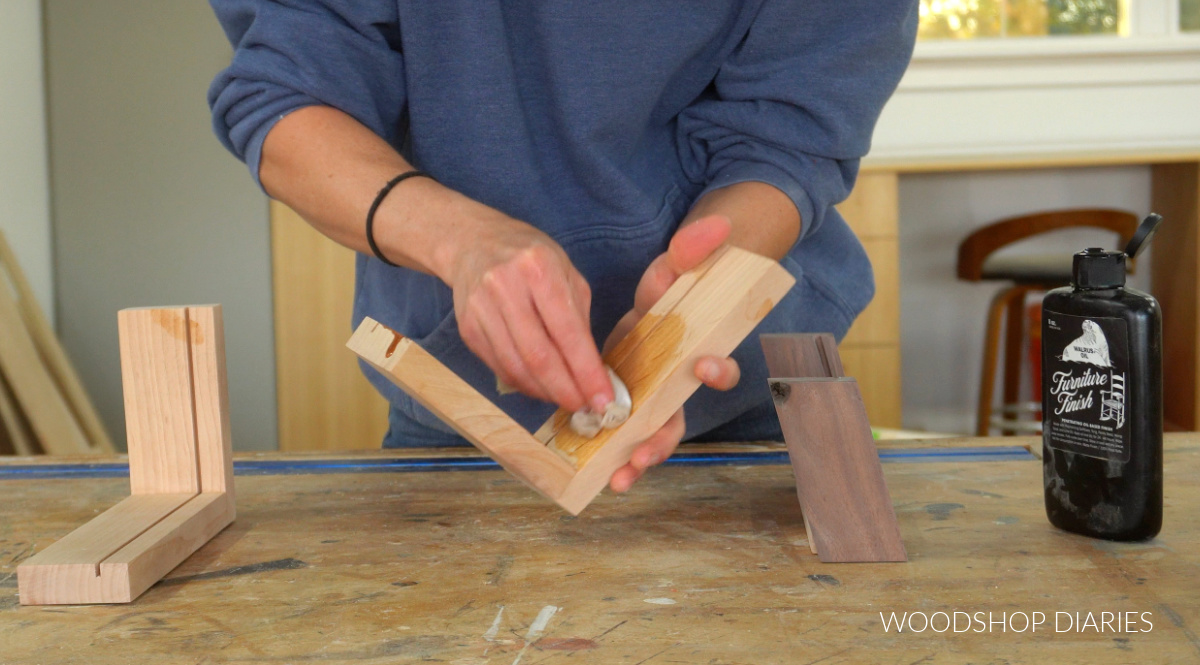
Step 5: Finish
Once the glue dried, I sanded away any squeeze out and finished these frames using Walrus Oil Furniture Finish oil.
Then I removed the protective film on the acrylic sheets, sandwiched my photos between them and slid them into my frames.
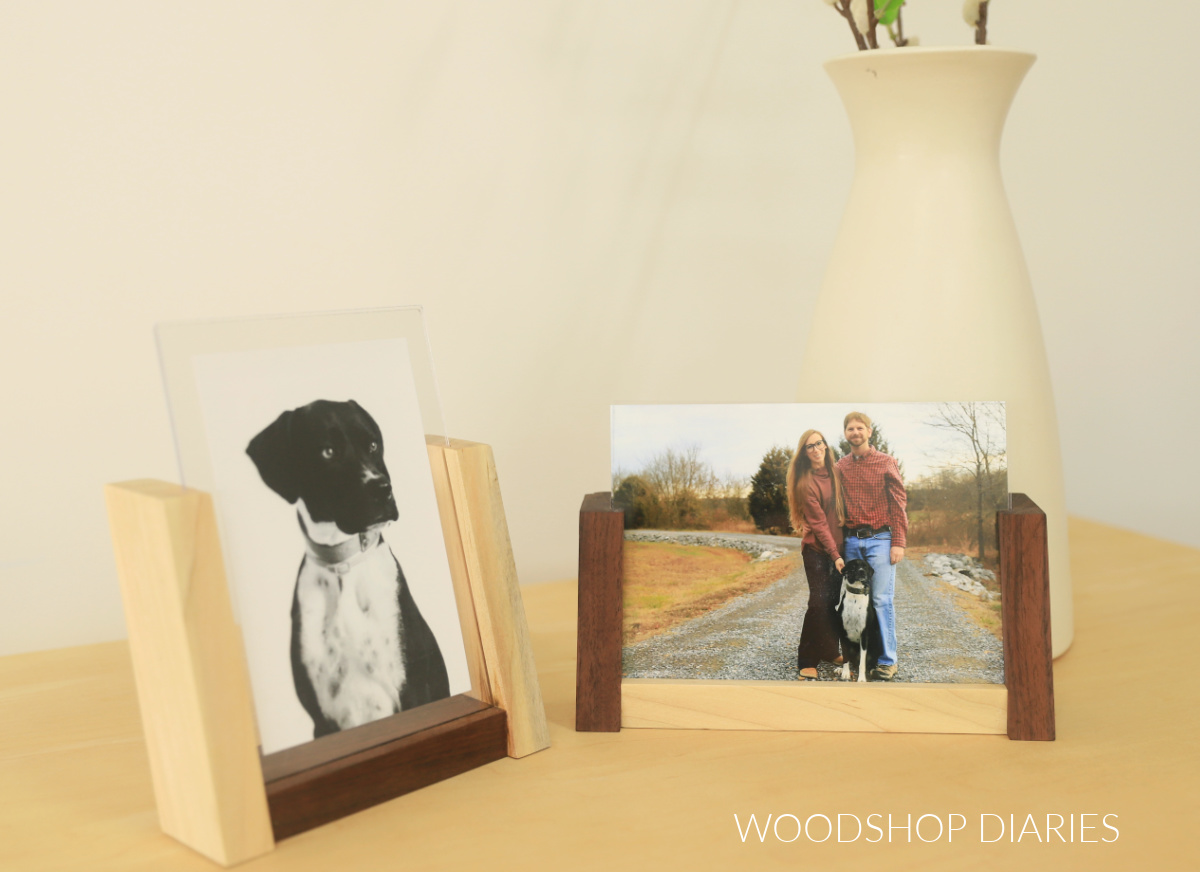
This two sided slanted frame is my favorite one, but it’s hard to pick because I really love them all!

I love the 4×6 photos in these 5×7 frames. That empty space between the photo and frame is such a neat effect.
These simple DIY photo frames are perfect for your desk, console table, or shelf!
Looking for More easy DIY projects?
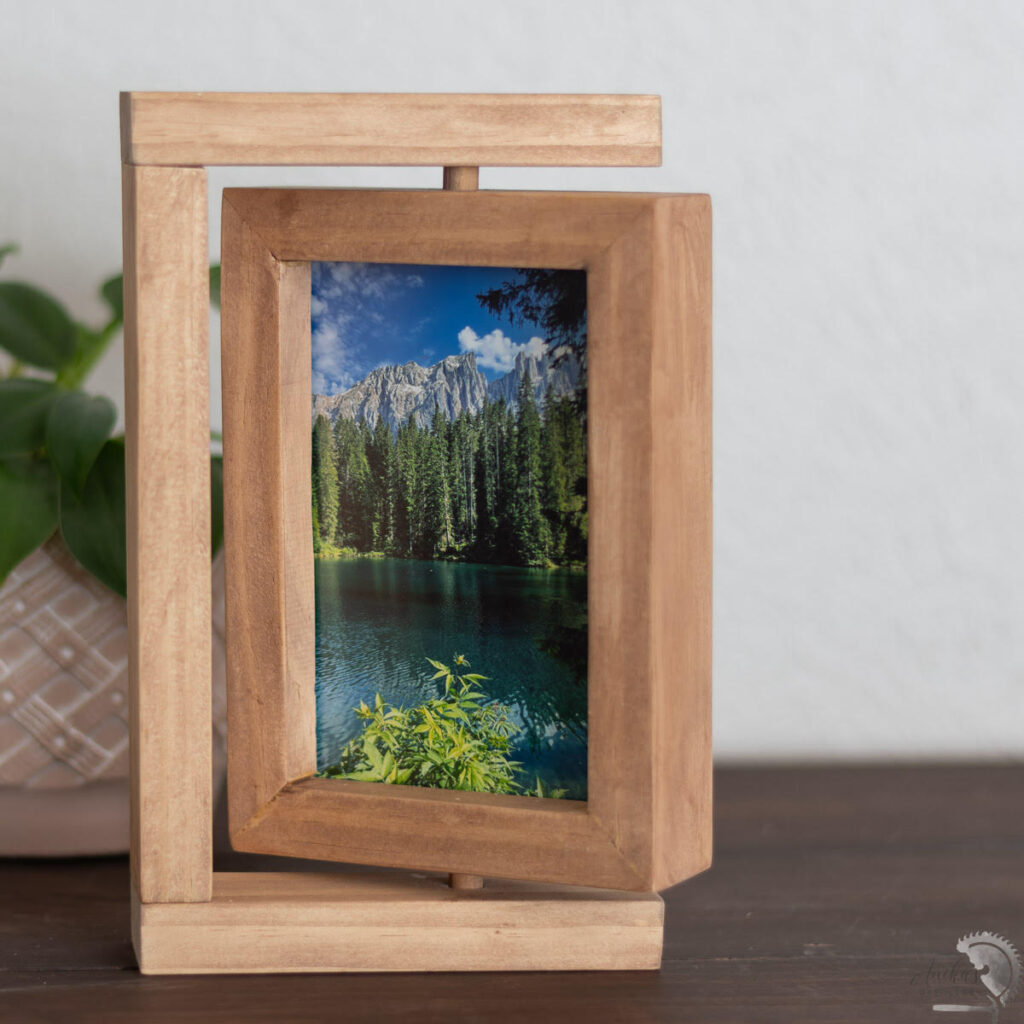
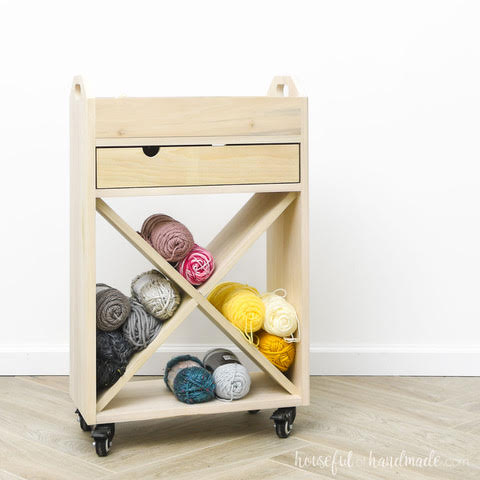
With the upcoming holidays, I’ve teamed up with my friend, Kati, from Houseful of Handmade and Anika from Anika’s DIY Life to share some easy and fun gift ideas that you can make this season!
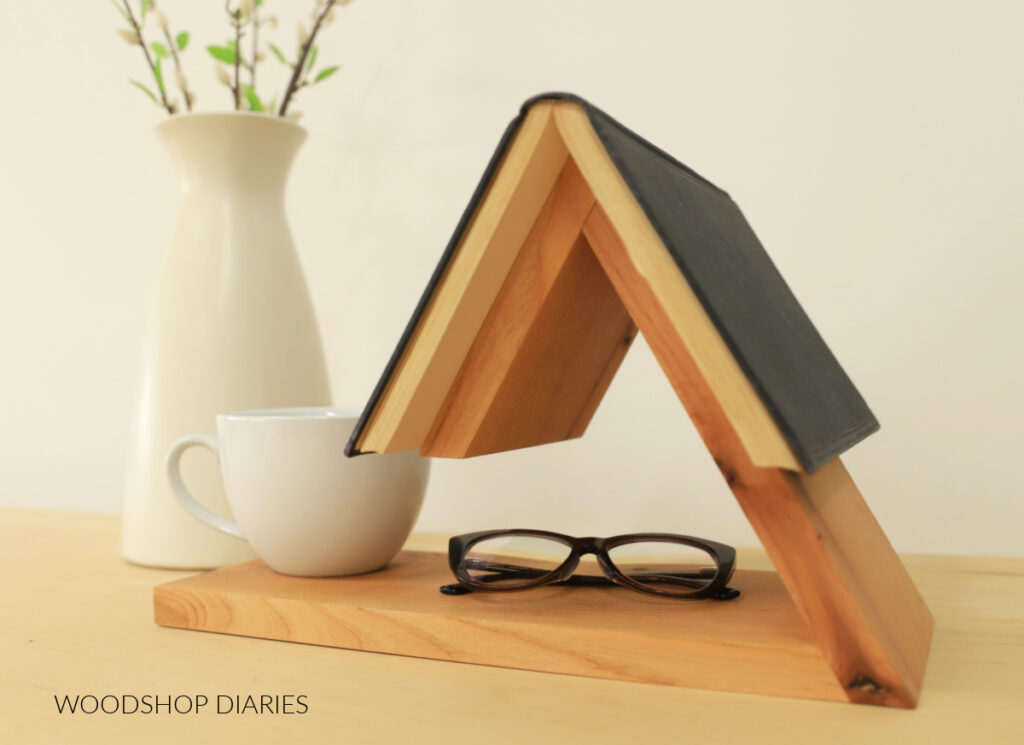
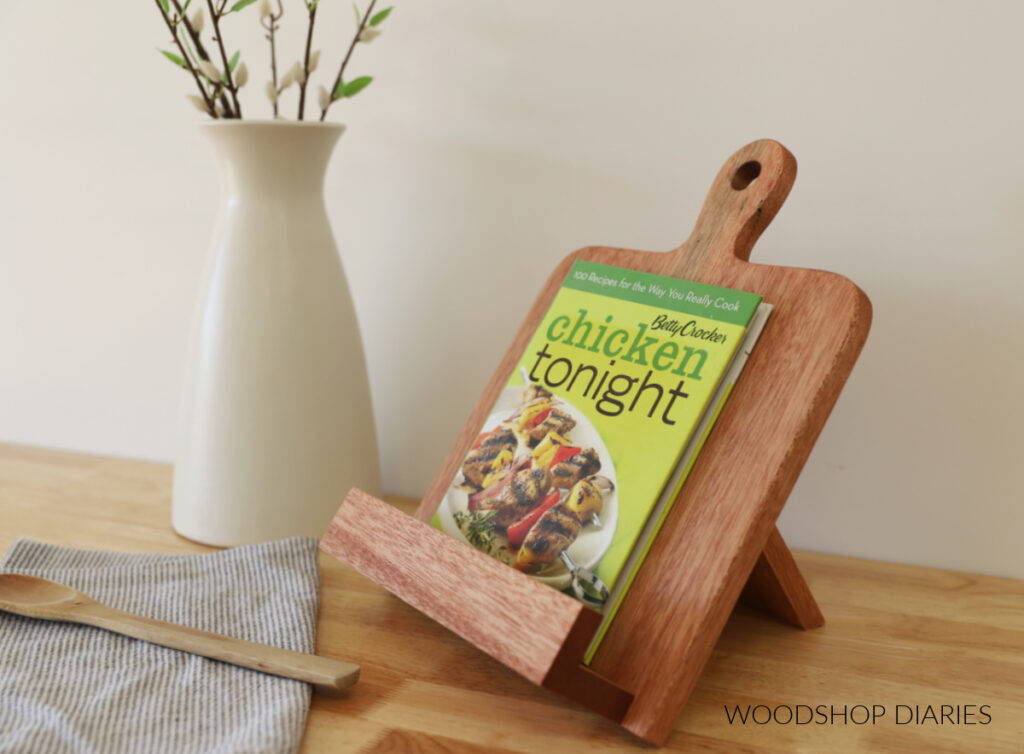
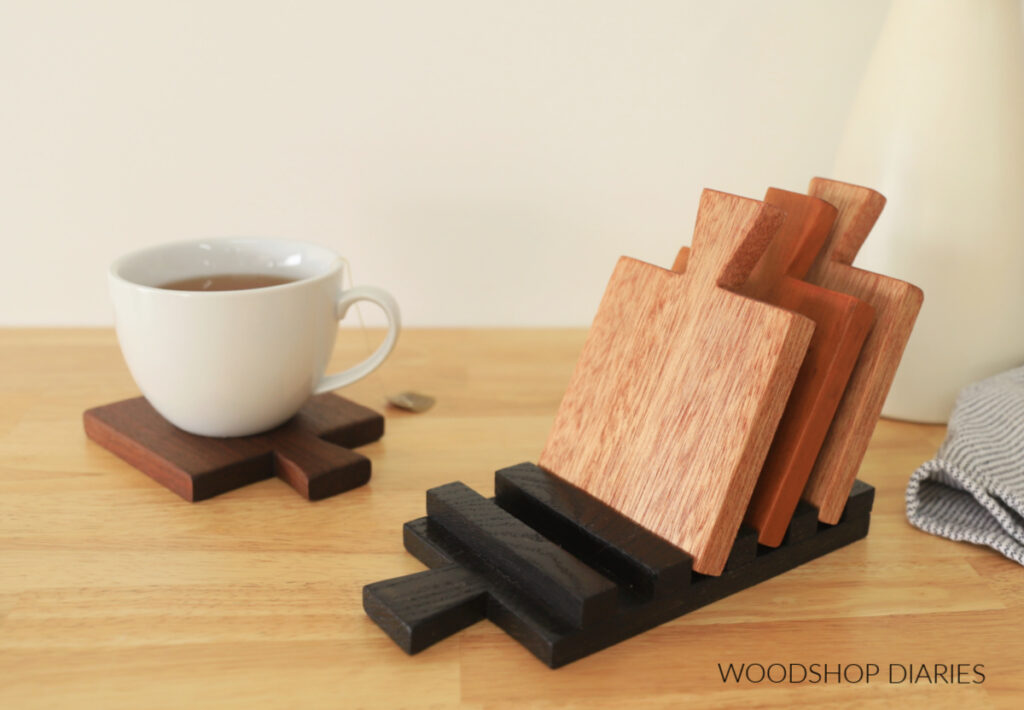
I’ve included their projects in the gallery below plus a few of my own (click on the images to see how to make each one).

Enjoyed this project and want to save it for later? Be sure to pin it or share it to your favorite social channel!
Until next time, happy building!