In this post, I’m sharing how to make a simple beginner cutting board with just a few basic tools.
Cutting boards are such a great woodworking project whether you’re just starting out or have years of experience. They give you the opportunity to mix and match and try out different wood species.
And they also make amazing holiday, wedding, and housewarming gifts that everyone loves.
And the best part? They require minimal tools! If you’re ready to dive into creating a beautifully simple basic cutting board, let’s get building.
*This post contains affiliate links. See website policies.
What type of wood should you use for cutting boards?
You can use many different types of wood to make a cutting board. However, in most cases, hardwoods are recommended.
There are a couple reasons hardwoods are best for cutting boards:
- Hardwoods are denser than softwoods and won’t scratch as easily. This prevents knives from scratching/gouging your board and allowing bacteria to get down into them.
- Hardwoods have tighter grain patterns and are generally more moisture resistant than soft woods.
But, not all hardwoods are good options for cutting boards. Some hardwoods are toxic or have have deep grains or large pores (which can harbor bacteria).
Common wood types recommended for cutting boards are:
- Maple
- Walnut
- Cherry
- Acacia
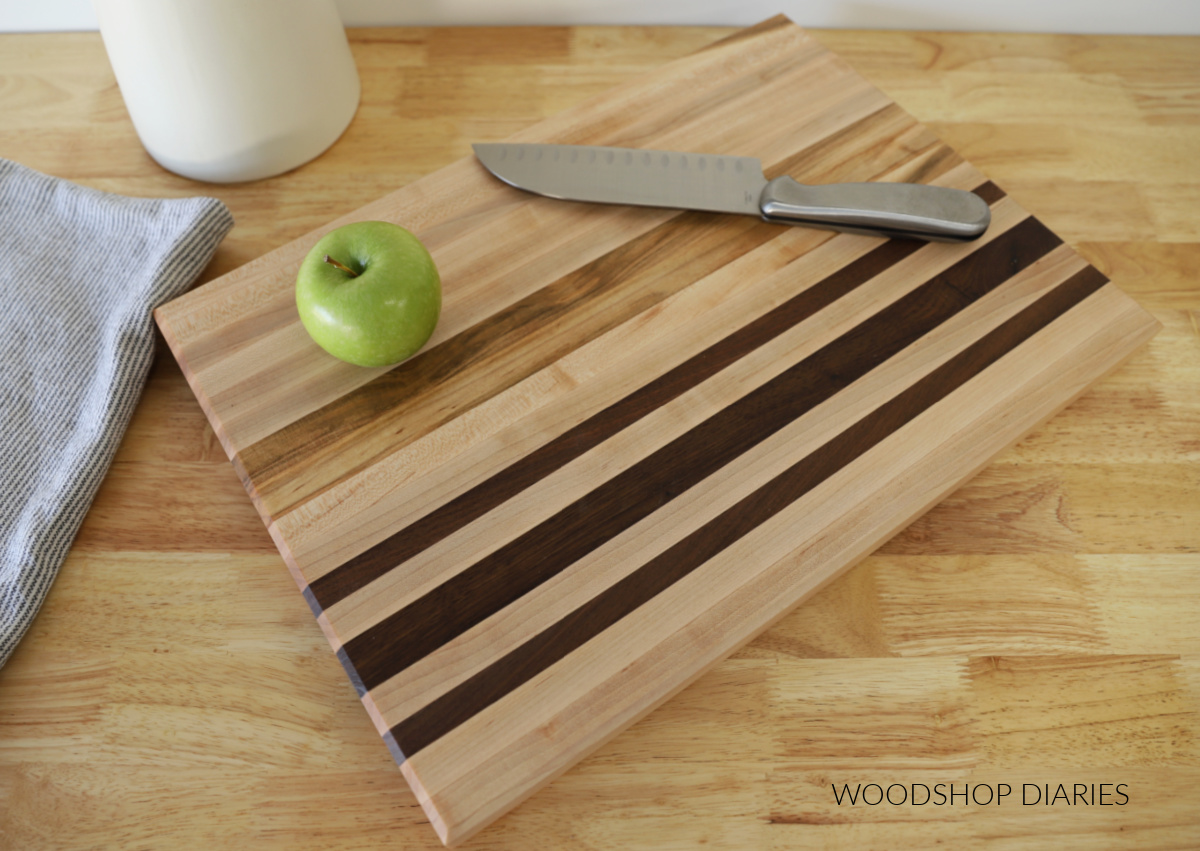
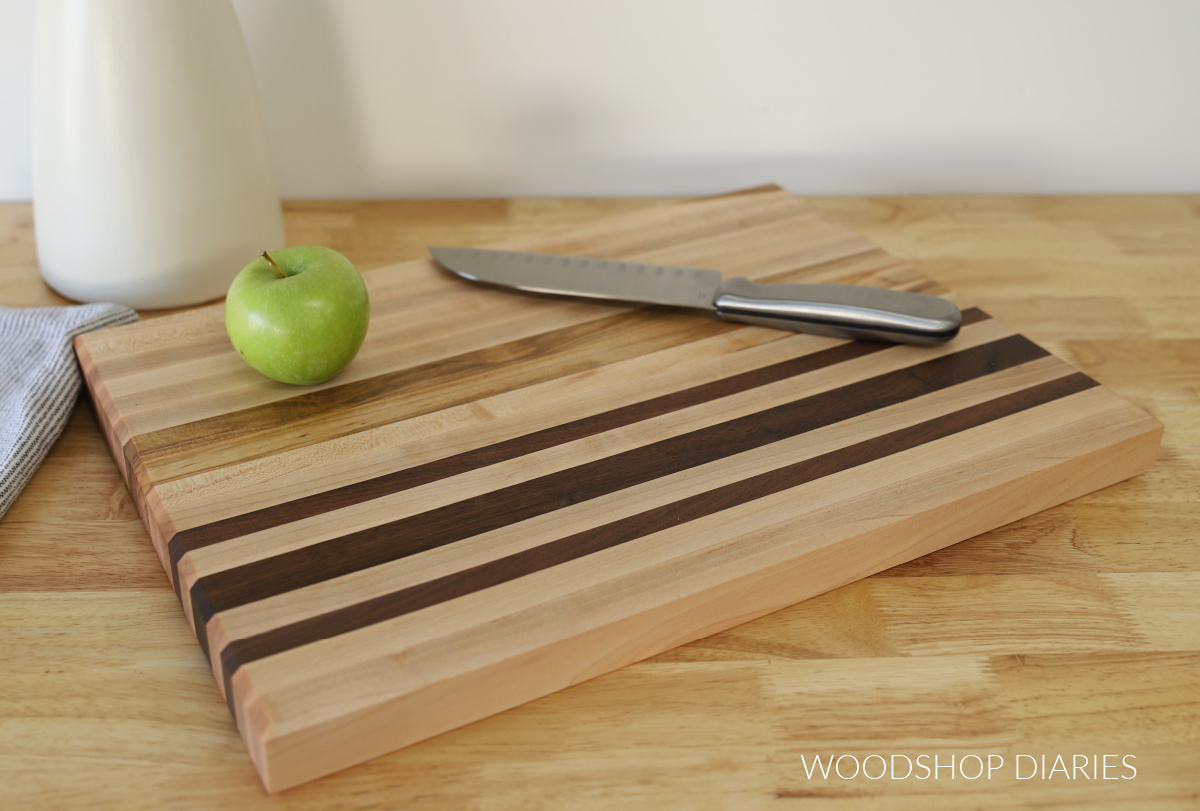
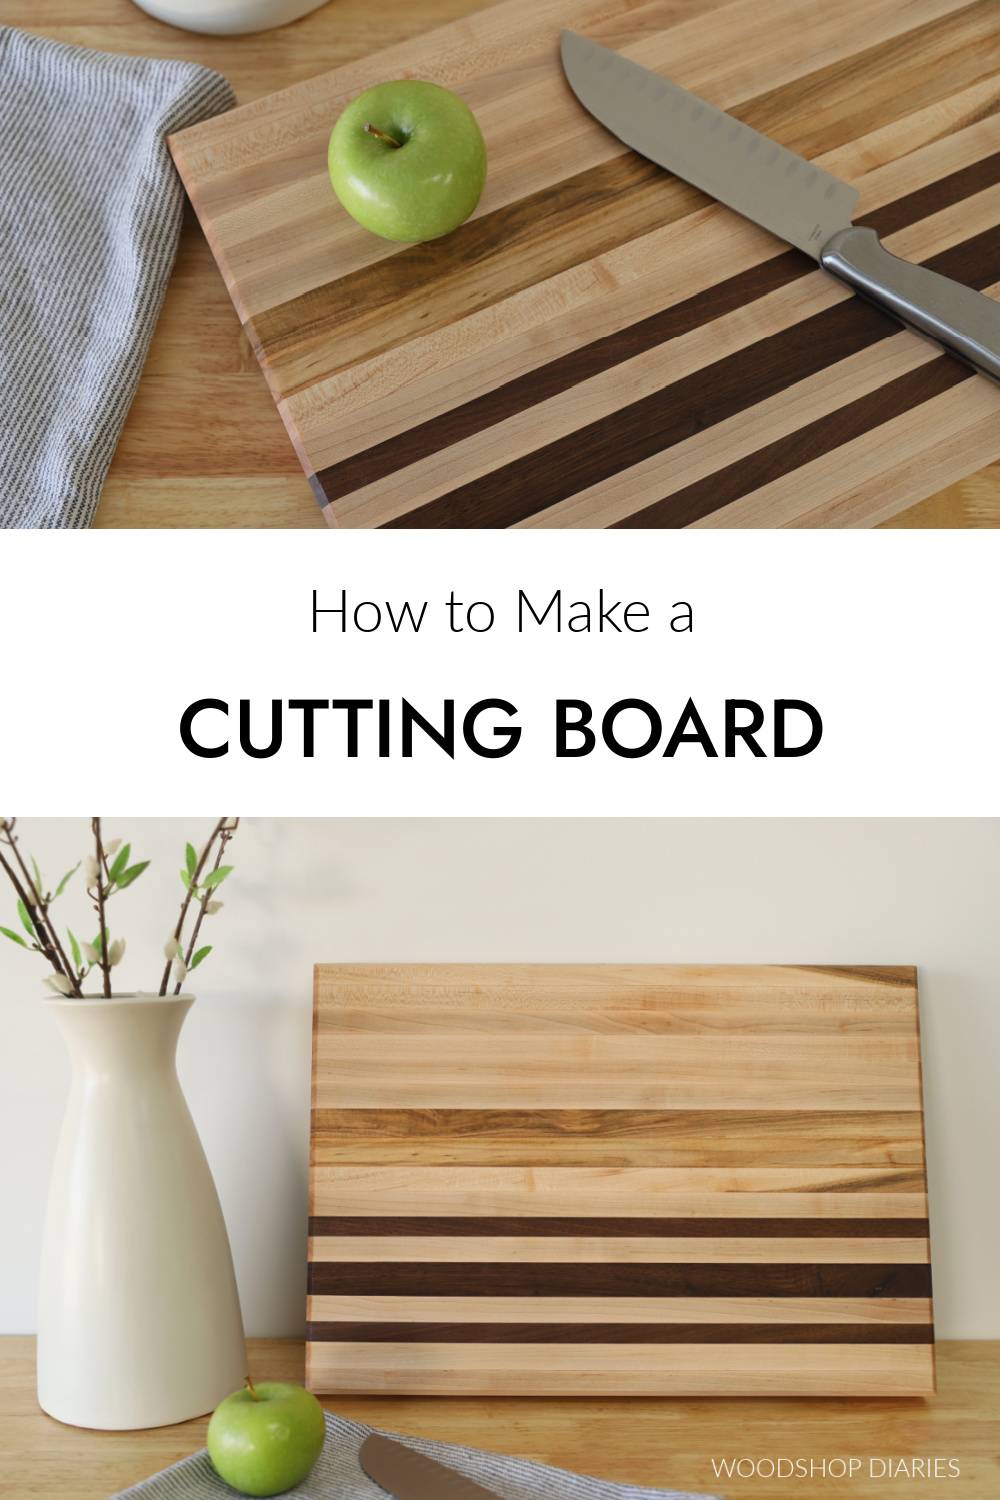
In this case, I’m using a combination of maple and walnut. Feel free to mix and match wood types for fun patterns on your cutting board.
Are DIY projects your thing? Sign up for our newsletter for priority access to the latest projects and build plans!
What size should a cutting board be?
Cutting boards can be just about any shape or size you want. A common size for a standard cutting board is about 1 ½″ thick x 12″ wide x 18″ long.
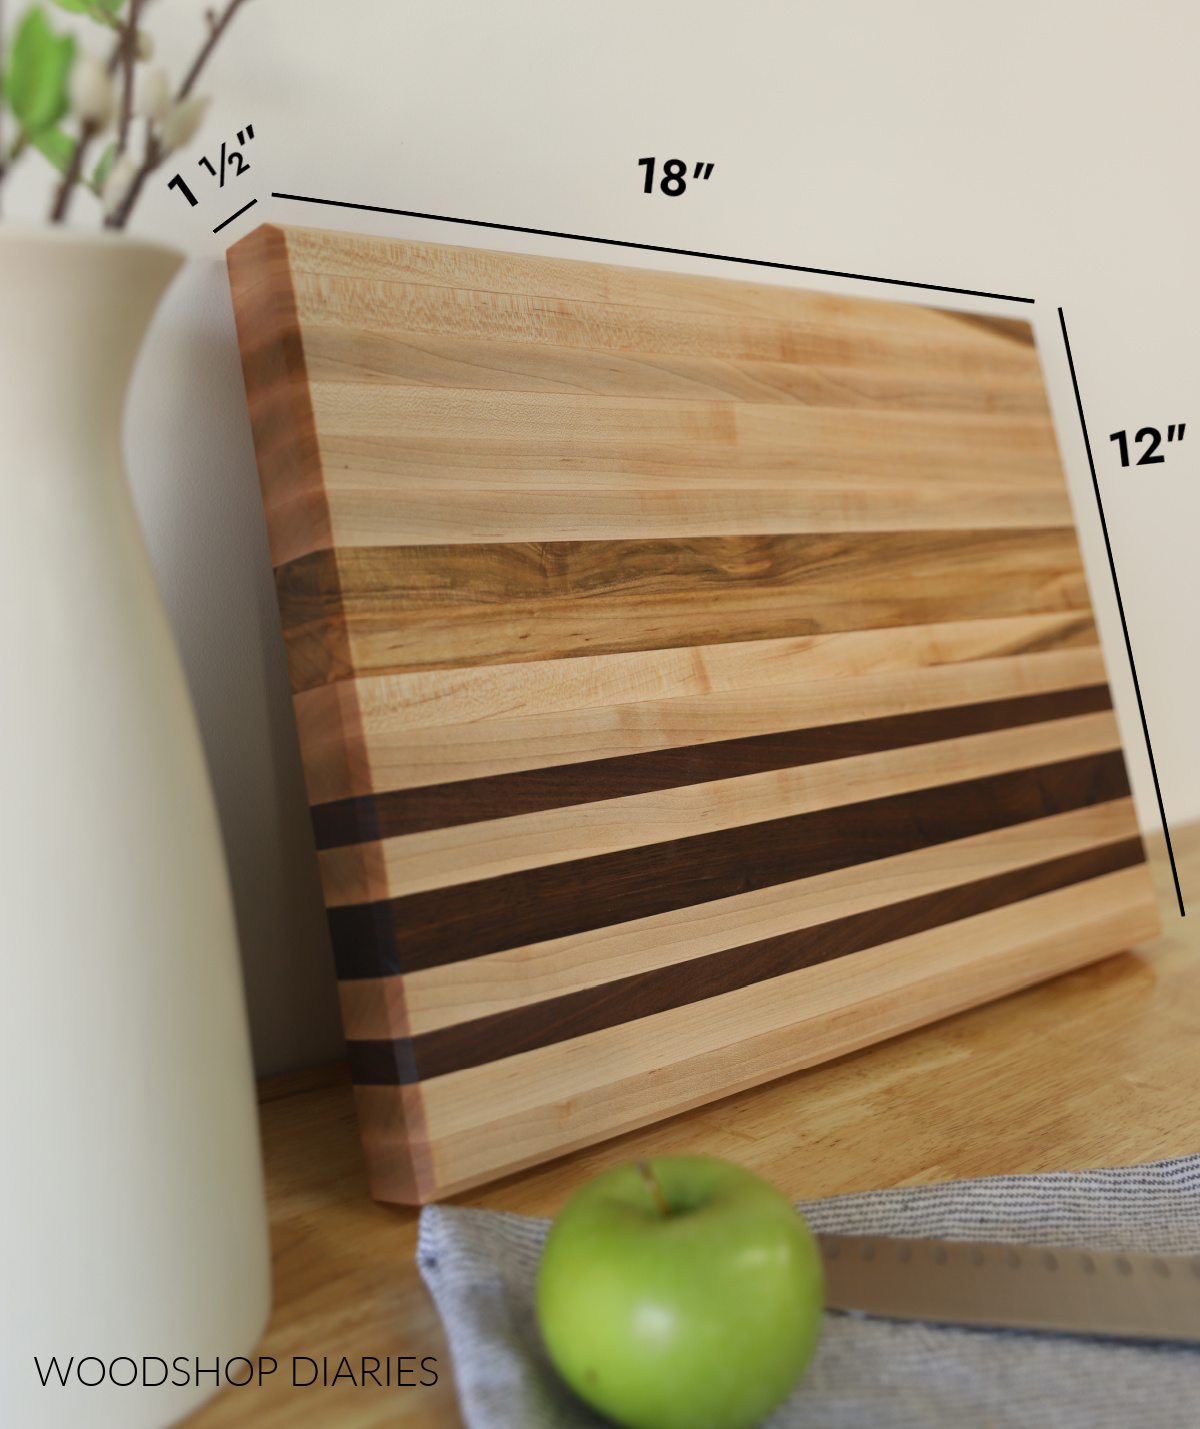
Of course, that’s not a “rule” so you can make yours larger or smaller to suit your needs. But I made mine about this size.
How to Make a Simple Cutting Board
I’m sharing the steps below to make a simple DIY cutting board, but if you prefer to watch, I’ve also got a video tutorial here as well.
Tools & Materials
Tools:
- Table Saw (optional)
- Miter Saw (or any saw to cut straight)
- Clamps
- Belt Sander (or planer)
- Orbital Sander
- Router and chamfer bit (optional)
Materials:
- Hardwood of your choice
- Amounts may vary based on your desired size, but I used (1) 1x6x8 maple board PLUS 3 strips of walnut about 19″ long to make this board
- Wood Glue
- Cutting Board Oil
Step 1: Cut Boards to Size
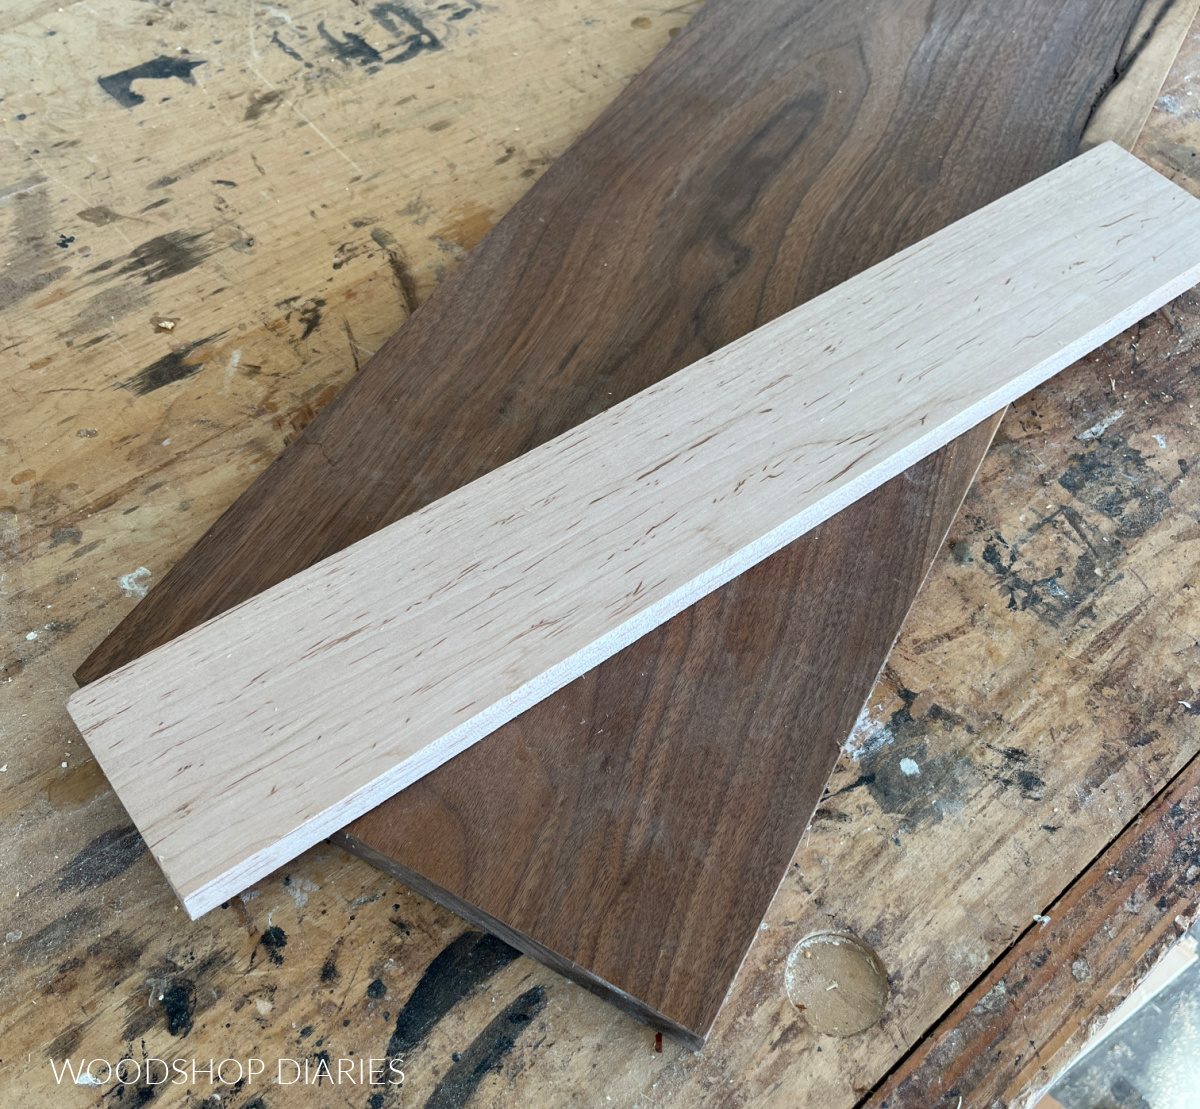
I made my cutting board about 1 ½″ thick, so the first thing I did was rip all of my boards down to 1 ½″ wide strips on my table saw. I used a 1x6x8 maple board, so I was able to rip this into 3 strips 1 ½″ wide.
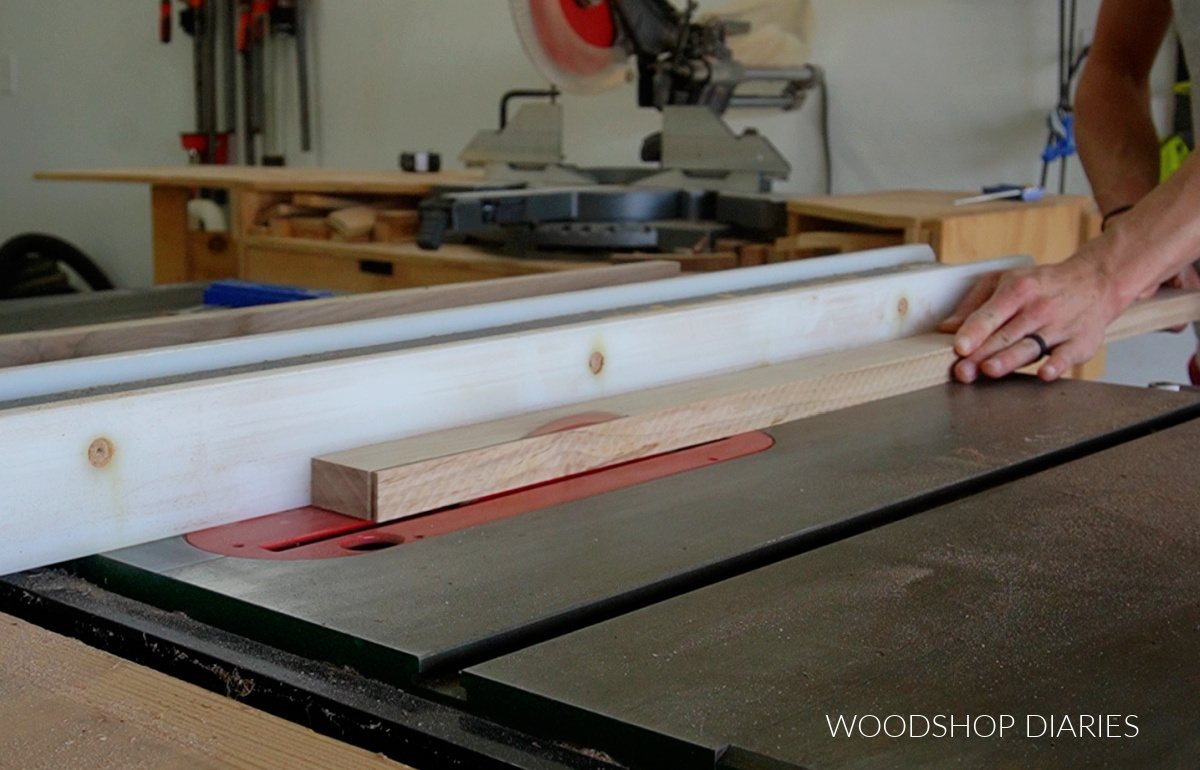
Then, I had three random pieces of walnut in my scrap pile that I also ripped to the same width to mix in.
If you don’t have a table saw, you could simply purchase your boards in 1x2s instead of ripping them down. If you didn’t know, nominal size 1x2s are actually ¾″ x 1 ½″.
NOTE: I used 1xs here turned on their side to make my board. If you wanted to use 2x2s instead, that’s totally fine.
Once all my boards were ripped into 1 ½″ wide strips, I trimmed them to approximately 19″ long pieces on my miter saw. Some pieces I left a little long–they’ll be trimmed down in step 3.
I cut down enough boards so that when laid out together side by side (standing on their edges), they made a board approximately 12 ¾″ x 19″. (This was basically 17 strips of 1×2).
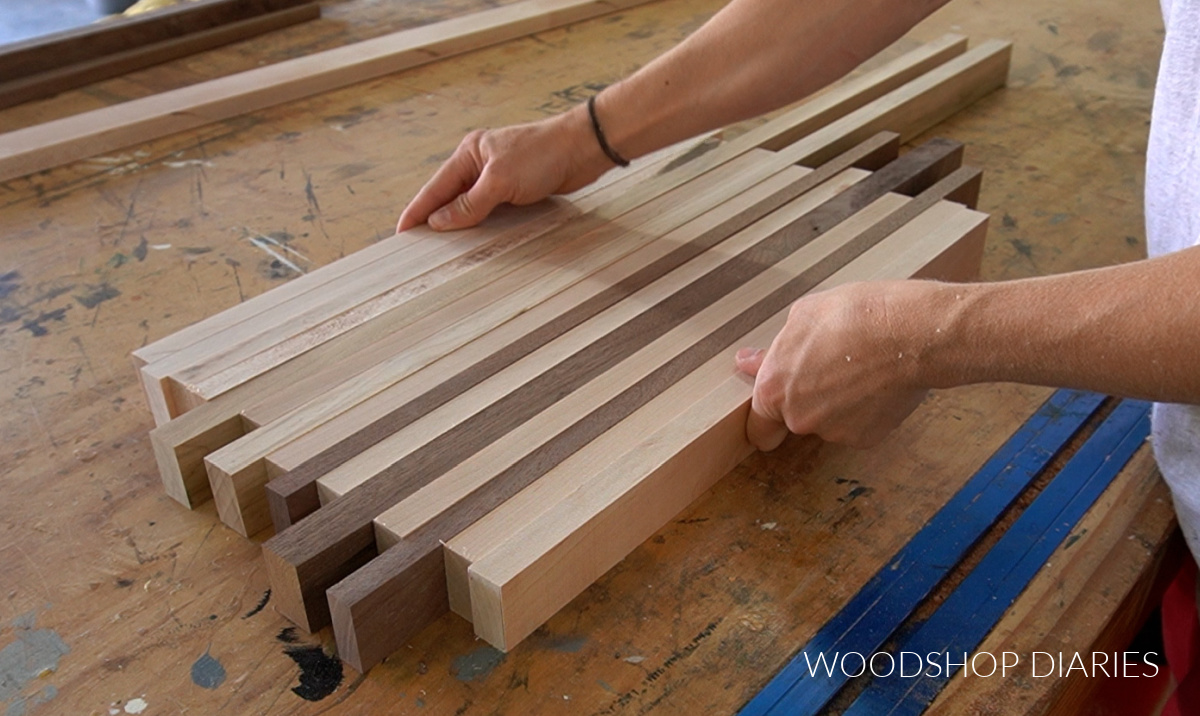
Fourteen of these strips were maple and 3 were walnut.
Step 2: Glue up Cutting Board
If I’m gluing up more than a few boards at a time, I like to do it in sections. So I laid out my boards how I wanted, then split them (about) in half.
I glued up these two sections separately. To glue them, I applied wood glue liberally to the faces of each board, then clamped them with pipe clamps making sure to adjust them as flat as possible.
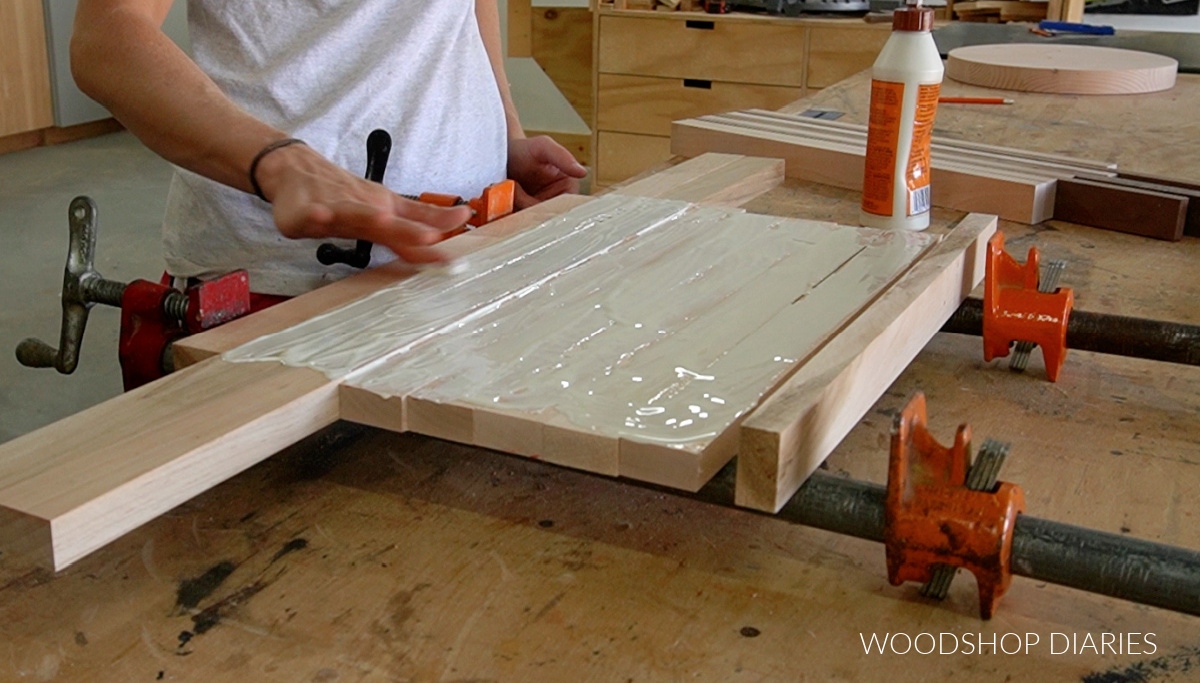
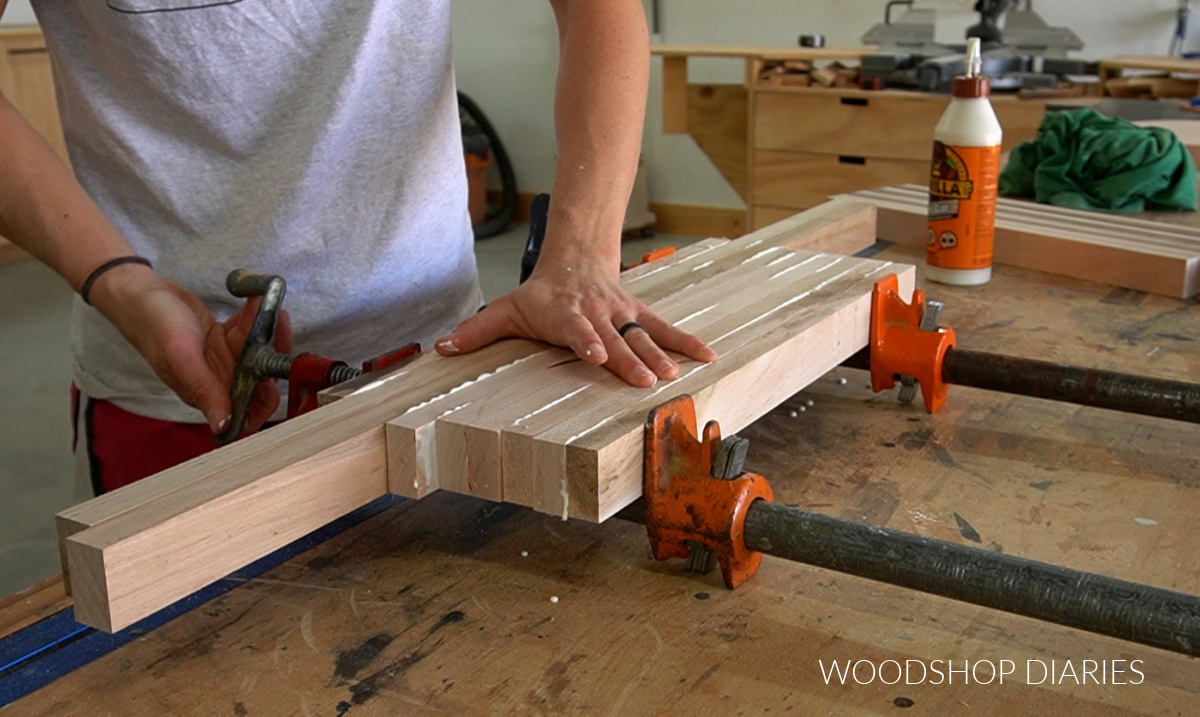
This will be messy–be prepared haha.
Once I glued half of the pieces, I repeated for the other half.
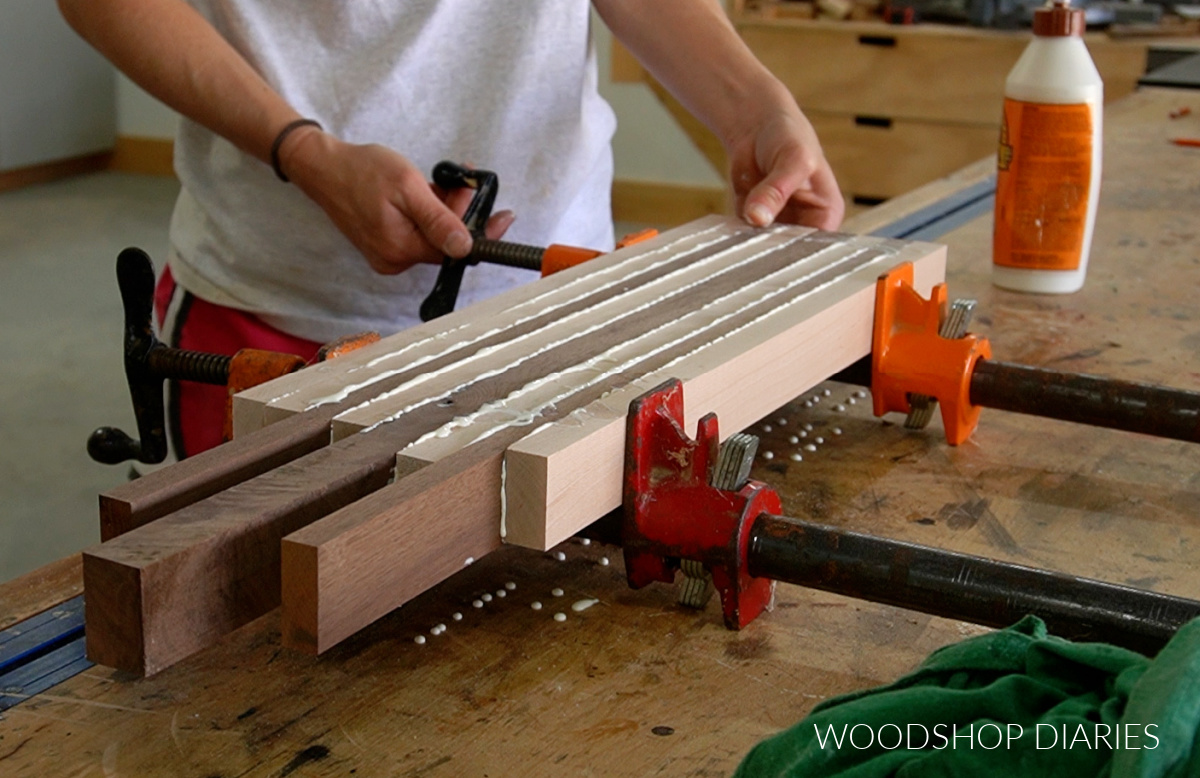
After both sections had dried (a few hours), I glued them together the same way making sure to keep them as flat as possible.
Step 3: Trim Cutting Board to Size
After the glue had fully dried on the cutting board (overnight), I trimmed the edges square on my miter saw so that the board was about 18″ long overall.
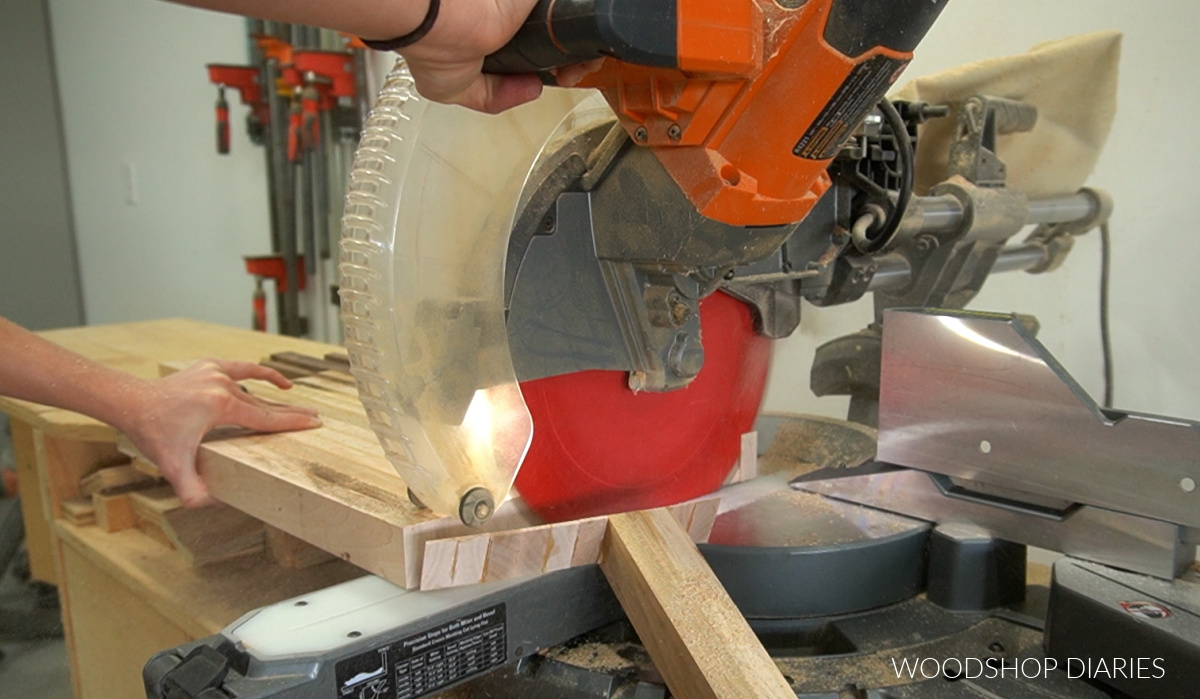
I didn’t trim the width, but you can if you wanted to.
Step 4: Flatten and Sand Cutting Board
If you have a planer, you can run this through the planer to flatten the top and bottom of the board to prep it for final sanding.
However, if you don’t have a planer or don’t want to run this through it, a belt sander and a little patience works just fine, too.
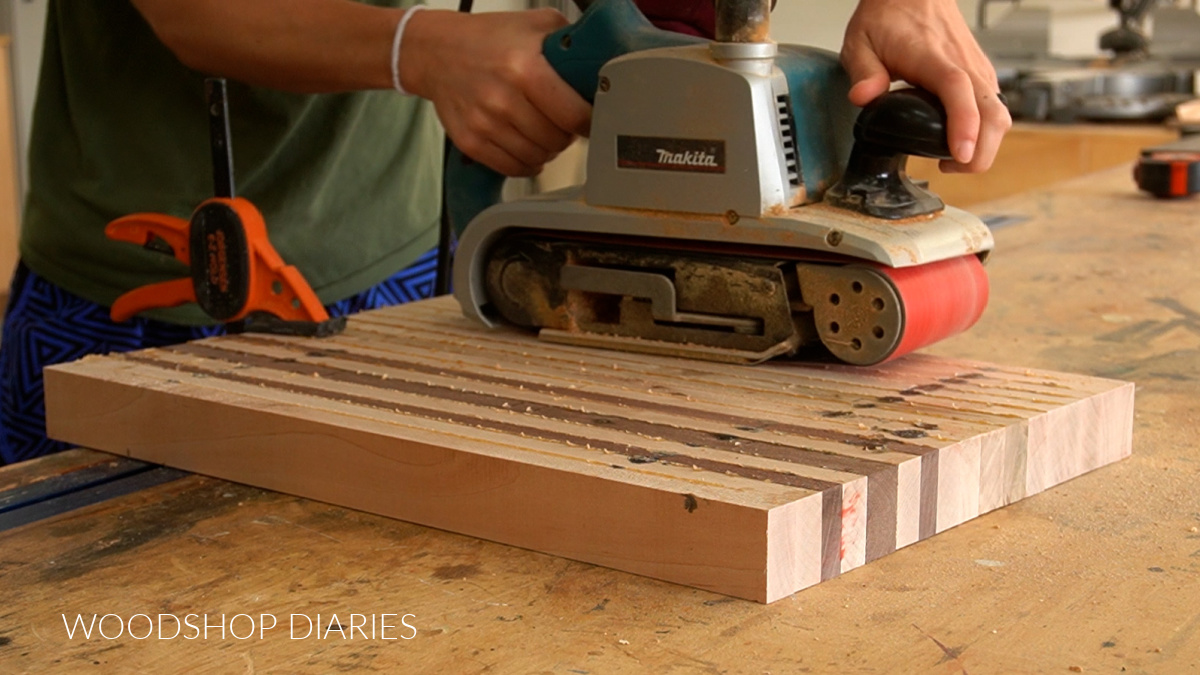
I used my belt sander with some 80 grit paper to sand down the bottom side of my cutting board first. I used a level to help me identify high and low spots and sanded down the high spots until it was flat.
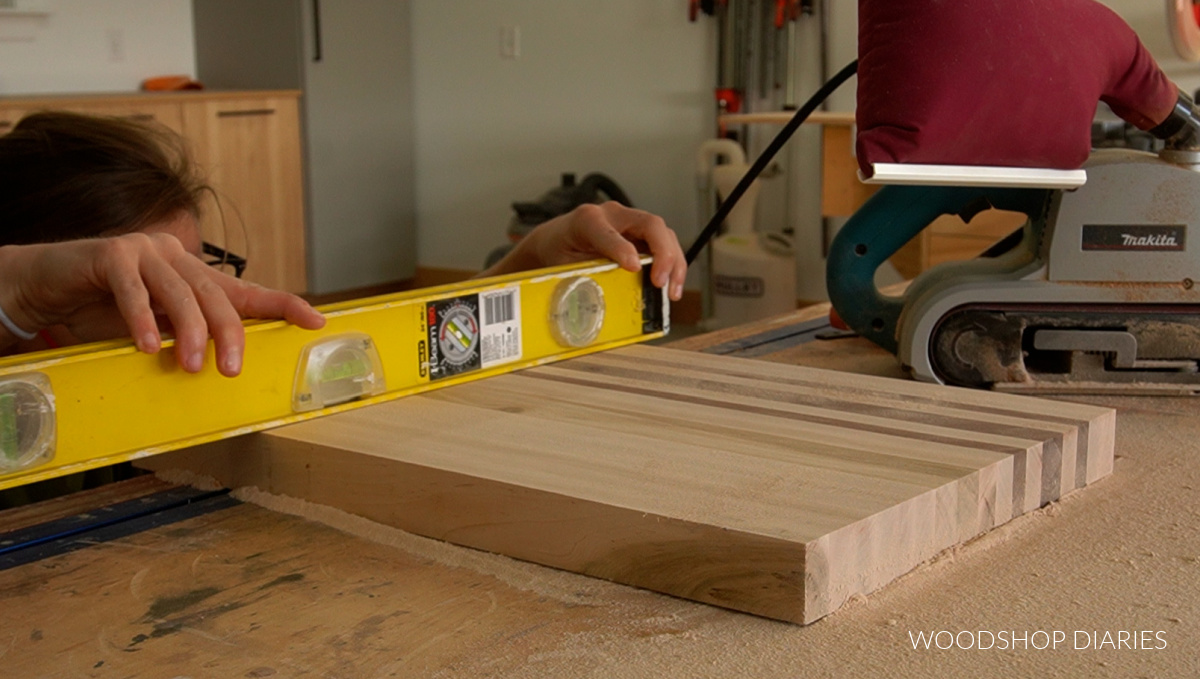
Once one side was flat, I flipped it over and repeated for the other side.
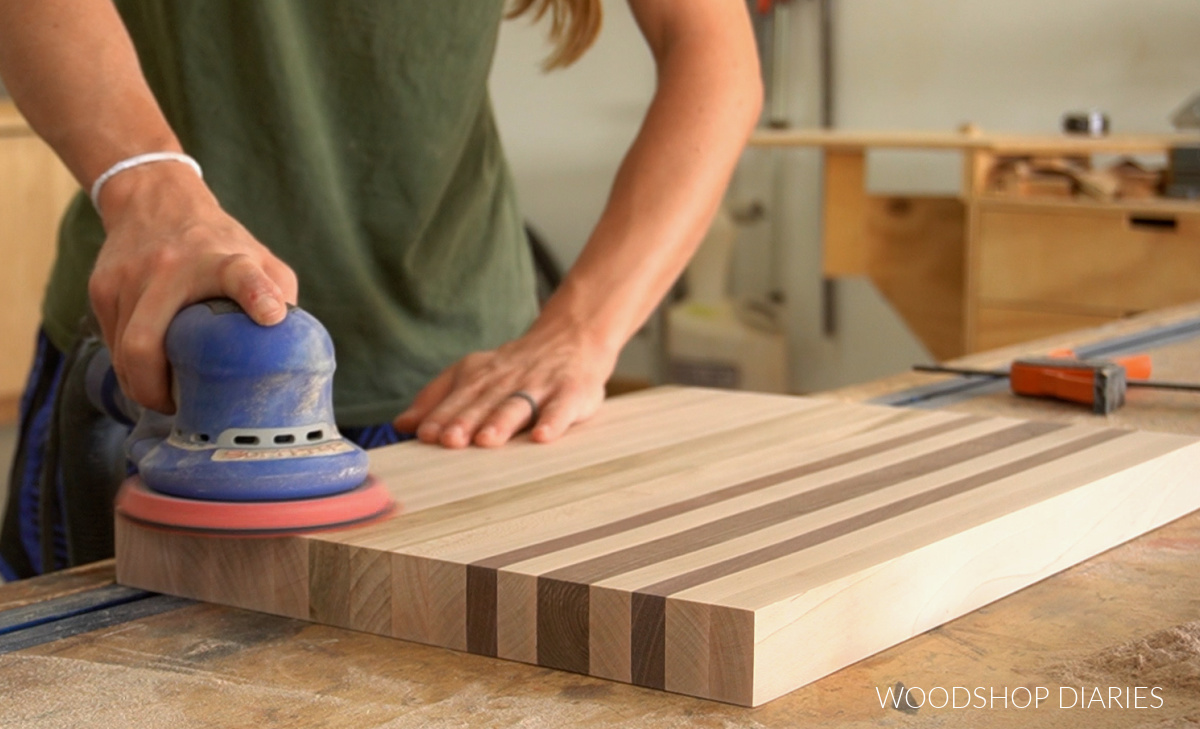
Then I followed up sanding the entire board with the orbital sander through 120, 180, and 220 grit until all sides were smooth and ready for finish.
RELATED: How to sand wood
Step 5: Add Edge and Finish
After it’s sanded, It’s ready for finish. But, if you wanted to add a little extra detail, you can add an edge with a router and your favorite edging profile. I know a lot of people like round over edges on cutting boards, but I’m not a big fan of them.
So I used a chamfer bit to just kind of remove the sharp edges, then hand sanded over them lightly.
RELATED: How to use a router

And finally, it was ready for a coating of cutting board oil. This is what I used, but there are tons of options out there for cutting board oils.

Just make sure whatever you use is food safe if you plan to actually cut on it.
And with that, this cutting board is ready to use or ready to give away.

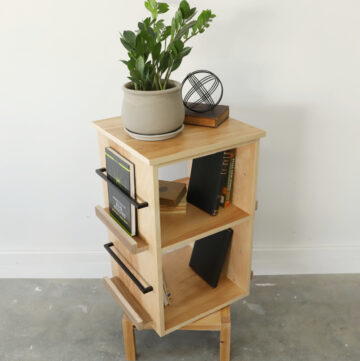
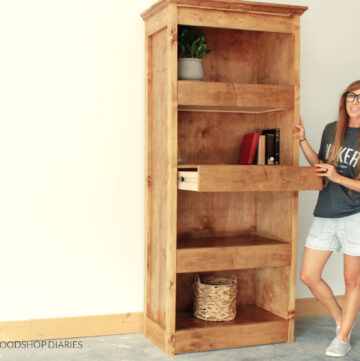
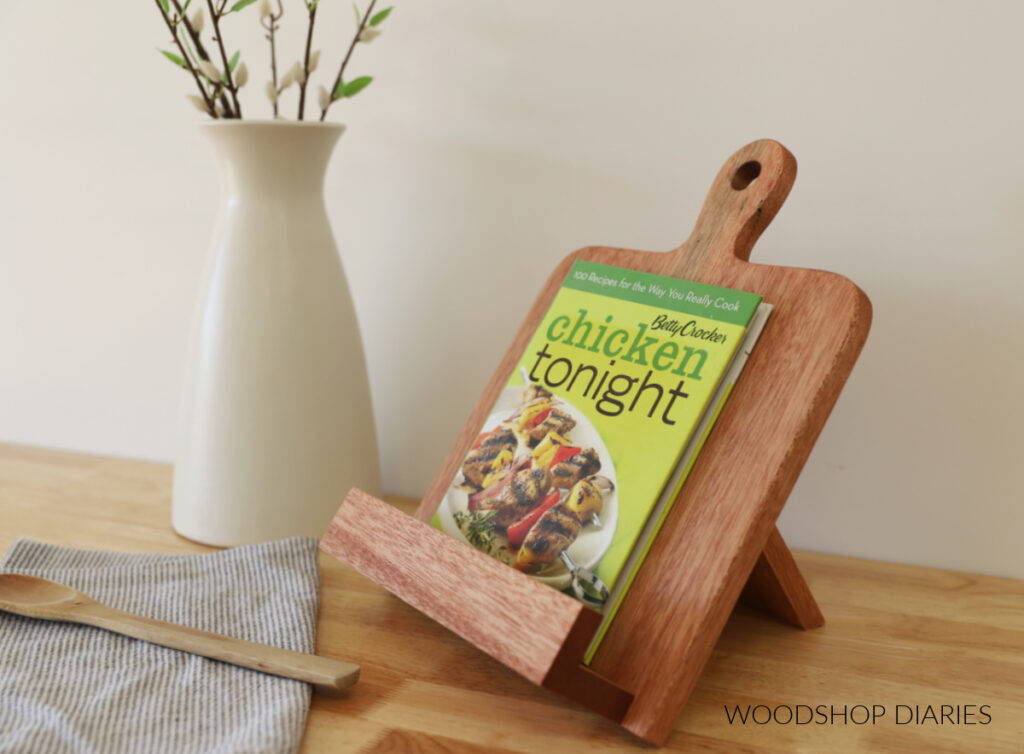
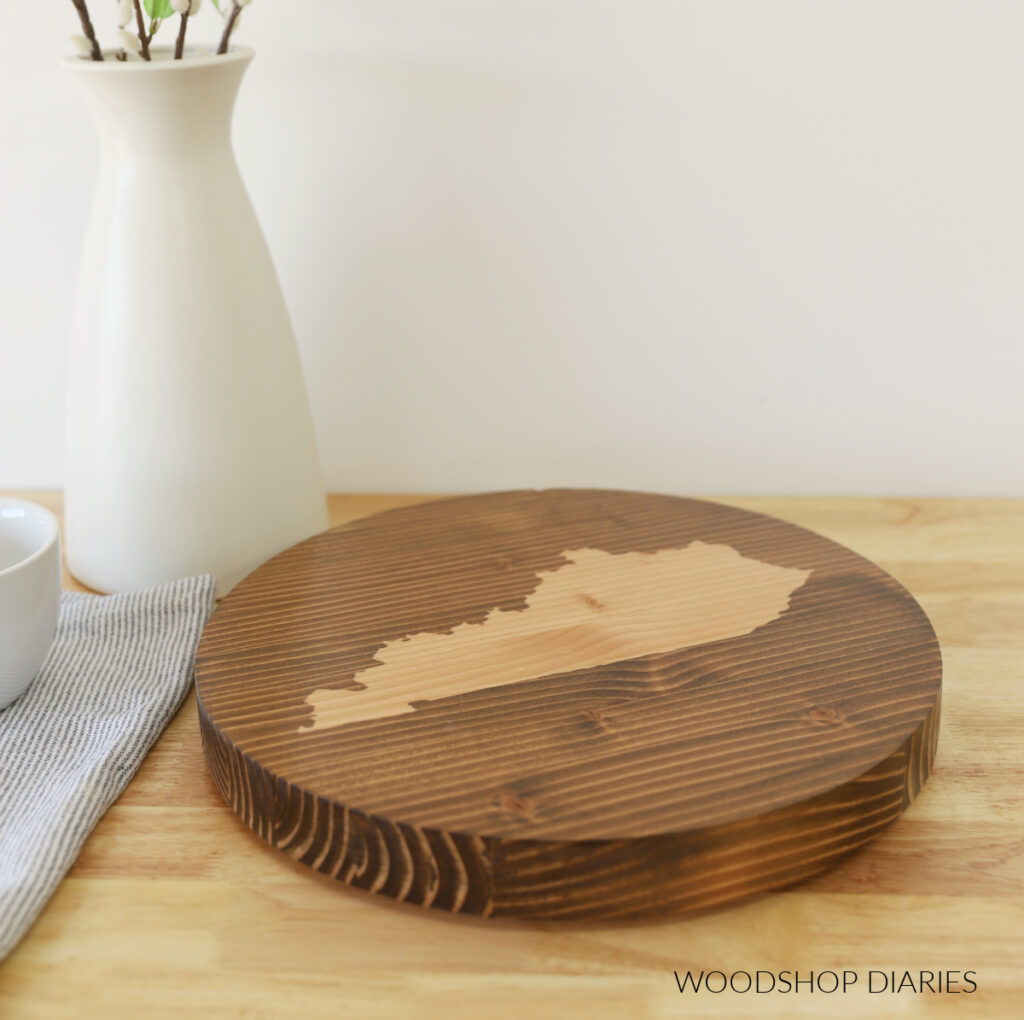
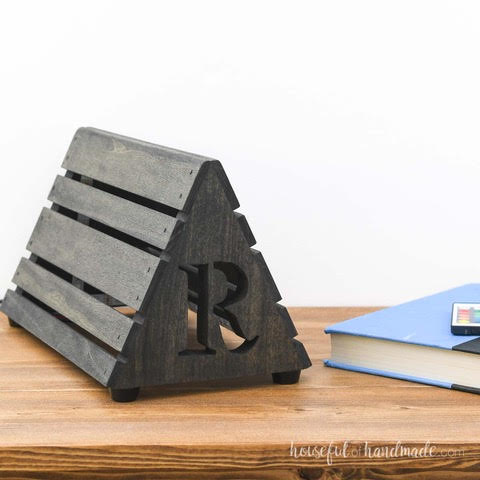
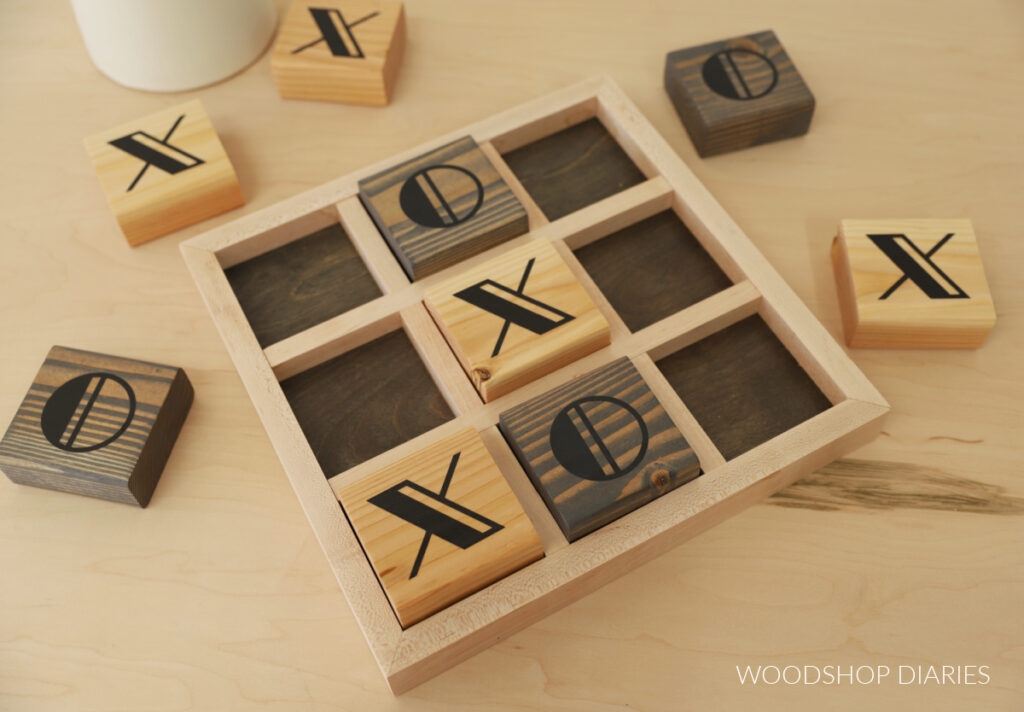
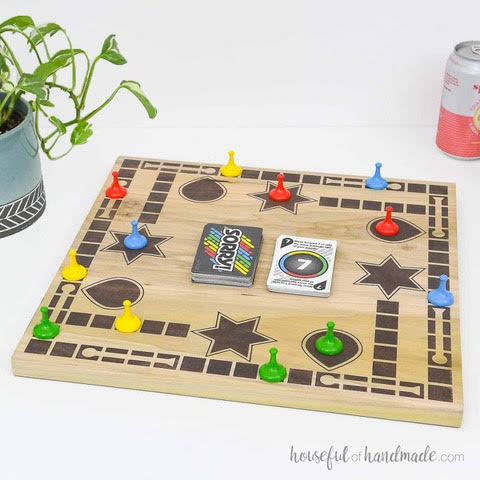
Looking for more Handmade Gift Ideas?
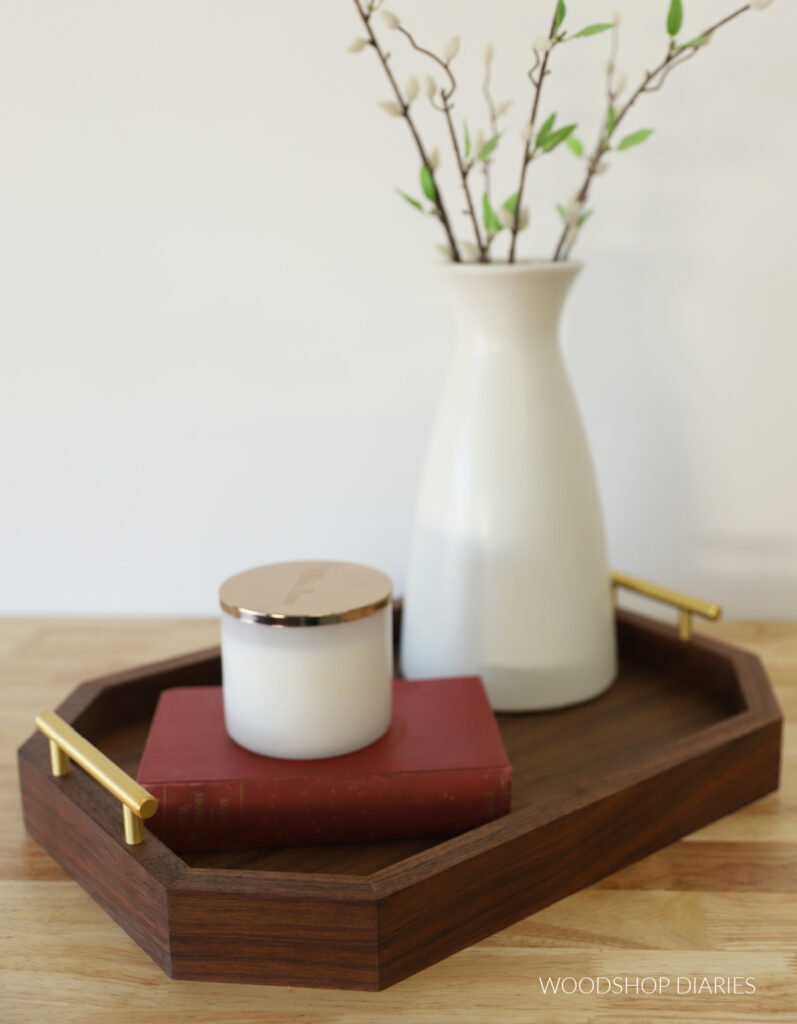
With the upcoming holidays, I’ve teamed up with my friend, Kati, from Houseful of Handmade to share some easy and fun gift ideas you can make this season!
I’ve included our gift ideas in the gallery below (click on the images to see how to make each one). Each day between November 18-22, we will be adding more projects to the list so keep an eye out!

If you’d like to save this project for later, be sure to pin it or share it to your favorite social platform!
Until next time, happy building!