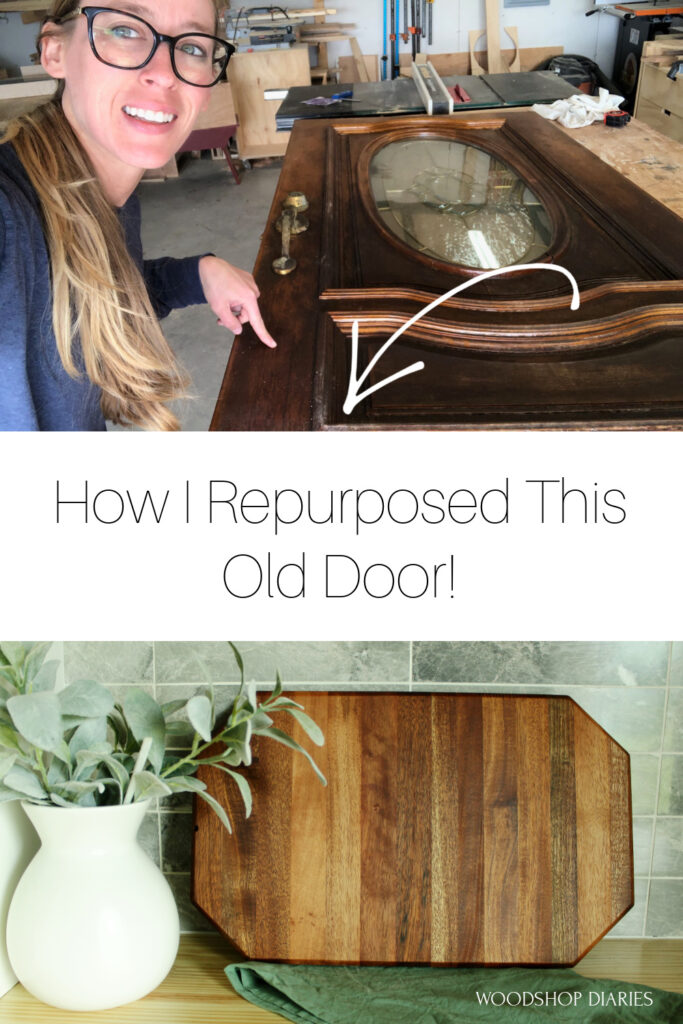
Check out I created a simple DIY cutting board from my parent’s old mahogany front door in this post!
When my parents built their current home in 1999, budgets were tight and they didn’t splurge for a whole lot—except the front door.
.
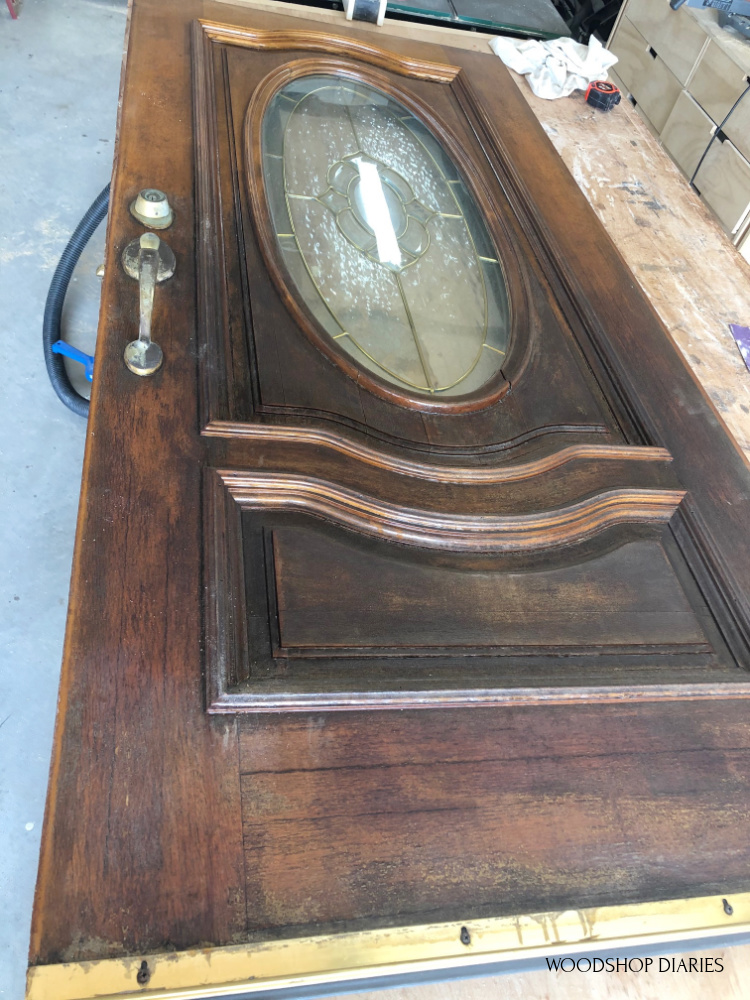
The front door was the one piece that they felt was worth a little extra so they got a solid mahogany front door. Back in the day, it was quite the beauty.
.
But after 22 years of sun, rain, and varnish, it needed a little TLC. I helped my dad replace it a couple weeks ago but they really didn’t want to just throw it away.
So I brought it home to see what I can make out of it to keep as a little sentimental remembrance of the original wood door.
.
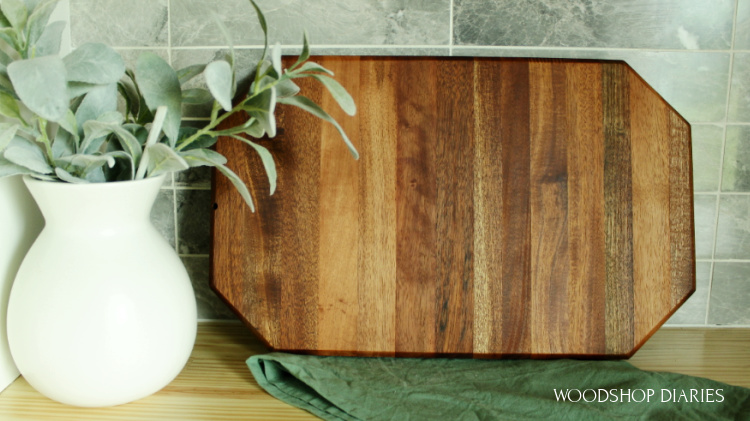
And I made them a simple DIY cutting board!
.
Now, making the cutting board was the easy part…cutting down the door was a little more challenging than I expected. But I’ll talk about that later 🙂
.
For now, check out the video for the whole story and to watch it come together. And keep reading below for the written tutorial.
This post contains affiliate links. See policies.
Tools and Materials Used:
- Prybar and hammer (to remove trim and nails)
- Screwdriver (to remove door hardware)
- Circular saw
- Miter Saw
- Table Saw
- Pipe Clamps
- Wood Glue
- Sander
- Router and Chamfer Bit
- Walrus Oil Furniture Butter
Step 1: Remove Hardware and Trim
First thing was first, I removed all the hardware from the door to get started. You can probably tell this was all original as well haha.
.
I was going to use my circular saw to cut the sides of the door off first, so I needed a fairly flat surface to run my saw base along.
.
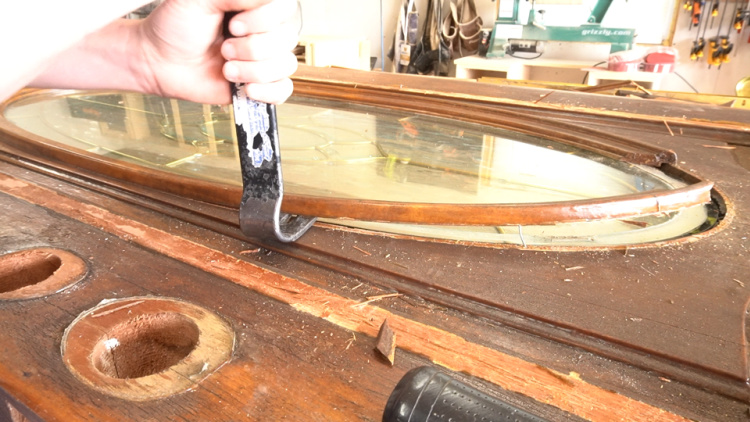
I used a prybar and a hammer to remove the trim along the bottom and to carefully remove the trim around the glass panel.
Step 2: Cut Off One Side of Door
I removed all the nails I could find and then grabbed my circular saw and rip cut to cut off one side of the door.
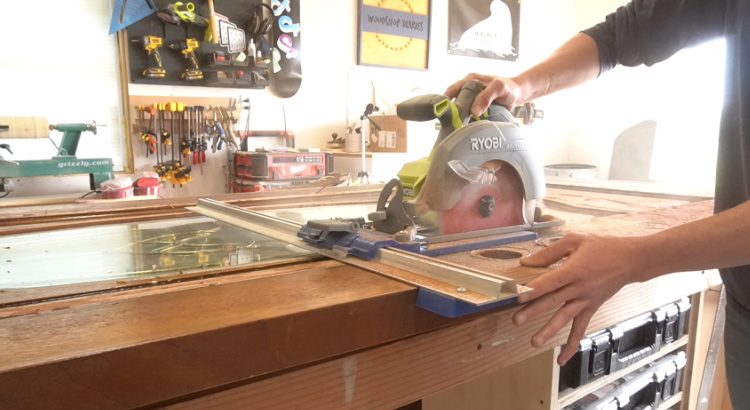
I cut it right where the edge of the trim had been.
SURPRISE–“Solid Wood” Wasn’t SOLID WOOD
So, I realize now how naïve I was to think that this side piece was an ACTUAL solid piece of mahogany.
.
I legitimately thought this side pieces was one solid piece of mahogany and I’d cut this off, run it through the planer, rip it into pieces on the table saw, glue it up into a cutting board any size I wanted and be done with this project.
.
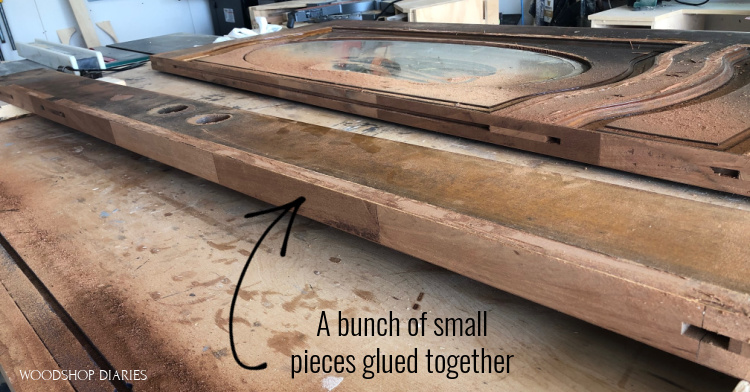
So I was unpleasantly surprised to flip this over and find that the sides here were just small glued together pieces covered in a veneer on both sides. Well, crap.
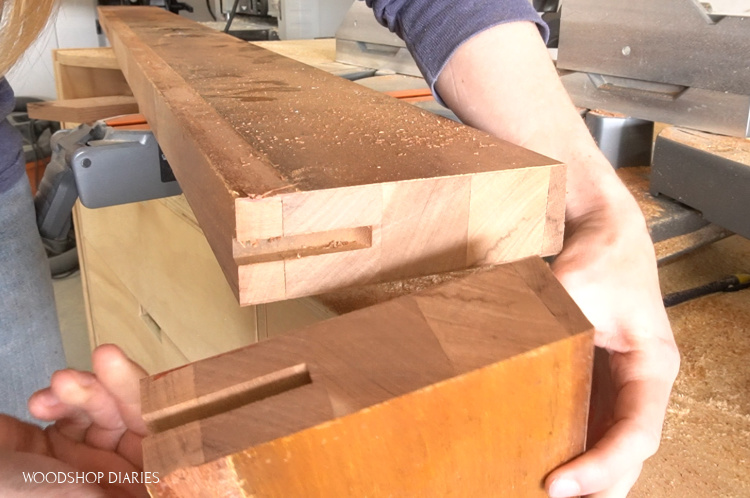
I took this piece to the miter saw to cut off the end and get a better look of what was inside. Again, I honestly don’t know why I expected that this would have been solid. I know better than to have thought it would be that easy haha.
.
I saw that it looked like the equivalent of 2x2s cut to random lengths and glued together. That makes sense as I’m assuming building them this way is both cheaper and less prone to warping.
This was disappointing, BUT still workable. So I moved on to step 3.
Step 3: Rip Boards Along Glue Seams
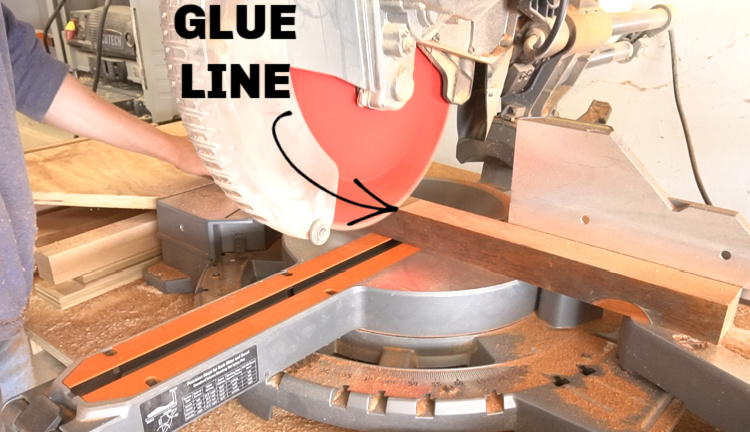
I cut this piece into shorter lengths on the miter saw and ran them through the table saw along the glue seams to get my solid pieces for the cutting board.
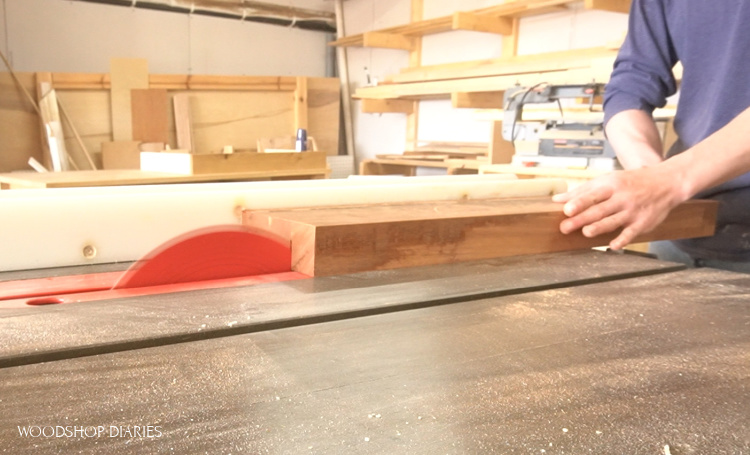
I just cut along the glue seams–they didn’t have to be the exact same widths.
.
By the time I cut out the useable pieces from the door side, it was not nearly as much wood as I thought it would be.
So I cut off the other door side and the bottom to use as well.
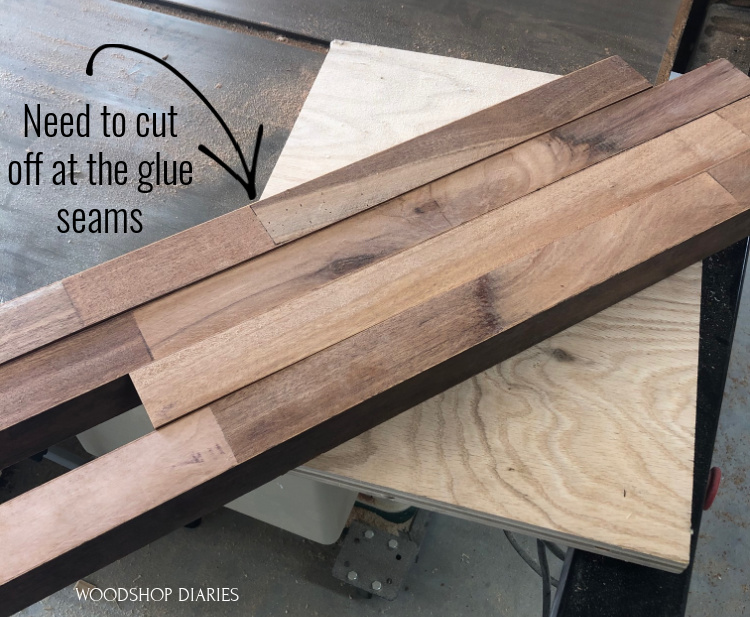
Step 4: Trim Down to Solid Wood
Now, I really didn’t want gaps and seams showing between my boards, so I trimmed these strips along the glue lines down into just solid pieces. I only kept the ones that were 12″ or longer–which, sadly, wasn’t many of them.
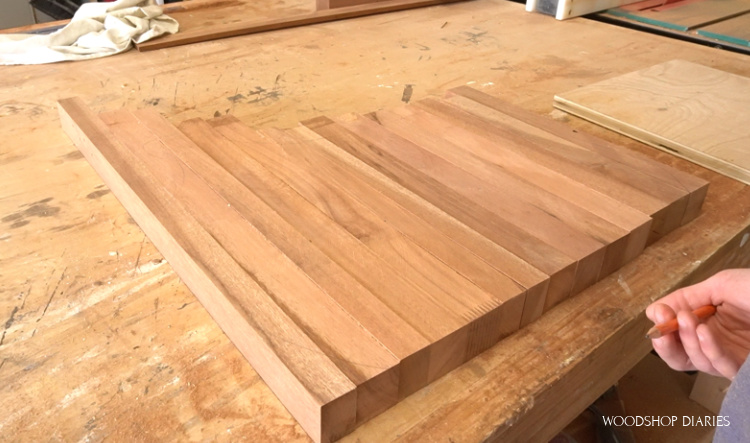
Since these were so short, if I made a normal cutting board with the grain running the length of the board, it would be pretty small.
.
So, I played around with the design to try and utilize as much wood as I could and decided to glue it up like this and use the tall pieces as a handle.
Clearly, I changed my mind later, but that was my initial thought. Bear with me here—I was completely winging this project. The fact the door wasn’t made how I had assumed really threw me off haha.
Step 5: Remove Veneer and Glue Up Cutting Board
Before I did any gluing, I ran these pieces through the table saw again to just barely trim the sides to remove the veneer that had been on the front and back sides of the door.
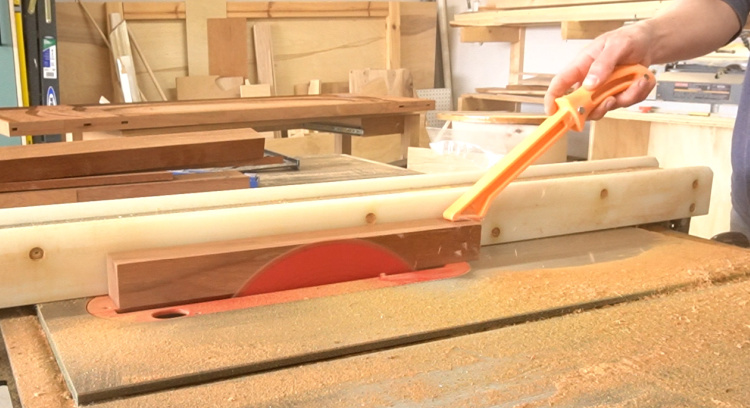
This gave the pieces all fresh surfaces and a common thickness so they will glue up fairly evenly.
.
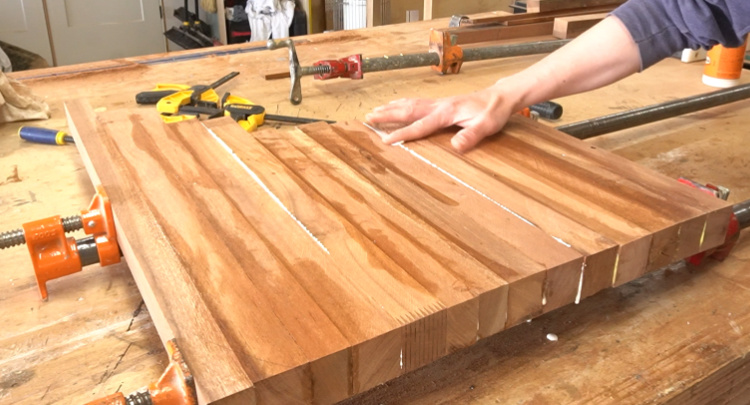
Then, I glued the pieces together in three small sections.
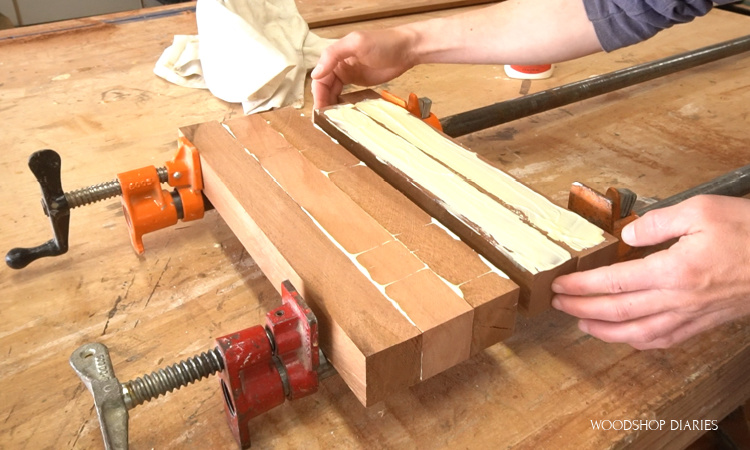
After all three sections had dried, I glued them together into one large piece.
.
Check out the video for more details.
Step 6: Trim Cutting Board to Final Size
After the glue dried, I traced out my handle shape and used a jig saw to cut it out. Long story short, I hated it and ended up deciding to trim it off into a rectangle.
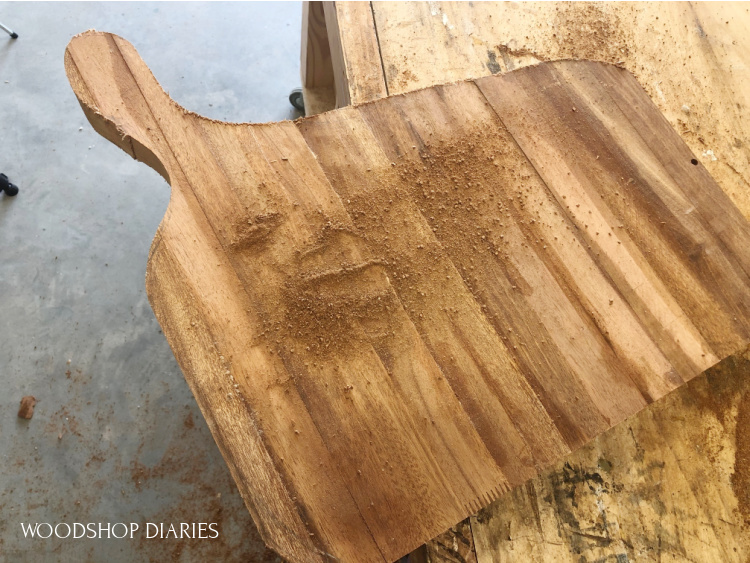
Since the grain was running the opposite way than usual, I really thought I could make this extra unique with a cool shape, but rectangles are cool, too, right? Ha.
.
I trimmed this down on the table saw to remove the awkward handle situation.
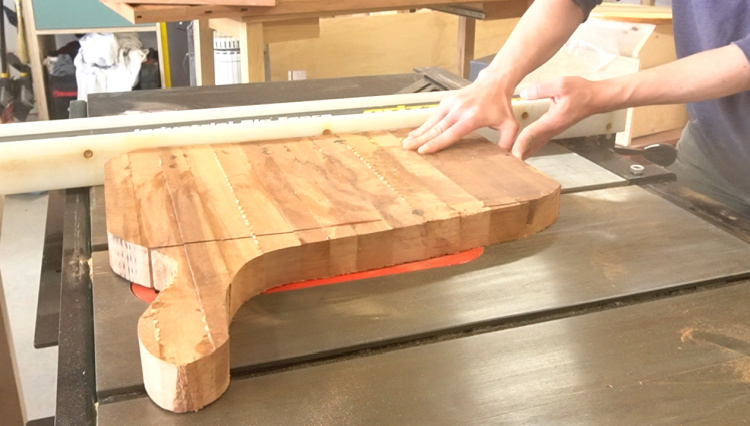
Then I adjusted my miter saw to 45 degrees and mitered the corners since I had rounded them with the jig saw already—this at least smoothed things out a little.
Step 7: Sand and Finish Cutting Board
I used a belt sander to smooth, level, and remove any glue. If you had a planer large enough, that would be helpful here.
.
I sanded it down from 120 to 400 grit on my orbital sander to get it ready for finish.
.
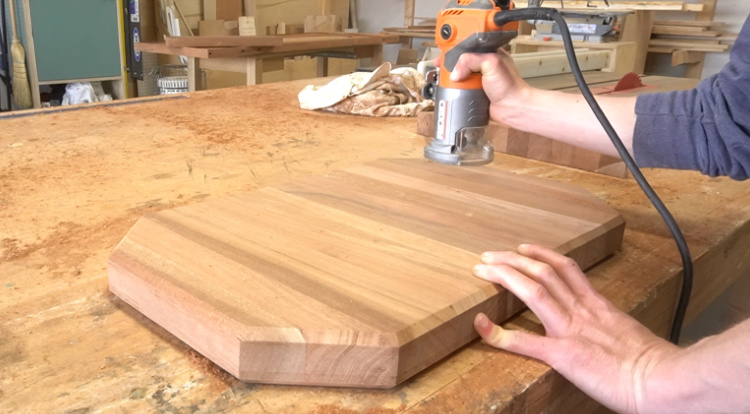
To soften the edges, I installed a chamfer bit on my router and cut a small chamfer along the top and bottom edges.
Then, removed the dust and used some Walrus Oil Furniture Butter to finish it.
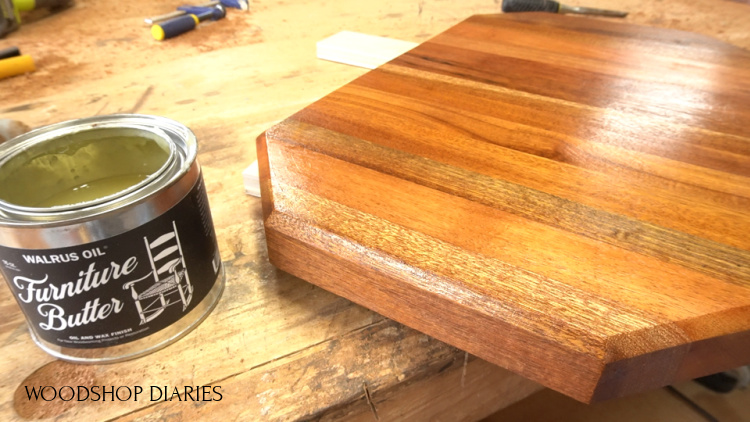
You can use any oil/finish that you prefer here and Walrus Oil actually has a specific cutting board oil as well. This is just what I had handy and it works fine.
.
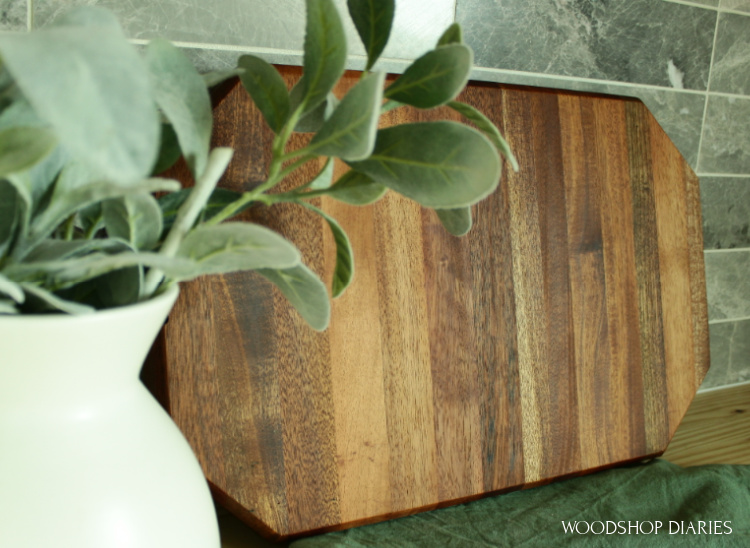
This may not be my biggest and best project, but it was a fun learning experience and mom and dad got a nice looking way to keep a piece of their old front door.
If you enjoyed this DIY cutting board build and want to see what else I get into for future projects, be sure to subscribe to our newsletter so you stay up to date on all the latest happenings.
For more easy cutting board and kitchen ideas, check out these favorites!

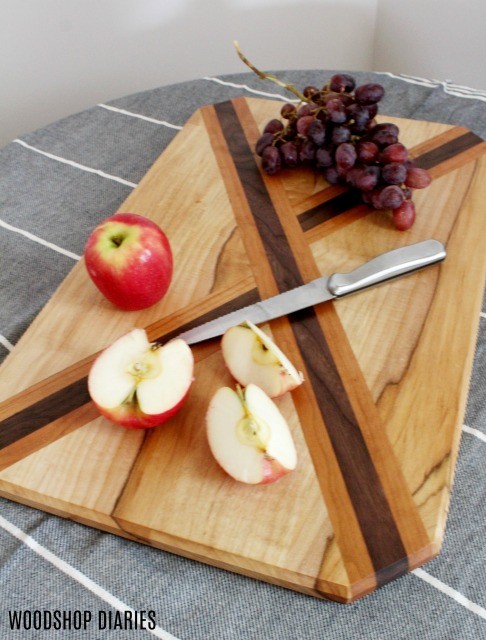
X Cutting Board 
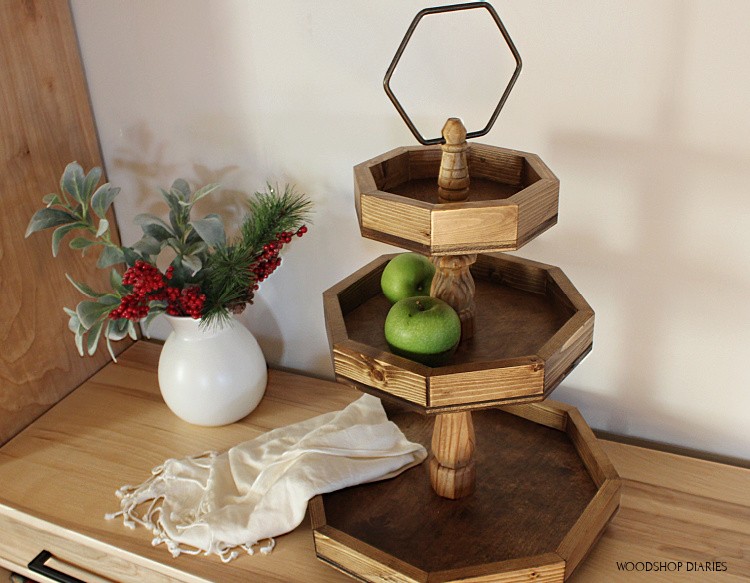
3 Tier Tray 
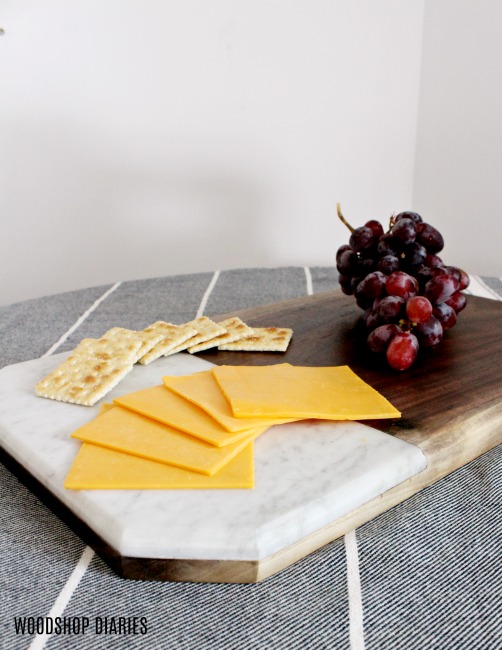
Marble and Walnut Cheese Board 
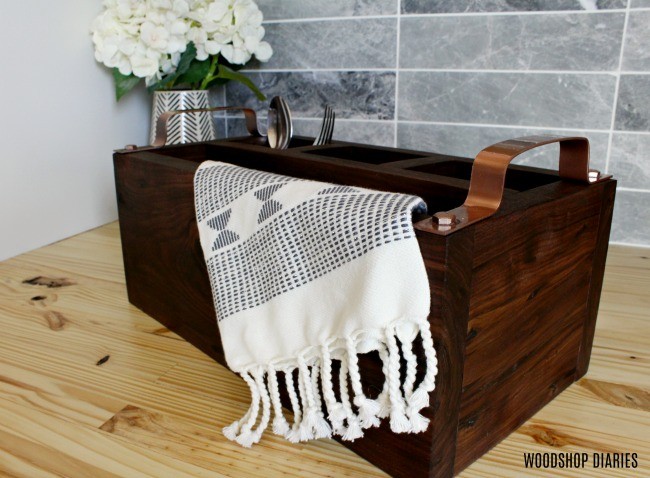
Flatware Caddy
And if you want to save this for later, don’t forget to pin or share on your favorite social channel.
Until next time, friends, happy building! 🙂