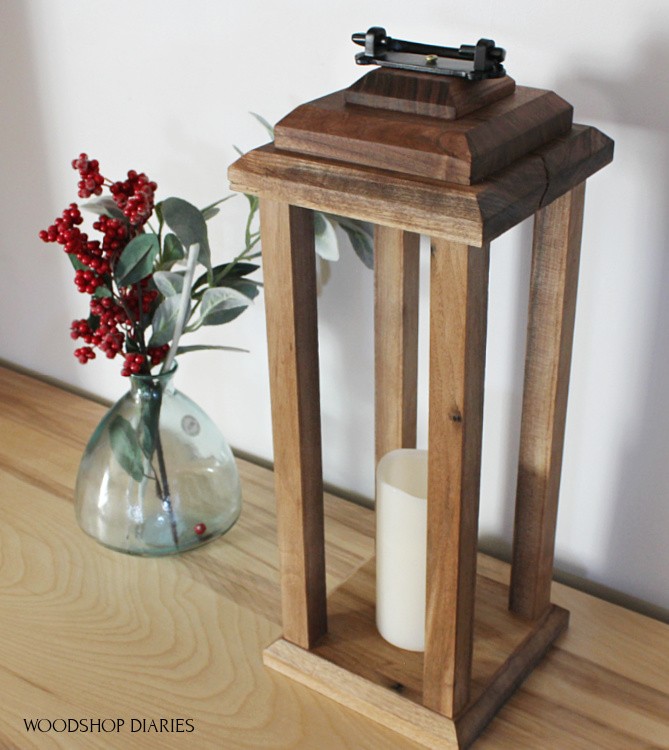
In this post, I’ll show you how to make and customize your own DIY outdoor scrap wood lantern!
.
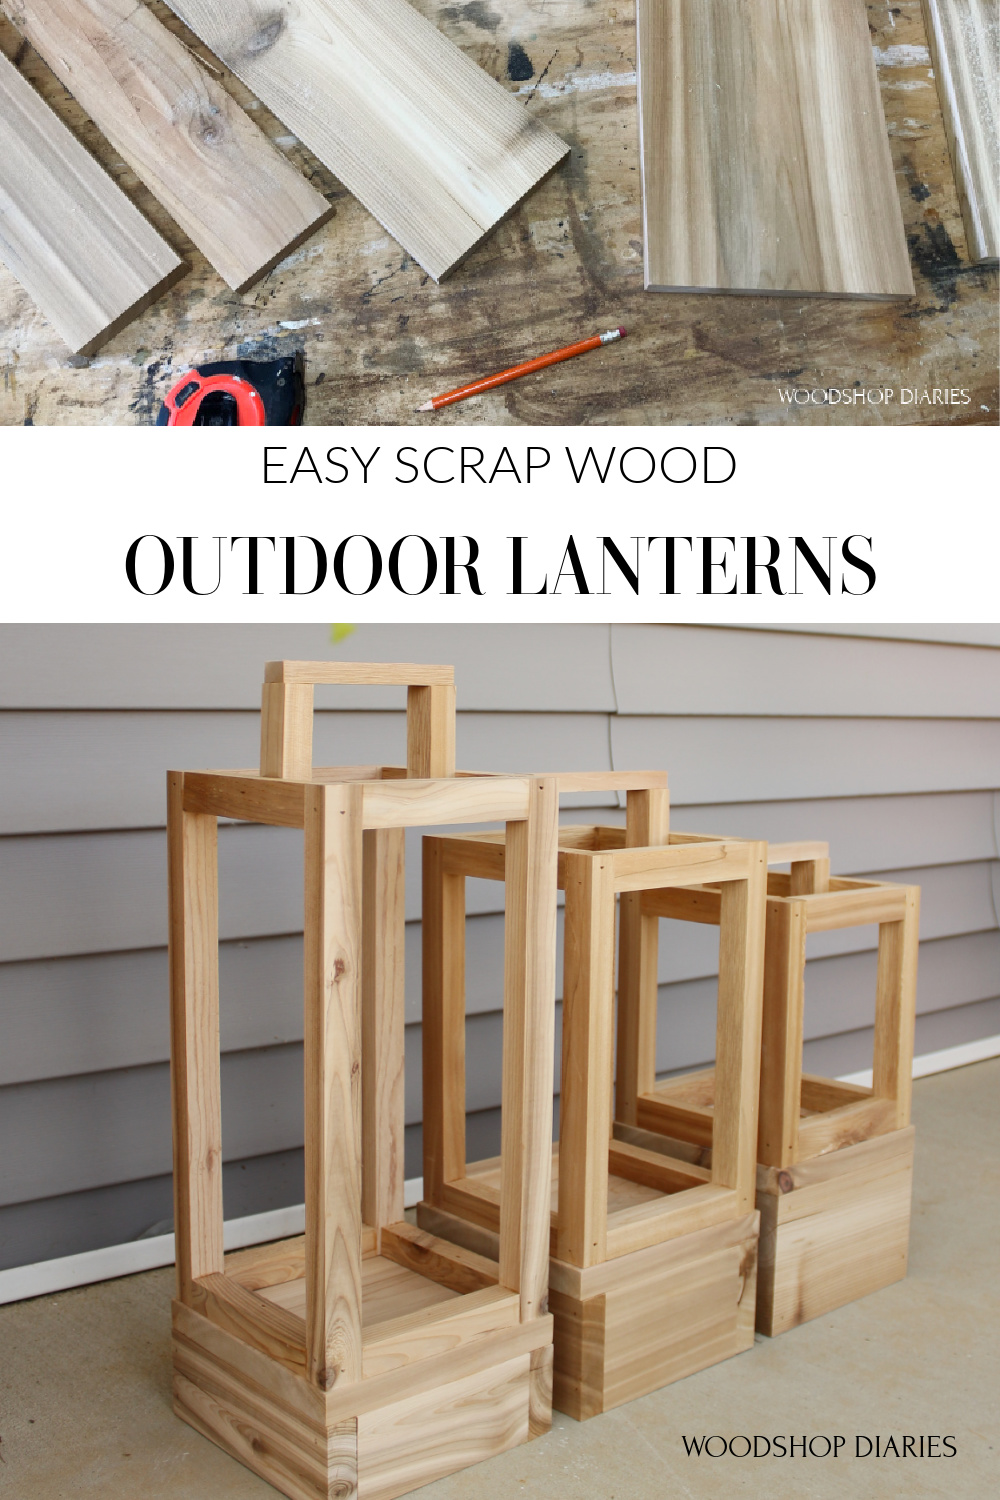
How cute are these?? You can make just one or several in different sizes.
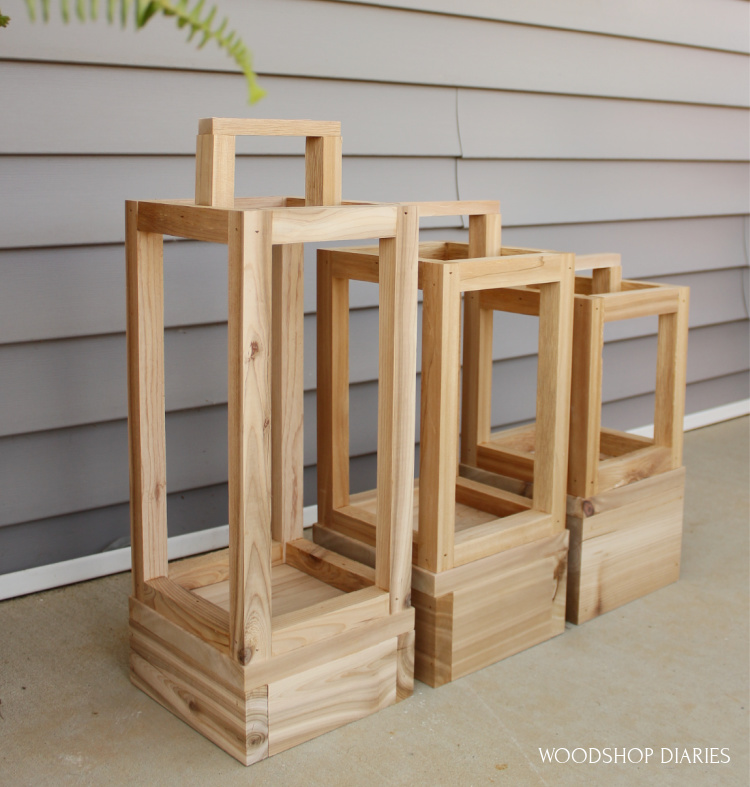
My mom recently asked me to make her some simple wooden outdoor lanterns that she could hang on her pergola in the back yard and put some solar lights inside.
.
She wanted different sizes, so I made these three and they’re super easy to customize so you can mix and match and make any size you need.
.
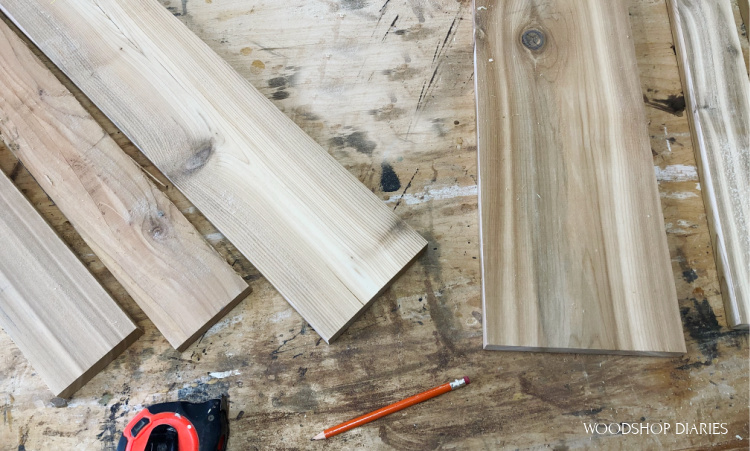
I dug around my shop and found some scrap cedar for this project. Cedar is great for outdoor projects since it’s naturally rot resistant, but you can use any wood for this and use a good outdoor paint or sealant to protect it.
Now, let’s get building 🙂
Tools and Materials:
This post contains affiliate links. See policies.
Materials:
- Scrap wood (amount depends on size and how many you make)
- Wood Glue
- Brad nails
Tools:
Step 1: Determine Lantern Base Size
My mom had purchased some little solar lights (I don’t know where she got them, but here are some similar) that she wanted to set inside the lanterns. So first, I needed to measure these and make sure to build these large enough for the lights to sit down into.
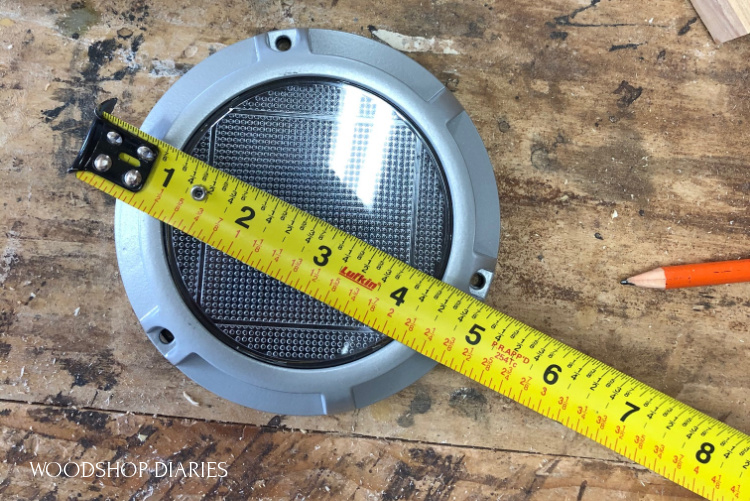
These were about 5″ in diameter, so I made my base about 7 ¼″ square. A typical 1×8 board is actually 7 ¼″ wide, so I just cut three pieces of 1×8 to 7 ¼″ long to give me three squares.
Step 2: Build Outdoor Scrap Wood Lantern Base
The bases of these lanterns are a simple box with these 7 ¼″ square pieces nailed to the top. So I cut four pieces that when put together, will make a 7 ¼″ square box.
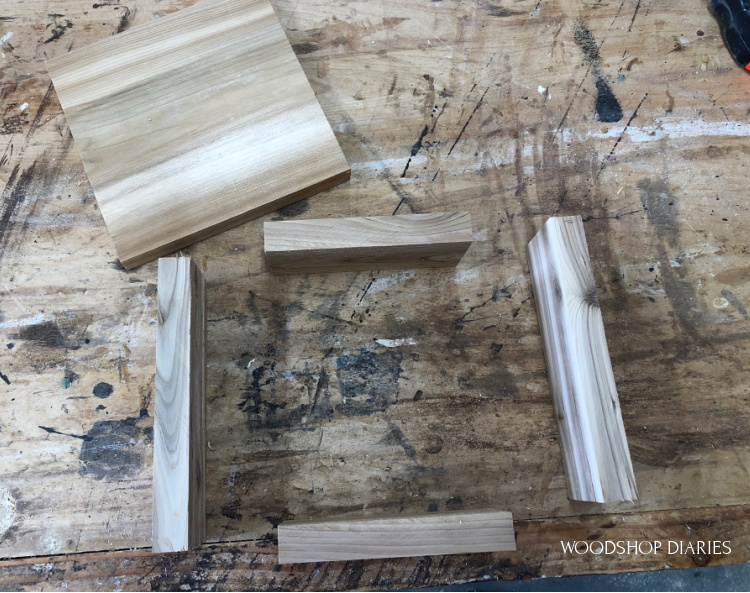
Now, I made these boxes different heights for each lantern.
.
For the tall lantern, I used 1x3s (which are 2 ½″), for the middle, I used 1x4s (which are 3 ½″) and for the short one, I trimmed the pieces to 4 ½″ wide so each box was 1″ taller than the other.
.
I glued and nailed these boxes together.
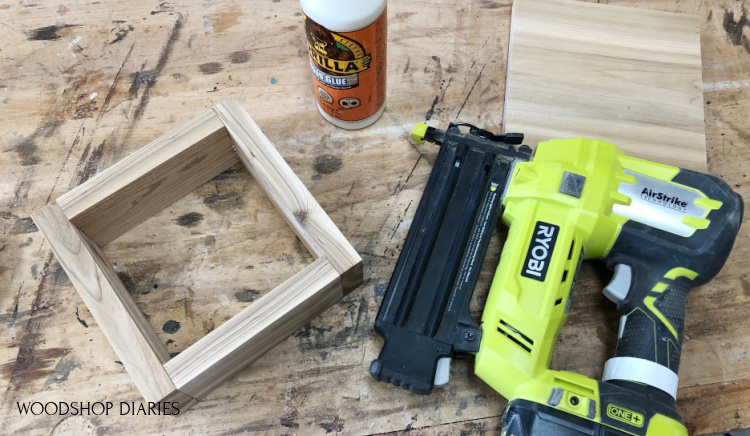
Then, I glued and nailed the 7 ¼″ square pieces on top of each box.
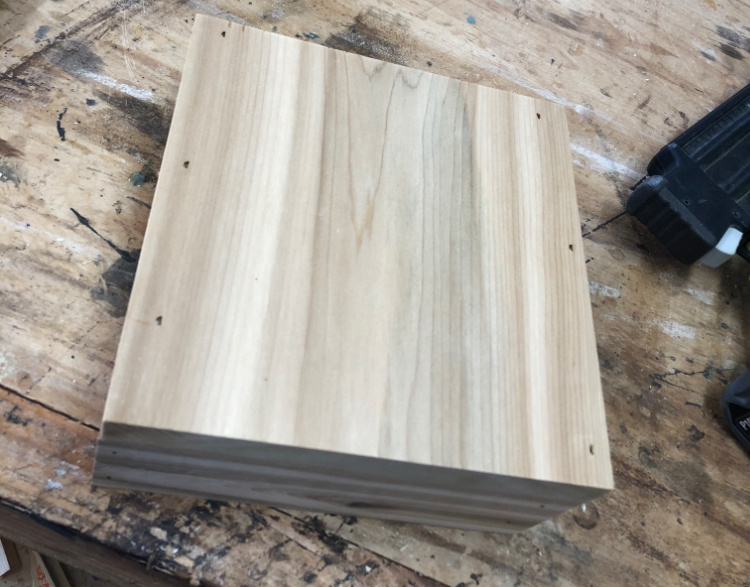
Step 3: Build Scrap Wood Lantern Frames
For the top sections of the lanterns, I used ¾″ square dowels. You can purchase these precut dowels from the big box store, but if you have a table saw, you can simply rip any 1x board into ¾″ wide strips and make your own.
.
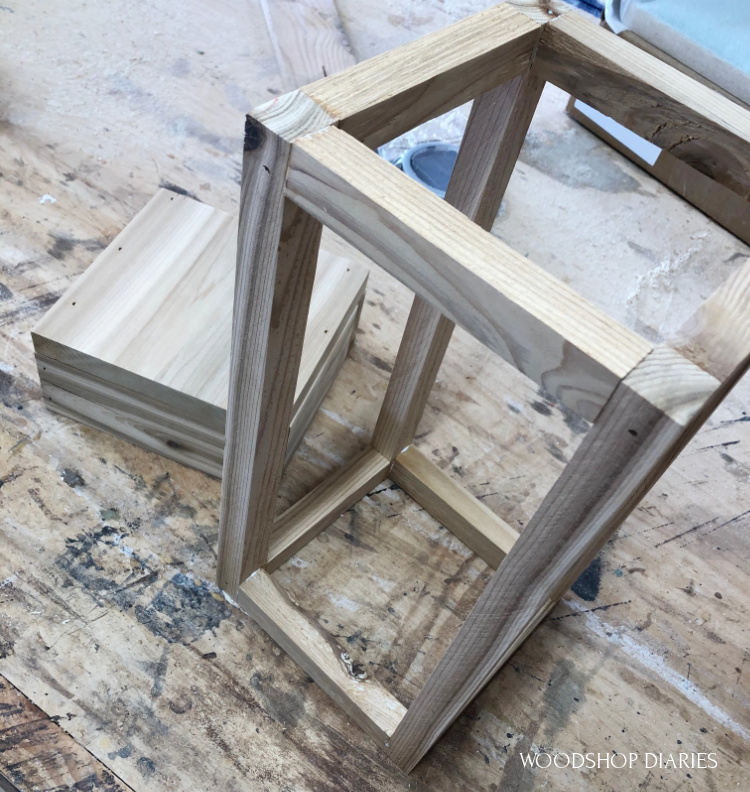
Each lantern frame will have 4 corner pieces and 8 pieces about 5 ½″ long.
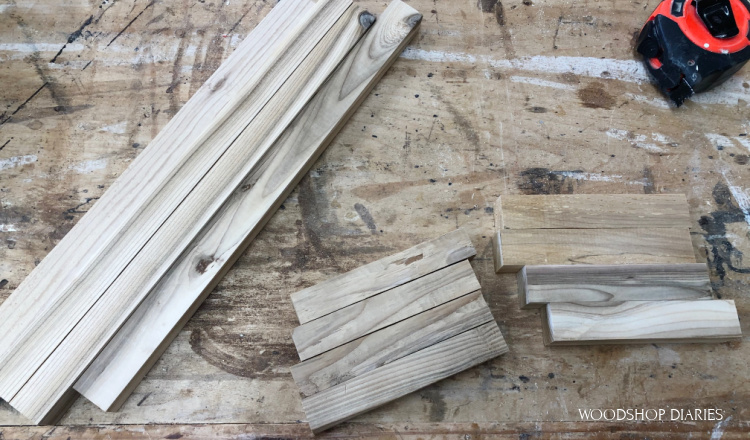
To change the height of the lantern, simply adjust the length of the four corner pieces. I cut my tall ones 14″ long, the middle 11″ long and the small one 8″ long.
.
I glued and nailed two frames together.
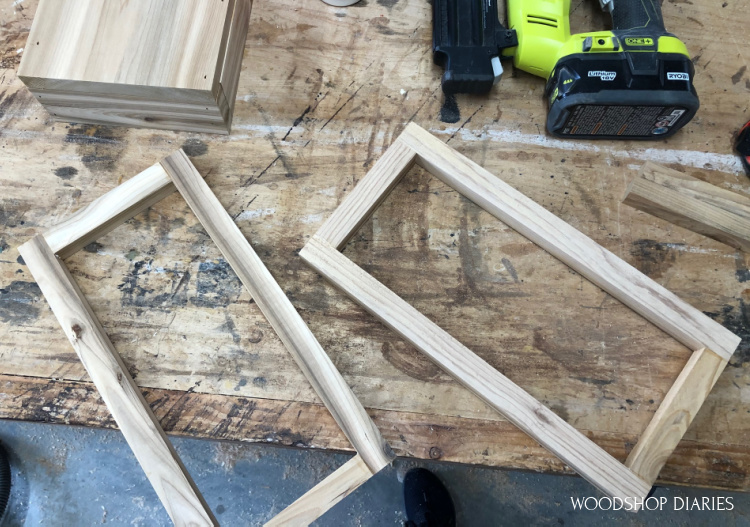
Then, I glued and nailed the other pieces between them at the corners to complete the whole lantern frame.
Step 4: Attach Lantern Frame to Base
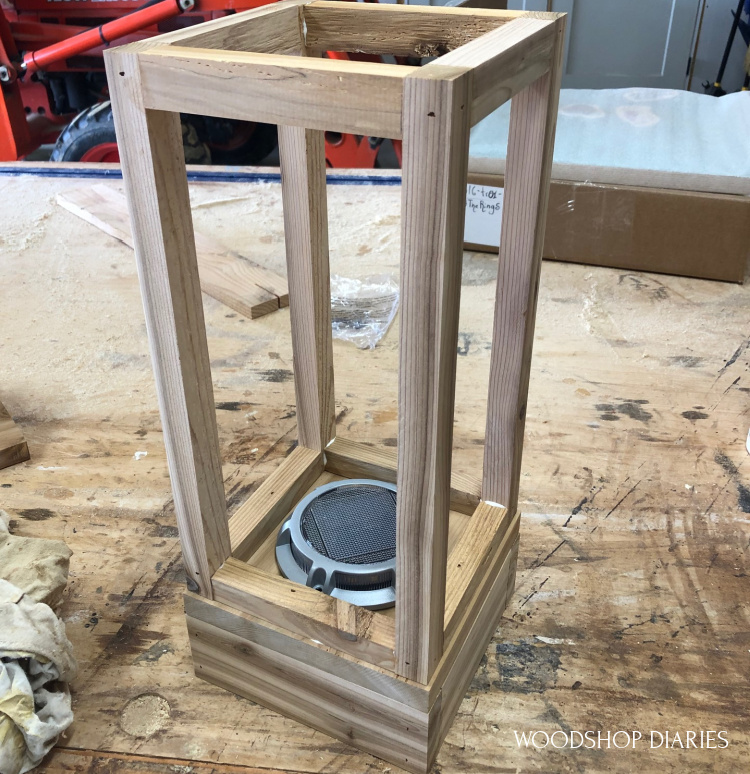
Once I had my bases and my frames complete, I put them all together.
.
I glued and nailed the tops to the bottoms like shown here.
Step 5: Add Handle
You can leave as is, but since my Mom planned to hang these from her pergola, I added a little wooden piece at the top to hang them from.
.
I just used some of my scrap pieces and glued and nailed a little handle across the top section of each lantern.
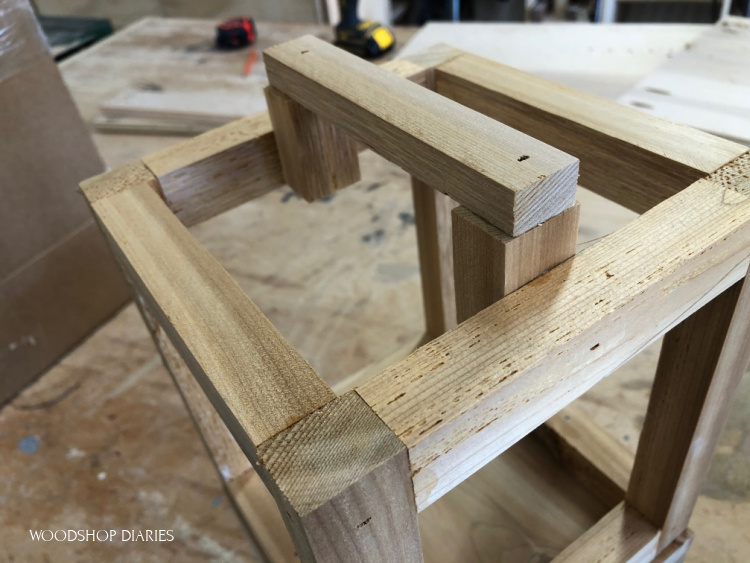
You may think that these won’t be strong enough to hang from, but you’d be surprised how strong wood glue is. It’s pretty impressive.
.
I think this alone should hold them fine, but you could always add some screws or a beefier handle if you wanted 🙂 Feel free to get creative!
.
You can apply a clear coat or a finish of your choosing (if you plan to use these outdoor, be sure to use an EXTERIOR finish). But I left these natural cedar.
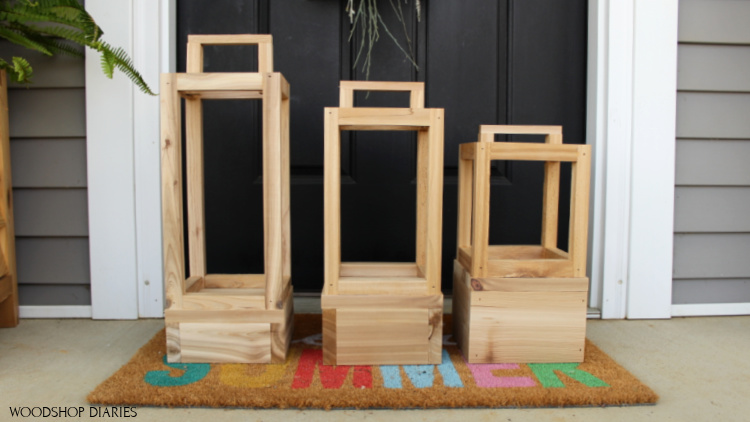
Add your own solar lights, plants, decor, etc. And bring them inside or leave them outside…lanterns are such a fun and versatile project, you can move them around and use them tons of different ways.
.
So I hope you enjoyed this DIY outdoor scrap wood lantern project and I hope it’s inspired you to dig around your scrap wood pile and see what you can make! If you want more scrap wood project ideas, here’s a few of my favorites!
If you’d like to save this for later, don’t forget to pin it or share to your favorite social channel.
And if you’d like to follow along and see all the latest projects, posts, and videos, I’d love if you’d join our newsletter to stay in the loop!
Until next time, happy building 🙂


