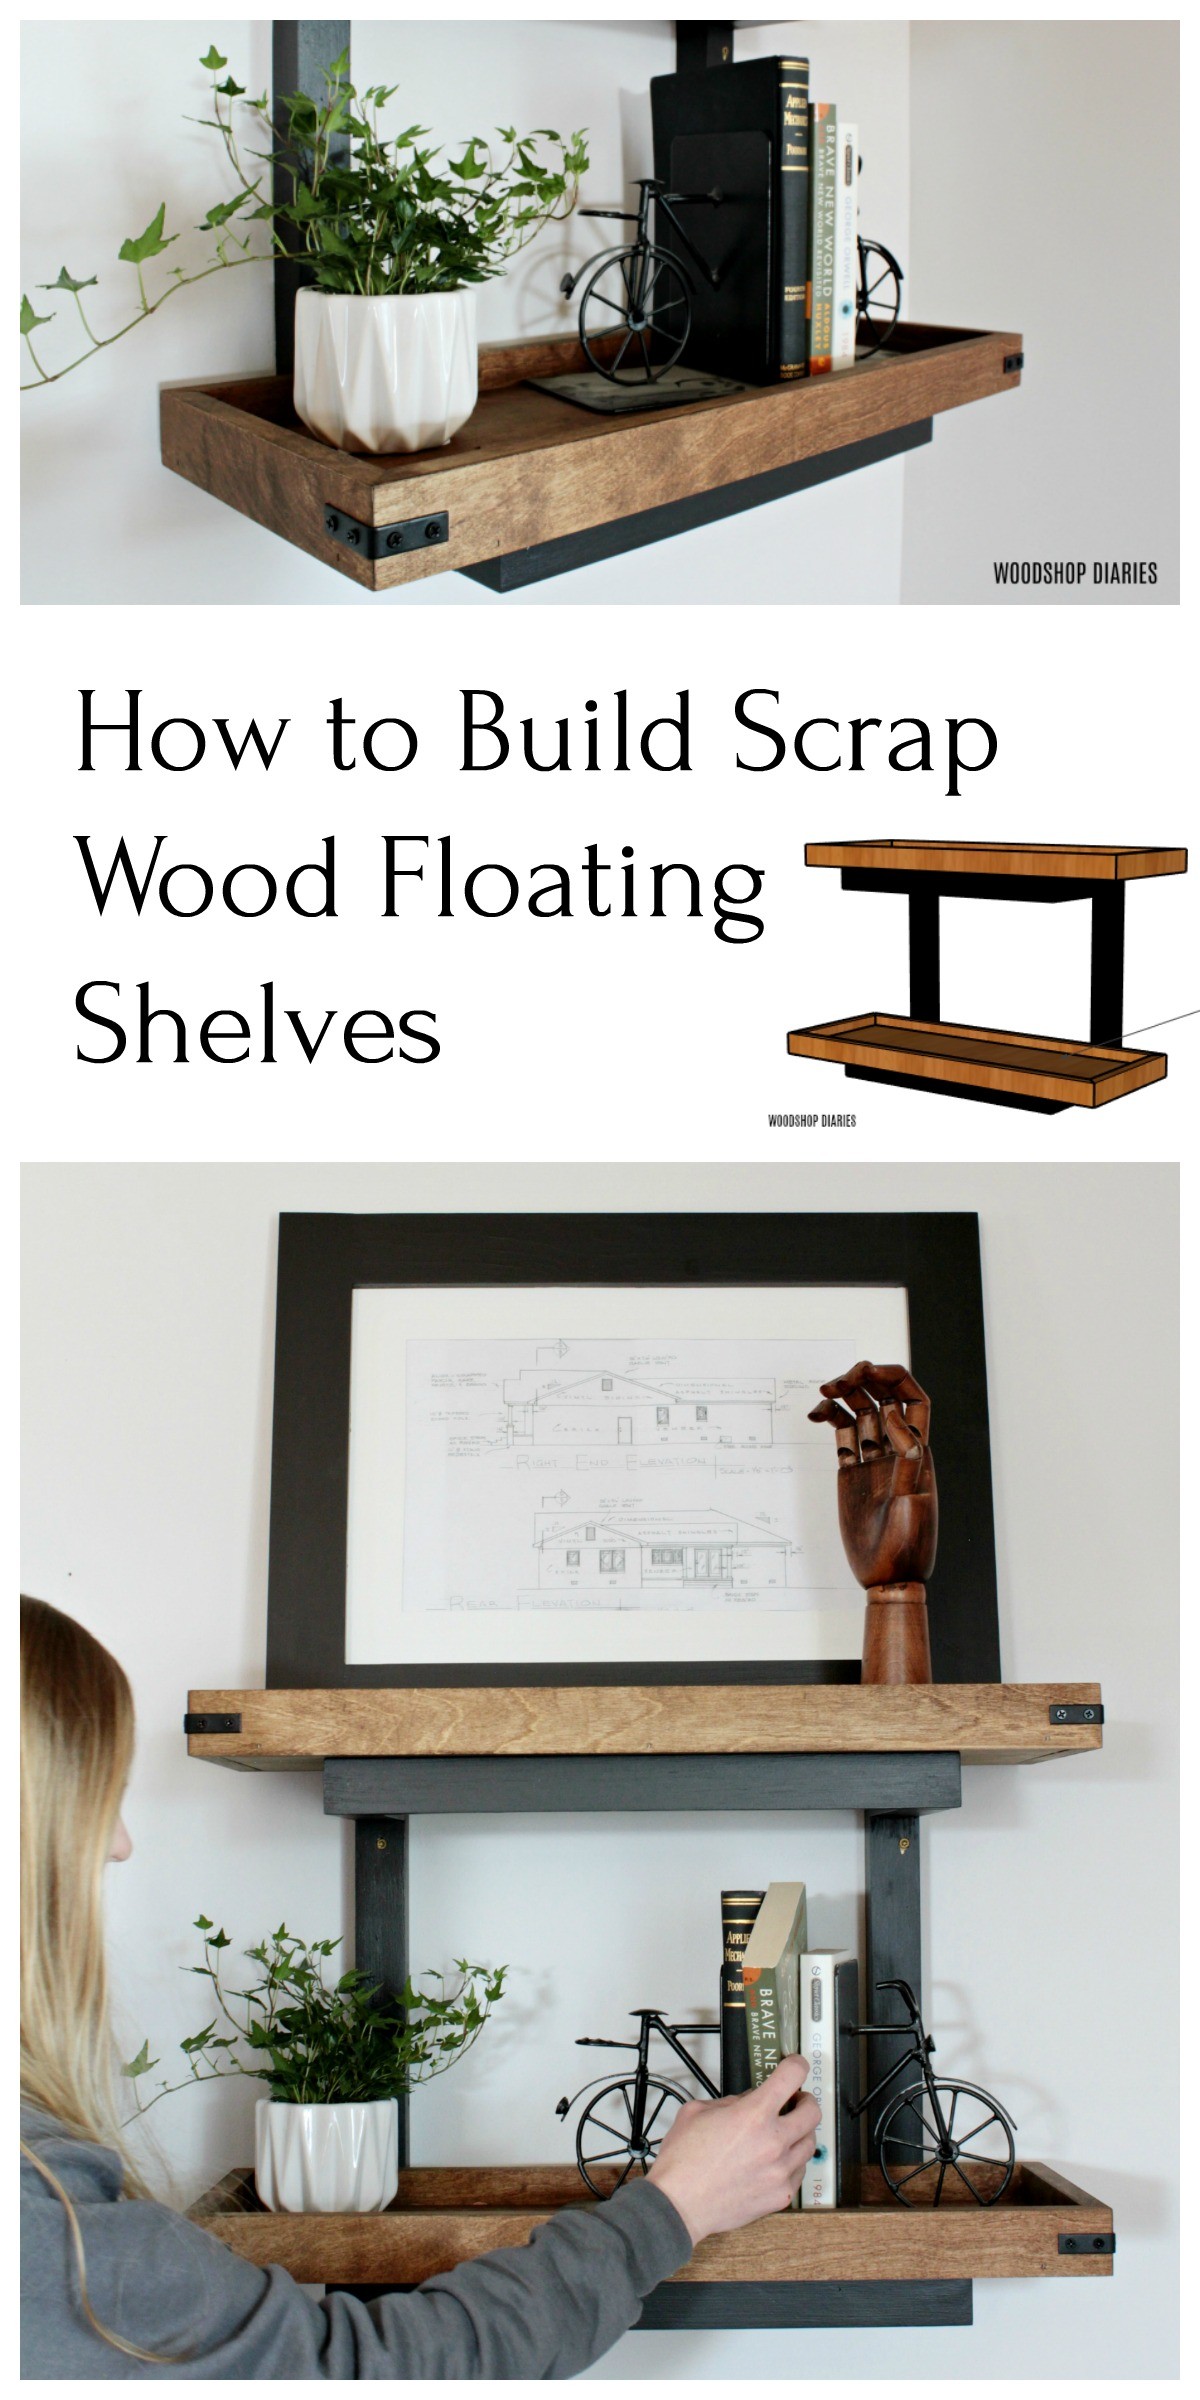
If you’ve been looking for some DIY wall shelves, this is the post for you! These were built from scrap wood and you can hang these floating wall shelves without any bulky brackets or hardware!
I love building large furniture, but every now and then it’s fun to tackle a smaller project and get rid of some of my scrap pile.
.
So I grabbed some 2xs I had leftover after making the kid’s house bed I built recently and a few random pieces of plywood and brainstormed how I could make something useful from them.
.
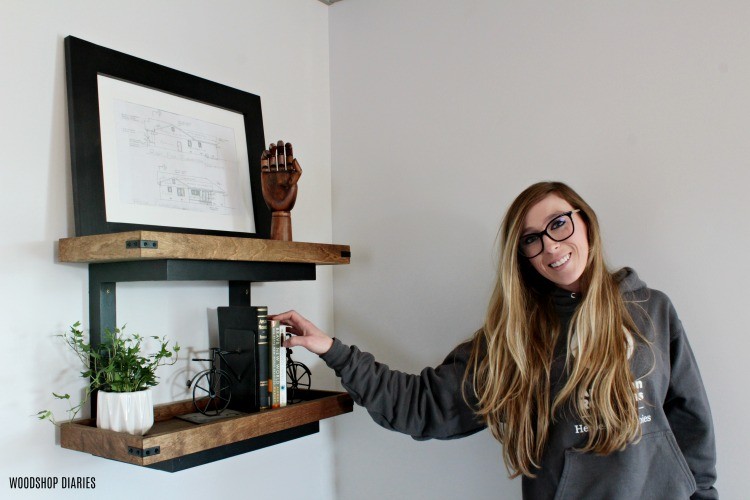
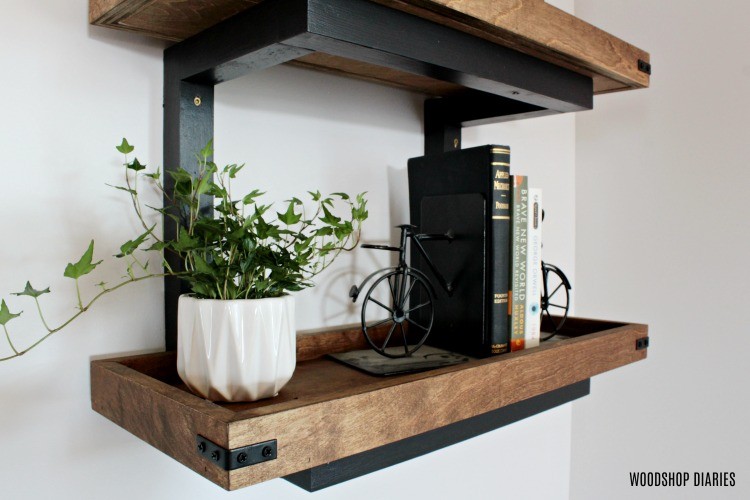
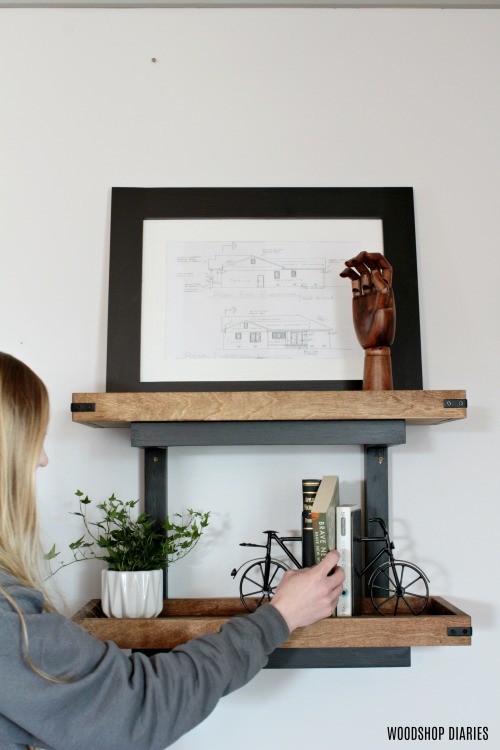
And this is what I came up with.
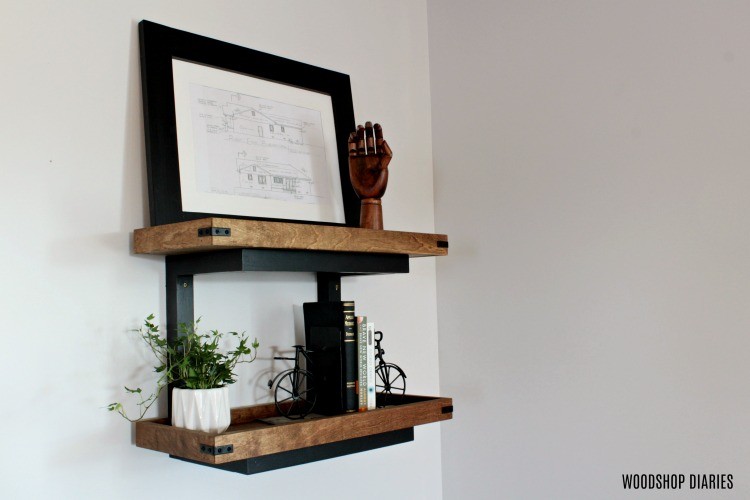
These DIY wall shelves came together SUPER easily and I’ve got the step by step for you in this post and the video tutorial here:
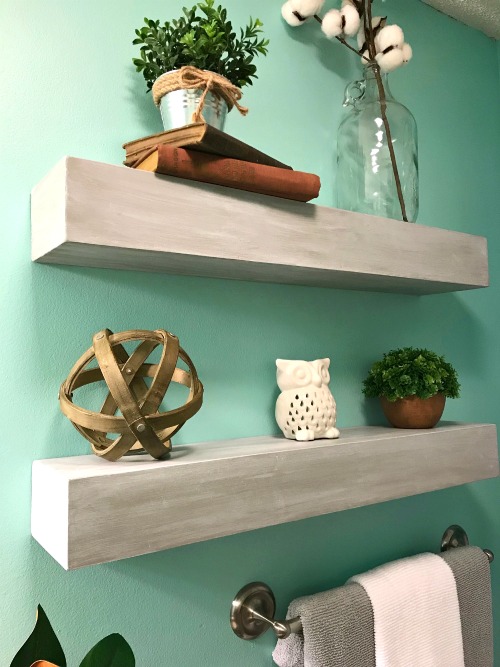
PS if you want another floating shelf idea, this one’s pretty popular, too!
How to Build DIY Wall Shelves
This post contains affiliate links. See policies page.
DIY Wall Shelves Tools and Materials:
.
- Scrap 2x2s (about 75″ total)
- Scrap ¾″ plywood (8″ x 24″ pieces)
- Miter Saw
- Drill
- Nail Gun
- Wood Glue
- 1 ¼″ and 3″ wood screws
- Decorative L brackets (optional)
Cut List:
- (4) 2×2 @ 6″
- (2) 2×2 @ 15″
- (2) 2×2 @ 17 ½″
- (2) 3×4″ plywood 8″ x 24″
- 1x2s or thin strips of plywood cut to fit around shelves (optional)
Step 1: Build Shelf Frame
.
The first thing I did was cut down my boards into useful sizes. Because I was using 2×6 boards leftover from the recent bed build, I squared off these 2×6 scraps, then ripped them down to make 2x2s to use for the shelf frames.
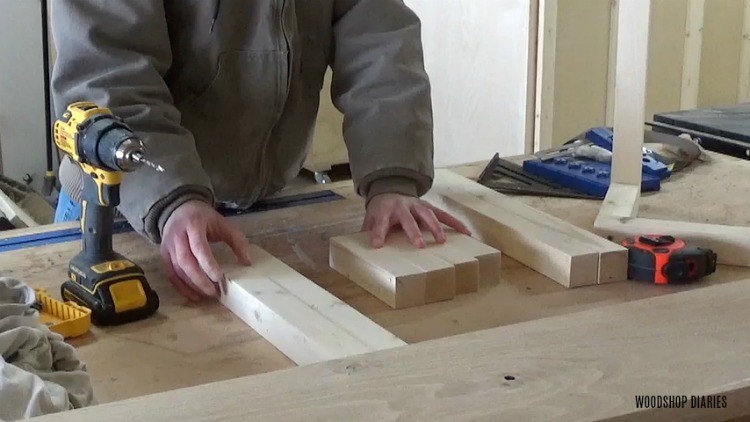
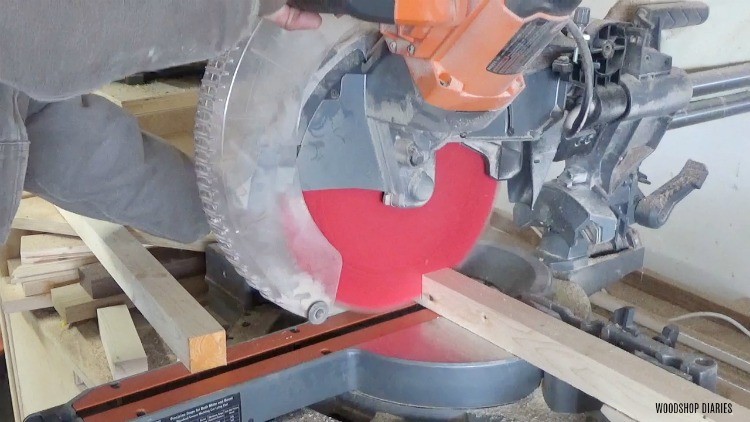
Once I had them ripped down, I trimmed them to length on the miter saw. The cut list is found above.
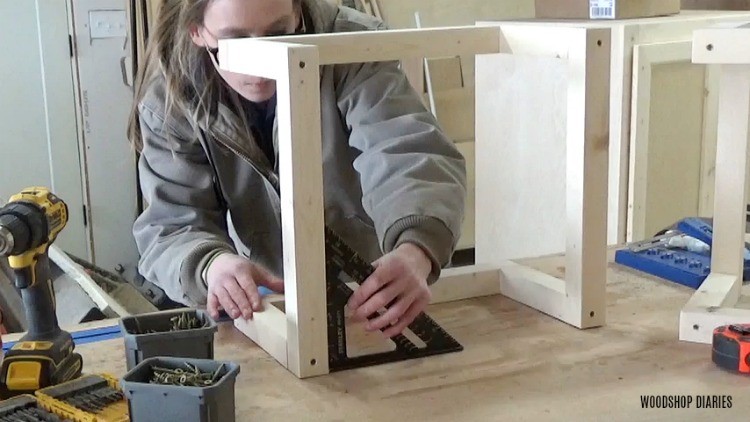
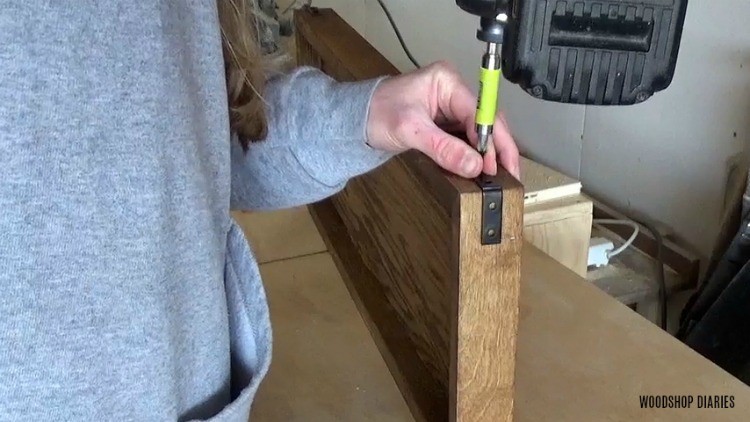
You can use all kinds of fancy joinery techniques here, but since I was painting these frames and this is just a simple DIY wall shelf, I just used wood glue and 3” wood screws to attach the frame together.

I made sure to predrill the holes before driving the screws though because 2x2s split really easily if you don’t predrill.
.
You’ll notice that I made these frames so that the back pieces are spaced apart about 16” center so they can easily screw into the wall studs once they’re complete. This allows you to hang these shelves without brackets.
.
Once the frame was assembled and before the glue dried completely, I checked that the frame was square. If it was a little off, it would be easy to kind of shift the frame one way or the other if the glue was still wet. But, once it’s dry, it is what it is haha.
Step 2: Cut Wall Shelves to Size
I puttied the screw holes in the frames with wood putty and while that dried, I moved on to making the actual shelf part of the project.
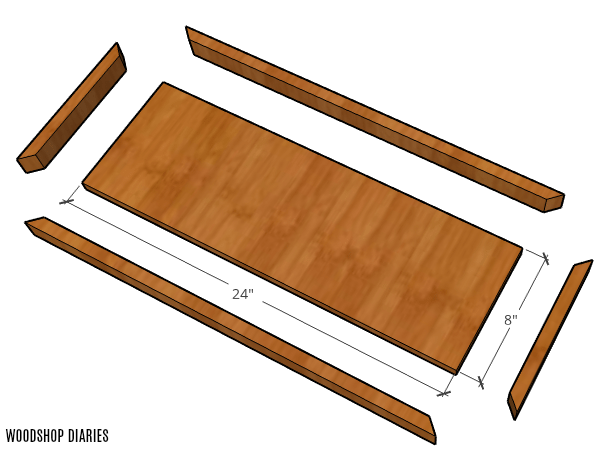
I cut two ¾” plywood scraps to 24″long on my miter saw, then cut them down to 8″ wide on the table saw. These measurements don’t have to be exact.
If you don’t have a table saw or you want to use a scrap size you already have, feel free to adjust your shelf size measurements here.
Step 3: Add Edges Around Wall Shelves
You could leave these shelves as is, just a flat board. However, I wanted to add a little lip around the edges to keep things from rolling off.
So I ripped down some thin strips of plywood to attach around the edges. You could use 1x2s for this, but I had plenty of thin strips of plywood I needed to get rid of.
Since these edges will be exposed around the top of the lip, I glued on some edge banding before cutting them to size.
.
Then, I moved back to my miter saw and adjusted the miter angle to 45 degrees. I cut to fit pieces around the bottom shelf boards like shown here using mitered corners.
.
Once I made sure all the pieces fit together well, I gave everything a good sanding before putting it together.
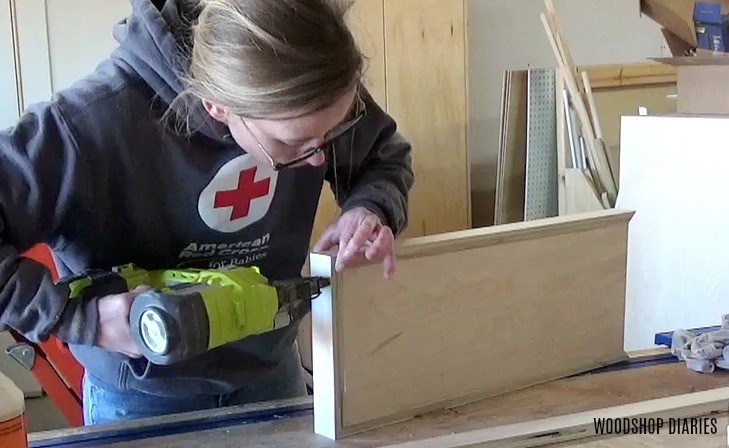
Again, you could use fancy joinery methods here, but I just glued and brad nailed the lip pieces around the shelf. It’s a scrap wood project, it’s not meant to be complicated.
Step 4: Finish Shelves as Desired
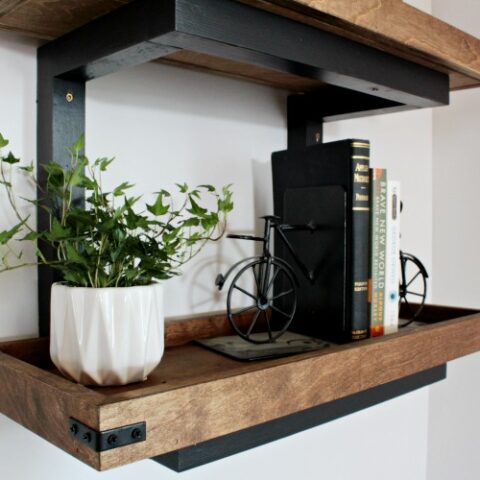
Once the shelves were assembled, I painted the frames black. Then I stained the shelves with Minwax Provincial wood stain between coats of paint.
.
To add a little industrial detail to this project, I attached these decorative L brackets on the front corners of the shelves. This is totally optional, but I liked the look of them.
Step 5: Attach Shelves to Frame and Hang on Wall (WITHOUT Brackets)
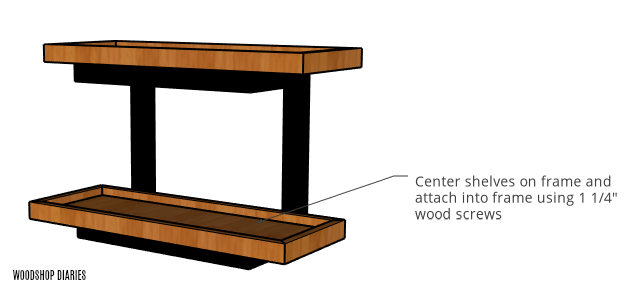
Then, I centered the shelves on the frame and attached them through the top using some wood screws.
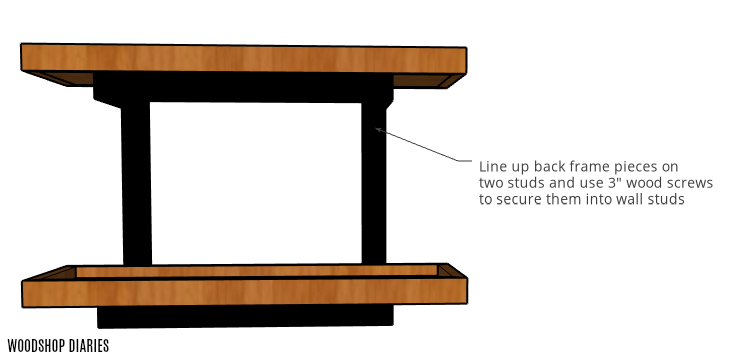
Because I spaced the back frame pieces apart about 16”, these were super easy to hang on the wall.
.
I found the studs with a stud finder, and lined the back pieces on two of them. Then I predrilled holes through the 2x2s, made sure it was level, and used 3” wood screws to drive them into the studs. No need for anchors and you don’t really notice the screws.
And that was it. Scrap wood to DIY floating wall shelves in no time 😉
.
When you’re looking for a good weekend project or something to help you control your scrap wood pile, might I suggest building a set of two of these?
Looking for more scrap wood projects? Here are a few of my favorites:
Stick around for lots more projects coming soon. Until then, be sure to pin this for later!
Until next time, happy building 🙂

DIY Wall Shelves from Scrap Wood
Are you looking for floating shelves you can DIY? This easy beginner woodworking project is the perfect DIY wall shelf project for any room in your house and can be made using scrap wood! Attach to the wall without brackets!!
Materials
- Scrap 2x2s (about 75" total)
- Scrap ¾" plywood (8" x 24" pieces)
- Miter Saw
- Drill
- Nail Gun
- Wood Glue
- 1 ¼" and 3" wood screws
- Decorative L brackets (optional)
Cut List
- (4) 2x2 @ 6"
- (2) 2x2 @ 15"
- (2) 2x2 @ 17 ½"
- (2) 3x4" plywood 8" x 24"
- 1x2s or thin strips of plywood cut to fit around shelves (optional)
Instructions
- Build your shelf frame using wood glue and 3" wood screws.
- Cut wall shelves to size using a miter saw.
- Add edges around wall shelves to create a lip to keep items from falling off.
- Paint or stain the color of your choice. Add detail to the corners by attaching decorative L brackets (optional)
- Attach shelves to frame and hang on the wall.