In this post, I’m sharing how to draw a circle (or arch) of any size using a few various, simple methods!
Drawing a circle or a curve may seem like an amateur task, but when it comes to woodworking applications, many times it can be a challenge.
.
You may need to draw a simple arch on a piece of trim, a whole circle for a round table top, or a small radius on the end of a board for a decorative detail.
.
Most likely, these will all need to be different sizes. So it’s good to know some simple ways to draw any size circle (or radius) you might need.
.
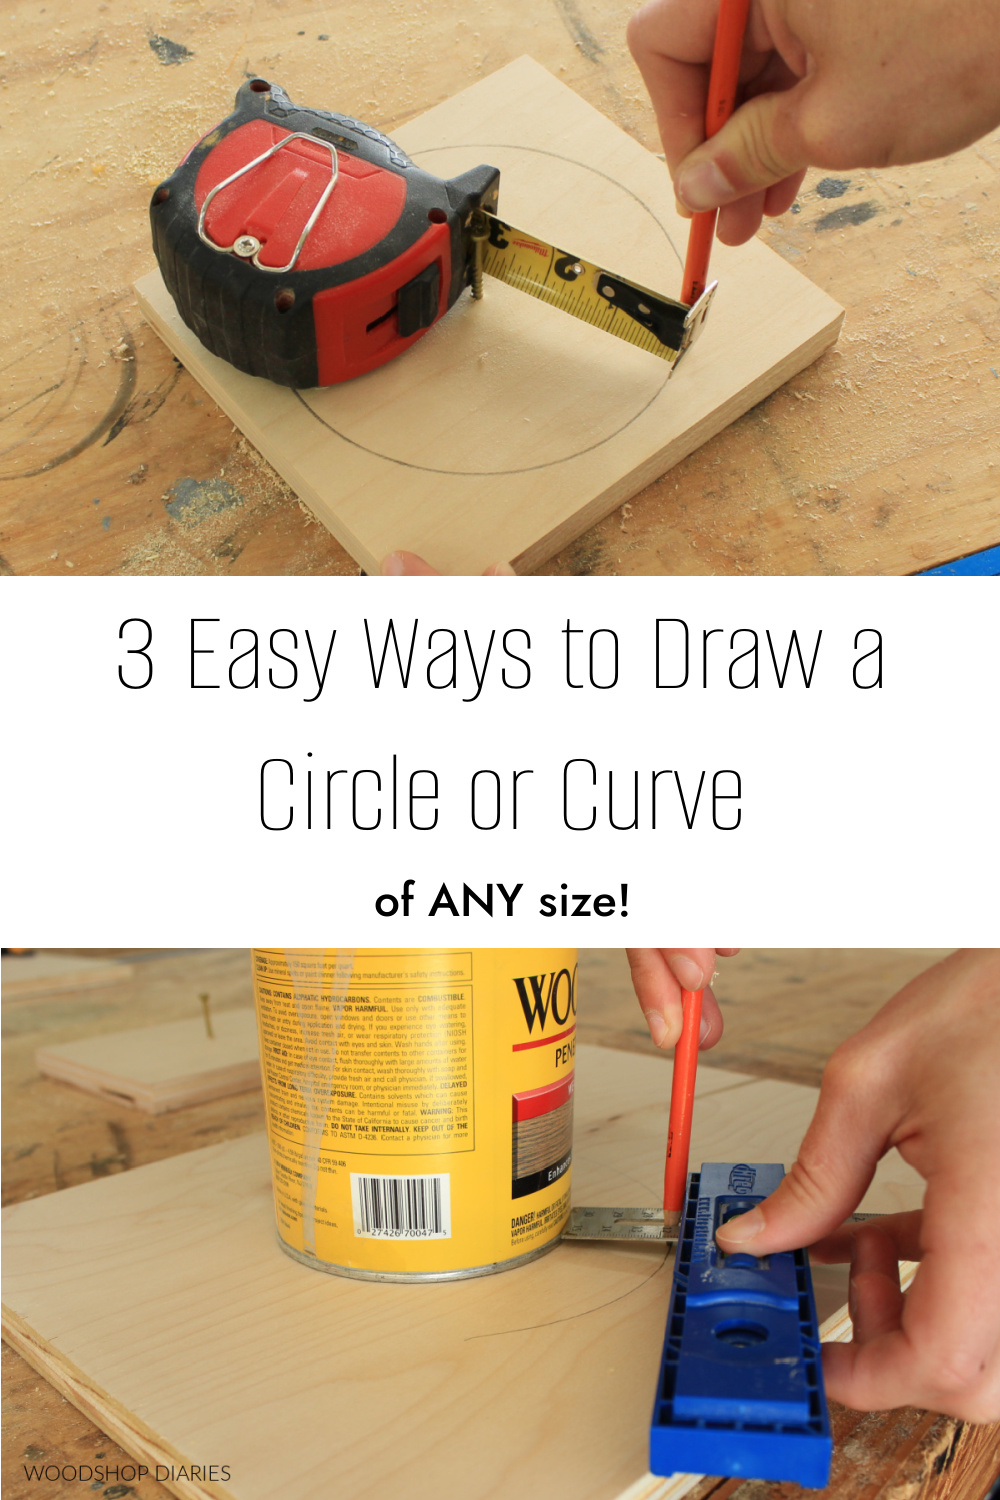
Below, I’ll discuss three easy ways to draw a circle or a radius to help you with your woodworking projects:
- Using Round Object
- The String or Tape Measure Method
- The Screw and Bent Wood Method
.
*This post contains affiliate links. See website policies.
A Few Circle Basics Before Getting Started
Let’s go back to back to basic geometry for a minute. What is a circle?
.
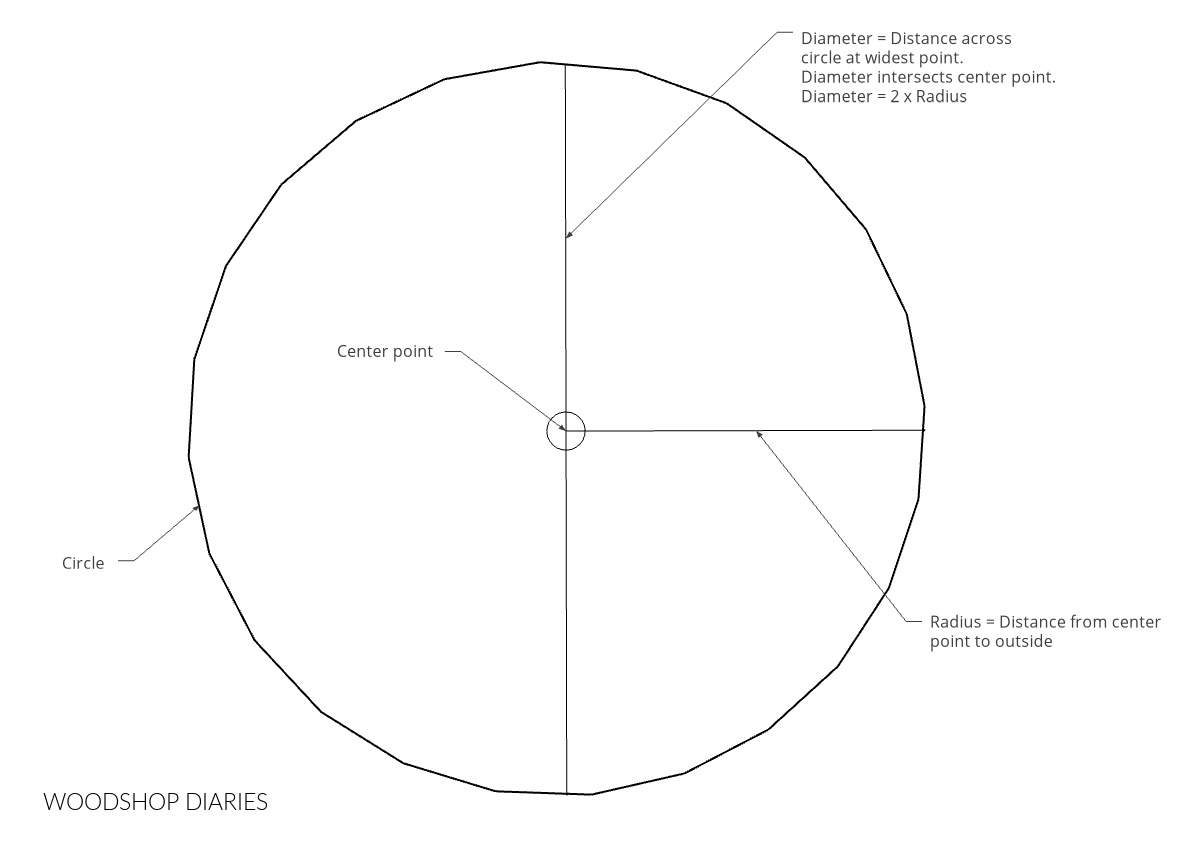
A circle is an shape that’s outermost points are all equal distance from the center.
.
Sometimes you will need to draw a full circle–like when making a round table top or a wooden wheel.

However, there may be times where you only need to draw part of a circle–like an arch or a curve. And in these cases, it’s helpful to know what the radius of that “partial circle” is.
.
The radius is the distance from the center to the outside of a circle. And the diameter is the full distance across the circle through the center point–so it’s 2x the radius.
Now that we have the definitions out of the way, let’s get drawing.
How to Draw a Circle Any Size Using a Round Object
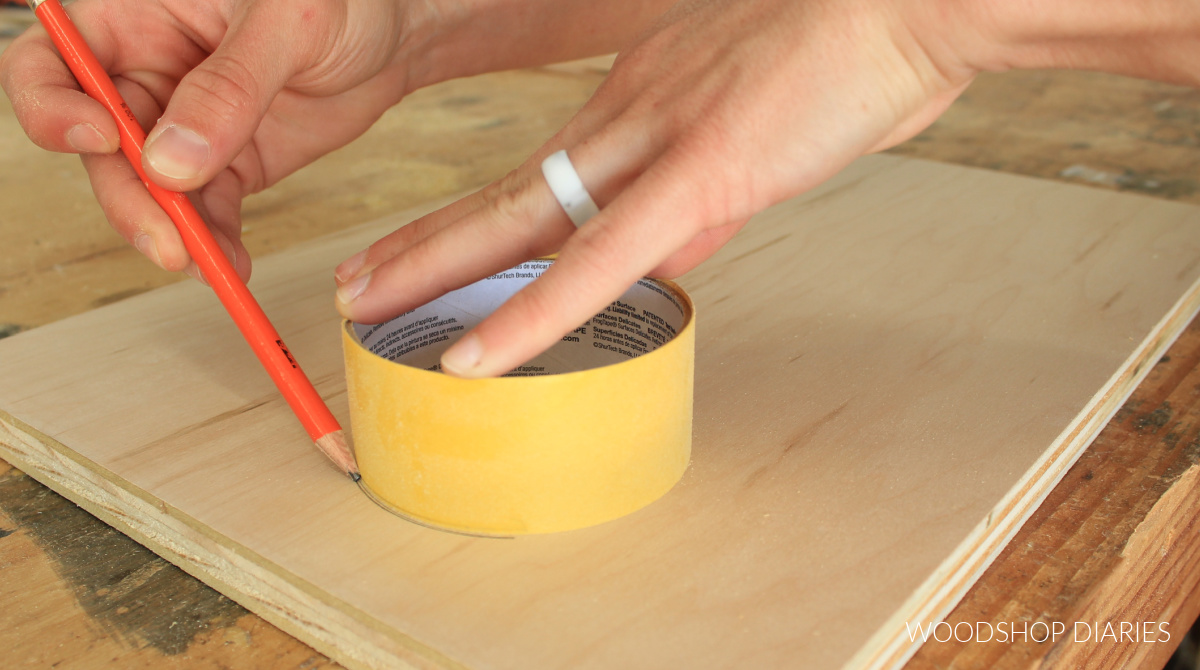
Probably the easiest way to draw a circle is to use an existing round object and trace it. You’re probably thinking, “that’s obvious,” but stick with me.
.
If you don’t need an exact size circle, you can just find any round object–like a roll of tape, a stain or paint can, or a bucket.
However, if you do need a specific size circle, and have a round object slightly smaller, you can use a simple tool to draw an “offset” from that object to create the size you need.
.
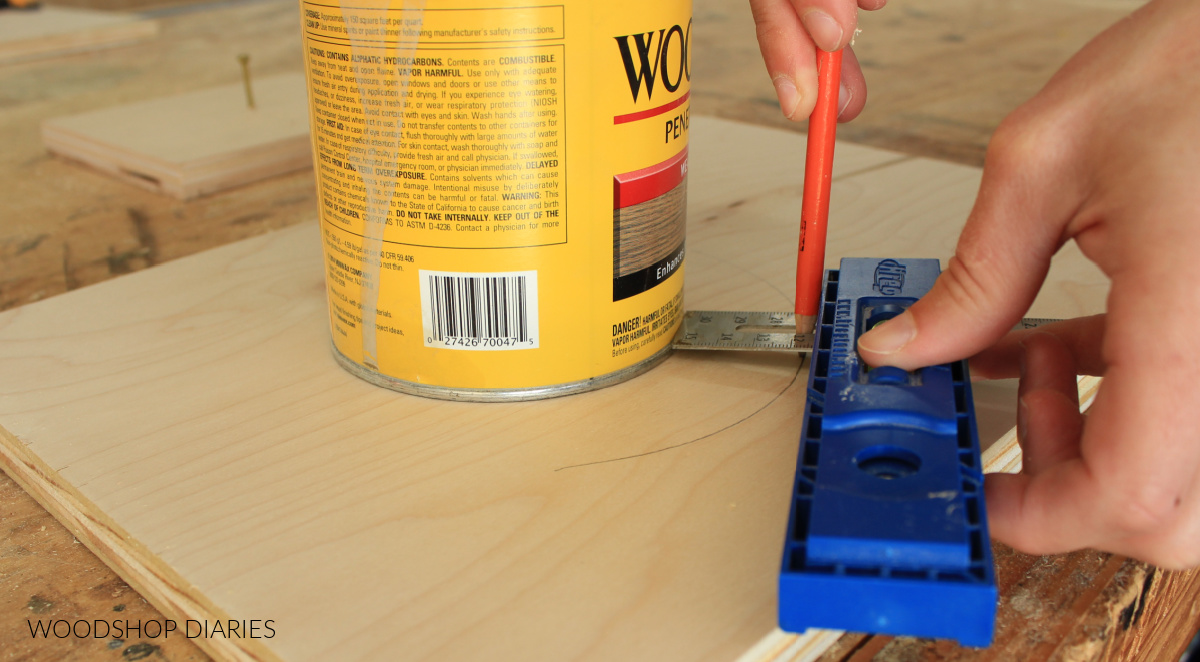
There are several ways you can draw an offset, but this Kreg MultiMark Tool is great for this.
RELATED: Must have tools for cabinet and furniture making
.
If I needed a 9″ diameter circle, but I had a stain can that’s 5″, I can set my MultiMark up to draw a 2″ offset and simply run it along the outside of the can.
Since the offset goes around the entire circle, you’d need to set your offset to 1x the difference you wanted your RADIUS to be OR ½ the difference you wanted your diameter to be.
.
This is also a great way to draw out “rings” or “donuts” if you need to draw multiple size circles from the same center.
How to Draw a Circle Using a Tape Measure or String
This is my favorite way to draw a circle and it works for both really small circles or huge radii as well.
Drawing Entire Circles
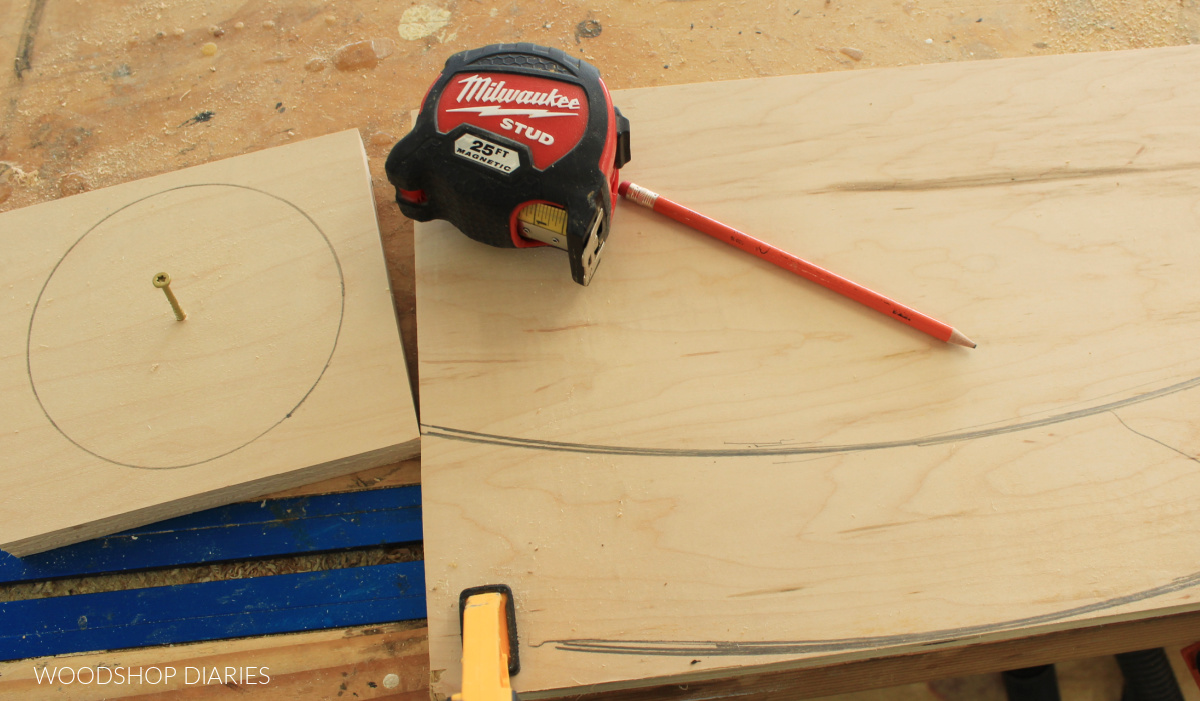
To do this, you need a pivot point. If you’re drawing an entire circle, you can use a screw or a nail in the center of where you want your circle to be.
NOTE: If doing this for a table top or tray, put the screw or nail in the bottom side and don’t go all the way through. That way, you won’t have a hole in the top side of your piece.
.
Then, set and lock your tape measure in so that it’s the desired radius PLUS ¼″. (Different screw sizes and tapes may vary slightly. I’d recommend starting at ¼″ and drawing a test circle and see if you need to adjust the tape as needed.)
.
Set the tape measure so that the screw is in the inside corner between the tape and the tape measure body.
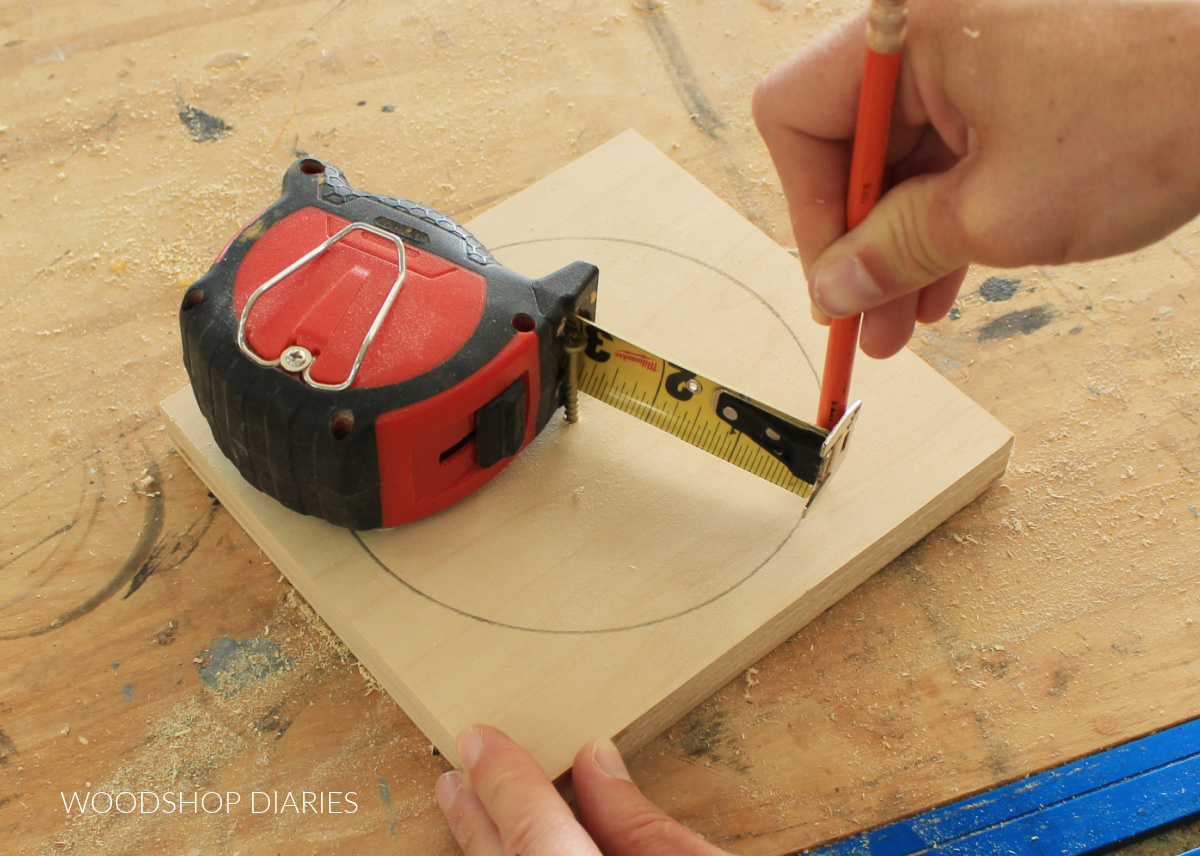
Use a pencil in the end of the tape and draw a circle so that the tape measure pivots smoothly around the screw.
.
You can also do the same thing using a string tied around the screw and the pencil…but the tape measure method is a lot quicker.
Drawing a Curve Using a Radius
For large arches or radii, you can also use this method, but it requires a little more involved set up.
.
First, you’d want to clamp or secure the board/piece you want to draw your arch on so that it doesn’t move.
.
You can put the screw or nail in a scrap board and position this relative to the board you are drawing on.
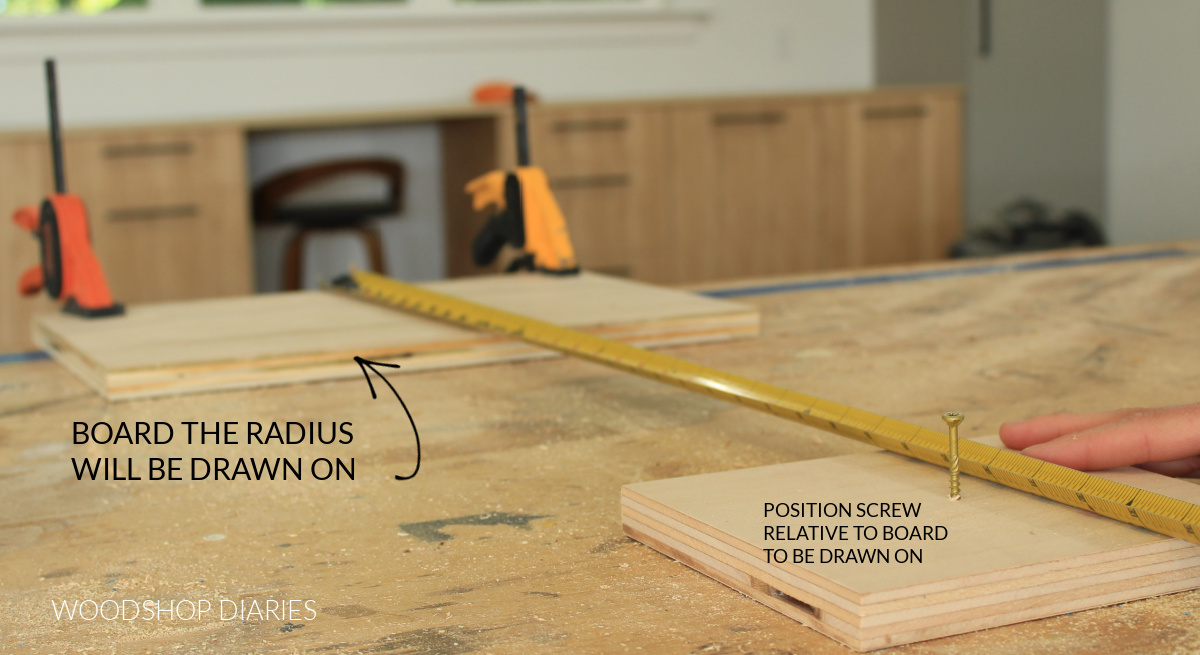
You’d want to place the screw so that it’s the center of the circle you’re wanting to draw.
.
It will be the pivot point. It’s best to screw, clamp, or secure this board in place as well so it doesn’t move while drawing.
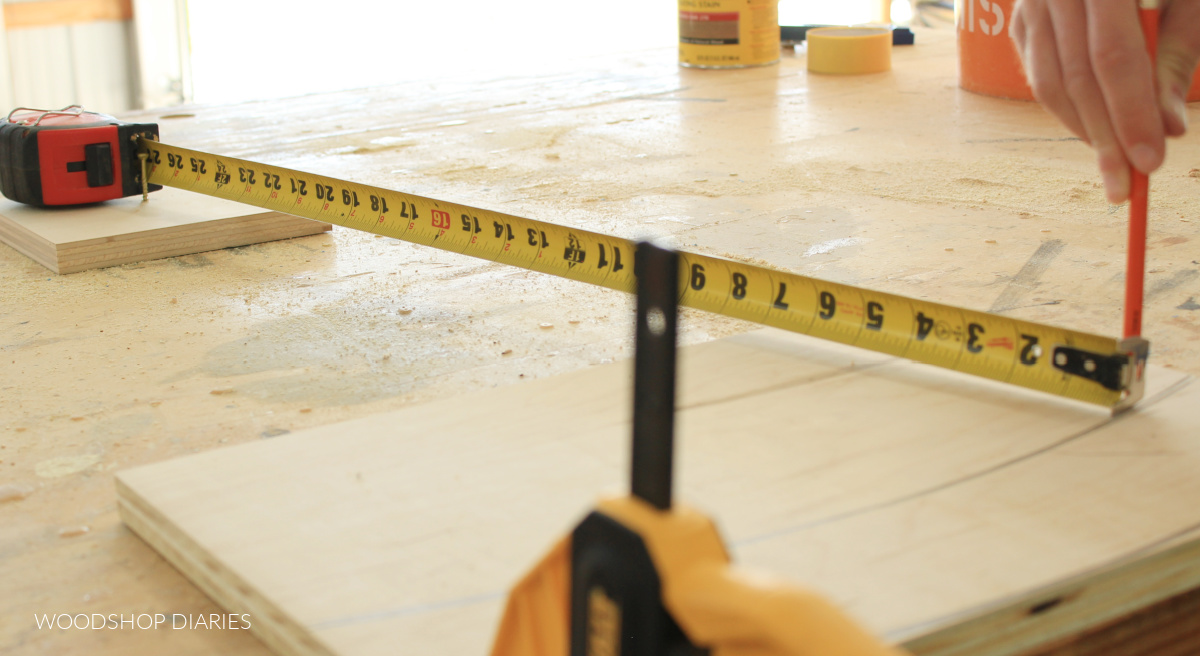
.
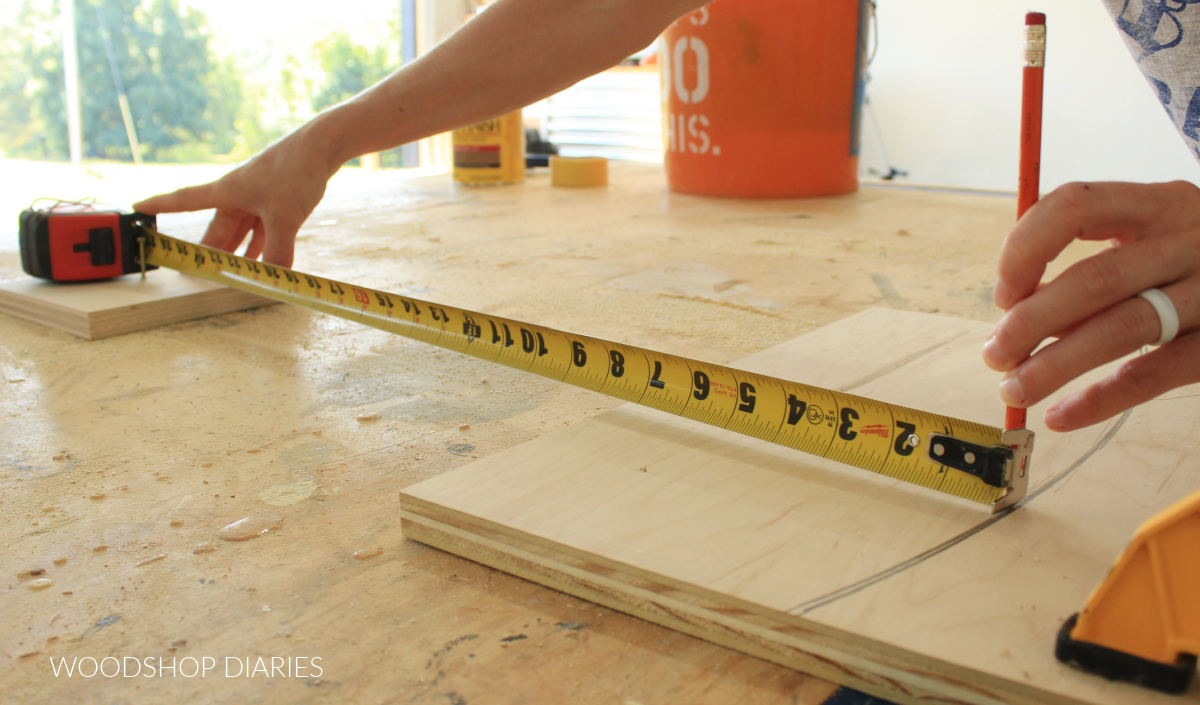
Then, simply repeat the pivot for the radius you need. In the picture below, you can see I’m drawing a 27″ radius curve onto this piece of plywood.
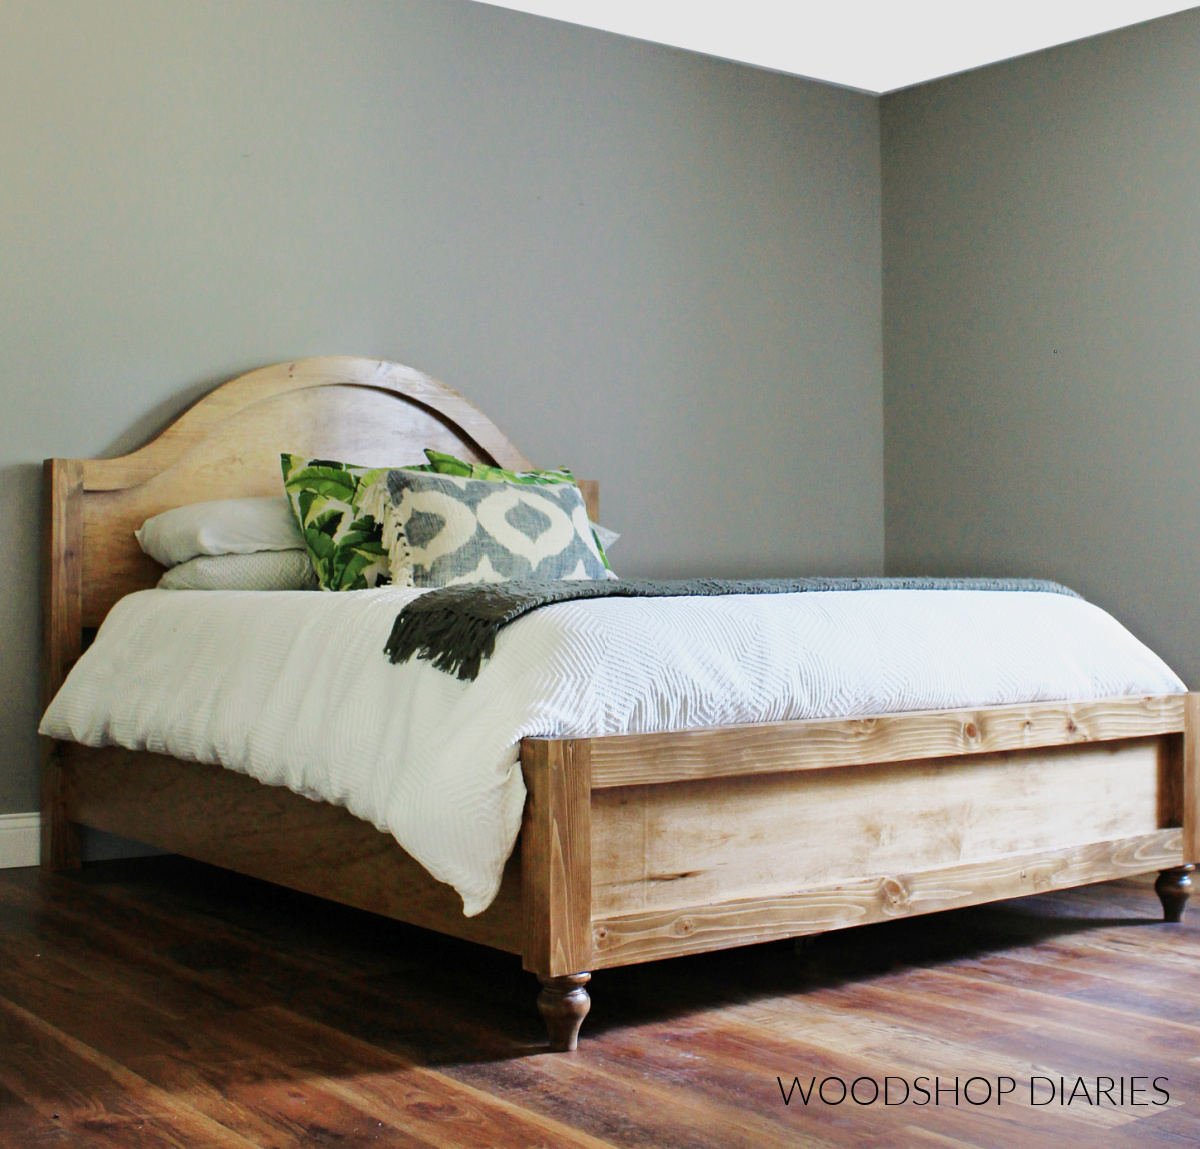
RELATED: Check out how to use this circle drawing method to create and arched headboard here.
Drawing an Arch Using Screws and Bent Wood
This method CAN be used for drawing whole circles, but is best used for drawing out simple arches.
.
I use this method when I’m drawing out a decorative curve on a face frame or trim that may go along the bottom of a dresser, etc.
.
You need at least three screws and some thin wood strips–like ¼″ plywood or some really thin scraps.
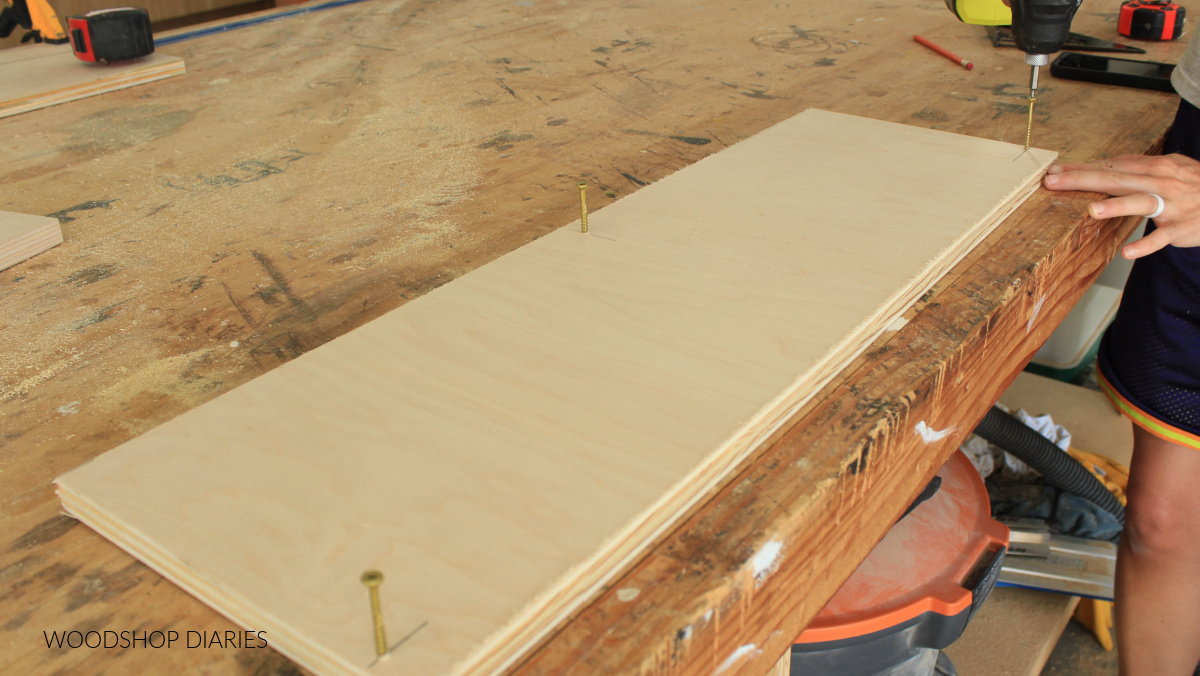
Screw the screws into the board so that two are toward the outside and are about where you want the arch to end and the third is centered side to side and is the height you want the arch to reach.
.
Place your thin wood around the screws like shown below so that it forms an arch, then, trace.
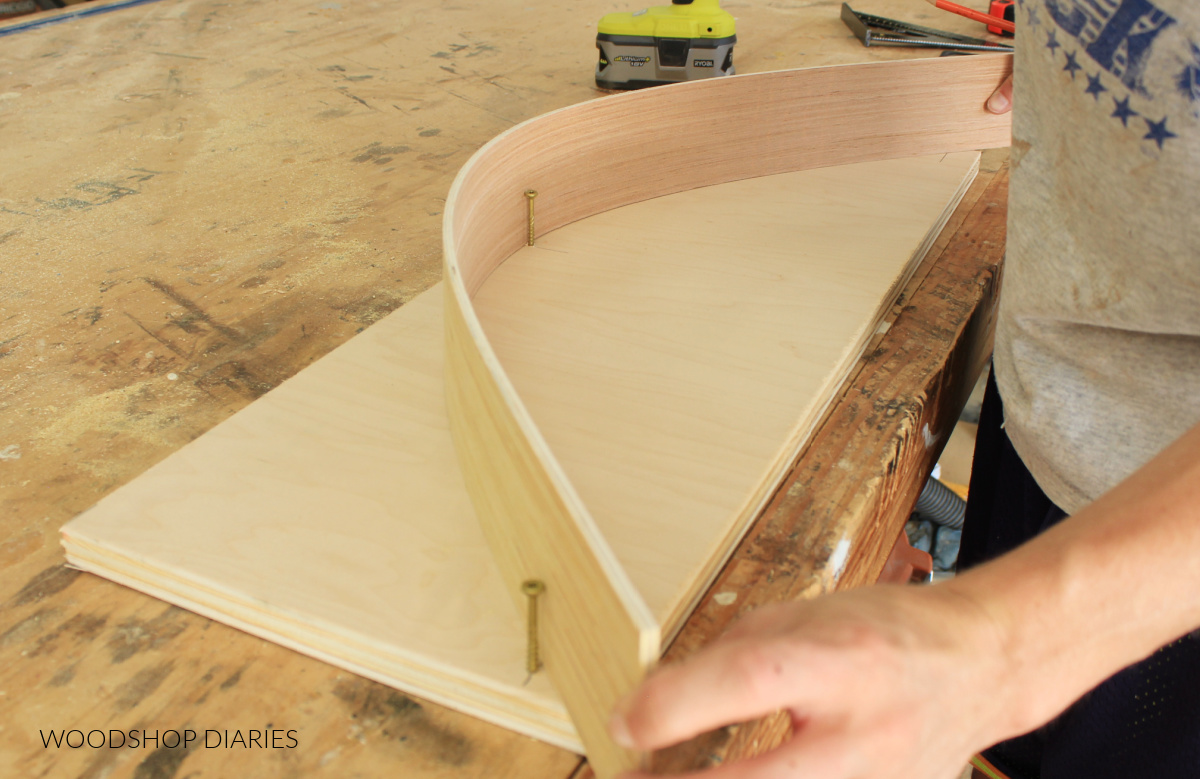
Note that the thicker the wood, the less “bendy” it is. This will not form a perfect circle and different wood thicknesses will form different shapes.
.
Thinner wood will make a “fatter” shape while thicker wood will make a more “pointy” shape at the middle.
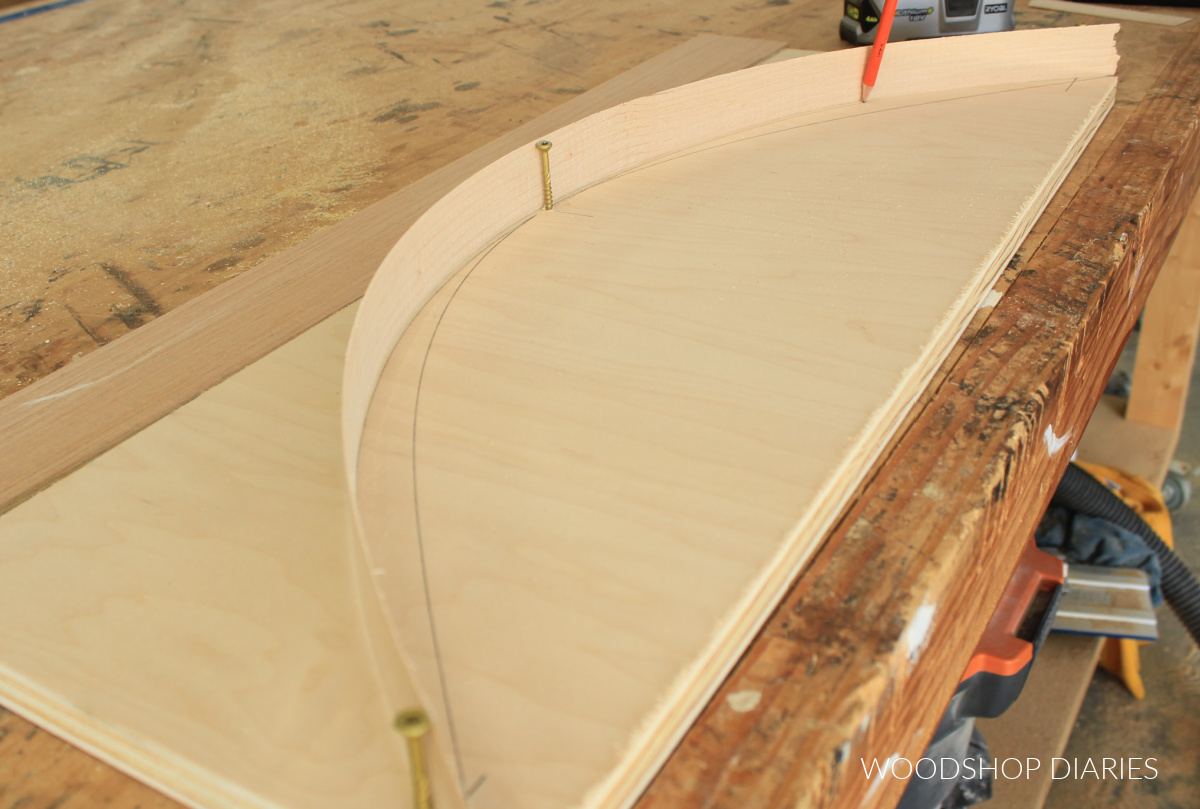
You can adjust the size and shape of your arch by adjusting the location of the center screw.

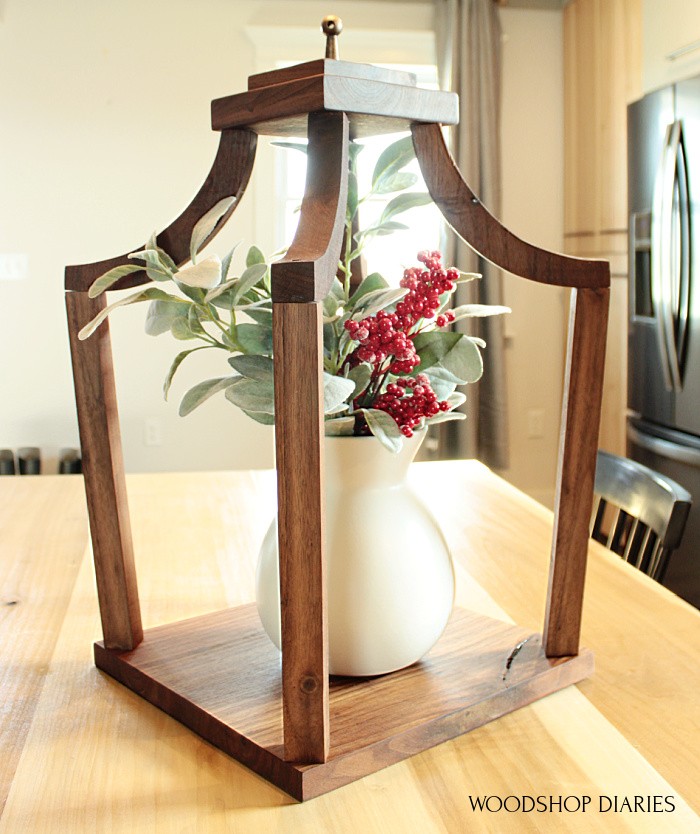
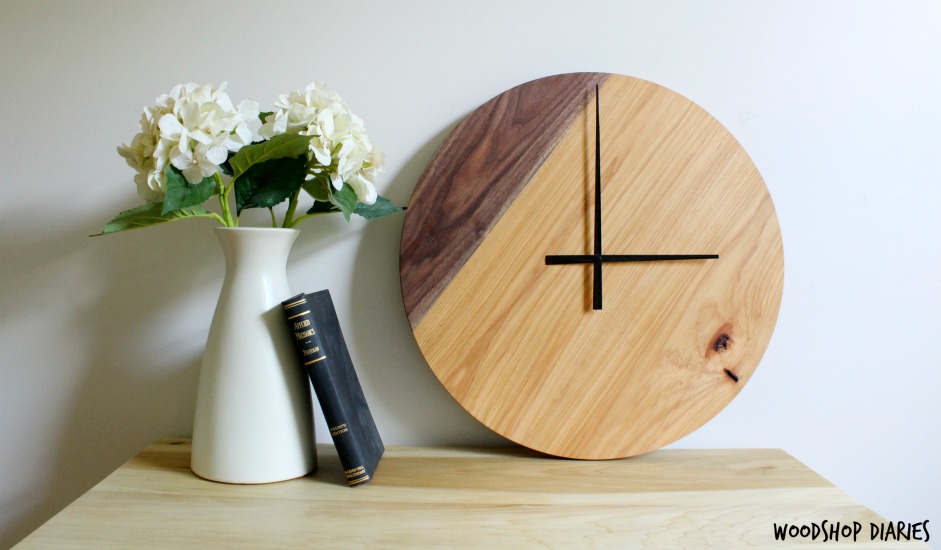
Projects that Use Circles and Arches
Now that you know a few simple ways to draw out your round shapes, it’s time to tackle a project or two and test it out!
.
Here are a few fun projects to incorporate these tips into:

If you enjoyed this post and can’t wait to see more, be sure to subscribe to the newsletter to be the first to know when new projects and tips come out!
And if you’d like to save this for later, don’t forget to pin it and share it to your favorite social channel!
Until next time, friends, happy building!