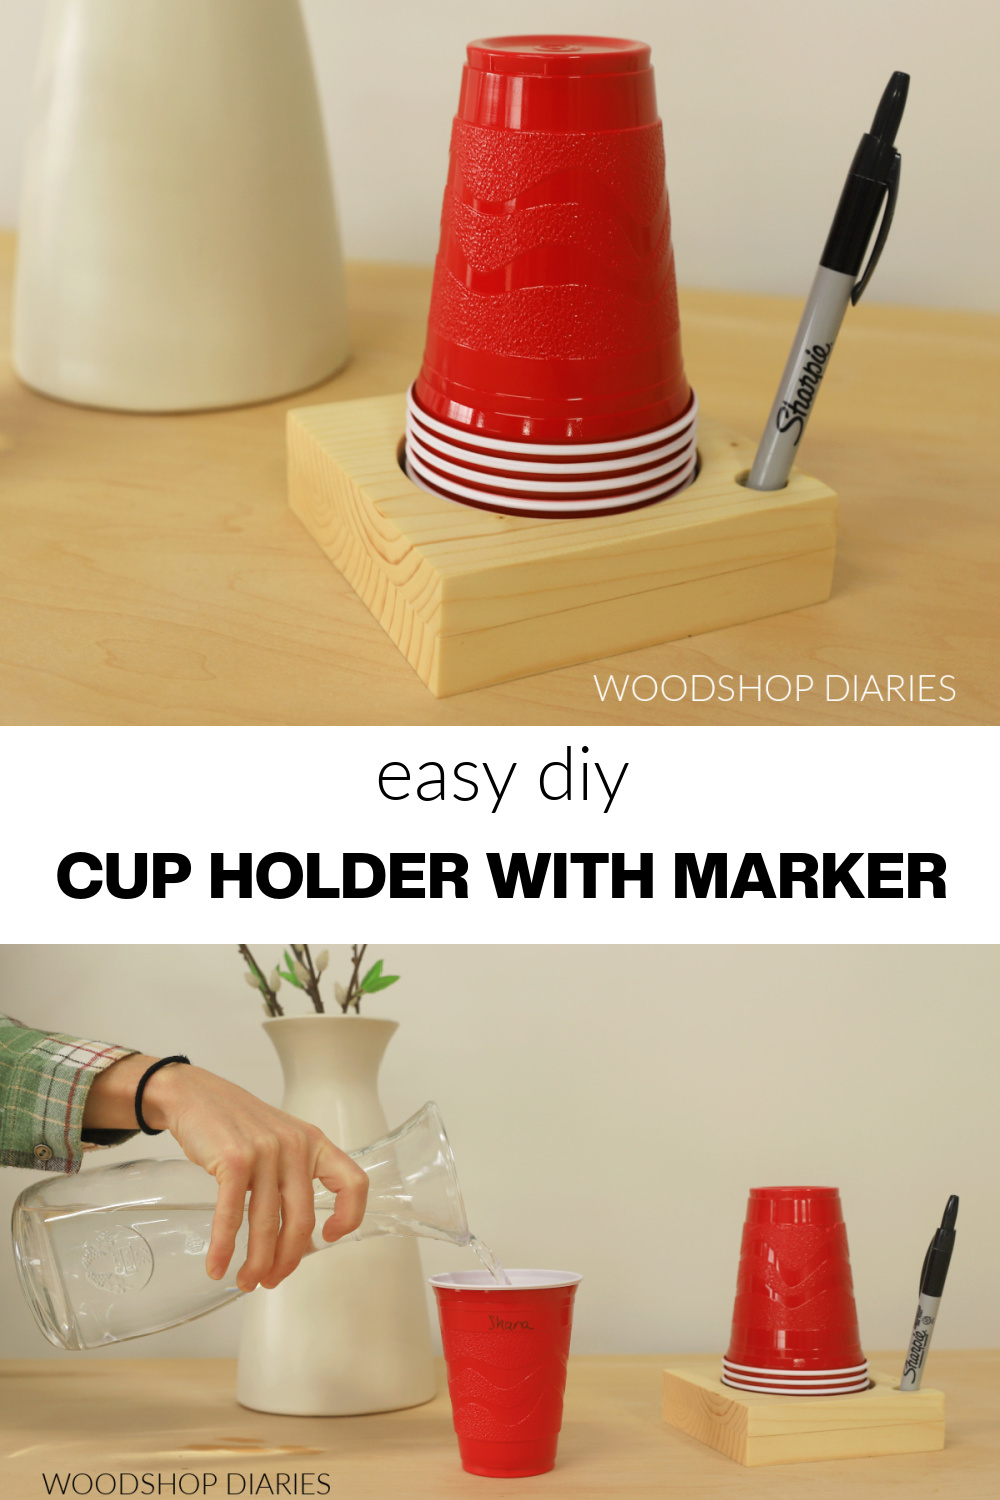
In this post, I’m sharing how to make an easy cup holder with marker from scrap wood!
This is the perfect little project to add to the drink table at your next dinner party.
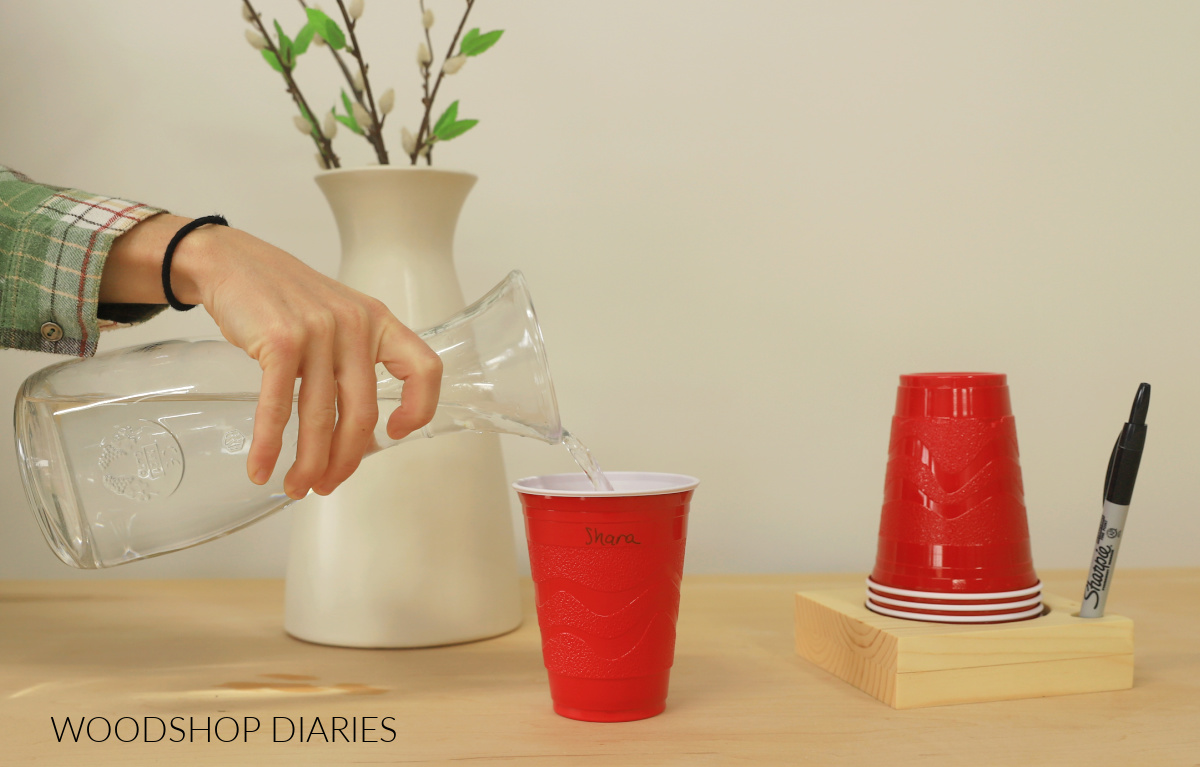
I don’t know about your family (or friend) get togethers, but usually after everyone eats, there are a bunch of cups sitting around and no one knows whose is whose.
Inevitably, everyone ends up getting a new cup and someone goes looking for a marker so we can all write our names on them this time.
To save us all the hassle (and the extra cups!), I finally decided to make this super simple cup holder with marker so everyone can grab a cup and write their name right from the start.
I’ll show you how to make your own for your next get together in the post below!
*This post contains affiliate links. See website policies.
What to consider before building
This is a REALLY simple project, but in the tools list (below), you’ll notice I listed a 4″ hole saw. I realize this isn’t a common tool in most toolboxes, so if you don’t have one, that’s okay!
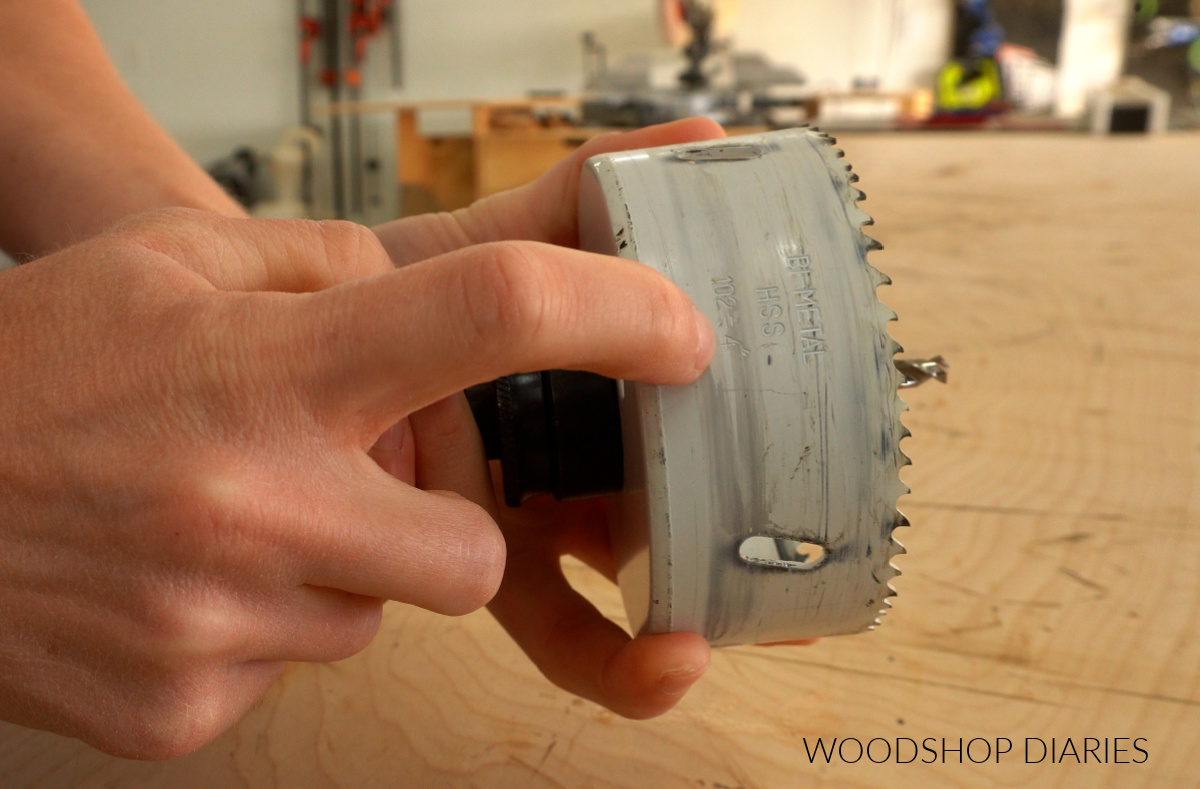
Essentially, you just use this to drill a hole for the cups to rest in (see step 1). So, if you don’t have one, you can draw a 4″ diameter circle and cut it out with a jig saw, instead.
And it doesn’t even have to be a circle–you could cut a 4″ square, too. As long as the cups can fit into the opening, it will work.
Want to be the first to know about new projects and plans? Subscribe to the newsletter for priority access!
How to Build a Party Cup Holder
I’ve included the step by step instructions below. But, if you prefer to watch, I’ve also included a build video as well.
Love watching how-to videos? Subscribe to my YouTube channel for plenty more where that came from!
Tools & Materials:
Tools:
- Drill
- Miter Saw (or any saw that can cut straight lines)
- 4″ hole saw OR Jig Saw
- ½″ Drill Bit
- Clamps
Materials:
- 1×6 scrap board (about 12″ long)
- Wood Glue
Step 1: Mark and Cut Cup Holder
To get started, I grabbed a piece of scrap 1×6. My piece was roughly 20″ long, but you only need about 12″ for this project.
I marked 2 ¾″ from one end of the board like shown below. Then, I marked 2 ¾″ in from the sides of the board at that spot.
Why this distance? A 1×6 is actually 5 ½″ wide, so 2 ¾″ would be the center. Check out this post to learn more about understanding lumber sizing.
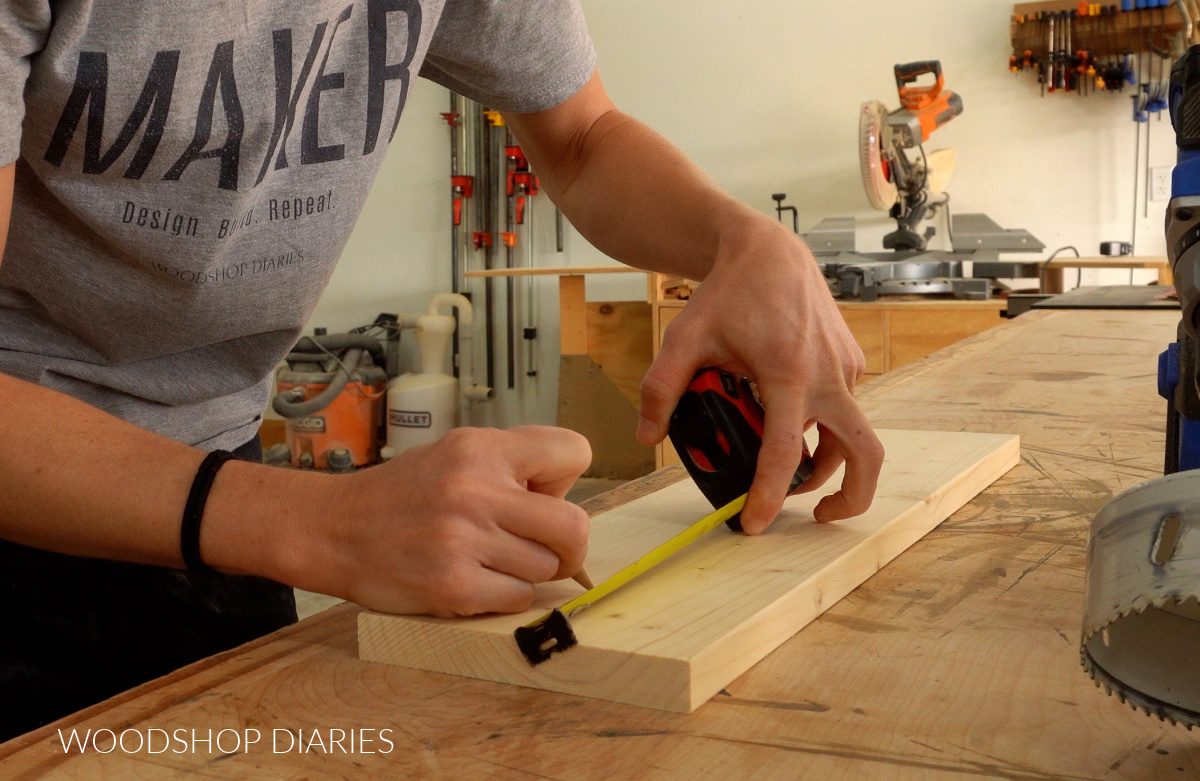
I clamped my board securely to the workbench, then used a 4″ hole saw to drill a hole centered on my marks.
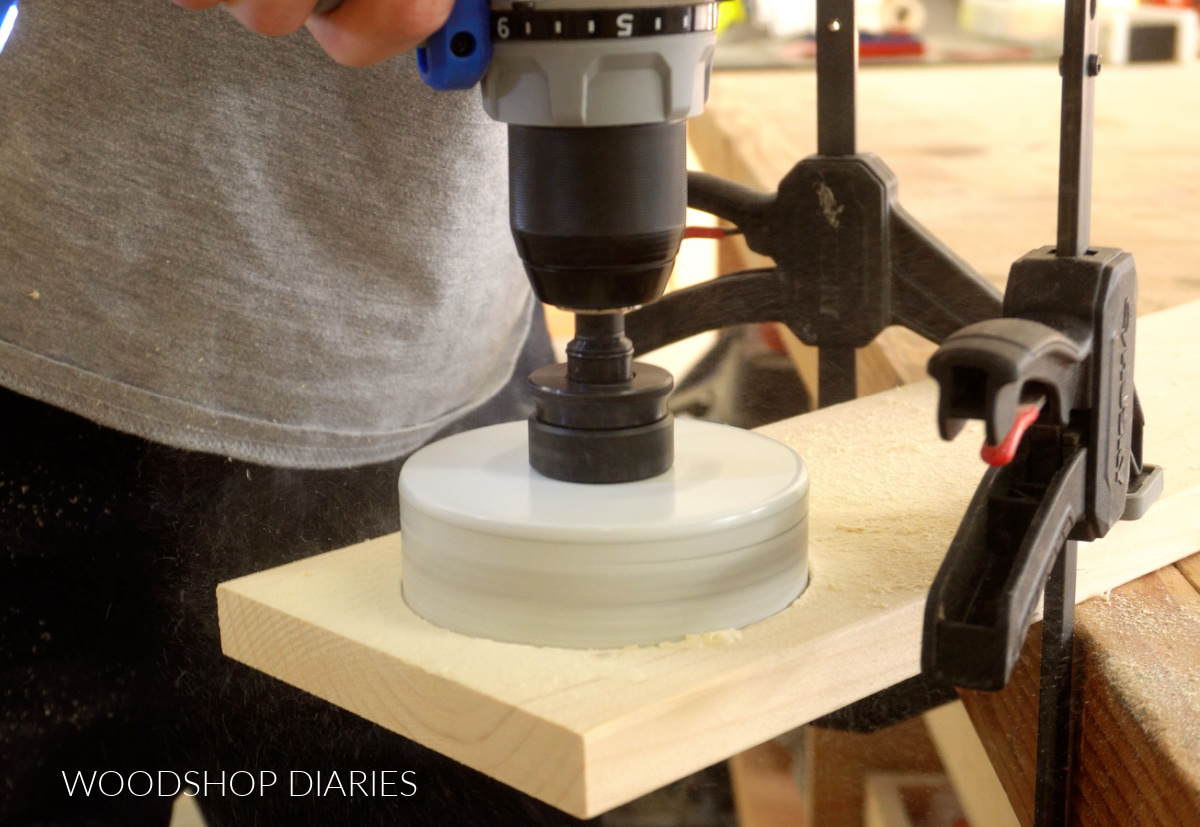
If you don’t have a 4″ hole saw, that’s okay!! You can just draw a 4″ diameter hole and cut it out with a jig saw instead (see notes above). Not sure how to draw a 4″ circle? Learn how to draw a perfect circle any size here.
OR, you could also just cut a 4″ square–it doesn’t HAVE to be round. This is just the recess that the cups will sit into, so as long as they fit into the opening/hole, that’s all that matters.
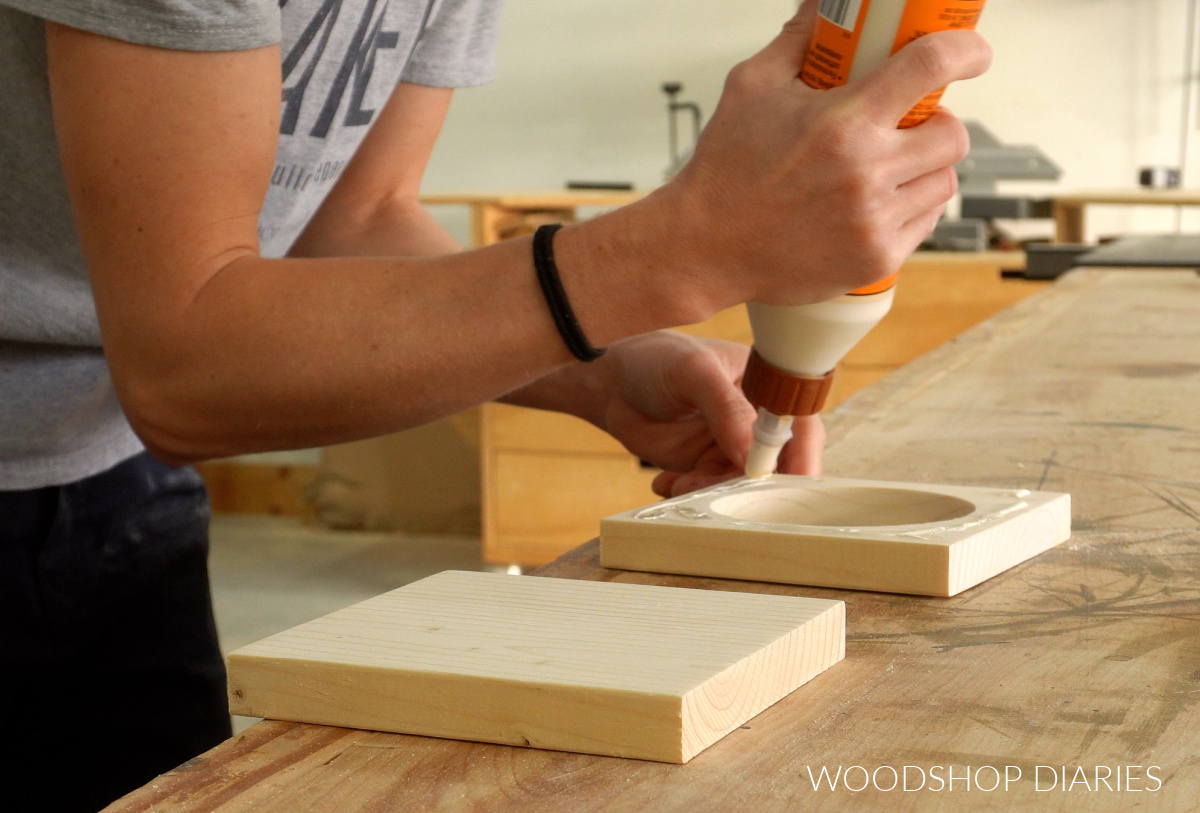
Step 2: Cut and Glue Top and Bottom Together
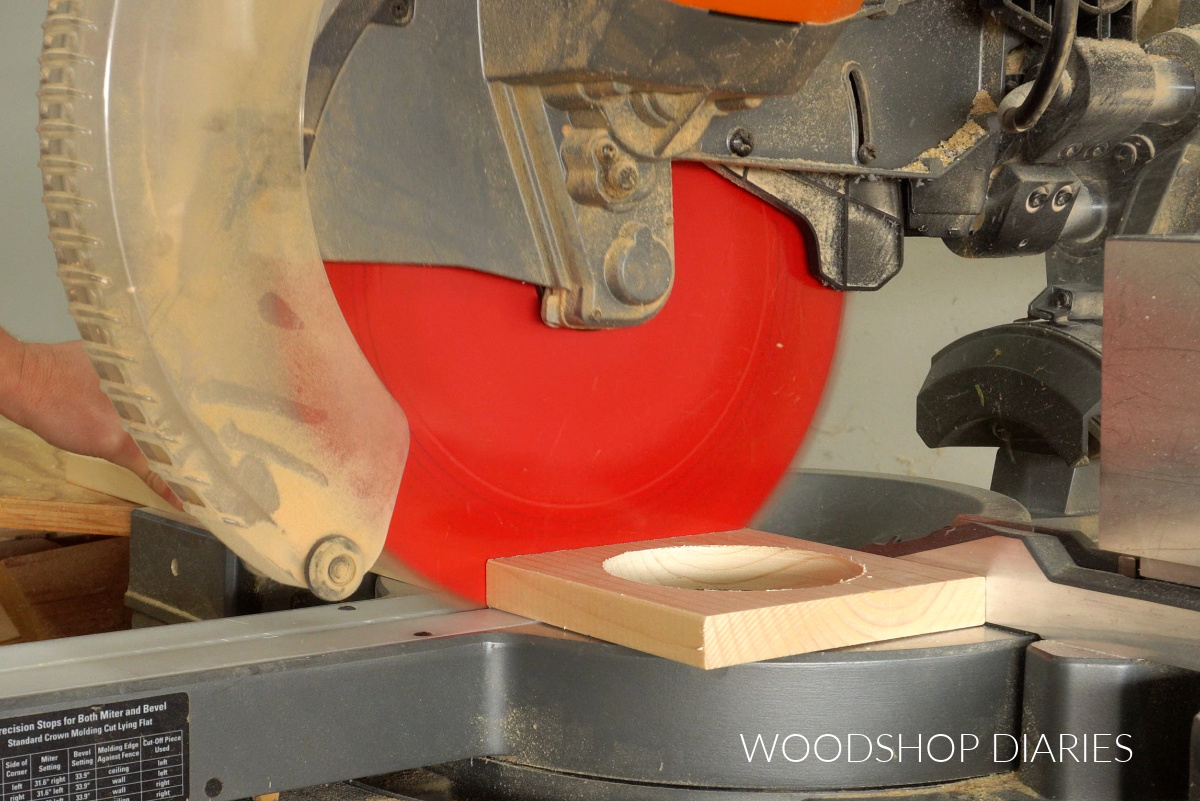
Once the hole was drilled, I measured 5 ½″ from the end of the board and made a mark to cut along. Since a 1×6 is 5 ½″, this would give me a perfect square.
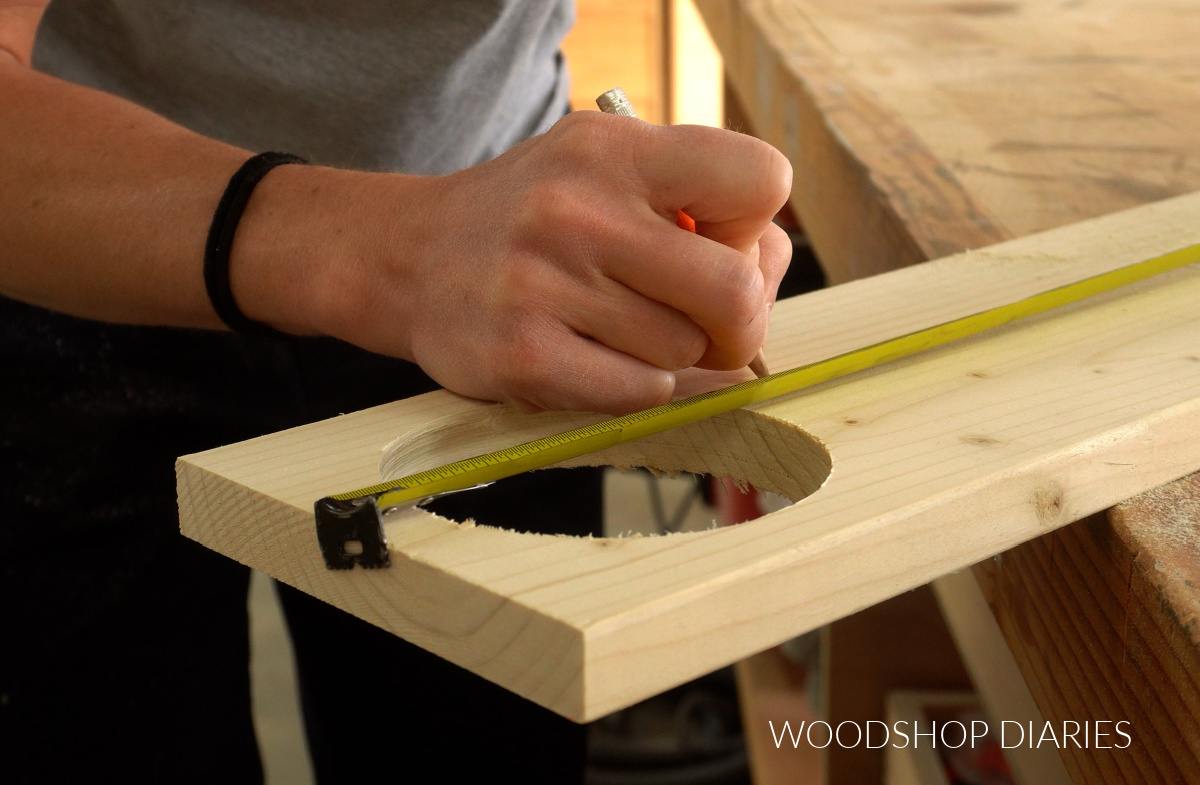
I cut at this mark on my miter saw, then cut another piece from the board the exact same length. This gives me two pieces 5 ½″ square, one solid and one with a hole.
After sanding these two pieces, I carefully glued them together and clamped until dry.
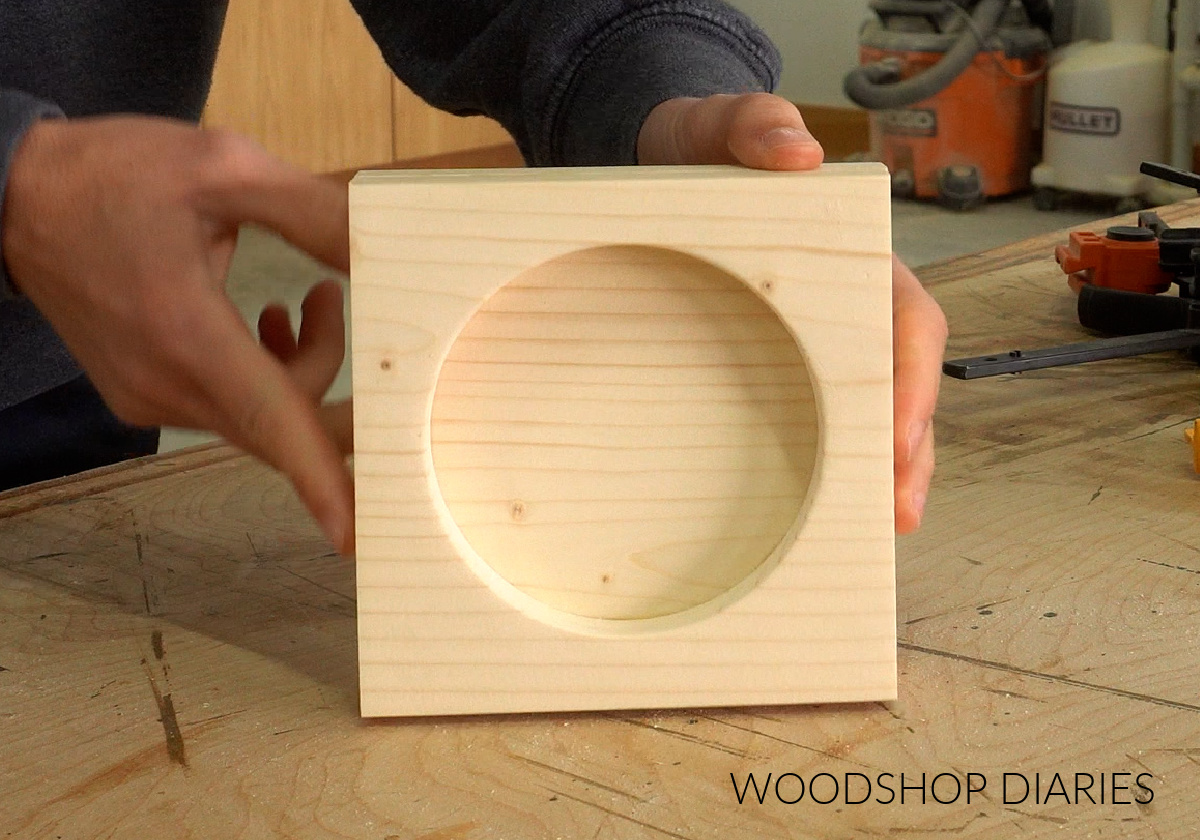
Once dry, I sanded the edges nice and flush and now I have my cup holder. I just need to add the marker holder.
Step 3: Drill Marker Hole
From one corner, I measured about ¾″ in from both edges and drilled a hole about 1″-1 ¼″” deep.
This piece is 1 ½″ thick, so you want to drill fairly deep, but not all the way through.
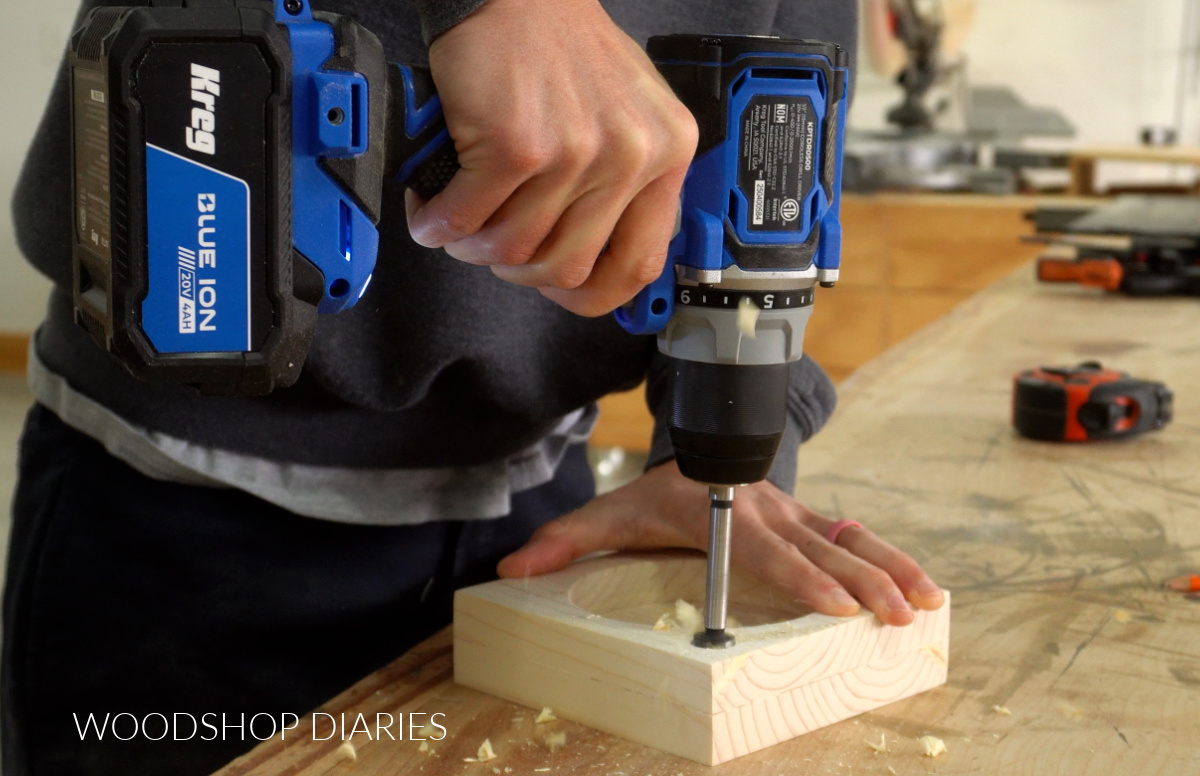
I used a ⅝″ forstener bit for this, but I think ⅝″ was a little too big. My marker was pretty loose in this hole and didn’t stand upright very well.
If I had to do it over, I think I’d use a ⅜″ or ½″ diameter bit instead. If you’re not sure how big to go, drill a test hole in some scrap wood with different sized bits and see how your marker fits in them before drilling into the actual piece.
Step 4: Finish and Use
After drilling my marker hole, I sealed this with some food safe oil (cutting board oil works well!), and it’s ready for the next get together!
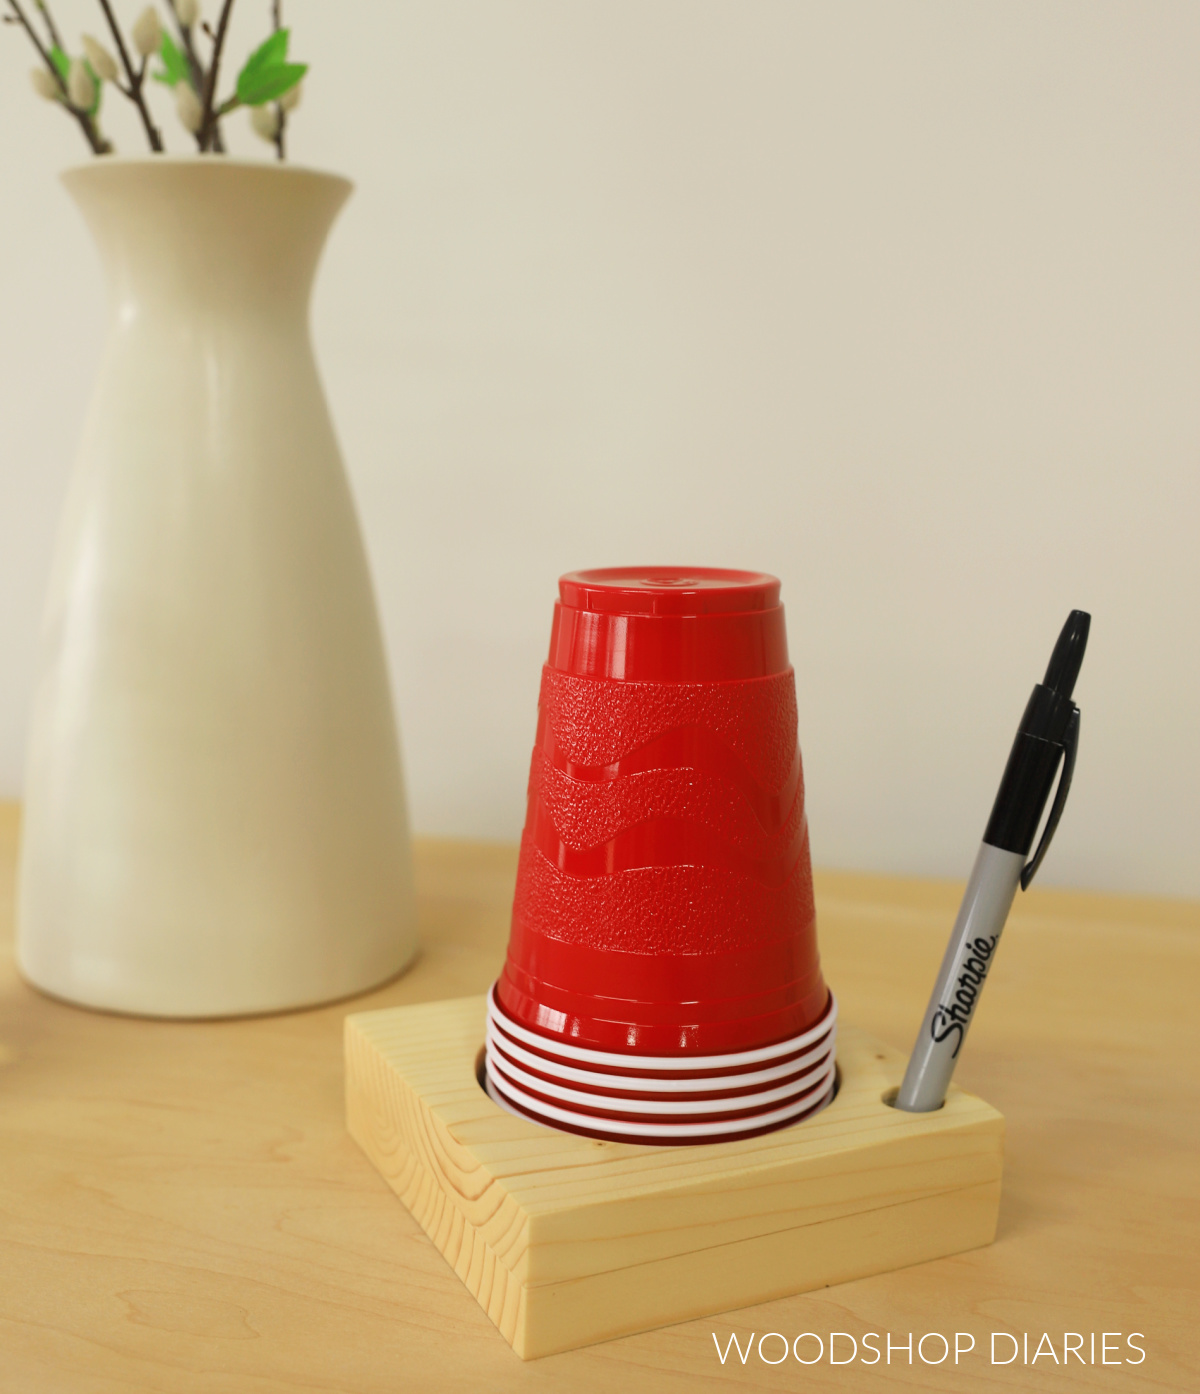
This super simple little project is really handy for large gatherings so everyone can label their cup with their name as they grab it.
Looking for More easy DIY projects?
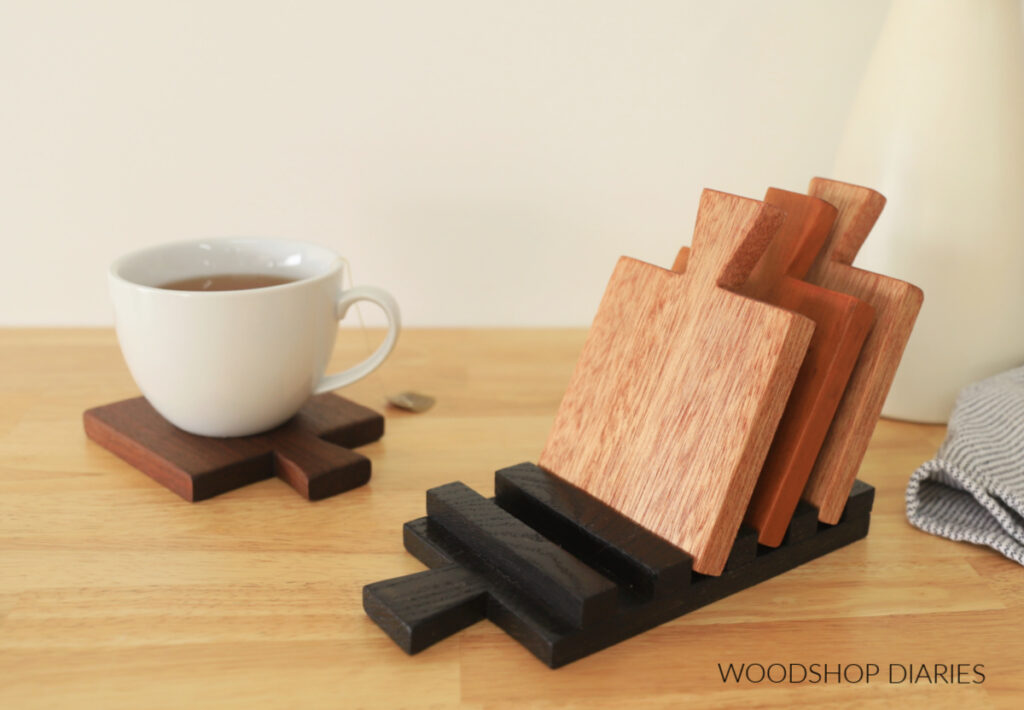
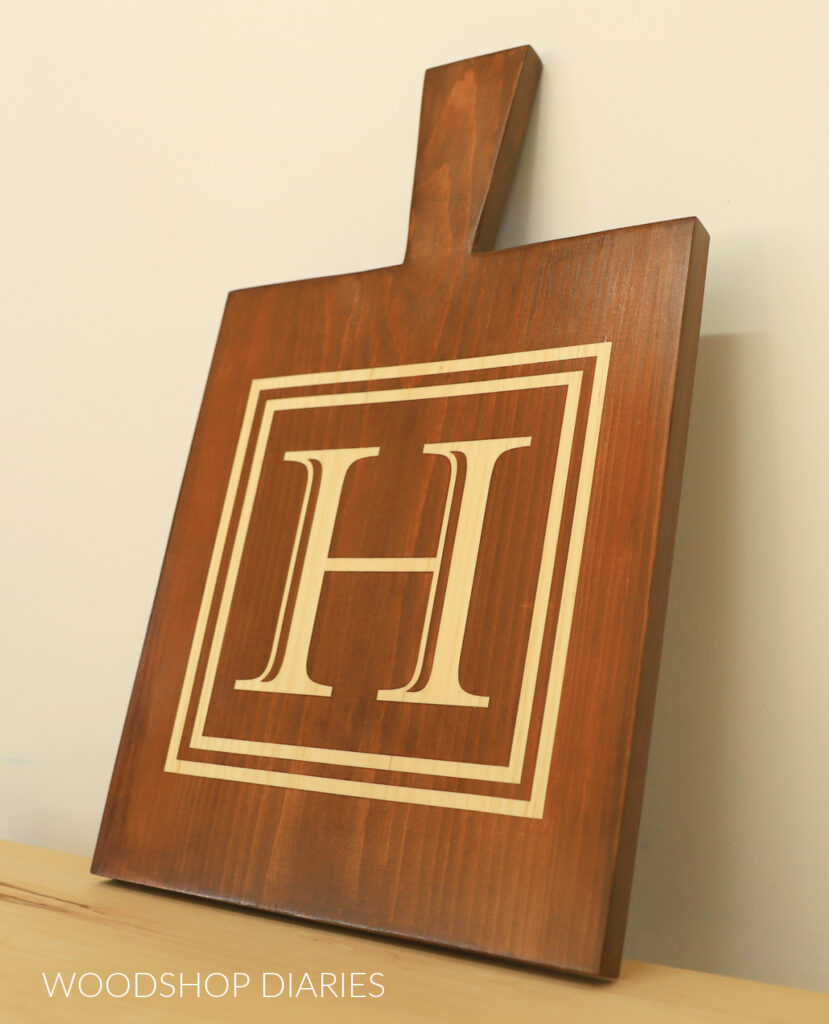
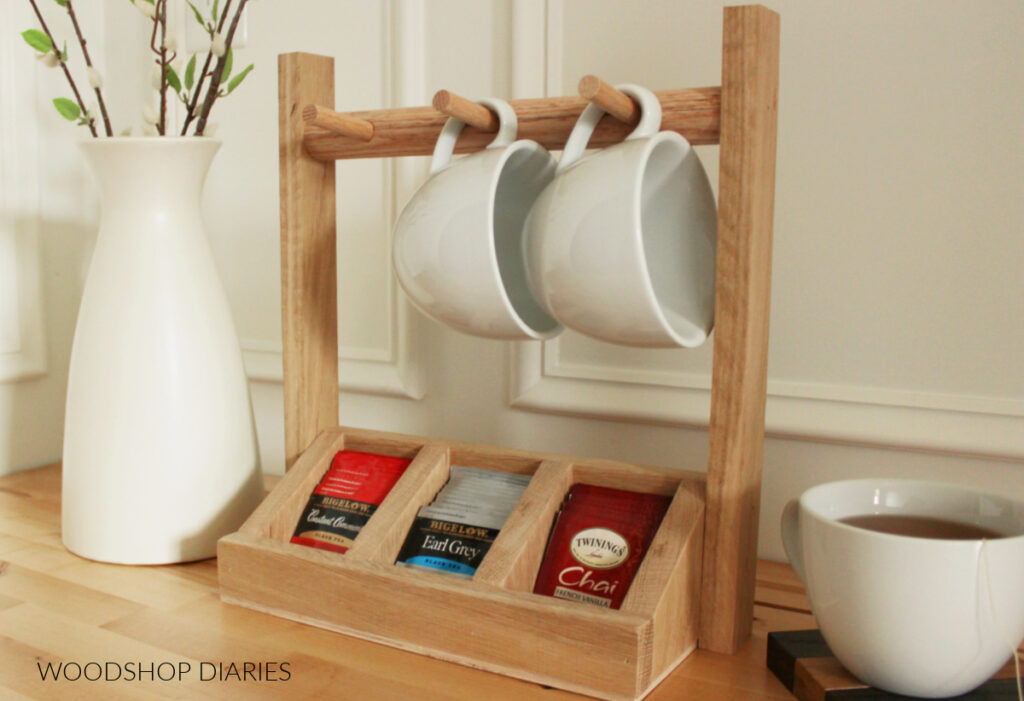
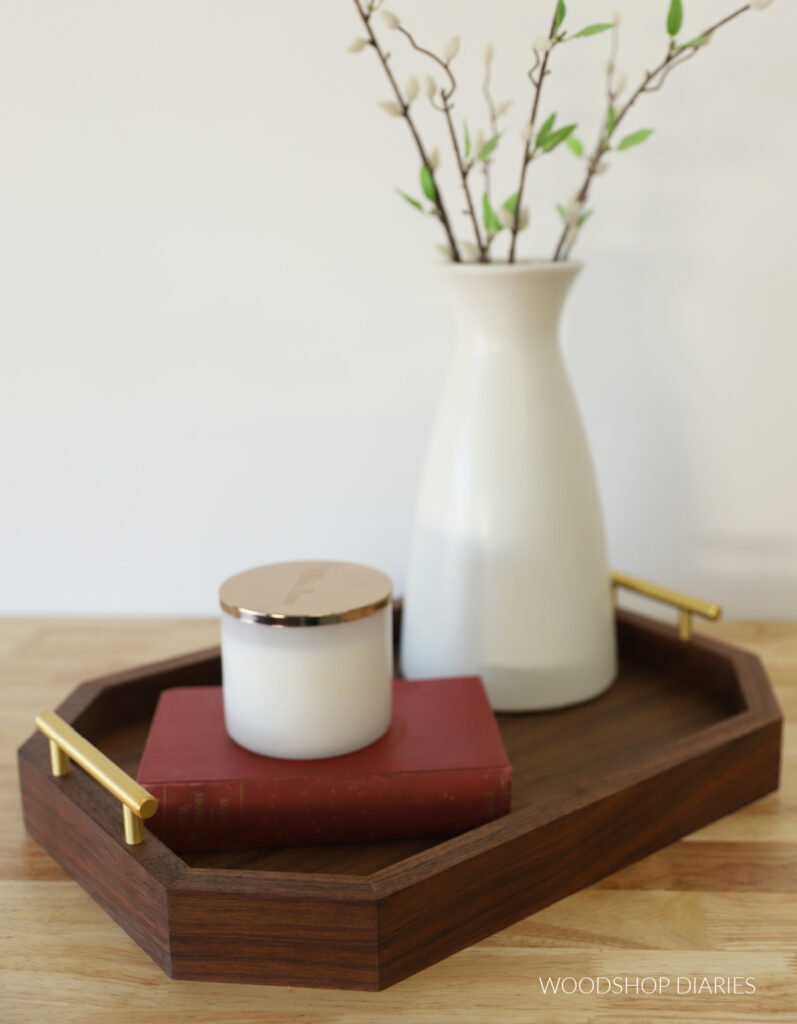
Enjoyed this project and looking for more? Here are a few more fun projects that are easy to build and would work perfectly at your next gathering:
Enjoyed this project and want to save it for later? Be sure to pin it or share it to your favorite social channel!
Until next time, happy building 🙂