In this post, I’m sharing how to build a simple DIY shadow box from scrap wood.
Shadow boxes are essentially “thick” picture frames that allow you to frame objects instead of just photos.
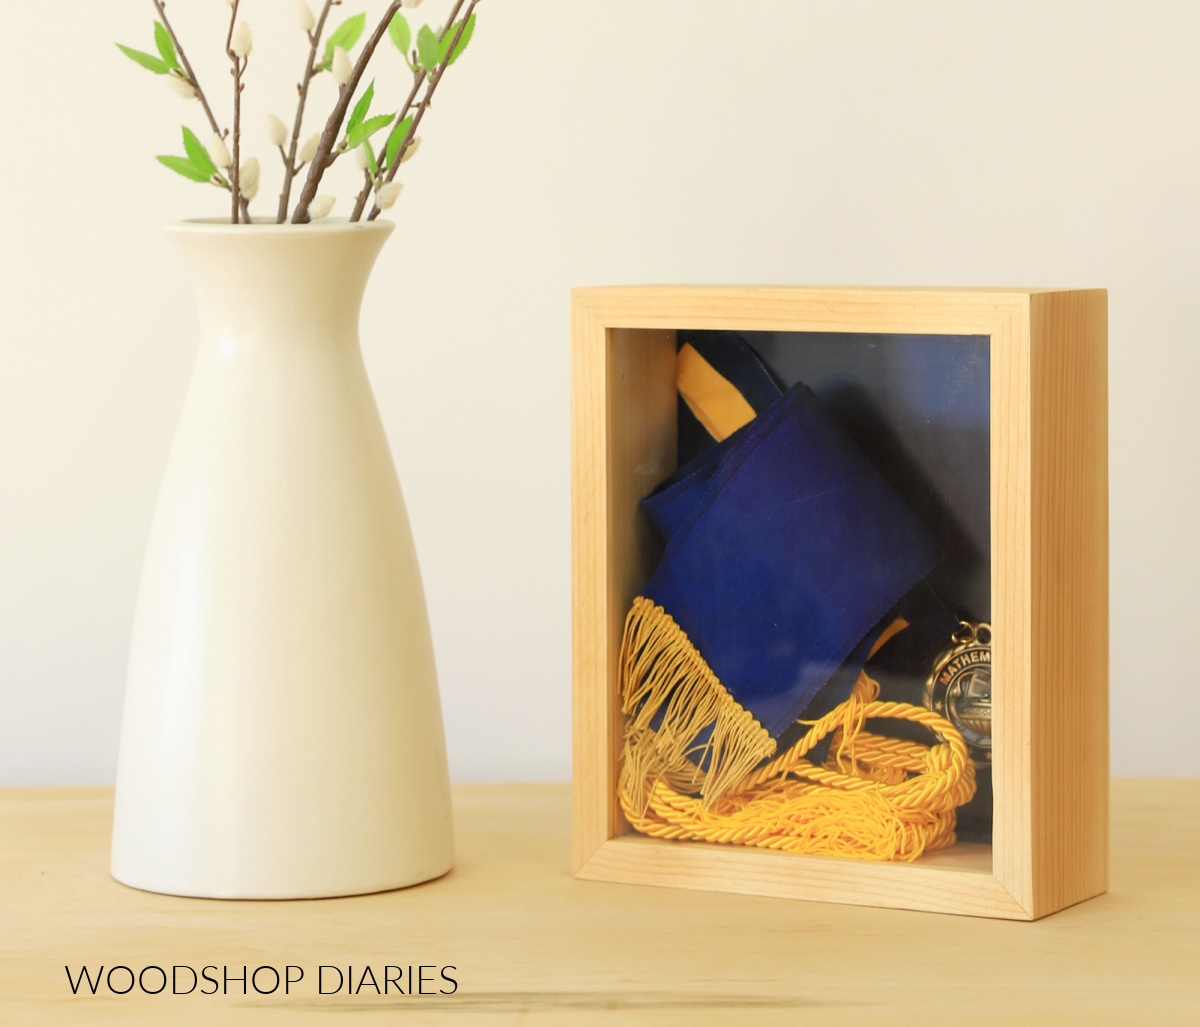
So they’re a great way to frame and display awards, keepsakes, and other sentimental items.
Shadow boxes are inexpensive to make (especially if you have a few scraps lying around), but can make incredibly meaningful gifts depending on what you put inside.
If you’re ready to build one, I’m sharing the how to below.
*This post contains affiliate links. See website policies.
What to consider before building
This shadow box is easy to make. The only problem (which really isn’t a “problem”) is that you can make it just about any size depending on what you want to put inside. So the dimensions can vary.
First, you’ll need to figure out what you’d like to put inside and determine the height and width your box needs to be to fit it. You’ll need a piece of ½″ plywood and a piece of plexiglass (or acrylic) that’s roughly this size.
TIP: You can buy precut plexiglass and acrylic sheets online and at most big box or home improvement stores in several standard sizes (I used an 8×10 for this project). You just need a thin (⅛″ or thinner) piece for this.
Then, you need to determine how deep your box should be to fit what you’re putting inside. For my board, I used a 1×4 for my box and when completed, the inside depth was about 2 ¾″. If you need something deeper, opt for a wider board.
This board should be about 4 inches longer than the sum of your sides.
For example, I’m making an 8″ x 10″ shadow box, so I need my board to be at least 8+8+10+10=36″ long PLUS 4″ for wiggle room. So I cut my 1×4 to about 40″ long.
Want to be the first to know about new projects and plans? Subscribe to the newsletter for priority access!
How to Build a Simple Shadow Box
I’ve included the step by step instructions below. But, if you prefer to watch, I’ve also included a build video as well.
Love watching how-to videos? Subscribe to my YouTube channel for plenty more where that came from!
Tools & Materials
Tools:
- Table Saw
- Miter Saw
- Clamps
- Drill/Driver
Materials:
- 1×4 or other *
- Plexiglass or Acrylic *
- ½″ plywood scrap *
- Wood Glue
- Painters Tape
- 1″ long wood screws
*Size of glass/acrylic, plywood and 1x board will depend on what size you make your shadow box. These can be made any size depending on what you’d like to put inside.
See notes above for tips on sizing.
Step 1: Cut Slots for Glass and Backer
First, I cut the 1×4 board that I planned to use for the sides of the shadow box to length. The length you need will vary based on the size box you’re making, but it should be a little longer than the sum of the four sides. See notes above.
I adjusted the table saw blade height to about ⅜″ and ran my board through so that it cut a groove about ¼″ from one edge. This will be the slot for the plexiglass, so I made sure it would fit into the groove.
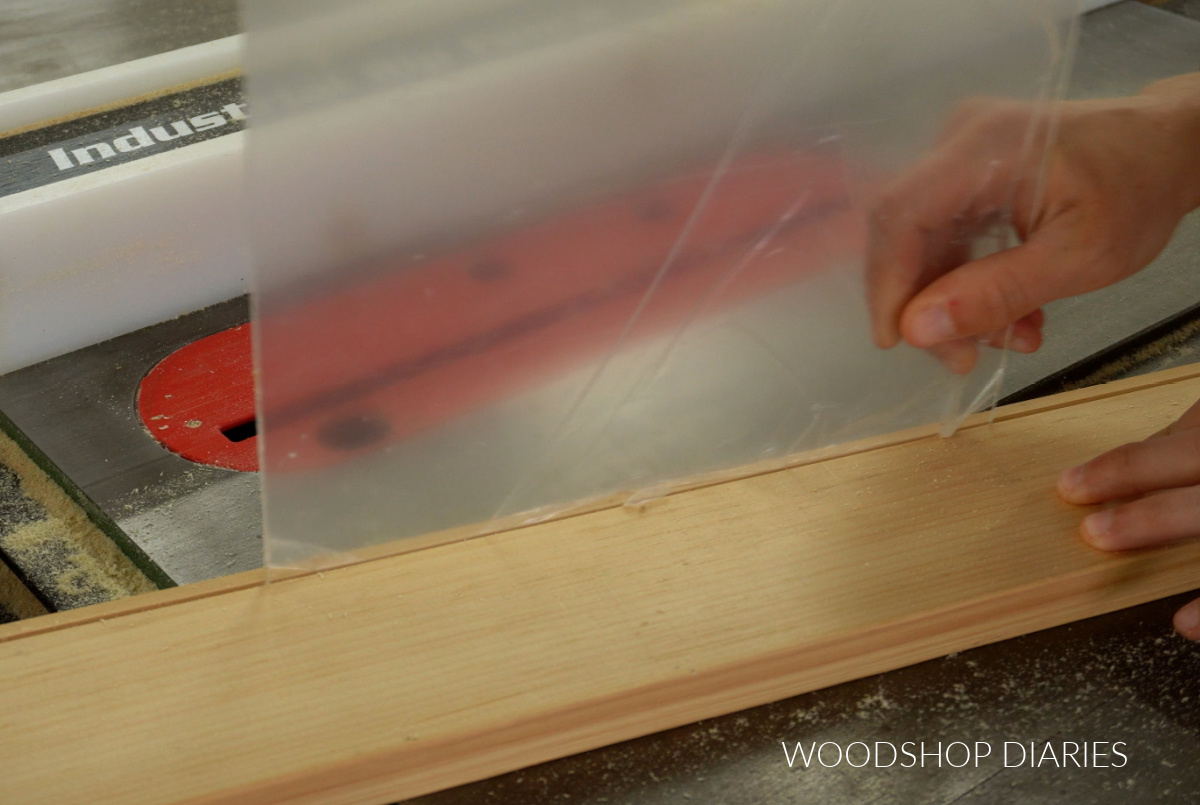
TIP: If your plexiglass is wider than your blade width, adjust the rip fence over slightly and run it through again to widen the slot until the plexiglass fits.
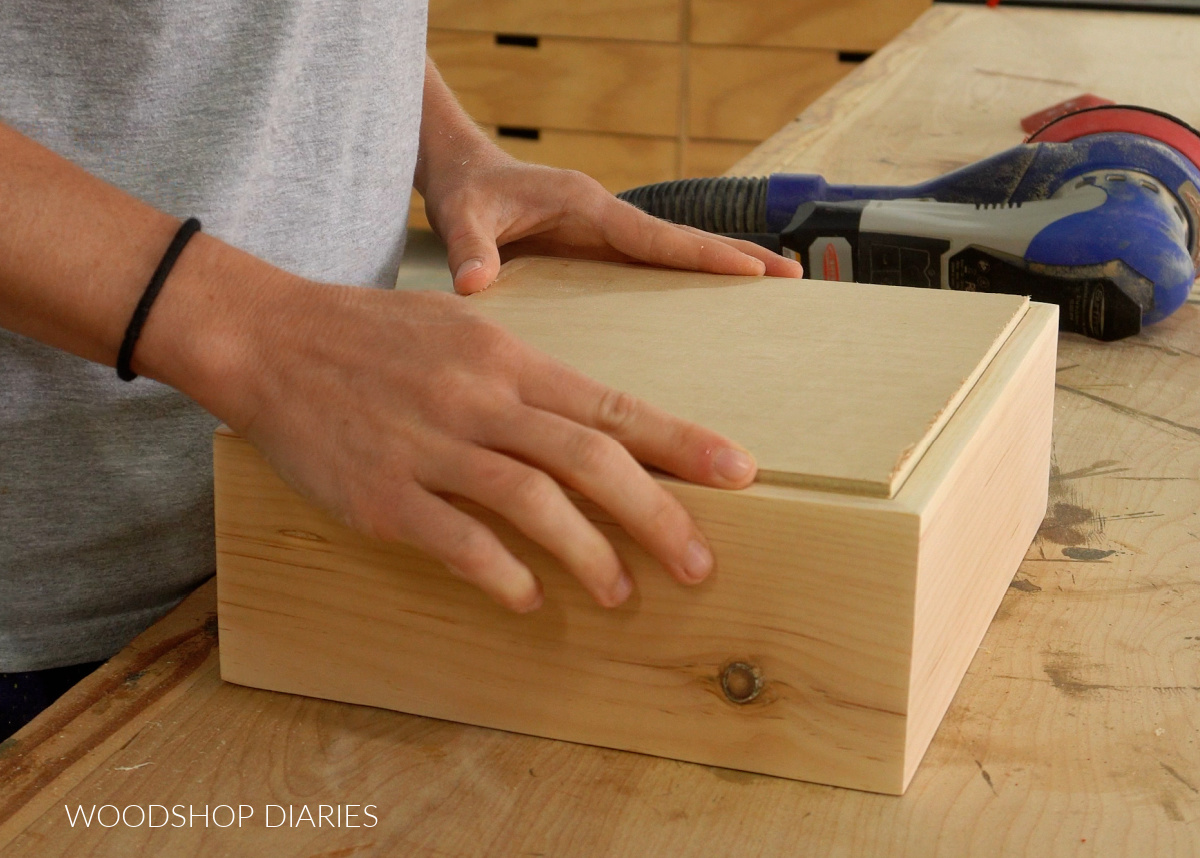
Then, I cut a second groove about ½″ from the OPPOSITE EDGE. After this second groove was cut, I adjusted the table saw one more time to carefully notch this out.
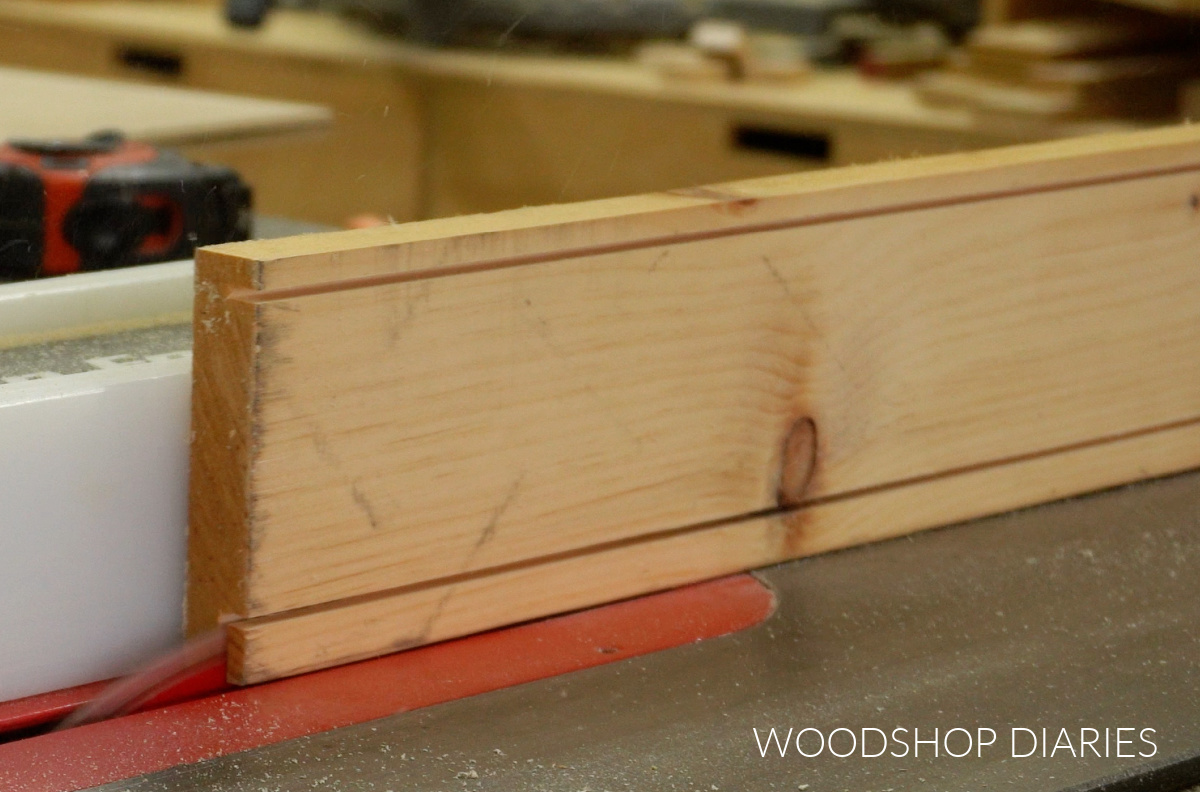
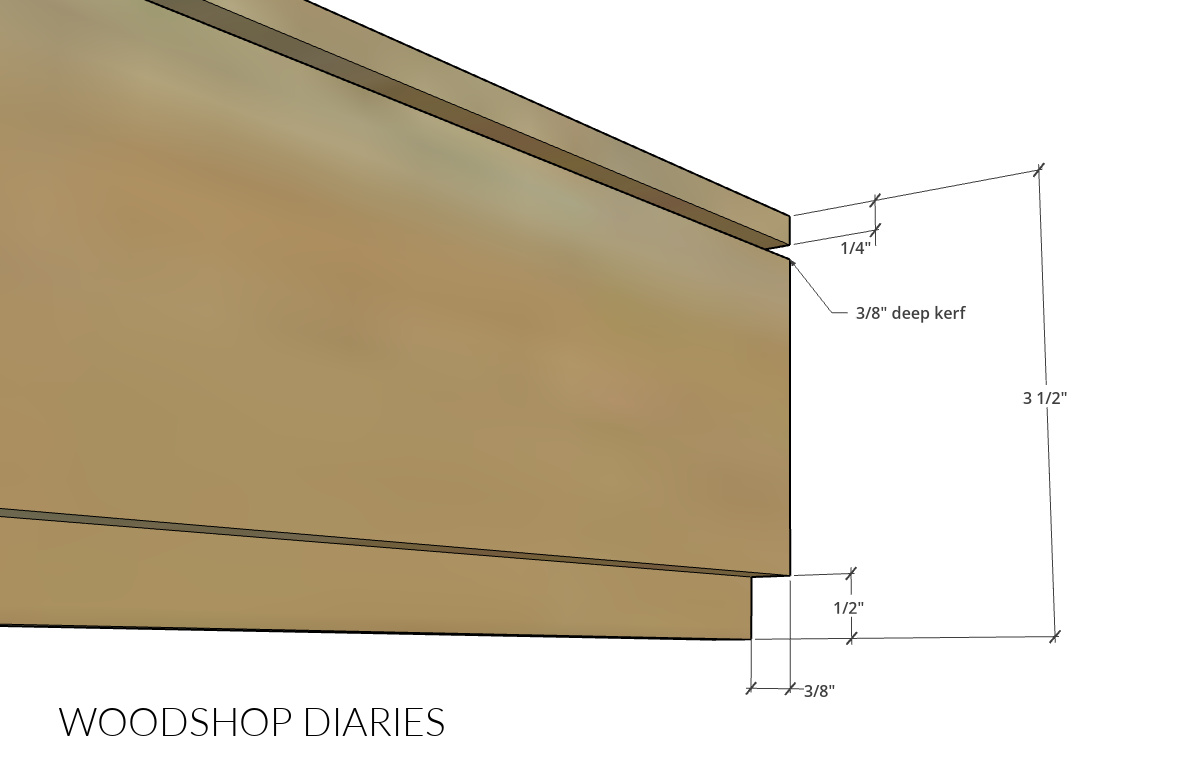
Now my board has a thin groove for the plexiglass to fit into and a notched corner that will hold the back panel. This will make more sense as it comes together.

Step 2: Cut Shadow Box Sides
Next, I trimmed four pieces from my board to make the sides of my box. Each end should be beveled 45 degrees.
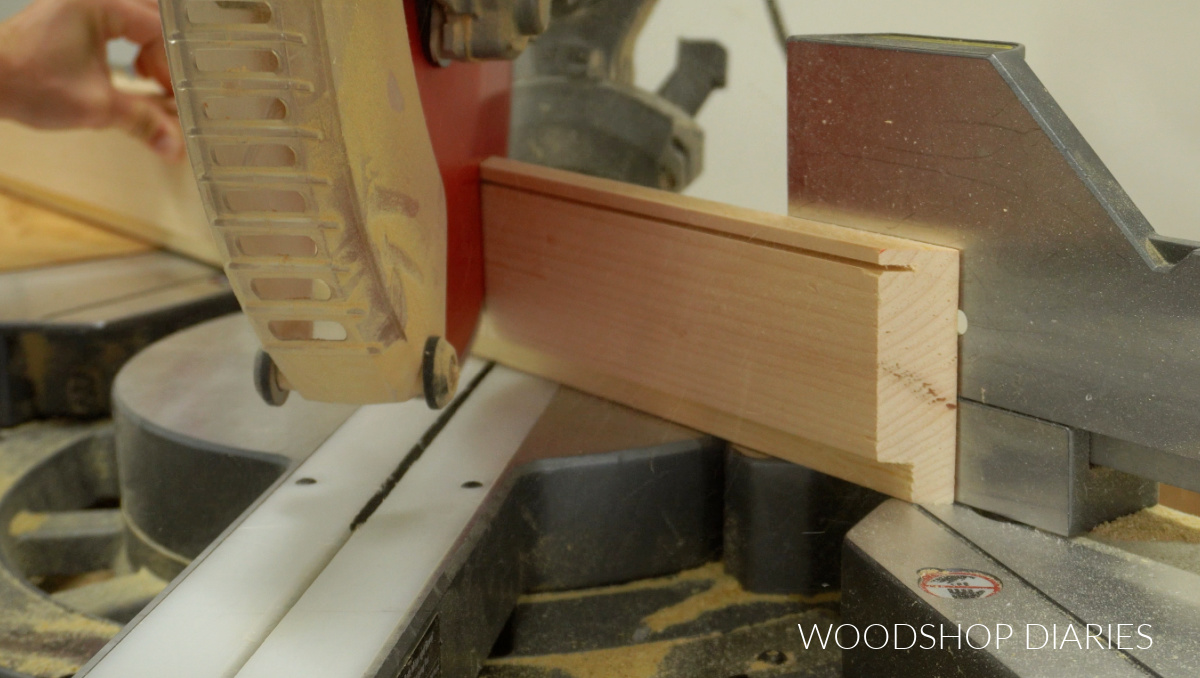
NOTE: You can cut the beveled ends by laying the board flat and adjusting your miter saw bevel angle. OR, you can stand the board up and adjust the miter angle. Learn how to cut angles on a miter saw here.
Again, the lengths of your boards will depend on the size shadow box you’re making, so cut them to fit around your desired plexiglass size.
In my case, using an 8×10 plexiglass piece, I cut two pieces 8 ¾″ on the longest side and two pieces 10 ¾″ on the longest side. If you err, err on the side of a little too long than too short.
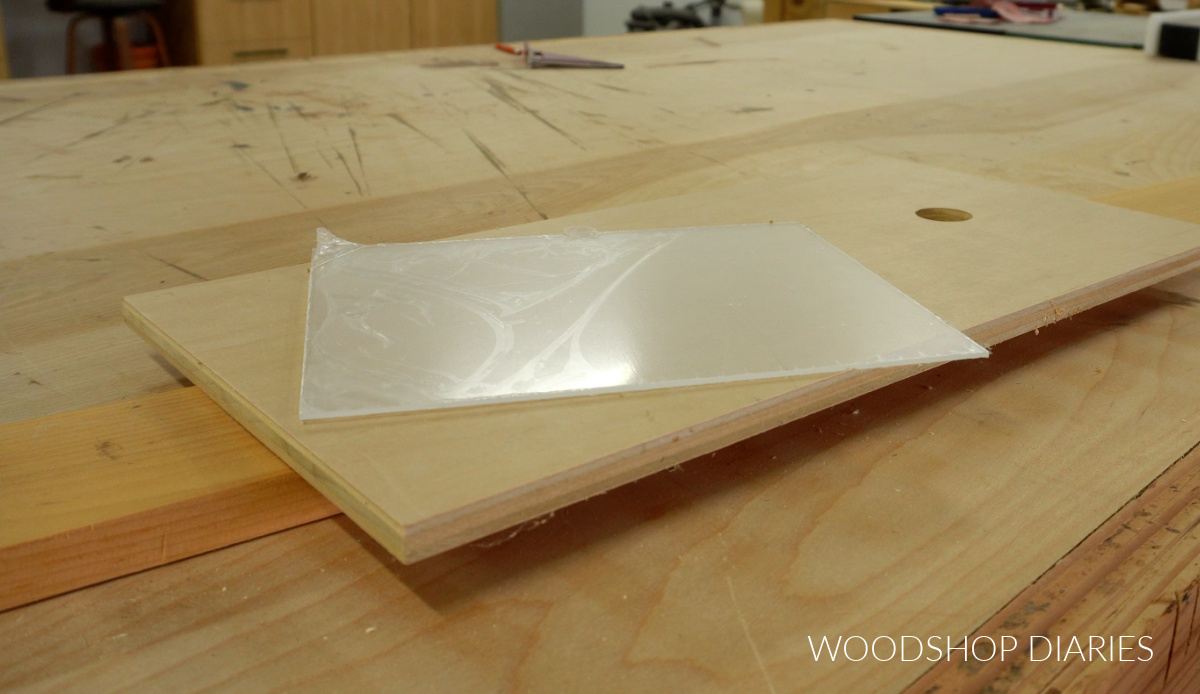
Cut your plexiglass piece to size (if it’s not already precut), and ensure the piece will fit into the grooves on the box and all the sides fit well together before gluing up.

TIP: I kept the protective film on my plexiglass piece until everything was glued up. This just helped protect it from accidental scratches.
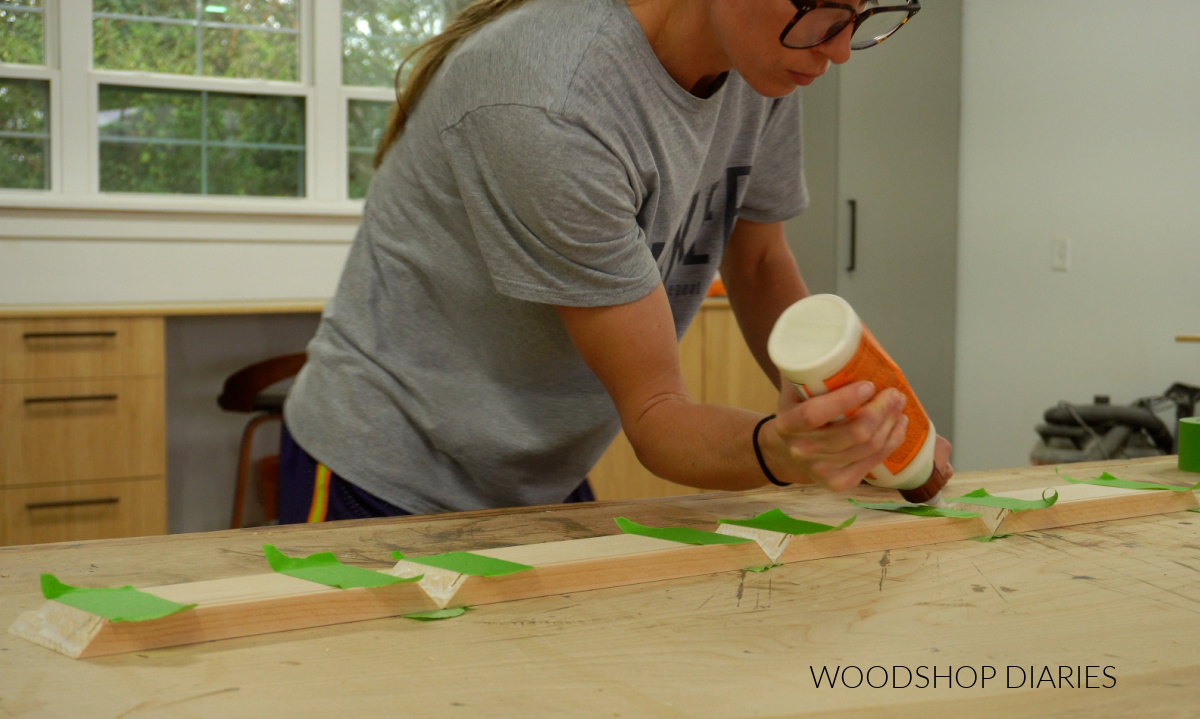
Step 3: Glue up Shadow Box
After I knew everything would fit together well, I laid my boards out on my workbench end to end and with the outside facing up and applied painters tape along the joints.
I flipped this over and applied painters tape along the inside edges as well just to help avoid getting glue squeeze out everywhere. Then I applied wood glue to all my beveled board ends.
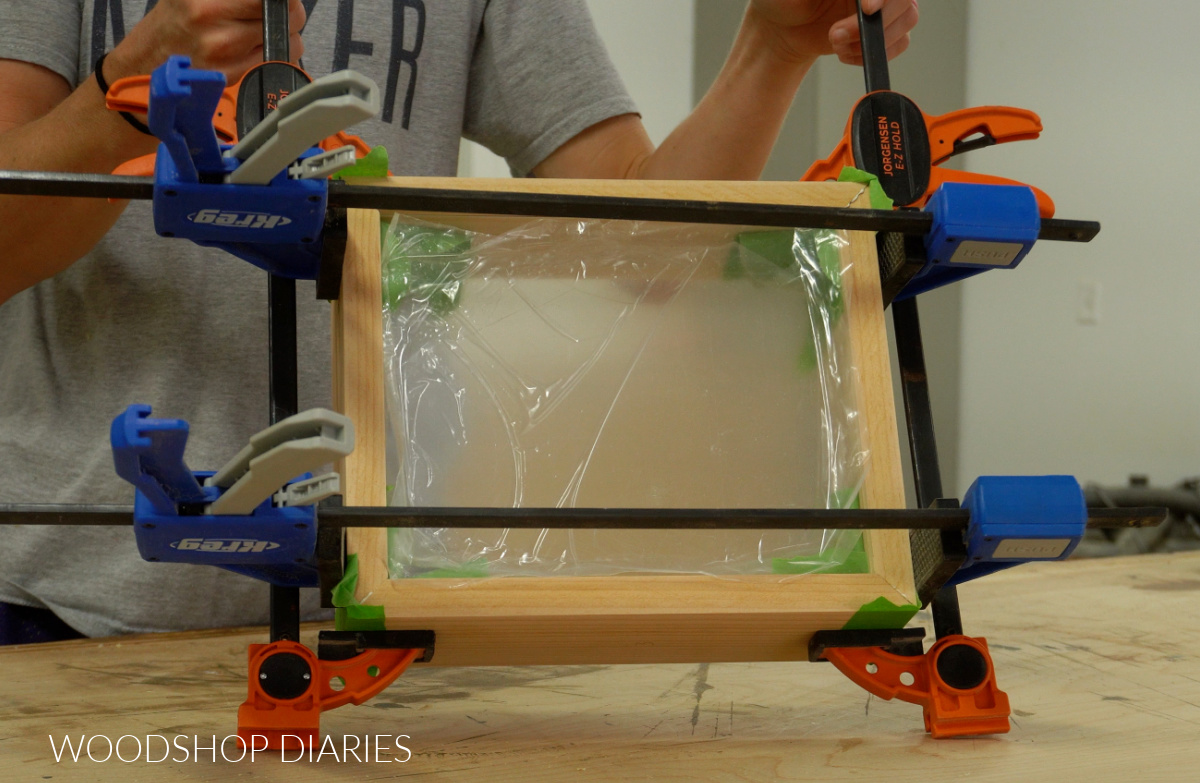
I carefully placed my plexiglass into the groove and wrapped my boards around it.
The plastic protective film on the plexiglass helps protect it from scratches during assembly, but make sure you pull this away from the edges when gluing up because you don’t want to accidentally glue this into the grooves, too.
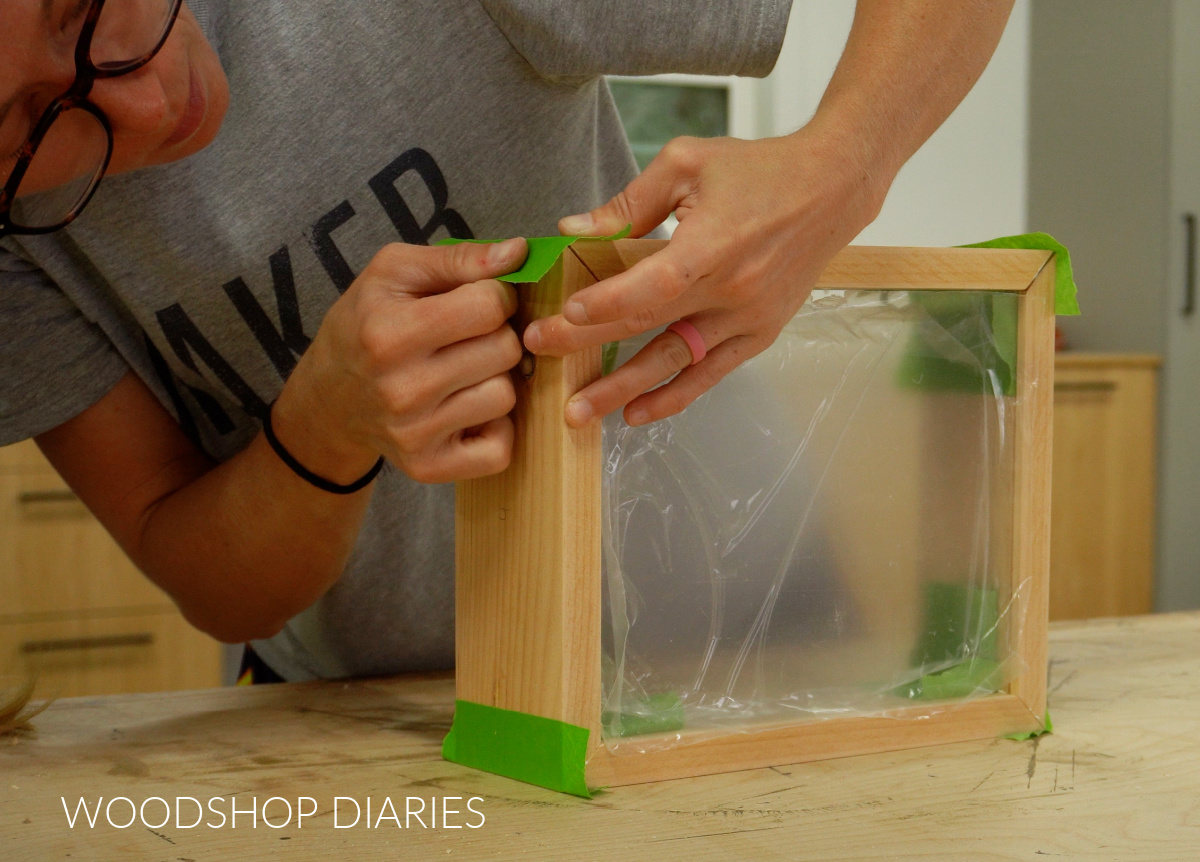
The painters tape helps hold the pieces together while you get everything in place, but I also clamped my pieces nice and tight while the glue dried.
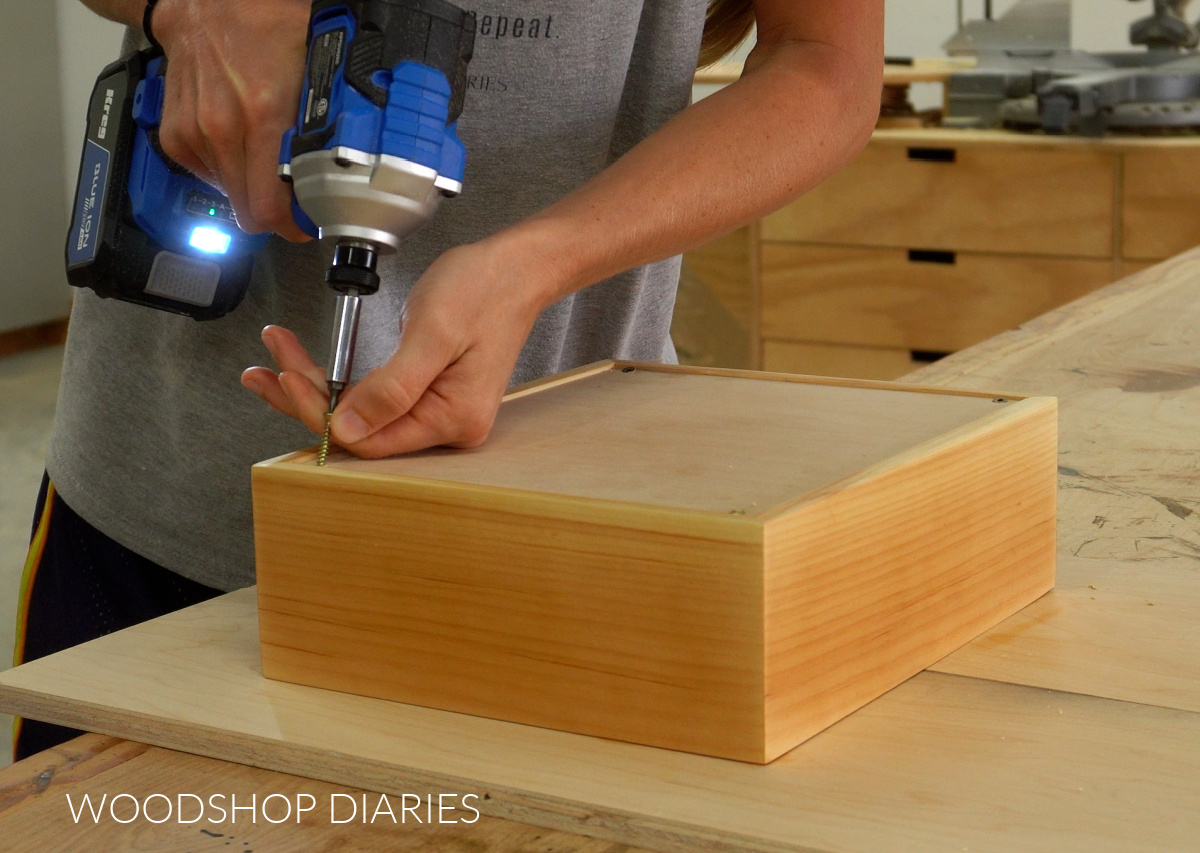
Step 4: Install Back Panel
After the glue dried, I sanded the box well to remove any glue squeeze out and residue, then I cut a piece of ½″ plywood to fit into the groove on the back of my box.
After I made sure it would fit, before installing, I painted this piece black. This is completed optional–you could paint it white, yellow, blue, whatever. Or you could leave it natural wood or stain it. It’s totally up to you!
I also applied some Walrus Oil Furniture Finish to my box to seal it, then placed my back into the box and secured it at each corner with some 1″ wood screws.
What to Add & How to Fill Your Shadow Box
Shadow boxes can be made for a WIDE assortment of items. Some people use it for awards, some like to put a flag inside, a jersey, a bouquet, a piece of jewelry, a book, etc.
I actually planned to put a pair of my grandpa’s old glasses and some photos of him inside this shadow box, but for these photos, I just staged it with a few trinkets from my college days.
To put things inside the box, simply remove the back panel. Some items can simply be placed inside, then put the back panel back on–like the sash and rope you see here.
But if needed, you can also tape, screw, glue, or string items onto the back as well. I used double sided mounting tape to attach this medal to the back before putting it back on the box.
Once filled, this box is ready to display on a table, a shelf, or, if desired, hung on the wall.
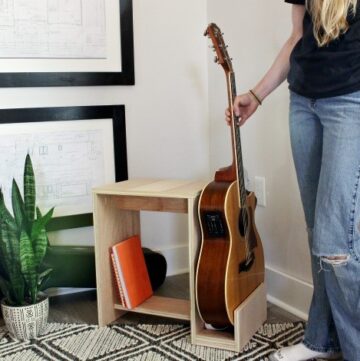
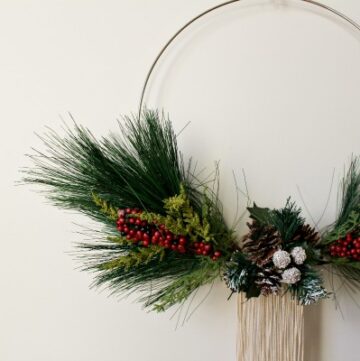
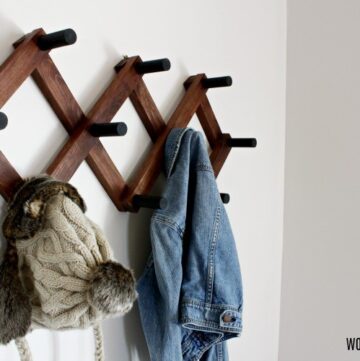
Looking for More easy DIY projects?
With the upcoming holidays, I’ve teamed up with my friend, Kati, from Houseful of Handmade and Anika, from Anika’s DIY Life to share some easy and fun gift ideas that you can make this season!
I’ve included their projects in the gallery below plus a few of my own (click on the images to see how to make each one).

Enjoyed this project and want to save it for later? Be sure to pin it or share it to your favorite social channel!

Until next time, happy building!