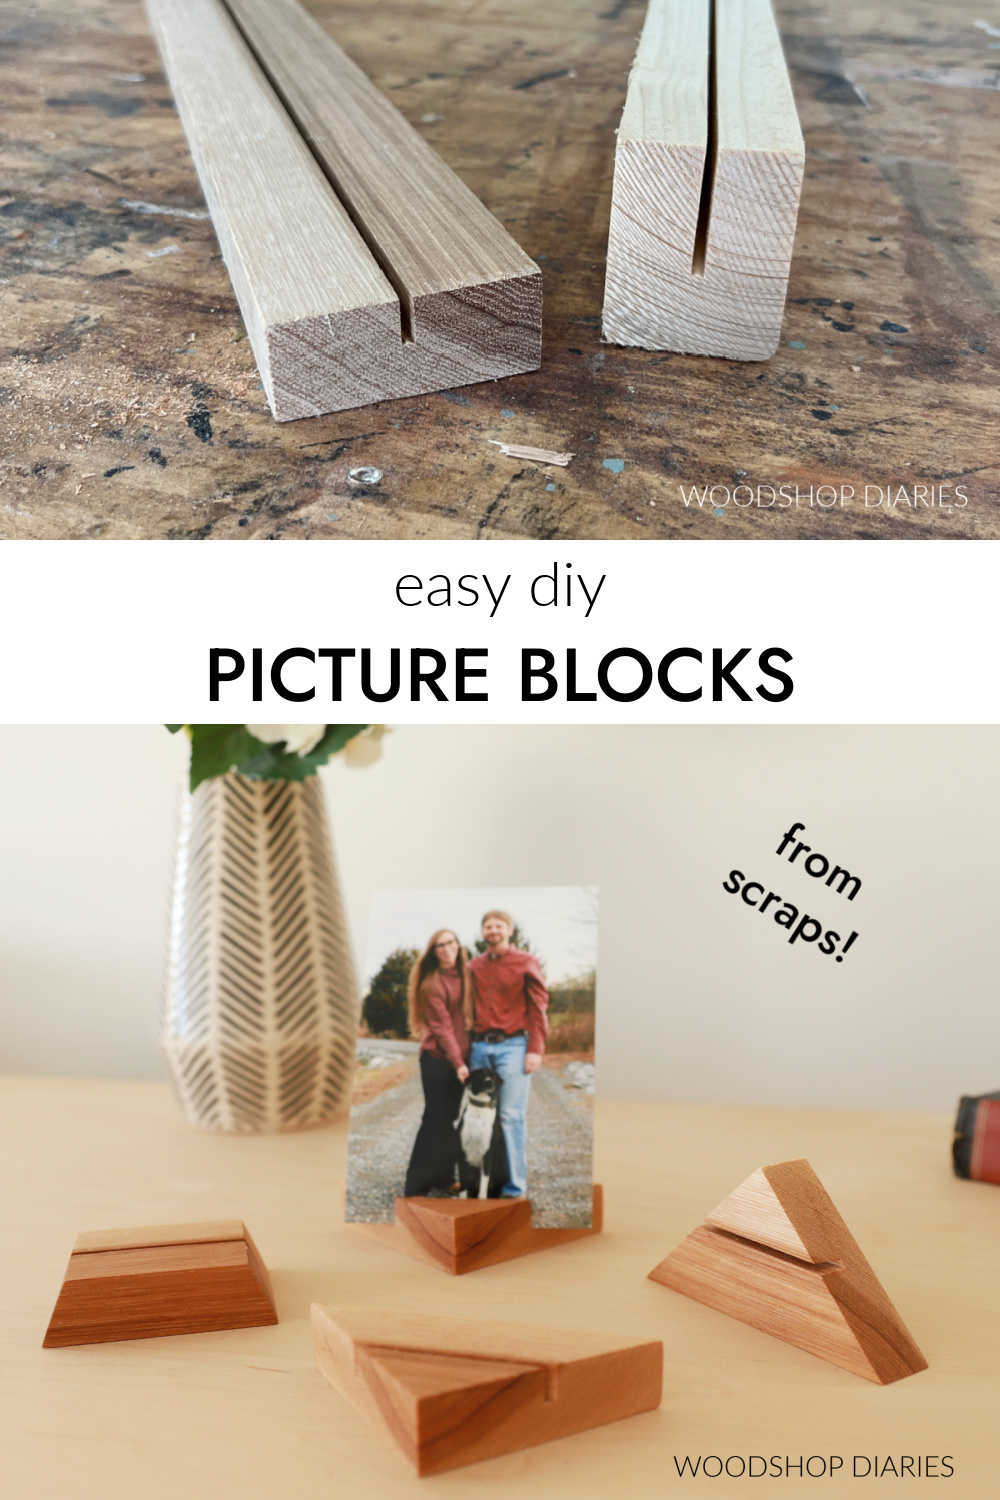
In this post, I’m sharing how to make these super simple DIY photo stands from scrap wood blocks!
These wooden stands are ideal for displaying photos, business cards, place cards, or holiday cards.

You can even print out a favorite motivational quote or a daily to do list to prop up here and put on your desk!
You can make these in a few different shapes and styles that I’ll show you below, but no matter which you choose, this is great easy way to use up some of those wood scraps.
*This post contains affiliate links. See website policies.
What kind of wood can you make photo holders from?
The short answer is: any type you want! But the long answer is, well…a little more in depth.
I used scrap 1x material and scrap 2x material for these. I don’t recommend using anything thinner than ¾″ thick. And I don’t recommend using pieces shorter than about 12-16″ long.
While these photo stands are small, it will be difficult to cut them from a tiny piece of wood. It’s better to start with a longer board and trim it down into the smaller blocks.
These are some of the scrap boards I used–2x pine and cedar boards on the right and scrap 1x hickory and red oak boards on the left.
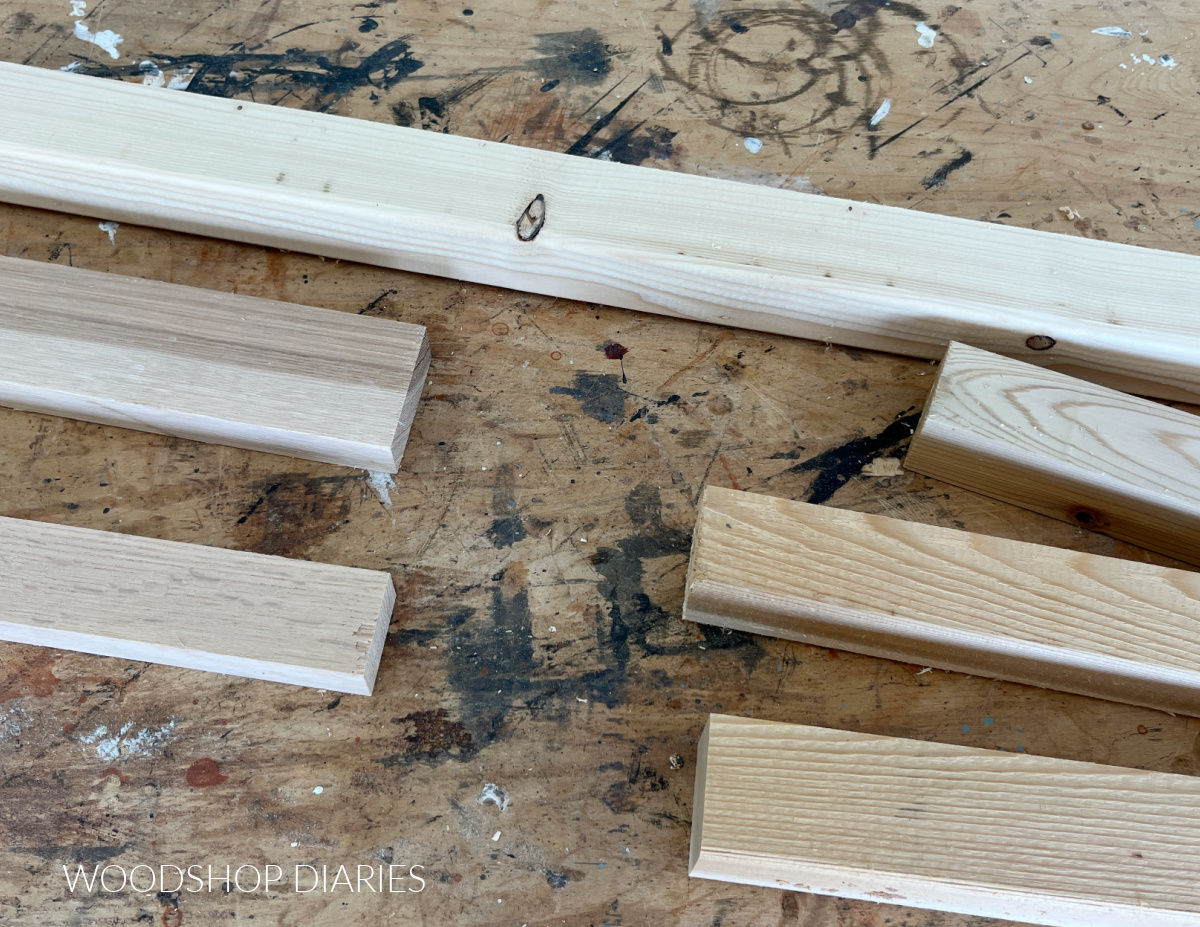
1x3s, 2x2s, and/or 2x3s work perfect for these little photo blocks, but you can go larger if you’d like. As you’ll see below, you can cut these in different orientations, so mix and match sizing and shapes however you’d like!
Enjoy DIY projects and woodworking plans? Sign up for priority access for the latest posts on Woodshop Diaries!
How to Make Wood Block Photo Stands
These little stands are super quick to make and you only need two tools plus your scraps!
Tools & Materials
Tools:
- Table Saw
- Miter Saw
Materials:
- Scrap 1x and/or 2x lumber
Step 1: Select Your Lumber and Orientation
First, I took a look at my scrap options and decided on the orientation I wanted for each piece.
Essentially, I decided how I wanted them to stand so that I knew which edge of the pieces I needed to cut my slots for my photos.
For my 1×3 hickory board, I wanted these to sit flat, so I needed my slot cut across the face. For my 2×2 boards, since both dimensions are the same, it didn’t really matter which edge I cut the slot on.
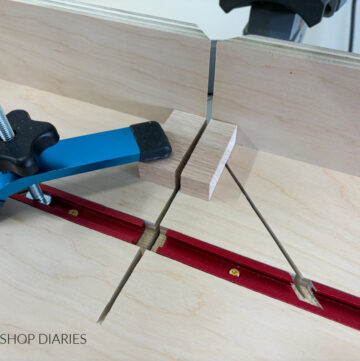
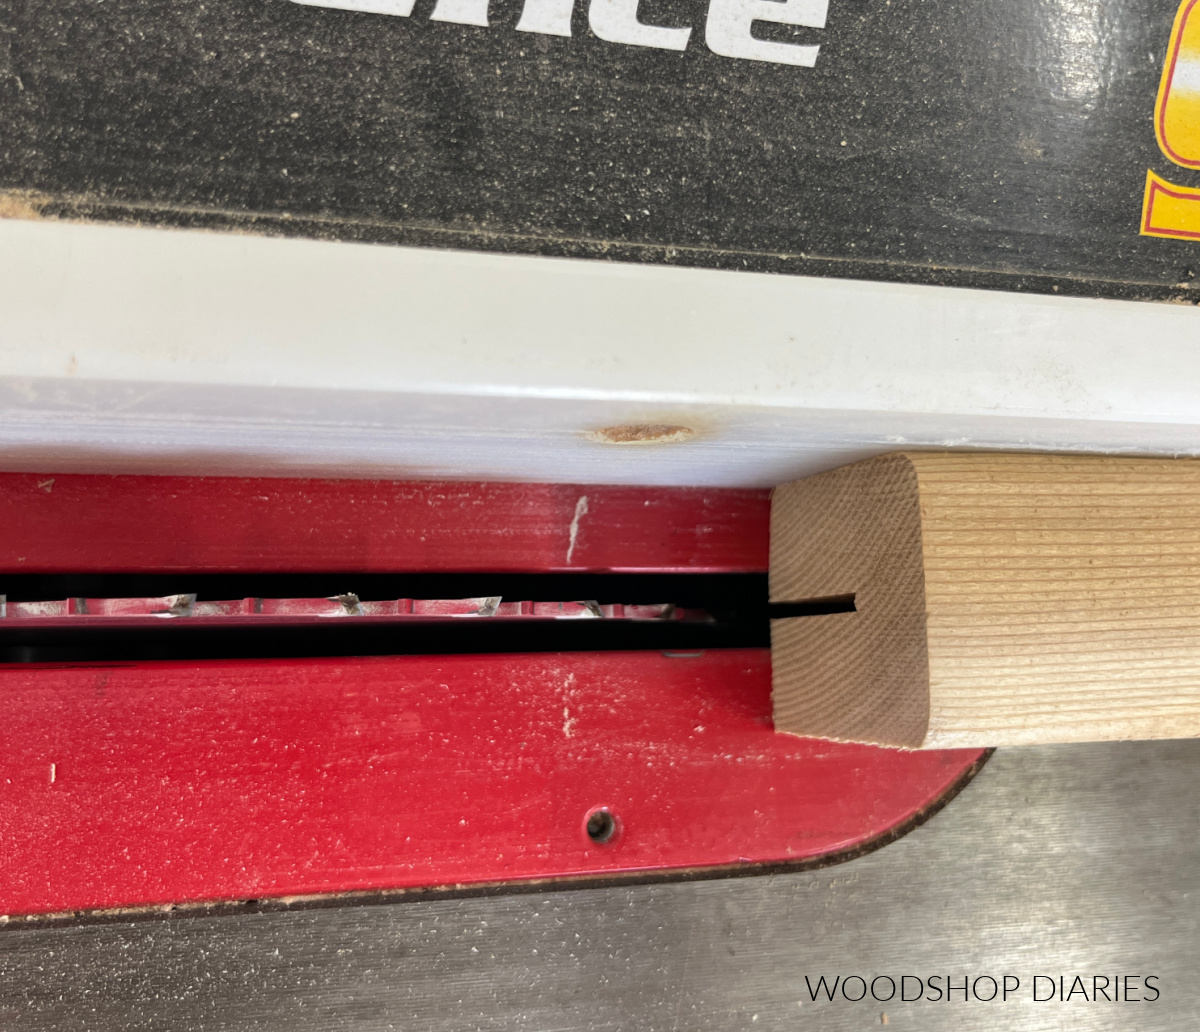
Step 2: Cut Photo Slot
After I decided what side to cut my slot on, I set up my table saw so that the blade was about ½ to ⅔ the height of my piece.
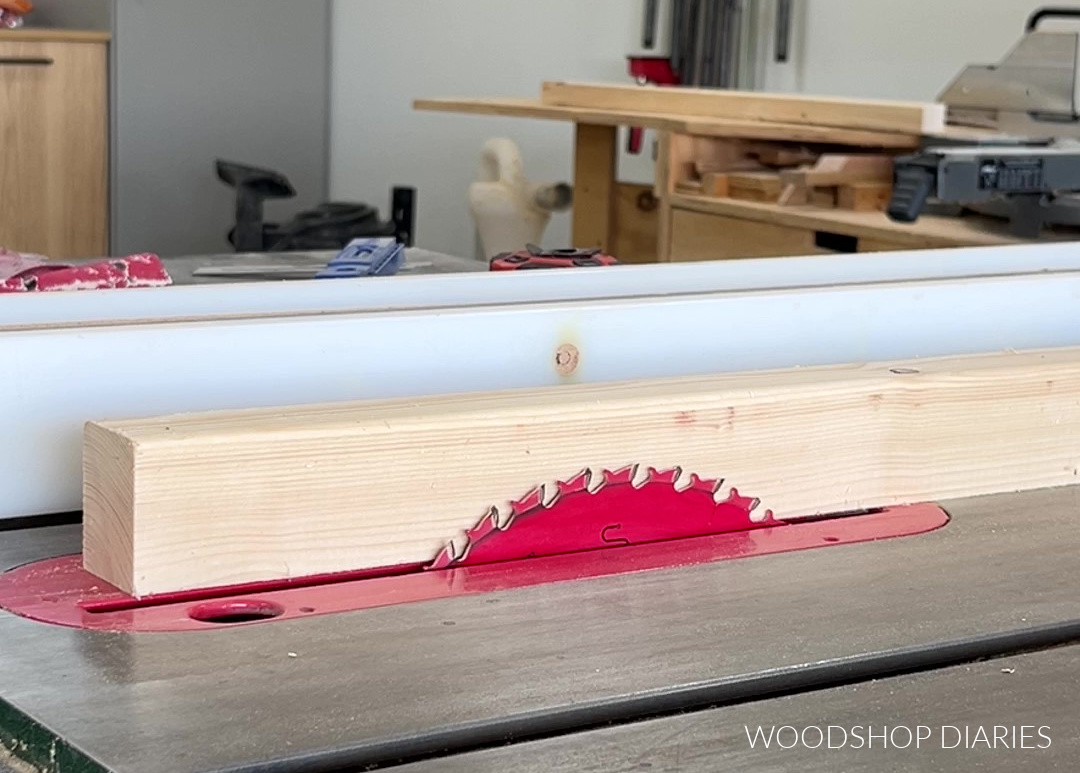
TIP: You don’t have to measure this precisely–just set the board next to the blade and raise it so that it looks like to would cut about ½ the thickness.
Then I adjusted the rip fence so that the blade would run right down the middle of the board. Again, this doesn’t have to be precise–you can eye ball where the centerline would be.
NOTE: If your pieces aren’t all the same size, you’ll need to adjust between boards. For example, I didn’t cut my 2x2s with the same settings as my 1×3.
Once the blade was set, I carefully ran my pieces through to cut the slots.

Step 3: Cut Photo Stand Block to Size
Once the photo slots were cut in the pieces, I just needed to trim them down to their final size and shape on the miter saw.
RELATED: How to cut angles on a miter saw
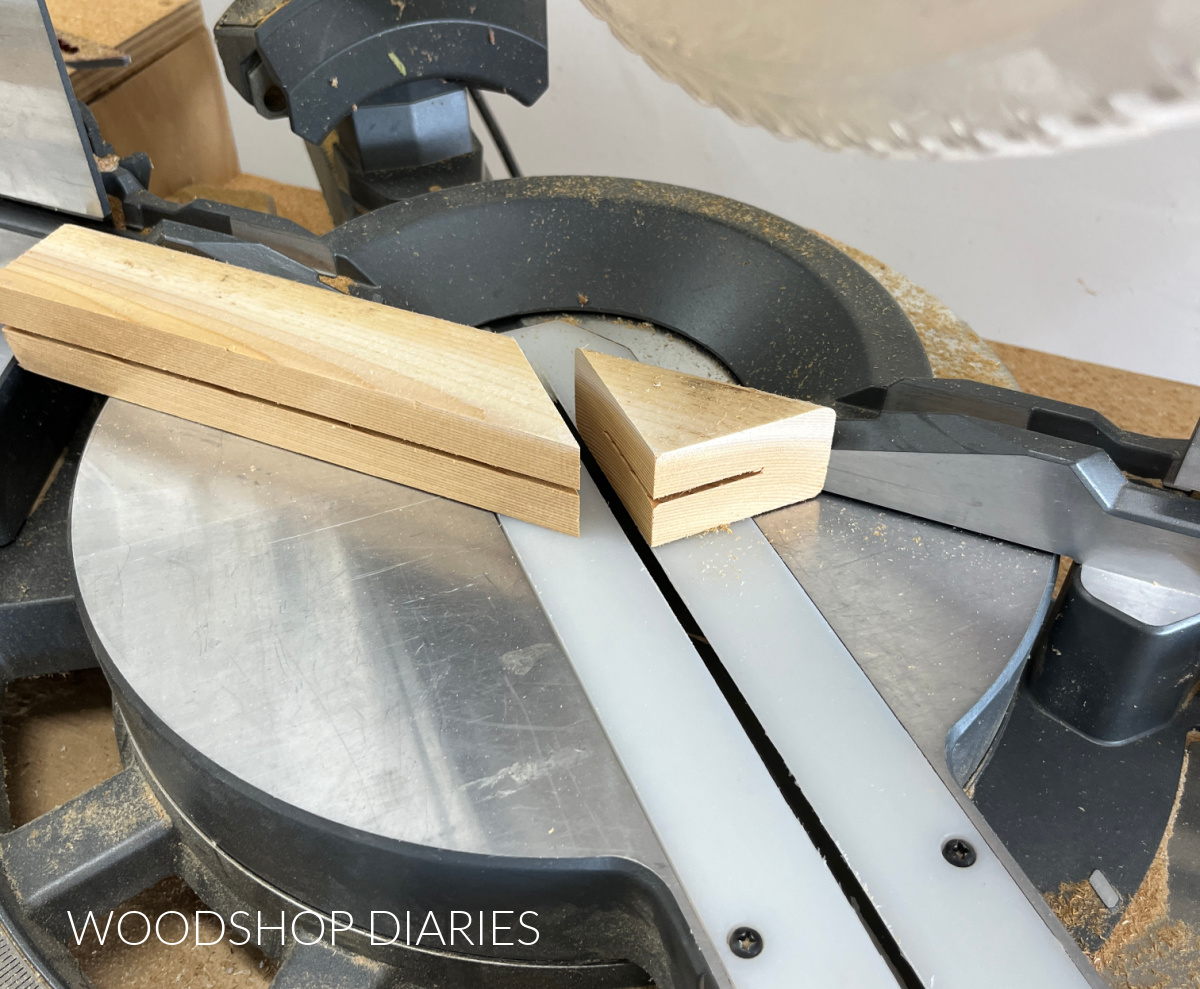
NOTE: This is why I recommend using longer scrap pieces. Cutting small pieces like this on the miter saw can get tricky if your board isn’t long enough to hold properly.
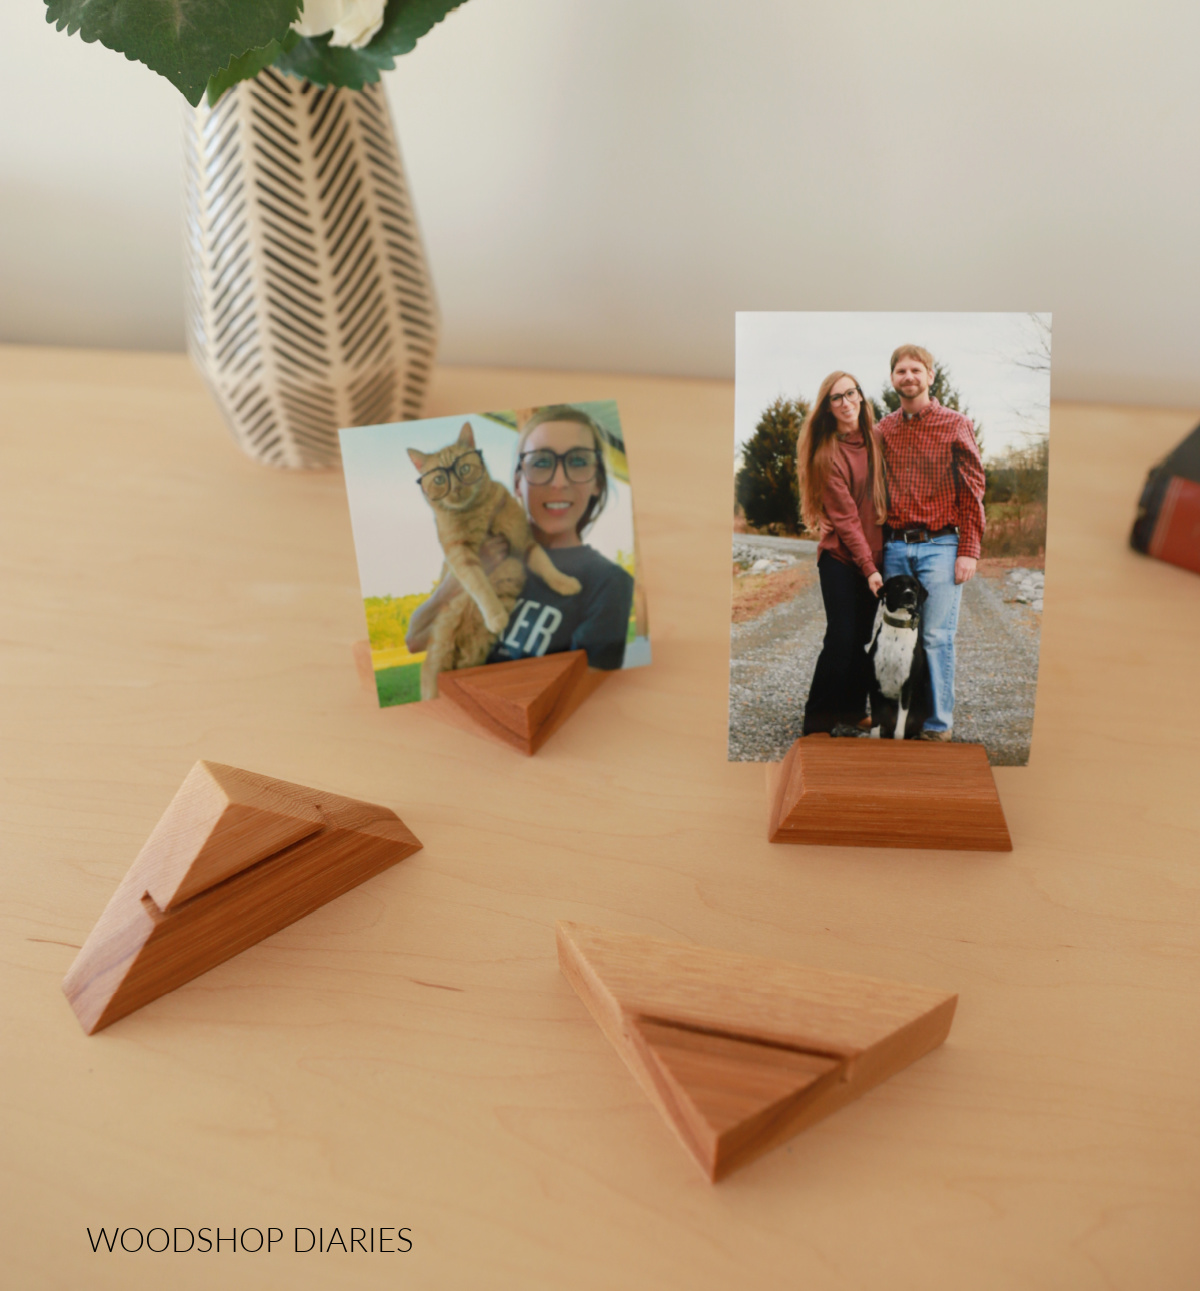
This is where you can get as creative as you want. For some of these, I cut them with 45 degree ends so that they were like little triangles with the tips facing up.
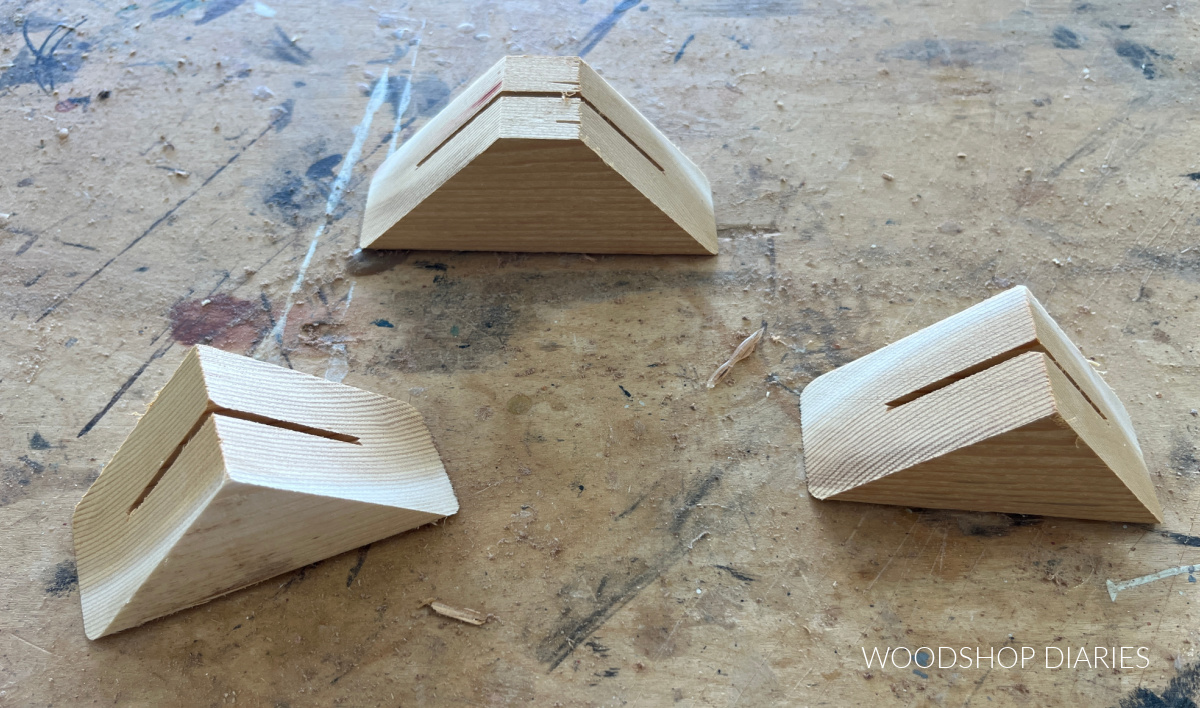
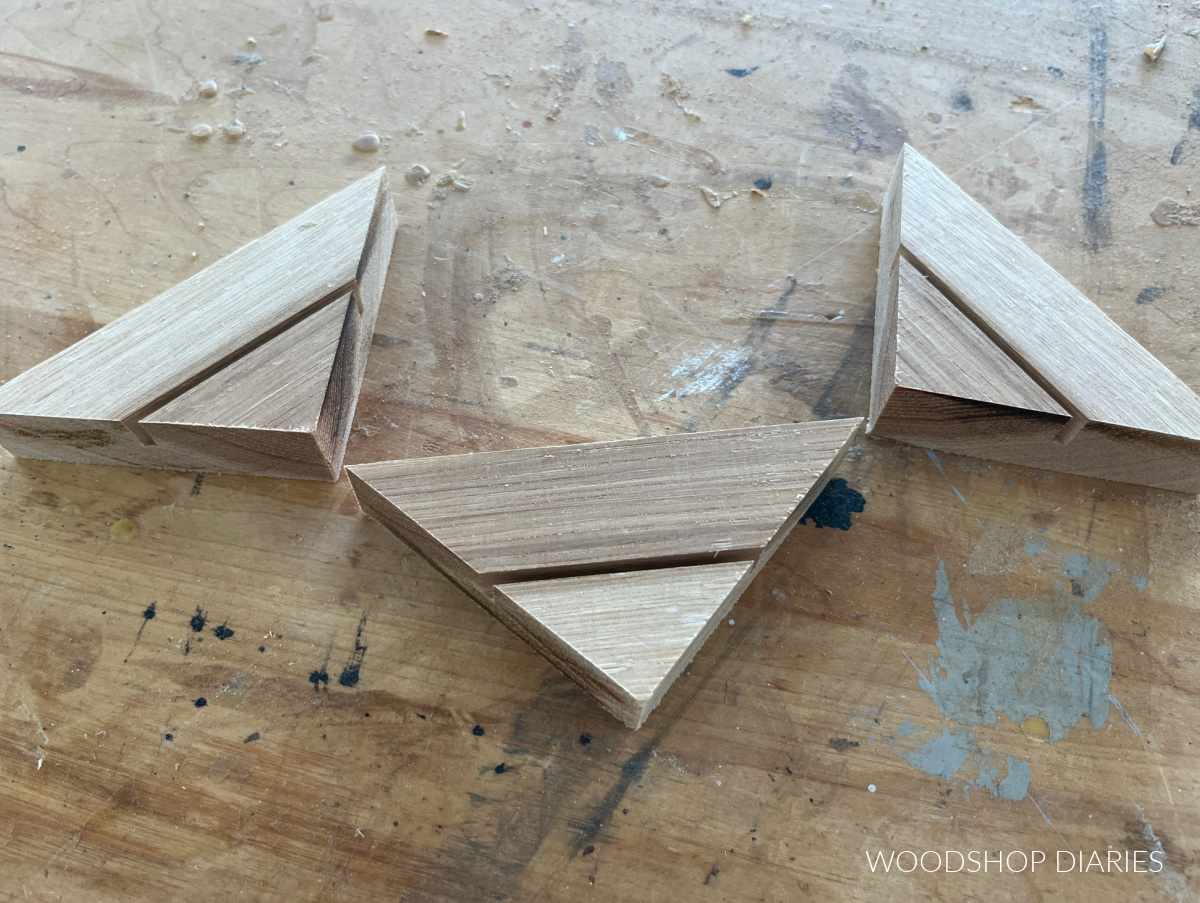
For others, I cut them into triangles so the tips faced forward.
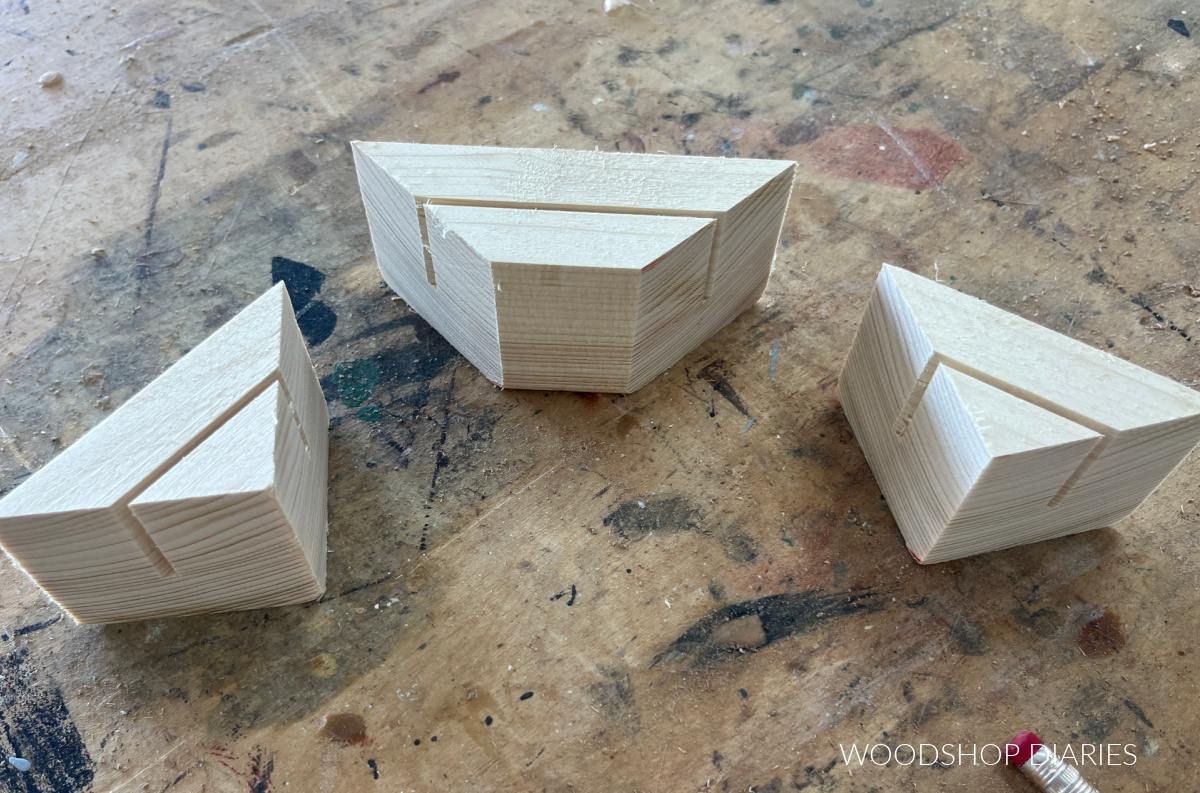
You can cut them like this so that the “tips” aren’t even tips at all. So they’re more like a trapezoid.
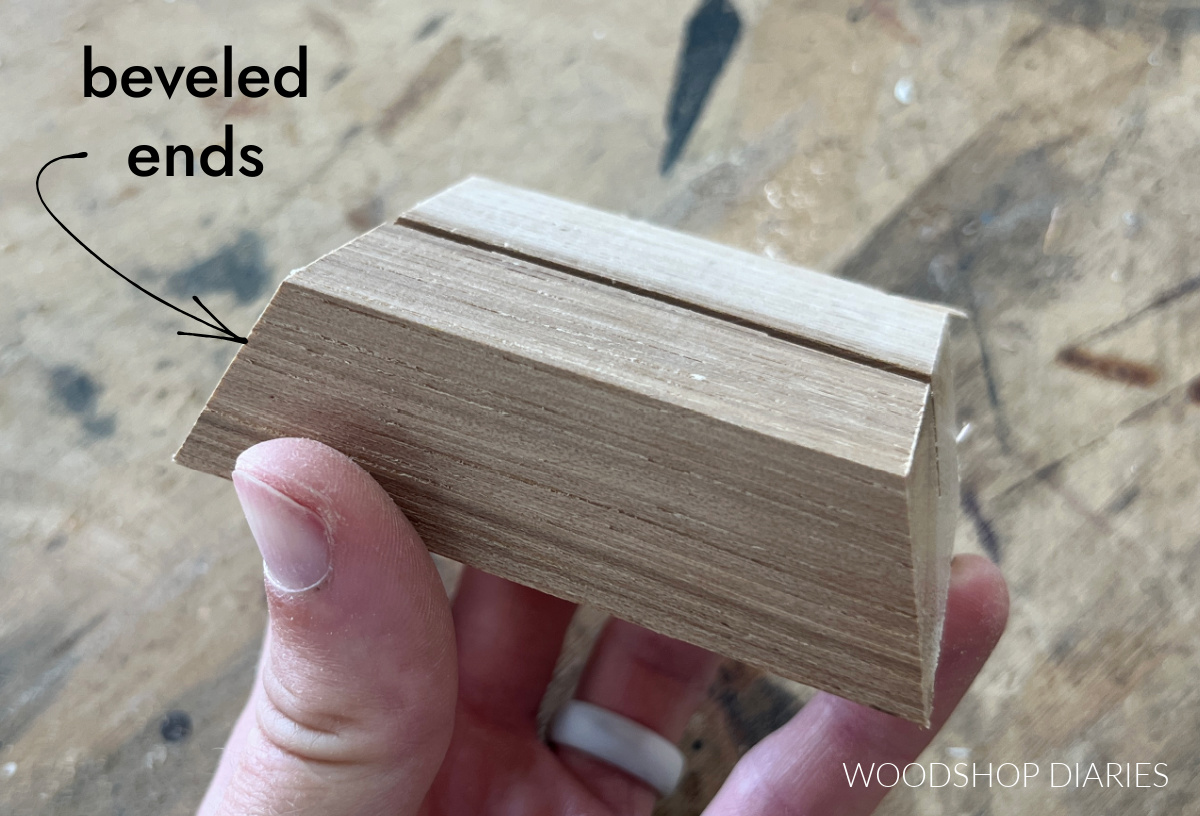
And for the 1x3s, I cut these into triangles, but I also cut one straight, but with slightly beveled ends.
Feel free to get creative in your size and shape. As long as the base is large enough to hold the weight of the photo/card/etc., any shape or size will work fine!
Step 4: Finish
Just like the shape, the finish is fun to customize however you’d like.
Recently, I made a set of outdoor scrap wood lanterns and I stained each a different color and thought they went well together.
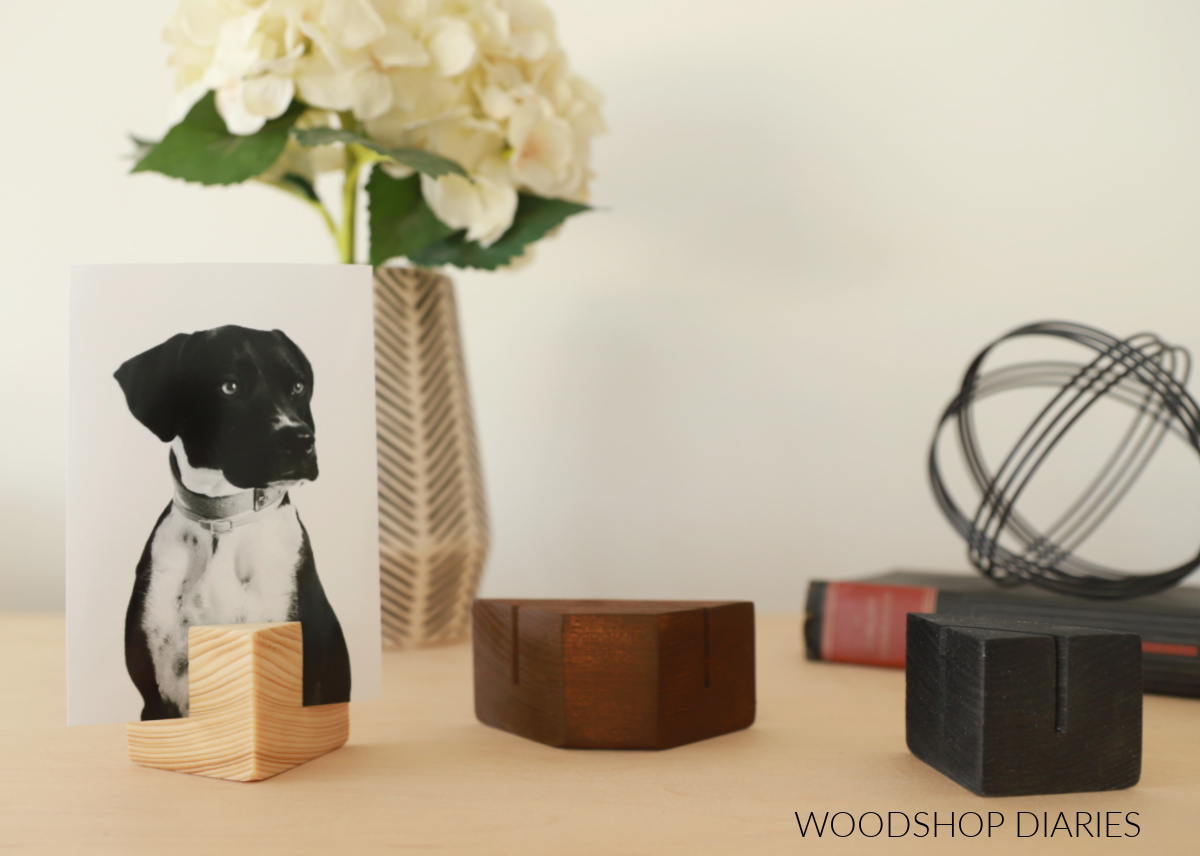
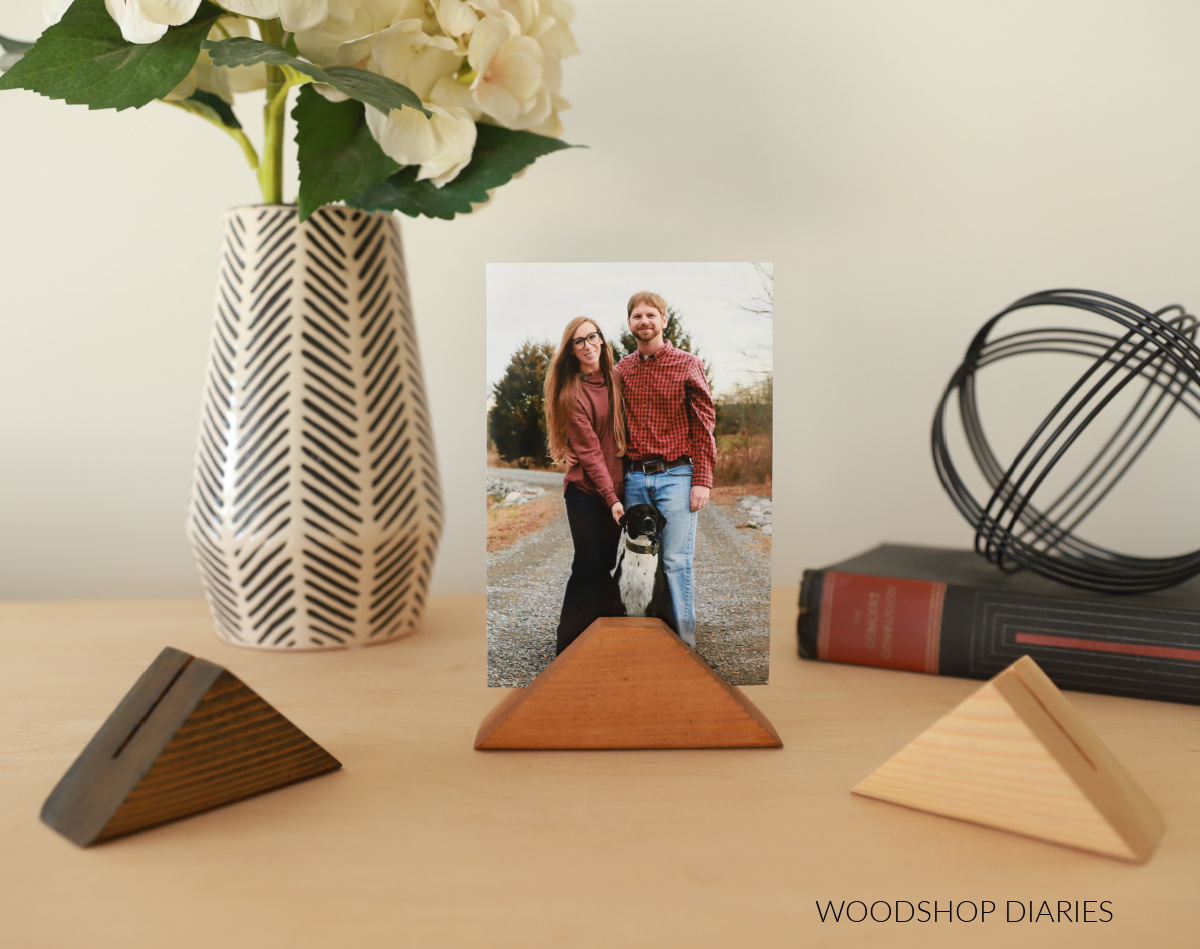
So I did that again here in my sets of three. I stained these with Minwax True Black for the black stand, Minwax Pecan for the brown one, and a simple clear coat on the light one (Walrus Oil Furniture Finish).
For my hickory pieces, I applied a coat of Walrus Oil Furniture Finish.
And once these pieces were all dry, they were ready for displaying your favorite photos and cards!
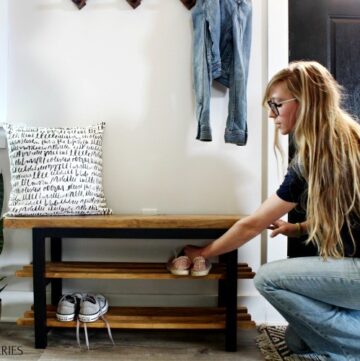
These are such a simple way to display photos on your desk, bookshelf, or console table. They’re easy to swap out and very minimal in style–unlike large, bulky photo frames.
These would also make such a fun gift idea or place card setting at a wedding or formal event.
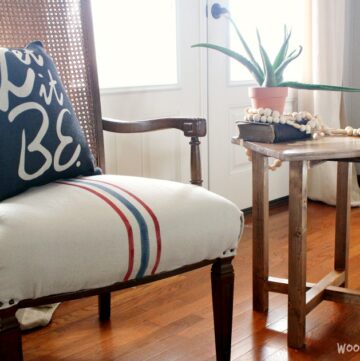
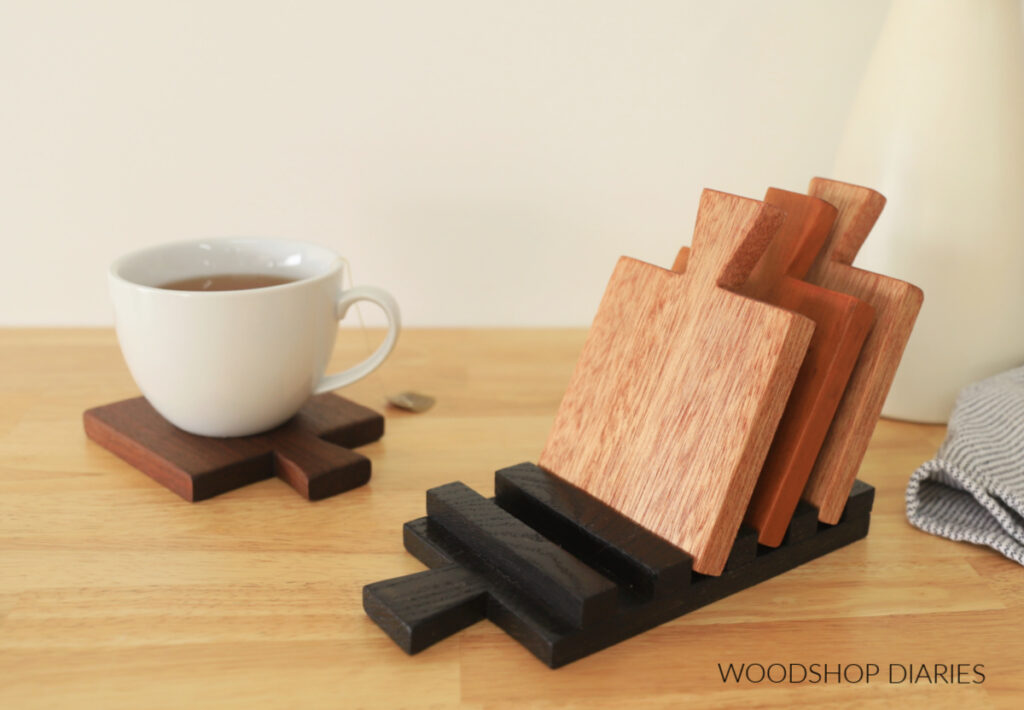
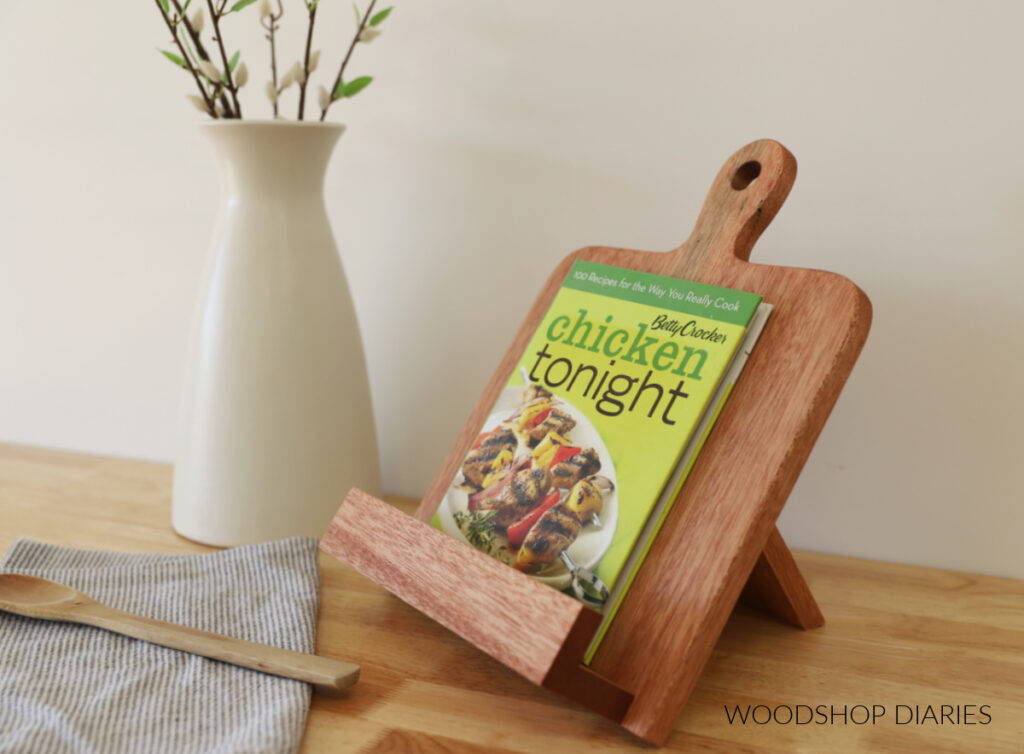
Looking for more simple scrap wood ideas?
Scrap wood projects are my favorite! If you enjoyed this one, but are still looking for more inspiration, I’ve got you covered!
Here are a few of my favorite simple DIYs you’ll love to browse. Click on the images below for the tutorial.
And for more where that came from, check out my full list of scrap wood DIYs here.
Want to save this post for later? Don’t forget to pin it or share to your favorite social channel!
Until next time, happy building!