
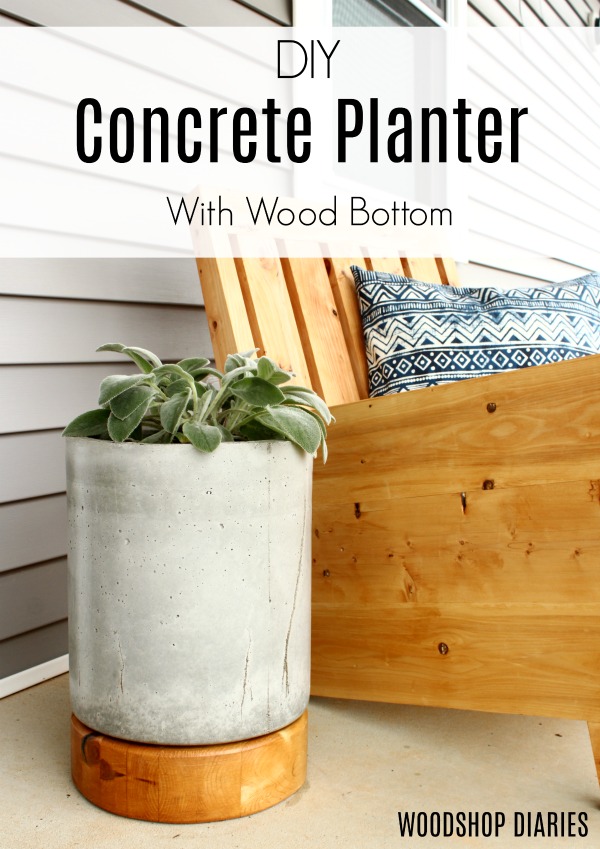
Want to learn how to make a DIY concrete planter pot? I’ve got you covered in this post!
With spring finally here, I’m so excited to be able to spruce up the front porch of our new garage apartment house.
.
The past few years, I’ve made some fun wooden planters for the front porch (these modern ones were a unique design, and these louvered planters are a favorite of mine), but this year, I wanted something a little different.
.
So, instead of wood, I went with a concrete planter pot!
.
I’ve worked with concrete a little before (like to make this concrete landscape curbing), but making this concrete planter pot was a bit of a learning curve.
.
But don’t worry, I’ll walk you through it step by step.
.
So if you’re ready to make something awesome, let’s get started. The how to video and the step by step tutorial both are below. This post contains affiliate links. See disclosure policy for details.
What you need to make a Concrete Planter Pot:
- 5000 concrete mix (you can use regular, but I recommend the 5000 kind)
- 2×4 board (optional–the wooden base is an optional piece)
- Wood Glue
- Construction Adhesive
- 5 gallon bucket
- 2 gallon bucket
- Spare bucket to mix in (I used another 5 gallon bucket)
- Utility knife
- Miter Saw
- Band Saw or Jig Saw
- Clamps
- Sander
- Router (optional)
- Sealer
Safety First: when working with concrete, always follow the safety precautions on the bag. At the least you should wear a dust mask and gloves. Concrete can burn your skin and is harmful if inhaled.
.
Step 1: Glue up Base (OPTIONAL)
I started out knowing I wanted this wooden base for the pot (which is totally optional, by the way), but didn’t know how thick I wanted it to be.
.
I played around with different sized boards and decided that a 2×4 turned on its side looked good proportionally, so I went with that.
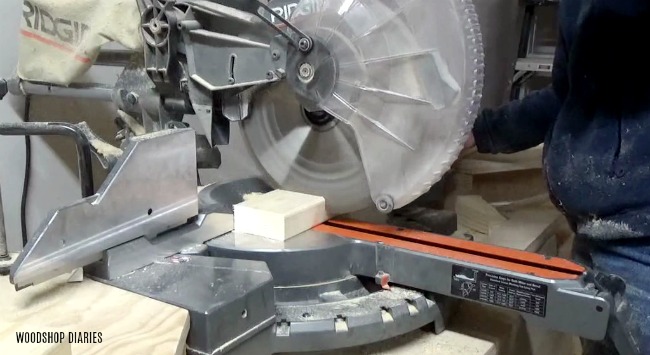
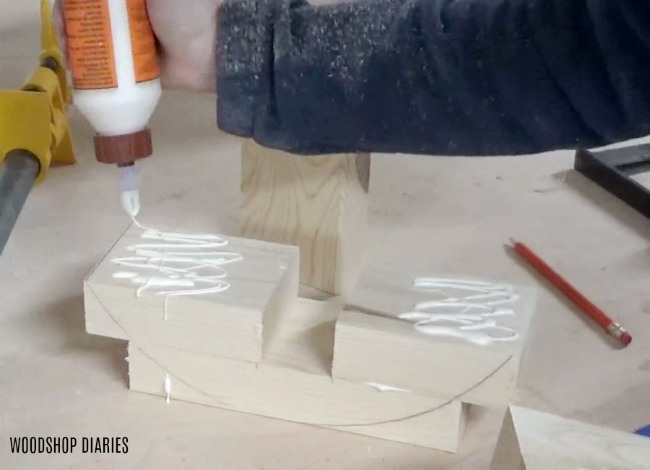
I took the board to the miter saw and cut twelve 4” long blocks and two 8” long blocks for the ends.
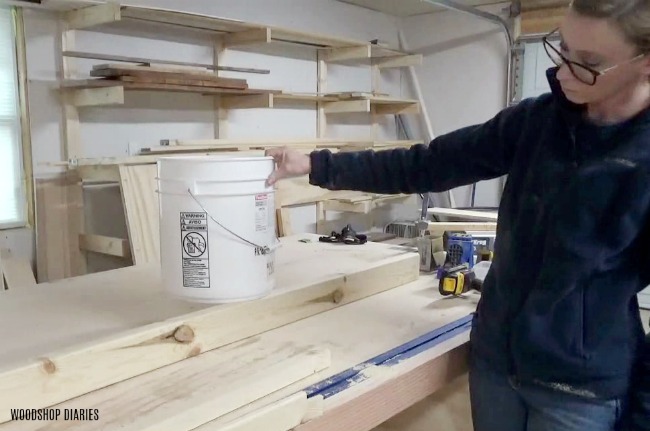
I arranged these like shown below to make sure that the bucket I would be using for the concrete mold would fit on top. Then I began the gluing process.

Now, it may have been easier in the long run to cut progressively longer boards to glue together instead of doing it this way with a big hole in the middle.
.
But this way saved lumber and gave me an automatic drainage hole. You do whichever you want…in the end, it’ll end up the same.
.
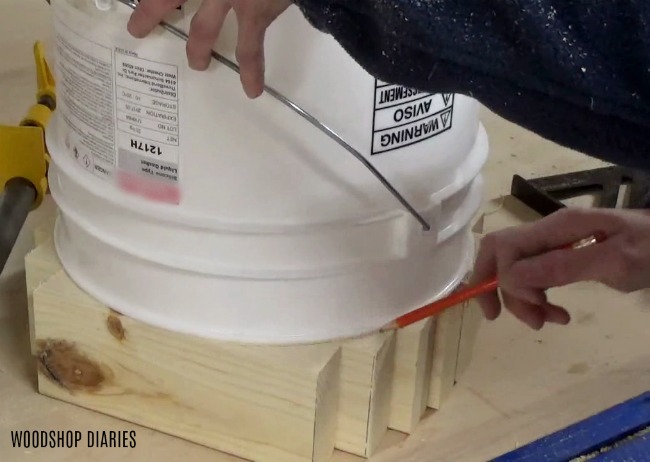
I arranged the blocks like shown and made sure the edges of the boards were barely sticking out from under the bucket and traced around it. Then I proceeded to glue the boards together lining up the lines where I had traced.
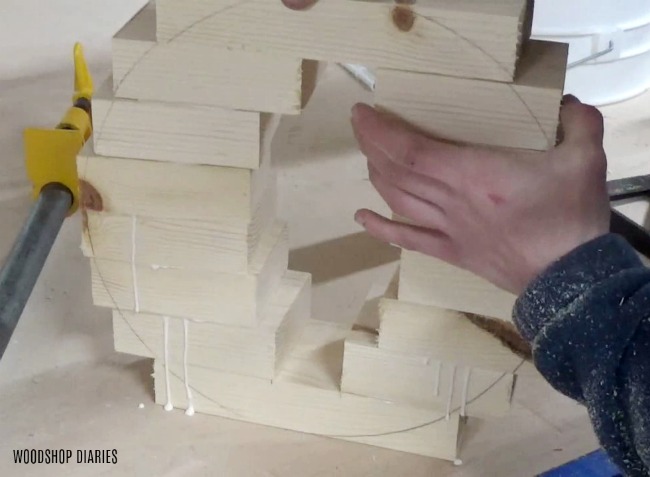
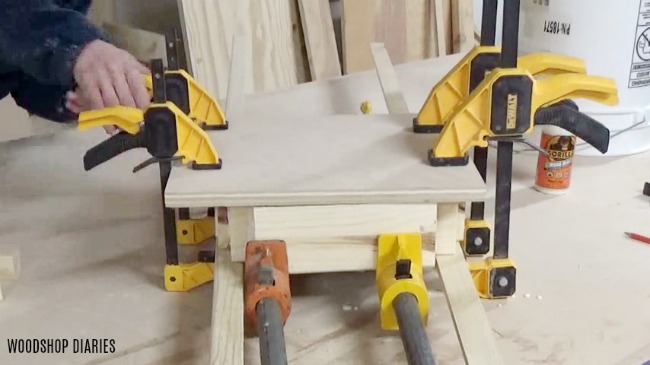
Once everything was glued, I set it in two bar clamps, but it was hard to keep it nice and level. I fidgeted with it a little, then decided it might be best to clamp it to a scrap piece of plywood to keep it flat while it dried.
.
I was sure to wipe the excess glue before I did that so I didn’t glue the plywood to the base.
Step 2: Pour the Concrete Pot into the Mold
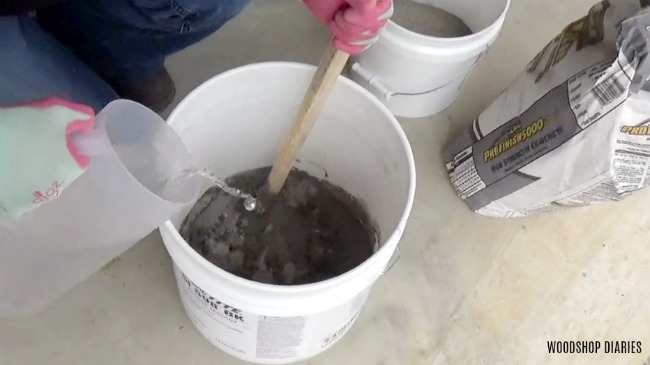
While the glue dried, I moved on to the concrete part of the project. Because I wanted a nice smooth surface on my pot, I used the Quikrete 5000 high strength mix and I highly recommend it for this pot.
.
It’s much stronger than the regular concrete mix, and cures up much faster and smoother. It’s a little more expensive, but totally worth it.
.
I used three plastic buckets for this–two 5 gallon buckets and one 2 gallon. I used one 5 gallon for the outside of the mold and one for mixing. And I used the 2 gallon for the inside of the mold.
.
I mixed the concrete in small batches so it would be easy to mix and pour. I mixed WAY more water than is recommended on the bag, but it made it so much easier to level and to work with.
.
I used a piece of scrap wood to stir until everything was moistened. Once it was the consistency of a thick milkshake, I poured it into the mold bucket.
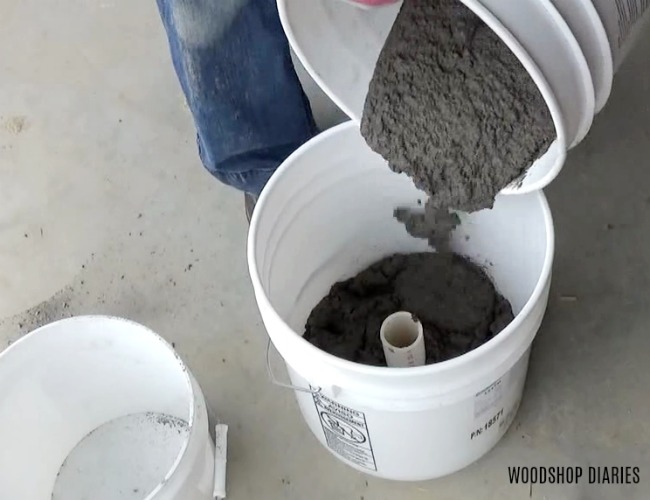
Ignore that PVC pipe in the bottom of the bucket. I tried using that for a drainage hole, but it got filled with concrete, so scratch that idea…we will deal with that later.
.
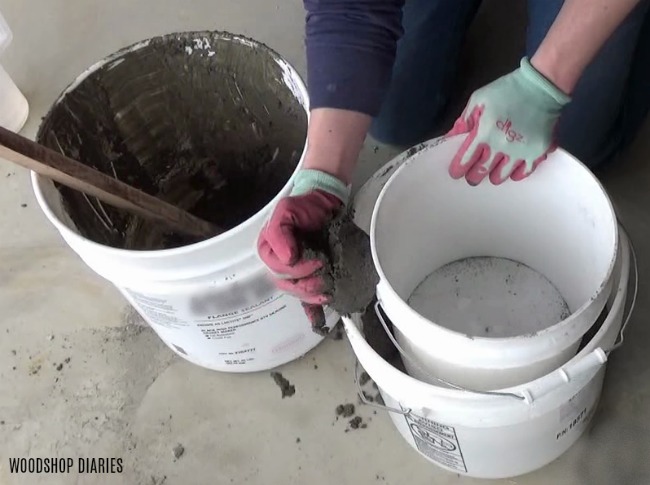
Once the bottom half of the mold bucket was full, I placed the 2 gallon bucket in and used my (GLOVED!) hands to work the concrete around the sides of it until it reached the top.
.
If you notice the air bubbles in my finished pot, it’s where I wasn’t able to get the bubbles out on these sides. It’s so narrow, it’s hard to work it down and get all the air out. Just do the best you can and call it “character” if you get a few bubbles in your planter.
Because the small bucket was trying to float, I used some leftover tile from our kitchen to hold it down and in place (any heavy object would work).
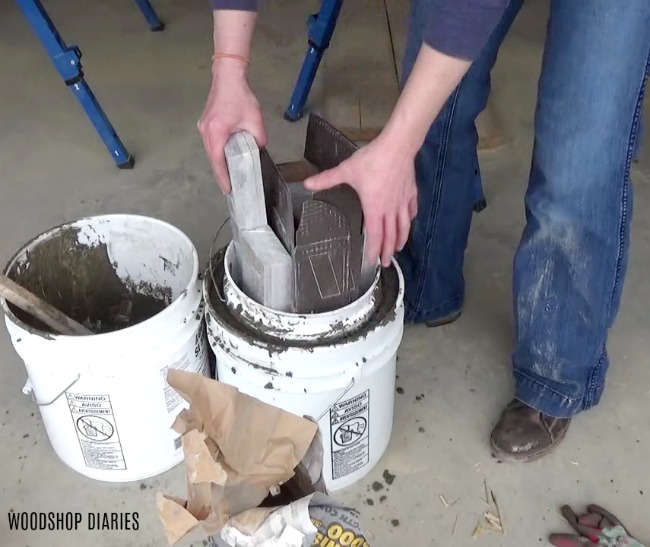
Once the small bucket was situated, I backed away and didn’t touch it anymore while it cured.
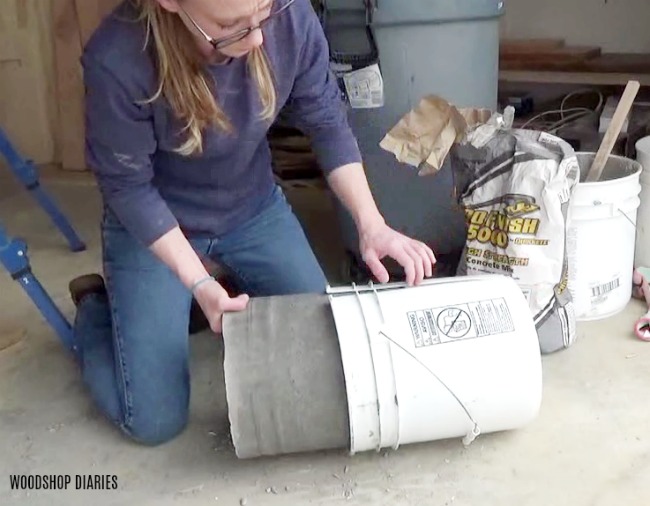
Step 3: Remove the Concrete Pot from the Mold
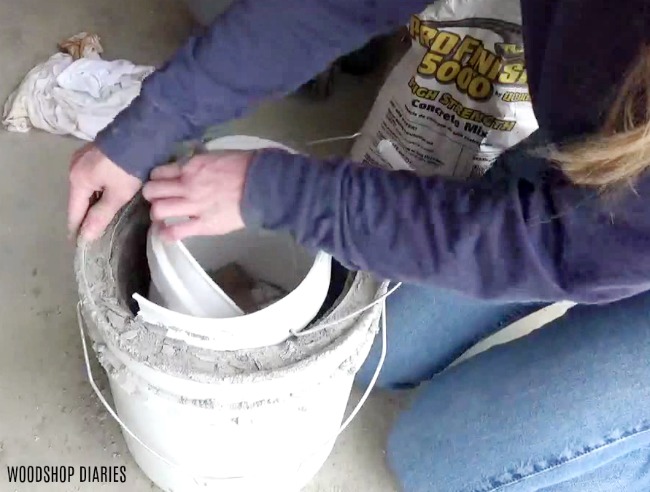
Then I waited three LONG days. I probably should have waited a little longer, but I’m impatient. To remove the concrete from the mold, I used a utility knife to cut out the small bucket and to cut away the big bucket. It was a chore to cut through these buckets.
.
My concrete was still a little wet when I did this, so you can see some knife marks on the outside of the planter pot. Whoops…that’s just more character.
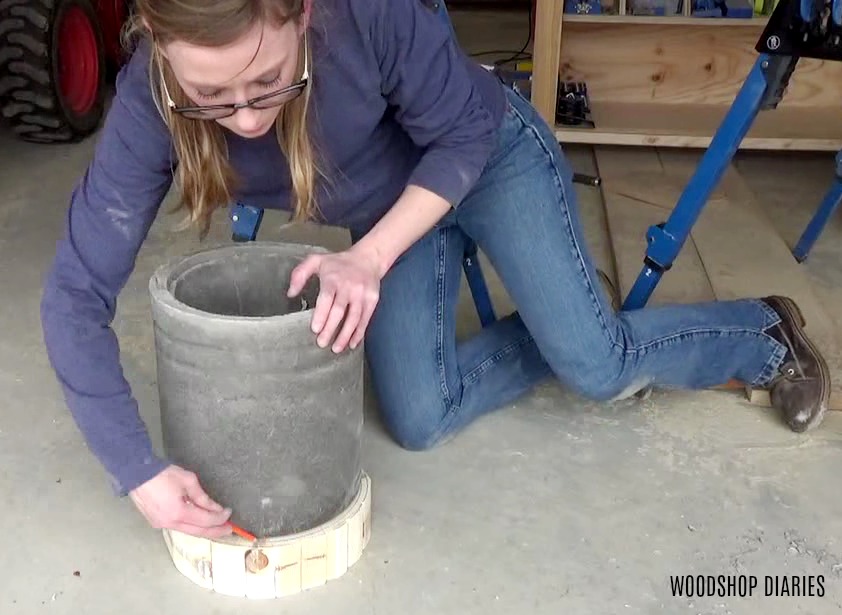
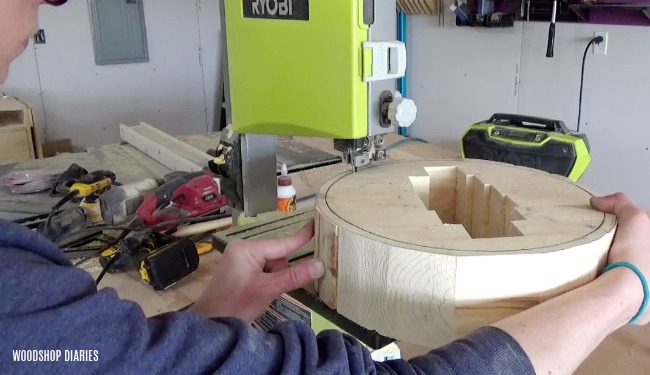
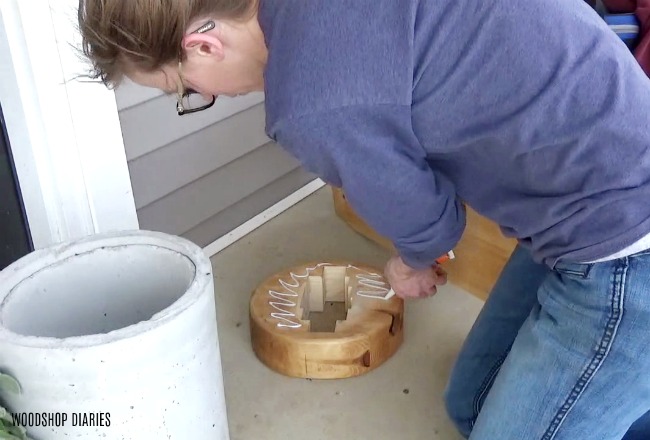
Step 4: Finish the Wood Base
Once I got the concrete free, I carried the pot over to the base from step 1 and traced around it. Then I cut the base out along this line on the bandsaw and sanded the edges smooth.
Because the pot had a rounded bottom, I used my router to round over the edges of the base so it wouldn’t look so stark against the round edge when I glued them together.
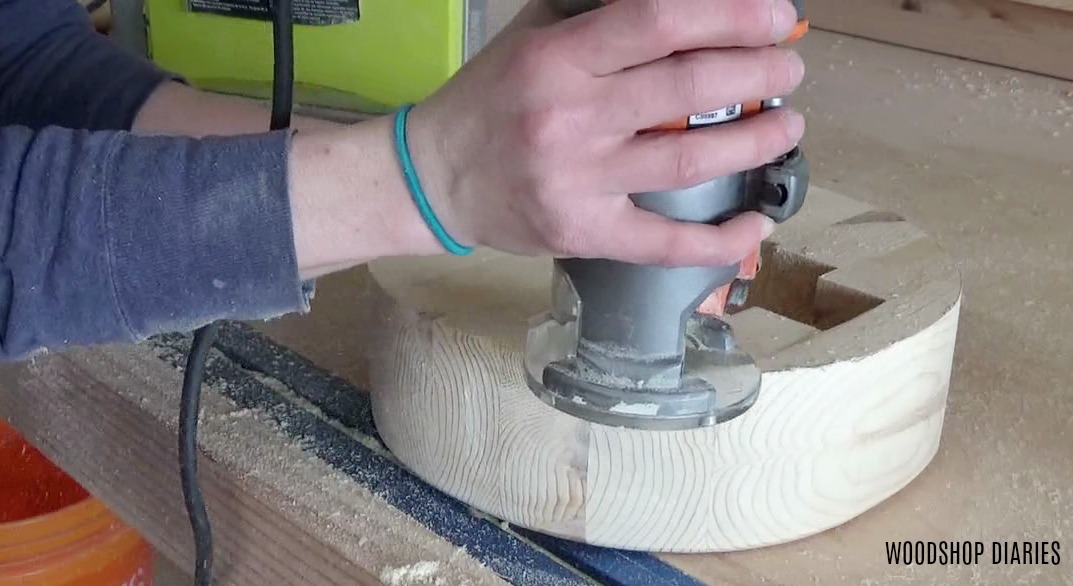
Then I applied a wood stain.
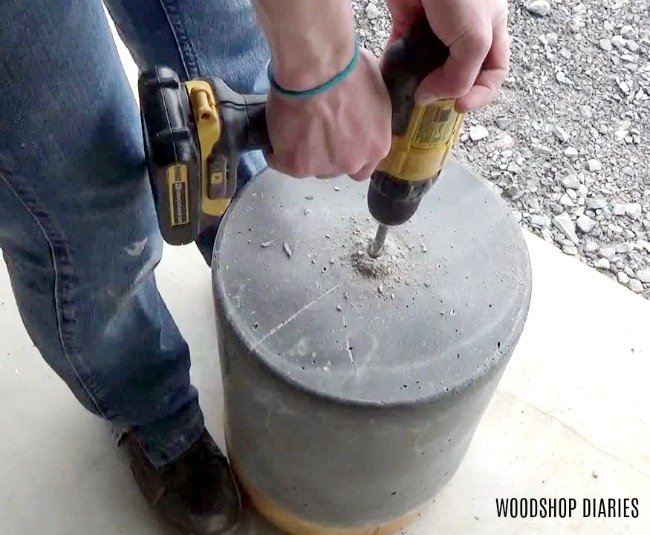
Step 5: Drill Drainage Holes and Glue Together
I flipped the pot over and remember me telling you about that PVC pipe for drainage? Well, it filled up as you can see, so I just used a concrete drill bit and drilled a small drainage hole in the center.
.
I had a concrete drill bit from when we framed out the inside of our garage house and anchored the walls to the floor. However, if you didn’t have one and didn’t want to buy one, you can skip the drainage hole altogether.
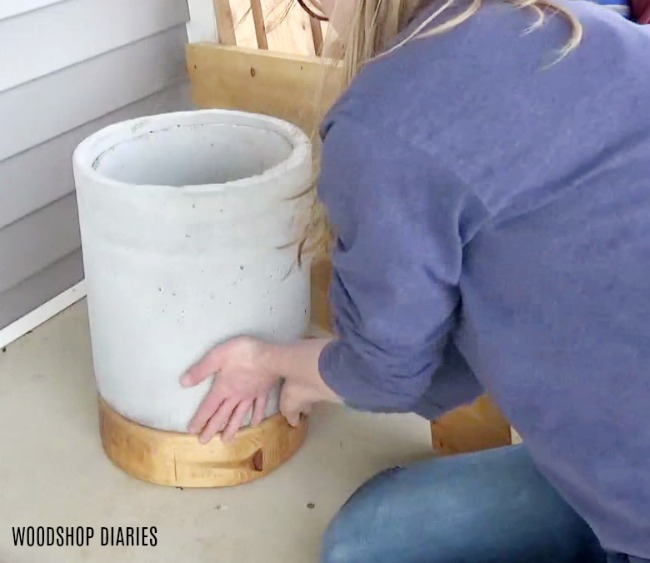
Because this is pretty heavy, I went ahead and moved it to where I wanted to put it on the porch to glue the base to the pot so I wouldn’t have to haul it as one big piece later.
.
I applied some Gorilla Glue construction adhesive to the base and set the pot on top. I made sure it was centered and any squeeze out was wiped off before leaving it to dry.
Then I applied some sealer–I simply brushed on a couple coats of Minwax Helmsman Water Based Spar Urethane. I read online somewhere that this was okay for concrete, so I’m just taking their word for it.
.
It’s working fine for me so far haha. I made sure to cover all the wood and the concrete with it to protect it from the elements.
.
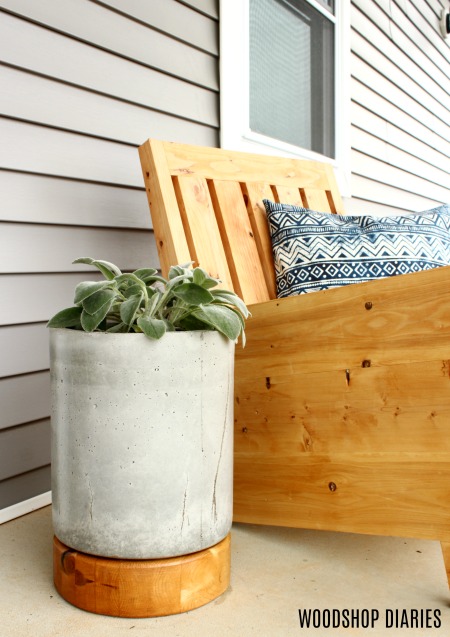
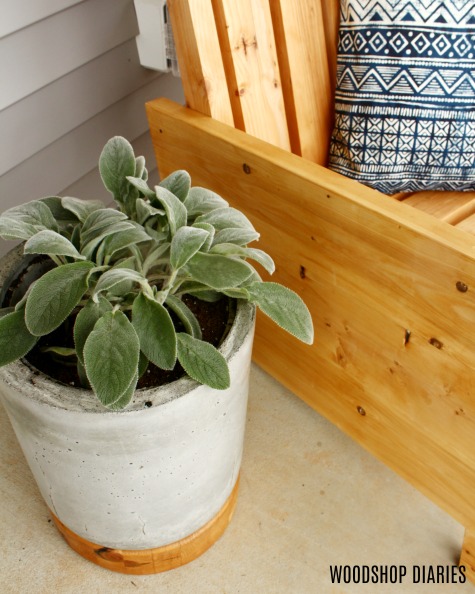
Then I planted a cute little lambs ear plant in it and it was finished! I love how simple this project is and how inexpensive it was, too. Cheap projects are everything haha.

It’s far from perfect (you know…air bubbles and knife marks…) and I learned a lot in the process (like how to prevent air bubbles and knife marks), but I kind of don’t mind the scratches from the knife and the air bubbles.
.
I think it adds some character and gives it some interest. At least that’s what I’m telling myself anyway haha.
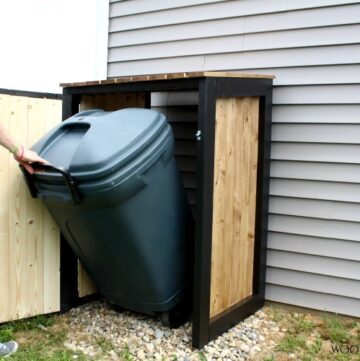
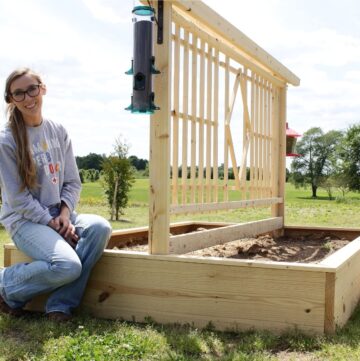
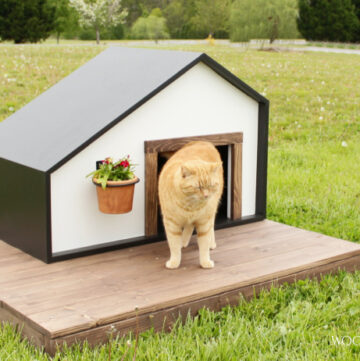
So I hope you guys enjoyed this project! And if you’re looking for more outdoor project ideas, check out some of these!
.
If you’d like to save this DIY concrete planter pot project for later, be sure to pin it! 🙂
Until next time, happy building!
Kathleen Conery says
Cool! I love the way it looks! I’m wondering if you could put wheels on the base so it could be mobile, easy to move, too? Hmm… probably…
Shara, Woodshop Diaries says
That’s a great idea! You could definitely add some casters to the base to make it easier to move about.
Charli Bryan says
Hi Shara! Thanks for sharing! Approx how much does your concrete planter weigh?
Shara, Woodshop Diaries says
I’d say APPROX 50lbs ish?? It was about half a bag of concrete, plus a 2×4, so pretty close to 50 lbs…maybe a little more.