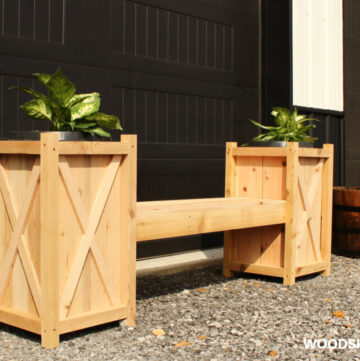
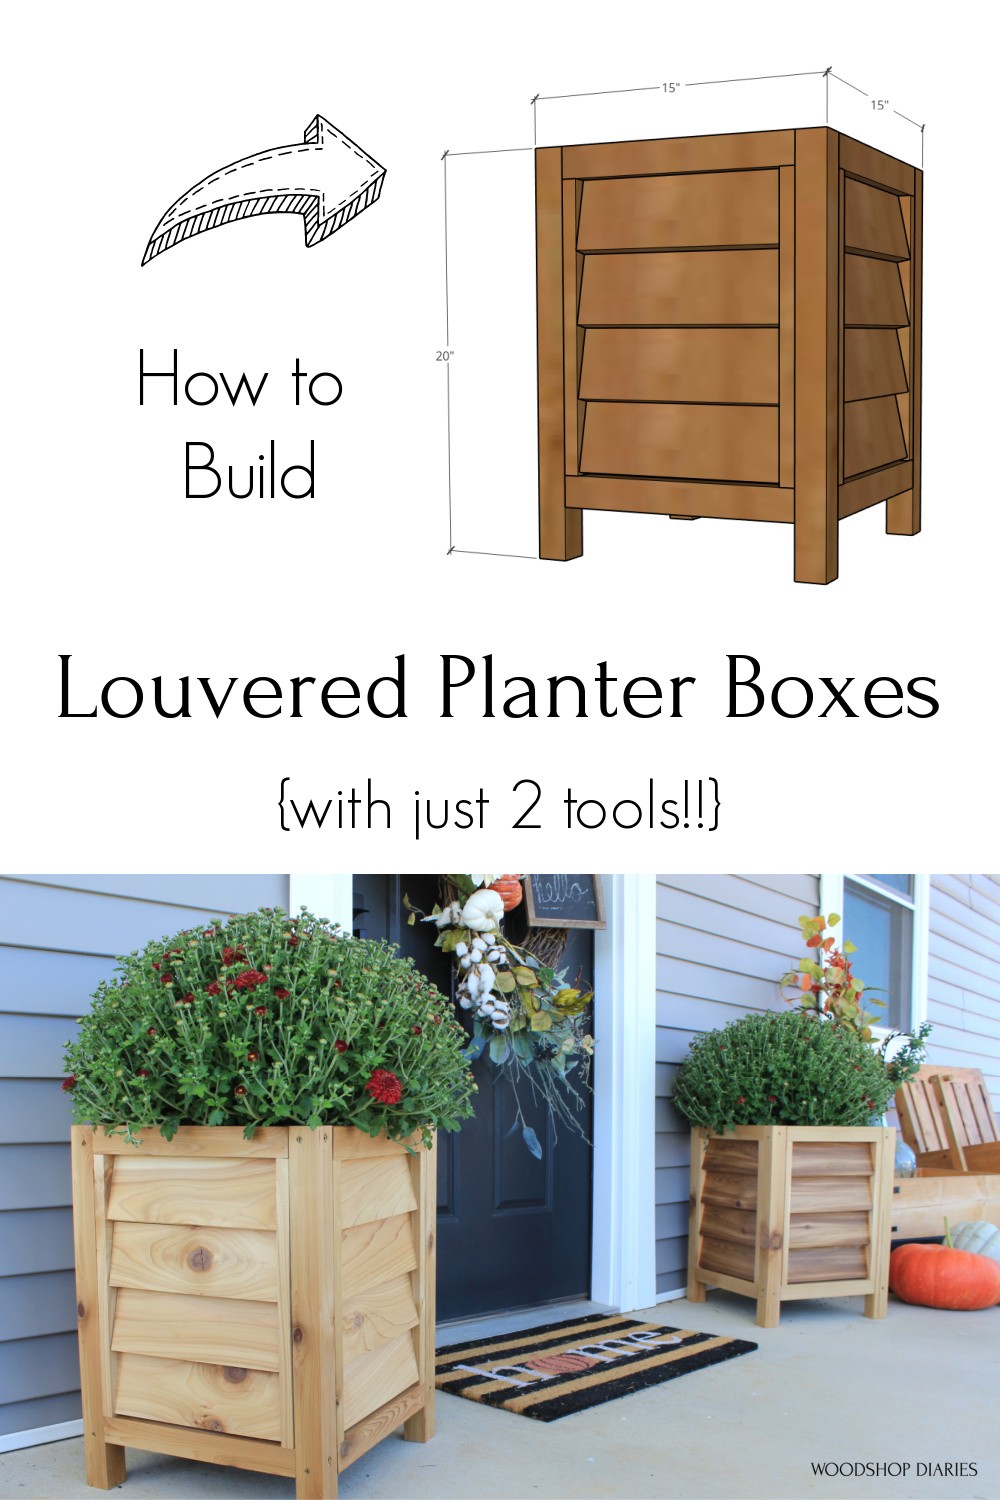
If you saw my last post, you may have caught a glimpse at this simple louvered planter when I was sharing about how I covered up my ugly well house in the middle of the yard.
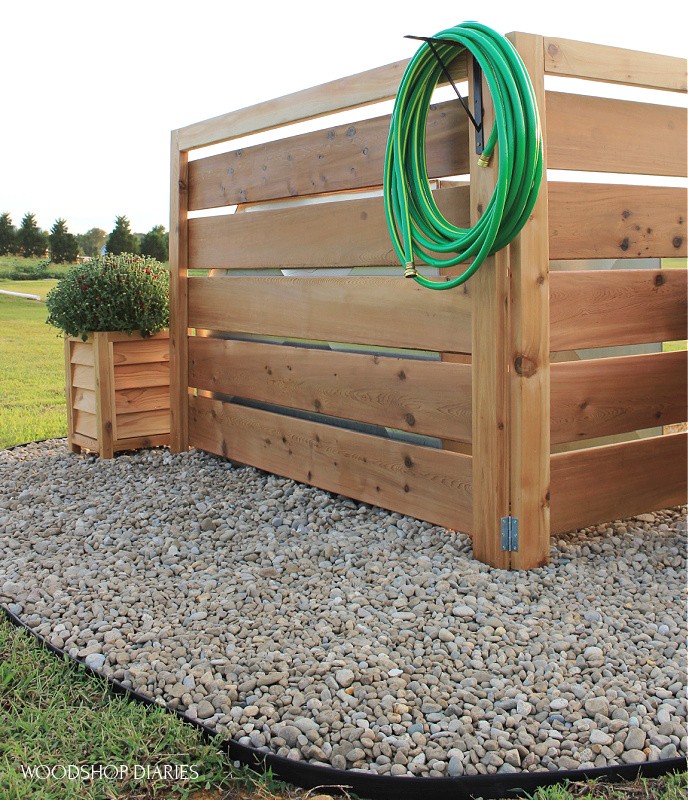
These cedar planters looked so good against that cedar fence. But they also look great on my front porch with my fall mums. So now, I feel like I need to build two more. HA!
.
They’re simple enough, so maybe I can get around to that before the season ends, but in the mean time, let me show you how these first two DIY wooden planters came together.
.
I’ve got the plans linked below for these simple louvered planter boxes and a quick how to video for you here:
This post contains affiliate links. See policies page.
To Build These Louvered Planter Boxes, You Will Need:
(PER PLANTER POT)
- (2) 2x2x8 boards
- (2) 1x4x8 boards
- (2) 1x2x8 boards
- 2″ exterior wood screws
- 2 ½″ exterior wood screws
- Drill
- Miter Saw (or any saw, really)
- Exterior Grade Poly
NOTE: I built two matching planters using five cedar 1x4s and two cedar 2x4s (purchased from my local lumber yard). Now, in my area, I couldn’t find cedar 1x2s and 2x2s.
.
So, I had to rip the 2x4s into 2x2s and one of the 1x4s into 1x2s. But if you don’t have a table saw, you can purchase 2x2s and 1x2s in other wood species, instead.
Related: Check out this post on how to make your own 2x2s.
.
Want more planter ideas? Check out a few of these:

DIY Concrete Planter Pot 
DIY Raised Garden Bed 
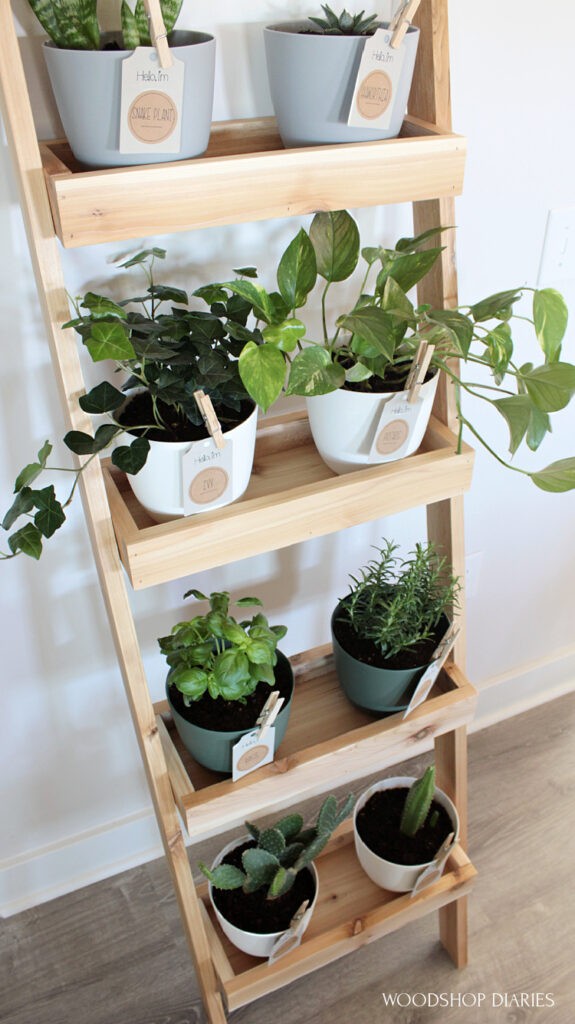
DIY Ladder Shelf Plant Stand

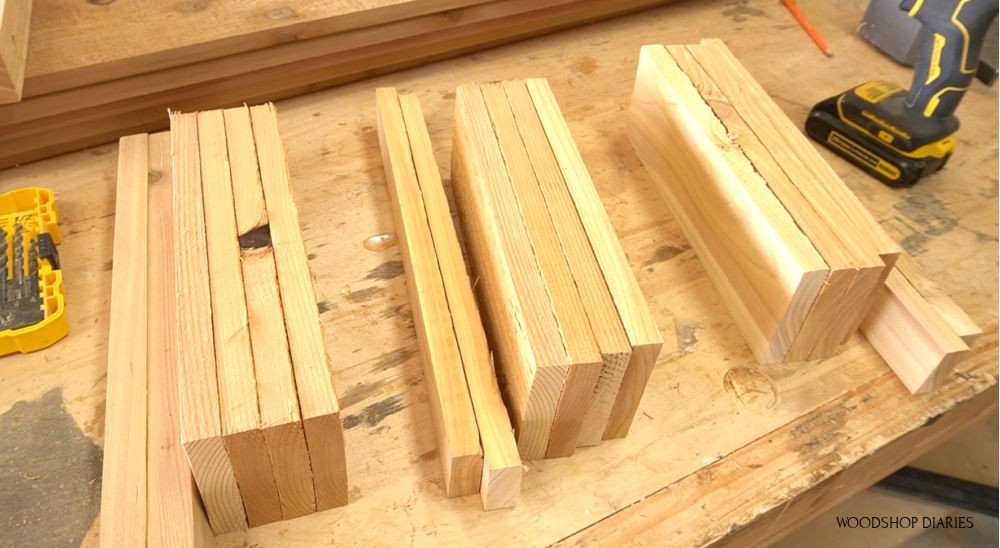
Step 1: Cut and Assemble Louvered Slat Panels
The first thing I did for EACH PLANTER was cut:
- (16) 1x4s @ 10 ½″ long (these will be the slats)
- (8) 1x2s @ 14 ¼″ long (you can rip 1x4s in half to make 1x2s)
.
Once I had 4 sets of 4 slats + two 1x2s, I began assembling four side panels. (I’m only showing three sets below because I already put one together haha.)
I lined up the corners of the top 1×4 with the edges of the 1×2 piece and attached using 2” wood screws. DON’T FORGET TO PREDRILL!!

I only used one screw because I was running low on screws. Two would be stronger, and you could also use wood glue as well.
.
But I don’t plan on throwing these around the yard, so one screw will hold it good enough for me.
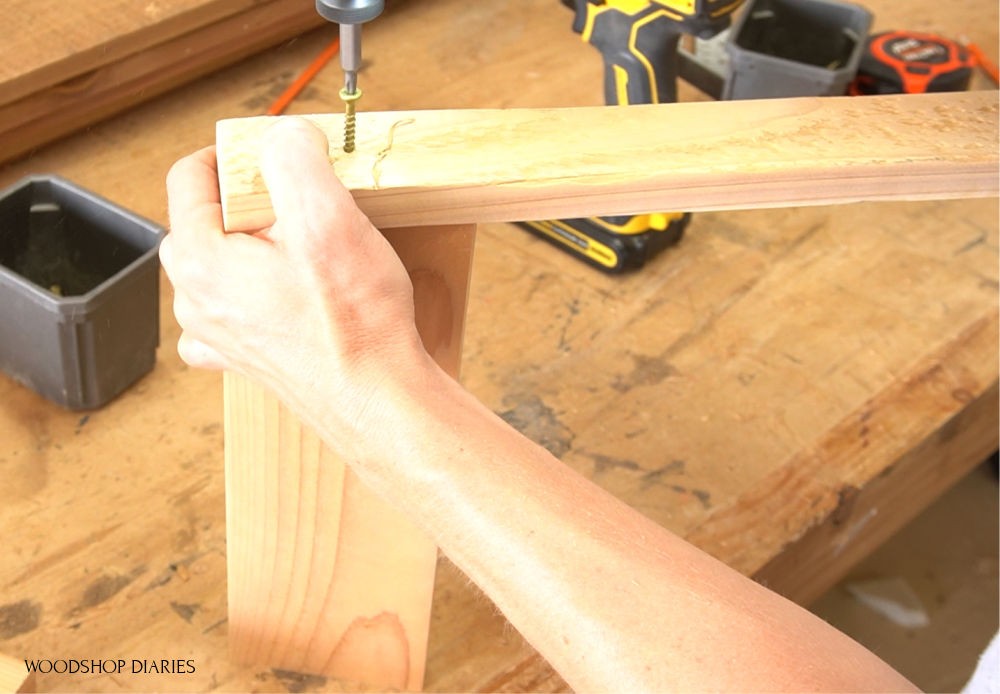
Once the top 1×4 slat was in place, I worked my way down installing the next slat RIGHT below the one above it, keeping them angled about the same.
.
I didn’t allow for any overlap here. The next slat just barely touches the one above it.
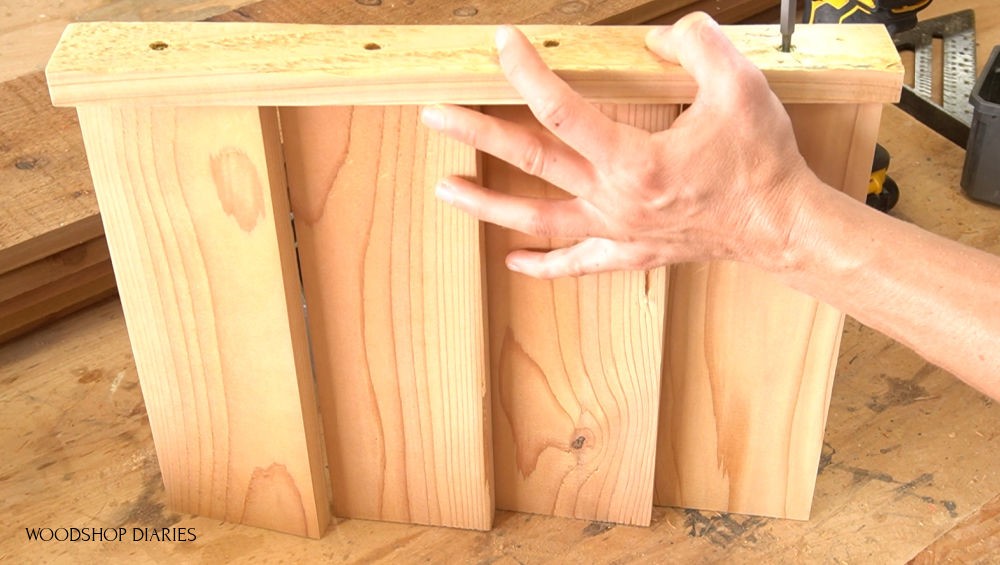
Once all four slats were attached to the 1×2, I flipped it over and repeated, adding the other 1×2 on the other side.
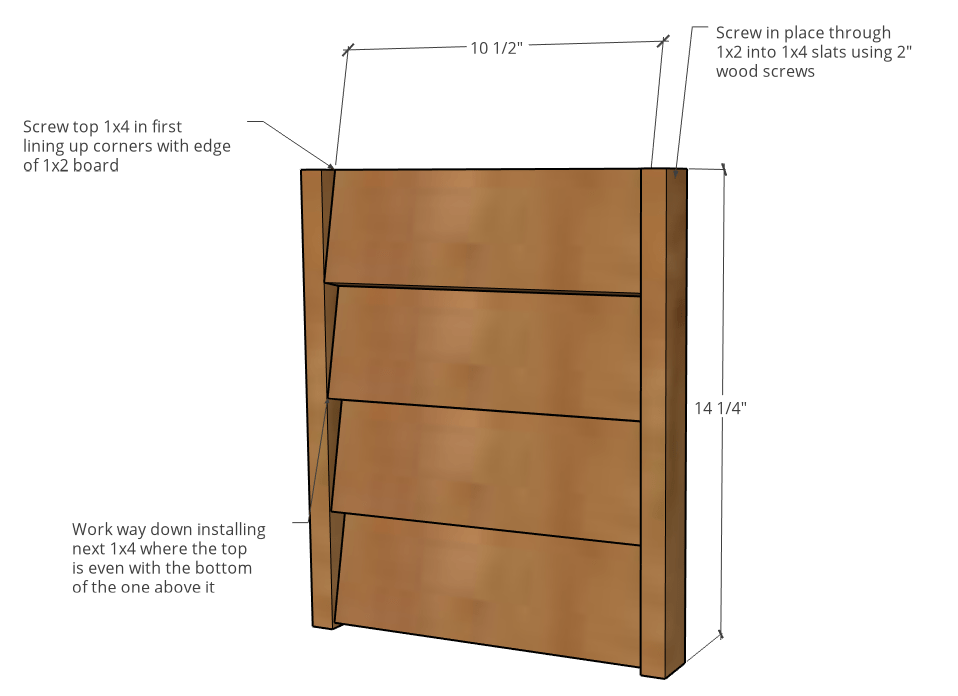
Once I had four of these panels together, I moved on to the next step.
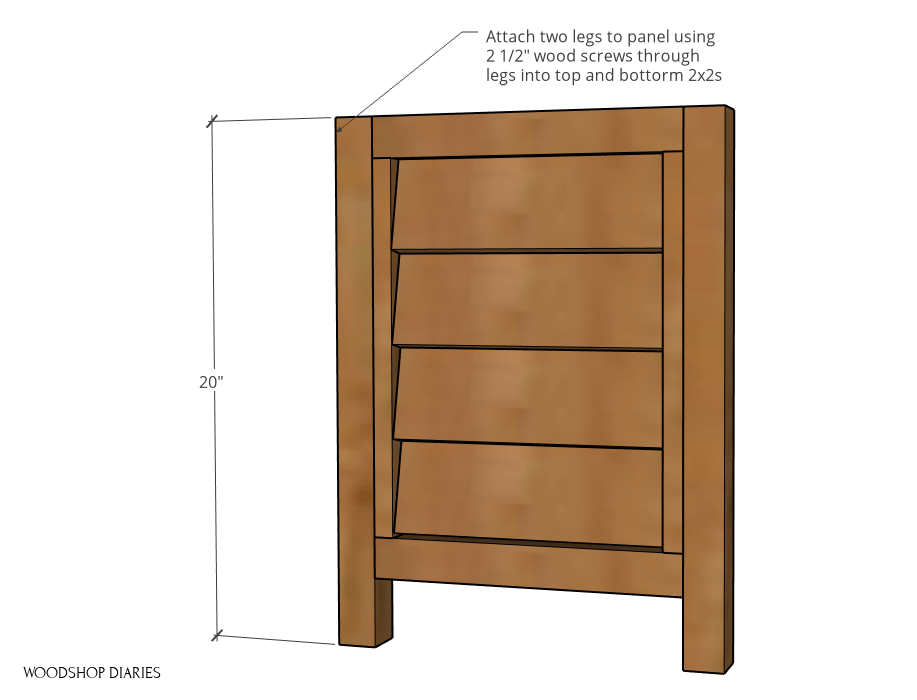
Step 2: Add Top and Bottom to Louvered Panels
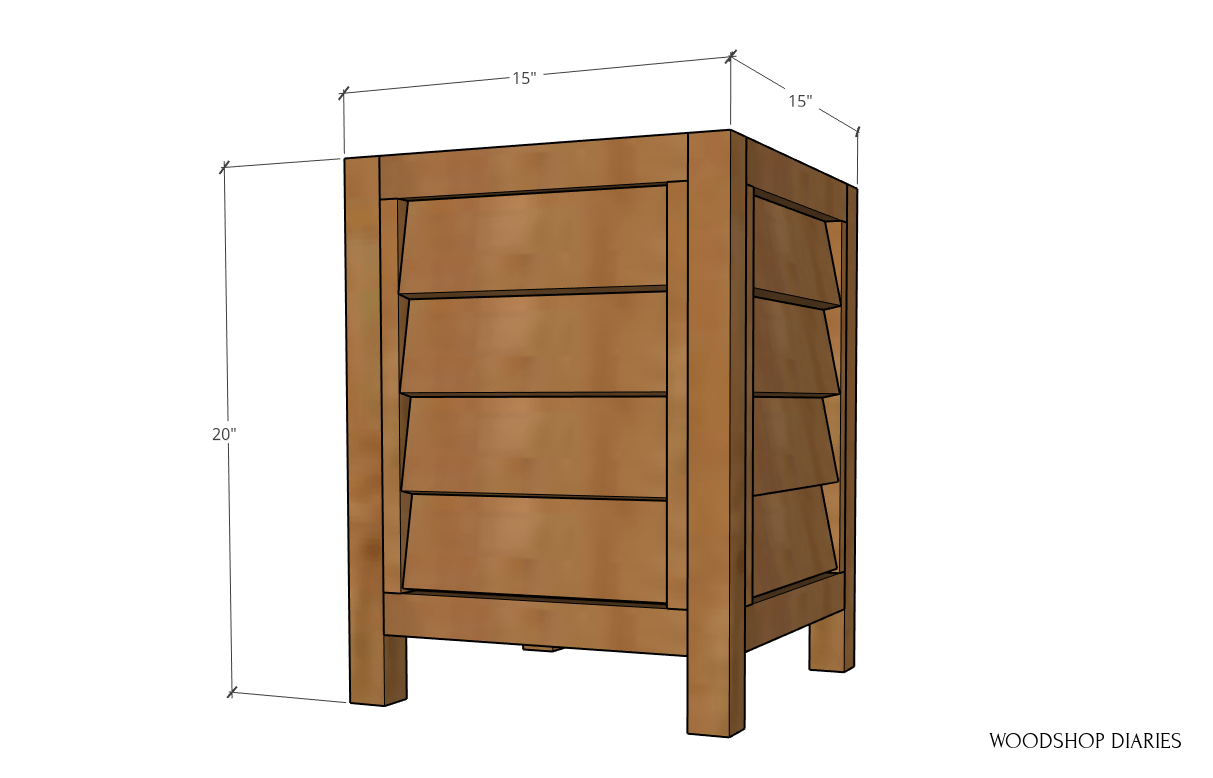
The rest of the pieces of this planter were made from 2x2s. So, I cut:
- (4) 2x2s @ 20″ (legs)
- (8) 2x2x @ 12″ (frame pieces)
.
NOTE: Cut two 20″ legs and four 12″ top and bottom pieces from EACH 2x2x8 board to have enough lumber for all the cuts.
.
(Don’t cut all the 12″ pieces from one board, or the last one will be too short because of the blade kerf from the previous cuts…trust me 🙂 ).
.
I screwed two 2x2s onto the top and bottom of each of the four slat panels into the 1x2s on the sides using 2” wood screws until I had four completed panels.

All that’s left at this point is just attaching everything to the legs.
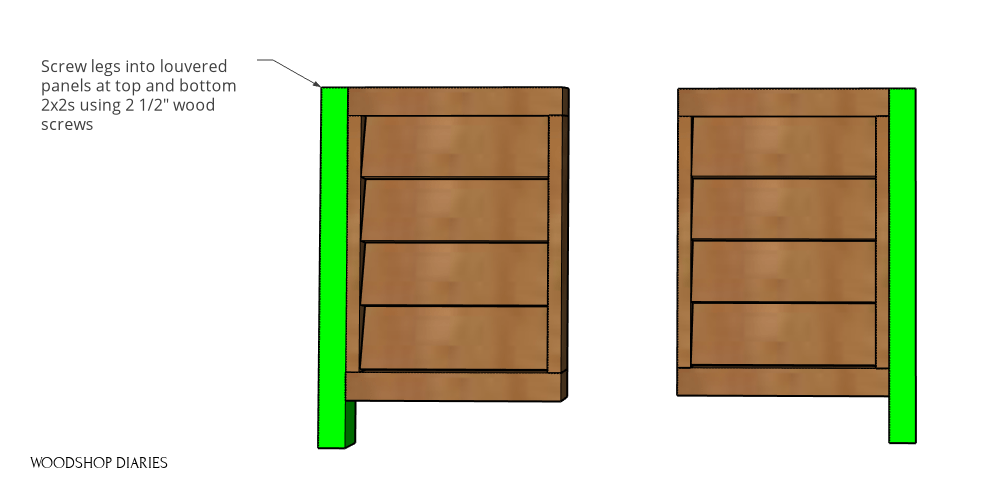
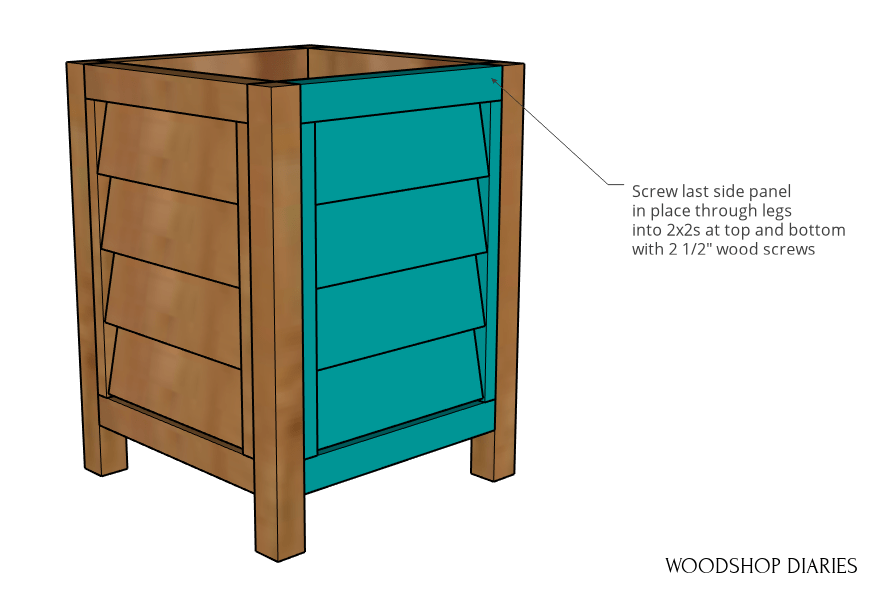
Step 3: Assemble Four Panels to Complete Planter Box
I screwed two 2×2 legs into one of the panels at the top and bottom 2x2s. Now, clearly there are a million other ways to assemble these.
.
I chose simple butt joints and screws because these are just outdoor planters and I wasn’t wanting to get fancy here.
But if you didn’t want to see the screw heads, you can definitely use pocket holes or dowels, or whatever method you prefer. Or you could just putty over the screws, too.
.
Once the legs were attached to one side, I worked my way around, adding panels and legs as I went.
.
The main thing here is to make sure you assemble the slats with the slant the right way. You want them slanted toward the outside and not the inside of the planter.
.
I assembled one leg to two other panels like shown here.
Then I attached them to the panel with two legs already.
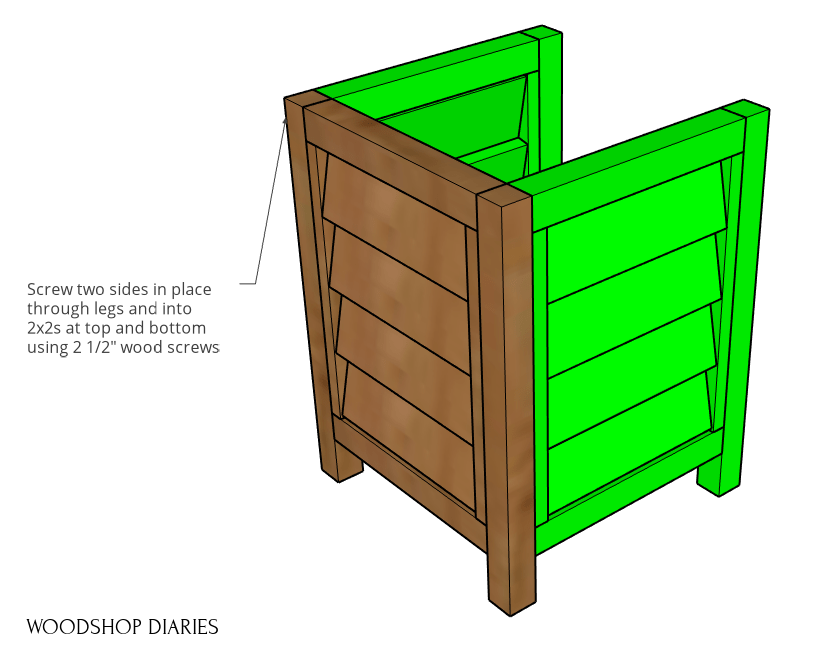
Then, finally, screwed in the fourth louvered panel to complete the planter box.
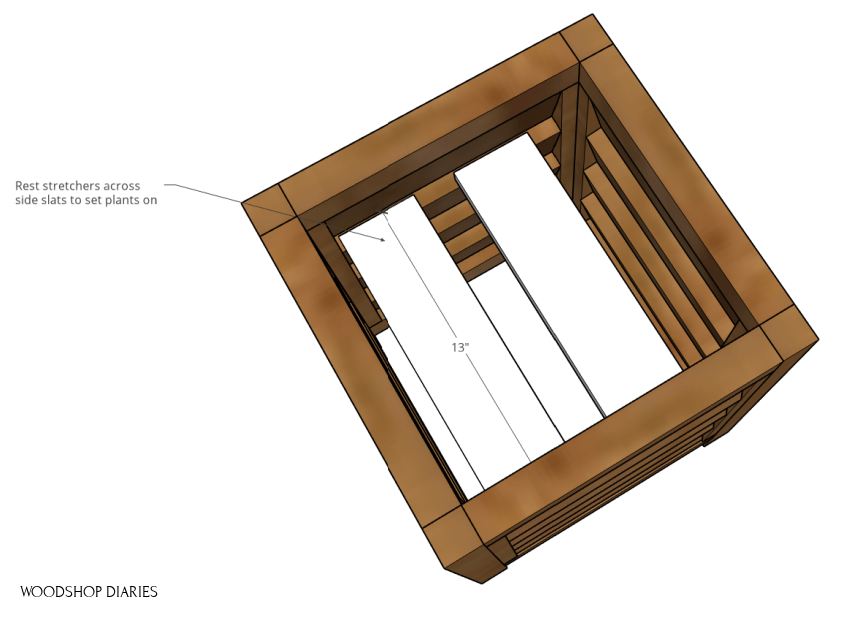
Step 4: Add Support Slats to Inside of Planter Box
After all four sides are assembled, the final step is to add some slats to the inside to hold up whatever plant or pot you put inside.
.
I cut some scrap 1×4 (you can use any scraps, really) and placed inside the planter across two of the slats. Depending on how deep your pot is, you can place these along any of the slats to get it the height you wish.
.
These are fairly small, so I just really needed one slat, but you could add a couple if you wanted.
I did give them a couple coats of exterior grade poly to deepen the cedar color and give them a little more protection.
.
I recommend giving your planter a good covering of outdoor sealant to protect it from water and sun to make it last a while.
RELATED: Check out this post for how to finish raw wood furniture!
.
Then I put them over by the well house cover.

Then I moved them to the front porch.
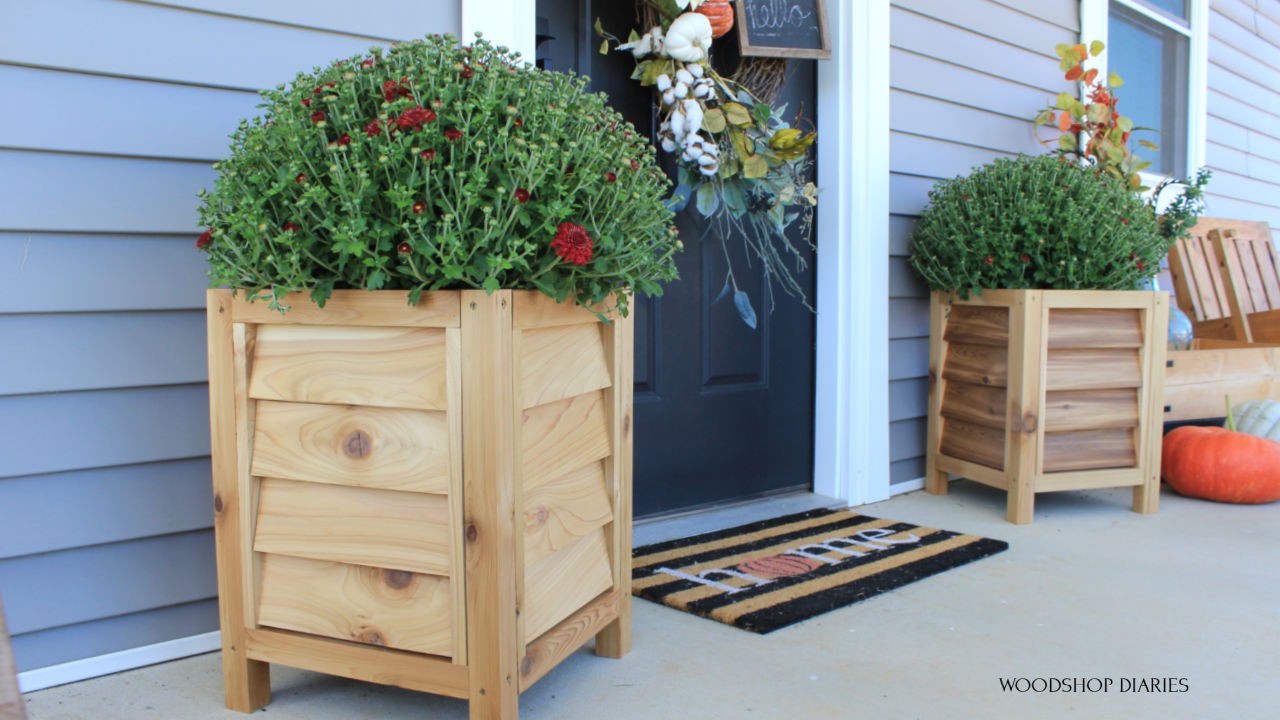
And now I’m super indecisive about where I should keep them permanently…or if I should just make another pair. Time will tell *wink wink*
.
So, if you’ve enjoyed this louvered planter box project and can’t wait for the next project, I’d love if you’d subscribe to my newsletter below so you don’t miss out on what’s coming next!
.
And be sure to save this by pinning for later!
Until next time, happy building 😊
.
Check out more outdoor project ideas here:

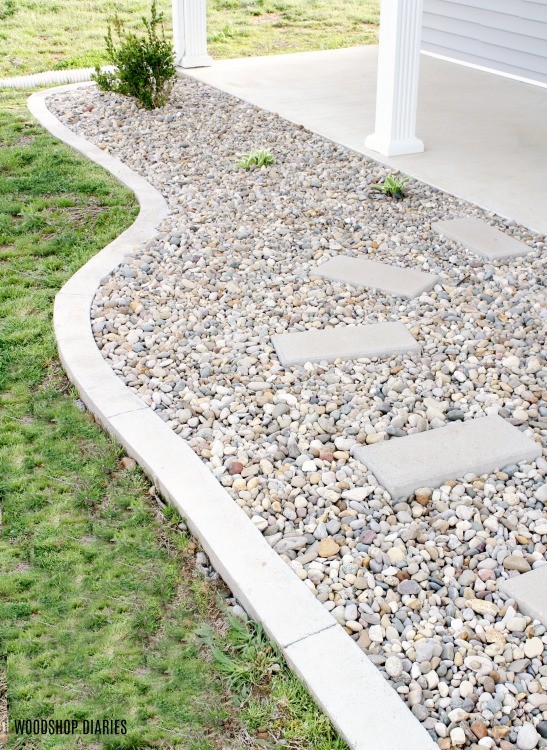
DIY Concrete Landscape Curb 
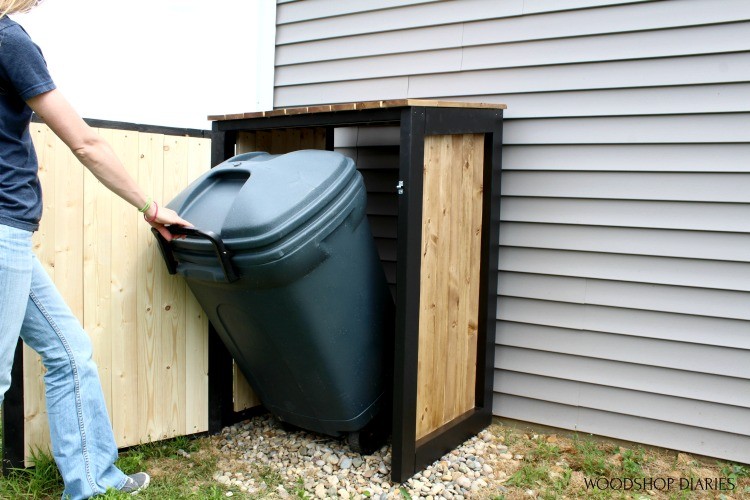
How to Cover Eye Sores in the Yard DIY Trash Can Cover