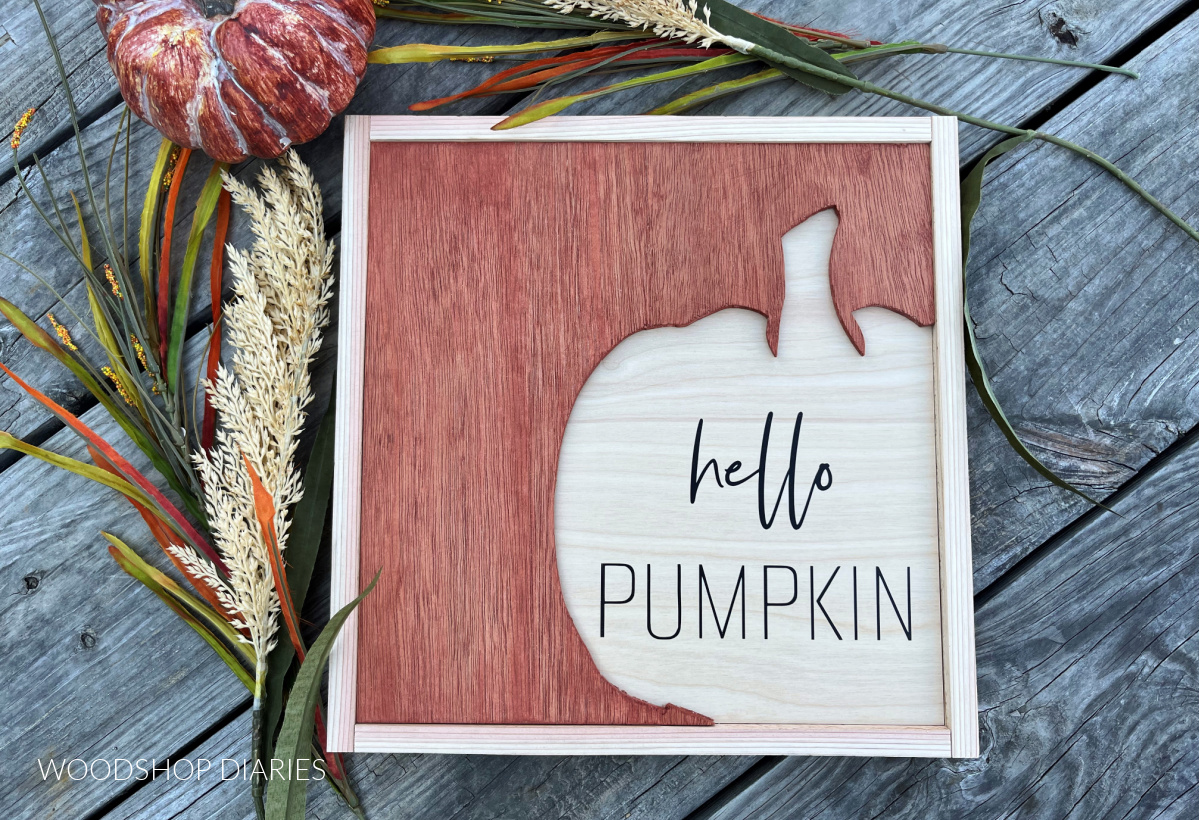
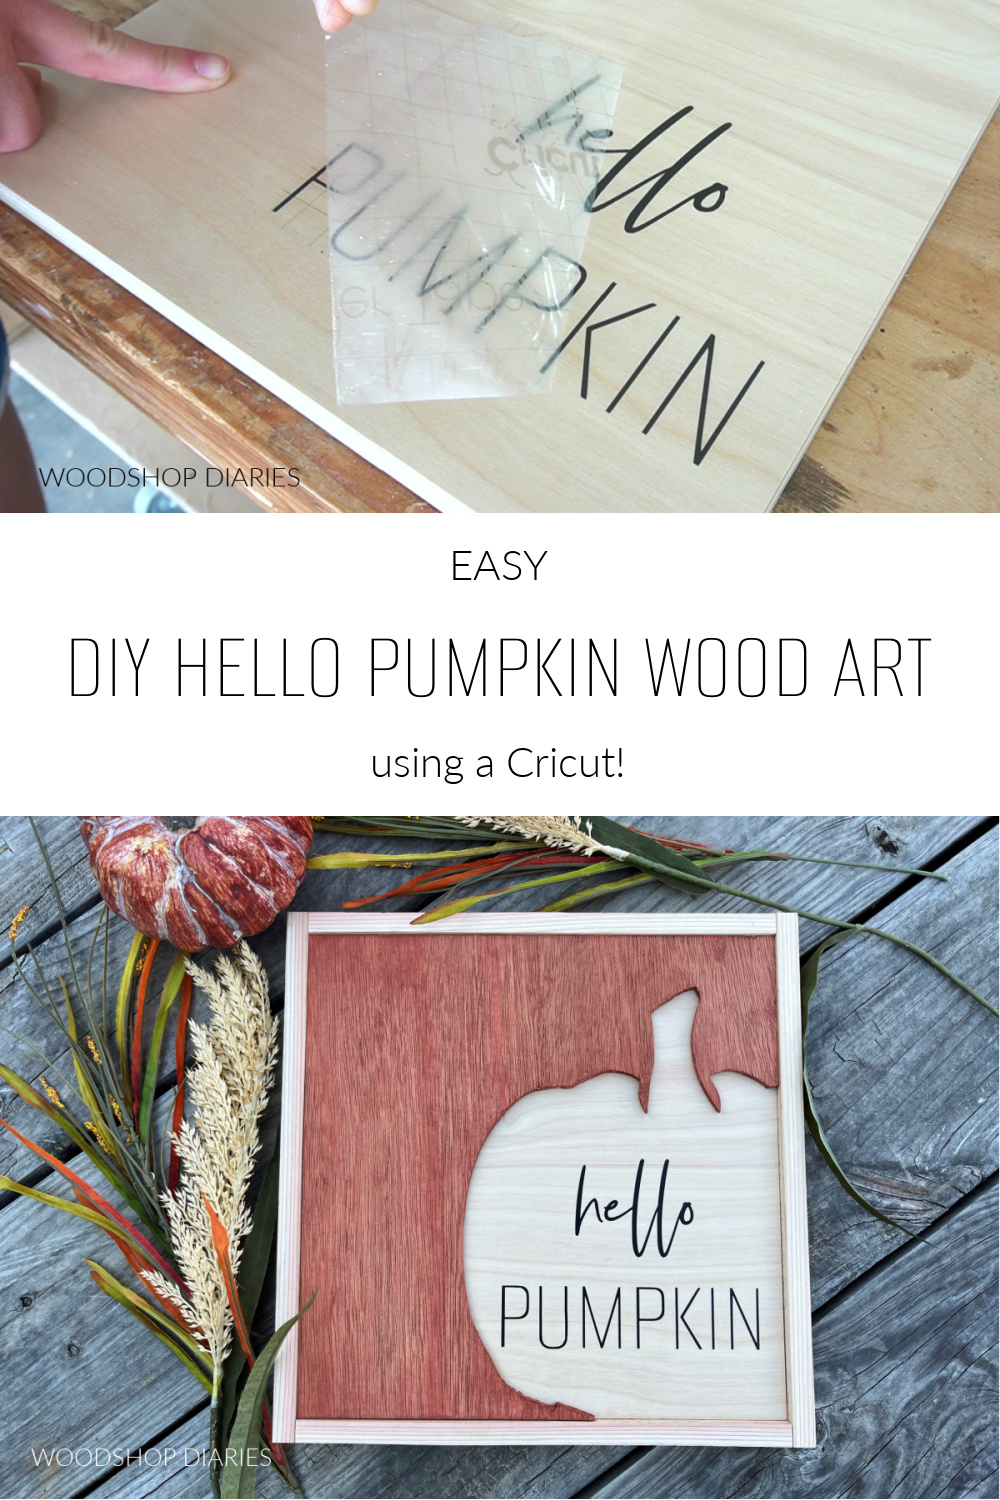
In this post, I’m sharing how to make this super simple DIY hello pumpkin wood art project with scrap wood and a Cricut!
It’s almost the most wonderful time of the year! You know…autumn 🙂
I’d be happy if it was fall all year long and we just skipped spring, summer, and winter altogether haha.
Every year when we start nearing the end of summer, I get this “make all the fall things” bug.
And lately, I’ve also been on a scrap wood project binge because my wood scrap collection is out of control!
So for this little project, I combined the fall element with scrap wood and brought out my new Cricut Explore 3 to bring it all together.
And I’m sharing how you can make your own below!
Tools & Materials:
*This post contains affiliate links. See website policies.
Tools:
- Jig Saw
- Cricut (I used an Explore 3, but any vinyl cutter would work fine)
- Brad Nailer (optional)
- Sander
Materials:
- Wood Scraps
- ¾″ plywood (for back)
- ¼″ plywood (for front)
- 1×2 (for frame)
- Vinyl to Cut
- Transfer Tape
- Wood Stain
- Wood Glue
Some Notes About This Wood Art Project
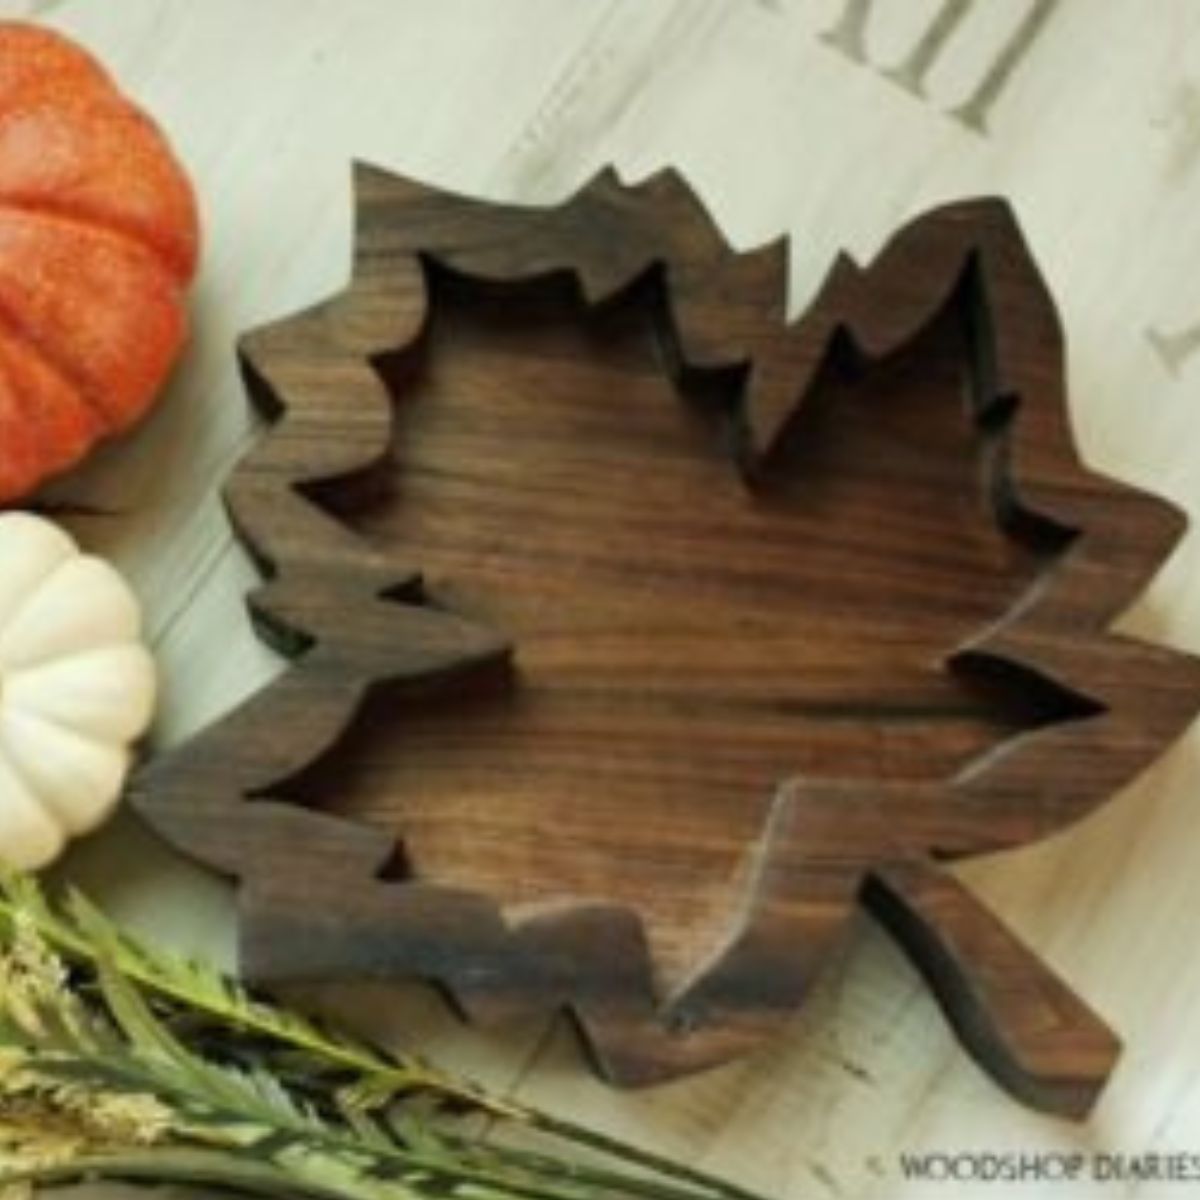
Feel free to get creative with your text and your shape here. You could make similar wood art pieces for any season or occasion.
Cricut Design Space File
If you’re new to using a Cricut, basically you design your project within the free software called Cricut Design Space.
You can design your idea elsewhere and simply import it, or you can design it directly in the software.
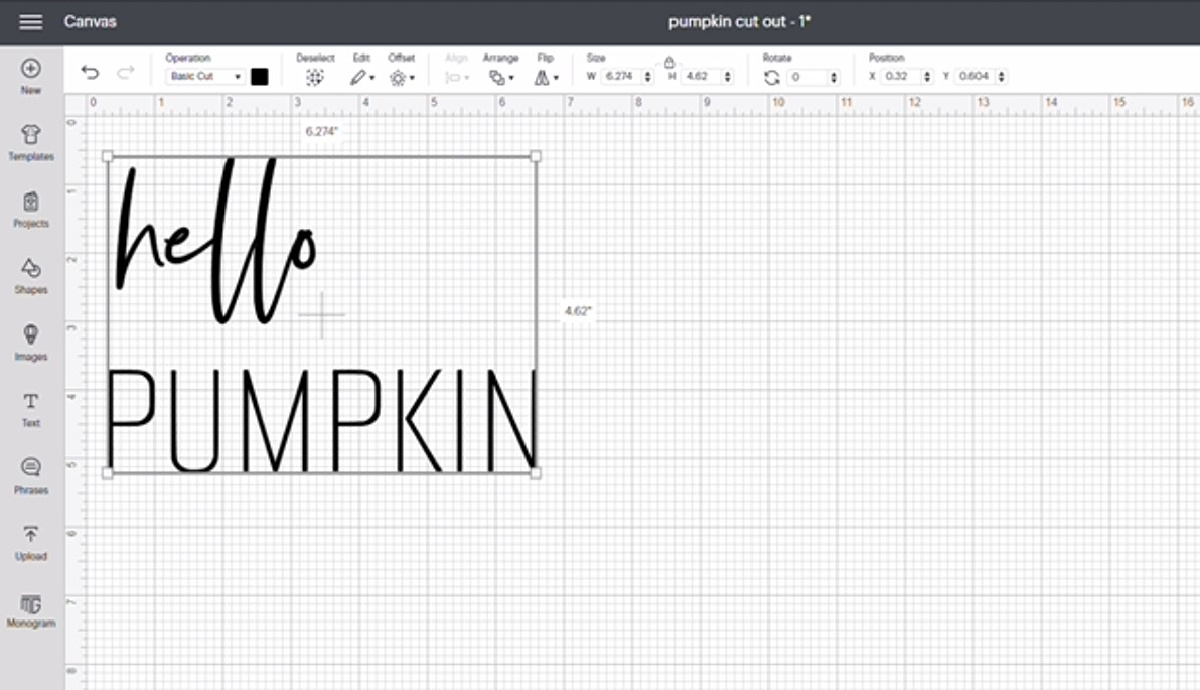
I’m sharing the DIY hello pumpkin wood art project file here, but of course, I always encourage you to create your own and make it yours 🙂
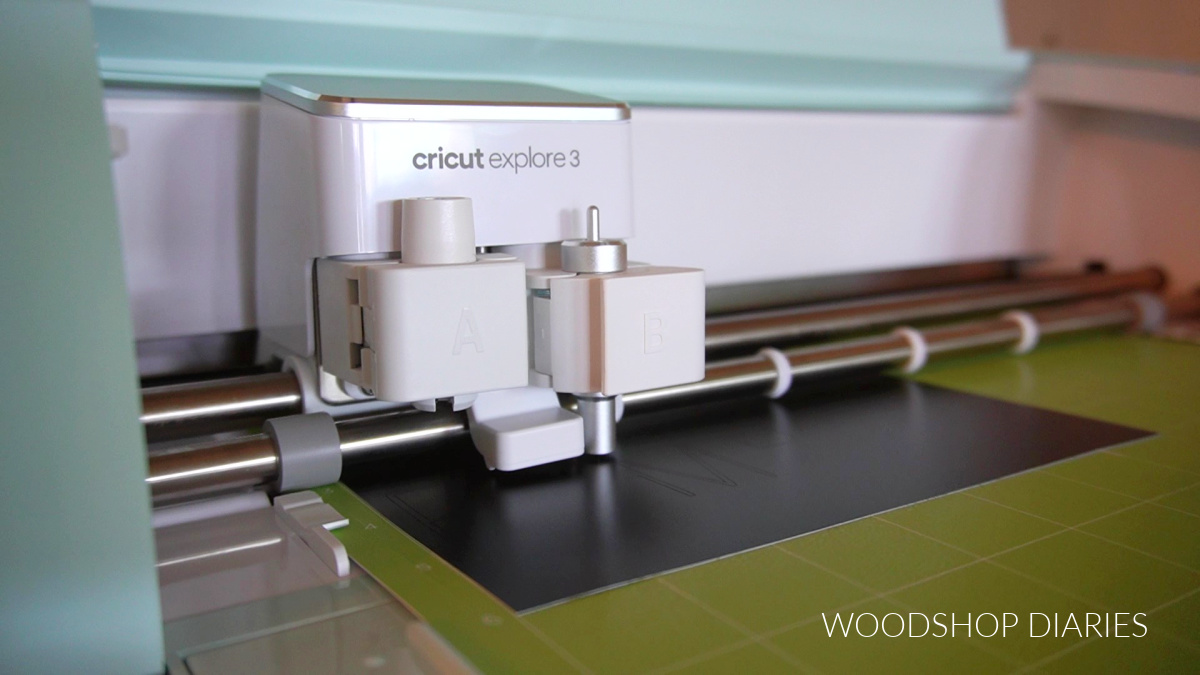
Once you have your design ready, you simply send it to your machine to cut it out. In this case, I cut my letters out on black permanent vinyl that I stuck directly on the plywood.
But, I also cut my pumpkin shape out on vinyl, too, that I used as a cutting guide. It’s “permanent” vinyl, but you can remove it (carefully) from a wood surface so it makes an excellent stencil.
Material Options
I used ¾″ plywood for the back and ¼″ plywood for the pumpkin shaped front piece. I cut both of them to about 12″ x 12″, but you can make yours any size you want.
This is a great opportunity to rummage through your scraps and see what you can come up with.
How to Make Your Own DIY Hello Pumpkin Sign
Let’s get building!
I’ve detailed the written step by step instructions below, but if you prefer to watch, I’ve also put together a quick video overview of the project for you here:
Step 1: Gather Your Materials
The first step is to gather your materials and cut them to size.
I shopped around my scrap pile and found a piece of ¾″ plywood and a piece of ¼″ plywood and cut them to 12″ x 12″.
But your pieces don’t have to be exactly this size and you could use thinner/thicker materials as well.
Either way, you just need a piece to add the lettering to and a piece to cut out to go on top.
Step 2: Cut Lettering and Shape Template on the Cricut
I used a Cricut Explore 3 to cut out my lettering and my pumpkin shape cutting pattern.
However, any vinyl cutter would work and you could also freehand all of this if you don’t have a vinyl cutting machine.
I’ve included the Cricut Design Space project here, but I encourage you to create your own custom text, fonts, and sizes to make it your own if you’re up for it 🙂

I created my design so that the text would fit inside the “cut out” section of the pumpkin shape.
I cut out my text first on a small scrap piece of black permanent vinyl.
Then, I cut out my pumpkin shape on a piece of white permanent vinyl (the color of the shape cut out doesn’t matter–I just happened to have more white than black on hand, so I made it work).
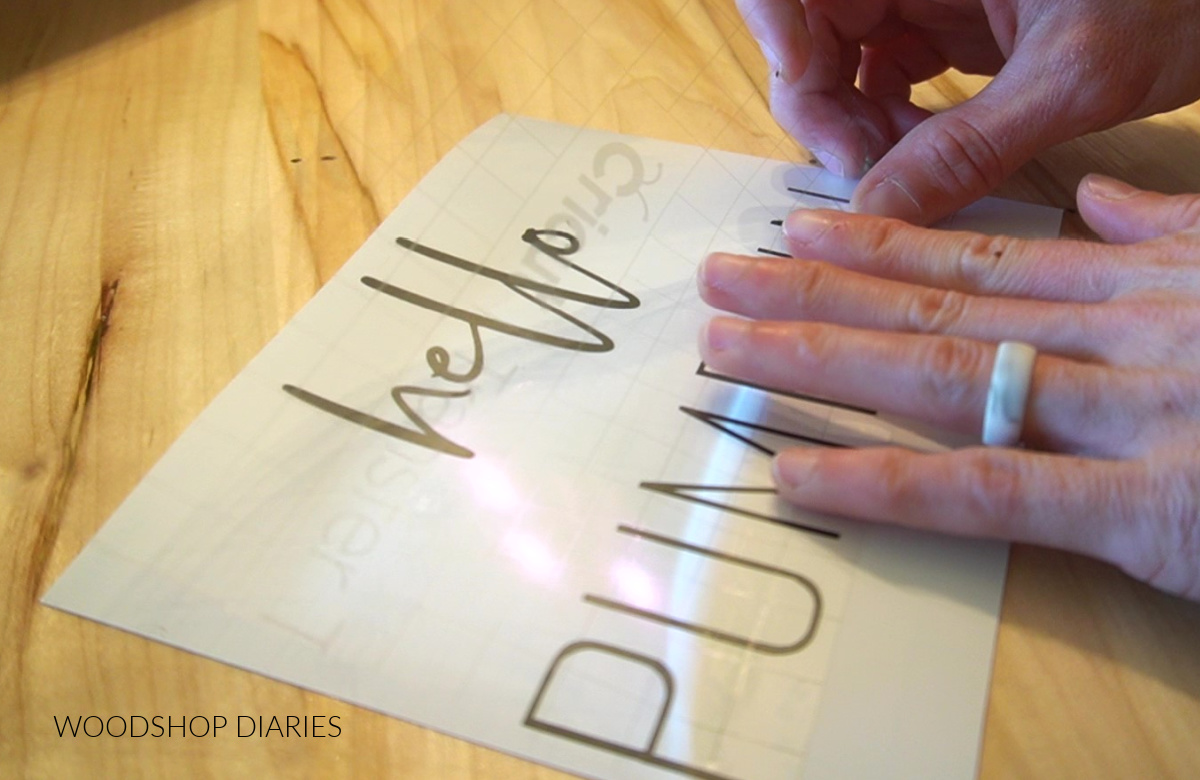
I weeded the designs to remove everything I didn’t want, then applied transfer tape on them so I could transfer the vinyl to the wood pieces.
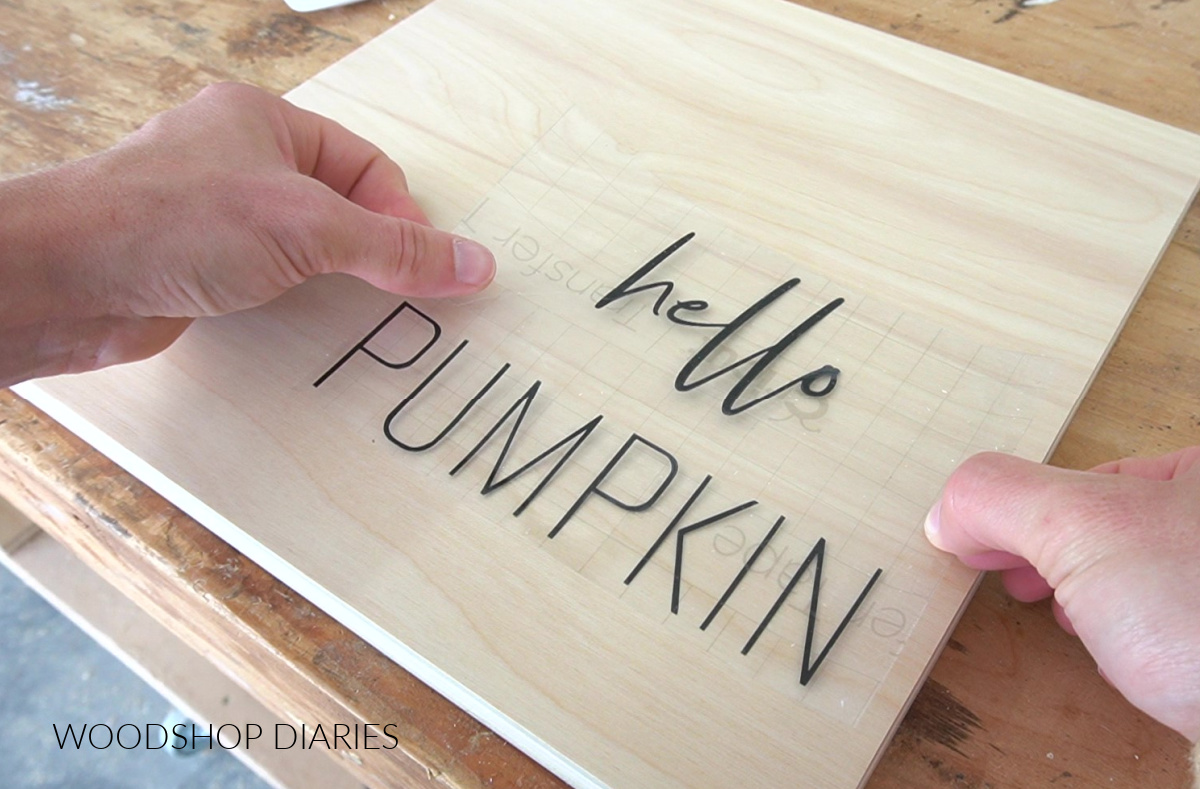
Step 3: Apply Lettering to Wood Backer
I applied the black vinyl text to the ¾″ plywood piece first. I put this toward the bottom corner.
Applying vinyl to wood can be a little tricky sometimes. I highly recommend sanding it well first to about 400 grit to make it extra smooth. Remove ALL the dust.
You want the vinyl to stick to the wood and not the dust.
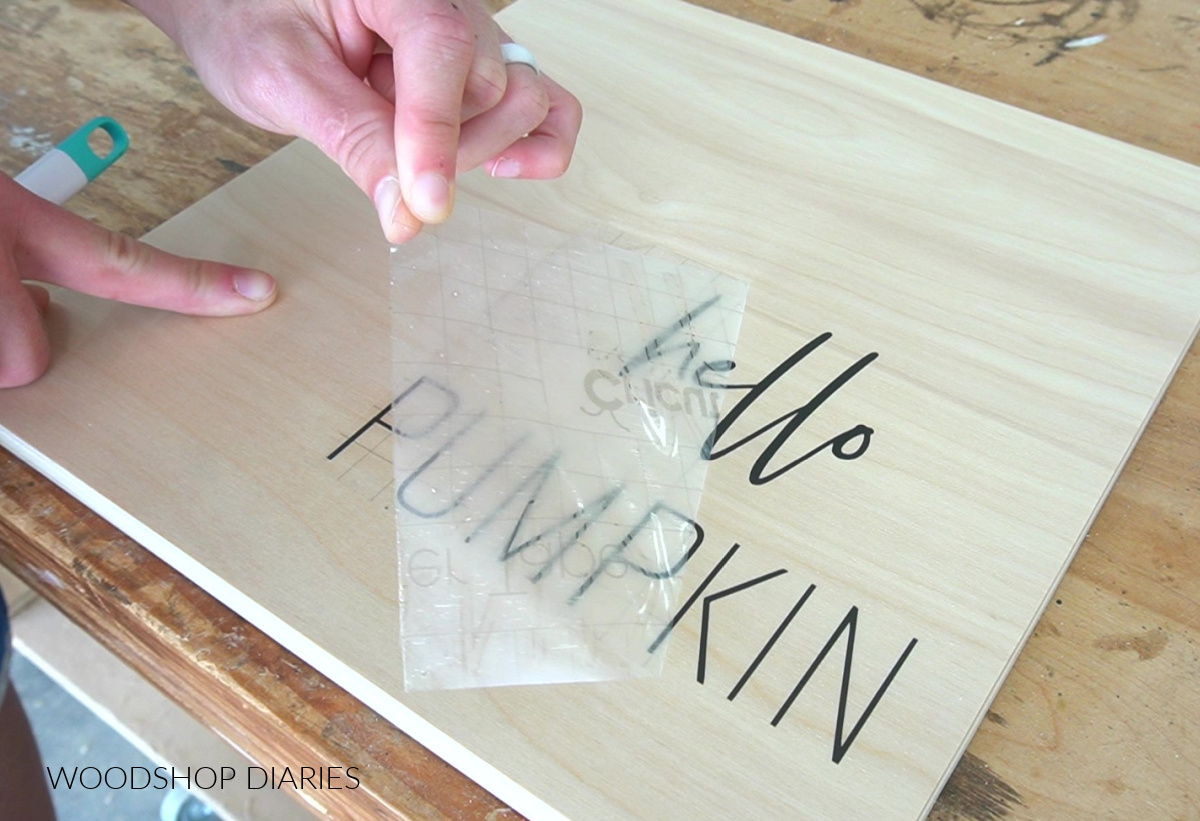
Make sure to use PERMANENT vinyl and press it onto the wood FIRMLY. I like to run my fingers along every letter and press hard before removing the transfer tape.
It may help to seal the wood first with a coat or two of clear poly, but if you do, make sure to let it dry at least 24 hours before applying the vinyl.
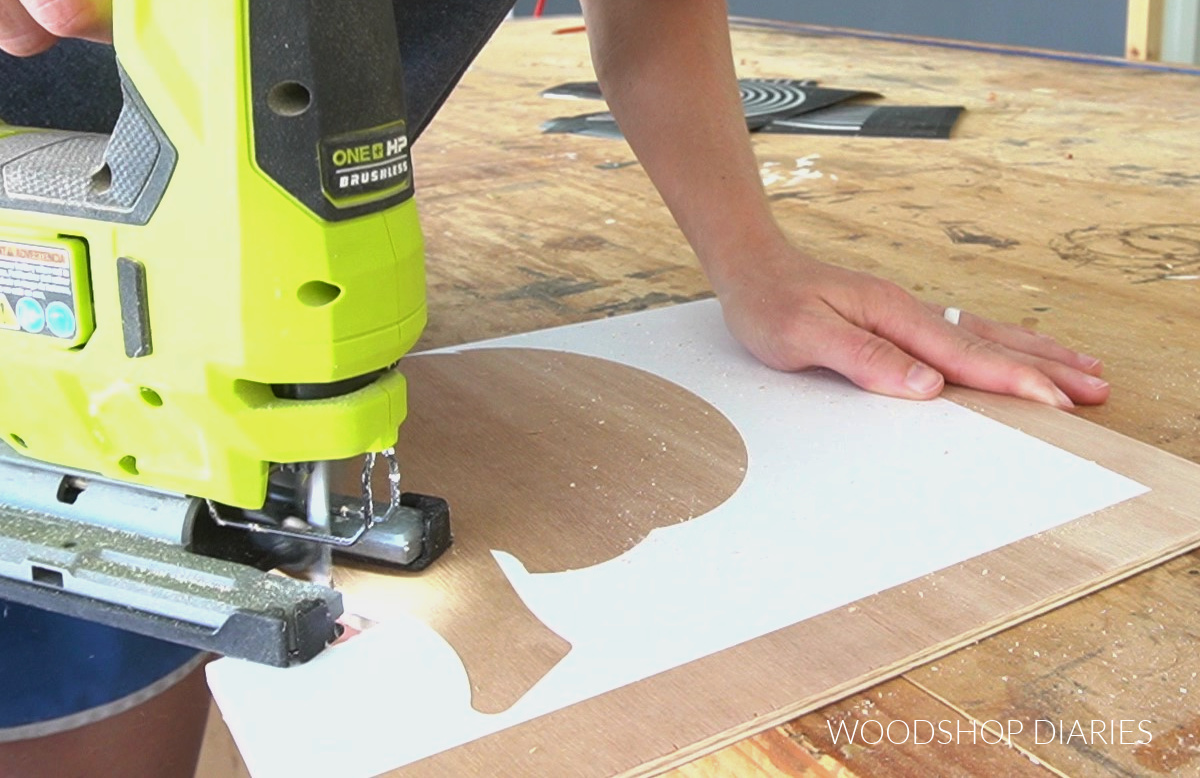
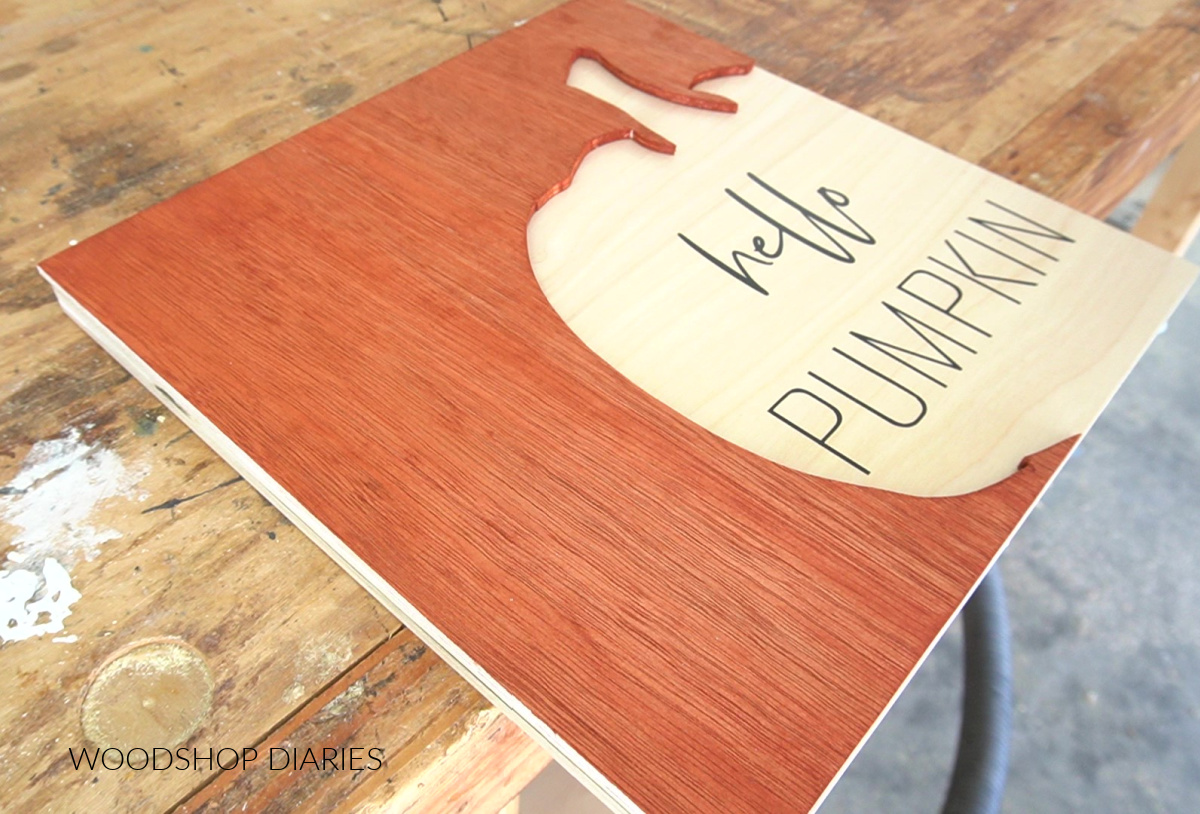
Step 4: Cut Pumpkin Shape
After the lettering was on, I grabbed by ¼″” plywood piece and applied the pumpkin shape vinyl to it.
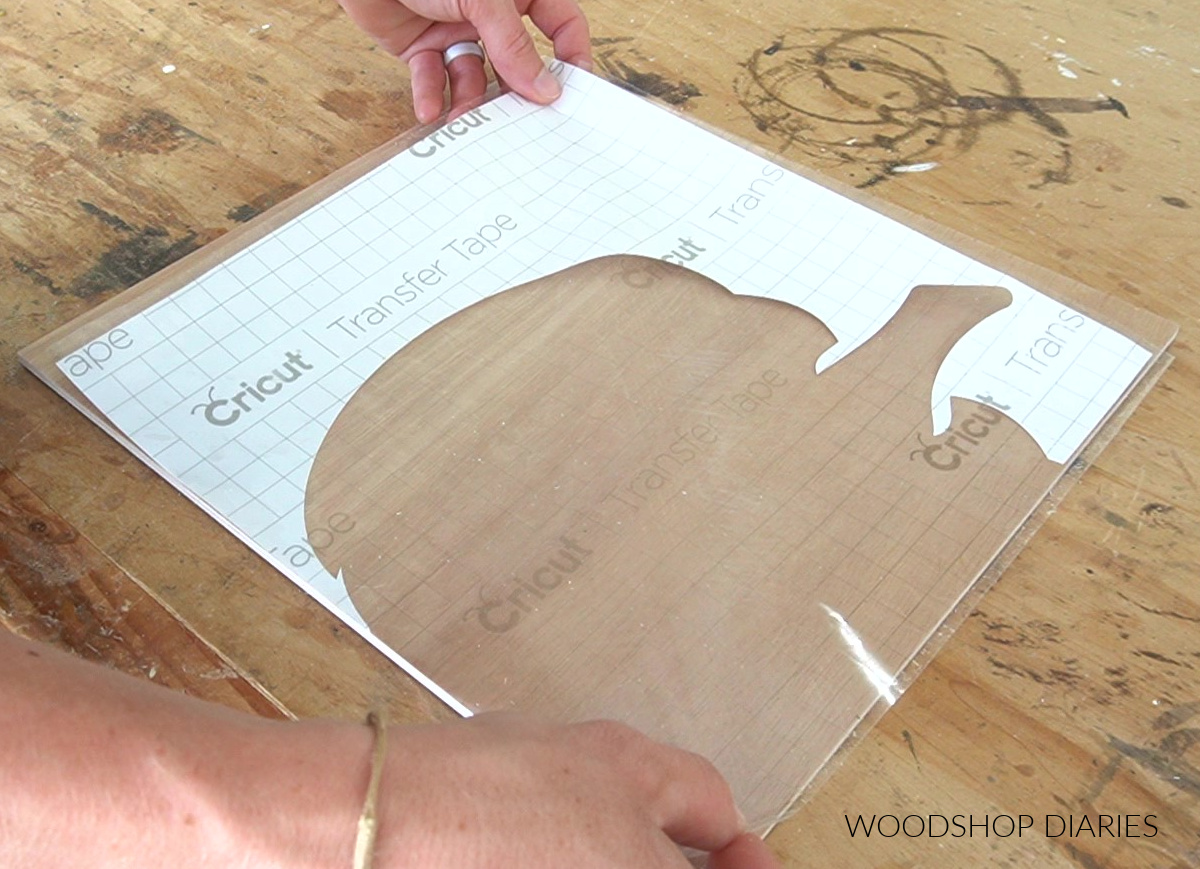
I removed the transfer tape, then used this as a cutting template.
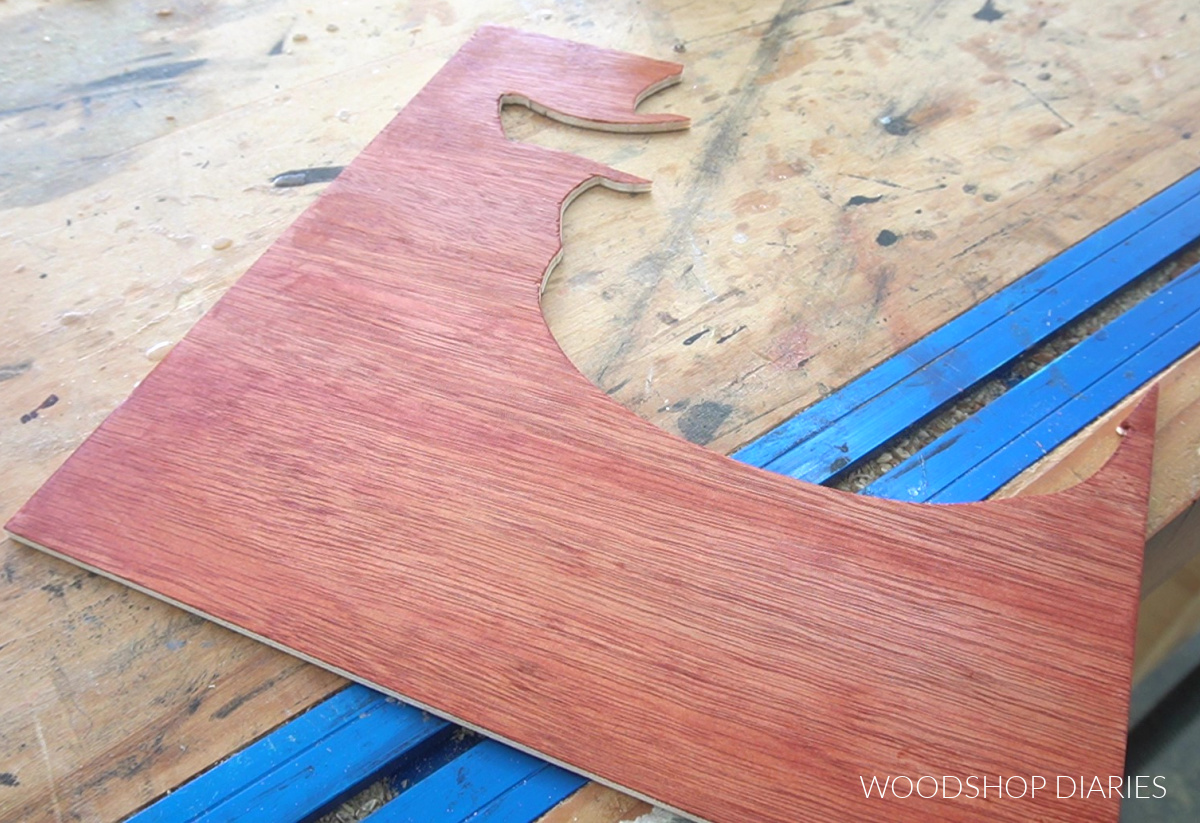
After cutting, I removed the vinyl and lightly sanded around the edges.
I stained this in Minwax Samara (this is not a premixed color, but you can get it mixed just about anywhere they sell Minwax stains–I got mine mixed at my local Sherwin Williams paint store.)
Step 5: Glue Pieces Together
Now, it was time to put it all together!
I used some wood glue to glue the pumpkin cut out onto the ¾″ plywood piece.
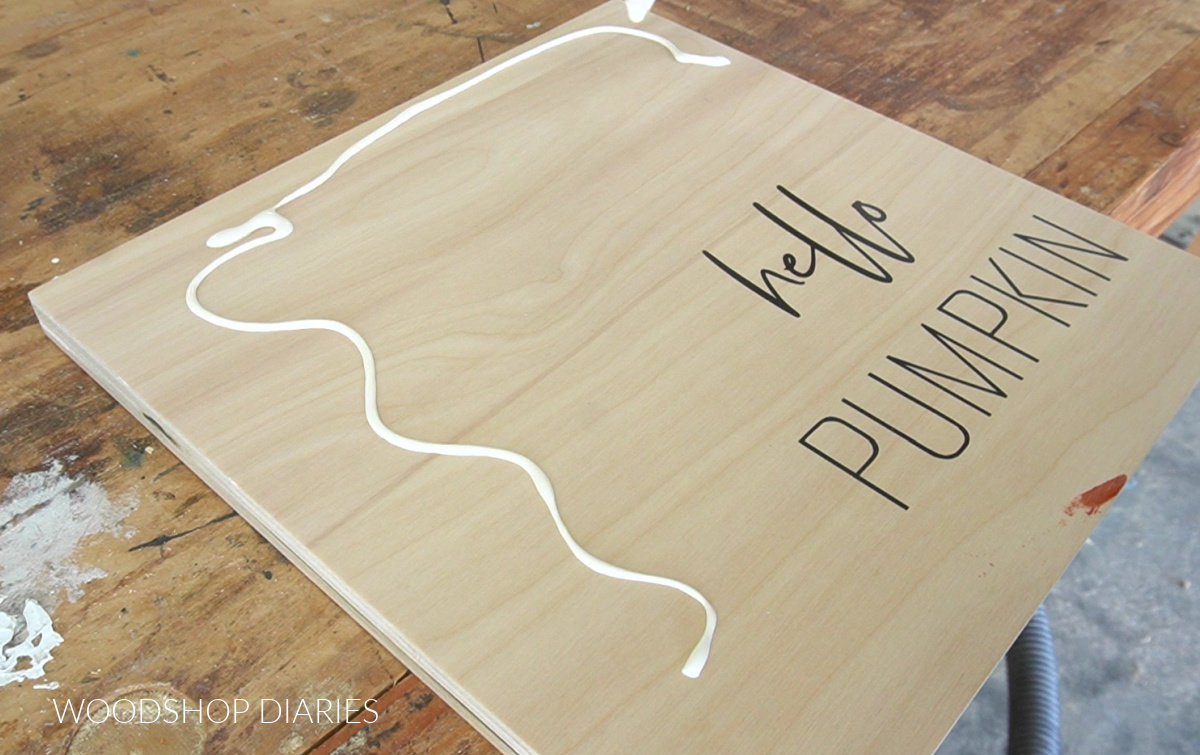
Be careful not to use too much glue–you don’t want it to squeeze out onto where the lettering is. That would be tough to clean up!
Step 6: Add Frame
Once the glue was dry, I cut to fit 1×2 pieces (these were actually pieces of cedar fence pickets I ripped to 1 ½″ wide) to fit around the sides to frame this out and hide the plywood edges.
You could just glue these pieces on, or if you have a brad nailer, you can tack these in place using that to save a little time (and a little mess haha).
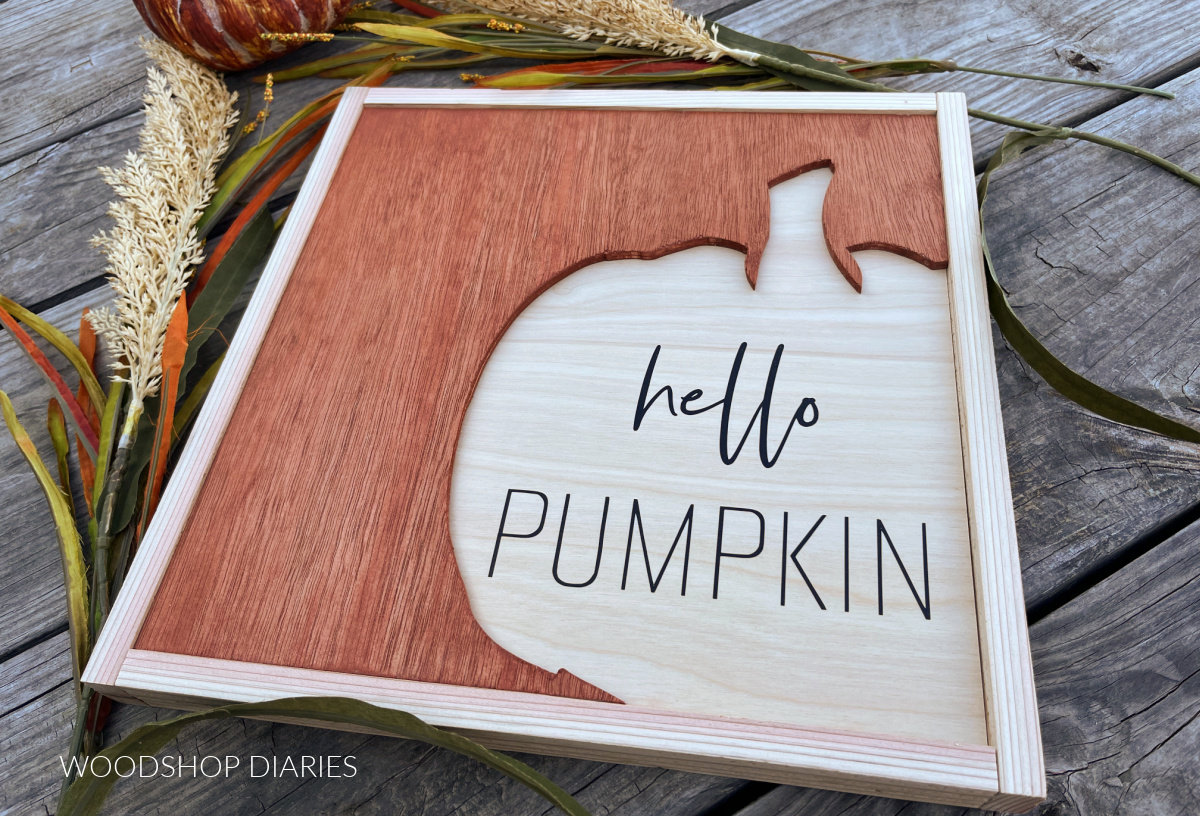
And with that, it’s completed!
I don’t typically hang much stuff on the walls–I usually just place things on shelves and swap them out for the seasons.
However, if you prefer to hang this, you can add a simple sawtooth hanger on the back side at the top. These are inexpensive and easy to install with just a hammer.
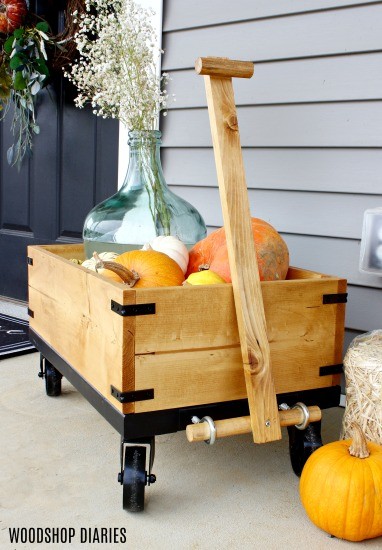
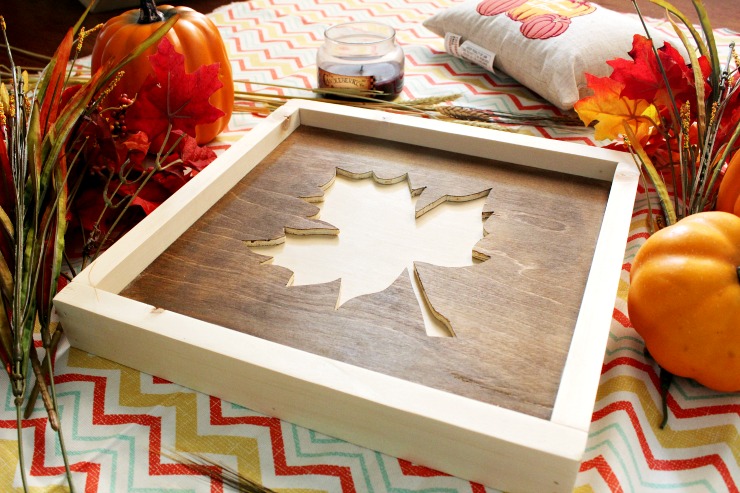
Looking for More Fall Scrap Wood Projects?
If you enjoyed this fun DIY hello pumpkin fall wood art, be sure to check out some other fun fall scrap wood ideas you can add to your list here:


And if you want to stay up to date on new projects and building plans, be sure to subscribe to the newsletter below:
Don’t forget to save this for later by pinning it or sharing it to your favorite social channel!
Until next time, friends, happy building!