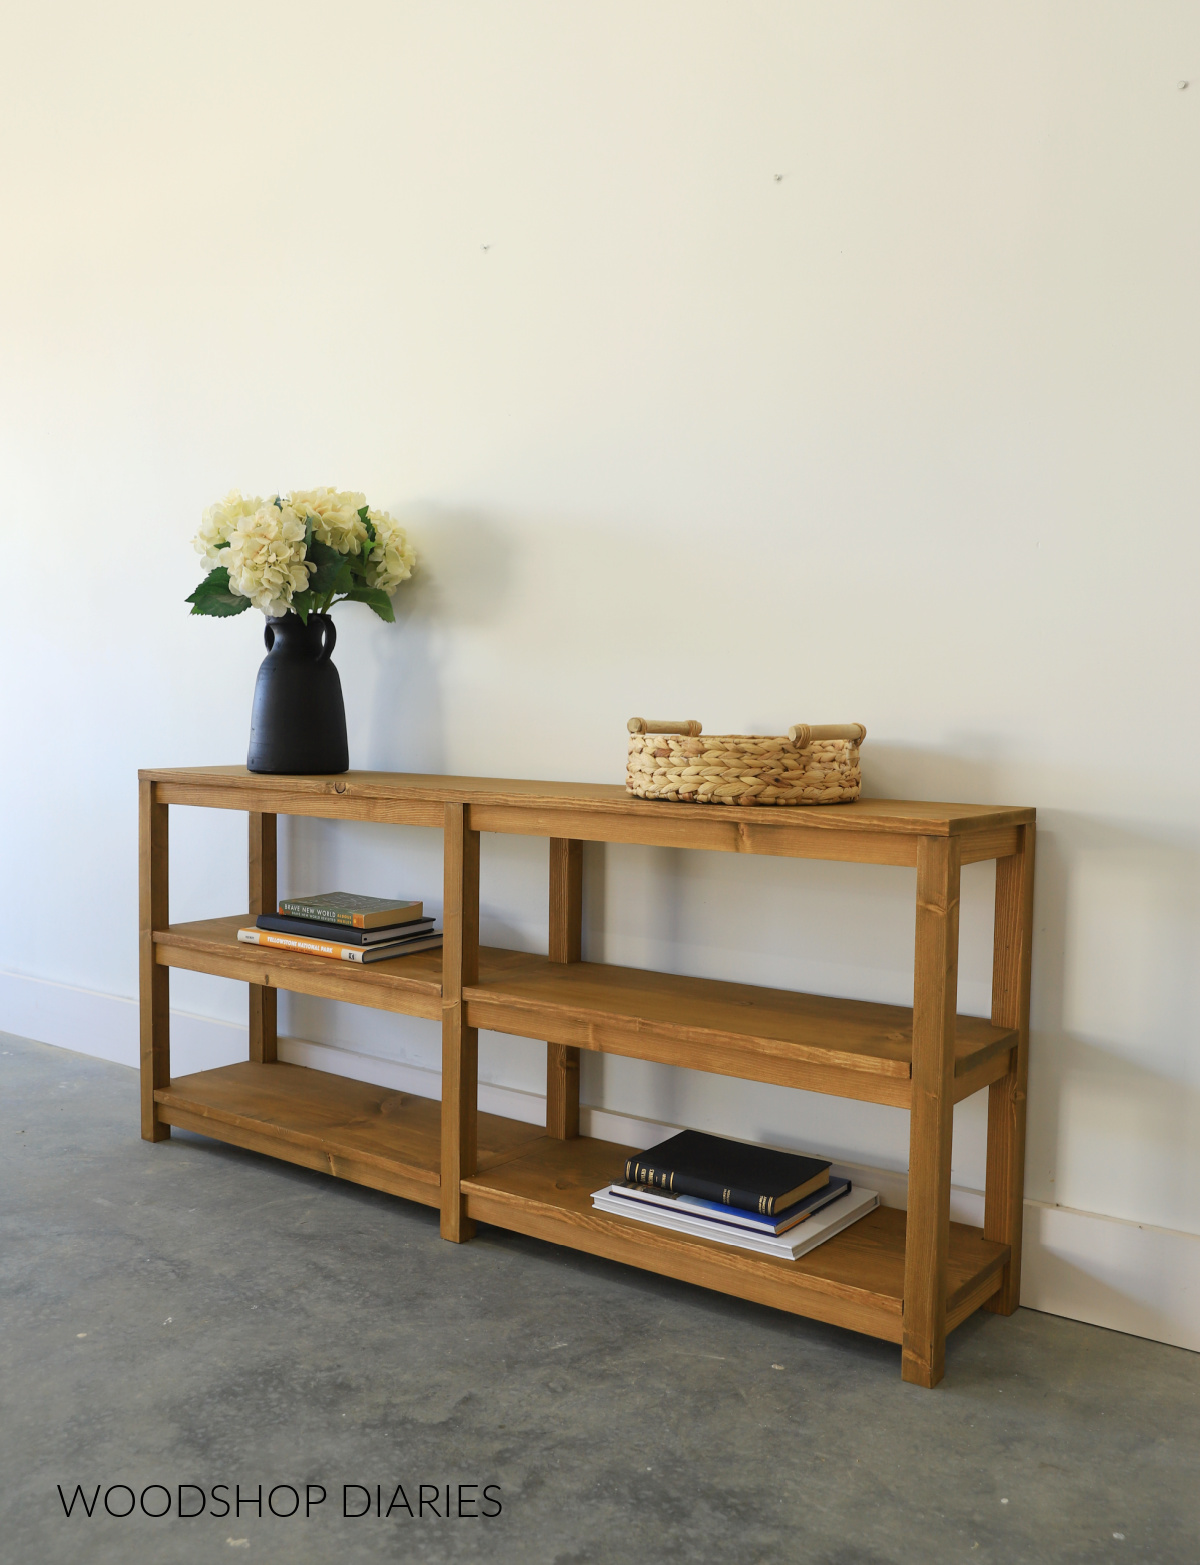
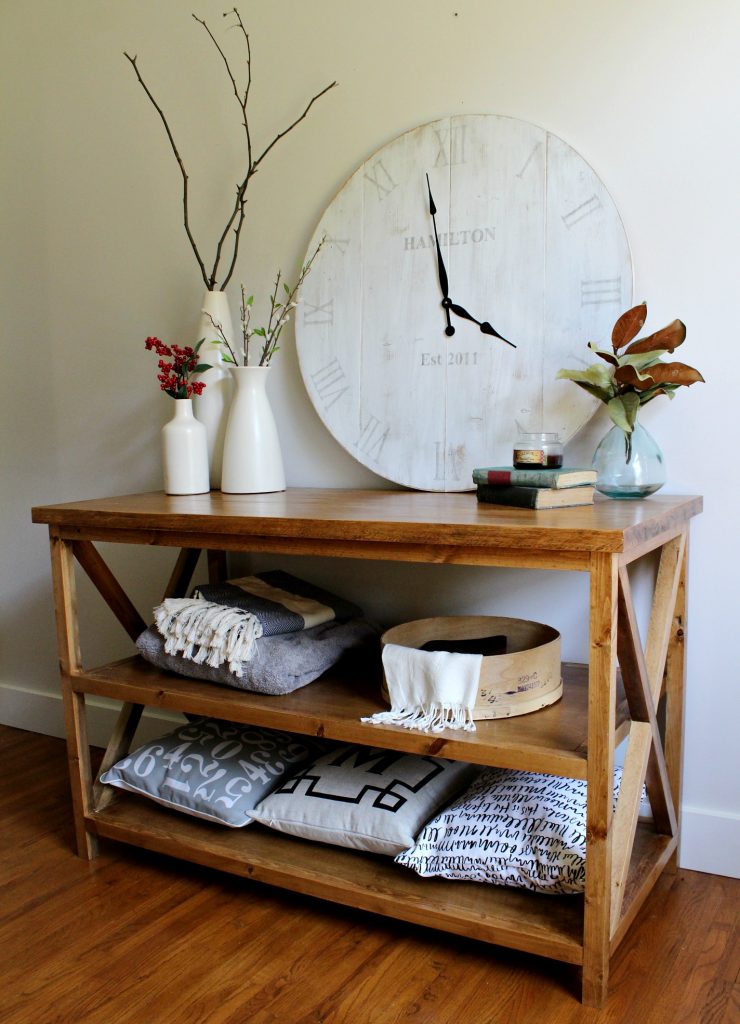
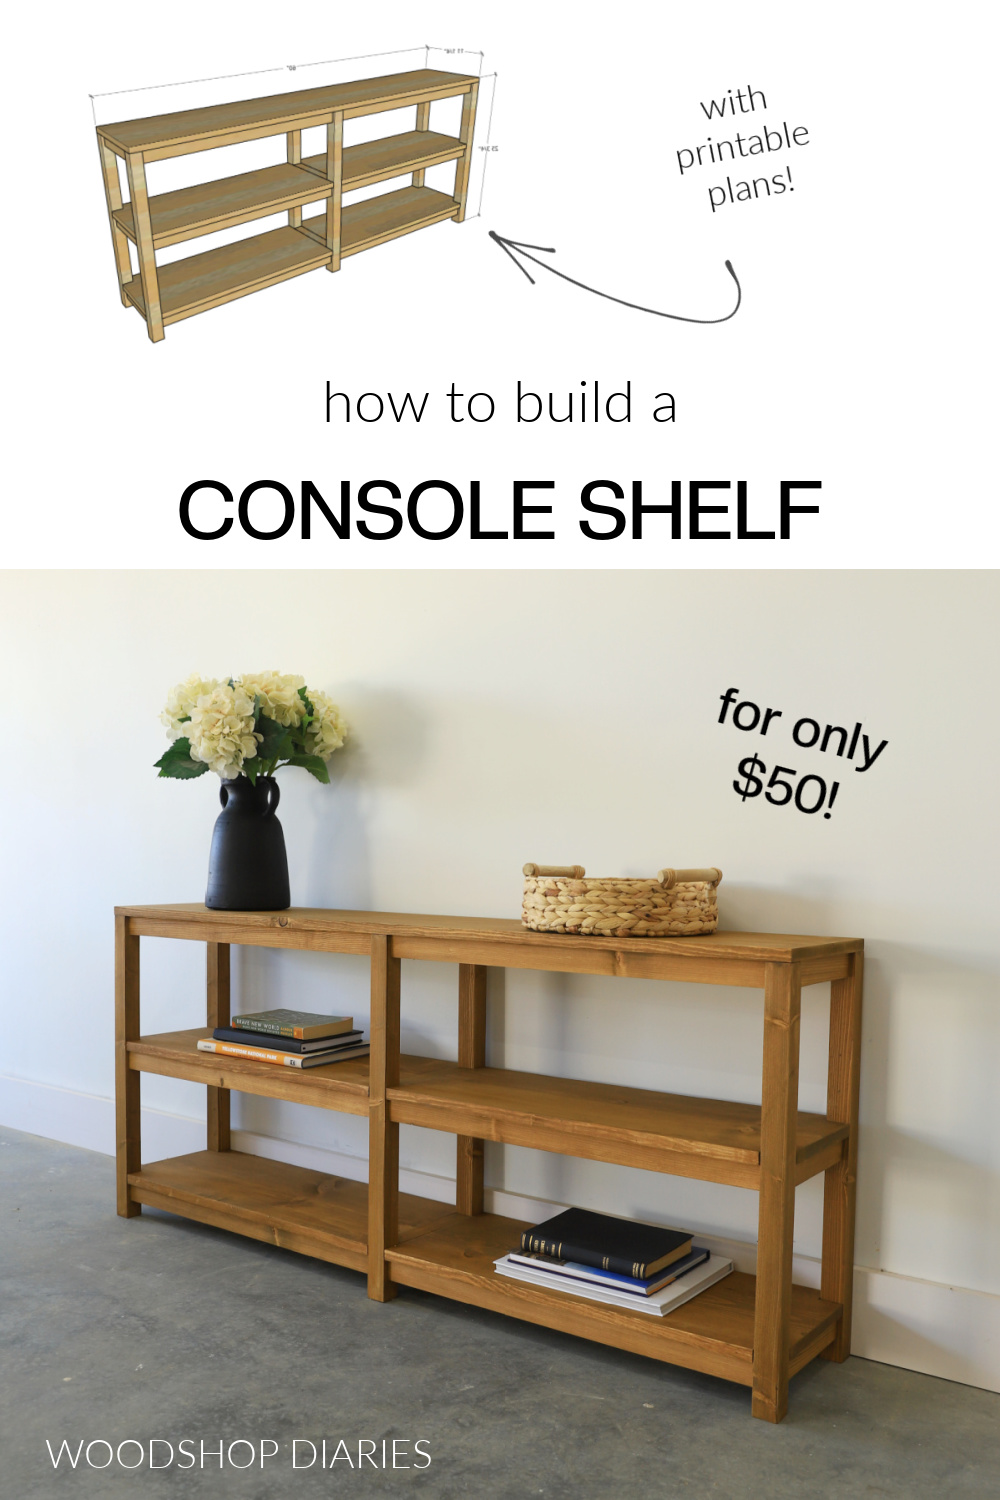
In this post, I’m sharing how to build a simple console table shelf that would also work perfect for a sofa table.
I actually designed this based on a similar one that I had seen online for $499. But I built it for about $50 in lumber. Not sure if you’re into math, but that’s a 90% savings!
This small shelf would work perfect behind a sofa, in a living room, or a home office. You could even use it in an entryway for boots and shoes if you wanted.
It’s a great beginner woodworking project that only takes a couple hours to build, and I’m sharing all the details for how to make your own in the post below.
*This post contains affiliate links. See website policies.
What to consider before building
The size of this shelf is easy to customize. If you want a longer shelf, you can easily add a third section, if you want a shorter shelf, you can remove a section.
Because this can also double as a sofa table, I kept the overall height on the shorter side. If you wanted this taller, feel free to simply cut the legs a bit longer as desired.
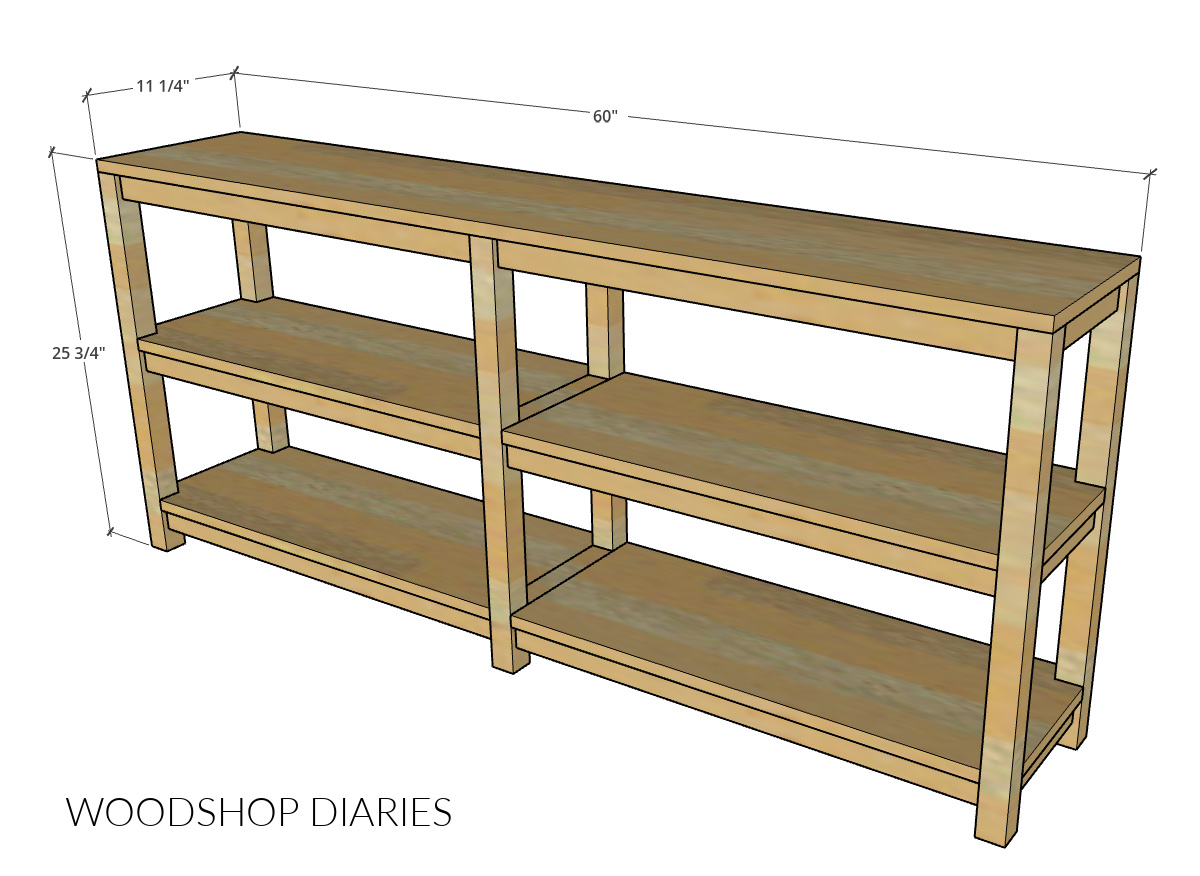
The overall dimensions of this shelf are approximately 11 ¼″ deep x 25 ¾″ tall x 60″ wide.
MATERIAL CHOICES
You can use just about any wood type you’d like for this project, but to keep it budget friendly, I recommend using pine/spruce/whitewood lumber from the local big box or building supply store. This only cost about $50 in lumber to build.
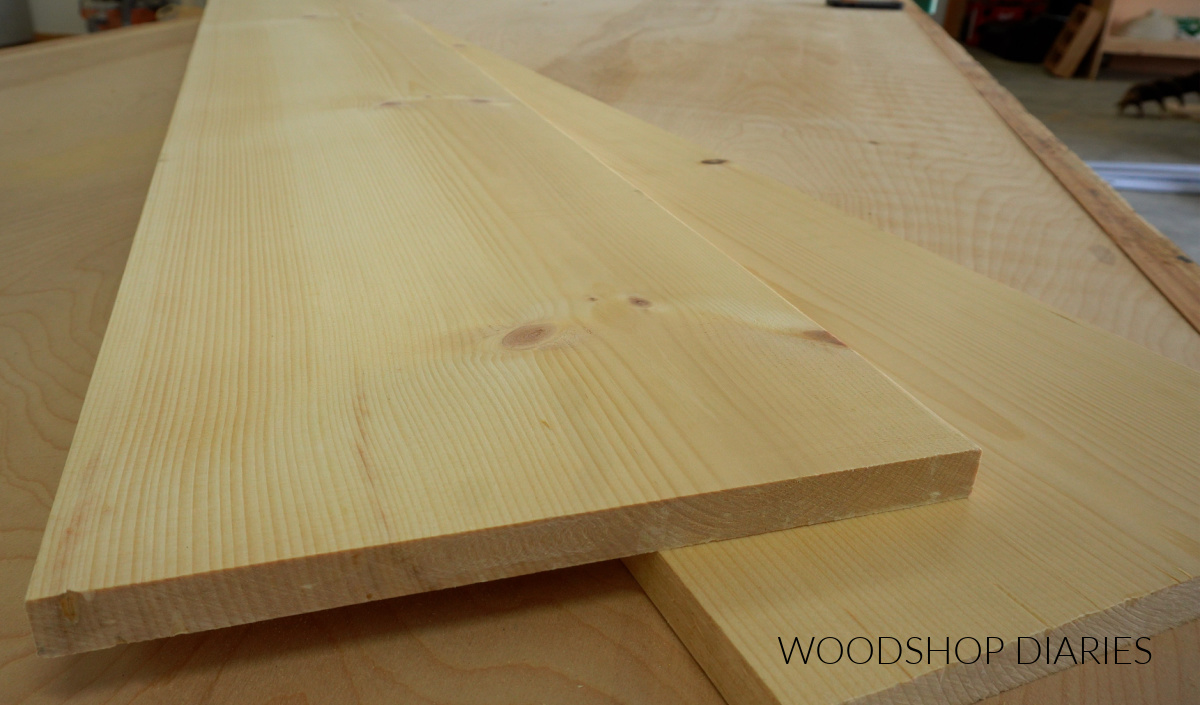
In the video below, I discuss how I purchased longer 1×12 boards and ripped the off cuts into 1x2s to use for this instead of buying precut 1x2s.
I also ripped my 2x2x from a 2×4. If you have a table saw, you can certainly do that vs buying precut 1x2s and 2x2s and it might save a few dollars.
RELATED: How to cut your own 2x2s
Either way, whether you rip your own lumber to size or buy precut boards, keep in mind the difference between nominal and dimensional lumber.
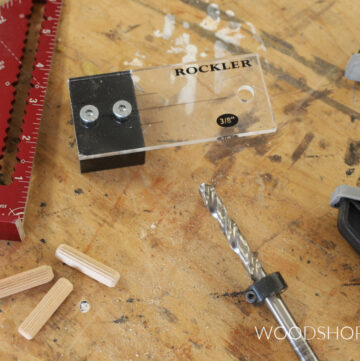
POCKET HOLES
A standard size pocket hole jig can work fine for this entire project. But, because 1x2s are so small, I recommend, if possible, to use the Kreg Micro pocket hole jig with them.
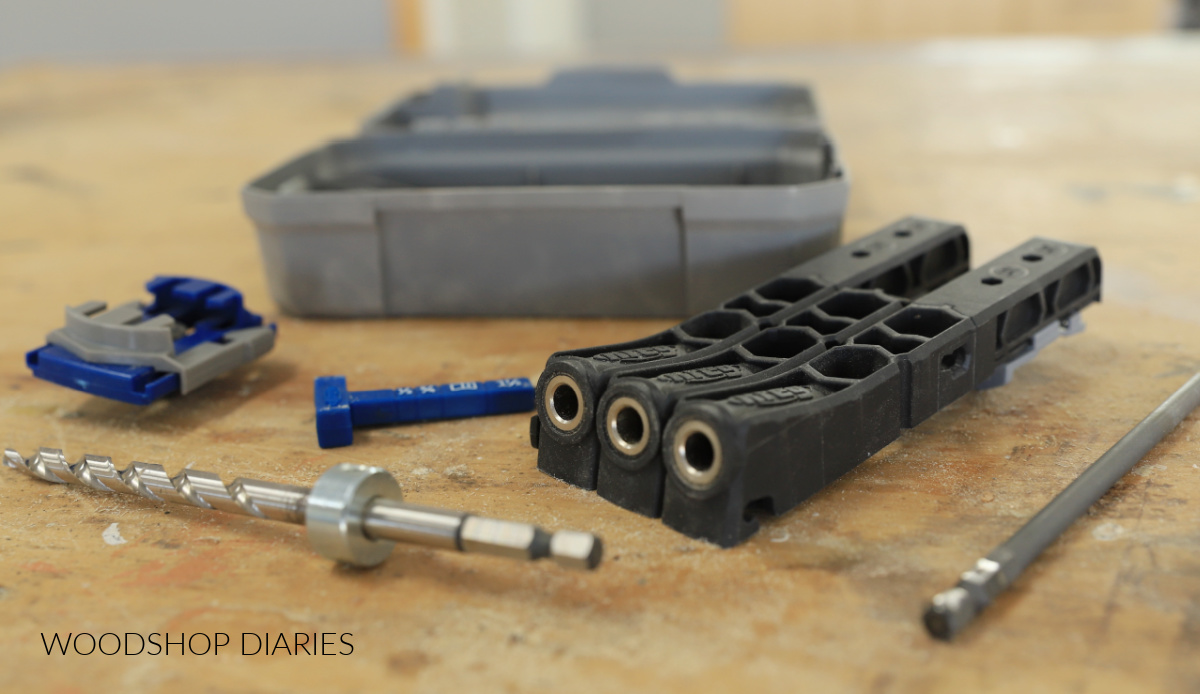
The Micro Jig is not NECESSARY, but it does drill smaller holes so it’s less likely to split the wood. Learn more about how and why to use the Kreg Micro Pocket Hole Jig here.
Want to be the first to know about new projects and plans? Subscribe to the newsletter for priority access!
How to Build a Console Table Bookshelf
If you prefer to watch, I’ve shared the full build video with tons of tips, behind the scenes, and additional details on my YouTube Channel here.

Love watching how-to videos? Subscribe to my YouTube channel for plenty more where that came from!
Prefer to print? Grab the printable console shelf building plans here:
Tools & Materials
Tools:
Materials:
- (3) 1x12x6′ boards
- (4) 1x2x8′ boards
- (2) 2x2x8′ boards
- 100 count box 1 ¼” Pocket Hole Screws
- (6) 2 ½″ Pocket Hole Screws
- (25) 2″ wood screws
- Wood Glue
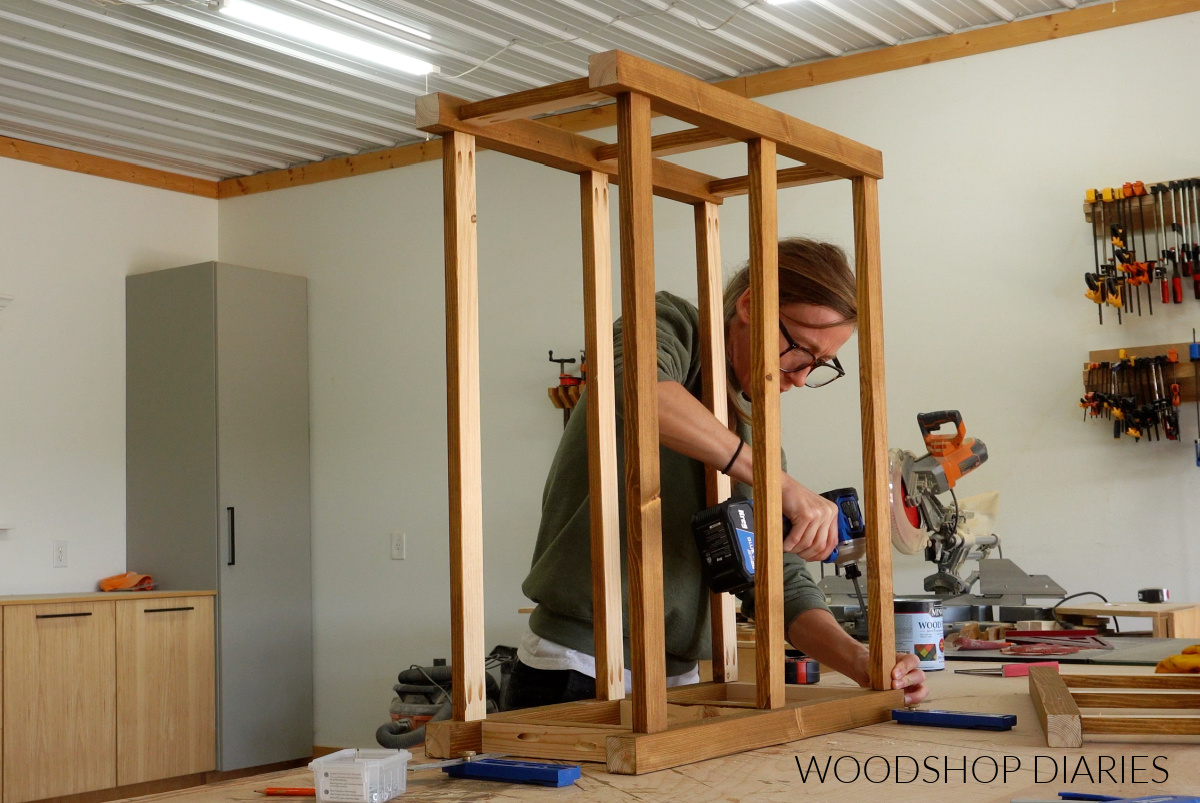
Step 1: Assemble Side Frames of Shelf
This console shelf consists of three small “frames.” Two frames go on each end and one in the middle.
Each of these frames are built with two 2×2 legs and three supports. The two side frames use 1x2s as supports. We will discuss the middle frame in the next step.
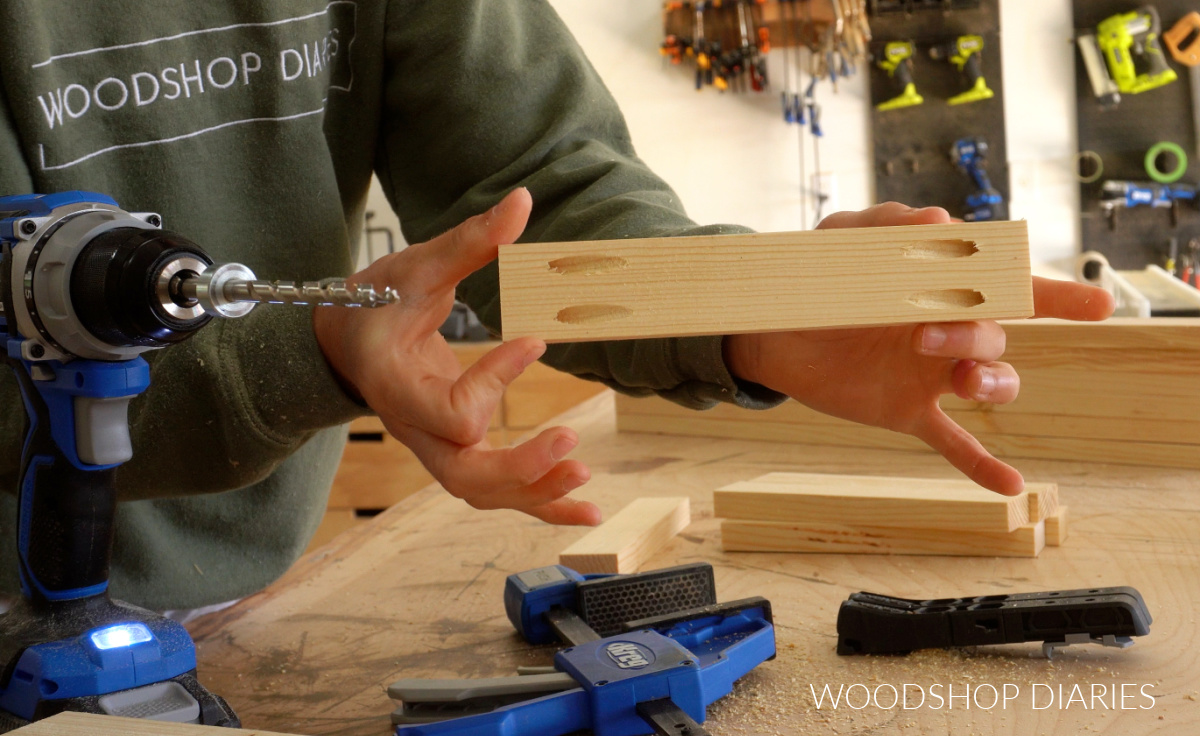
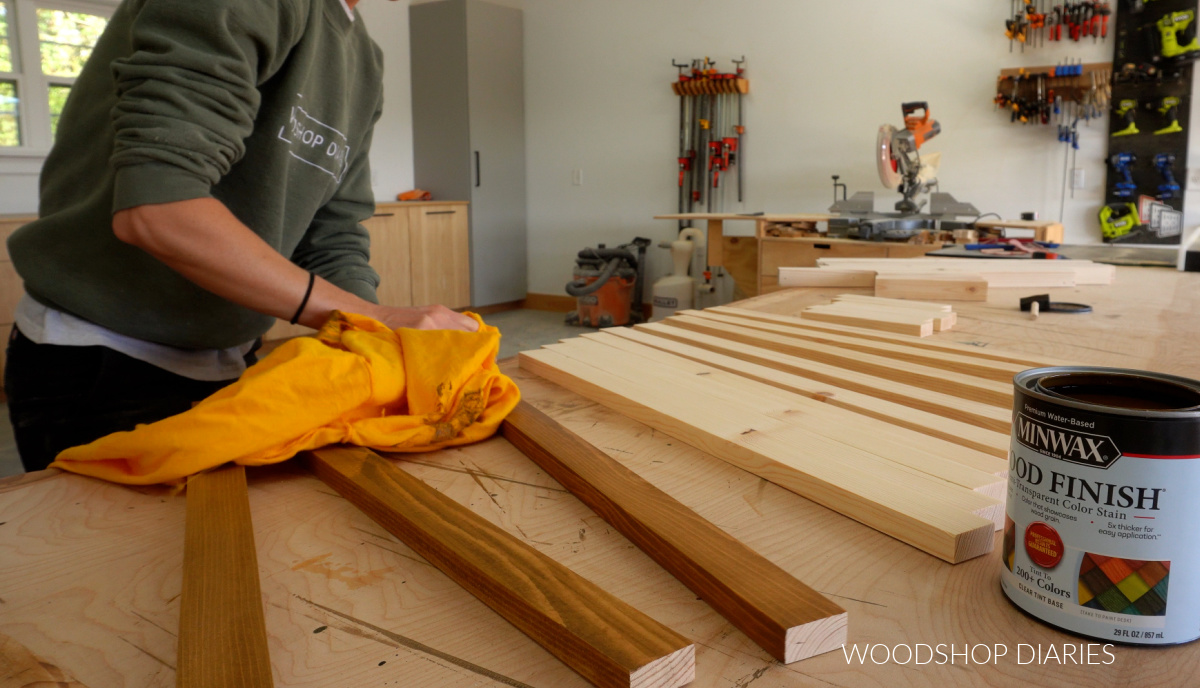
So, to get started, I trimmed down four 2×2 legs and six short 1×2 boards for the supports. I drilled ¾″ pocket holes into the ends of each 1×2 like shown below.
All the dimensions and full cut list can be found in the printable plans.
I was using a water based finish (Minwax Semi-Transparent Water Based Stain in Aged Oak), and I find these easier to apply before everything is assembled, so I went ahead and stained my pieces before attaching.
RELATED: How to stain wood furniture
Then, I secured my 1x2s between my 2×2 legs using pocket hole screws–one at the top, one toward the bottom and one in the middle.
RELATED: How to use pocket holes
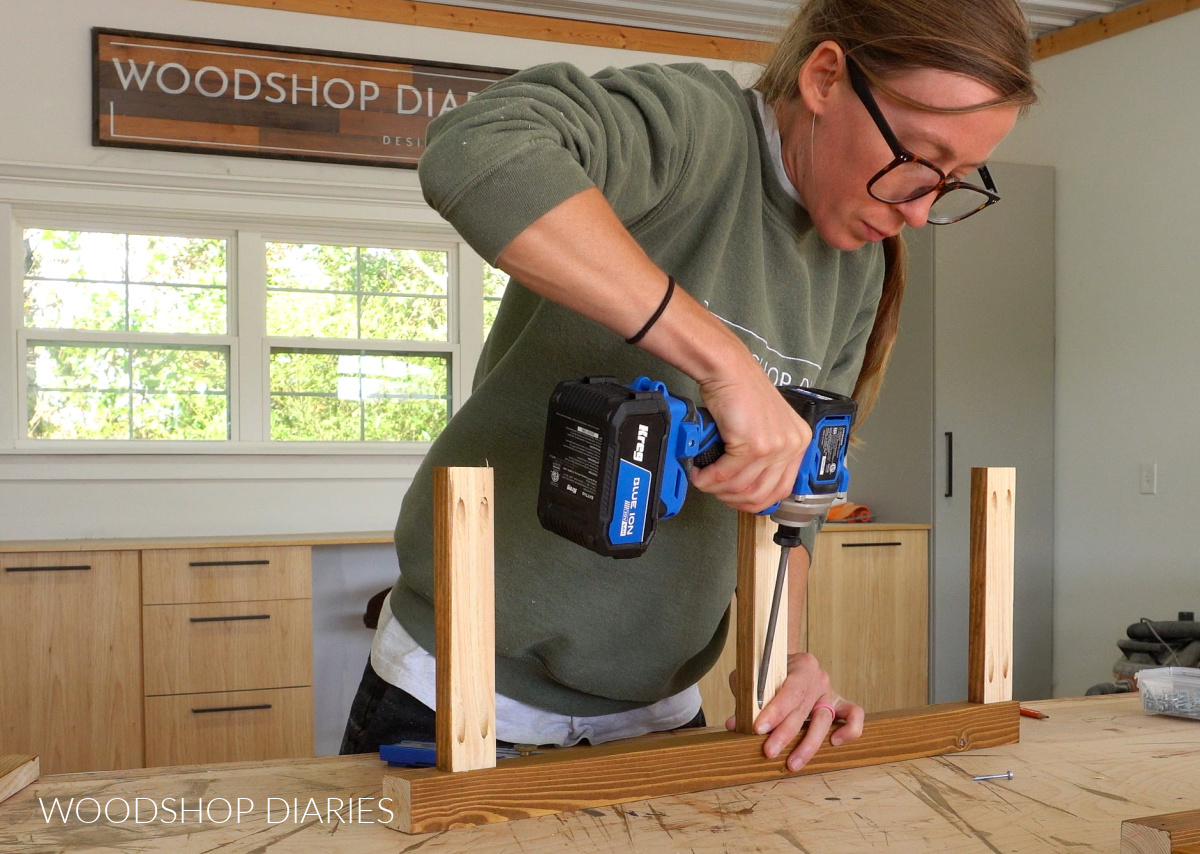
I repeated to make two identical frames–these will go on the ends of my shelf.
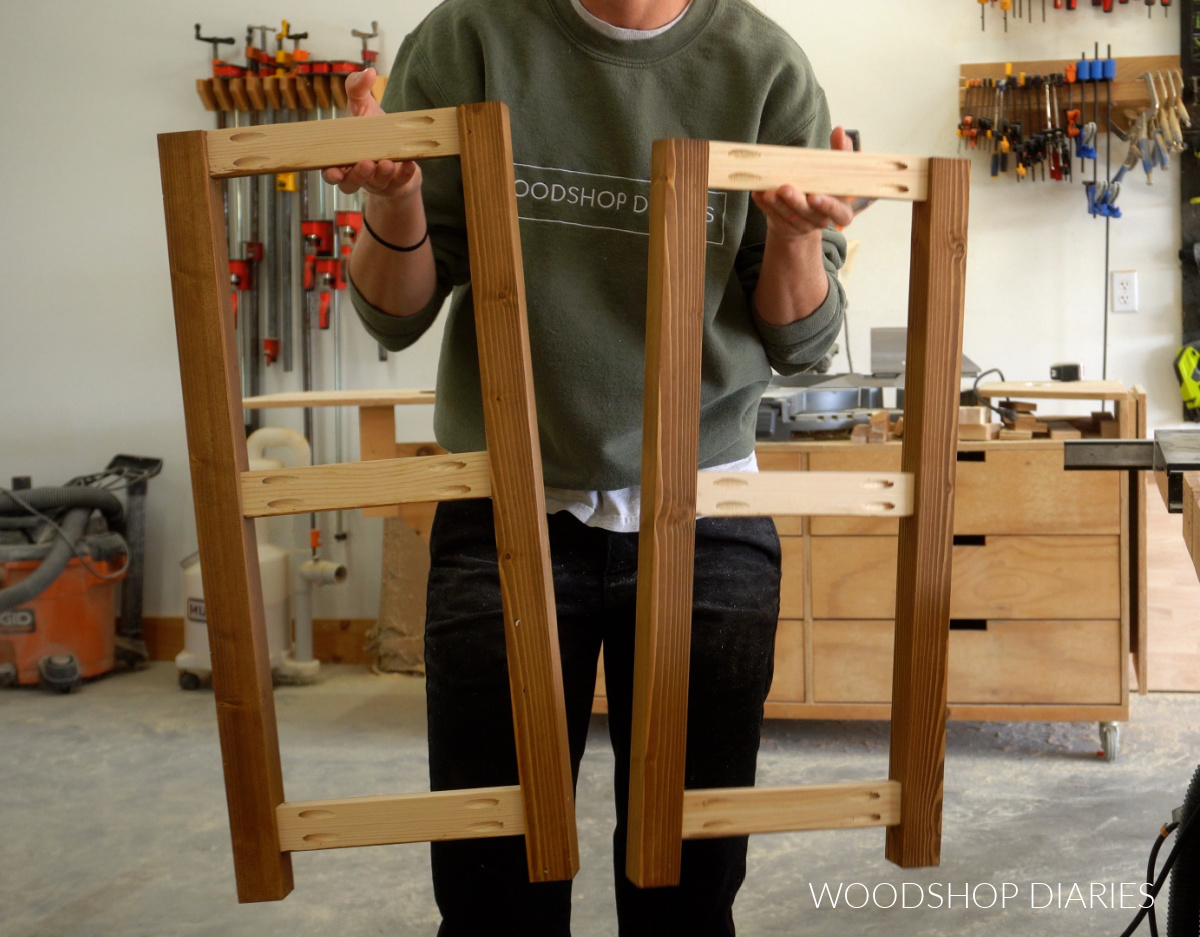
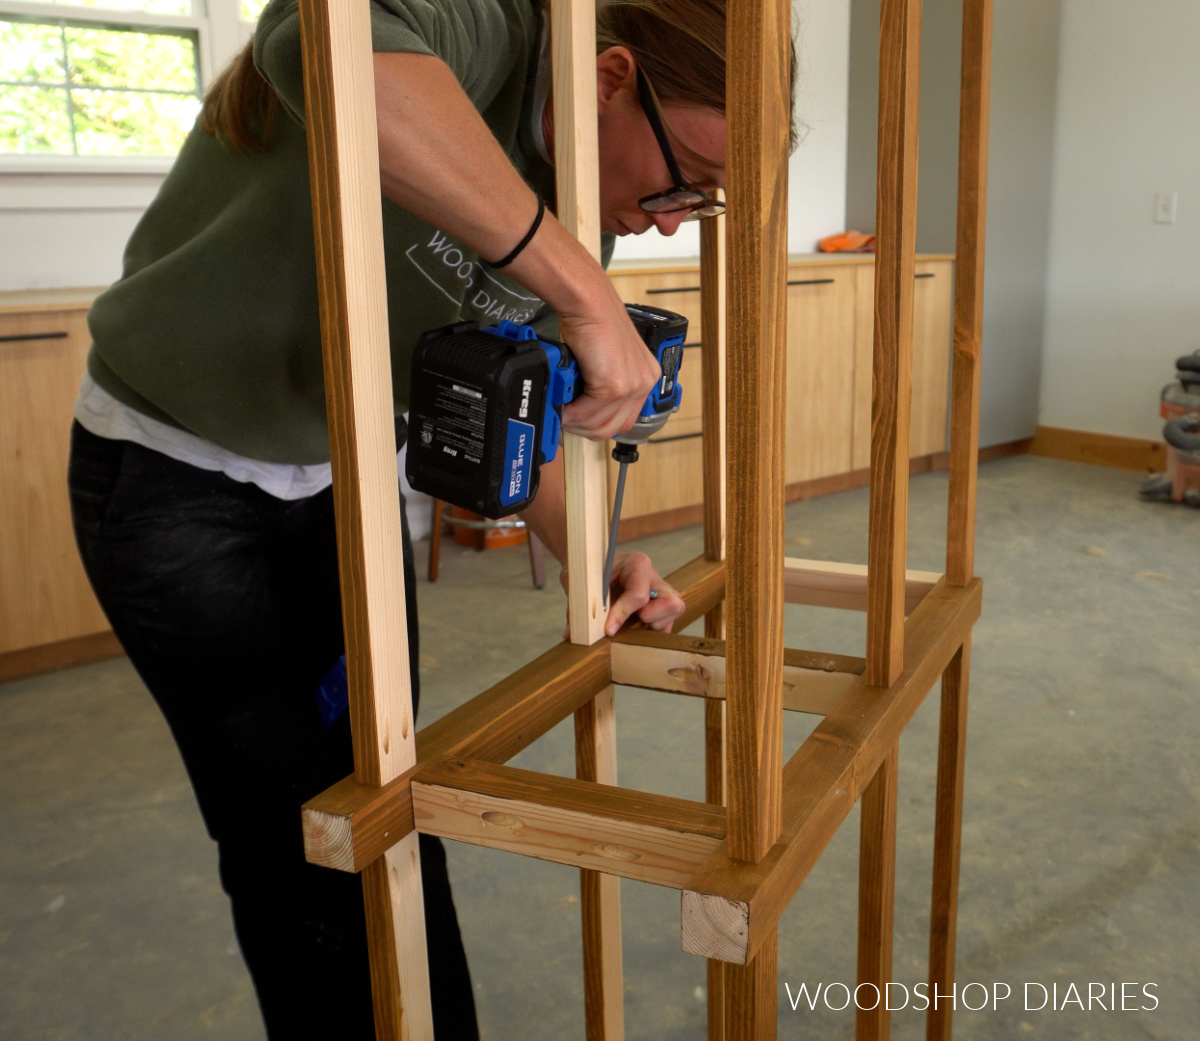
Step 2: Assemble Middle Frame
The middle frame is similar to the sides, but instead of 1x2s, I used 2x2s for the supports. So I cut two 2×2 legs and three short 2×2 supports.
I drilled 1 ½″ pocket holes into the ends of the short 2x2s and installed between the legs using pocket hole screws.
This may seem confusing, but I installed one 2×2 at the top, then I installed the middle and bottom 2x2s so that the top edges were ¾″ higher than the 1x2s on the side frame. It’ll make more sense shortly.
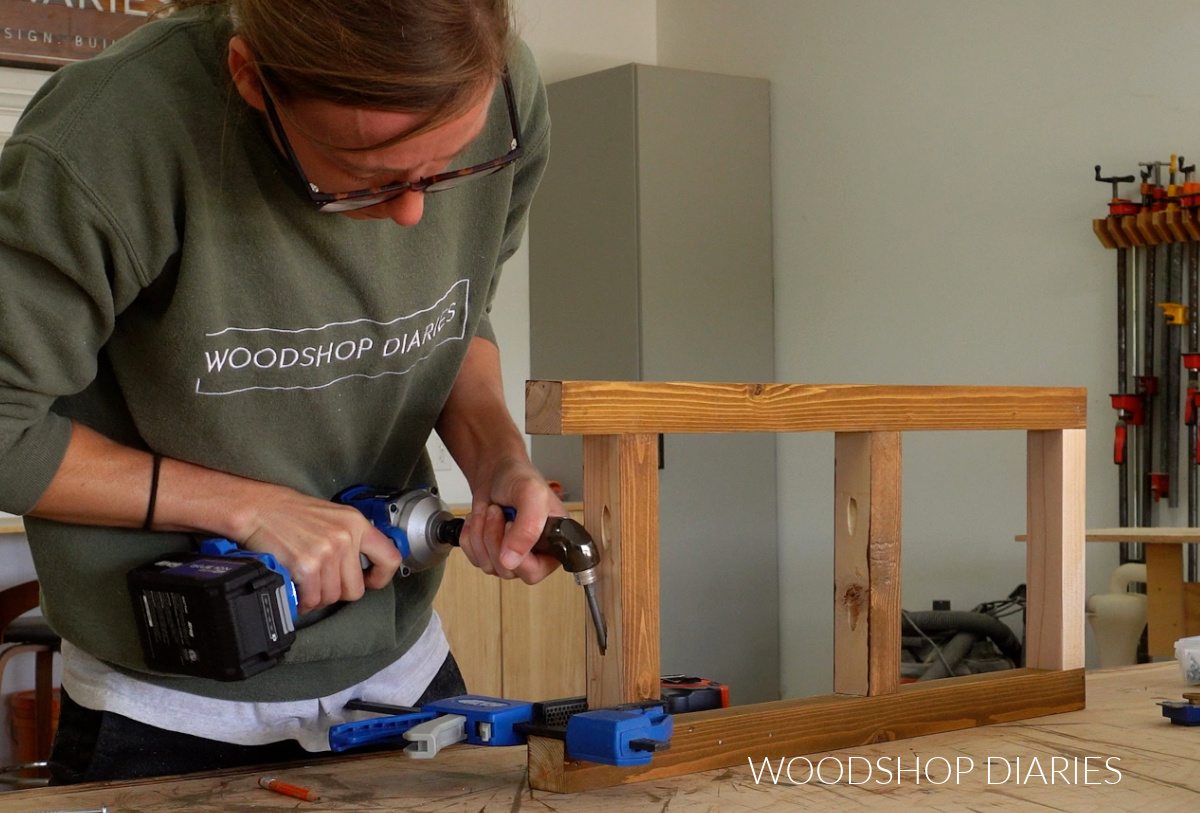
TIP: You can see in the photo above that I ended up having to use a 90 degree attachment to install my supports because my driver wouldn’t fit.
In hindsight, I should have turned these 2x2s sideways so the pocket holes faced out vs down. Once finished, the pocket holes on the sides won’t be visible and it would have made this easier to assemble.
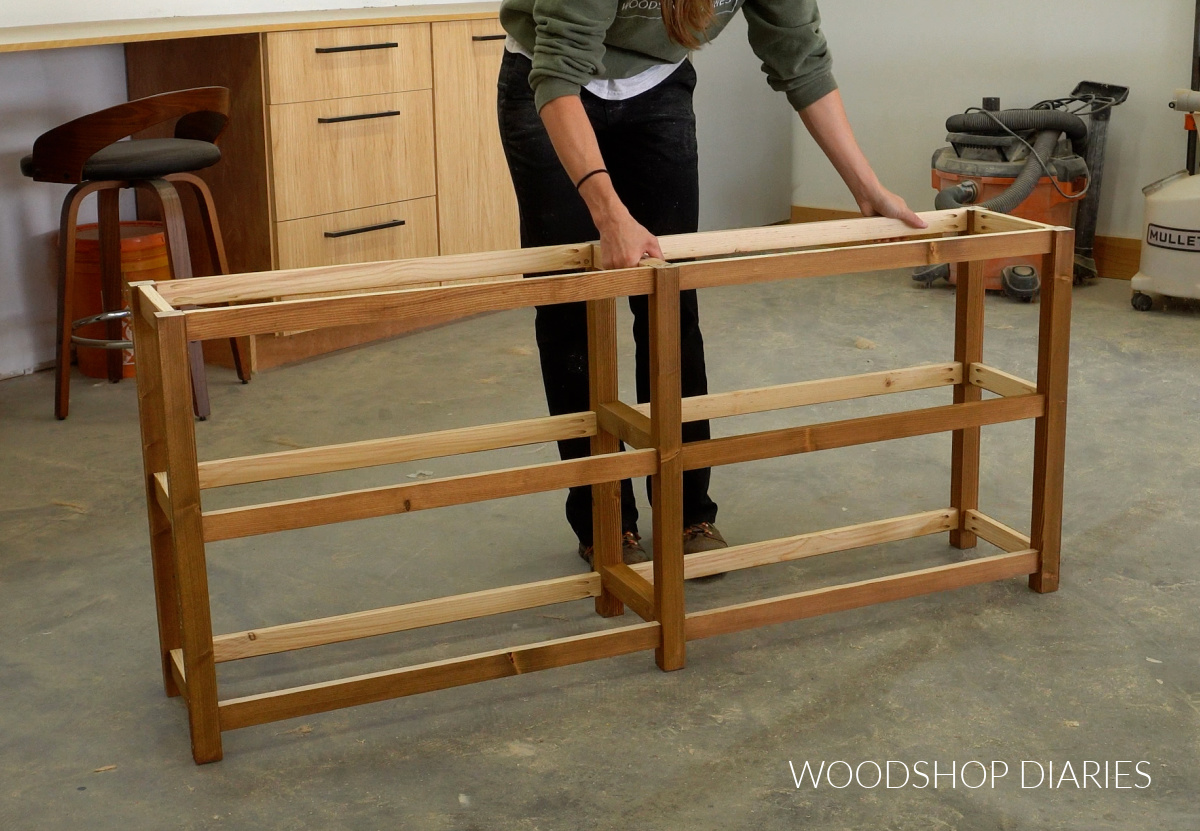
Step 3: Assemble Console Bookshelf Base
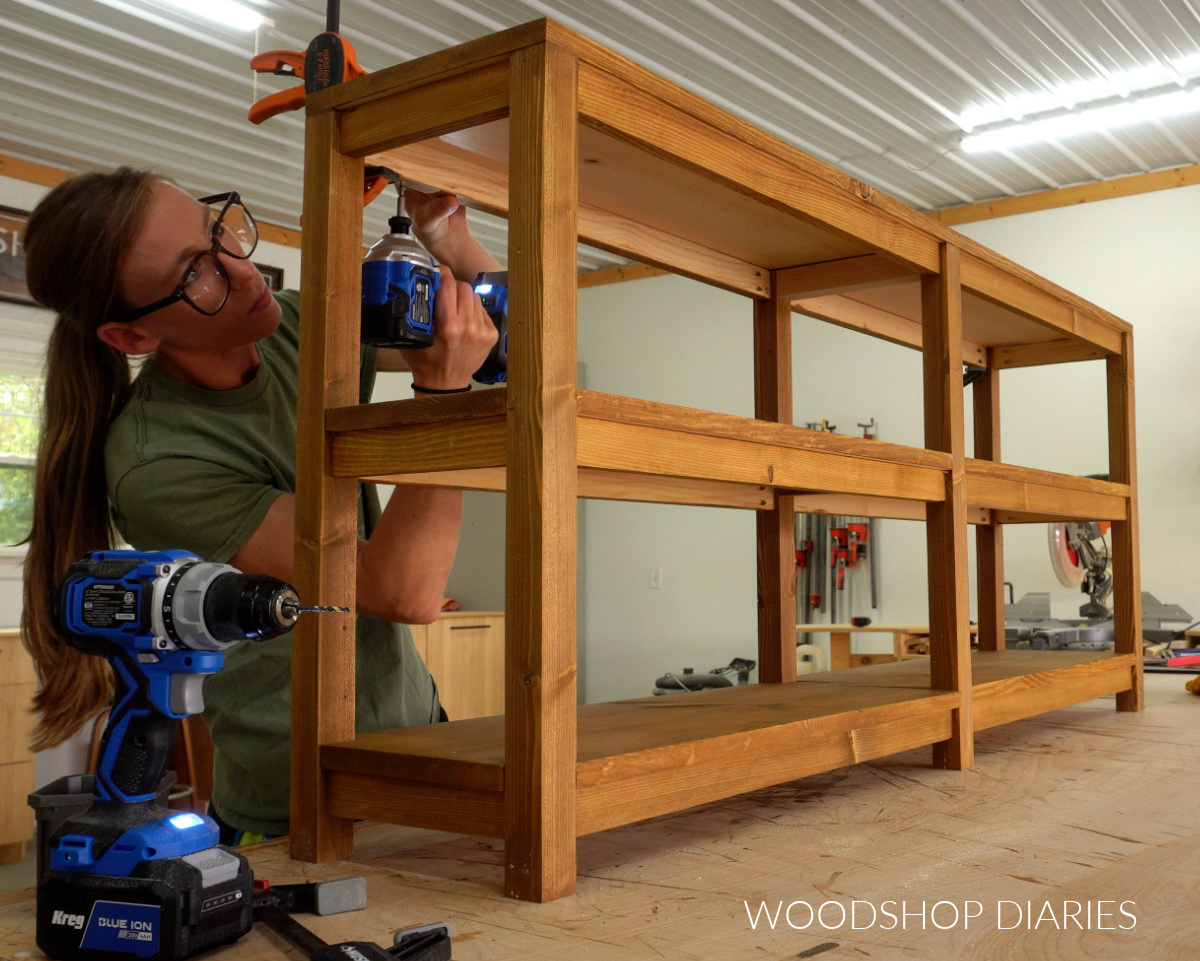
Now that all three frames were assembled, I could attach them together to make the shelf base.
I cut 12 pieces of 1×2 to run between each frame. You can adjust the lengths as desired to make your shelf sections larger or smaller.
Prefer to print? Grab the printable console shelf plans with cut list and dimensions here.
After drilling pocket holes and staining these pieces, I secured them between the frames with pocket hole screws.
I found it easiest to assemble one section like shown above. Then, I transferred it to the floor to attach the second section. These 1x2s should be aligned with the 1x2s on the side frames.
I was careful to make sure the middle frame did, in fact, get installed in the middle.
Remember the middle and bottom 2x2s on the middle frame should sit higher than the 1x2s.
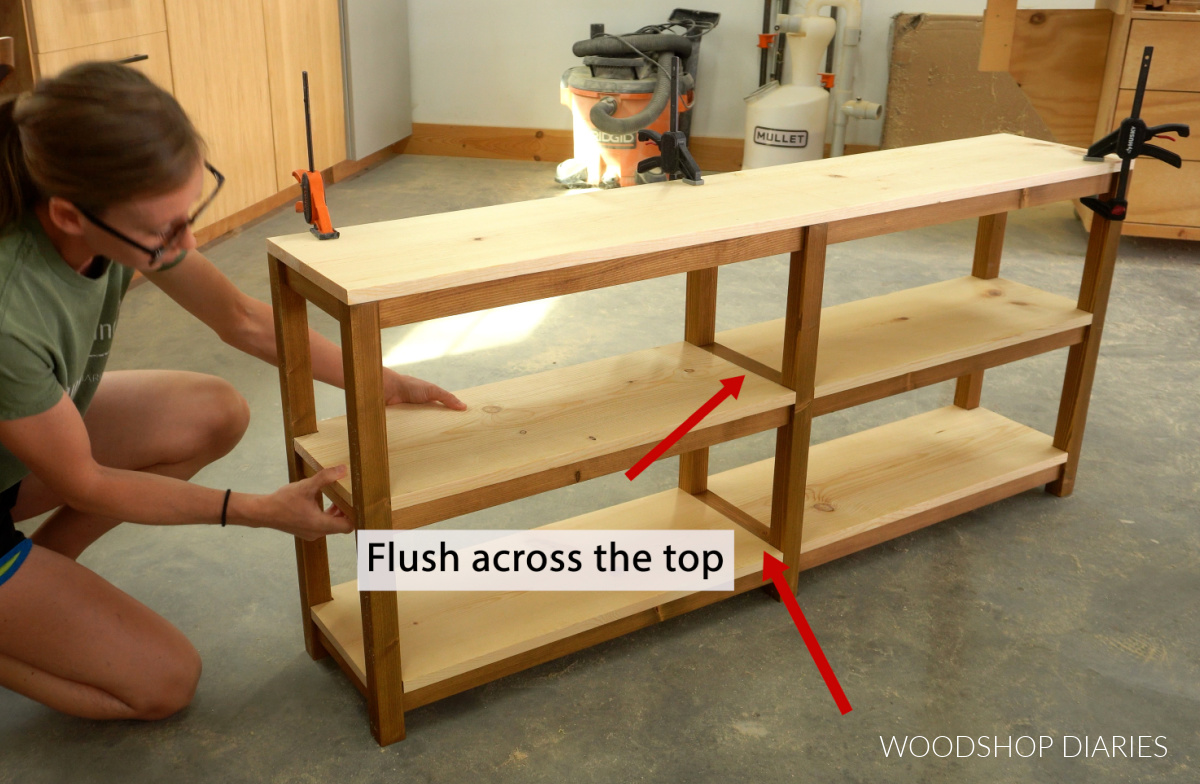
Step 4: Install Shelves to Console Frame
I cut all my shelves from 1×12 boards. First, I cut a piece of 1×12 to fit over the top of my base–the top is one solid piece.
For the middle and bottom shelves, I cut these in sections to make it much easier. So I cut four pieces of 1×12 to fit into my bottom sections.
Then, I used a jig saw to notch a 1 ½″ x 1 ½″ square off two corners so they’ll fit around the legs.

These pieces should fit into each section of the base frame and should be flush to the top of the 2x2s in the middle frame. This is why those needed to be installed a little higher in step 2.
After I made sure everything fit well, I removed them and stained them before securing.
I used 2″ wood screws through the 1×2 supports underneath each shelf to secure them to the base.
TIP: Make sure to predrill pilot holes before driving screws to prevent wood splits!
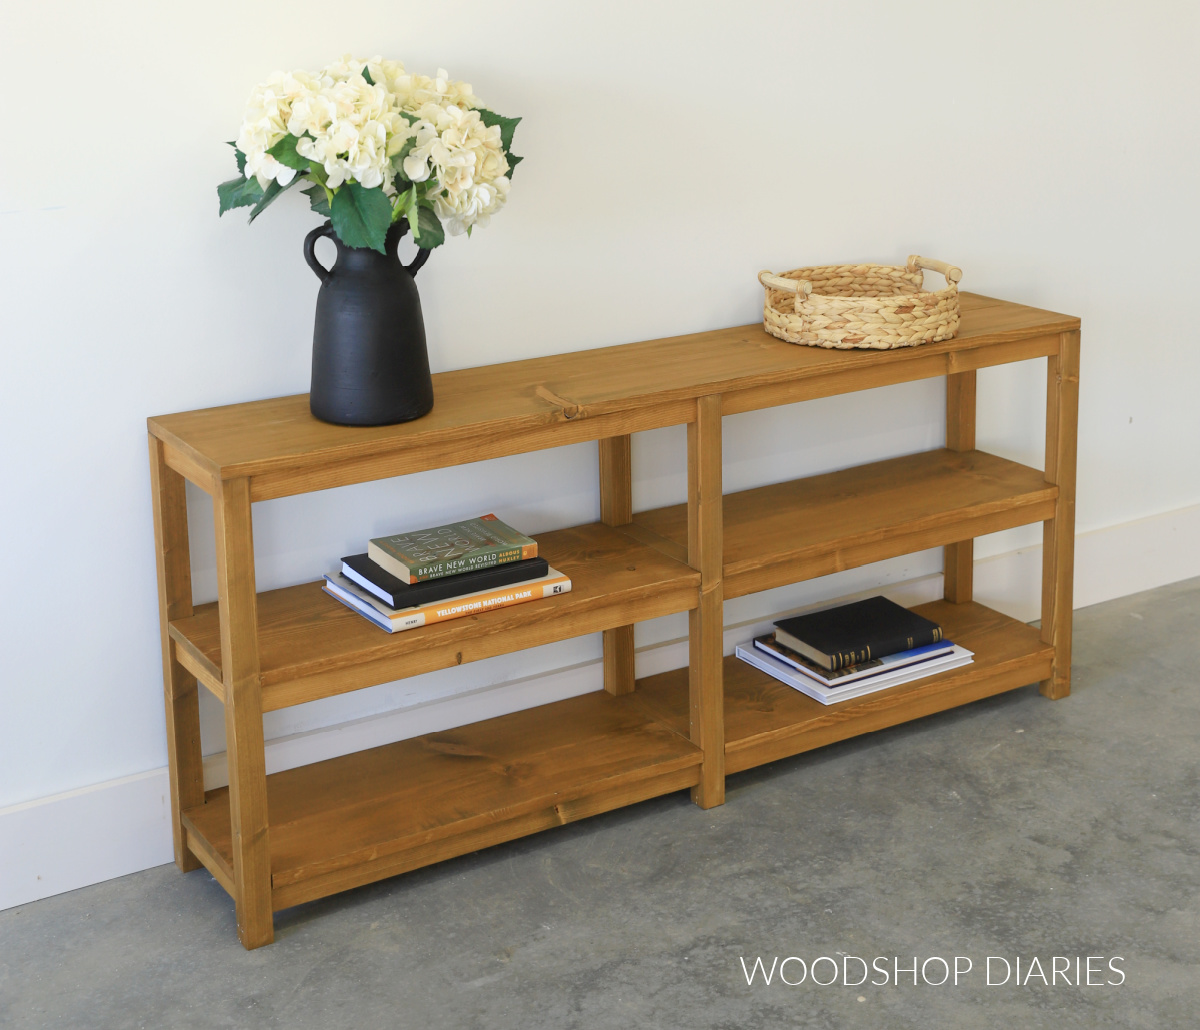
And with that, this console shelf and/or sofa table is ready to go! This simple shelf would be perfect for a home office where you need a place for extra books or behind the sofa for an extra surface to display your favorite décor.
Prefer to print? Grab the printable console shelf plans with cut list and dimensions here.
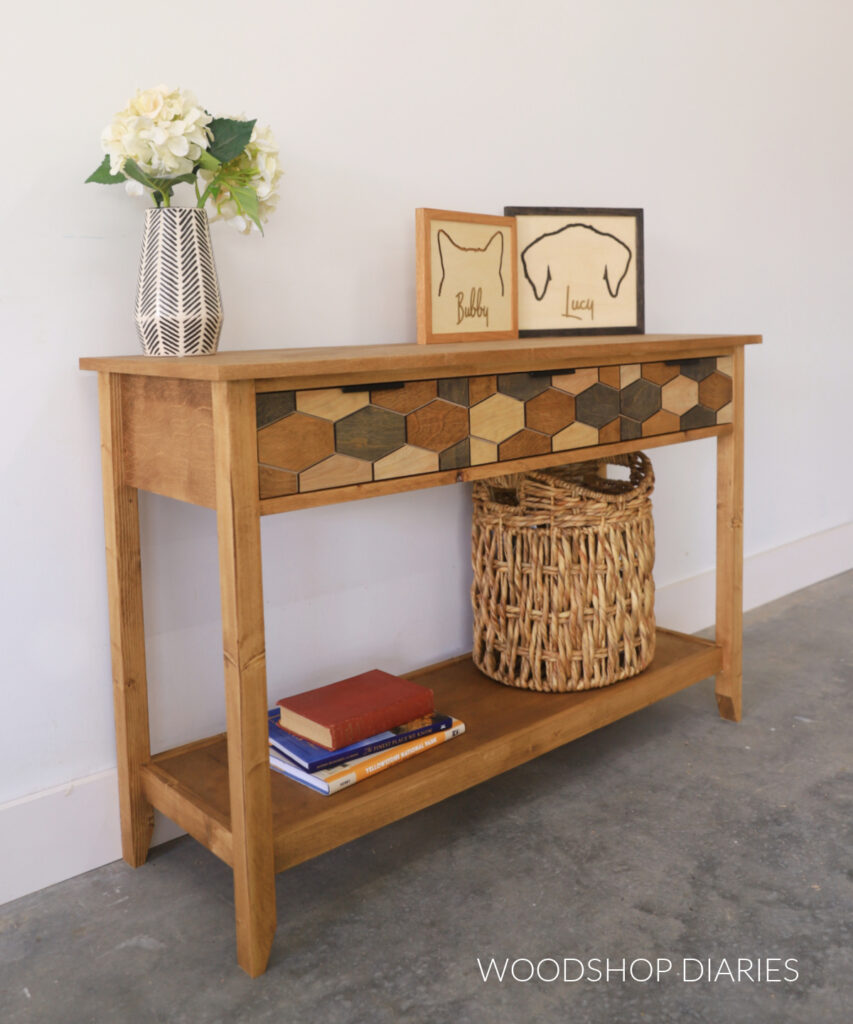
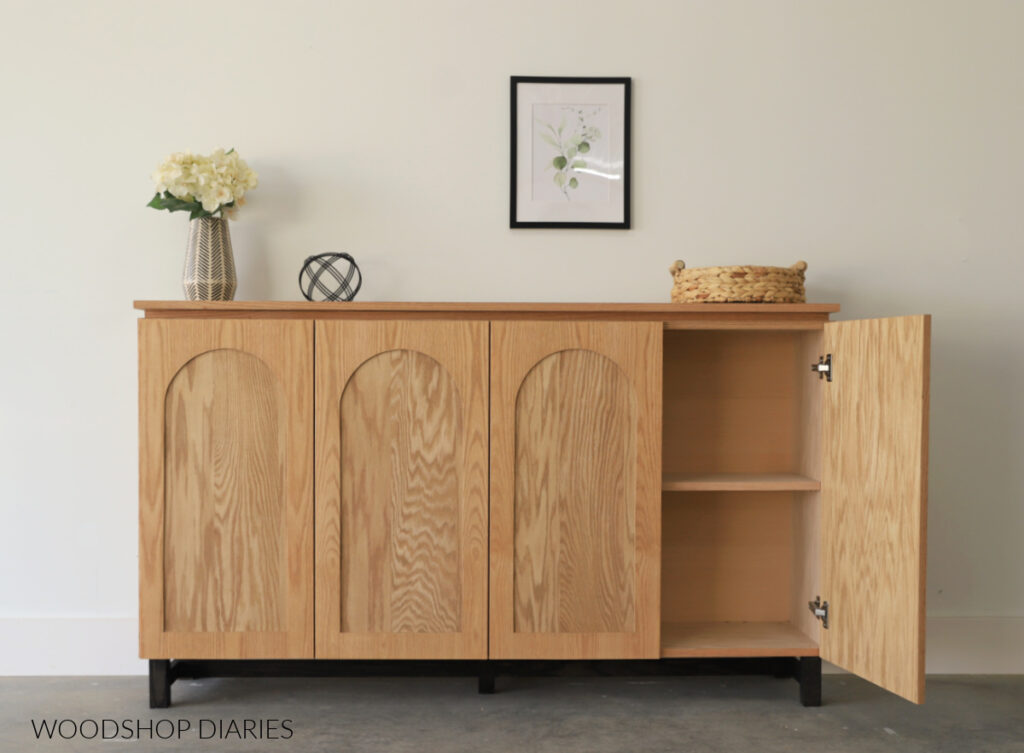
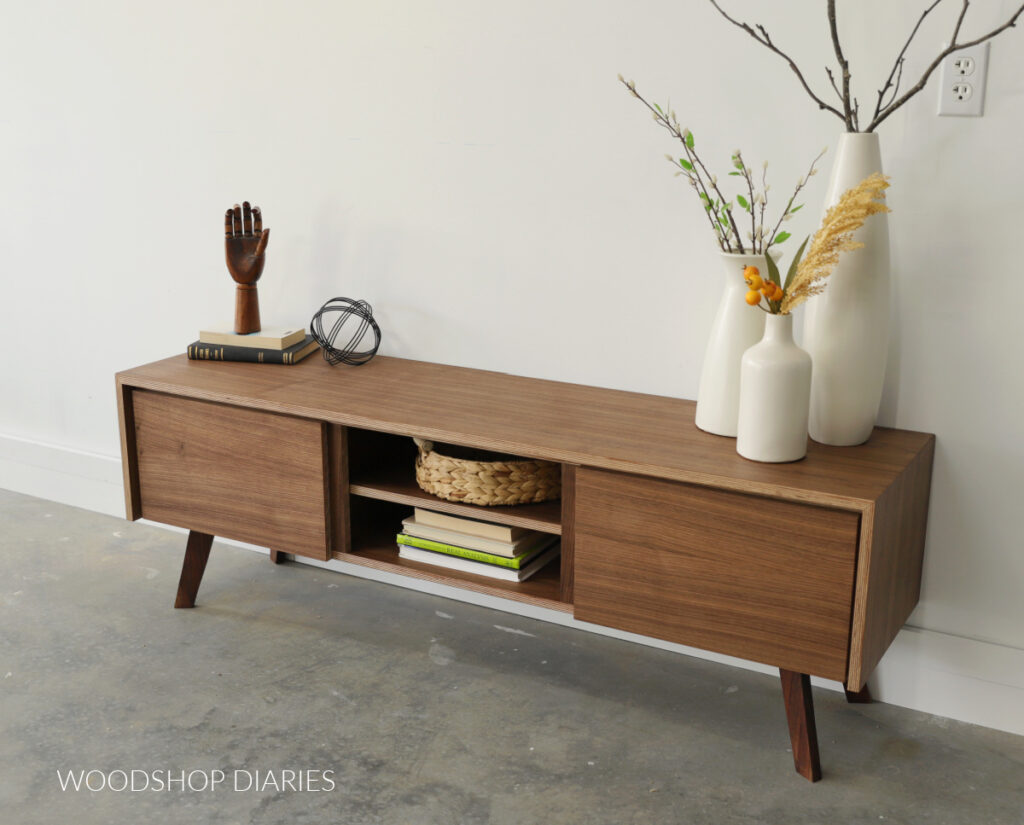
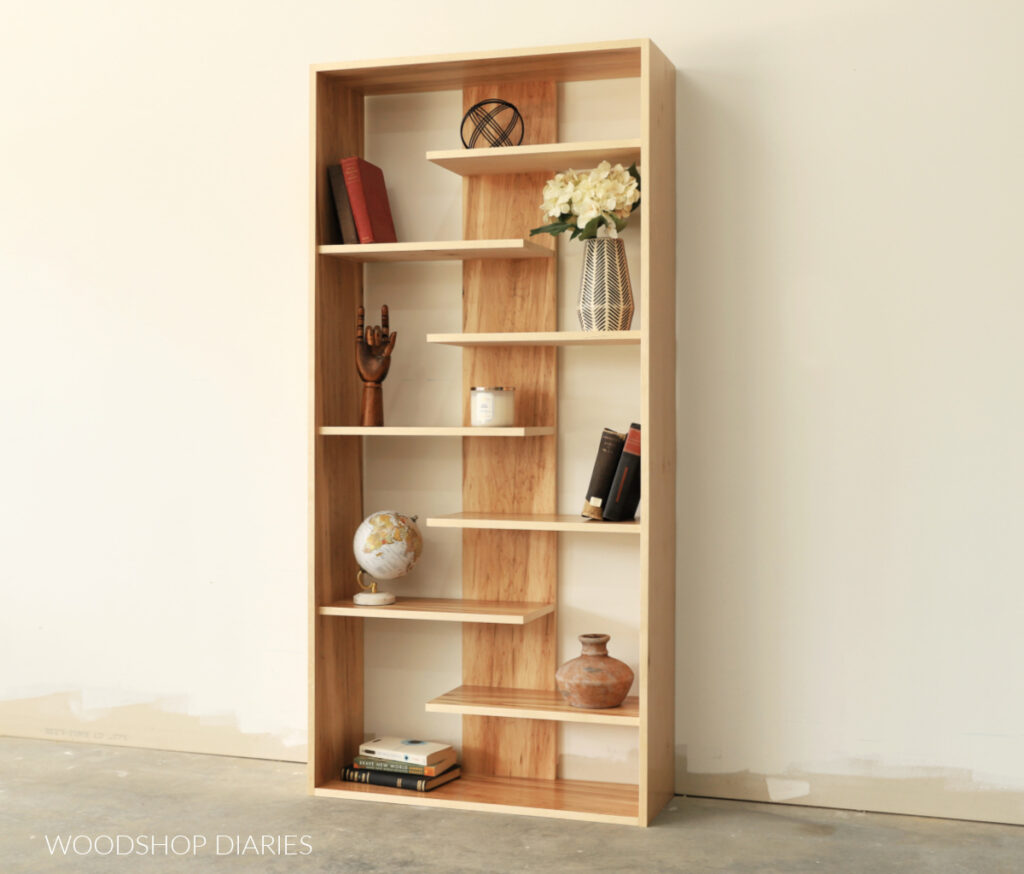
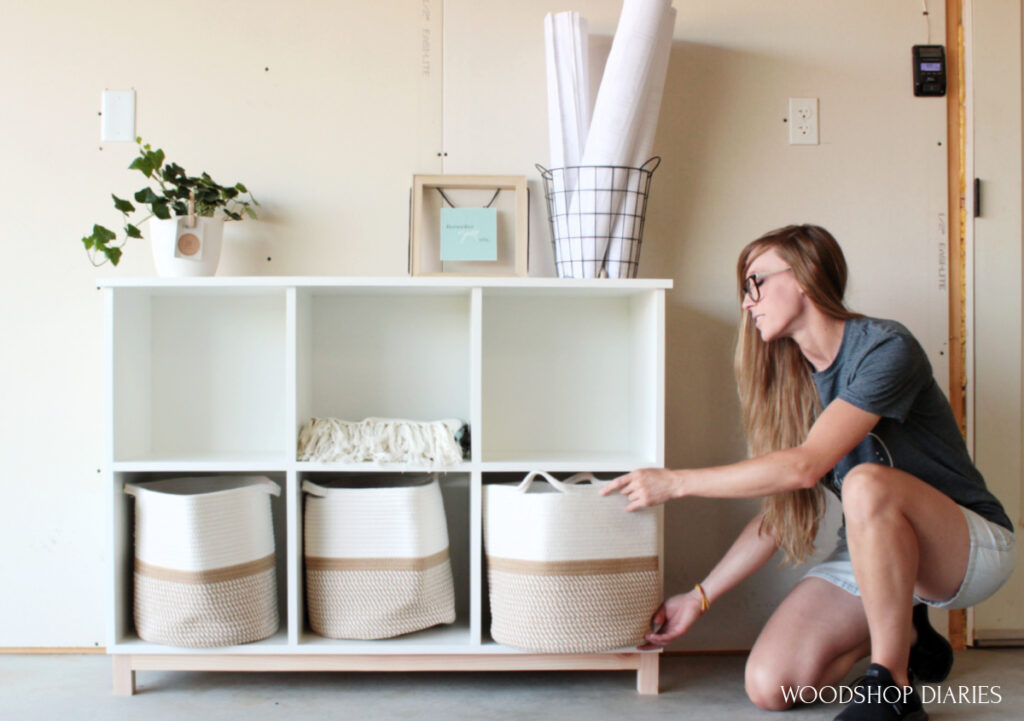
Looking for more console table and bookshelf ideas?
Enjoyed this project, but interested in seeing more ideas? Here are a few favorites you might like to browse!
Click on the image(s) below to see how to build each one:
If you enjoyed this project and want to save it for later, don’t forget to pin it or share to your favorite social channel!
Until next time, friend, happy building!