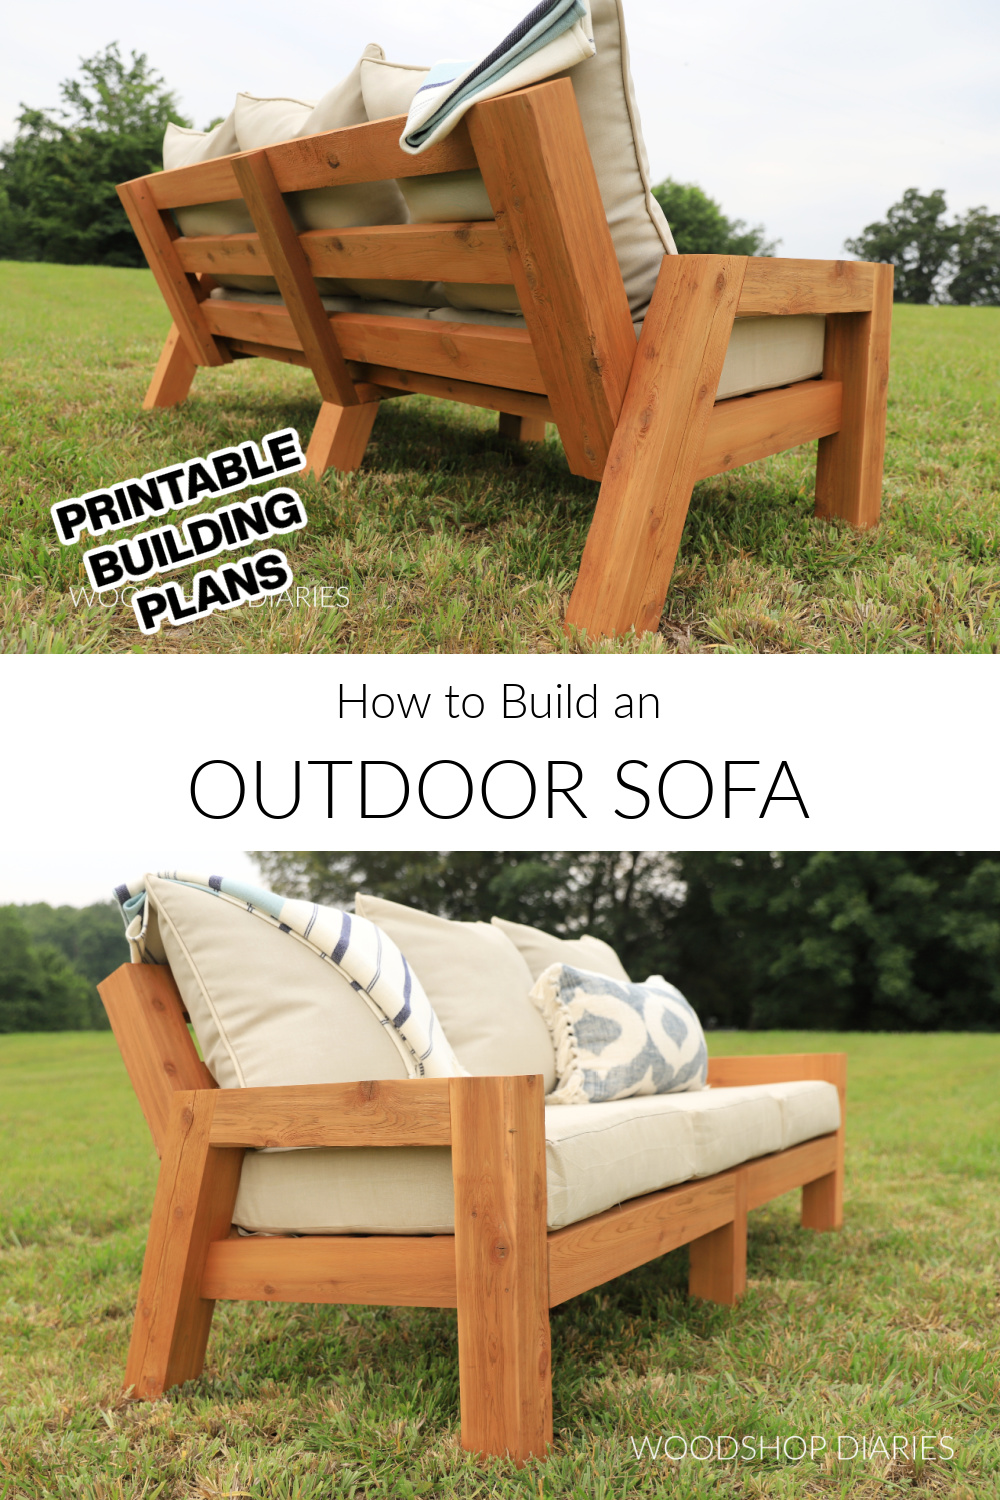
In this post, I’m showing you how to build an outdoor sofa couch with building plans!
Need some extra seating for your outdoor space? Maybe a comfortable place to wind down in the evenings on the porch, patio, or deck?
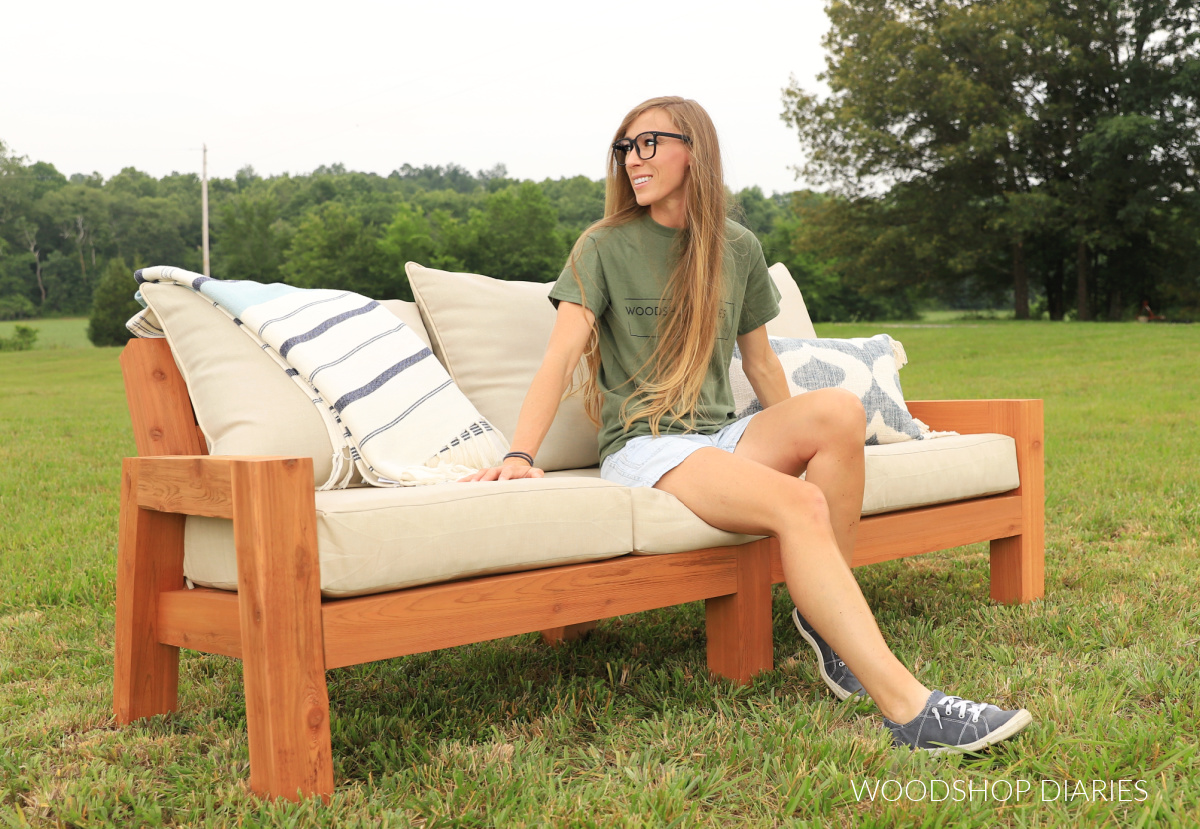
This EASY DIY outdoor sofa checks all the boxes and is the perfect weekend build to kick off your summer projects!
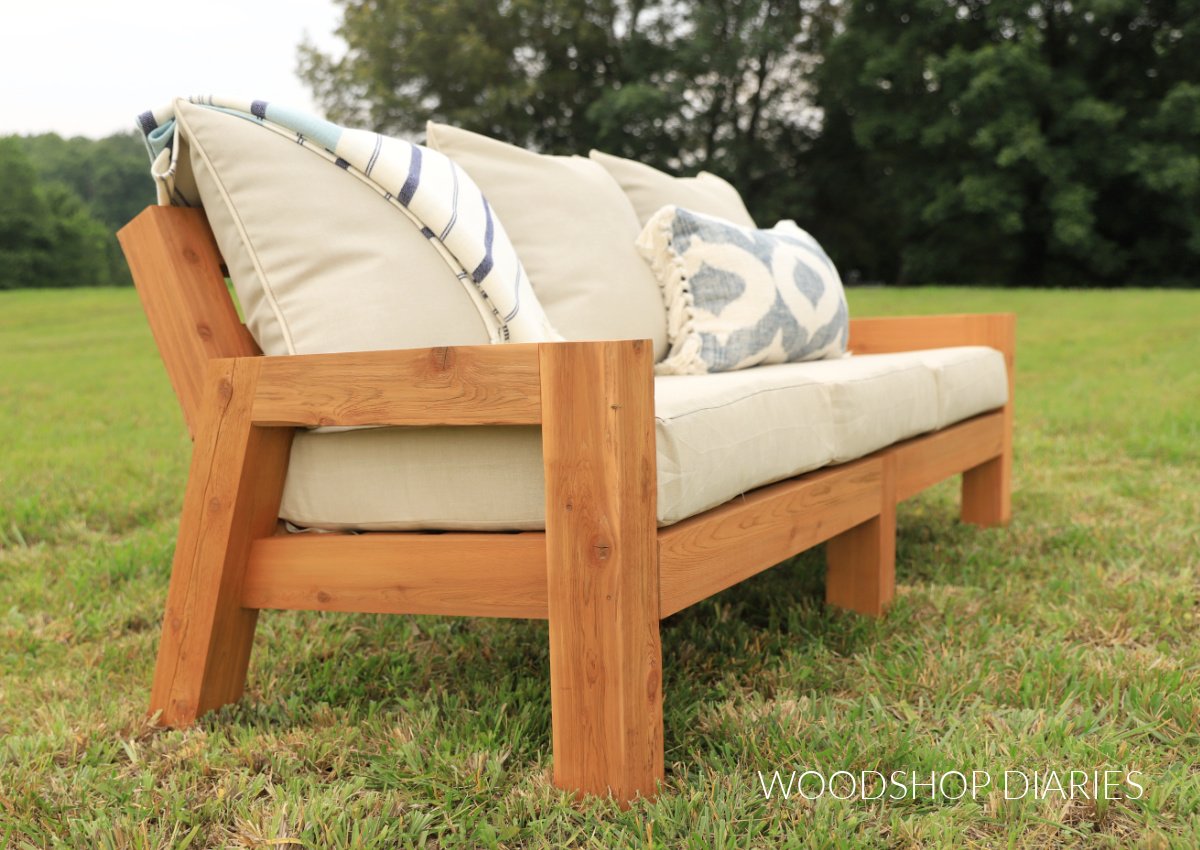
I built this (and some matching outdoor chairs) for my parents’ patio and made it big enough to fit three standard size outdoor couch cushions. Perfect size for three people–or keep it all to yourself and lay down for a nap ha!
If you’re looking for a sturdy, stylish, and super quick weekend woodworking project, let’s dive in and I’ll show you how to build your own outdoor couch!
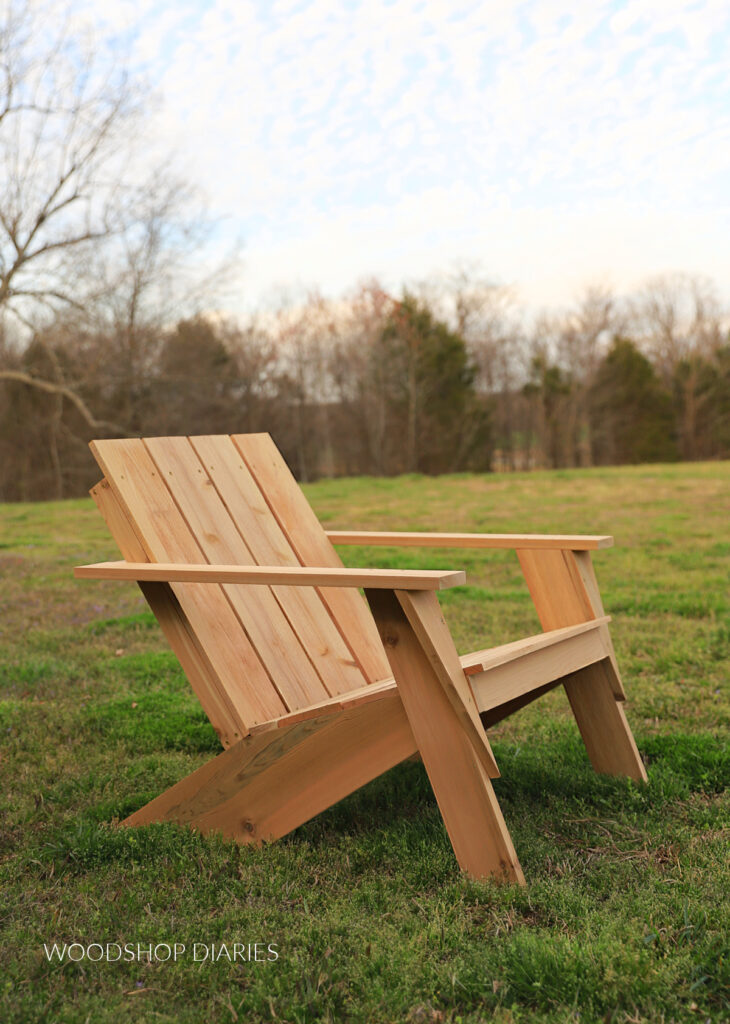
Looking for matching chairs? Grab the matching chair plans here!
Be sure to sign up to the newsletter for priority access to the latest projects and plans (like the chairs) right to your inbox.
*This post contains affiliate links. See website policies.
What to know before building an outdoor sofa
Building this outdoor couch only takes a few hours and is a pretty easy DIY project that requires minimal tools. The angles may seem intimidating, but don’t worry! I’ve detailed everything in the building plans.
Here are a few things to consider before building an outdoor sofa.
Couch cushion options & sizing
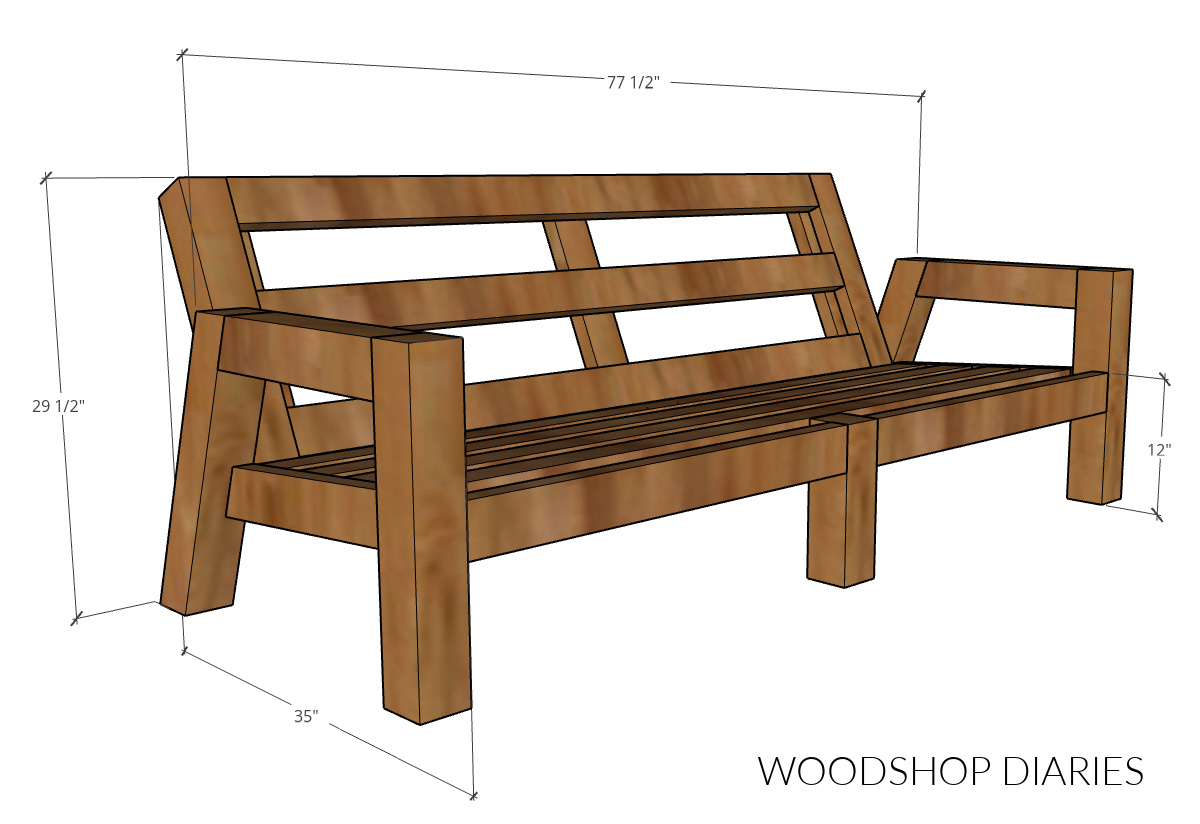
I built this outdoor sofa to fit three standard 24″ x 24″ seat cushions. I thought it would be easier to build the couch to fit the cushions than to try to find cushions to fit the couch!
The cushion sets I used here came with both a seat cushion and a matching back pillow. You can find the cushions sets I used for the sofa here.
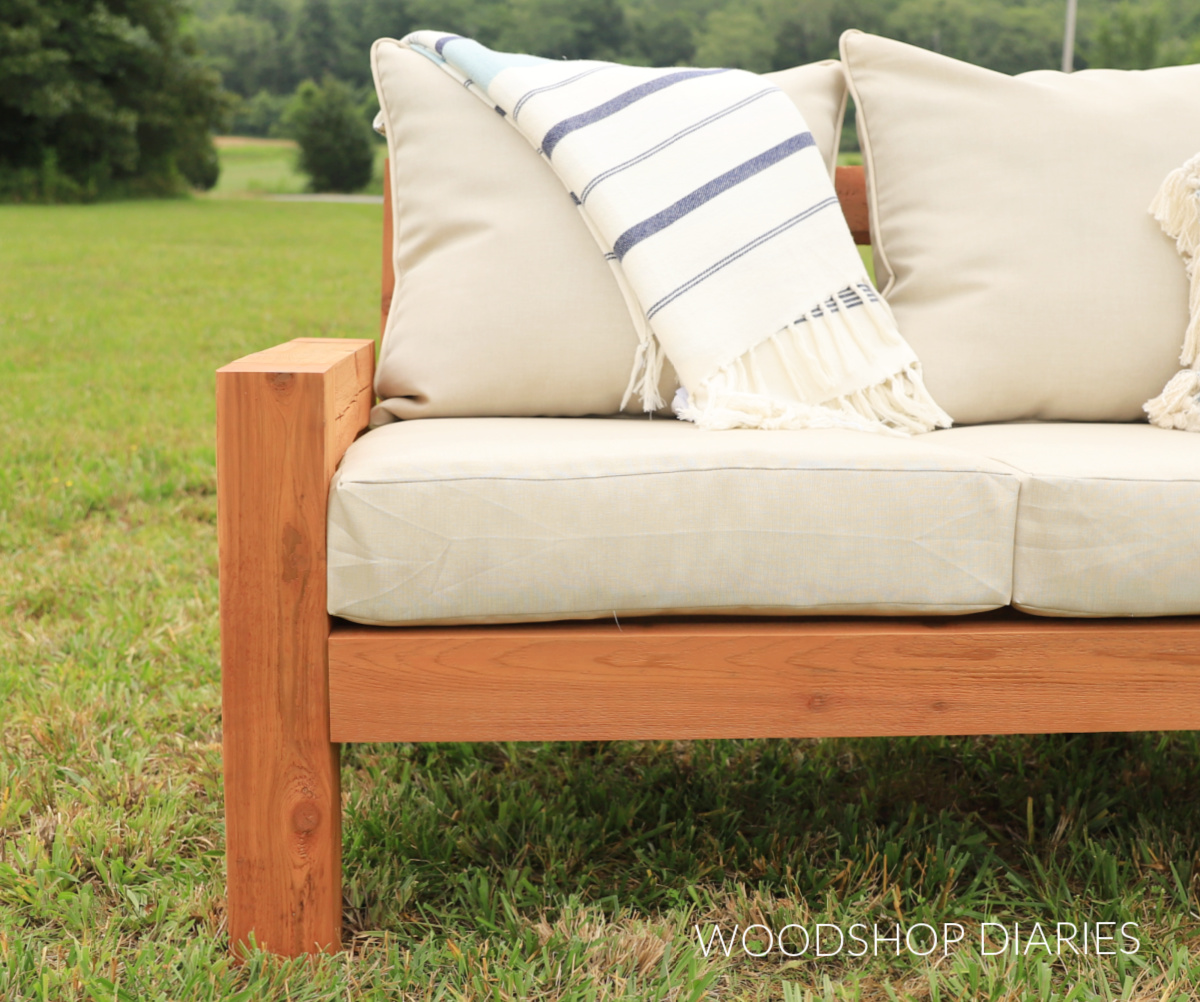
Note that the seat cushions I used are advertised as 24″ x 24″ but when I got them and actually measured, they were 23 ½″ x 23 ½″. So I built the opening of the sofa a little undersized at 70 ½″ so they’d fit snug and not have gaps between them.
If your seat cushions are actually 24″ x 24″, they will still work fine. Pillows and cushions can “squish” a little to fit. Better to be snug than to have gaps.
Overall dimensions
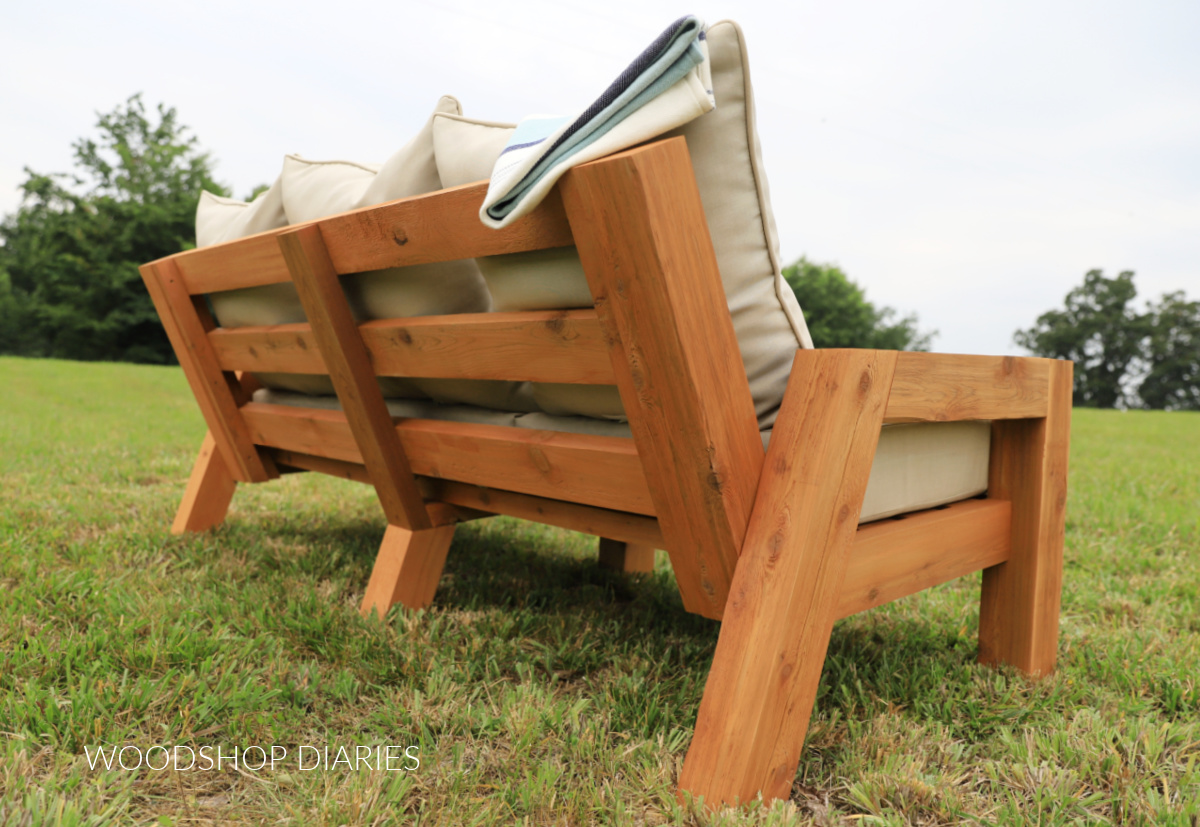
The overall dimensions of this DIY outdoor couch are approximately 29 ½″ tall x 35″ deep x 77 ½″ wide.
What type of wood to build an outdoor sofa with
When building outdoor projects, consider the type of wood you use. There are several options and there are pros and cons to each.
RELATED: How to shop for lumber
You can use untreated pine for outdoor builds, but it does not hold up well in the elements long term. This is the most budget friendly option, but will likely only last you a couple seasons outdoors depending on how much exposure to rain, snow, and sun it gets.
Pressure treated wood is intended for use outdoors and will last a long while. However, it’s not always the nicest to work with, it’s heavy, and it’s treated with special chemicals to prevent it from deteriorating so quickly. It’s a good low budget option for outdoor furniture that you want to last a while.
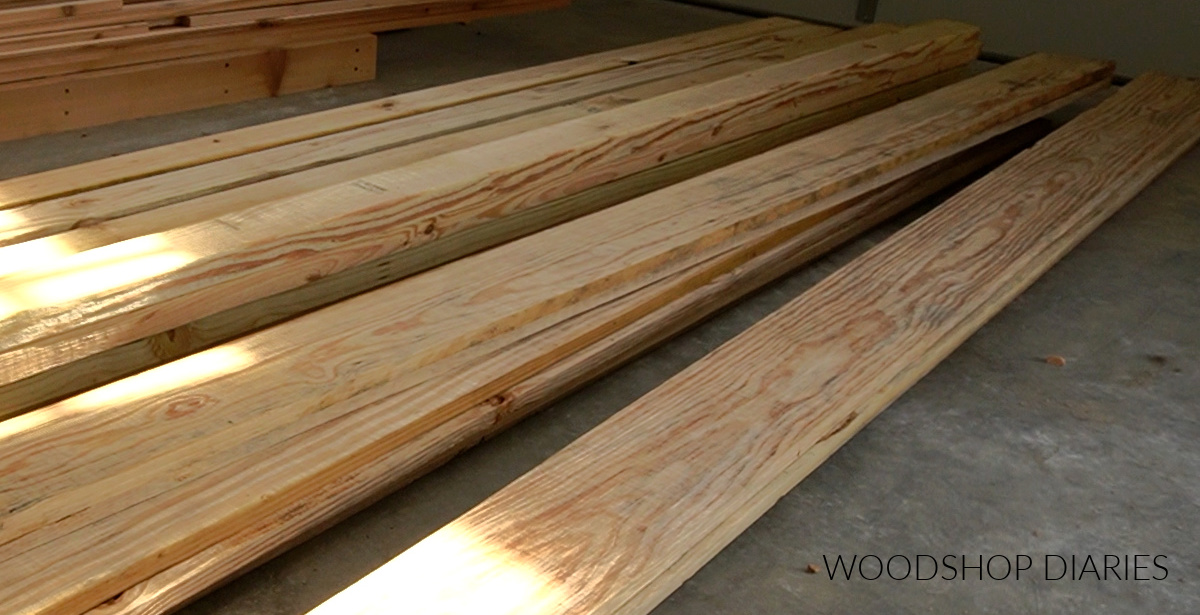
Cedar, red wood, and teak are all naturally decay and insect resistant wood options that look really nice. But, that comes with a price tag. These wood types can be quite expensive and sometimes hard to find depending on where you live.
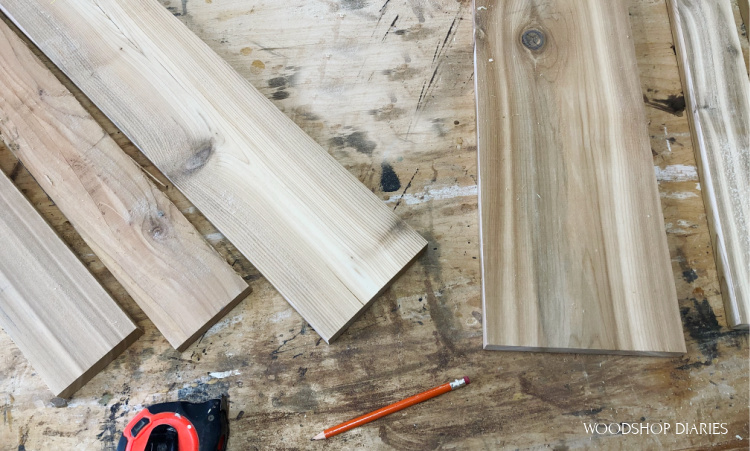
For this project, I opted for cedar. As of June 2023 when this was built, the lumber cost to build this sofa with cedar (where I live) was approximately $220. The cost to build it from pressure treated wood would have been approximately $85.
Don’t forget when building for exterior use to make sure the hardware (screws) and finish you use are rated for exterior use as well.
Weatherproofing your outdoor sofa
Once your project is built, you want to make sure it stays looking nice. But more importantly, you want to make sure it’s properly protected from weather damage from sun, rain, and snow.
The easiest way to do this is to apply an outdoor sealant. These come in a wide variety of brands, colors, and opacities. Thompson’s Water Seal, Olympic, Cabot, Valspar are all common outdoor stain and sealant brands you can find readily available in the big box store or local hardware stores.
Most of the options you see available off the shelf come in a clear transparent, a tinted transparent, a tinted semi-transparent, and a tinted solid.
Basically anything with a tint is a stain and sealant all-in-one and the “less transparent” you go, the more protection it provides. Solids provide more protection than transparent. However, transparent allows you to see the wood grain more.
So choosing one is mostly based on how you want it to look and how often you want to reapply. Transparent stains will need to be reapplied more often than solids. But, none of these products will last forever, so be prepared to reapply every 2-5 years regardless.
Once water no longer beads up on the surface, it’s time for another coat. For this project, I used Thompson’s Water Seal Transparent in Natural Cedar. It was my first time using it, so we will see how well it lasts long term.
How to build an outdoor sofa
Prefer to watch? Watch the full build video with helpful tips along the way on my YouTube channel here:
Are videos your thing? Subscribe to my YouTube Channel for more project and how to videos!
I’m sharing the step by step process to build this couch below. But if you prefer to print it out and take the plans to the shop with you, I’ve got you covered! Grab the outdoor sofa printable building plans here.
Tools & Materials
Tools:
- Miter Saw
- Drill/Driver
- Pocket Hole Jig (both the standard size jig and the XL jig)
- Sander
Materials:
- (2) 4x4x8 posts
- (1) 2x2x8 board
- (8) 2x4x8 boards
- 4″ exterior pocket hole screws
- 2 ½” exterior wood screws
- 2 ½” exterior pocket hole screws
- 4 ½” long timber screws or lag screws
- Wood Glue (exterior rated)
- (3) 24″ x 24″ seat & back cushion sets (optional)
Step 1: Build the Outdoor Couch Sides
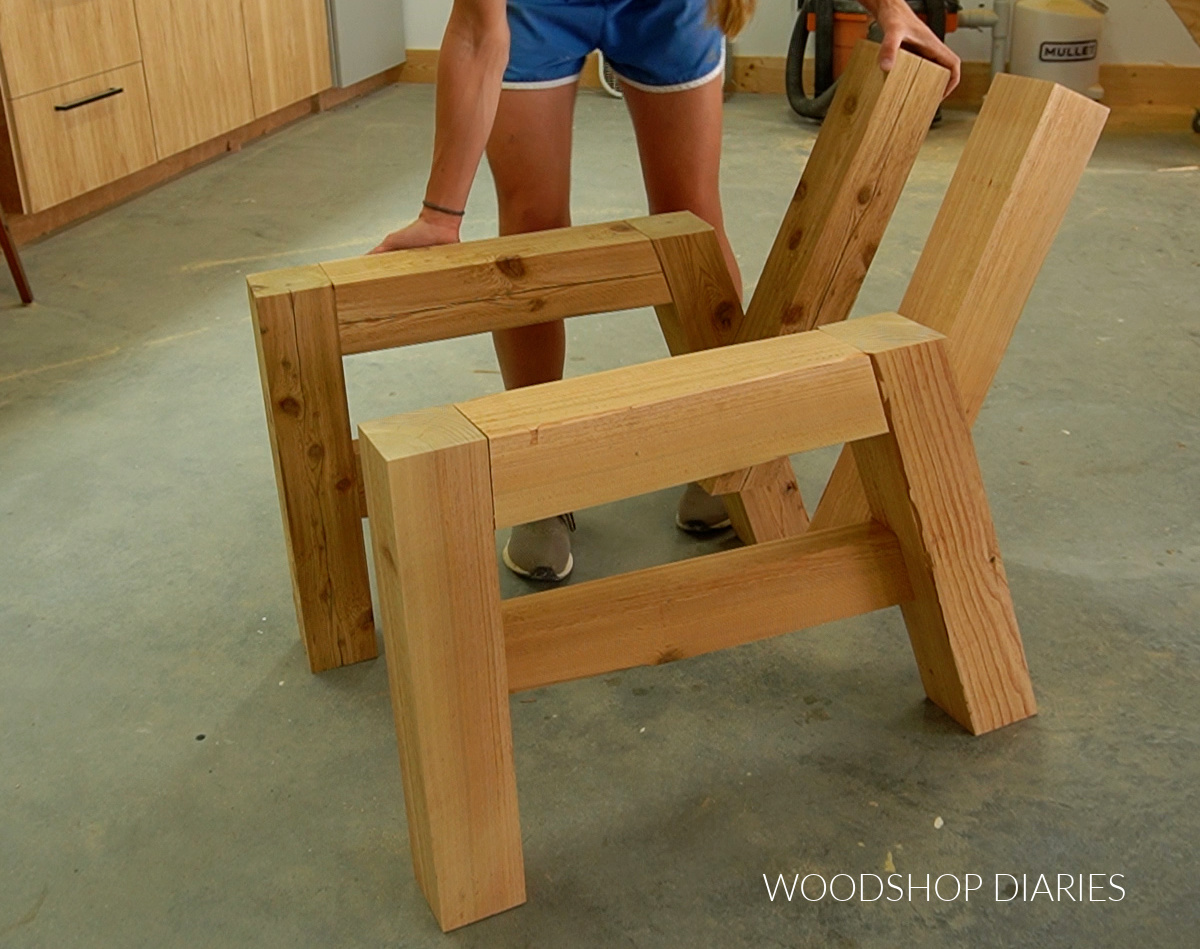
The side frames are assembled from 4x4s for the legs, top and back post and a 2×4 that serves as the seat support. You can find all the dimensions for the cuts in the printable plans.
First, I cut a front leg from the 4×4 post. Then, I cut a back leg from the 4×4 post with ends mitered 20 degrees. Then, I cut another piece of 4×4 to run between them at the top.
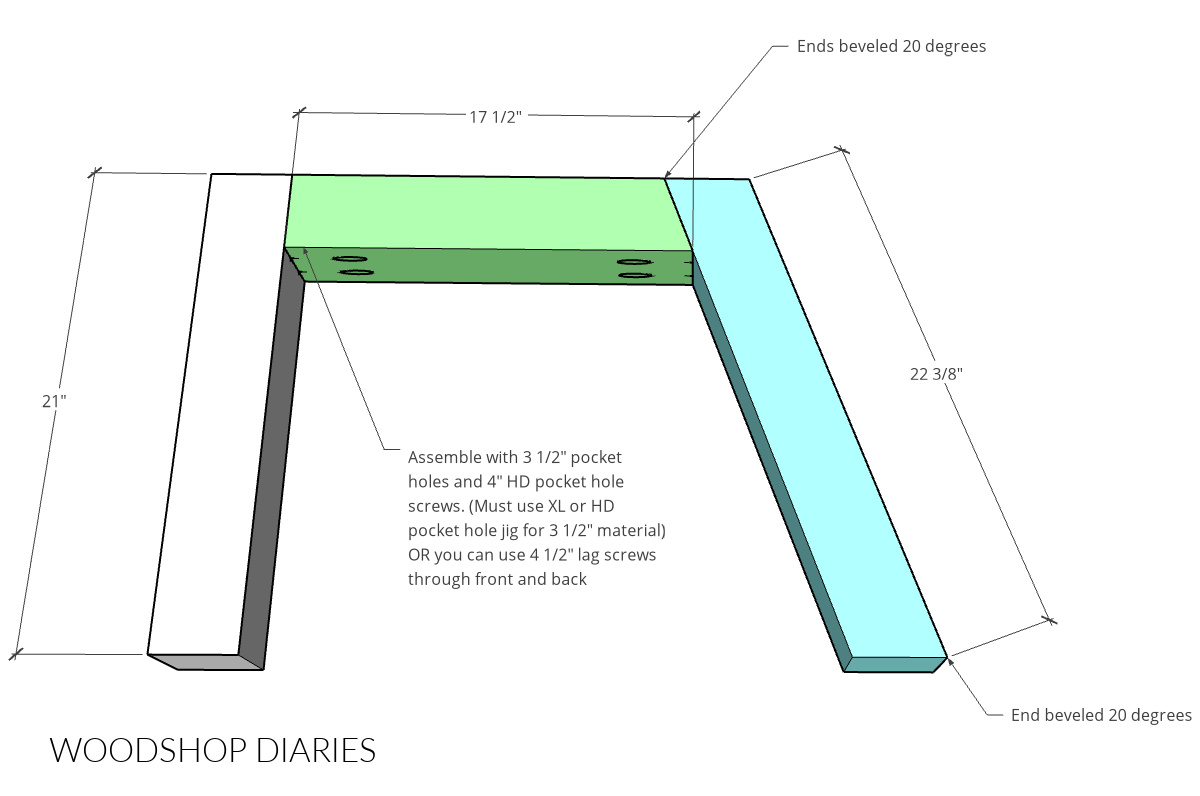
I assembled these together using pocket holes and screws. BUT, standard size pocket hole jigs aren’t designed to use with 4x4s. So to drill the pocket holes in the 4×4 at the top, I used a Kreg XL Pocket Hole Jig.
This jig has settings for 3 ½″ material, which is what a 4×4 is. Confused? Don’t worry. Check out this post about how to understand lumber sizing.
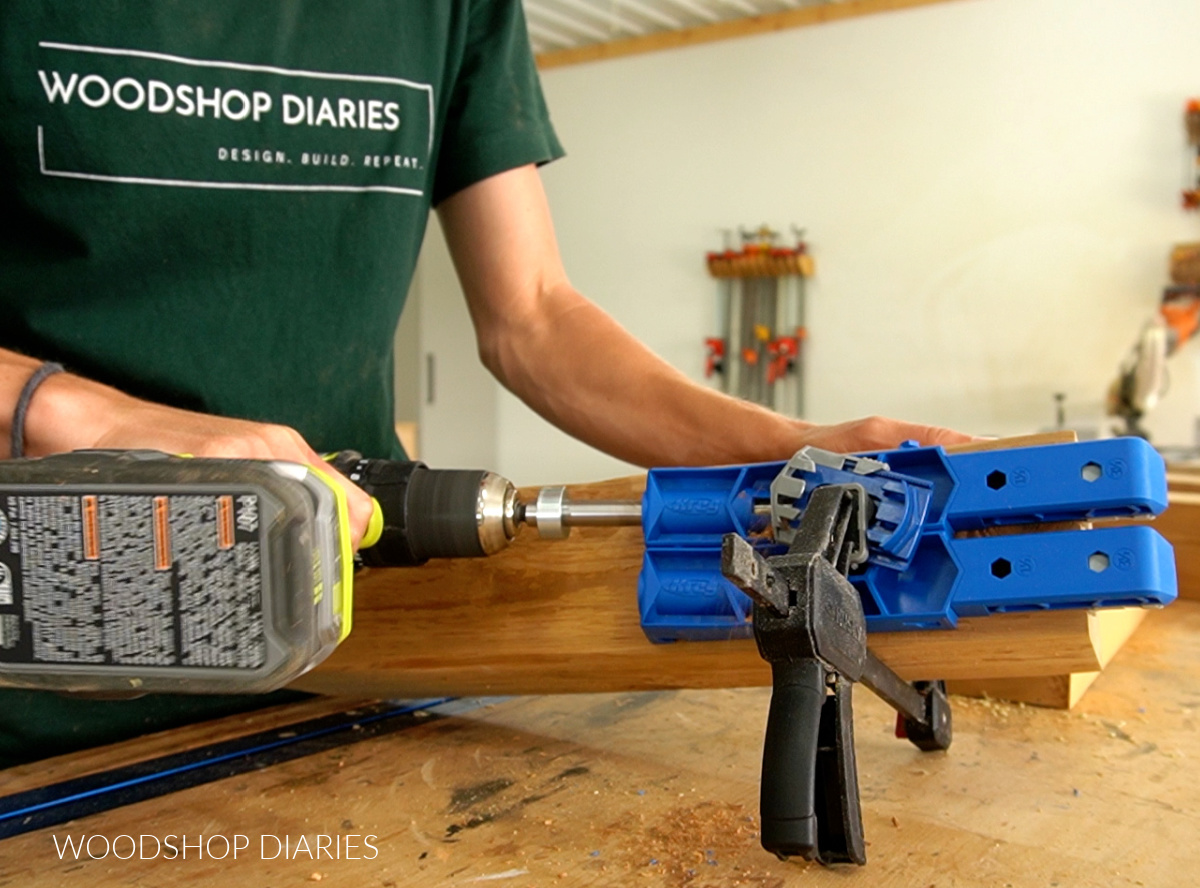
So I drilled 3 ½″ pocket holes on the bottom side of the top 4×4 and attached it between the two legs using 4″ XL pocket hole screws.
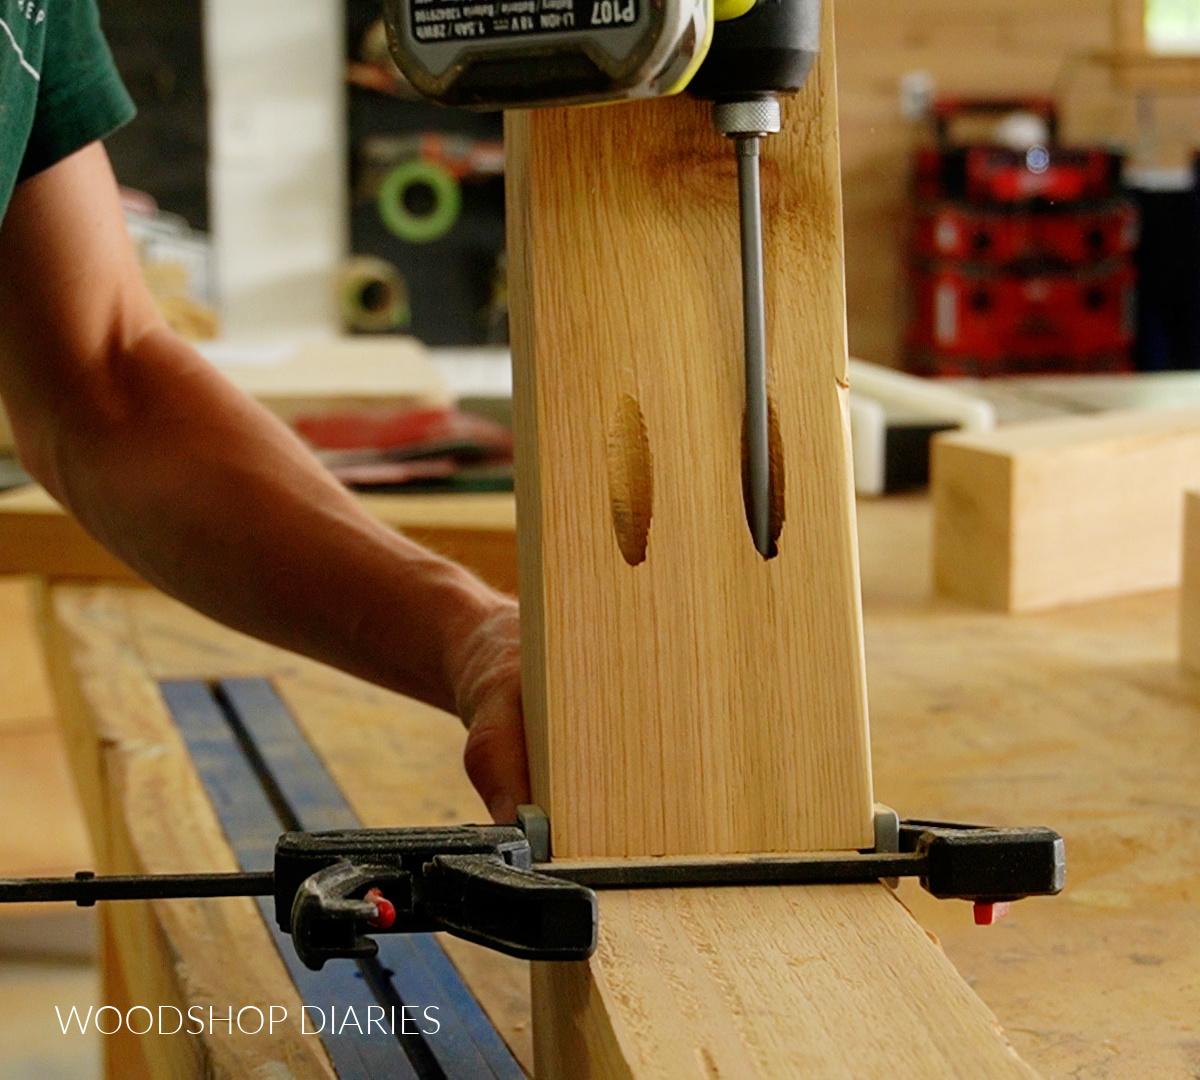
Once the legs and top were together, I cut and installed a piece of 2×4 to run between them using standard size pocket holes and screws–1 ½″ pocket holes with 2 ½″ pocket hole screws. This piece should be flush to the INSIDE of the legs.
RELATED: How to use a pocket hole jig
I cut the front end with a 4 degree miter and the back with a 24 degree miter so that it would slope slightly from front to back.
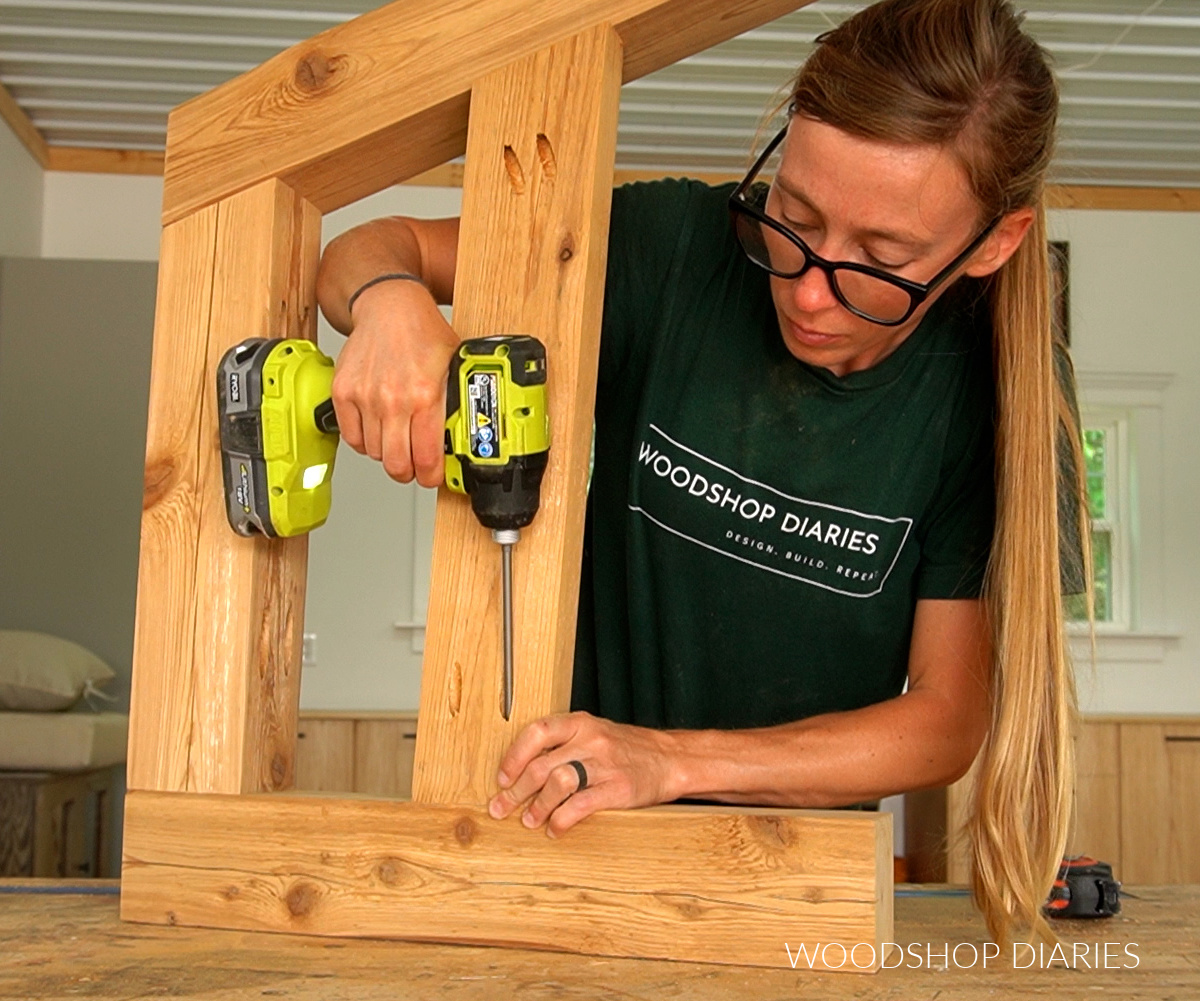
Then, I cut another 4×4 post for the back support–one end is mitered 20 degrees and the other end square.
This piece should go on the INSIDE of the side frame so that the mitered edge is lined up with the bottom of the 2×4 and the front edge is in line with the corner.
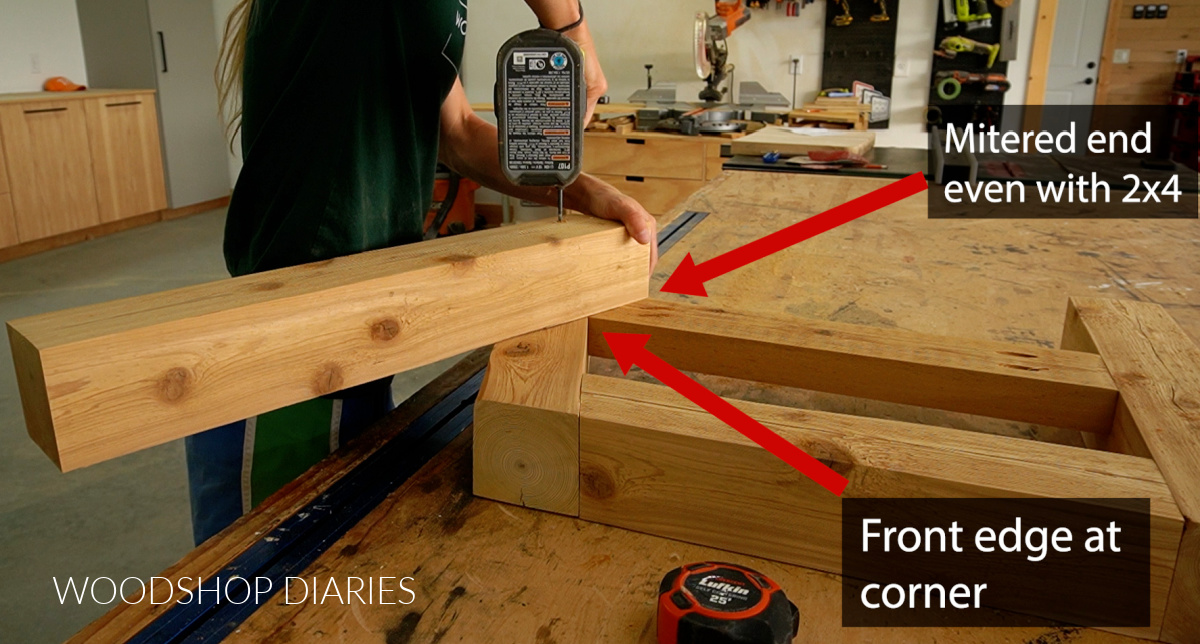
I secured this in place with wood glue and 4 ½″ timber screws. You could also use 4 ½″ long lag screws. Don’t forget to predrill pilot holes as these large screws can easily split the wood.
Once one side frame was assembled, I built another just like it, only mirrored. One will be for the left side of the couch and one for the right.
Step 2: Install Front Seat Support
This sofa was too long to span without a middle support. So I cut a piece of 4×4 post to 12″ long and attached two 2x4s on each side of it with 1 ½″ pocket holes and 2 ½″ pocket hole screws.
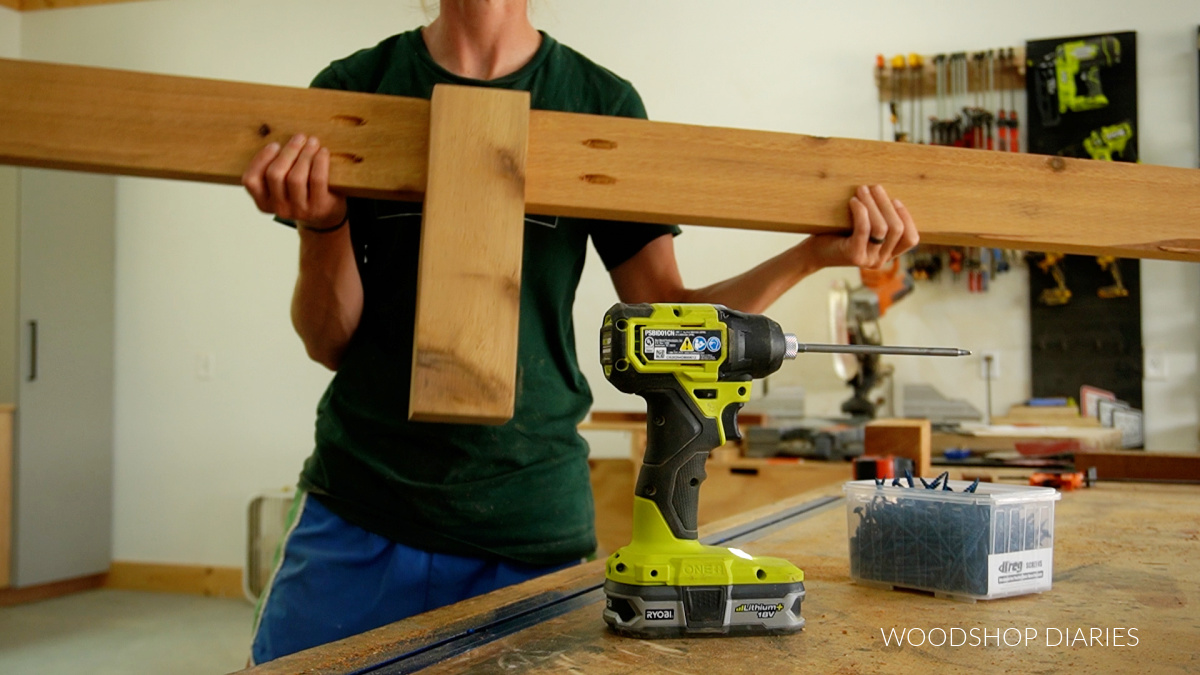
This will serve as the front support of the seat.
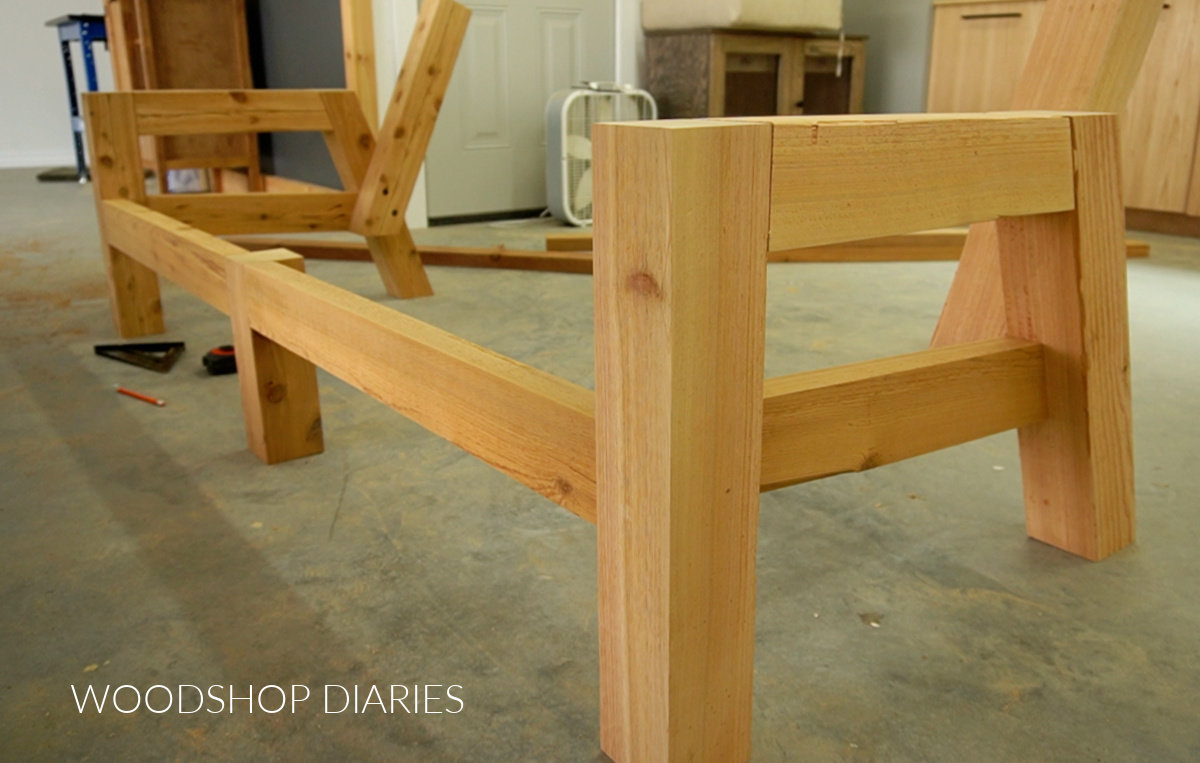
I drilled 1 ½″ pocket holes into both ends of each 2×4 so that I could install it between the side frames flush to the front edge with pocket hole screws from the inside (so they’re hidden).
Step 3: Attach Back Slat Supports
I needed something to attach the back slats to between the 4×4 posts and didn’t want to use pocket holes because I didn’t want to see them in the finished project.
So I cut 2×2 pieces to install onto the back 4×4 posts. I used a scrap piece clamped on the post to help me make sure these were installed 1 ½″ back from the front edge.
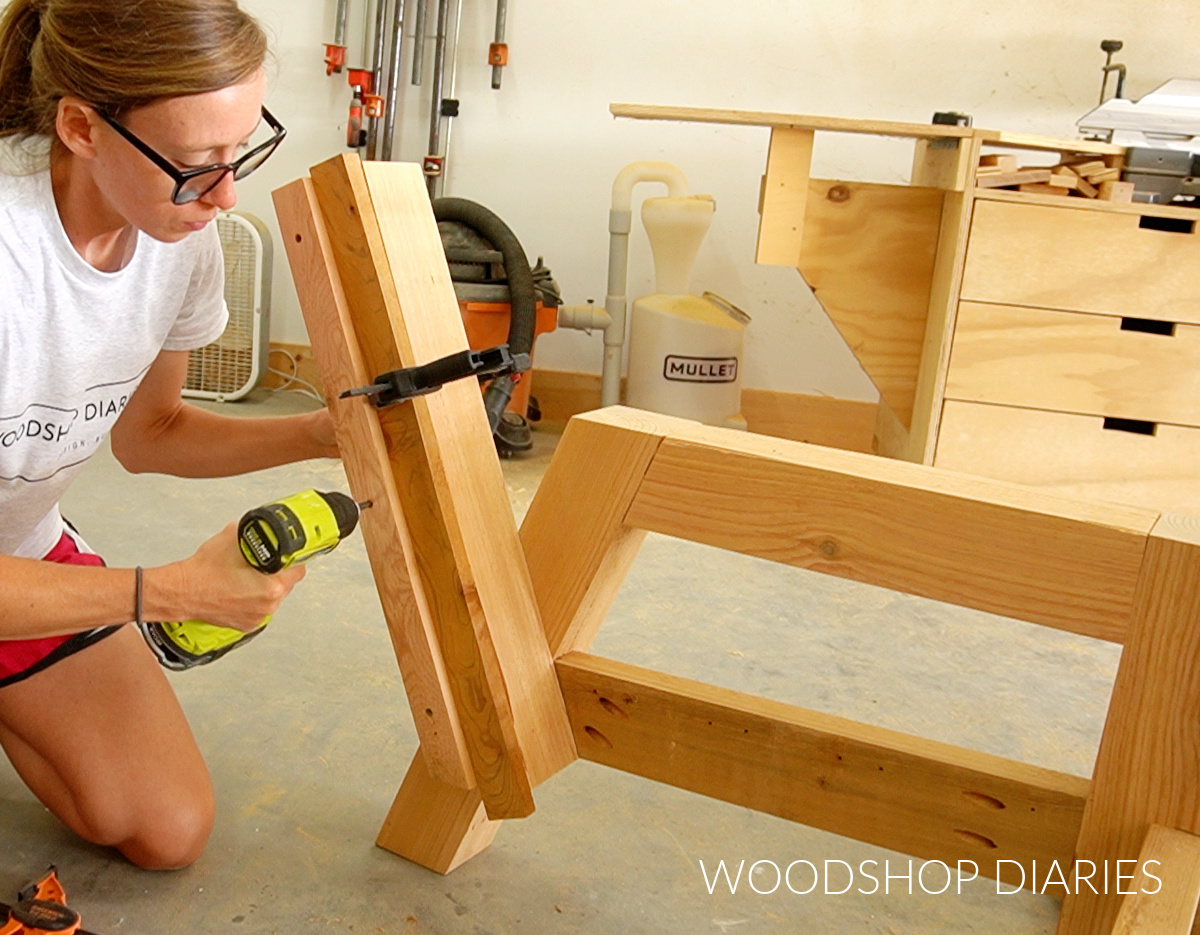
Step 4: Install Middle Sofa Support
I know this seems out of order, but it was really helpful to attach the back seat slat and the bottom back slat at this point to help me get the middle support positioned correctly.
So I cut a 2×4 seat slat and drilled 1 ½″ pocket holes into the ends. I secured these flush to the top of the 2×4 on the side frames against the back post using 2 ½″ pocket hole screws.
I flipped the sofa on its back to make this easier.
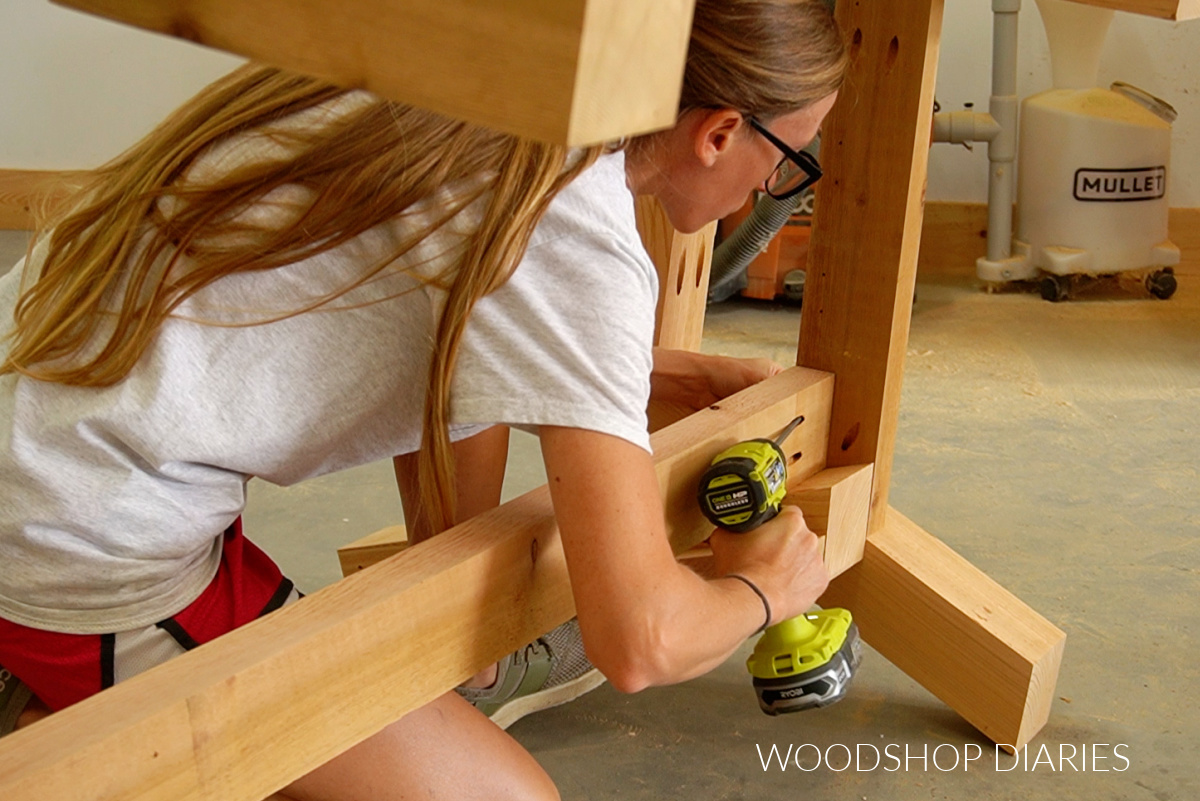
Then I cut a back slat to fit between the back posts and secured this onto the 2x2s with 2 ½″ wood screws.
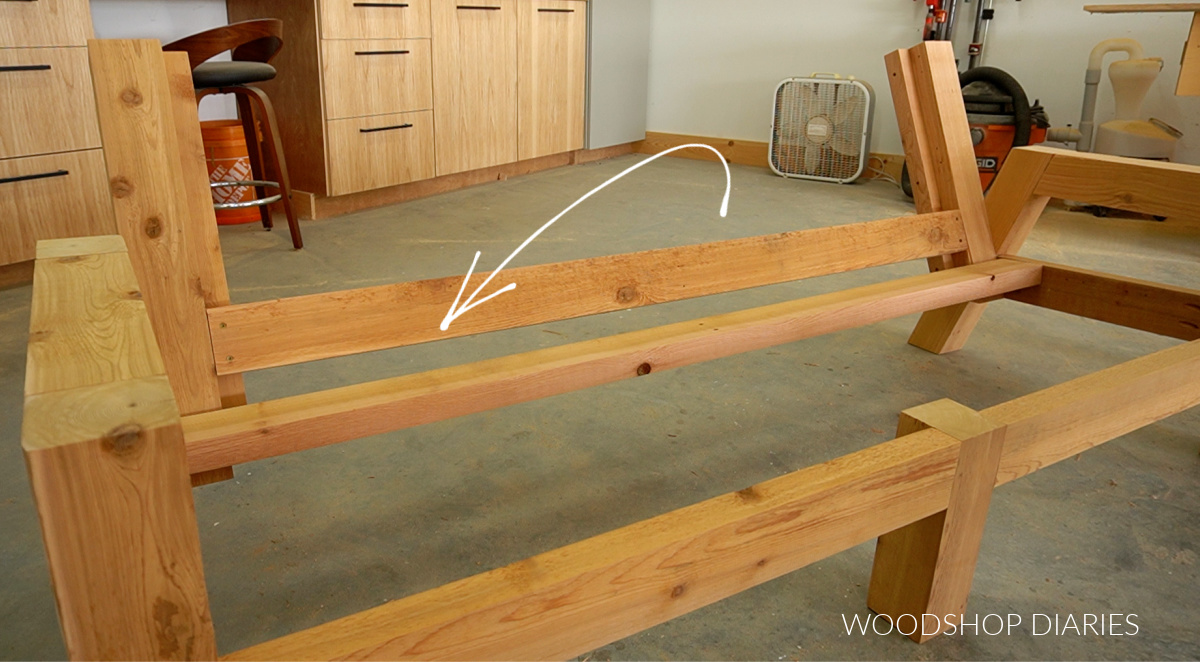
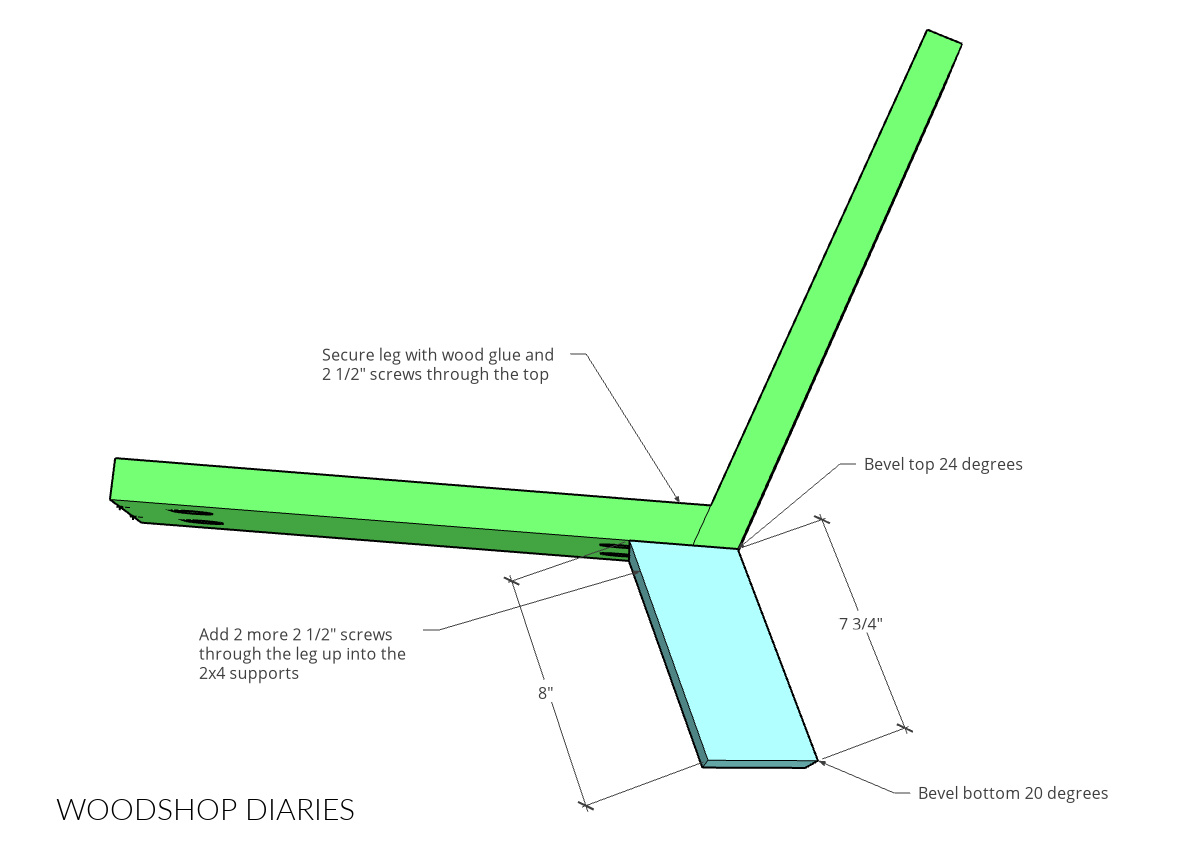
These slats will make installing the middle support much easier. The middle support is made of two 2x4s and a 4×4 “leg.” You can find the dimensions with the specific angles noted in the printable building plans.
I attached the bottom piece of the support to the back with 1 ½″ pocket holes and 2 ½″ pocket hole screws. Then I used wood glue and 2 ½″ screws to secure the 4×4 post at the back corner.
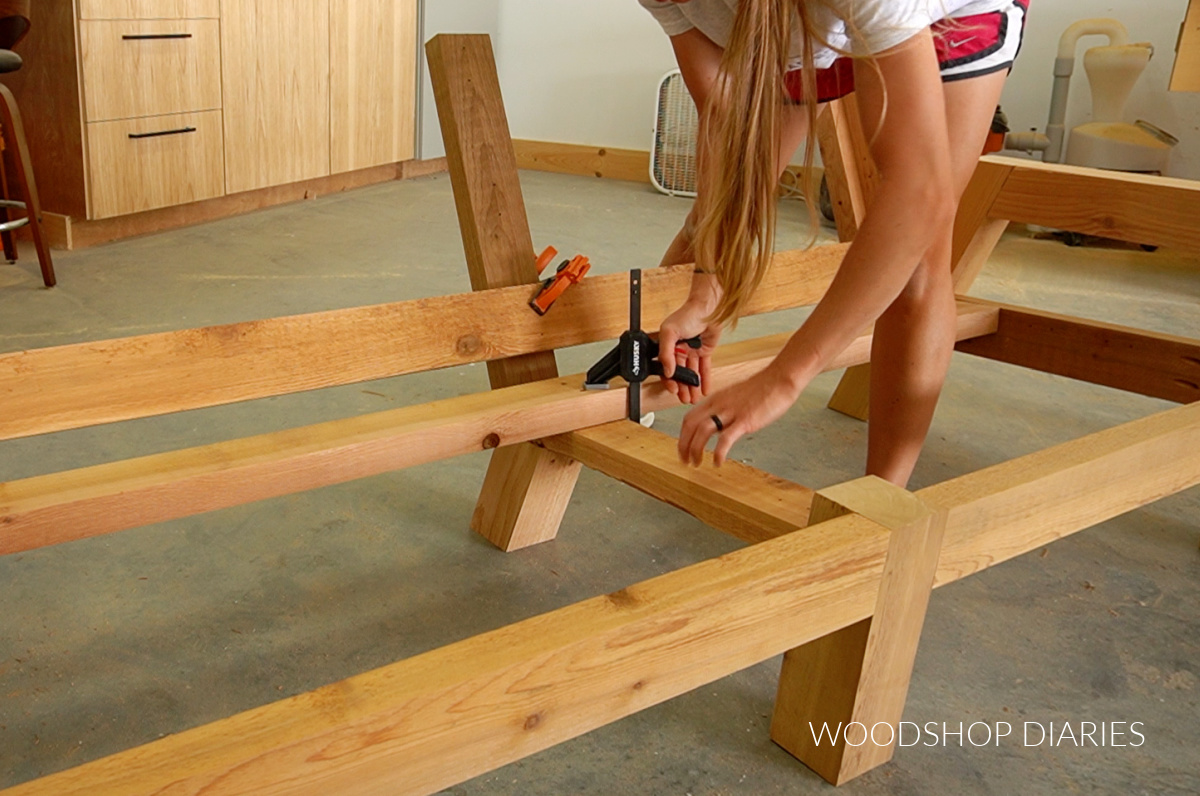
Once the middle support was assembled, I attached it to the sofa. I positioned it underneath and behind the slats I just installed and clamped it in place.
Then, I flipped the sofa frame over on its front and used pocket holes and screws on the bottom 2×4 to secure it to the front center post of the sofa frame 1 ½″ down from the top.
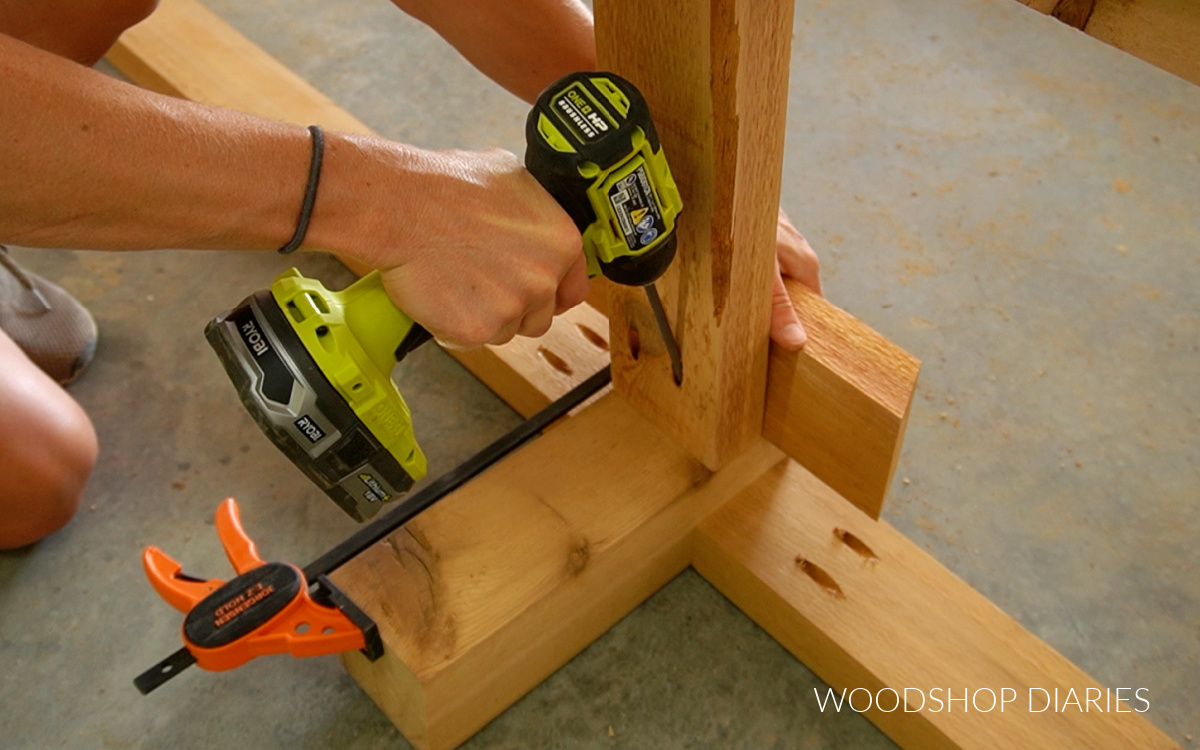
Then I flipped the sofa back over and secured this middle support assembly to the slats using 2 ½″ screws.
At this point, all that’s left is adding a few more slats to finish up the build!
Step 5: Attach Back and Seat Slats
I cut two more 2×4 back slats and secured to the 2x2s and the middle support with 2 ½″ screws. I just added one at the top and then centered the second one between the top and bottom slats.
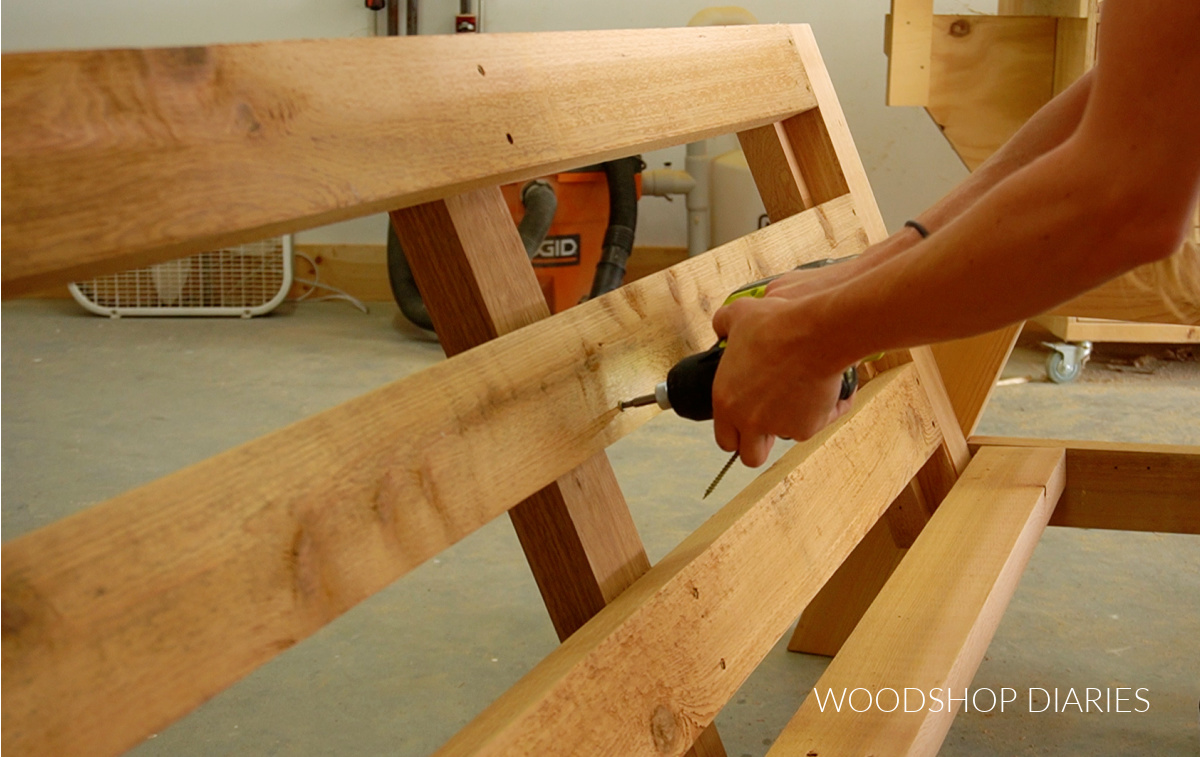
Then, I cut three more 2x4s for the seat slats and evenly spaced them out along the side frames on the 2×4.
I secured to each side using pocket holes and screws, then flipped it over and secured the center to the middle support. And at that point, the assembly process was complete!
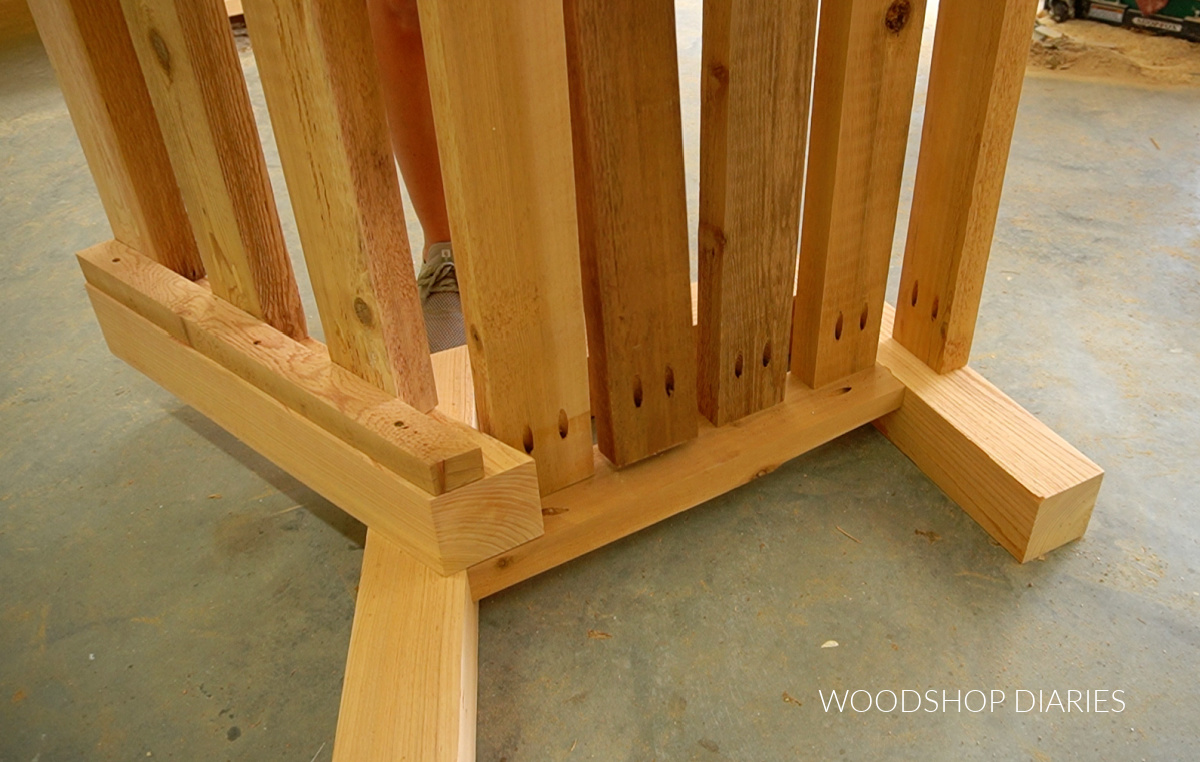
Step 6: Finish & Seal Outdoor Couch
I applied a coat of Thompson’s Water Seal Transparent in Natural Cedar to the sofa to give it some color and protect it from weathering. And after it was dry, it was ready to use!
Looking for more outdoor project inspiration?
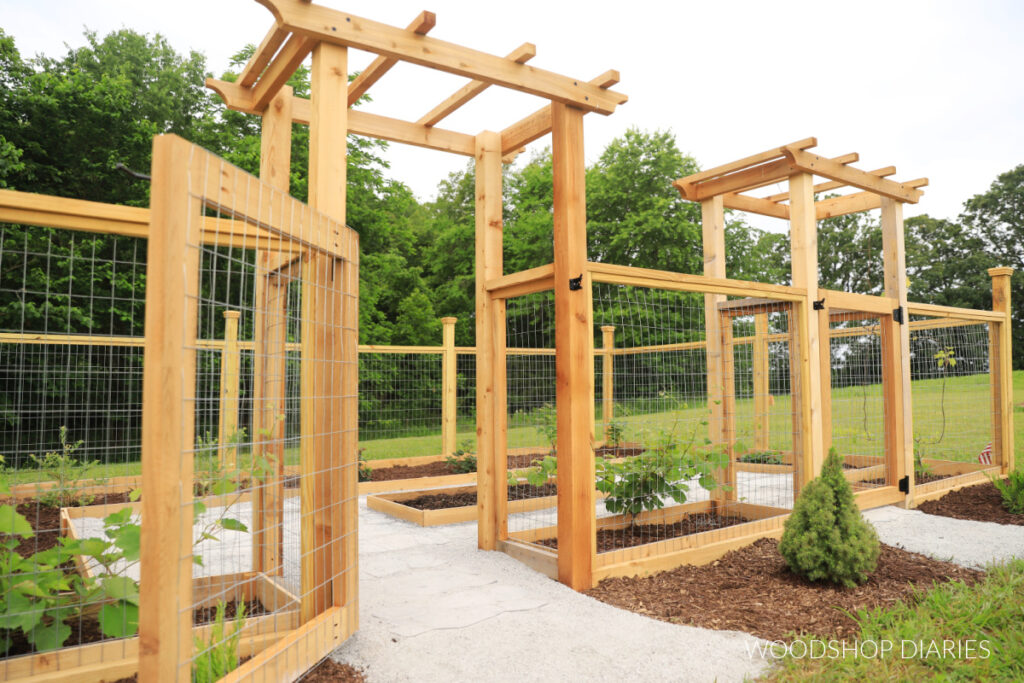
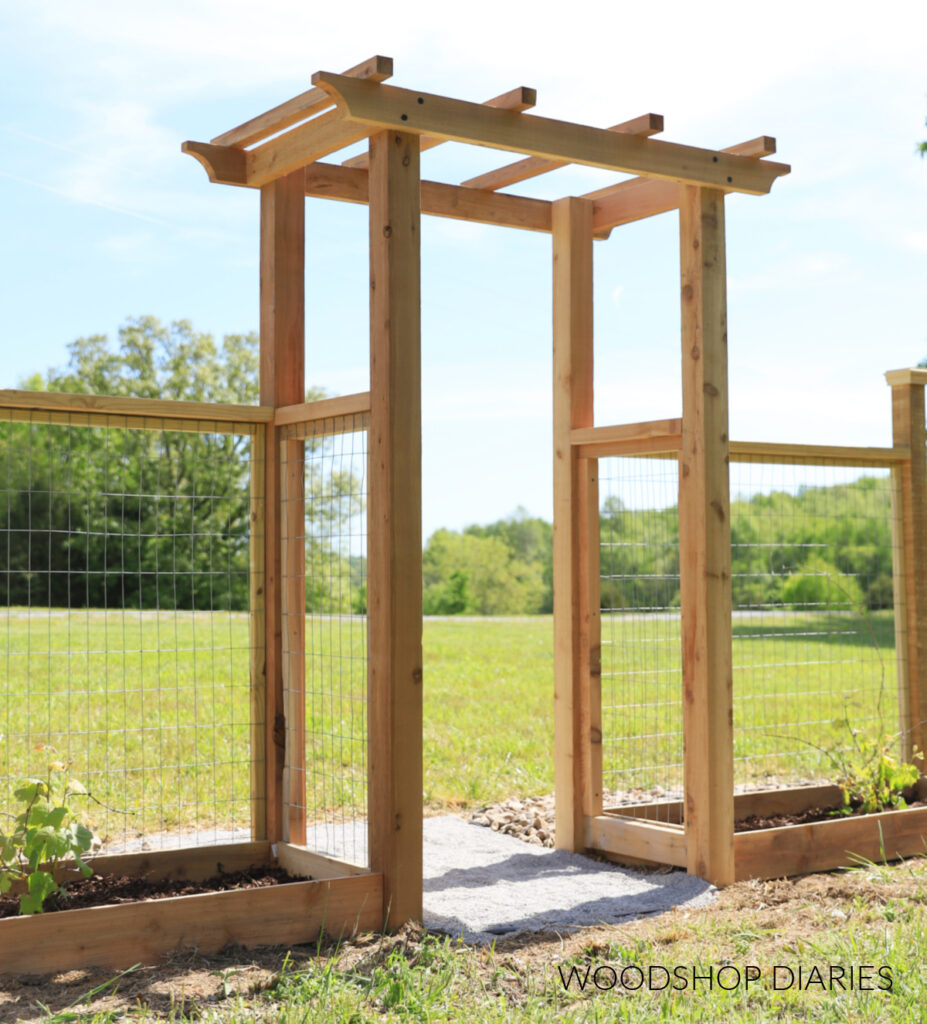
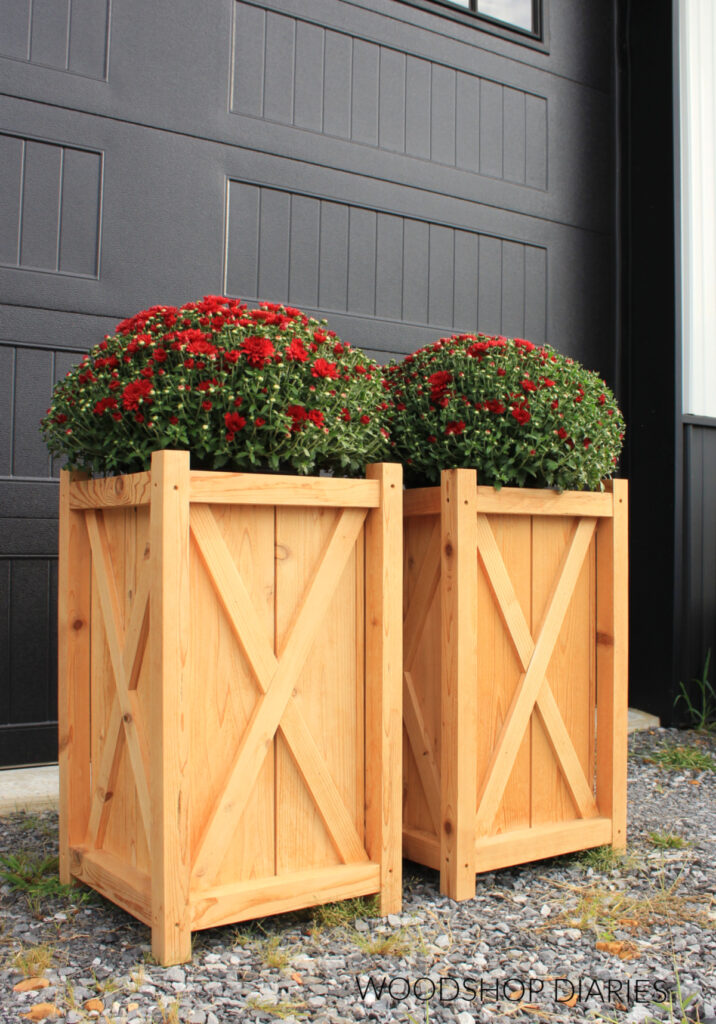
Enjoyed this outdoor sofa build and want some more summertime project ideas? Here are a few fan favorites you’ll enjoy!
If you enjoyed learning how to build an outdoor sofa and want to save this post for later, don’t forget to pin it or share it to your favorite social channel!
Until next time, friends, happy building!


