
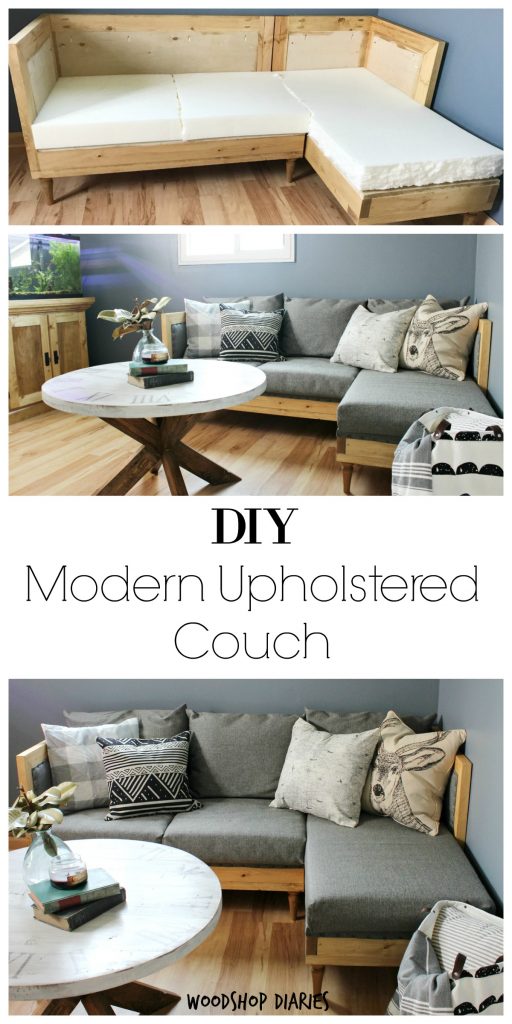
One of those projects I never imagined would be on my to do list was a upholstered DIY couch.
.
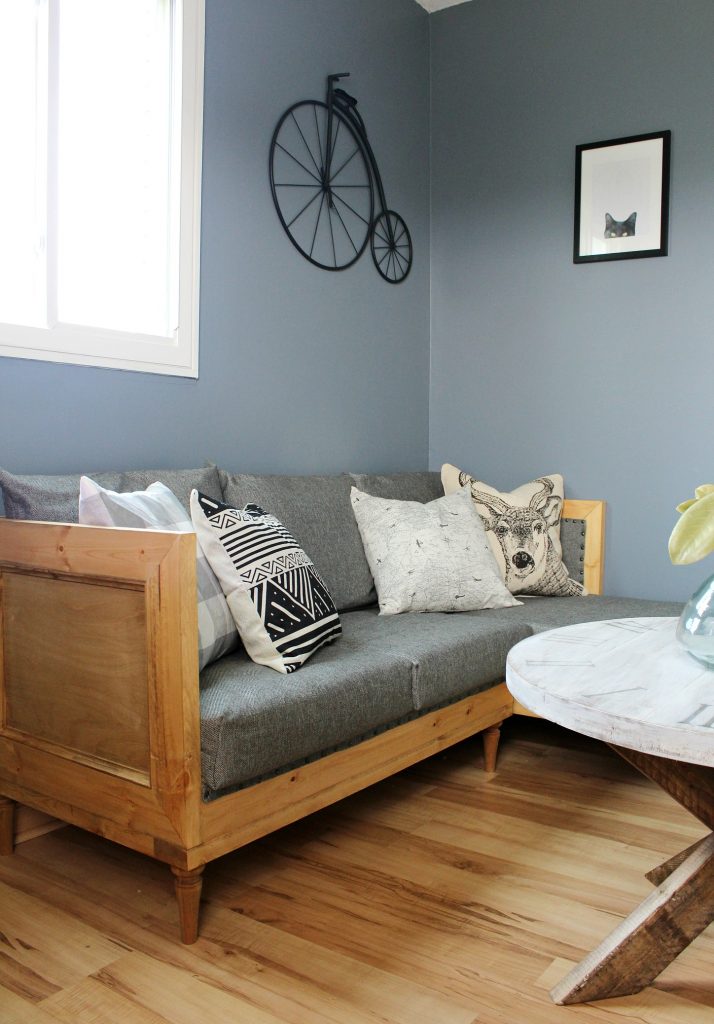
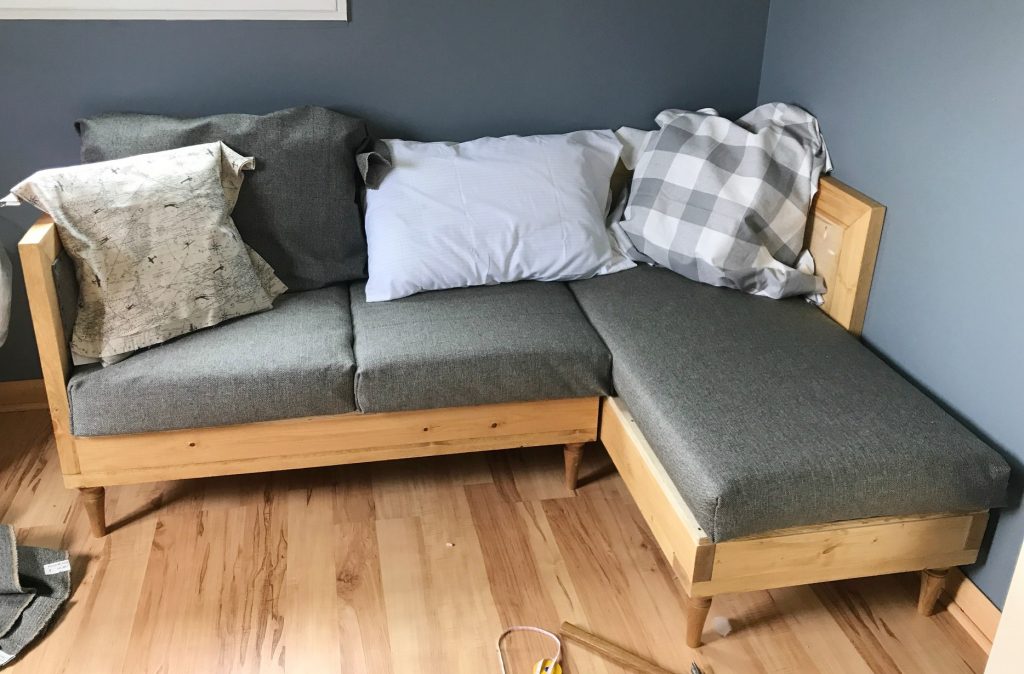
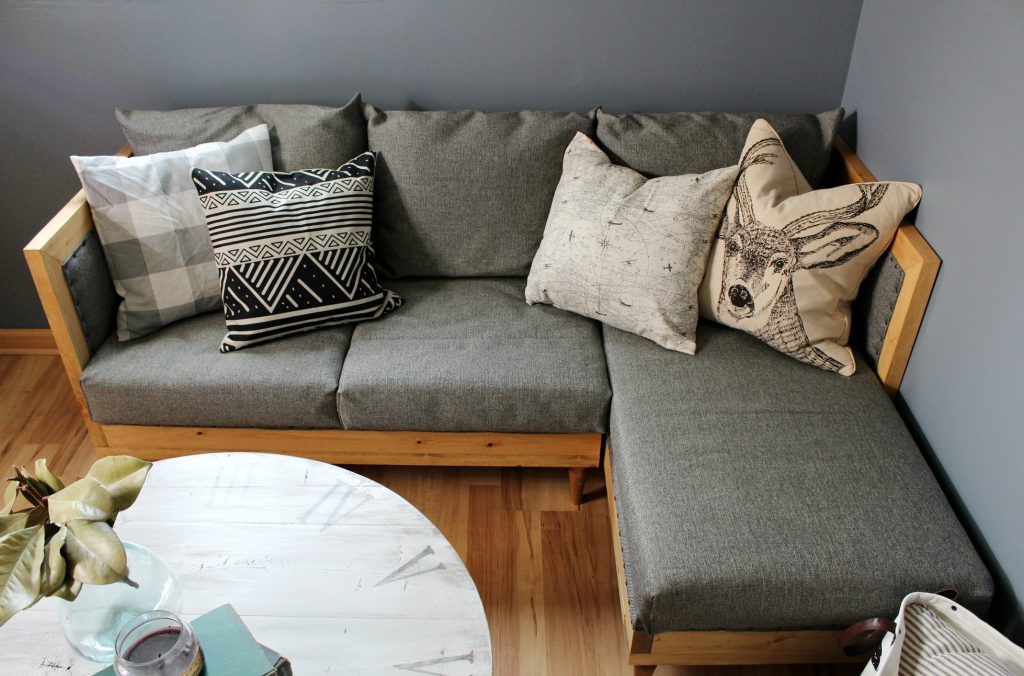
But here we are…I built a couch! Actually…a sectional. #fancy
My husband, Danny, wanted a comfortable place to sit in his man cave–which was actually just the small back bedroom at the end of a narrow hallway of our old house. And that made it just about impossible to get a traditional couch into the room. Trust me….we tried.
.
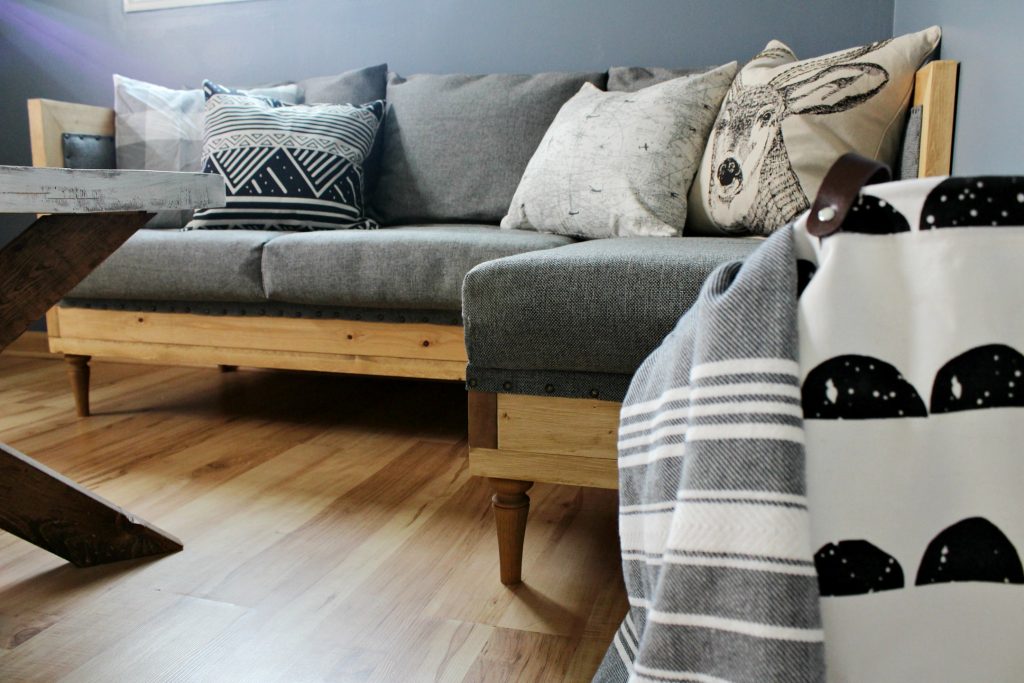
So I had an idea to make him a smaller sectional in two pieces to make it easier to get into the room and still provide him plenty of seating space. I built this with a little more modern feel with straight lines, modern legs, and with quite a bit of exposed wood frame.
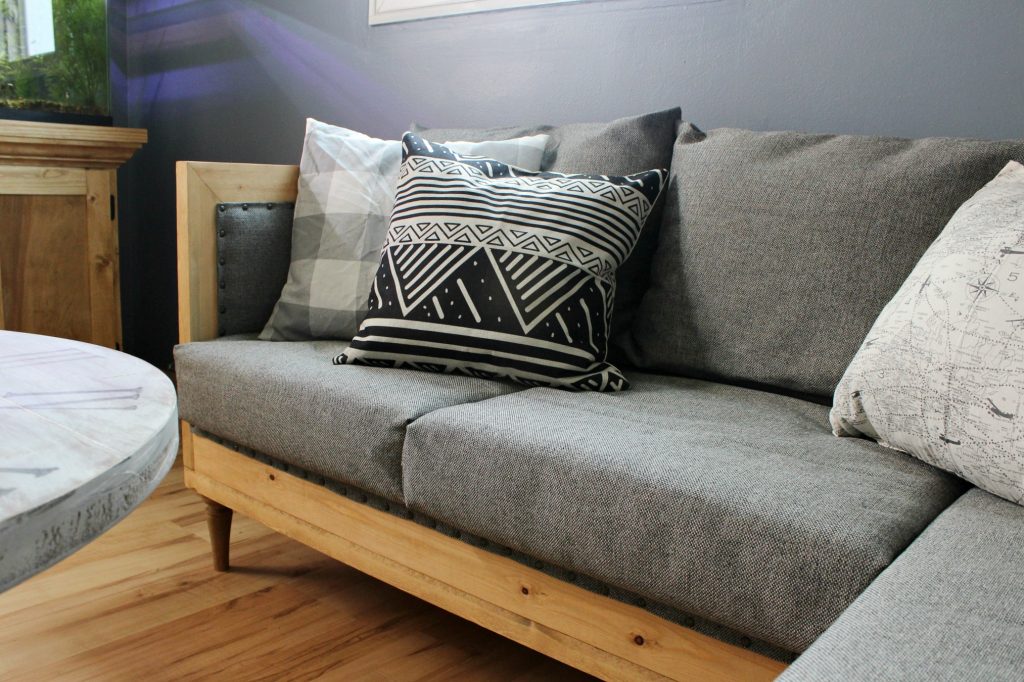
Since this was going in a man cave, the wood really gave it more of a masculine feel, but also saved a ton of money on extra foam and fabric. You could always add some more foam and fabric around the frame, though if you wanted a more traditional and softer look.
.
For more seating and upholstery projects, check out these favorites:

Modern Outdoor Chair 
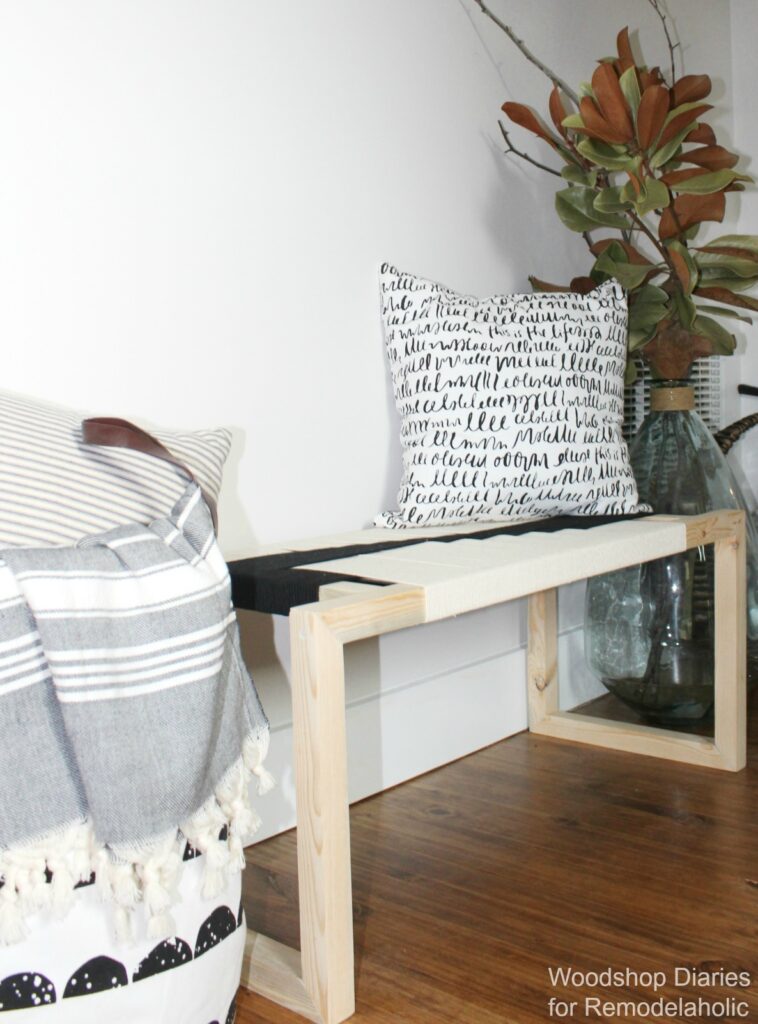
DIY Woven Bench 
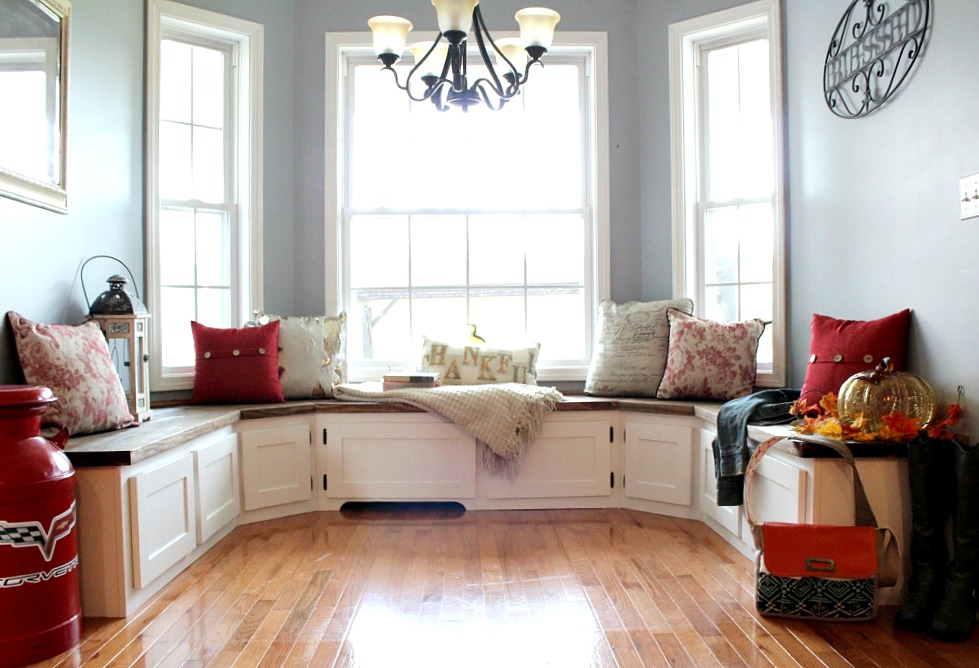
Built In Bench Seating 
DIY Upholstered Bench

I partnered with Build Something to bring you the free build plans for this DIY upholstered couch. This post also contains affiliate links. See policies page.
.
I’m sharing free plans for how I BUILT the couch frame over here on Build Something. And I’m sharing how I upholstered it here in this post.
.
By the way, for this couch build, I used 8 of these legs (part # 6001) from Osborne Wood Products. The style of the legs fit perfect with the look I was going for and they were super easy to screw into the couch frame (see plans on Build Something).
Before I upholstered this couch, I stained the it in Minwax Golden Oak, but you could also paint if you wish. You only have to stain/paint the sections that will be exposed. We will cover up those plywood panels on the inside of the couch and the plywood seat so don’t worry about staining or painting that.
.
Now, let’s get to the upholstery 🙂
.
What you’ll need to upholster your DIY couch:
- Upholstery fabric (I used about 7 yards of 54″ wide fabric)
- Sewing machine–nothing fancy, just a standard machine will work fine. This is the one I use, but there are cheaper options if you don’t do a lot of sewing and just want something simple.
- 4″ Upholstery Foam
- 3 standard pillows
- Upholstery Batting
- Upholstery Thread
- Spray adhesive
- Nailheads (I got mine from Hobby Lobby)
- Hammer
- staple gun and staples
- Ruler or measuring tape
.
Step 1: Cut DIY Couch Foam Down to Size
Once you have your couch frame built (free building plans are found here), the first step is cutting down the seat cushions. To do this, I cut my 4″ foam down to fit on the frame. You can use scissors, or even a pocket knife and a straight edge.
.
The foam comes in a roll, so I just measured off how much I needed for each cushion and cut. Notice there are two smaller cushions on the left and one large cushion for the sectional piece on the right.
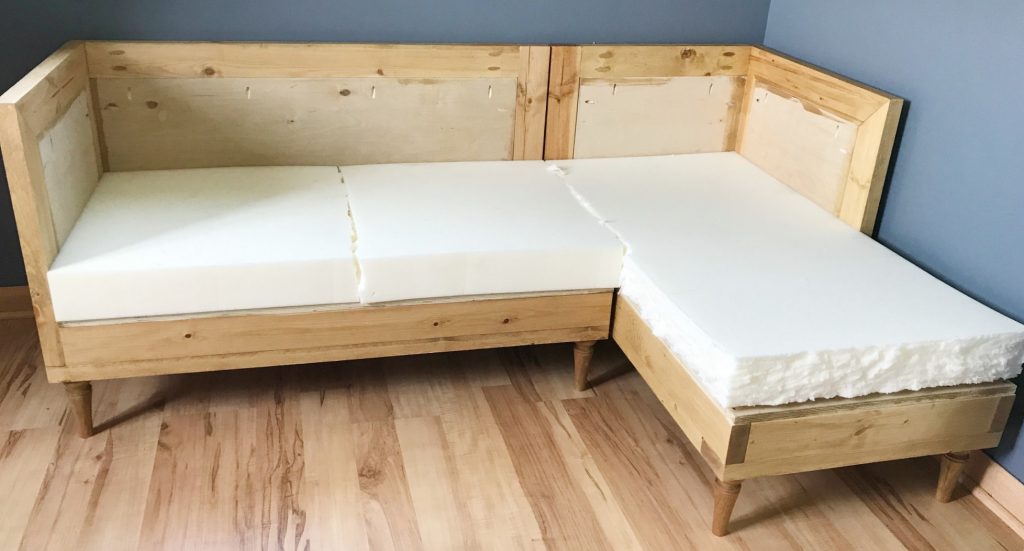
I used standard bed pillows for the back, so no need to cut anything for the back 🙂
Step 2: Cover Foam with Batting
This step just helps to smooth out the sharp edges of the foam. You can check out this tutorial for how to cover foam cushions with batting. Basically, you use spray adhesive to attach the batting to the foam cushions and trim off the excess.
Step 3: Sew DIY Couch Cushion Covers
Most couch cushions have zippers in the covers. I am just not that fancy…or that good on a sewing machine. So I sewed my cushion covers as simple envelope covers–you know, the kind where there’s a slit in the back or bottom for you to insert the foam or pillow into? Then I sewed up the corners to make it a “box cushion” cover. I promise, it’s easy.
.
Instead of reinventing the wheel and writing the tutorial, I’m going to point you to the tutorials I used for this.
.
FIRST, sew plain envelope cushion covers following this tutorial. This will show you how to sew an envelope pillow cover for a decorative pillow. To determine the size your cushion covers need to be, it’s easiest to wrap the fabric around the seat cushion and cut so you make sure it will cover it. There actually isn’t any measuring required 🙂
.
Once you get your envelope cover sewn, follow the second part of this tutorial to show you how to make it a box cover. Basically, you just sew up the two front corners to give it a “box” shape. Who knew it was that easy?!
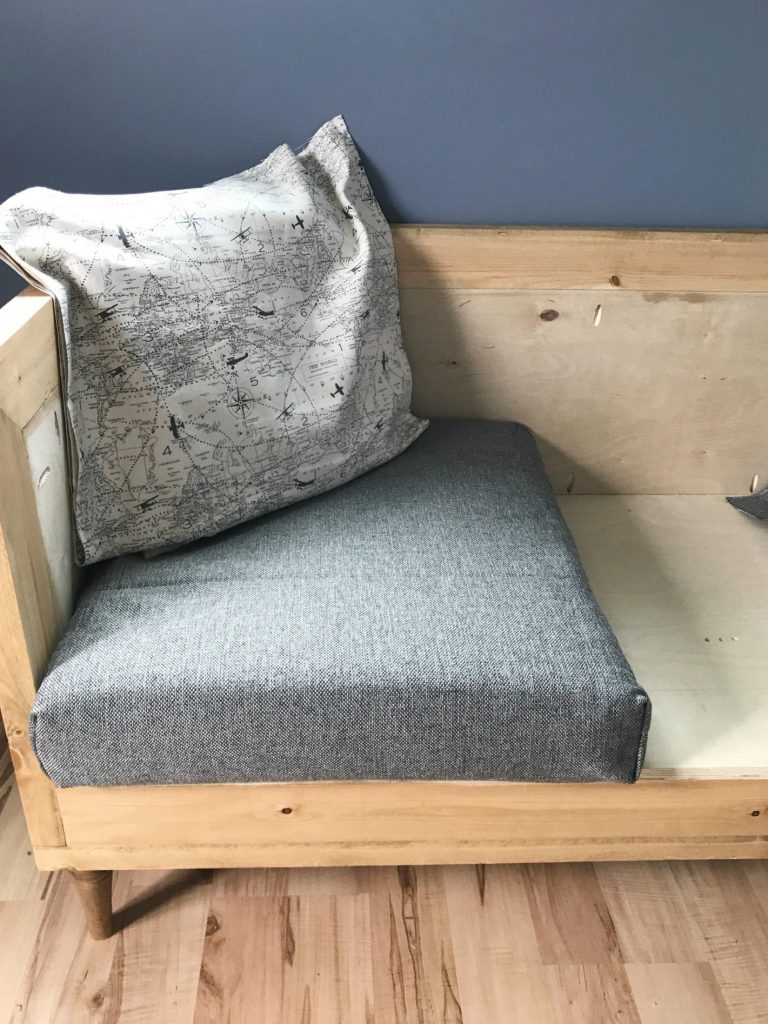
Once you’ve got your cushion cover sewn, simply slip your batting covered foam cushion into the cover and set in place.
.
Continue sewing cushions the same way for the other two seat cushions to finish up the seat part of the upholstery. I threw a few pillows in here to get an idea of how it was looking…sorry, I was anxious.
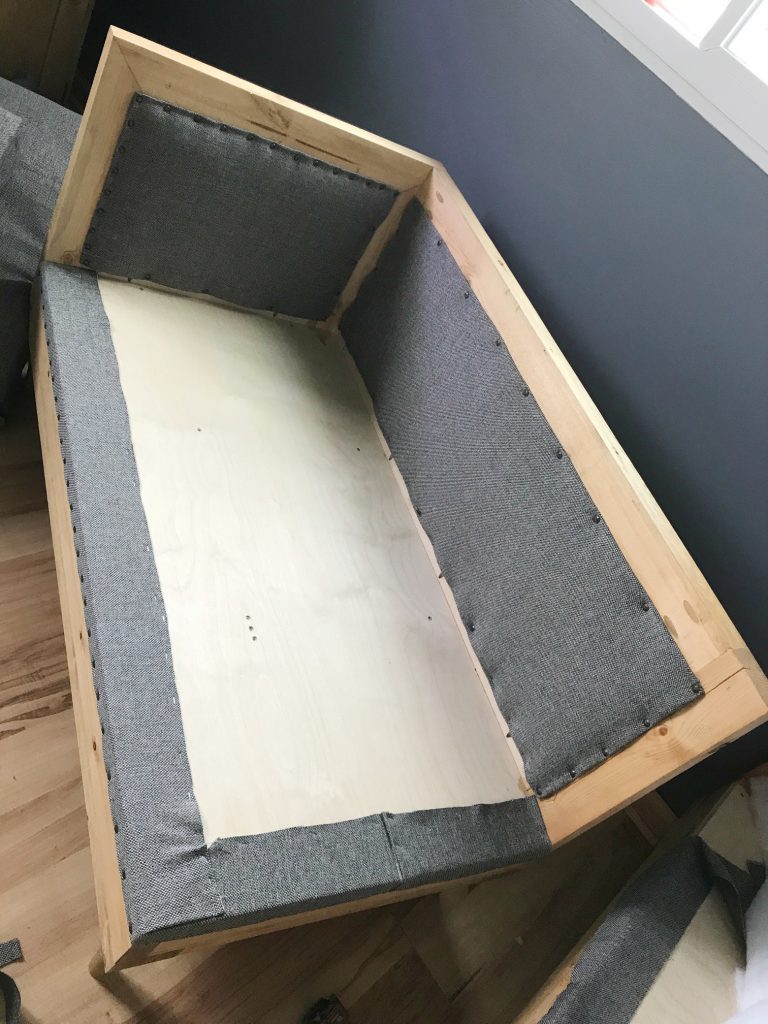
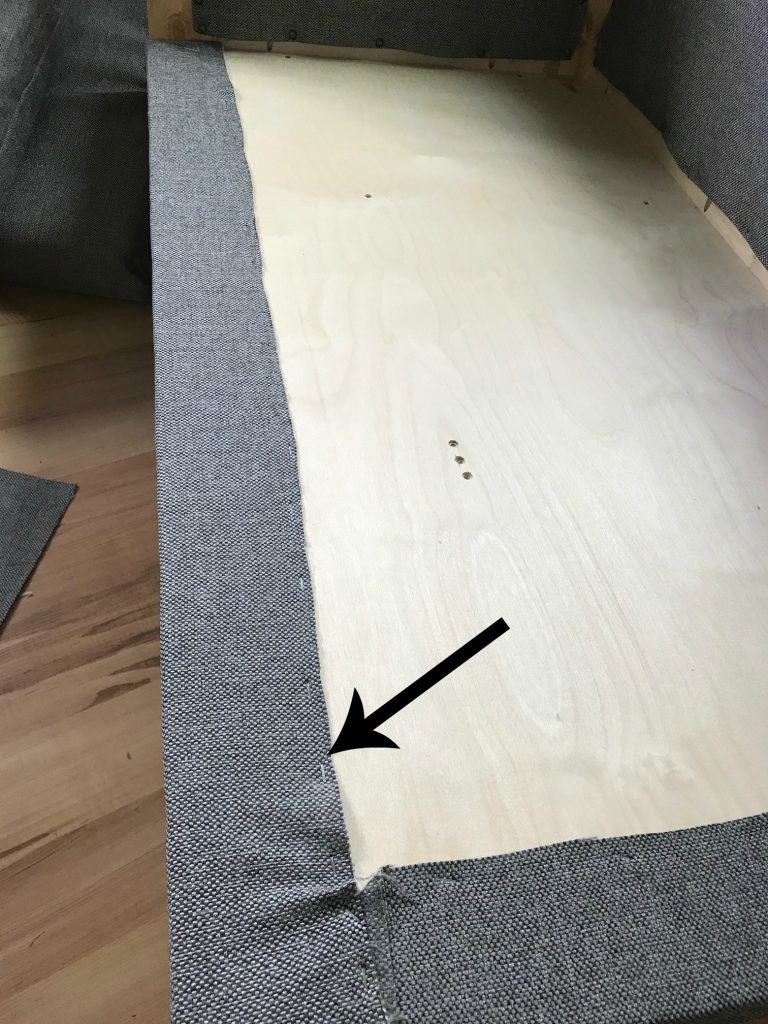
Step 4: Upholster Couch Sides
If you followed the build plans here, you will have pocket holes in the couch frame sides. You can easily cover these (and add some extra cushion) by covering the plywood panel with one layer of batting and fabric.
.
To do this, I cut a piece of batting slightly larger than the plywood panel on one side. Then, I trimmed a piece of fabric the same size. I placed the fabric over the batting and folded over the edges of one corner to hide the cut edges. Then, I used decorative nail heads to secure it in place on one corner of the panel.
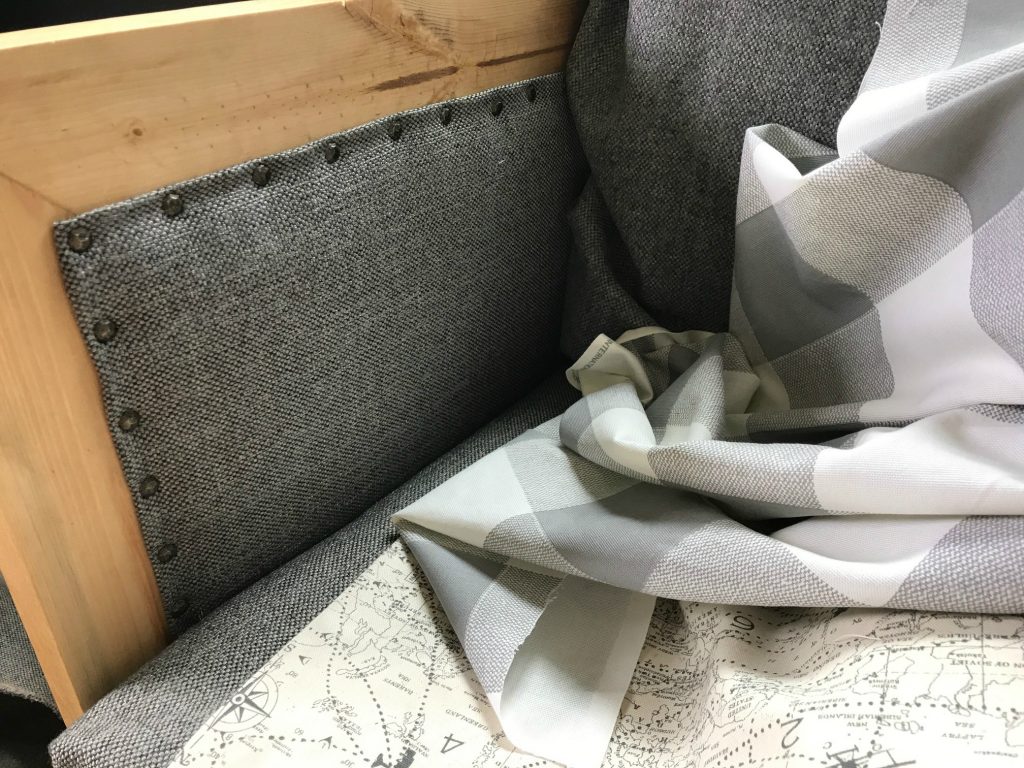
I worked my way around the edges folding over and nailing in place making sure to use a ruler or measuring tape to get all the edges of the fabric equal distance from the edge of the frame. You don’t want it to be nailed on crooked. See image above.
.
I repeated for both inside panels and the back panels as well. Ignore the fabric on the seat in this picture…that’s the next step 🙂
Step 5: Use Fabric To Cover the Plywood Edges on the Couch Seat
Have you been wondering what to do about those ugly plywood edges on the seat? Here’s where we cover them.
.
I cut some strips of fabric a few inches wide and folded over an edge. Using decorative nail heads, I secured these strips to the couch frame making sure it completely covers the plywood edges. Once I got around to the outside corners where the two couch sections will meet, I used staples instead of nailheads. That way, you wont have large gaps between the two pieces since the nail heads protrude out.
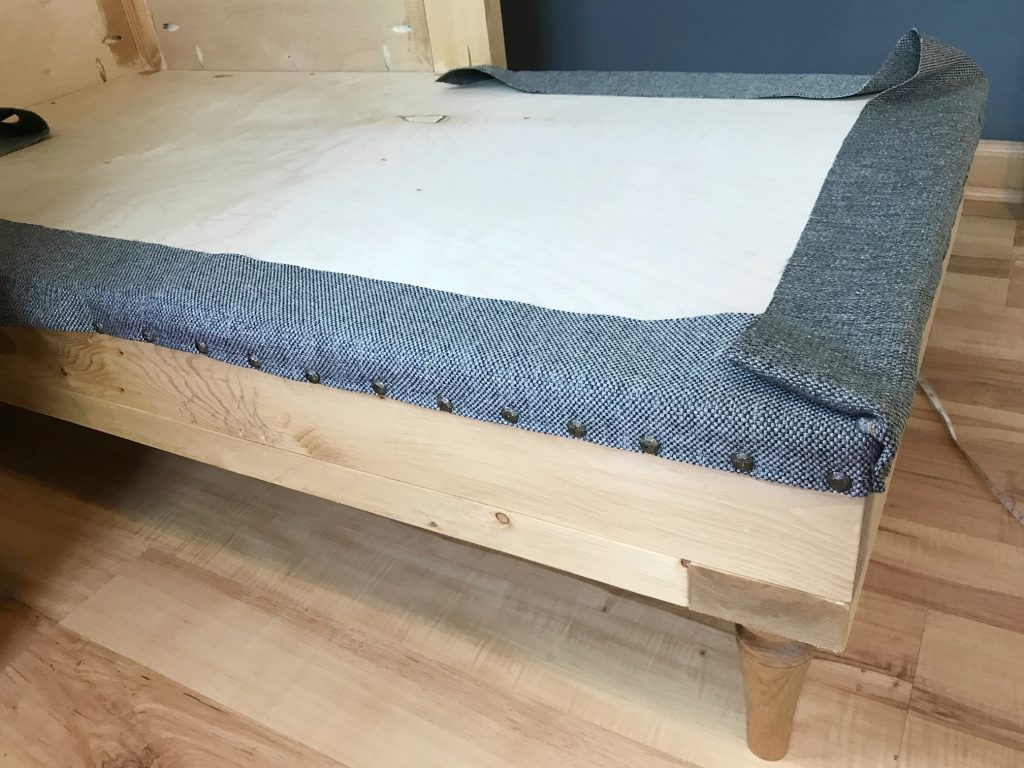
I stapled the excess fabric in place around the seat edge like shown.
Step 6: Sew Back Cushion Covers
Sew envelope covers for the standard size pillows that will be the back cushions. Follow the same tutorial from step 1 to make envelope covers. These will not need to be boxed, just normal envelope style.
.
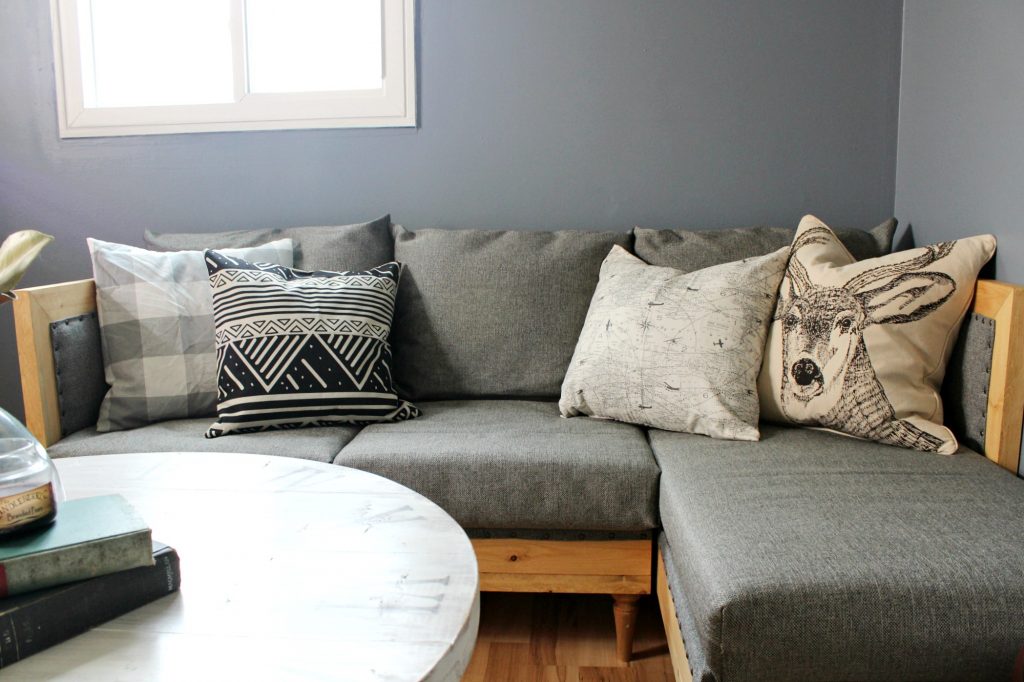
Set all the cushions in place and move the couch sections together. If you wish, you could screw the frame pieces together on the bottom side. I left mine as is to make it easy to move if we choose to.
I sewed a few more envelope pillow covers with some fabric Danny picked out to make some throw pillows. But I also bought him this modern throw pillow cover because I thought it matched well.
So I know this might have been a little intimidating if you have never upholstered anything. I promise it was sooooo much easier to build a couch than I thought it would be, so DO NOT be intimidated. You CAN DO THIS!
Upholstery is not too difficult. What I like about sewing and upholstery is that if you make a mistake, fabric is pretty forgiving 😉 Plus, with all those pillows, you can either cover up or distract from any mistakes 😉
.
It was difficult when making the plans to determine the best size for this couch. It’s not a huge couch, but it’s the perfect size for this small man cave room and will easily seat four people sitting, or two people laying down.
If you’re interested in more sewing or pillow projects, here’s a few:

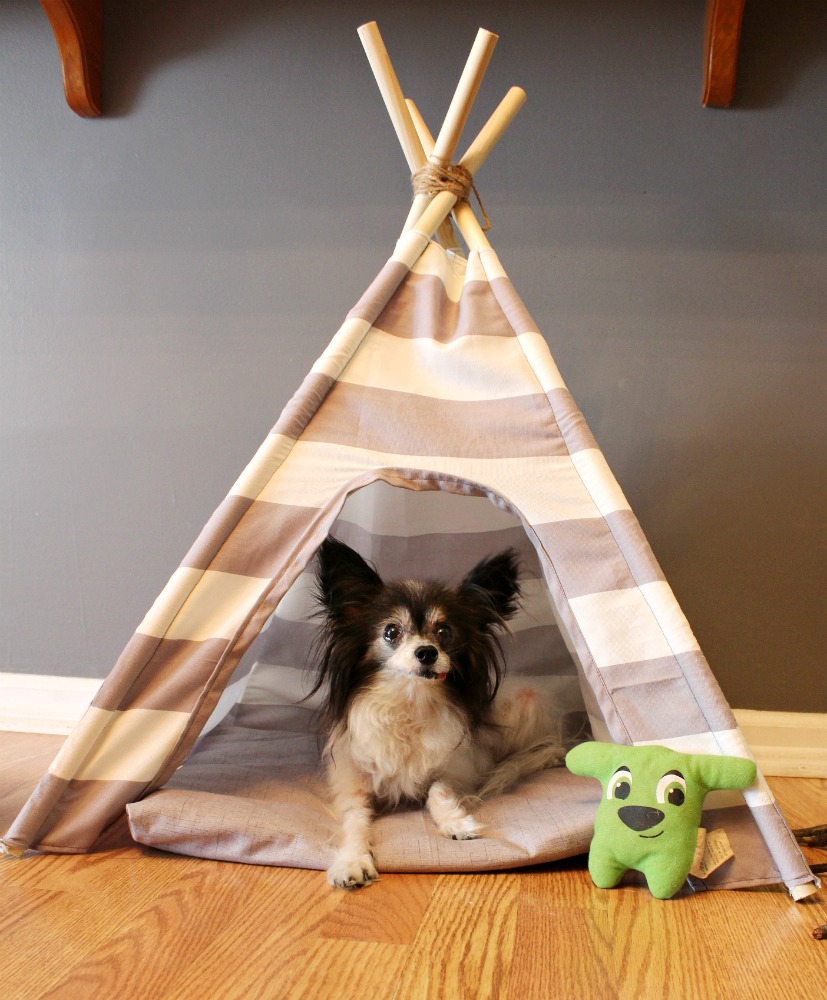
DIY Dog Tent 
Snowflake Pillow Cover 
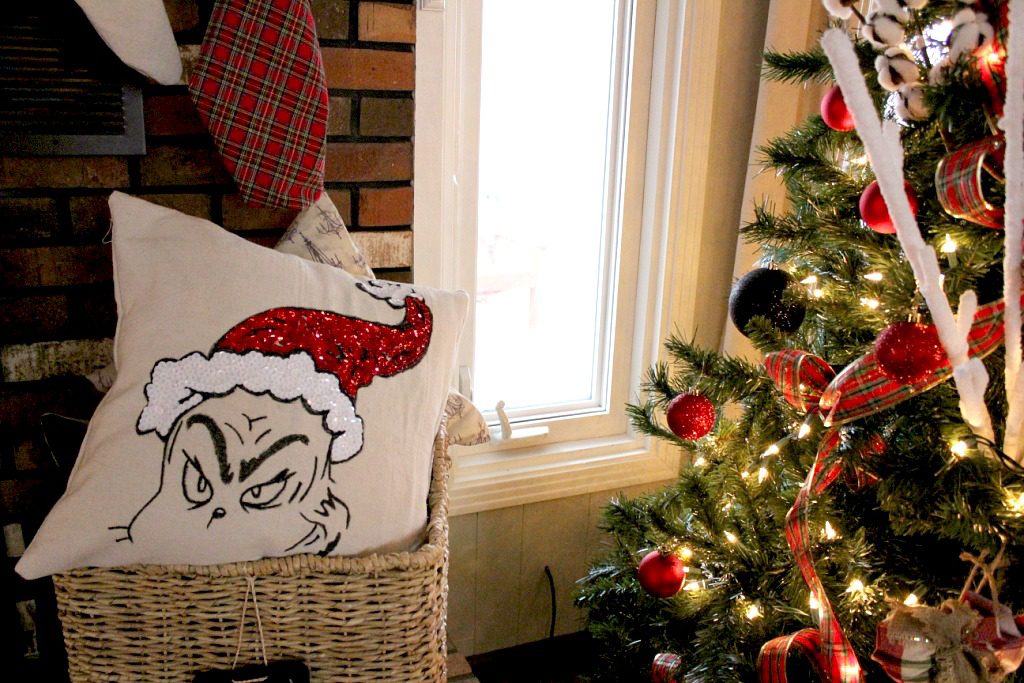
Grinch Pillow Cover

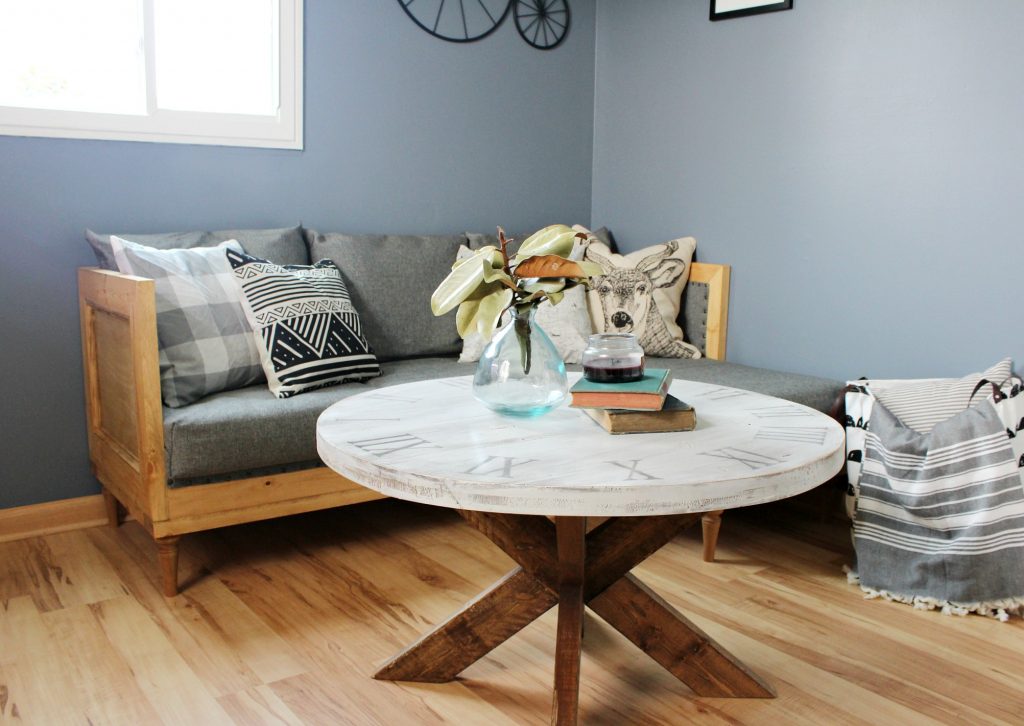
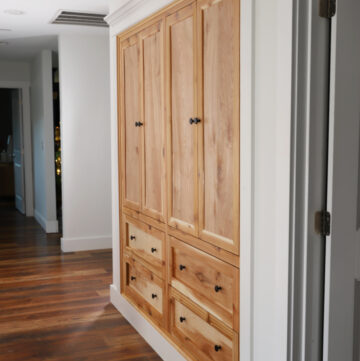
Don’t forget to check out how to build that aquarium cabinet and that DIY coffee table, too!

If you’re ready to build your own DIY couch, don’t forget to grab those build plans over on Build Something!
.
I would LOVE it if you’d pin this for later 🙂
Until next time, happy building! 🙂


Chanda says
I have a bad back where my hips are always going out of alignment, and I blame my old, worn down couches for this. I thought that a wooden bench with cushions on it would be better, and started looking into wooden sofas. Is this couch comfortable to sit on? Do you think it provides good support? I really like your design.
Shara, Woodshop Diaries says
It is comfortable to sit on, but since the cushions are just standard foam cushions and not really specially designed for specific support (like for the back), it probably wont provide any type of specialty support you are looking for. However, the wood frame should be a good base if you can find some good supporting couch cushions instead of standard foam ones.
Barb says
I absolutely love this! I’m on my third sofa in 10 years and finally decided to try an make something myself that would stand the test of time. This looks exactly.like what I envisioned
Shara, Woodshop Diaries says
Yay!! SO glad you like it! Good luck making your own…I’d love to see pictures when you are finished 🙂
Selena Fontan says
Hello Shara! I absolutely love how your DIY couch turned out! Any idea the average cost this project might cost? Thank you!?
Shara, Woodshop Diaries says
Hi Selena! I can’t remember exactly, but it would highly depend on the type of foam and fabric you purchased. I think overall, with lumber, legs, foam and fabric, it cost me about $250. But depending on your fabric and foam, it may be a little more or less.
Kevin says
Can you please provide a link to the fabric you used? I like the color and would be interested in knowing what you purchased.
Shara, Woodshop Diaries says
I’m sorry I don’t have a link…I purchased this from a local fabric store and they do not have a website with their fabrics listed 🙁
kristin howard says
Shara:
Love the couch. Damn girl, I wish you would make something I didn’t like – it’s getting harder to like you! Where did you find the map material you used on one cushion?
Kristin
Shara, Woodshop Diaries says
Thanks so much friend 🙂 I’m glad you like the couch (even if you are starting to not like me anymore 😉 lol)! I truly appreciate your encouragement and support 🙂 I got the map fabric (it’s got adorable little airplanes on it too!) at Hobby Lobby!
Judy Rogers says
Great job! I think everybody needs a ” me” room!!!!!!!
Shara, Woodshop Diaries says
Thanks so much!! Yes, Danny deserves a nice “me” space and it’s so funny to always find him in here chilling with his fish haha.