
*This post is sponsored by The Home Depot.
.
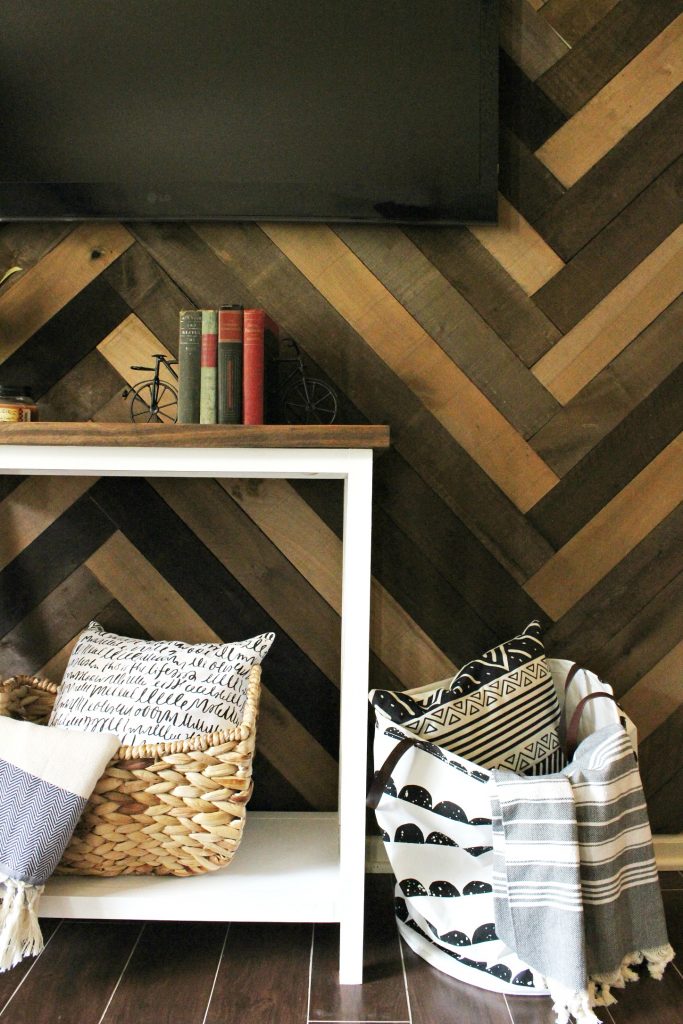
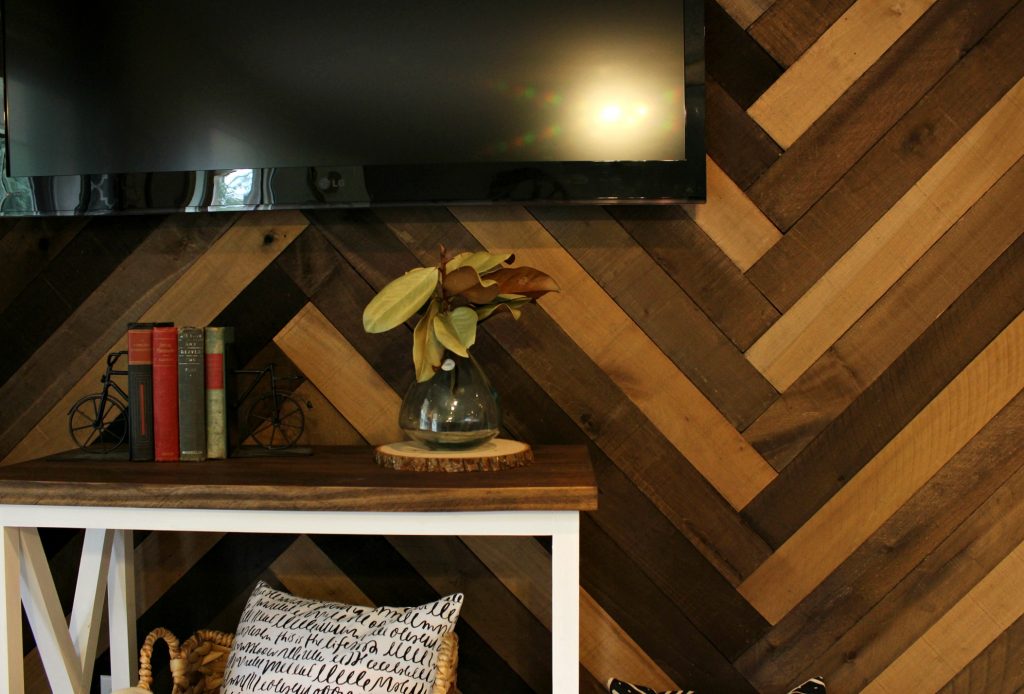
If you haven’t already noticed, barn wood walls are totally in right now. And for good reason. They can fit into farmhouse, rustic, modern and eclectic style decor. And they make such a HUGE statement on an accent wall in any home.

I mean, how eye catching is this wall?? Don’t you love the color variation and the pattern here? It’s like you just can’t look away, right?? Or is that just me?? HA.
.
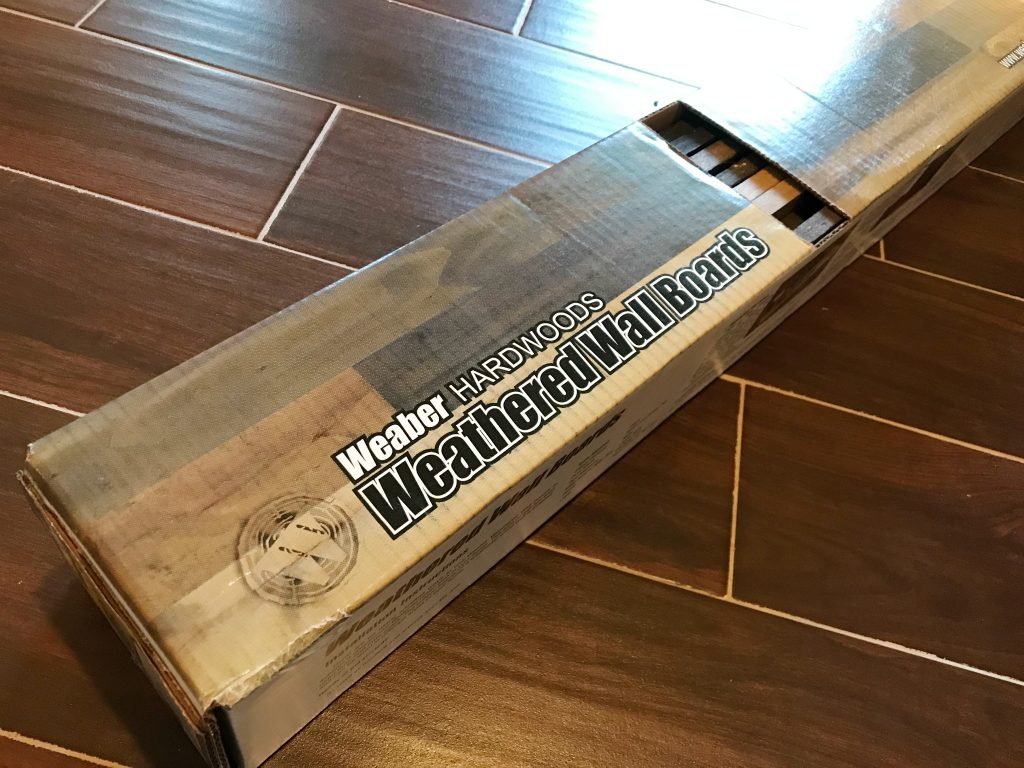
Herringbone is one of my favorite patterns. I love it on walls, in tiles, in graphics, in furniture, I just love herringbone. But I hear a lot of people who are a little scared of herringbone. I don’t want that to be you! It really isn’t hard to do, especially if you start out with boards already cut down to the same size. Lucky for you, The Home Depot’s Weathered Wood Wall Boards are already cut down to size for you AND come in varying colors already which saves you a ton of time staining and a ton of money buying a million stain colors. And that makes this project even easier 😉
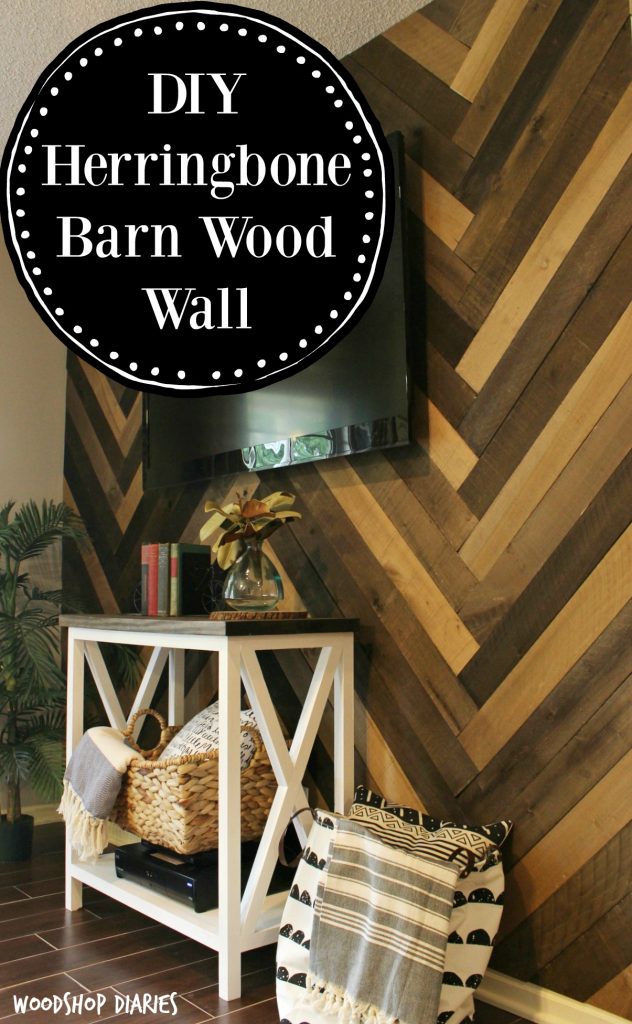
I’m sharing the step by step tutorial along with some helpful tricks and tips for how to install your own herringbone barn wood wall using these weathered wall boards over on The Home Depot Blog today. I’d love for you to check it out and let me know what you think! You can have your entire wall done in just a few hours and with just a couple tools! Pinky promise 😉

I really loved working with these weathered wall boards. Normally, I would probably have purchased my own boards and tried to beat them up a little, then stain them different colors, then trim them down to the same size pieces. But when I saw that these did all that work for you already, I was sold! They come already stained, already “beat up” and rustic looking, and already milled to the same size. You literally pull them out of the box and get to work. HECK YES, RIGHT?! A lot of the boards still had some saw marks on them (which I loved!). You can see some above. That’s what I like to call “character” 😉

I also liked that these boards were fairly thin–they were about ⅜″ thick vs ¾″ for a normal 1x board. This made them super easy to work with and really lightweight. Now, with that being said, not every board is EXACTLY the same size. Some are a little thinner than others. This is just due to the natural variation in the wood and this is what gives it that rustic look. It also makes it very forgiving, so not everything has to be absolutely perfect 🙂 that’s my kind of project right there haha.
.
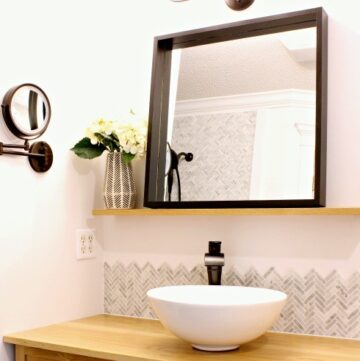
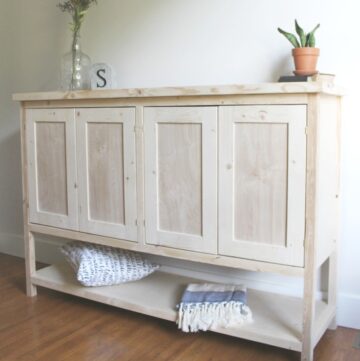
Oh and do you recognize that X base console table in these pictures? That’s an easy build to do once you’re finished with your wall 😉
So what do you think?? Is this something you would do in your home?? Where would you want to put your barn wood accent wall? I think I’d want one in every room! I’m pretty sure I’m going to grab a box or two of this stuff for some upcoming furniture builds, too, so keep your eyes out for that 😉
Don’t forget to click over to The Home Depot Blog to check out my step by step tutorial for how to install your own herringbone barn wood wall! And I would love it so much if you would pin this for later 🙂
Until next time, happy DIYing! 🙂
.
*I acknowledge that The Home Depot is partnering with me to participate in The Home Depot Appearance Boards Campaign Program. As a part of the program, I am receiving compensation in the form of products and services, for the purpose of promoting The Home Depot. All expressed opinions and experiences are my own words. My post complies with the Word Of Mouth Marketing Association (WOMMA) Ethics Code and applicable Federal Trade Commission guidelines.
[…] like barn wood walls (remember this one??), sliding doors are so in right now. They’ve been in for a while, actually. I made my […]