
I am not the most professional person ever. I’m very casual and somehow always manage to make a fool of myself in any type of professional or social situation. It’s a gift. A talent, really.
.
But for those of you that own it when it comes to business and professionalism, you need business card holders…you know…the kind that sit on your fancy, professional desk. The desk that most likely doesn’t look like mine all covered in papers and receipts from months ago…and that random cheese stick wrapper I forgot to throw away…ha.
.
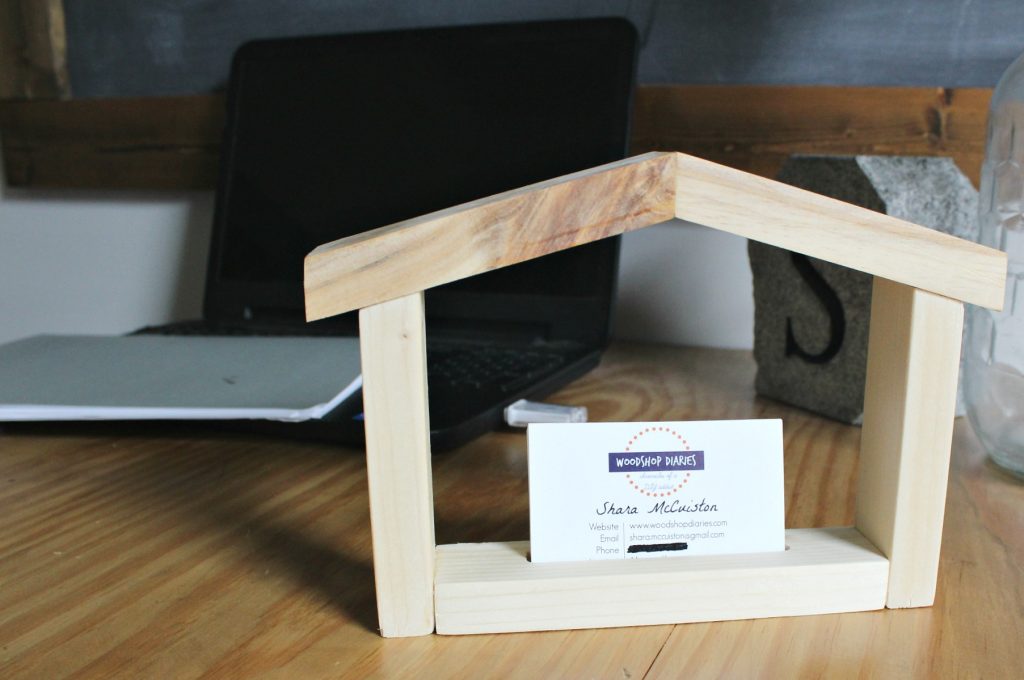
I recently made this house shaped business card holder for my real estate agent (PS more on this later, but we are selling our house for any of you locals who are interested 😉 )from some scrap 1×2 boards and how cute is this?!
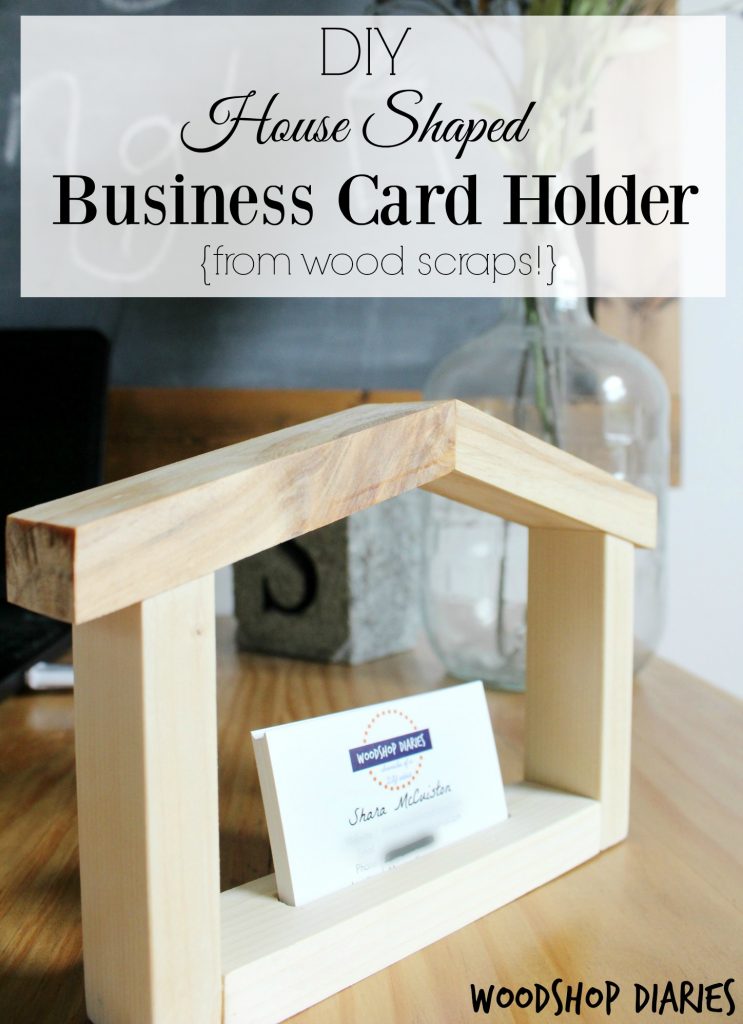
It would be really cute for builders, interior decorators, contractors, designers, home bloggers, whoever has anything to do with houses…or who doesn’t, but likes them anyway 🙂
.
And it’s a SUPER quick, easy DIY project. So either grab your scrap wood or go pick up a cheap 1×2 and let’s do this thing!
.
This post contains affiliate links. If you purchase from these links, I may receive a small commission at no extra cost to you. Please see disclosure policy for details.
.
You will need:
Scrap 1x2s (or just a short 1×2 board if you buy one)
Nail gun (or hammer and nails)-optional
Clamps (if you don’t use nail gun)
.
Step 1: Cut the Business Card Holder Slot
If you have a router table, that’s the way to go. But, if you don’t, you can set up a jig like I did.
.
I grabbed a piece of 2x scrap wood and screwed a piece of scrap 2×2 onto the top like shown in the picture. Then, I took a piece of my 1×2 scrap (longer than you actually need so that you can trim the screw holes off the ends later) and screwed it into the top of the 2x scrap like shown. You want to space these apart so that when you run the router along the 2×2, the bit will cut down the center of the 1×2 to make the slot. Make a mark where you want your slot to be. Make sure the space between your marks is large enough for a card to fit.

Now, use the router to cut your slot between these lines. Clamp the 2x piece to the work bench so it doesn’t move while routing. Also, set your router bit depth to about ¼″. I did ½″ the first time and it was WAY too deep. If, after you cut, you want your slot wider, adjust your 1×2 slightly further out on the jig and route another slot right next to the first one to make it wider.

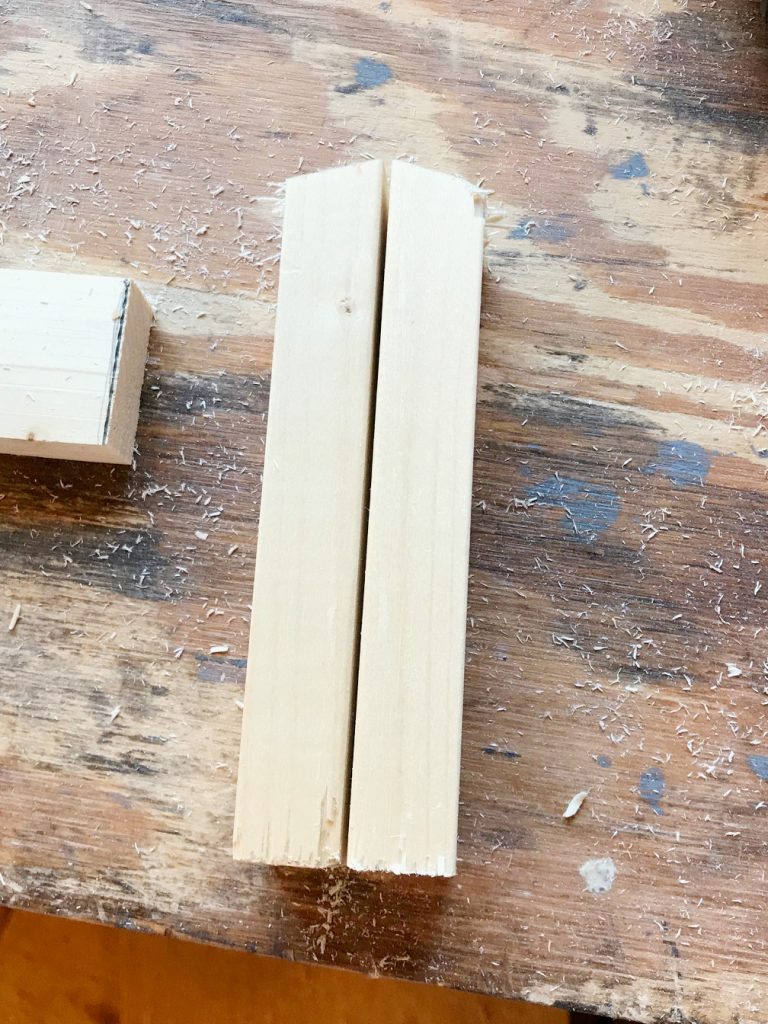
Step 2: Trim Down your Business Card Slotted Board
Now, unscrew the 1×2 from the jig and use a miter saw to trim down to the desired length. Mine was about 6″ long.

Step 3: Add House Sides for Business Card Holder
Cut two pieces of 1×2 at 4 ½″ long. Bevel one end of each at about 15 degrees like shown.
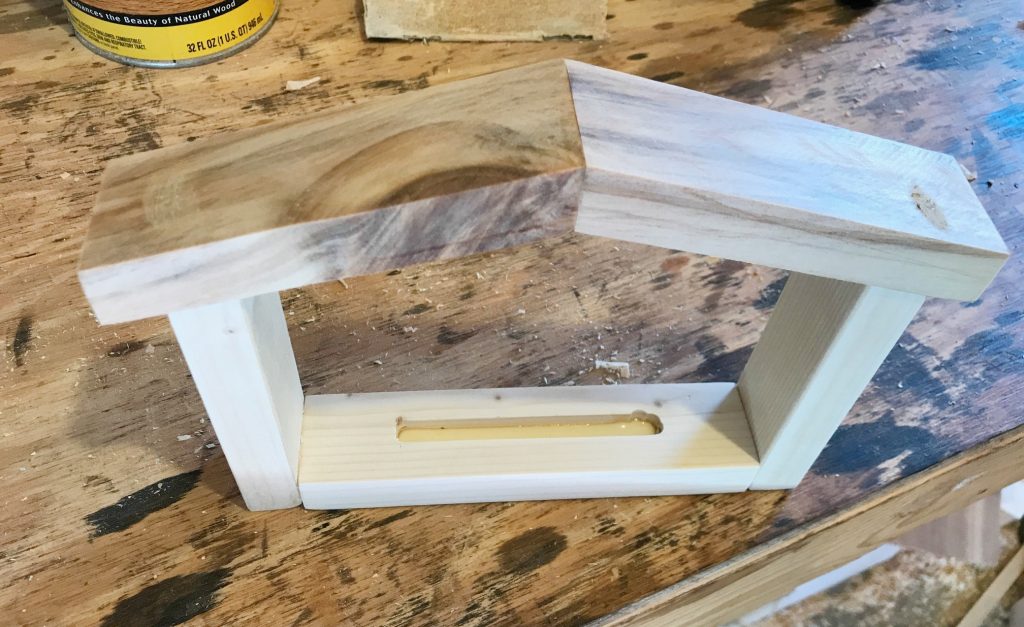
Sand well and using glue and a nail gun, attach these sides to the slotted piece like shown. Make sure the angles are slanted down toward the OUTSIDE of the house shape.

Step 4: Add Business Card Holder House Top Pieces
Cut 2 pieces of 1×2 at 4 ½″ long with 15 degree bevels cut on each side parallel to each other. These will be the roof of the house. Glue the pieces together. You can lightly clamp or hold them together until the glue somewhat dries. Then place them (centered) onto the house and glue and nail in place.
Step 5: Finish the House Shaped Business Card Holder
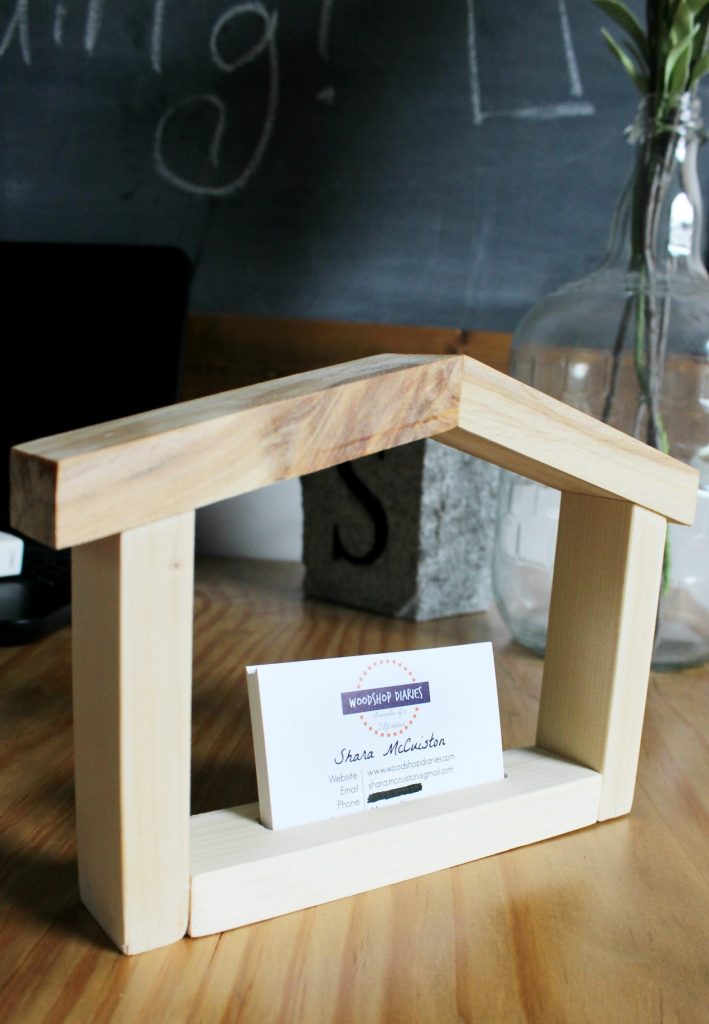
Putty the nail holes and sand. Then stain or paint as desired. I left mine natural 🙂
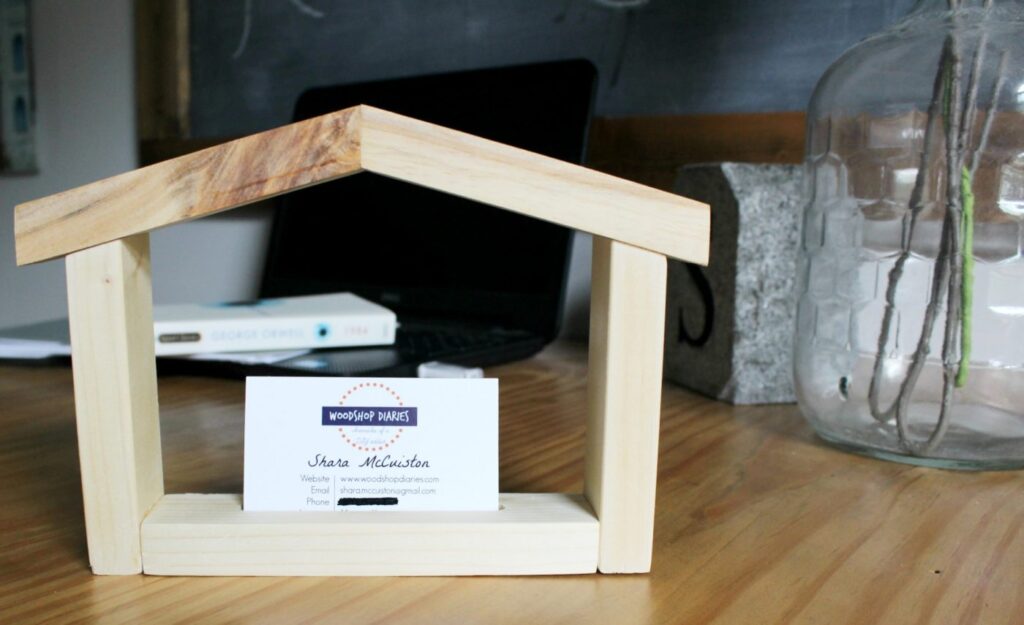
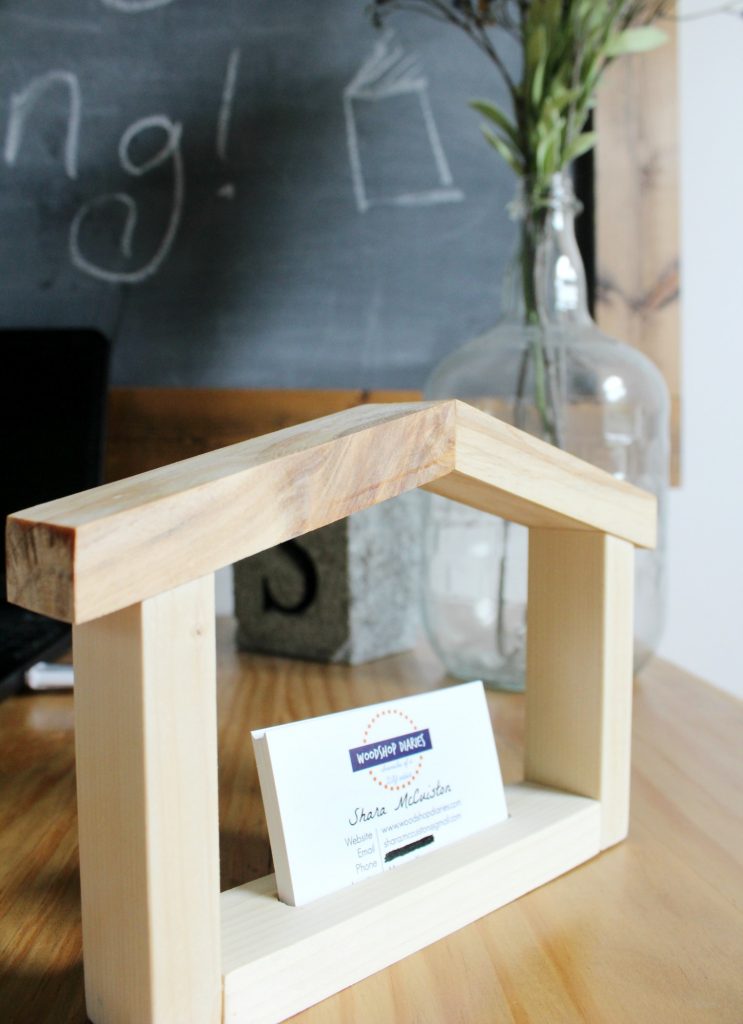
Isn’t this cute?? Such a simple card holder, but so cute, right??

I love scrap wood projects! What do you think?? Would you make one? Would you use one? Who else can you think of that would love a house shaped business card holder??
What other shapes could you make a business card holder in?? I’ve been trying to think of more ideas haha.
.
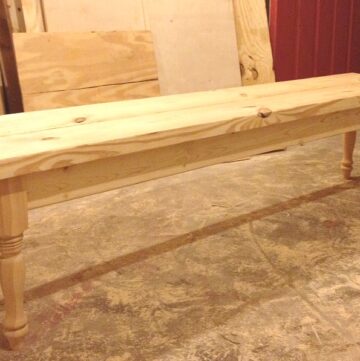
If you are looking for more scrap wood projects, check out these:
.
But before you go, I’d love if you’d pin this for later!
Until next time, happy DIYing!! 🙂

Maureen says
Shara,
This, without the card slot, would be great for a Nativity set. Just an idea… Love your blog!
Maureen
Shara, Woodshop Diaries says
Such a good idea! I will keep that in mind for this Christmas 😉